SO, this weekend we moved forward with our preparations to start raising meat rabbits. We have been collecting supplies for the last few months, waiting for the weather to cool enough for the local rabbitries to start breeding again so we can pick up a trio of rabbits to get our own rabbitry going.
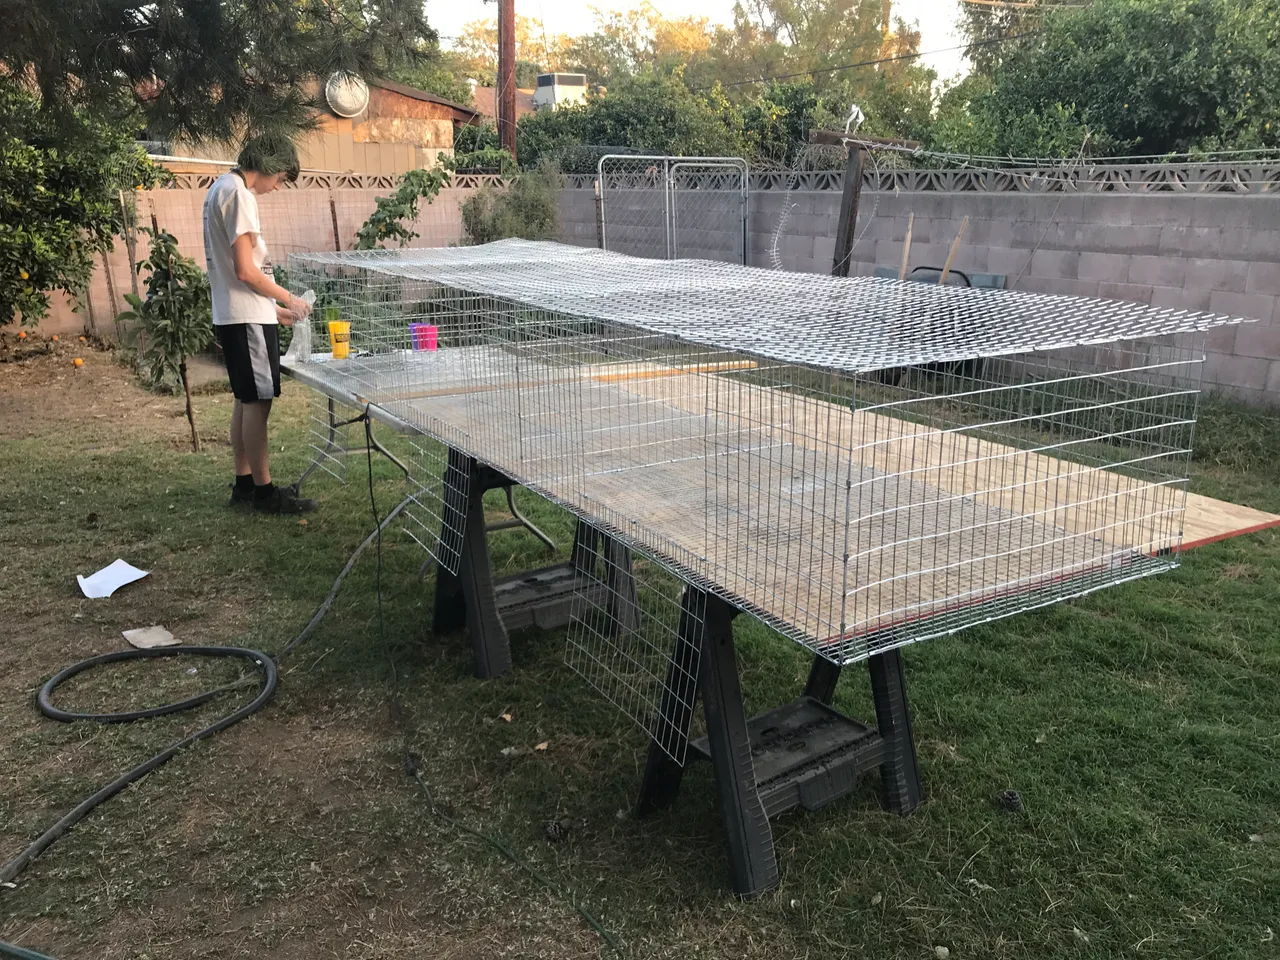
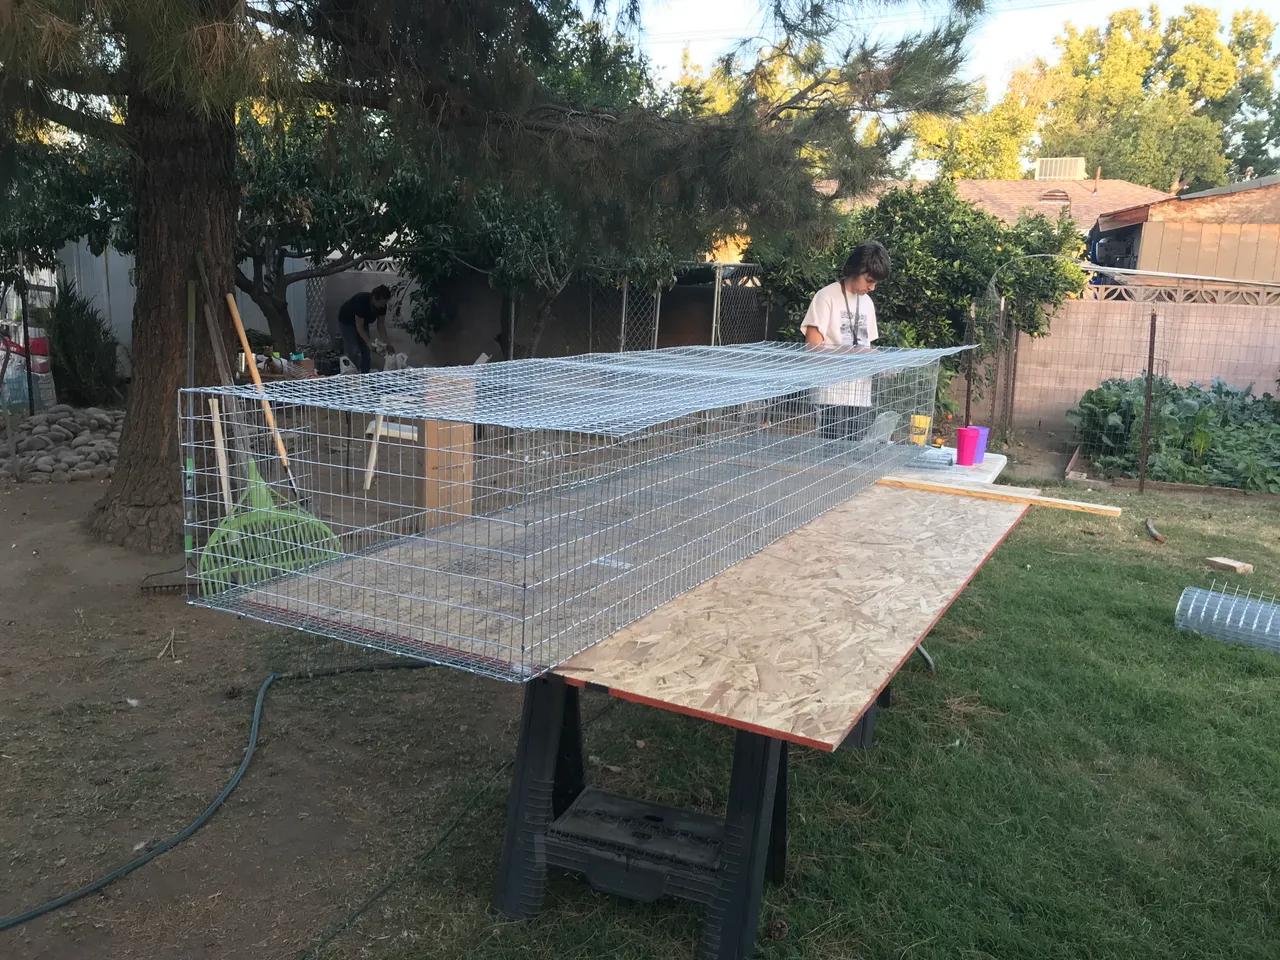
This weekend we put together the first of the hutches. this hutch will probably end up being out 'grow out' hutch. It has 3 sections with 2 'larger', and one 'large' hutch. Overall it is 10 feet long, 30 inches wide, and 16 inches tall. the large hutch is 30"x36" and the larger hutches are 30"x42"...
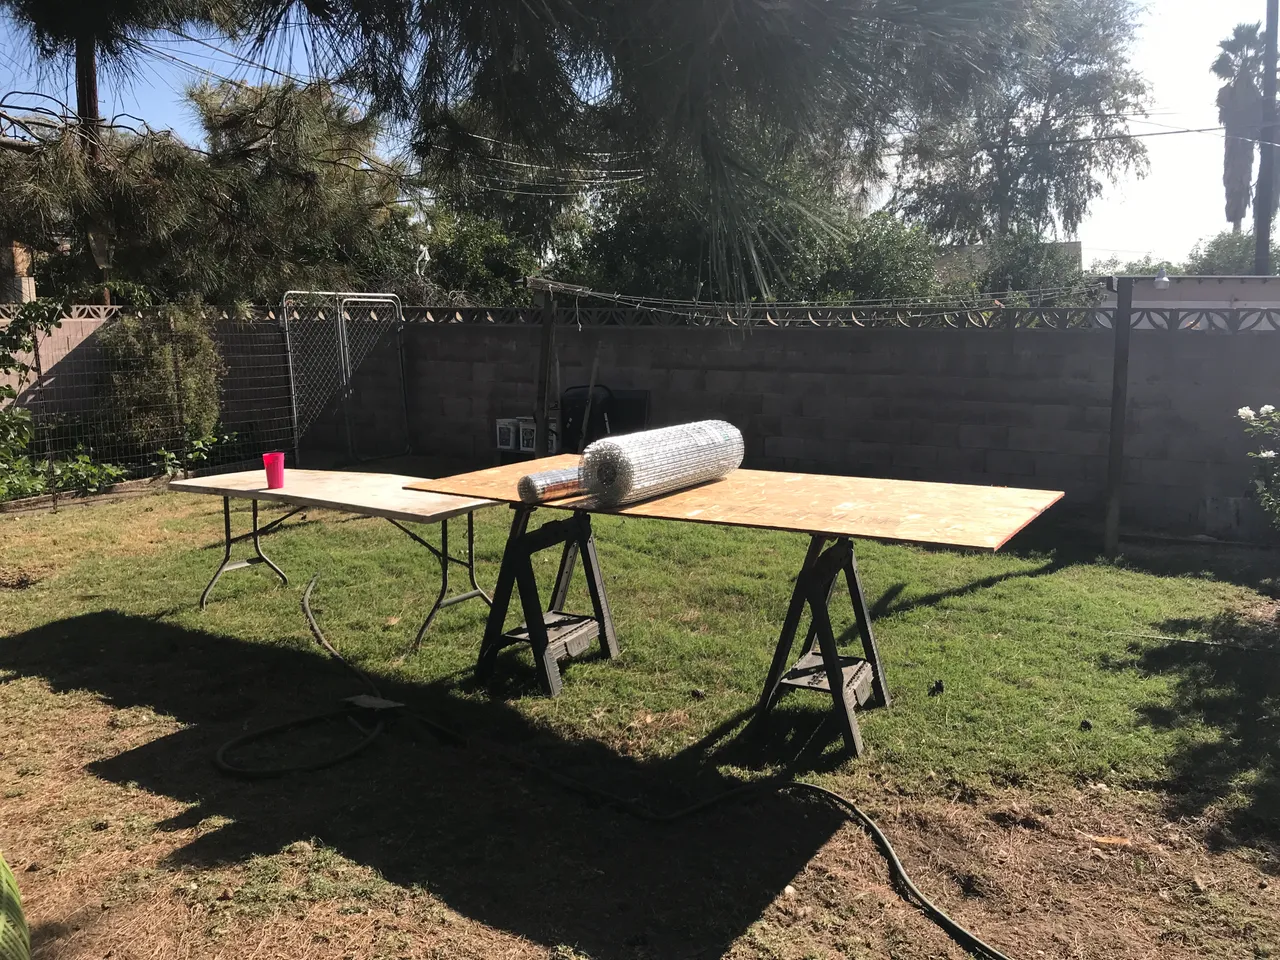
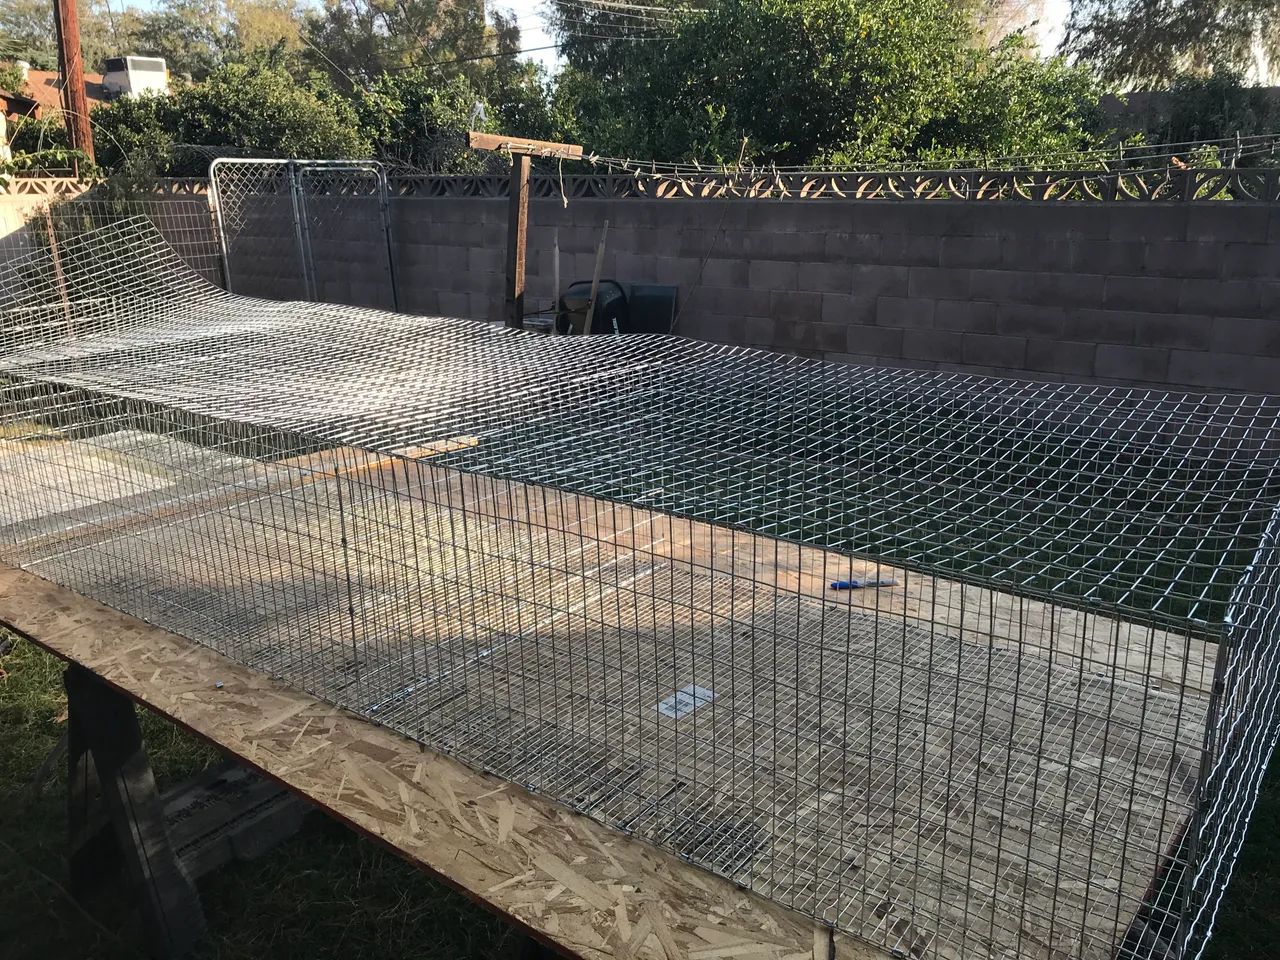
We started by laying out all the materials: a 10 foot roll of 1/2"x1" welded wire for the floor, and a 50 foot roll of 1"x2" welded wire for the sides and top. a large piece of OSB on a couple of saw horses and a folding table will make up our work surface today... Oh, and a large glass of ice water. It might be mid November, but this is So Cal, and its sunny and 78f today!
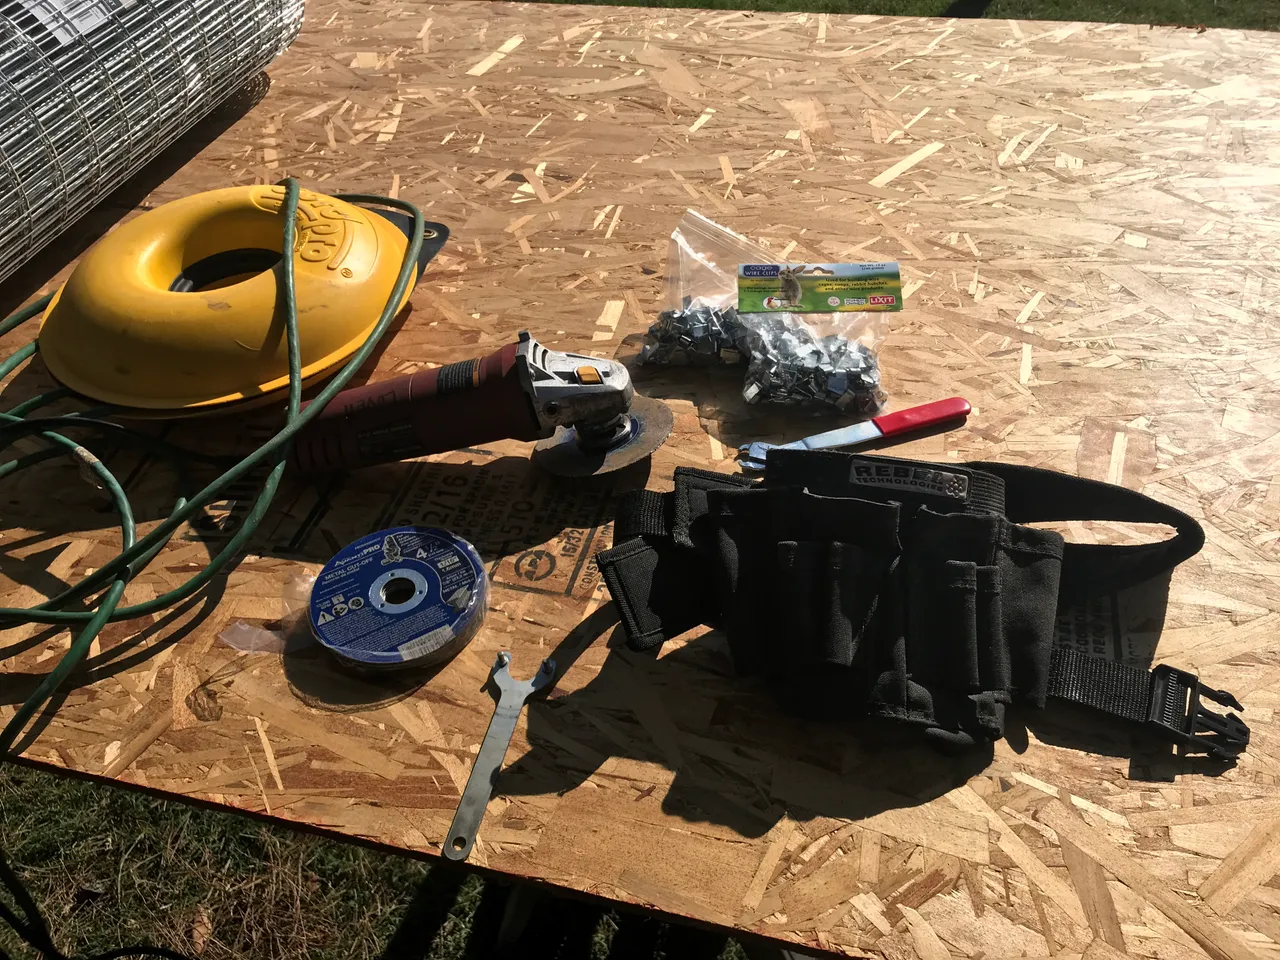
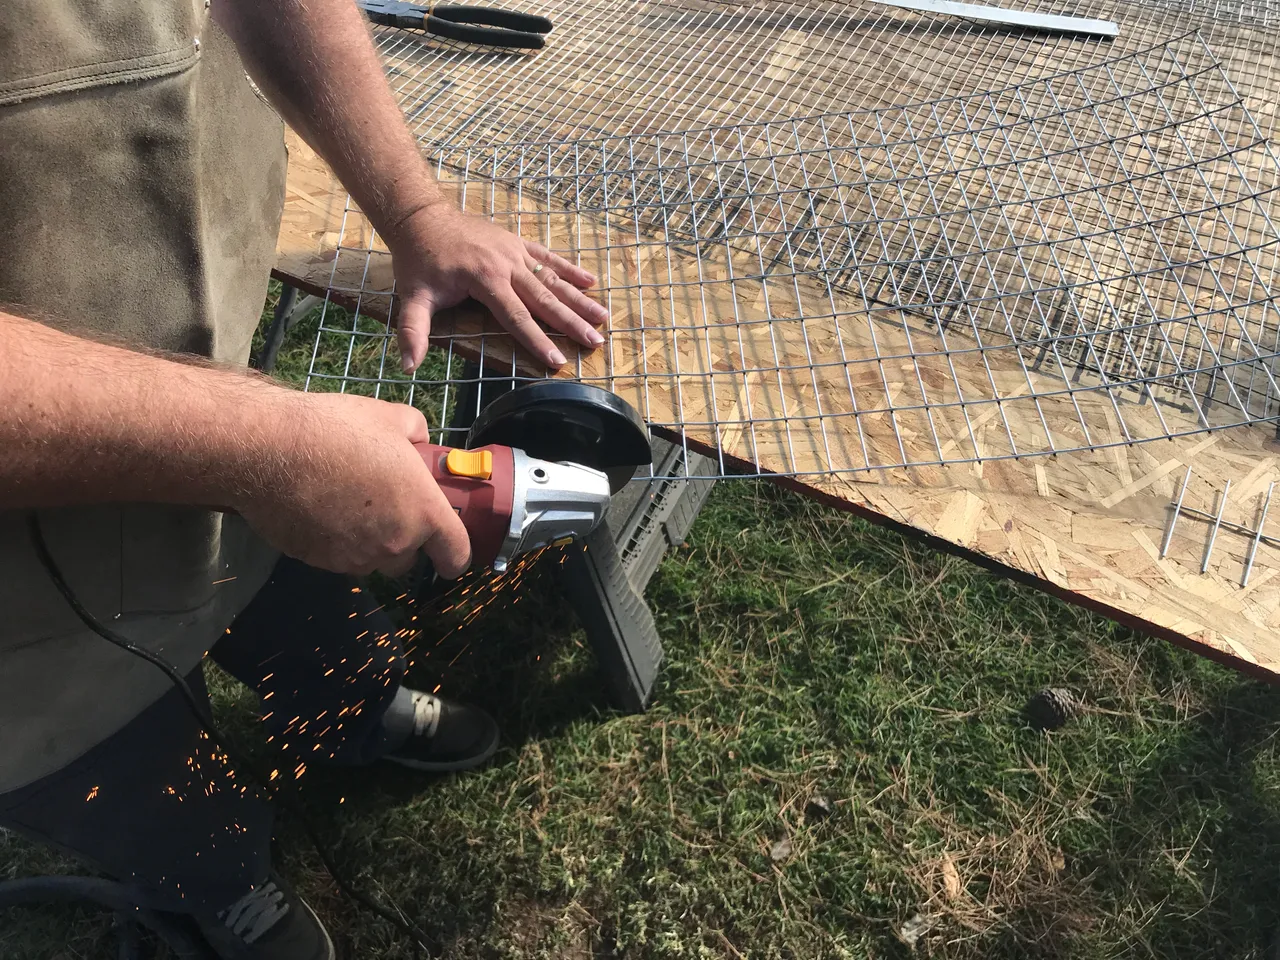
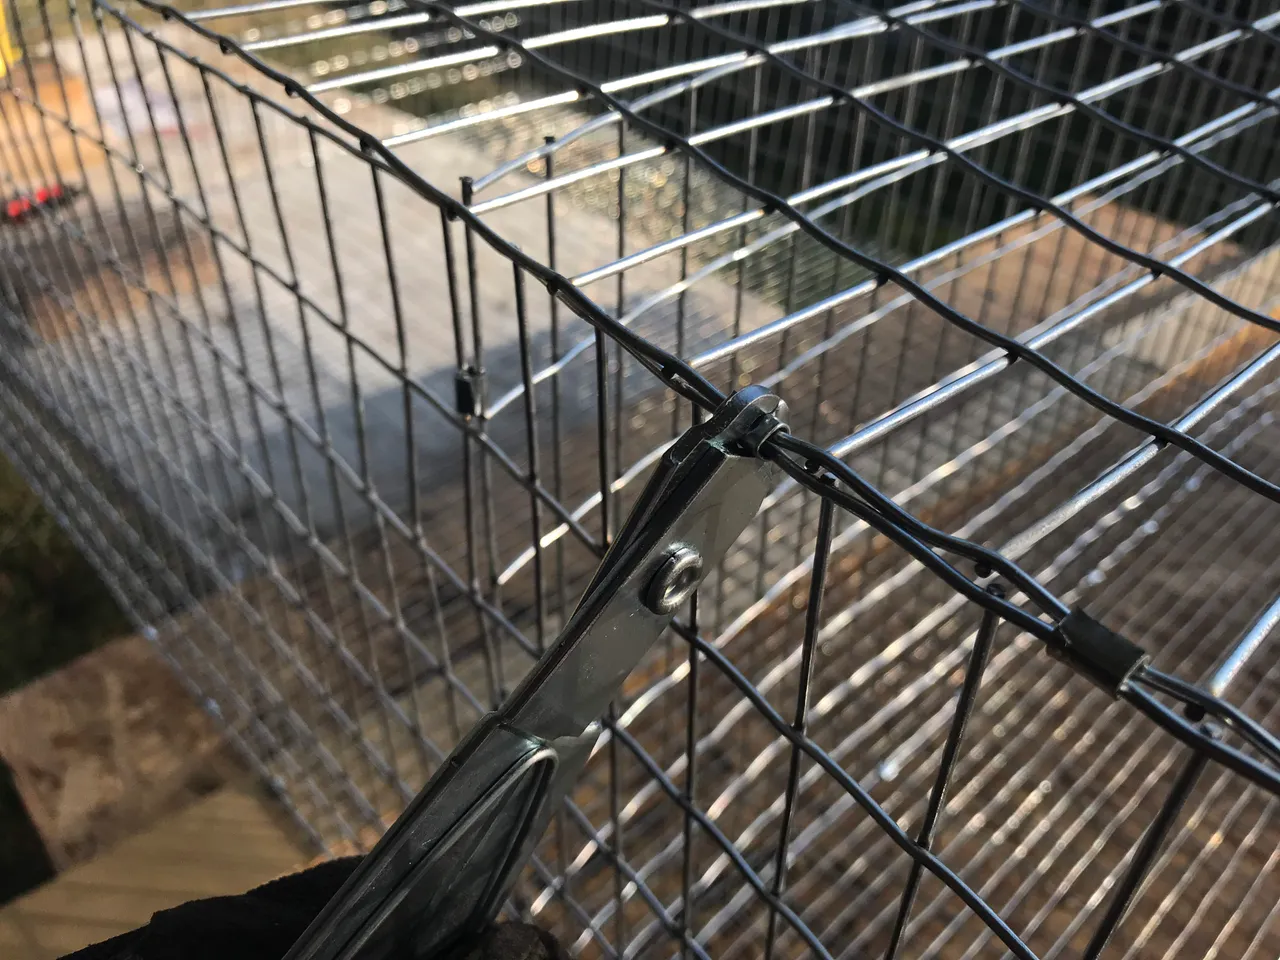
Next is gathering all the tools. lineman pliers (not shown), angle grinder with cut off disks, extension cord, tool belt, and J-Clips with J-clip pliers for joining all the pieces together.
First we cut all the pieces. The floor will be used as-is, but we need to cut a section of the larger wire to length to make the sides, then cut it lengthwise. I purchased 36" wide mesh, but only want the cages 18" tall. I forgot to account for the wire spacing being 2" in this direction, so the cages ended up only being 16" tall... I'm just going to order 18 or 24" wire for the sides next time...
Cutting the wire leaves sharp barbs along the edge, so I use the angle grinder to clean them up. eventually we switch to just using the grinder to make all the cuts. It ends up being faster and the clean up is easier...
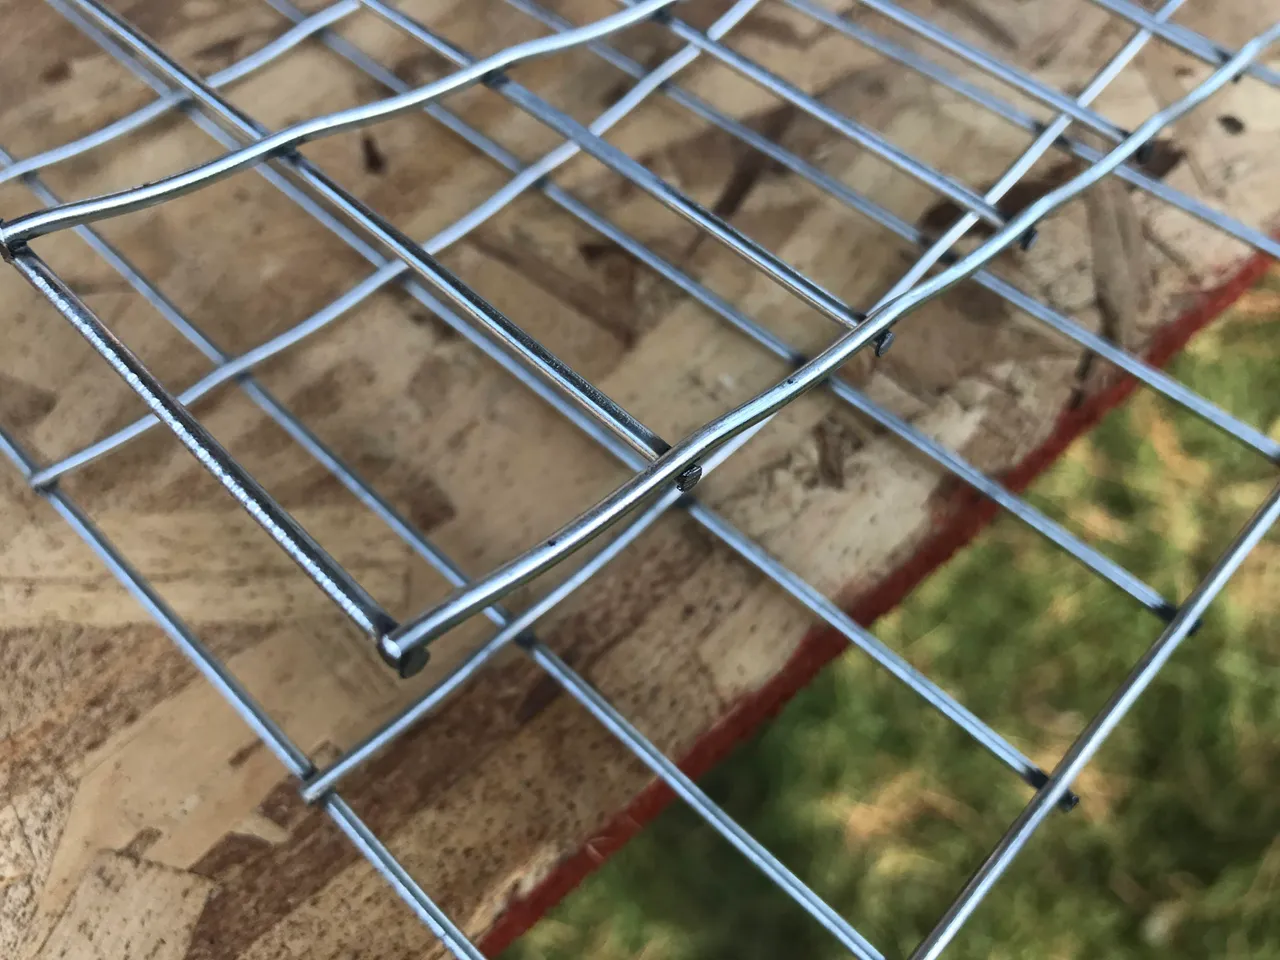
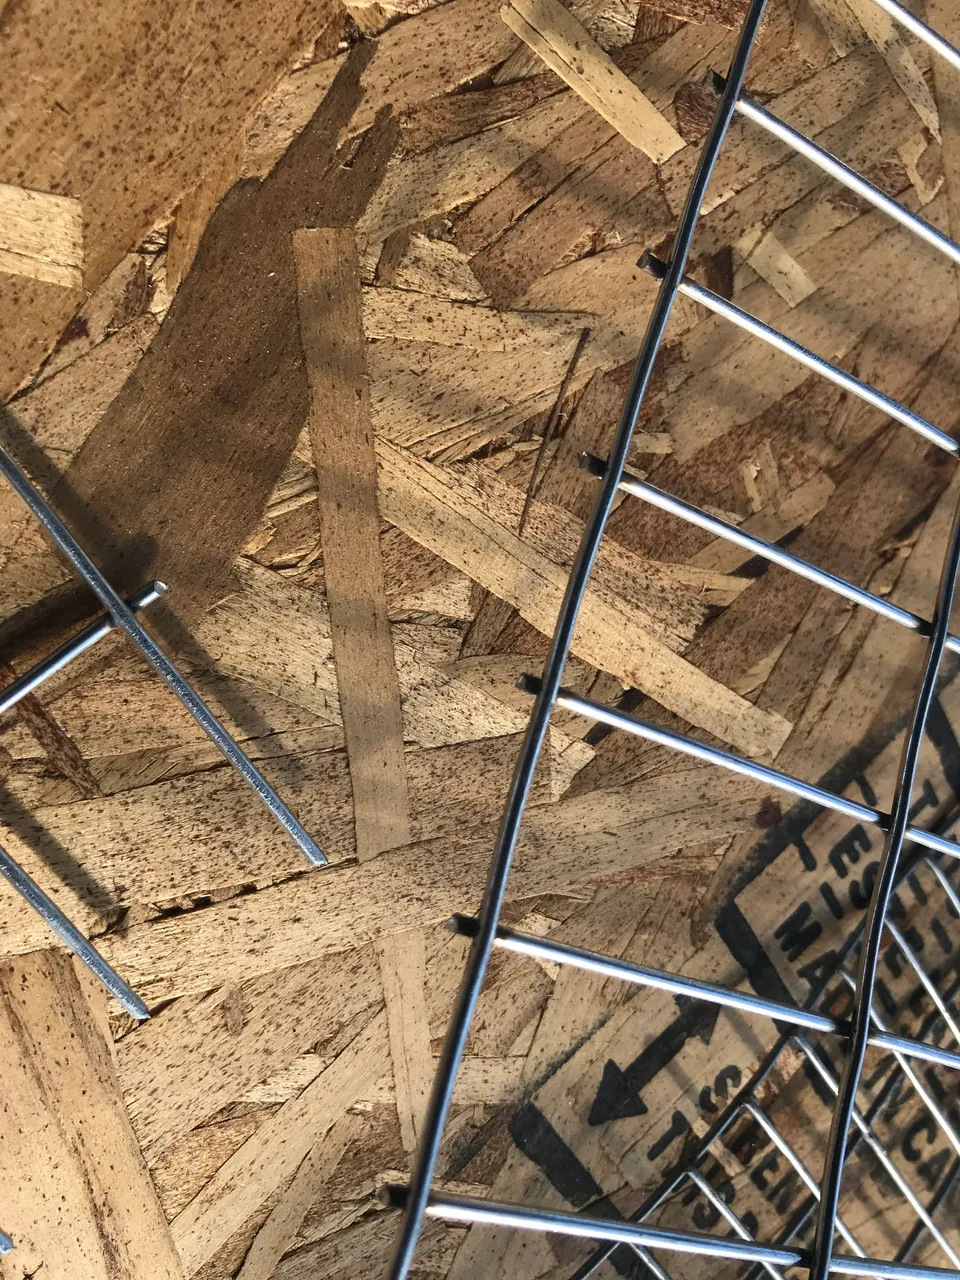
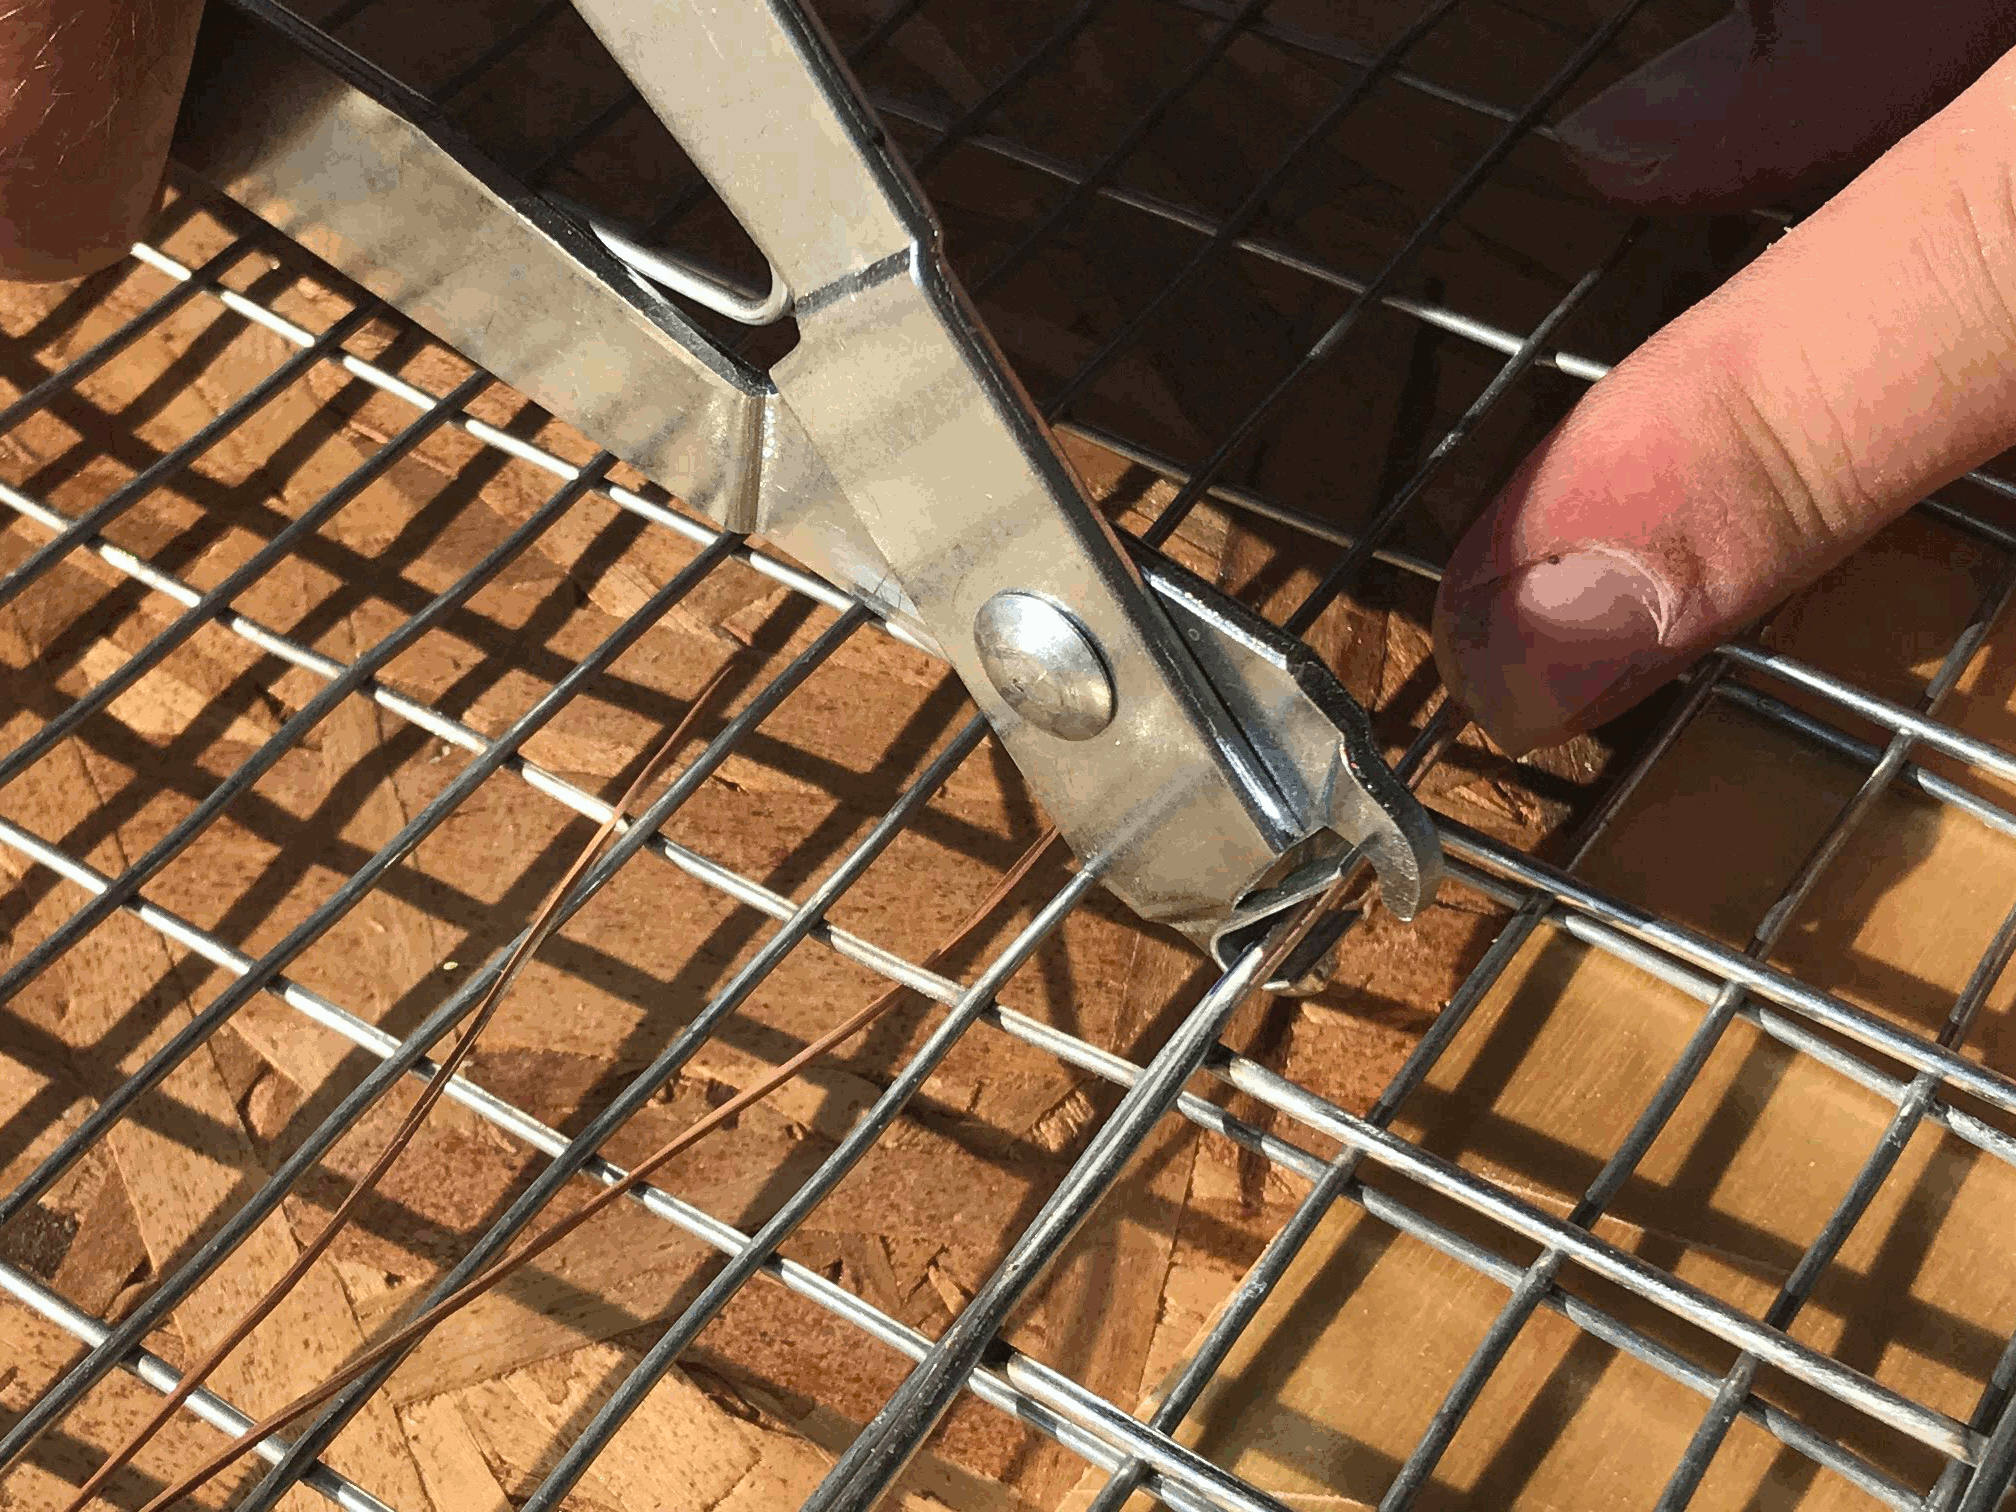
With all the edges free from sharp pokes and burrs, its time to start assembling the cages. All the pices will be joined using 'J-Clips'. you can see blow how the J shaped metal clip wraps around the cage wire and firmly fixed the two pieces together.
WE started by joining the short sides and middle dividers to the floor; then added the long sides.
Looking down one of the long sides; we placed the J-Clips about every 3" along the bottom.

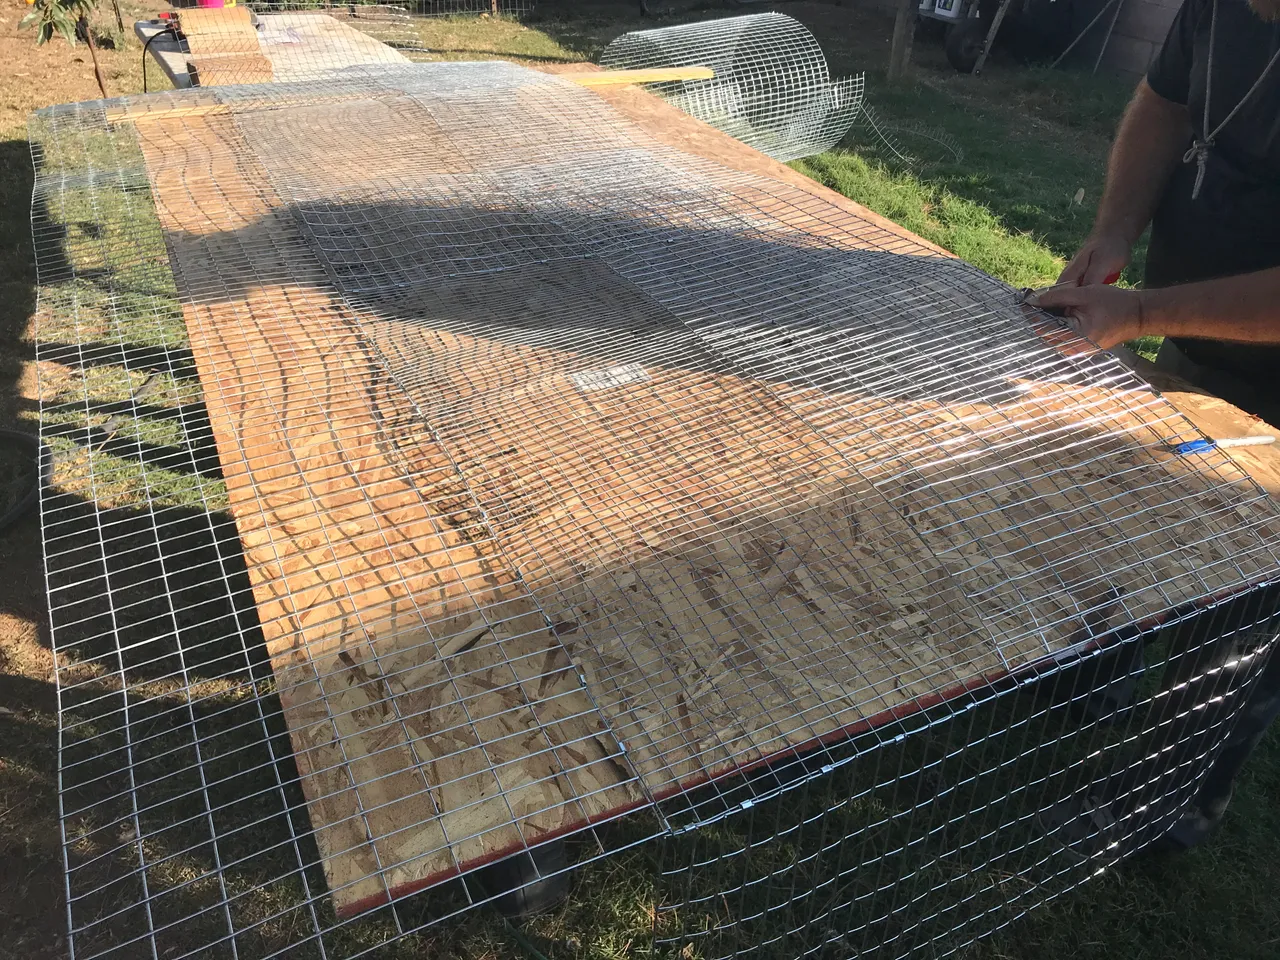
Then it was just a simple matter of folding up the sides and securing them with J-Clips and adding the top.
Almost complete, just need to secure the last corner of the top:
The 36" wide top hangs a bit off the back side. I'm not sure what i am going to do with this quite yet. The original idea was just to cut it off, but it might end up being useful so I'm leaving it for now.
The last step for today was to cut the holes for the doors, and cut the doors from the 1"x2" material. They are simply attached at the bottom to the sides of the cage with J-Clips as hinges. They will be secured at the top with a couple cage clips to hold the doors closed.
Overall I am very pleased with how the project turned out. The cages look good and are nice and rigid. the 'waste' from cutting out the door holes will be used to make hay hoppers on the front of the cages next to the doors, so there will be almost zero waste of the cage material. The 50 foot roll of 1"x2" wire has plenty left on it to make a couple of rabbit 'tractors' so the bunnies will spend most of the daylight hours outside these hutches, browsing on the pasture (the pasture is the old lawn in out back yard that we will be fortifying with some winter grasses and clover).
And, just for some gratuitous cuteness, here are the bunnies from the rabbitry. One of these will probably be our buck's parent (we are hoping to get a broken red buck like these):

They are only 12 weeks old in this picture, which is why we have been waiting months f or them to have babies :)