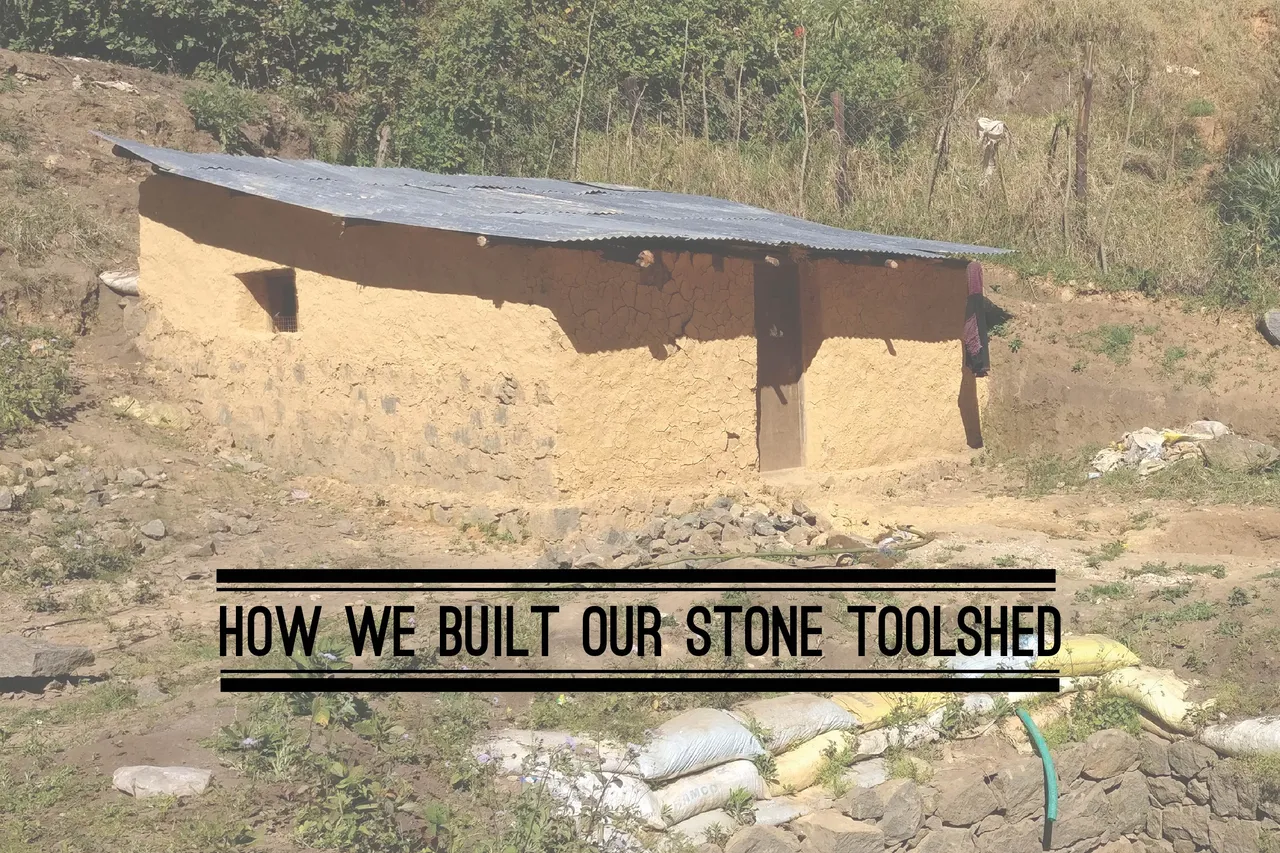
This post is about how we built our stone toolshed using local materials like stone and mud.
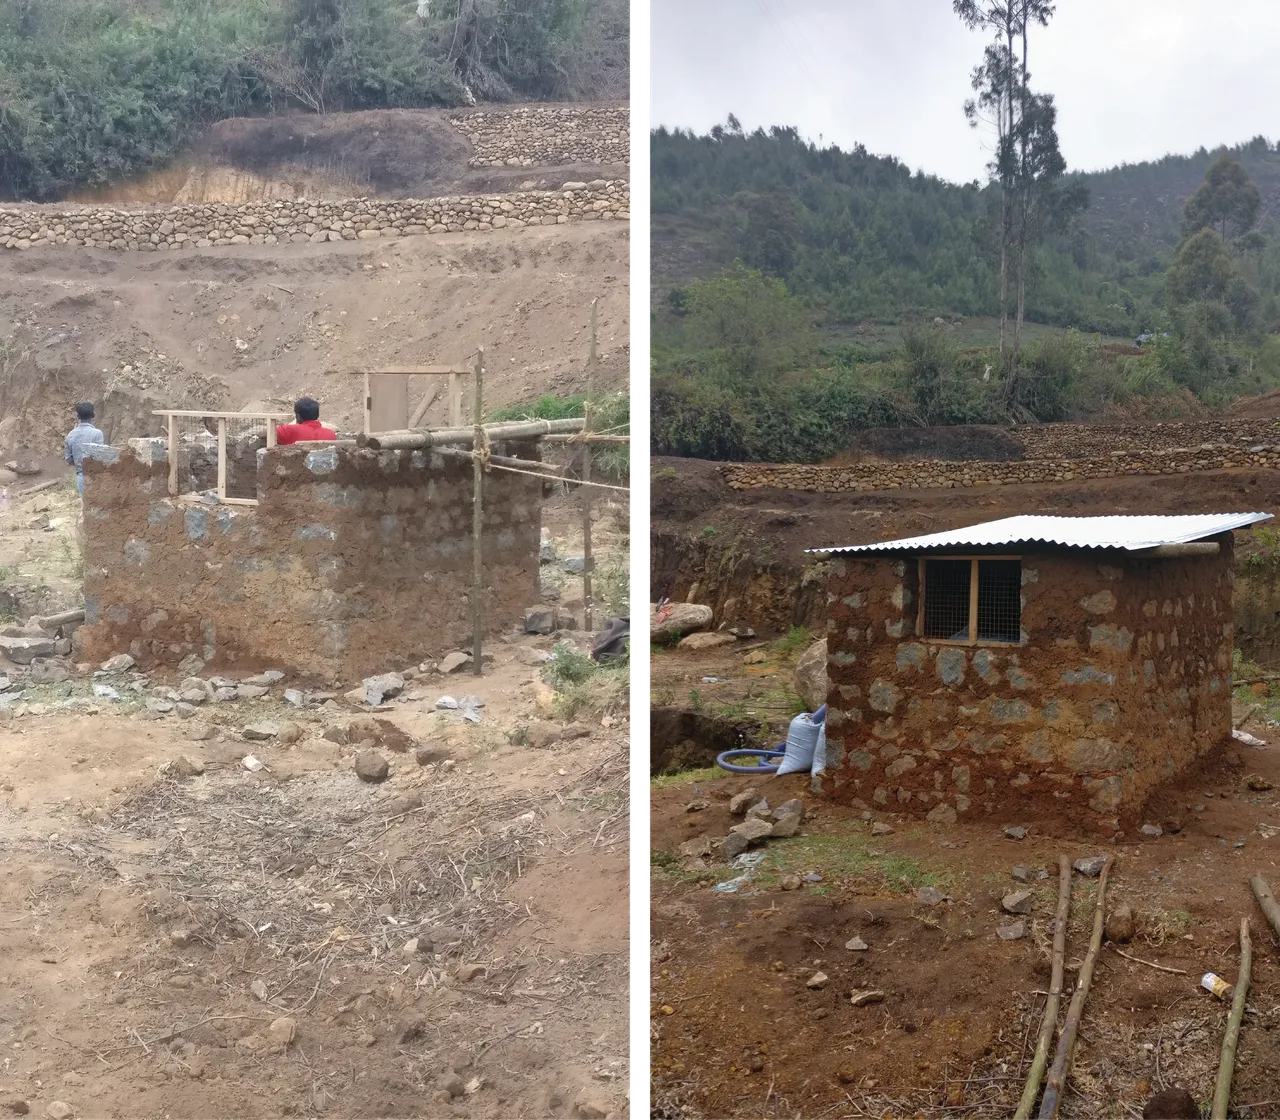
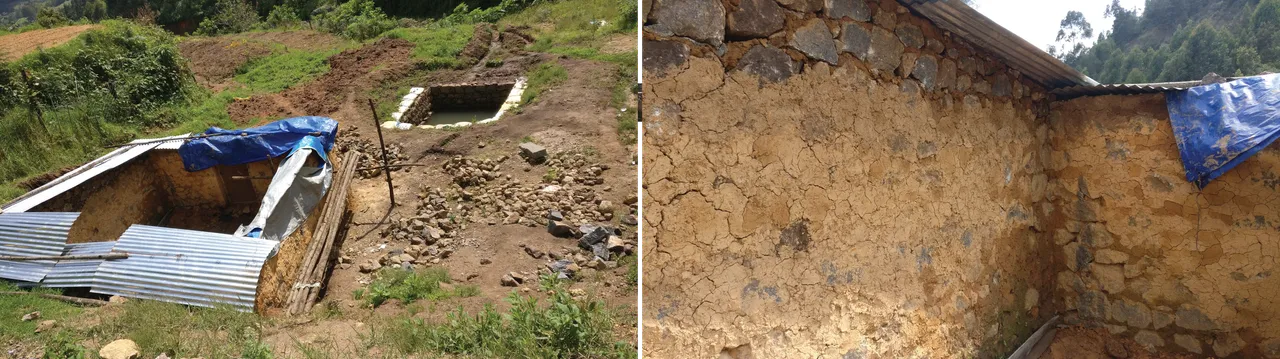
We used to have a manager who would take care of farm work in our absence.He was instrumental in arranging the machines for levelling our terraces and digging our well previously. After moving to Kodaikanal however, we realized he was slacking and not getting enough work done for the time and money we gave him. We contracted him to build us a toolshed using some of the money he owed us as we needed a safe place to store our water pump and farm tools. He got a shed built in a few weeks, but it had a few structural issues we needed to fix.
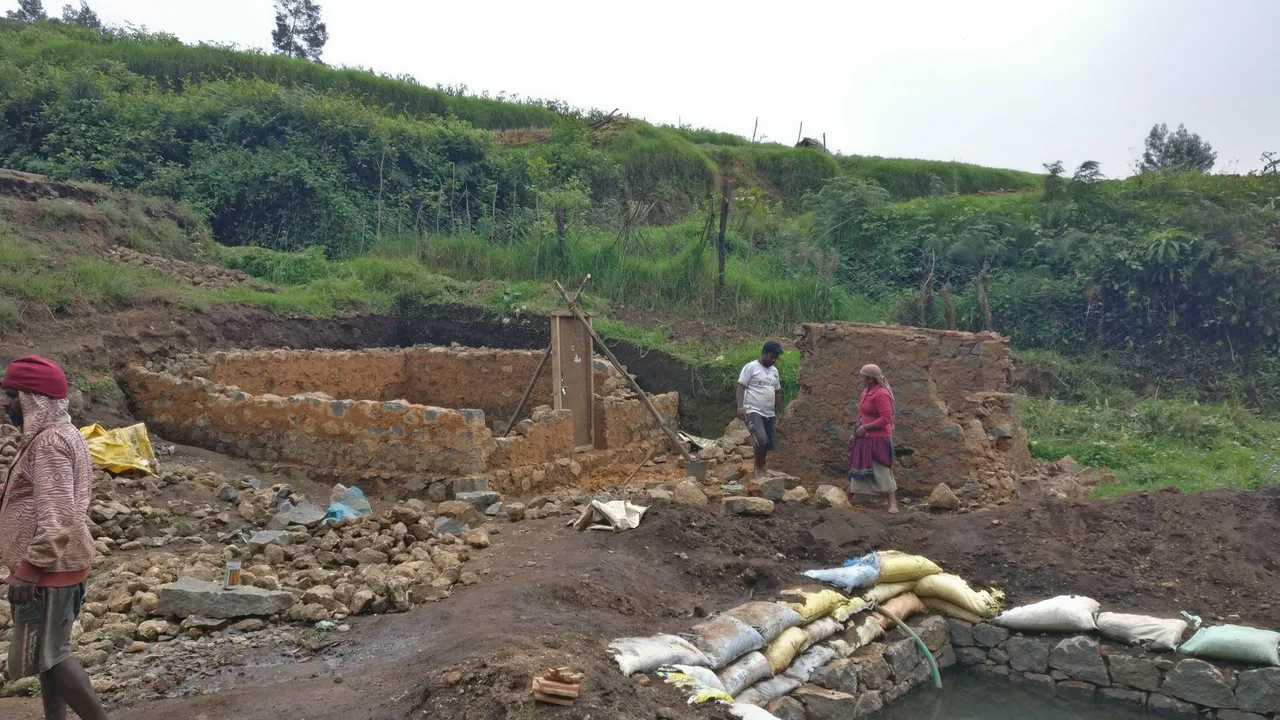
I told him to build an 8 by 6 feet structure that would be enough for the pump and a few tools. He used that as the outer dimension, so when the rather thick stone walls were put up, the actual space within the room was much less. In addition to that he used a door that opens inwards, reducing our viable space even less. By this time we had networked with our neighbours who we were using as our primary source of labour. We asked them to contact local stone masons who collaborated with them on building our well. Our mason turned out to be excellent so after the well was done we retained our team to rebuild a better toolshed.
The Build
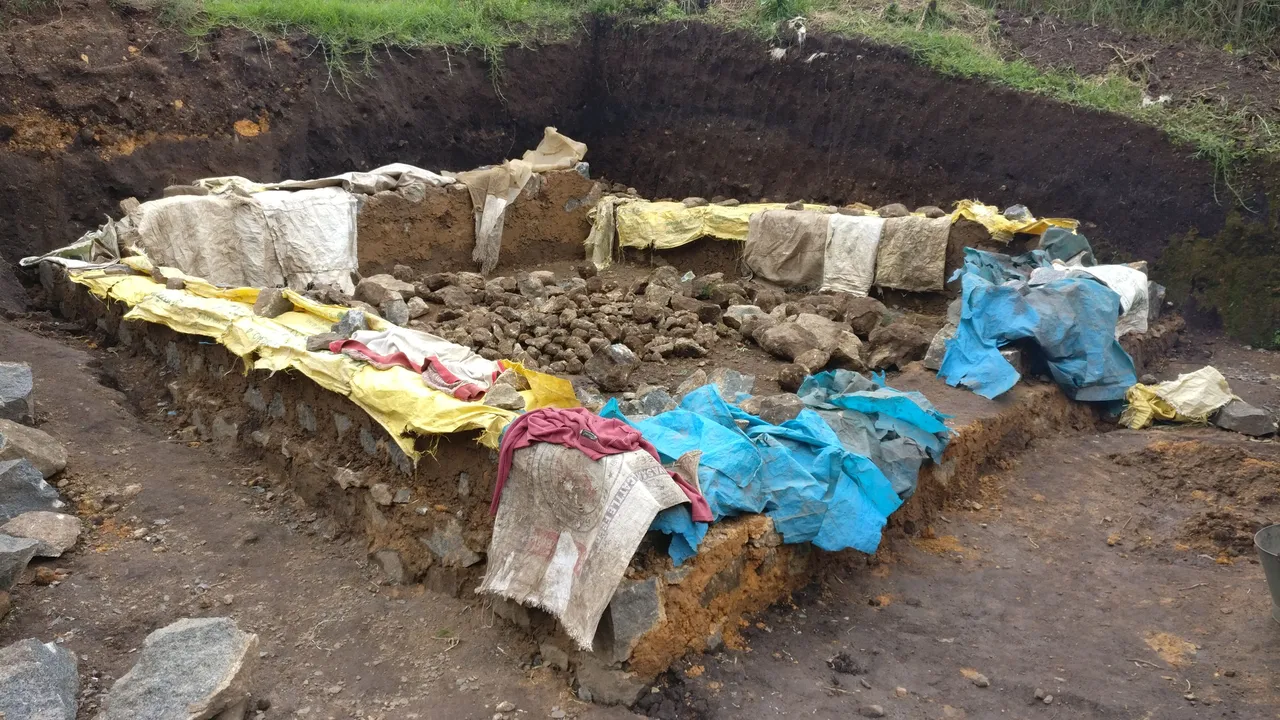
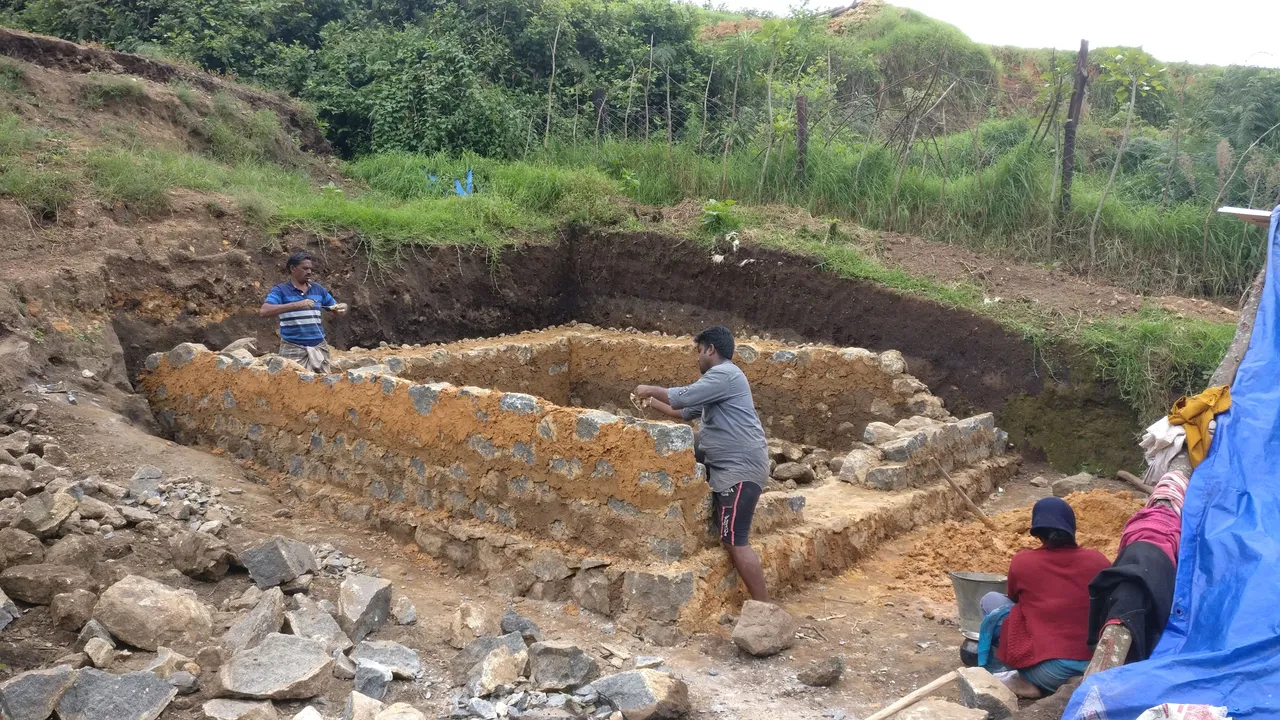
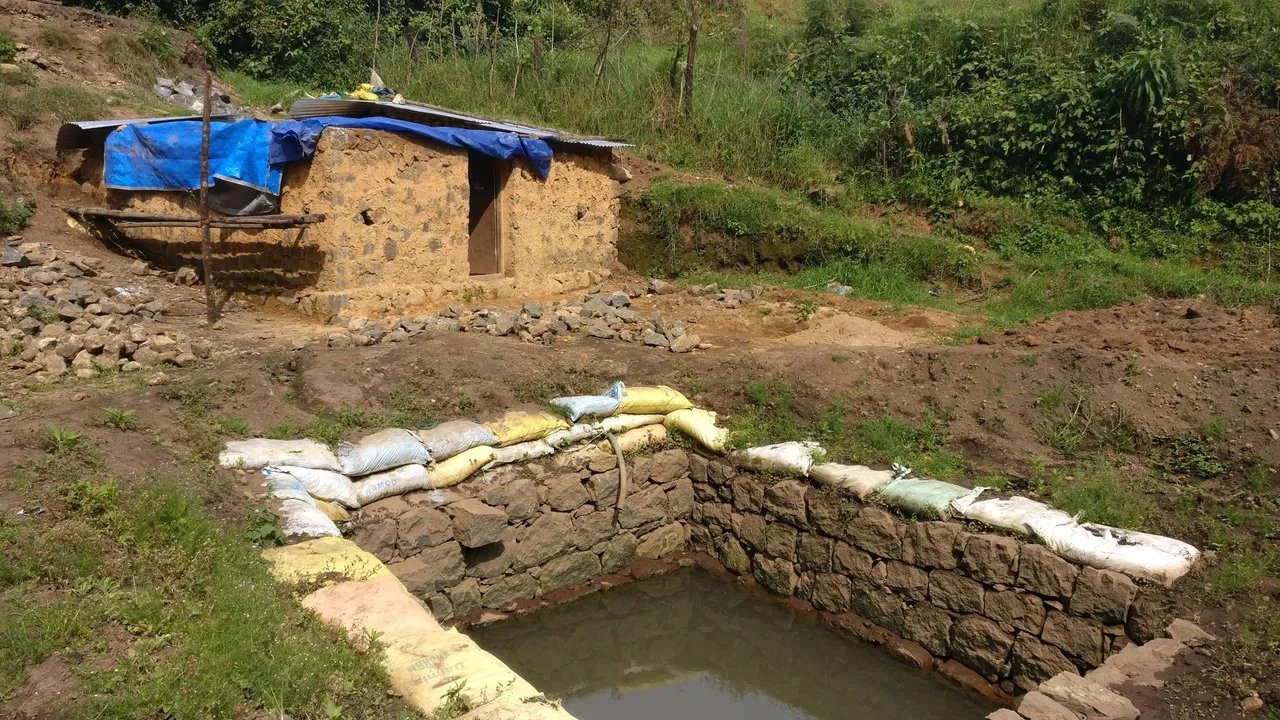
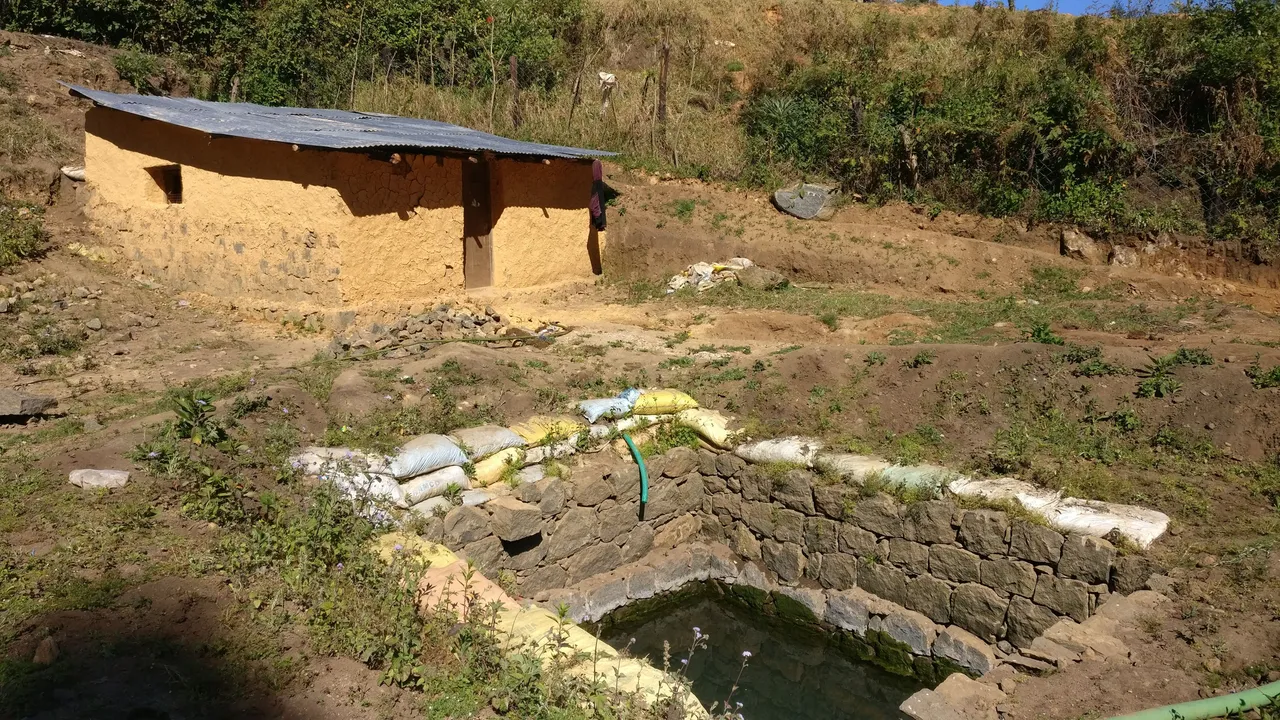
We decided to make us of our existing terraces, and locate the new toolshed in a corner, utilizing the existing terrace walls. First, a solid stone foundation is laid out. The stone pieces are chiseled by hand from boulders that were already on our land. Our neighbours also saw this as a chance to get rid of boulders on their land and provided us material at no extra charge.The team was divided into three groups. People breaking boulders and transporting the pieces to our site, the mason and his team chiselling and stacking rocks, and people digging out mud and mixing a mud mortar. There was also a tea making sub-group that supplied the entire team every few hours.
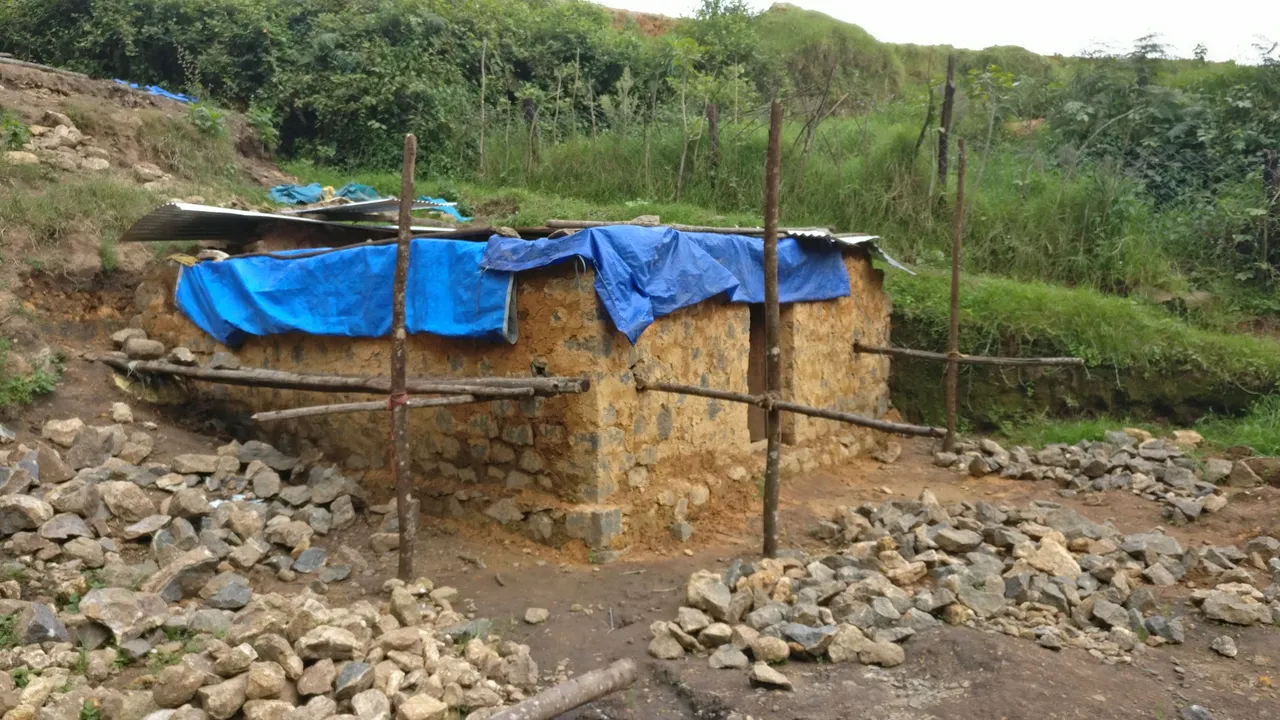
The walls are built similarily to how we made our well. Stone is hand cut from larger rocks in such a way that the piecses interlock with each other. The walls are upto 2 feet thick so they can support their own weight. Each piece of stone is meticulously placed using wet mud as a mortar. As the structure is protected by a roof, there is no need to waterproof our mortar. The stones are capable of standing on their own and the mortar is used as a binding agent and to seal gaps. The walls are protected during the build with sacks and old tarp whenever it rains.The sides adjacent to the terraces are filled up with small rocks and debris and don't require as much material as the other two walls. The door and window are then transferred from the previous shed. Layer by layer, all four walls are built, ready for the roofing.
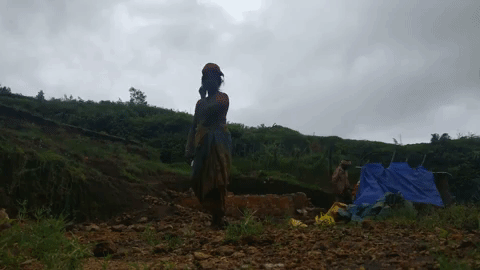
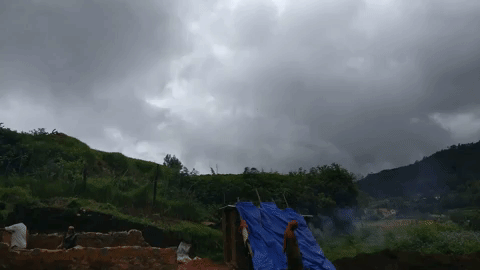
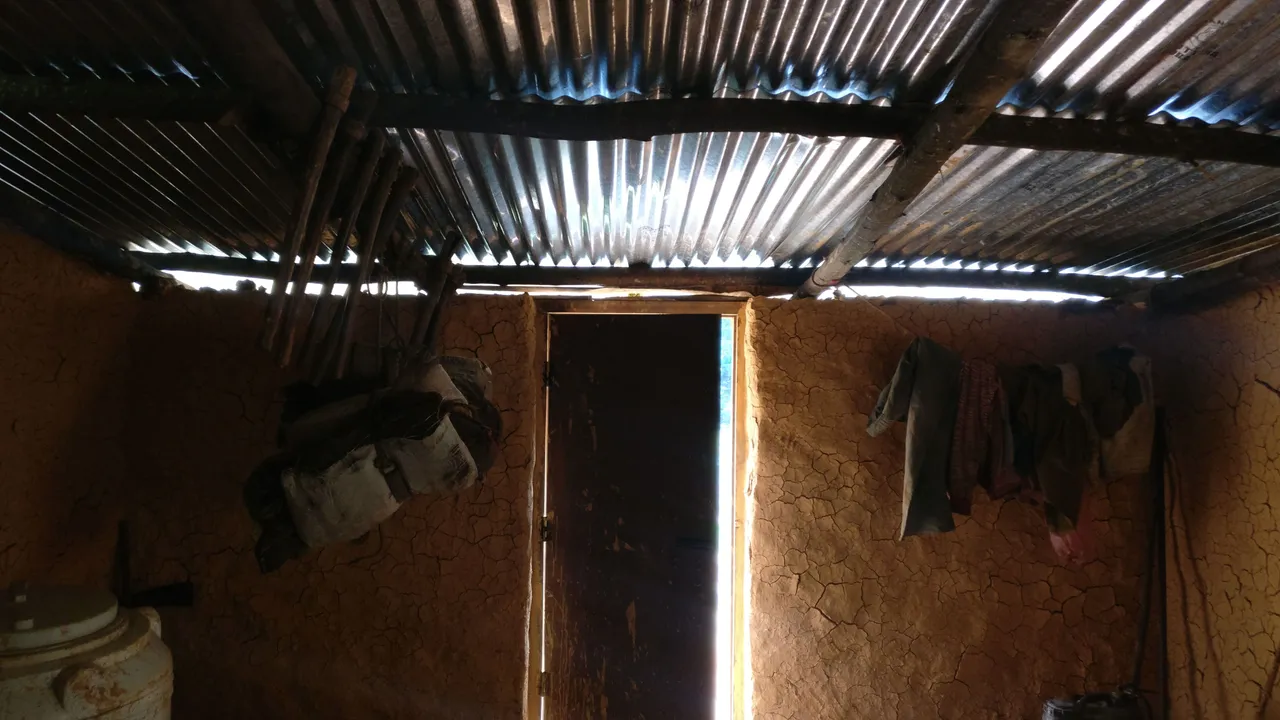
The roof is made from tin sheets and wooden logs. The logs are salvaged from the forest and rest on top of the stone walls to which the tin sheets are attached to. The sheets are the only non-local material used in this build. While not exactly sustainable, they are cost effective and provide enough protection on a long term basis. The workers build their own scaffolding to construct the roof. We bought the tin sheets from town and transported them to our land via a pickup truck we hired. We had to halt work for awhile due to the monsoon, but eventually the roofing was done and the build was complete.
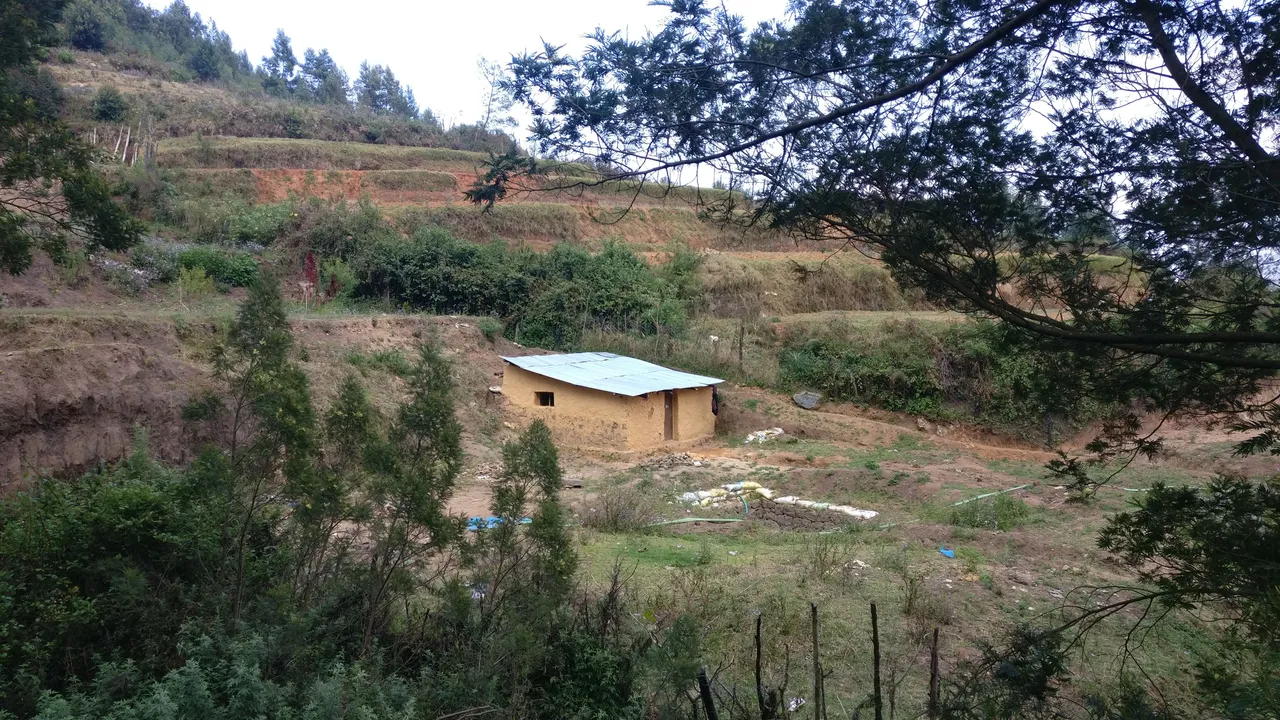
The Toolshed
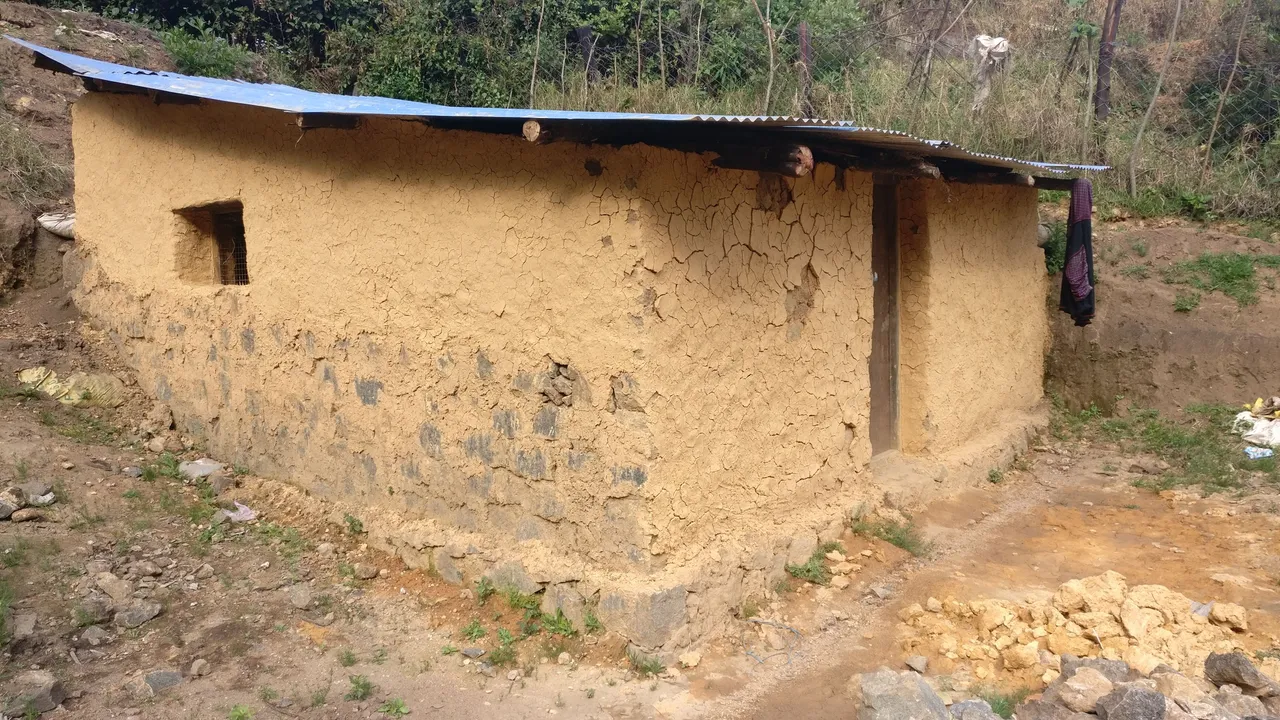
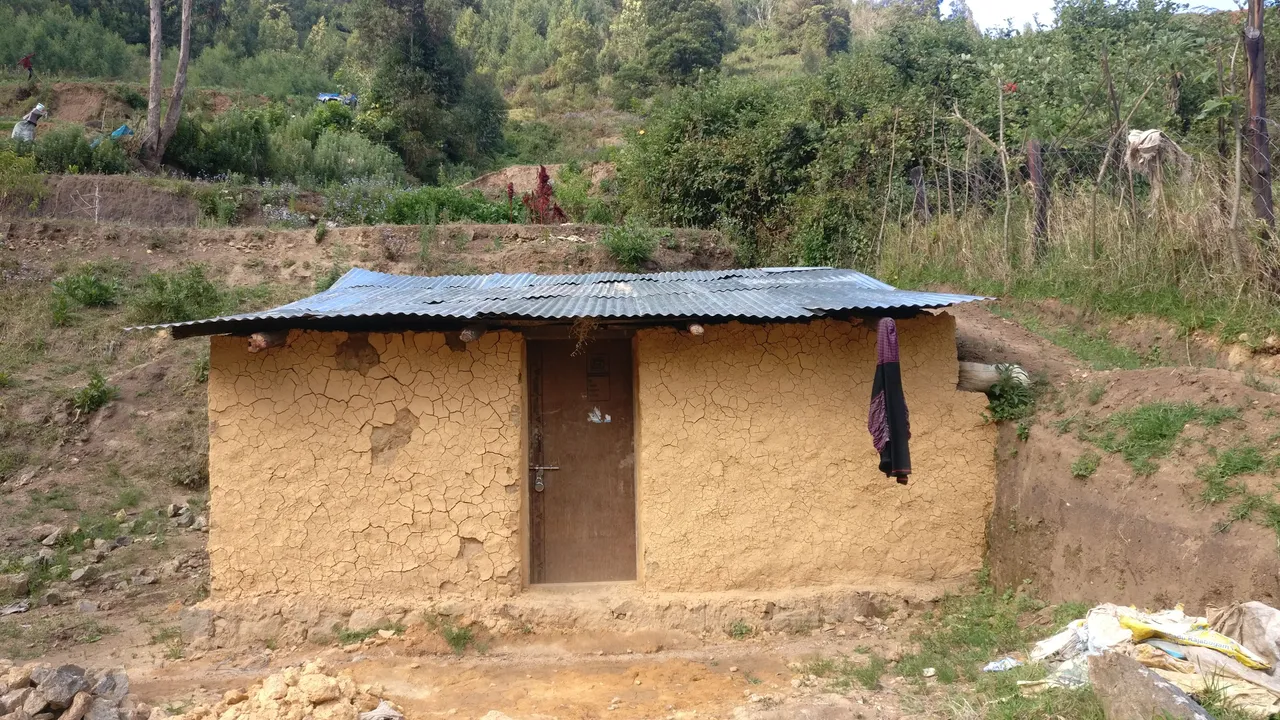
The tool shed measures about 18 by 12 feet from the outside and is about 10 feet tall at its highest point. We started our build after we finished our well in October of 2017. The build was finished in January this year. The new shed is a lot better than our previous one. We have ample room to store tools and even future harvests. As of now it's being used as a sort of recreational room for our workers who also keep their personal belongings there.
The Interior
The mud plaster has cracked in a lot of places, but provides an interesting texture.The aesthetic is fairly rustic. The build was intended as a storage room so there's no running water or electricity, but it could be used to spend a night
at the farm. This build marked our first infrastructural building on our land and is rather effective at keeping things
and people safe from the environment.
Future Plans
One of the things I'm considering is growing ivy along the walls and turning our roof into a living roof. It involves placing a tarp over the roof, and adding layers of dry and wet mud on which plants can be grown. It extends our growing space, provides a great aesthetic and blends our toolshed into the mountain while provinding extra insulation to the room. The only drawback is rain water collection might get impacted. Does anyone have experience
using living roofs and is it difficult to use them for rain water colllection?