
After your account has been activated, the next thing you would want to do is to click the 'settings' tap and set up your profile (display) information. In doing this, a lot of newbies find it difficult to upload their profile pictures. After much efforts, some would simply abandon it, and move on to start blogging.
I think this step is important because your profile picture gives credence to your identity. People may pick interest to read your blog post just because they just like the way you look and cannot help it, more especially from the opposite sex.
In this Part 1, I will take you through how to do that.
At the moment, steemit doesn't host images. So Images are first hosted on a third party platform before the link is now used to update your 'Profile Picture URL' field on your Steemit profile information page.
My favourite third party website for doing that is www.postimage.org
FOLLOW THESE STEPS
log into your steemit account and click on settings to open your profile information page.
Visit www.postimage.org and click on 'choose' image tab.
On the page that opens, click on 'Gallery'. Choose the picture you want to use and wait for it to load 100% and wait a bit more for the page containing the listing of links to open. See below...
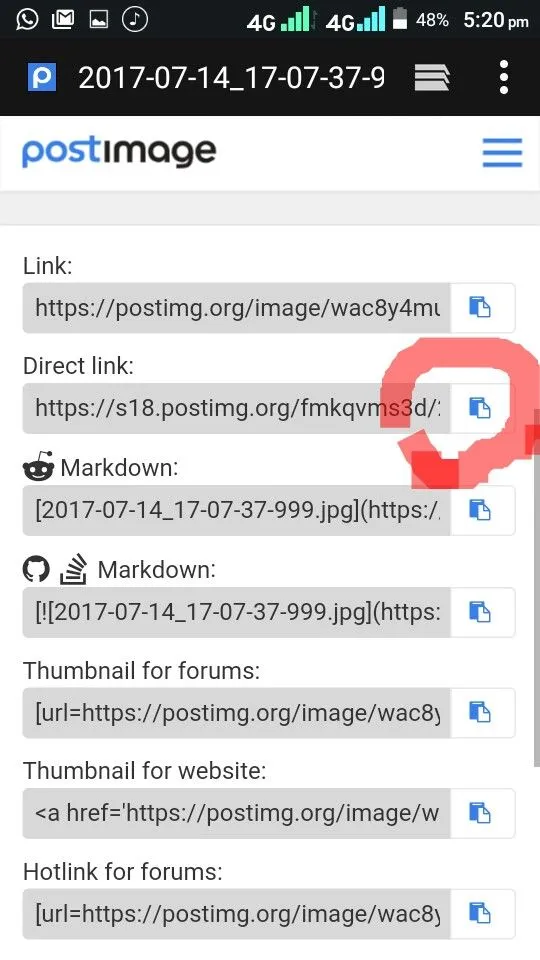
click on the button encircled in red band to copy that link.
Go to your profile page. See below...
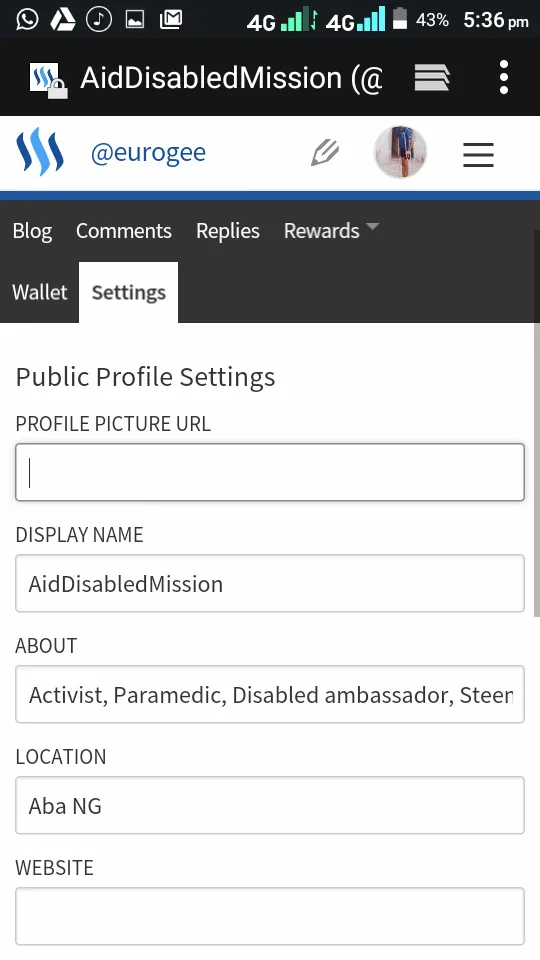
- Paste the link you copied from www.postimage.org into your 'profile picture URL' field. And click 'update' button'. Fill in your password in the next page and sign in.
HURRAY! YOU ARE THROUGH!
Please RESTEEM, UPVOTE AND DROP YOUR QUESTIONS IF THERE IS ANY.
Thank you...