In this blog post I describe how my friend Christian and me pimped the dollhouse of my daughter by some LEDs, switches and an Adafruit HUZZAH ESP8266 board.
Last Christmas my daughter told me that she wanted to have a dollhouse as Christmas present. When I started searching on Amazon and seeing all the plastic stuff, it came to my mind that I had a wonderful handcrafted dollhouse when I was child. I called my father and yes, it was still on the attic. So I had one problem less. 😉
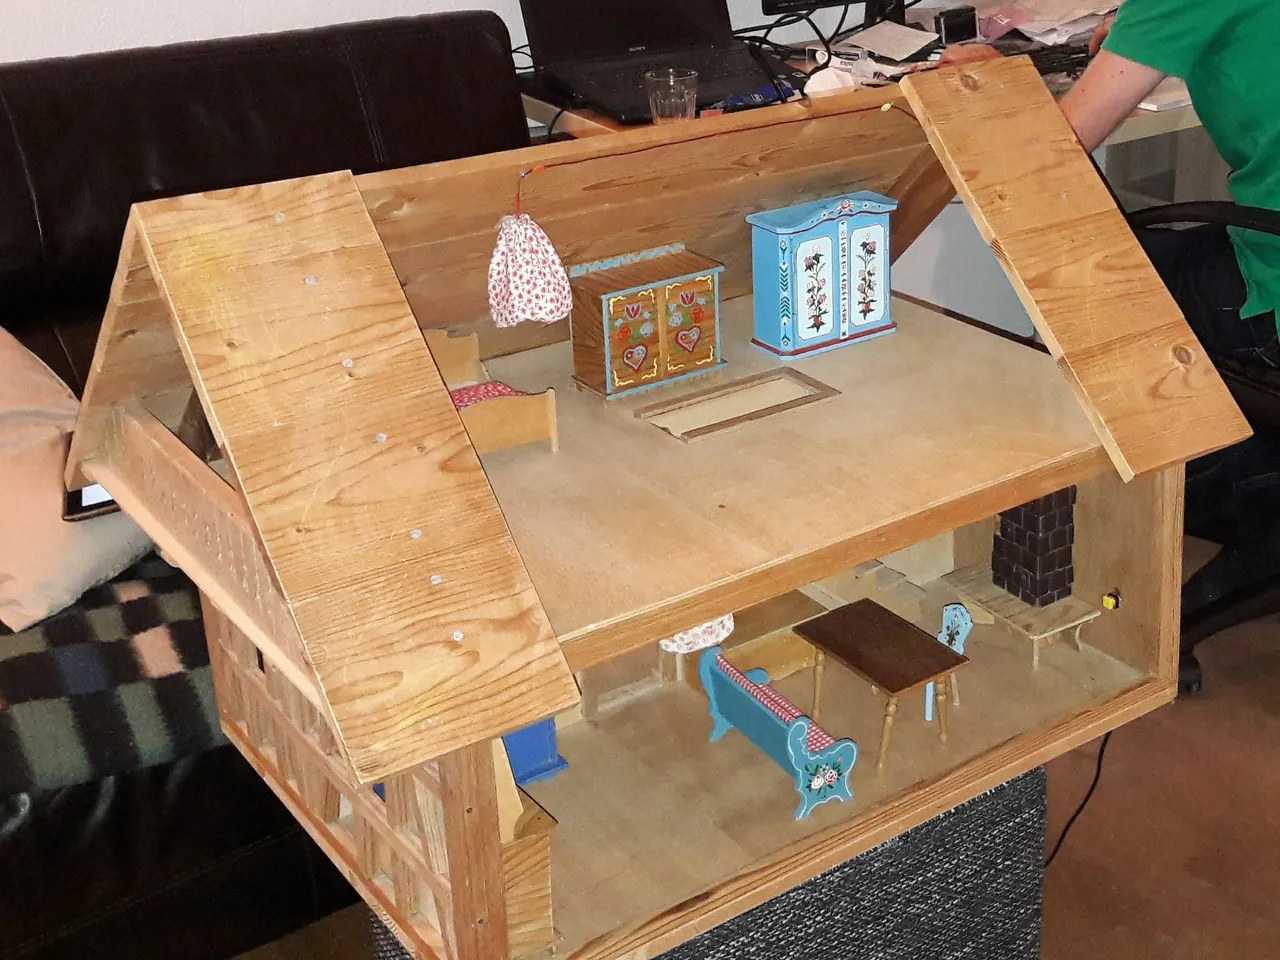
The cool thing was that it was already equipped with electric lights and switches which run by an Battery. Unfortunately, some of them didn’t work anymore and some had loose connection. Thus, I ask Christian to help me with his Arduino Know How to renovate the electricity of the dollhouse.
Enjoy the video:
The Hardware
First, I removed all old cable and schwitches. Then I started to prepare the LEDs to replace the tadeonal light bulbs. I soldered the cable to the LEDs and covered it be heat shrink tube.
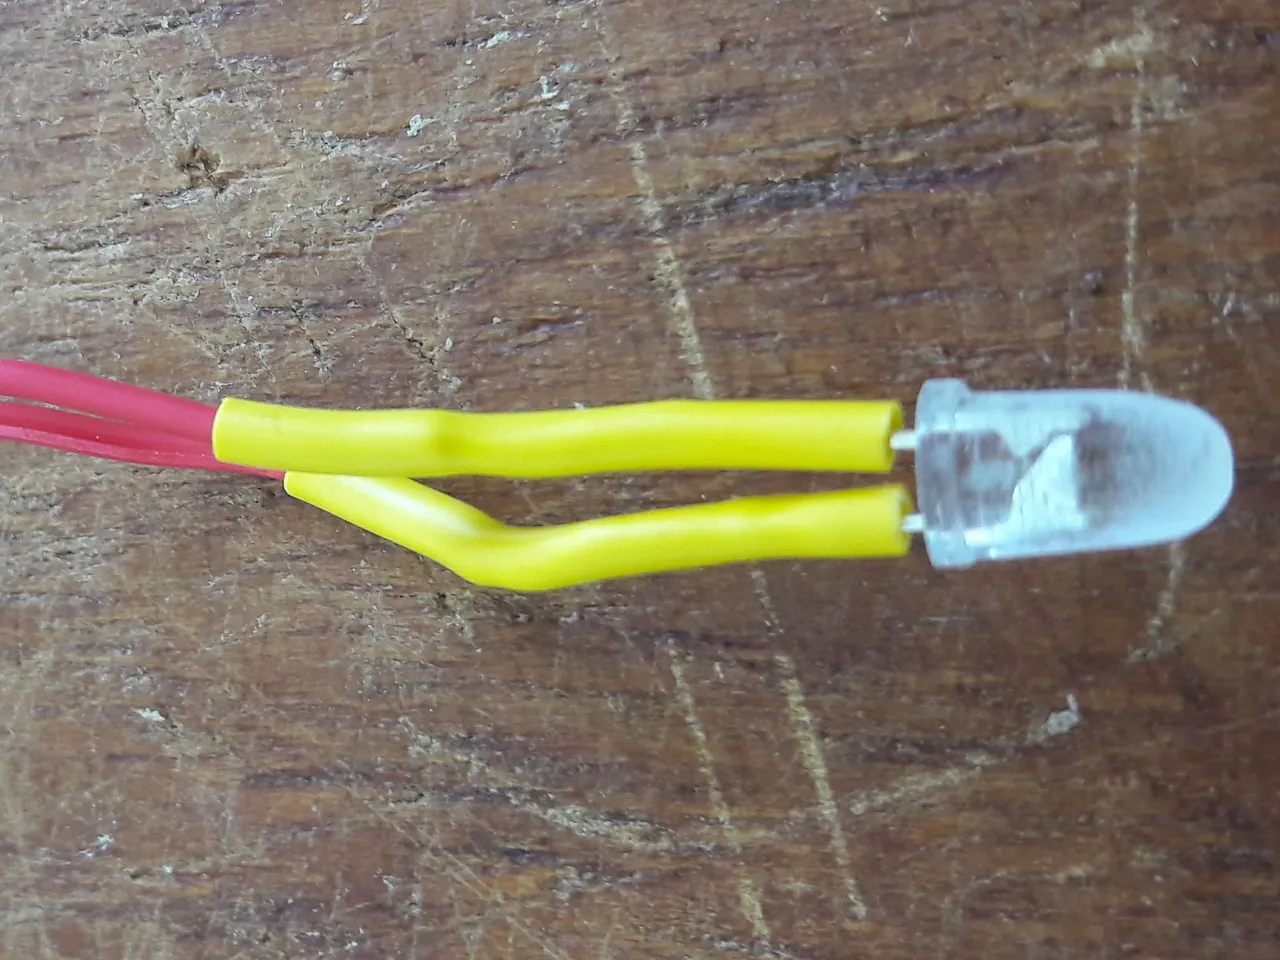
To make the whole thing more stable I added a second heat shrink tube. The LED I dulled to have a more nonpoint light.

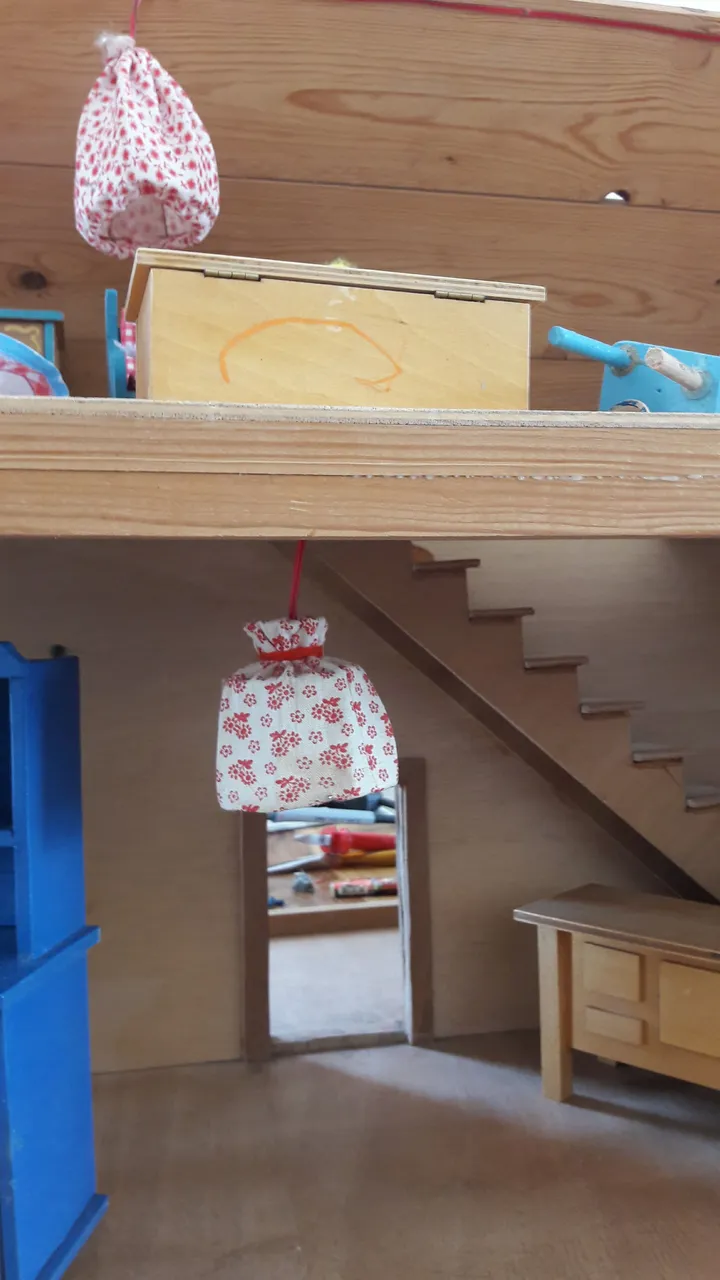
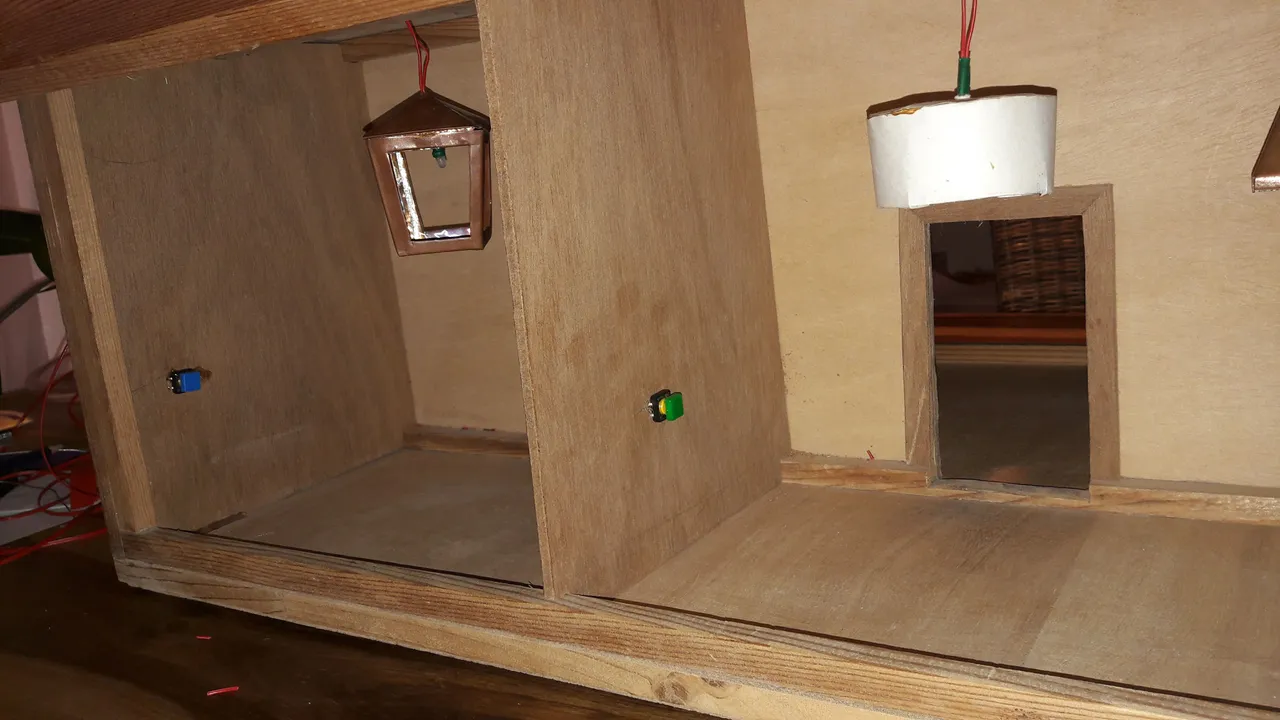
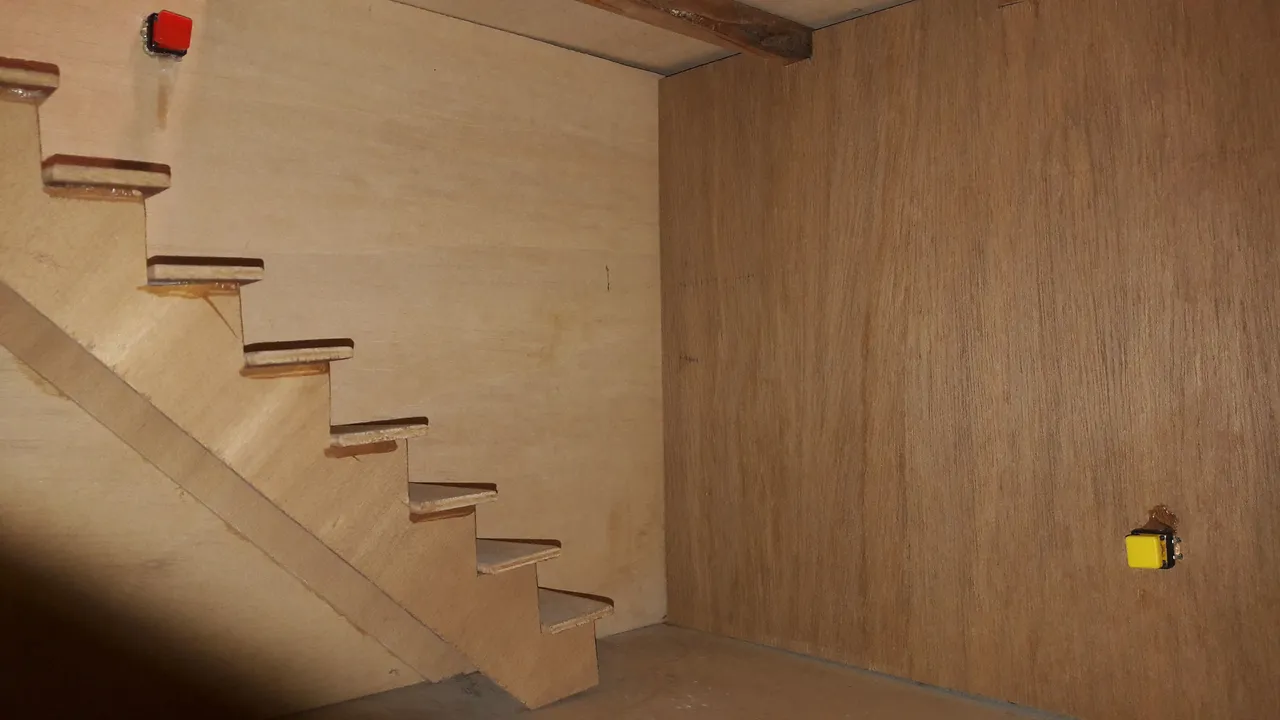
I attached the LEDs inside the existing lampshades and installed them back into the dollhouse.
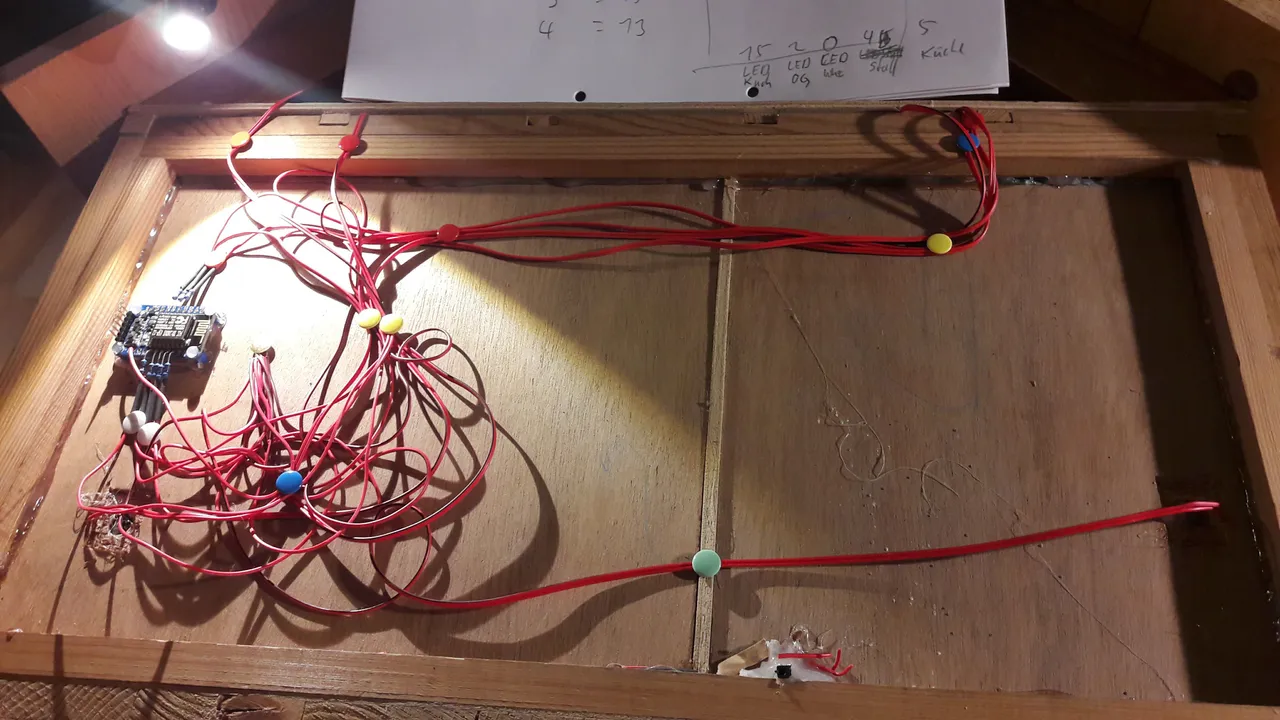
The cable I placed to the back wall of the dollhouse.
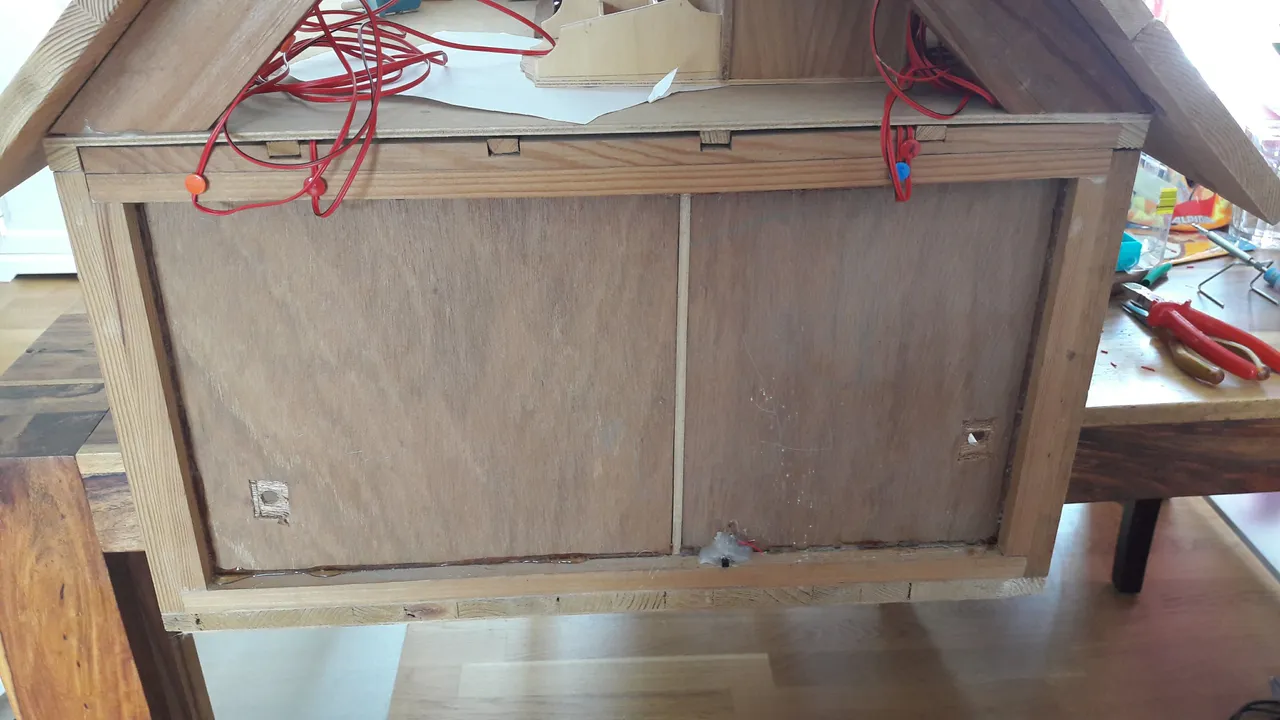
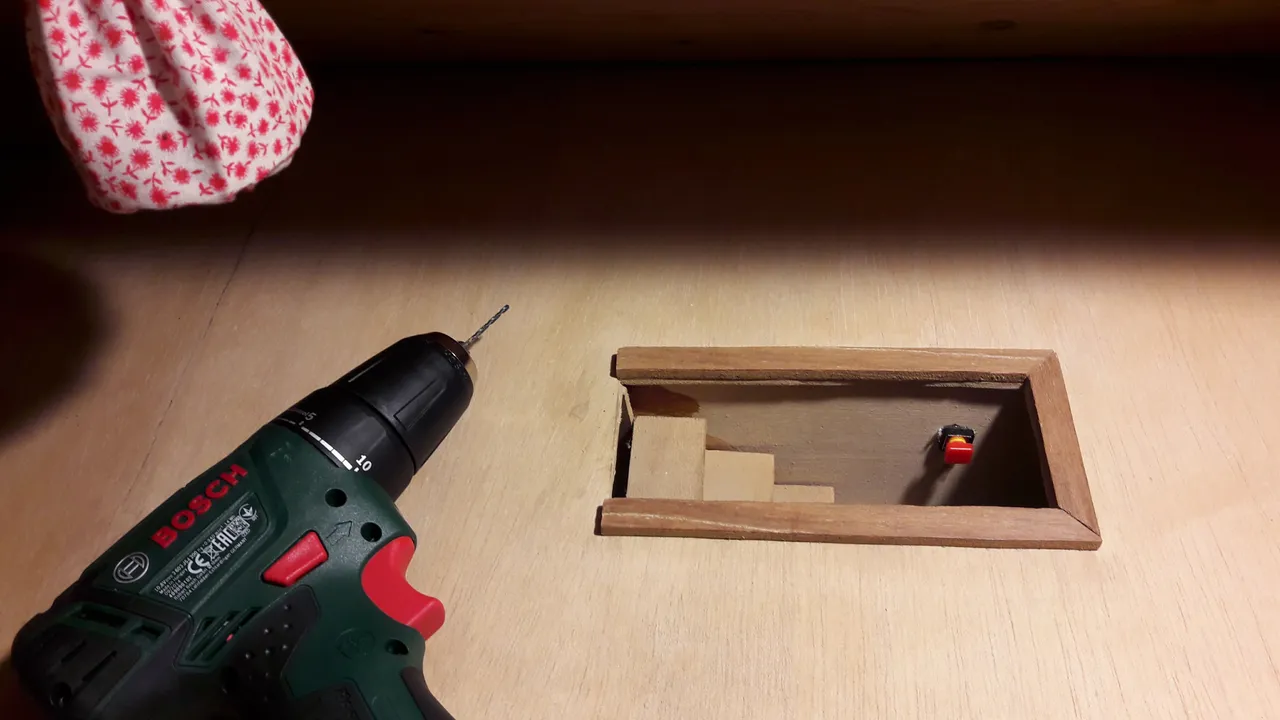
Now I installed the Adafruit Tactile buttons. Therefor I drilled 4 small holes and fixed the buttons with some hot glue.

Once the switches were installed I continued with the Adafruit Board at back wall.
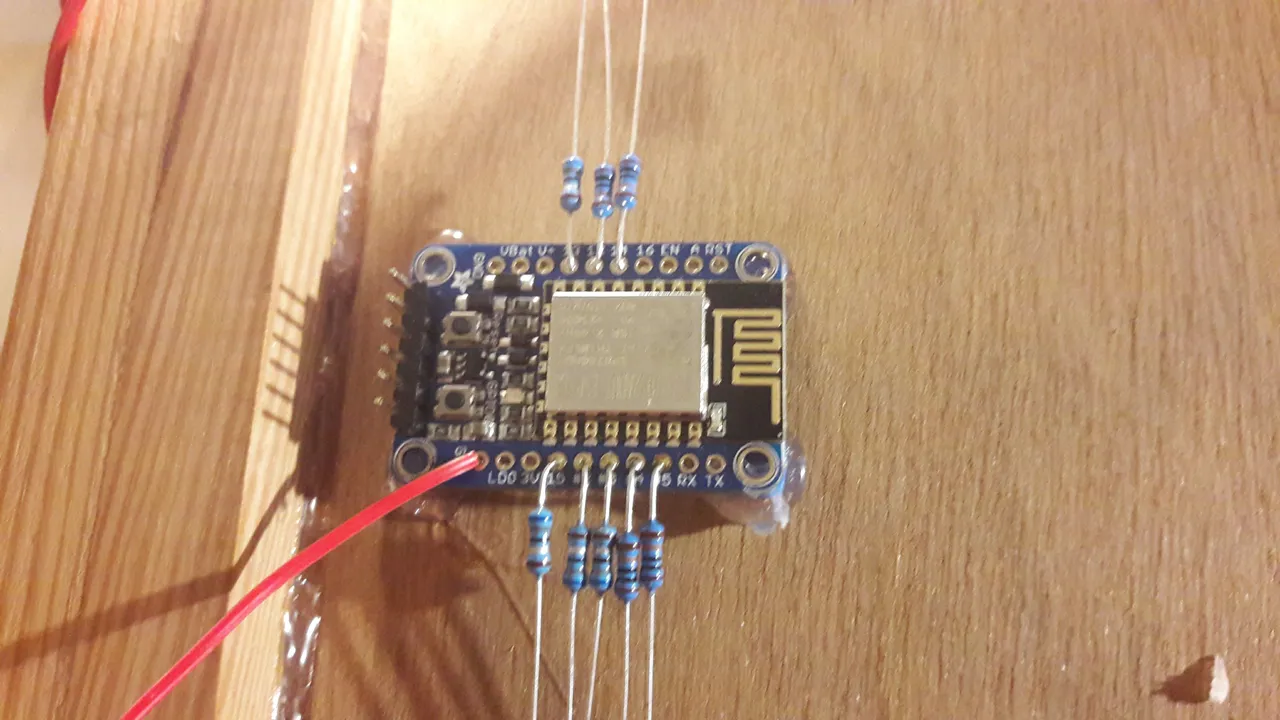
Well it’s not really beautiful but it works. Next time I will install the whole thing on an additional circuit board.
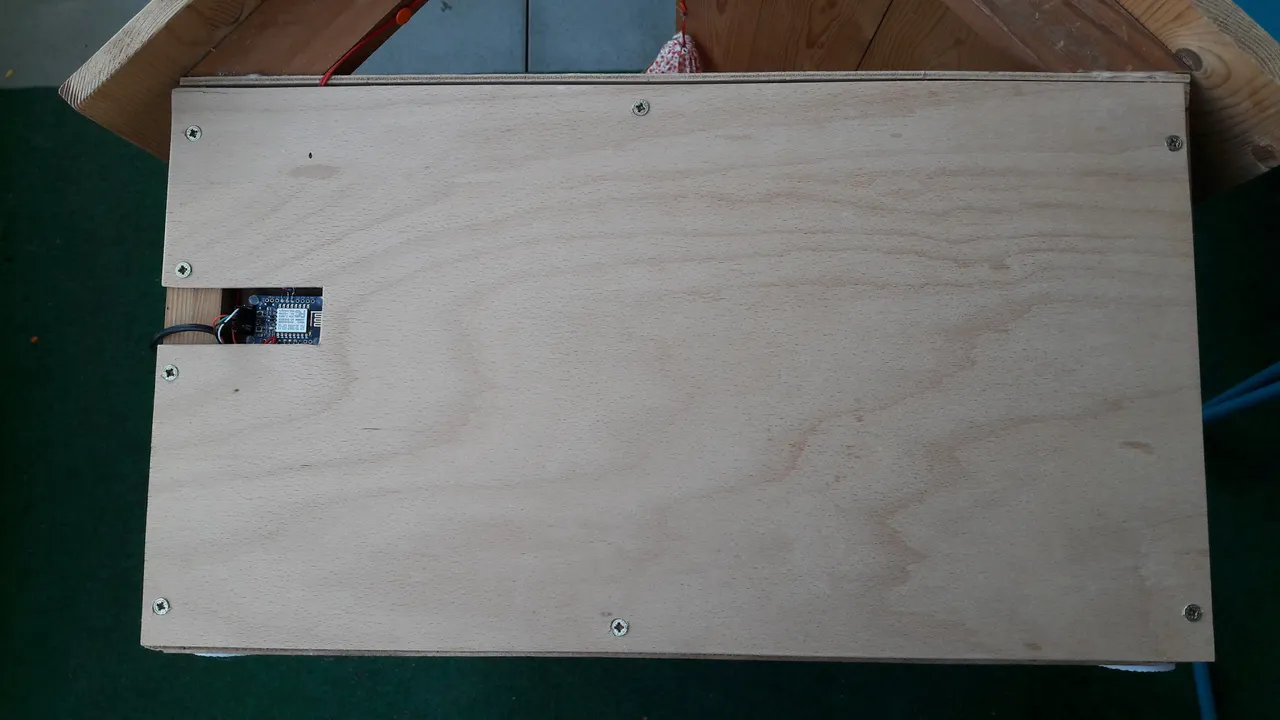
However, I covered the whole thing with a nice wooden plate as children like put the finders where they shouldn’t. 😊
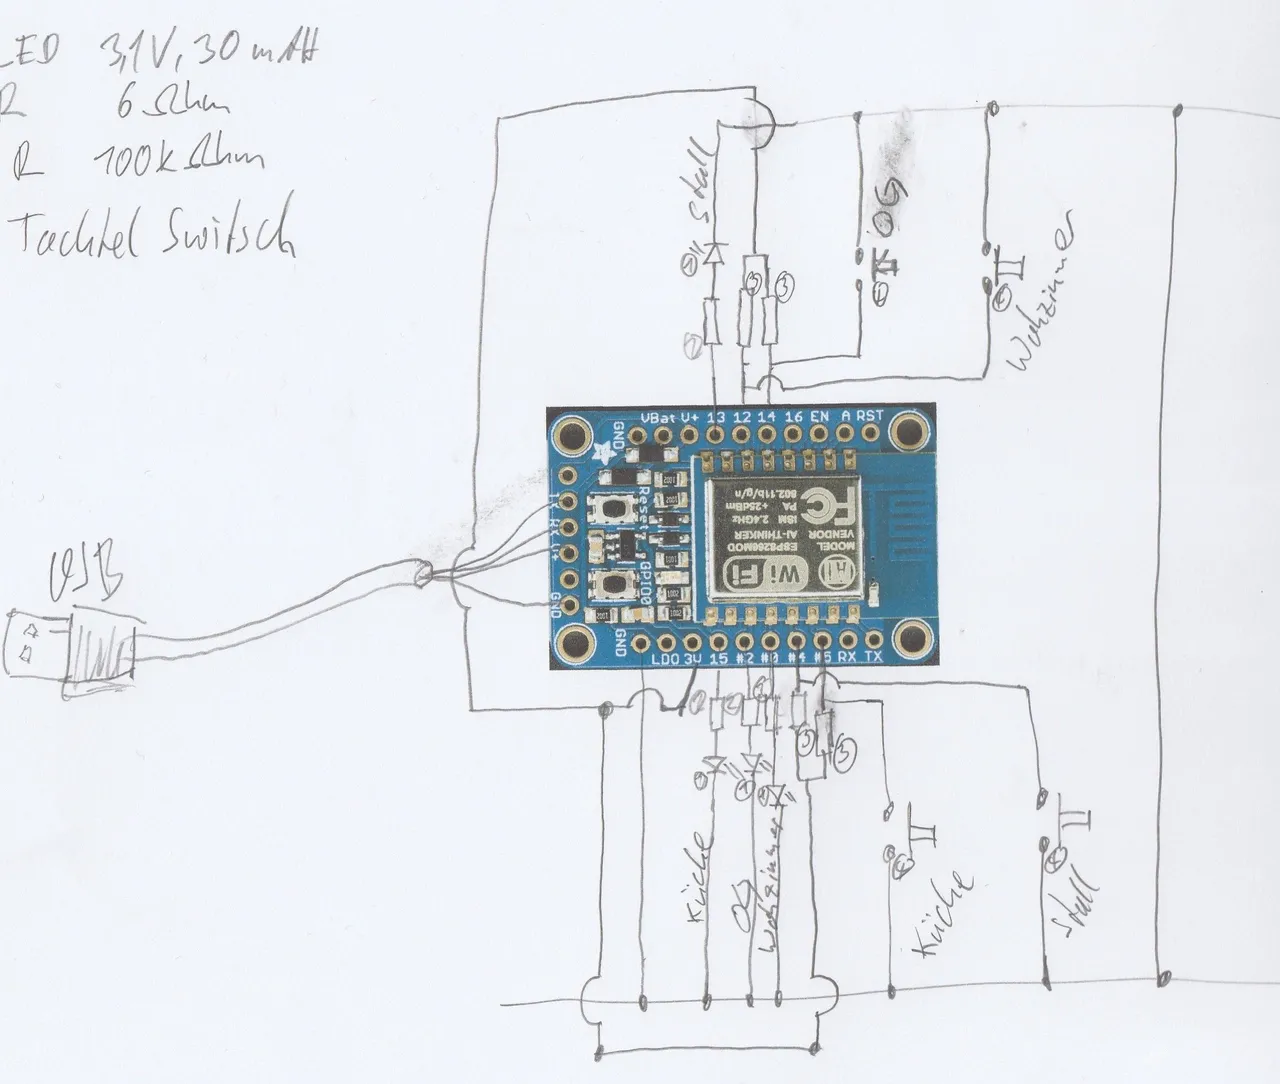
The Circuit
Sorry for the quick handmade sketch. 😉
The Software
Before we could start we had to install the following Software von my Computer:
- Arduino IDE
- USB Driver
To connect the IDE you need set the following parameters:
- Board: Adafruit HUZZAH ESP8266
- Processor Speed: 80 Mhz
- Flash Size: 4M(3M SPIFFS
- COM Port: depend on your computer
- COM Port Speed: 115200
This is only a very rough description about the software installation, as there is a detailed tutorial
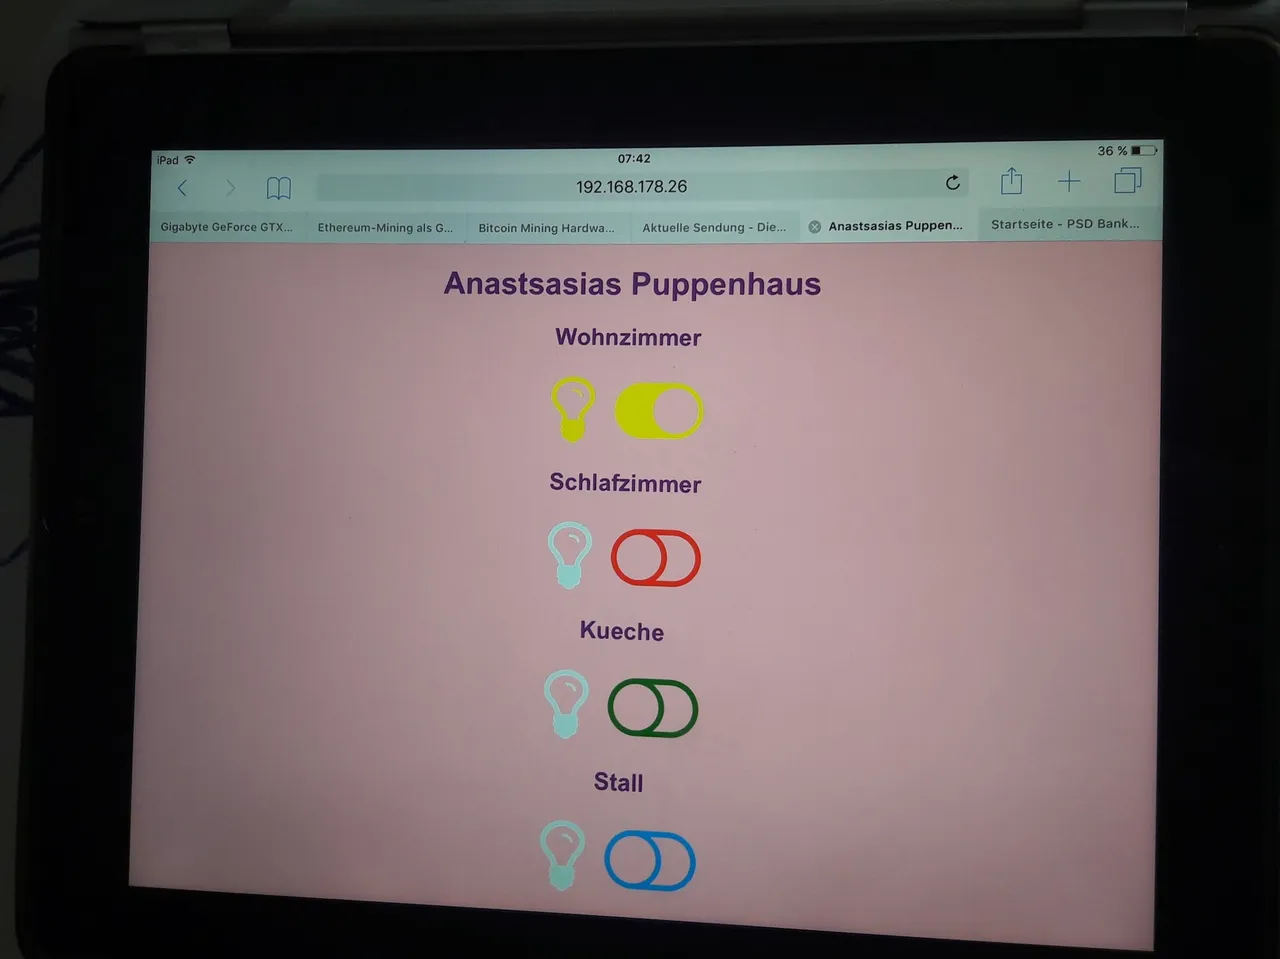
We implemented the software in a way that you can either use the hardware buttons or the web app to switch on and off the light. The cool thing is that the status of the web app gets also updated when using the hardware button. Download here.
Material
- Adafruit HUZZAH ESP8266
- ADAFRUIT INDUSTRIES 954 USB-TO-TTL SERIAL CABLE, RASPBERRY PI
- 4 White LEDs 30mAh 3.1V. I recommend to use stronger once. E.g. 50 mAh
- 4 Resistors 6 Ohm
- 4 Resitors 100 kOhm
- Cable
- Glue
- Heat shrink tube
- Some pins to fix the cable
Hope you enjoyed it and let me know about your IoT project or in case you use this tutorial to build your own IoT dollhouse and you struggle at some point.