What Jekyll ?
No more databases, comment moderation, or pesky updates to install—just your content.Markdown (or Textile), Liquid, HTML & CSS go in. Static sites come out ready for deployment Permalinks, categories, pages, posts, and custom layouts are all first-class citizens here.
We are opening our terminal
sudo apt-get install ruby ruby-dev make gcc
sudo apt-get install ruby ruby-full ruby-bundler
sudo gem install jekyll
jekyll -v »you can see your jekyll version this way Unless you have a problem with your transactions so far, now is the time to set up our blog
jekyll new blog
The main directory(home) will contain a folder named blog
cd blog
bundle install
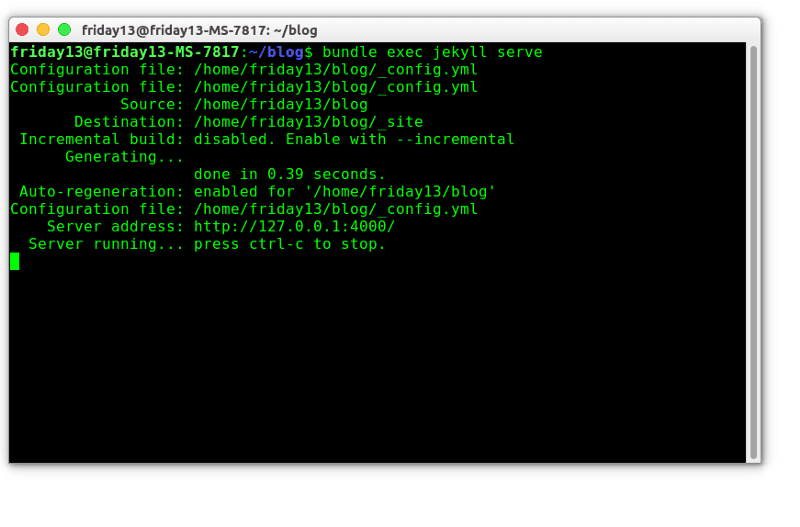
jekyll-server
If the Bash output looks like the picture, there is no problem »http://127.0.0.1:4000/ you can see your blog
- Now the logic here is that if I add a plugin, I will try the locale first and then send the repoma. The method I will explain below will be simpler, but it is worthwhile to examine the links I will give at the end of the course. If you learn as I do, you will understand the logic.
- Creating Very Simple Github Pagese Jekyll Setup
- You are logging into your Github membership.
- https://github.com/jekyll/jekyll We enter the Jekyll Github page and start the cloning process. A repo will be created under the name of jekyll.
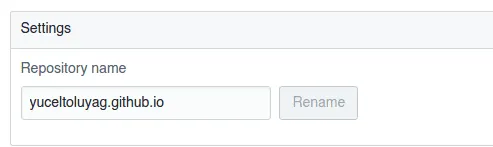
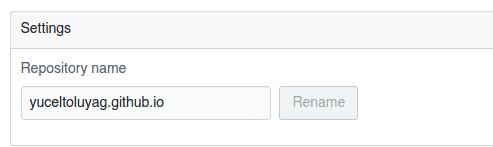
- click on the settings menu and change the repo to the address you want to name.
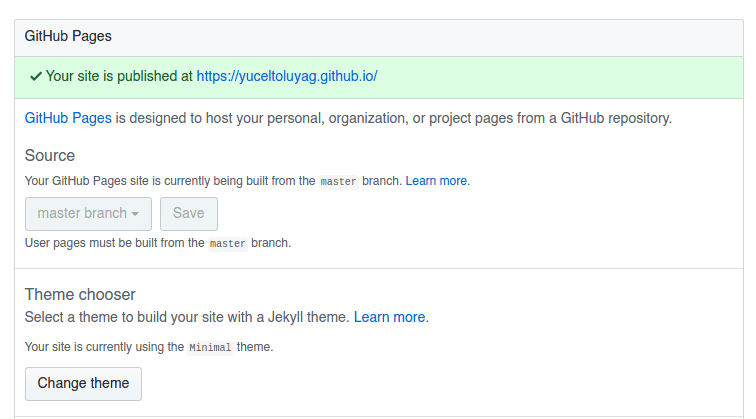
- There is a place in the settings section that shows the state of your most blog. If you want to confirm the recommendation quickly, select and save a random theme from the theme.
It might be strange that we wrote it in Markdown format. I do not need any of the sublime text plugins and when I learn to write Remarkable But markdown.