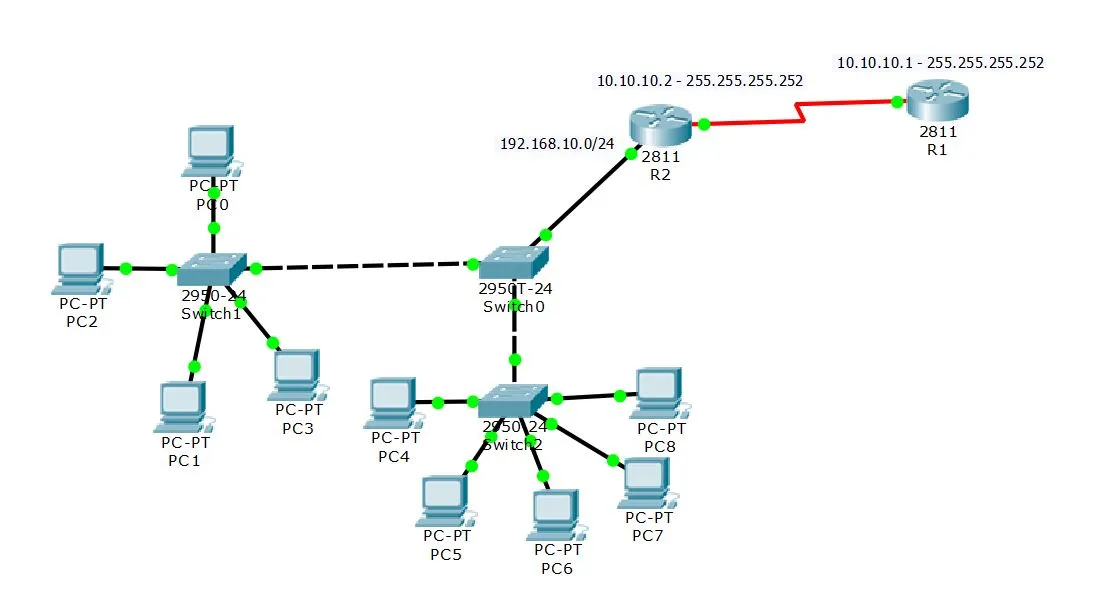
If you are looking to use DHCP to use your network clients, there are several solutions. Usually, on most networks, a Windows server or Linux server is used as a DHCP server, or from the same DSL modem or Internet router as the DHCP server. Most network administrators do not even think that Cisco equipment such as Cisco routers and switches can be used as DHCP servers. Of course, do not forget that this feature comes with new versions of Cisco IOS, with the Catalyst 3550 and 3750 series. The first thing to do is to consider whether this is the solution for our organization. Using a router and a switch as a DHCP server has its own advantages and disadvantages. For example, assume that you have a network that is a combination of several networks and you want to address them all by a router.
One of the advantages of using a router and a switch as a DHCP server is that it does not require additional hardware and will not cost you an extra, unlike the need for additional hardware if you use a Windows server and This is an additional cost to your organization. The disadvantages of this solution are that some network administrators are having difficulty monitoring and maintaining the router and have difficulty with the command line interface, which is one of the most important reasons for not using this solution. It's nice to manage and maintain a graphical environment like Windows Server Sweet is easier and easier than Cisco IOS commands. But in general, this solution is very useful for network administrators. Well, let's take a look at the settings, we'll adjust the settings according to a new IOS that has the default settings. Well, let's go straight to the basics, connect to the router or switch, and proceed according to the following steps:
1- On one of the router's interfaces, we define a static IP, and then we upgrade the inerface:
Router(config)# interface ethernet0/0
Router(config-if)#ip address 1.1.1.1 255.0.0.0
Router(config-if)# no shutdown
2- Well now we define the address pool or, as we say, Scope:
Router(config)# ip dhcp pool mypool
3- Well, the subnet mask of the IP suffix will continue to expand, and the router will allocate this suffering to its requests:
Router(dhcp-config)# network 1.1.1.0 /8
4- Name the domain or domain to the DHCP server:
Router(dhcp-config)#domain-name steemit.com
5- Enter the Primary and Secondary addresses of the DNS Server to the router:
Router(dhcp-config)#dns-server 1.1.1.10 1.1.1.11
6- Add the router address or Default Gateway to the next step:
Router(dhcp-config)#default-router 1.1.1.1
7- Well, let's add Lease Duration or Lease Duration And exit from configuration mode:
Router(dhcp-config)#lease 7
Router(dhcp-config)#exit
This command enters into the global configuration again and you can exclude the addresses you are looking for. In this case, when the DHCP server wants to address it, it does not use this suffering for the classes, and we can Use the static IP name for servers for this suffering.
8- With the following command, we exclude 100 IP addresses for the first instance.
Router(config)#ip dhcp excluded-address 1.1.1.0 1.1.1.100
Well, now your complete configuration can be easily retrieved using DHCP, using the ipconfig / renew command ipconfig / renew,