
All greetings and today I want to show you how you can come up, and draw your own logo for the company's website is not important! Since it is connected with the kitchen, I pay a lot of attention to this direction and also I not only prepare, but in my spare time I am engaged in graphics. And today my friend asked me to make a logo for his future sushi point understandably it's only the first outline and the logo will be again 5 will change but still the result is not bad.
To create such a logo we need the Adobe Photoshop CS6 program, you can download it in the Internet without any problems.
And so let's go!
Run Adobe Photoshop
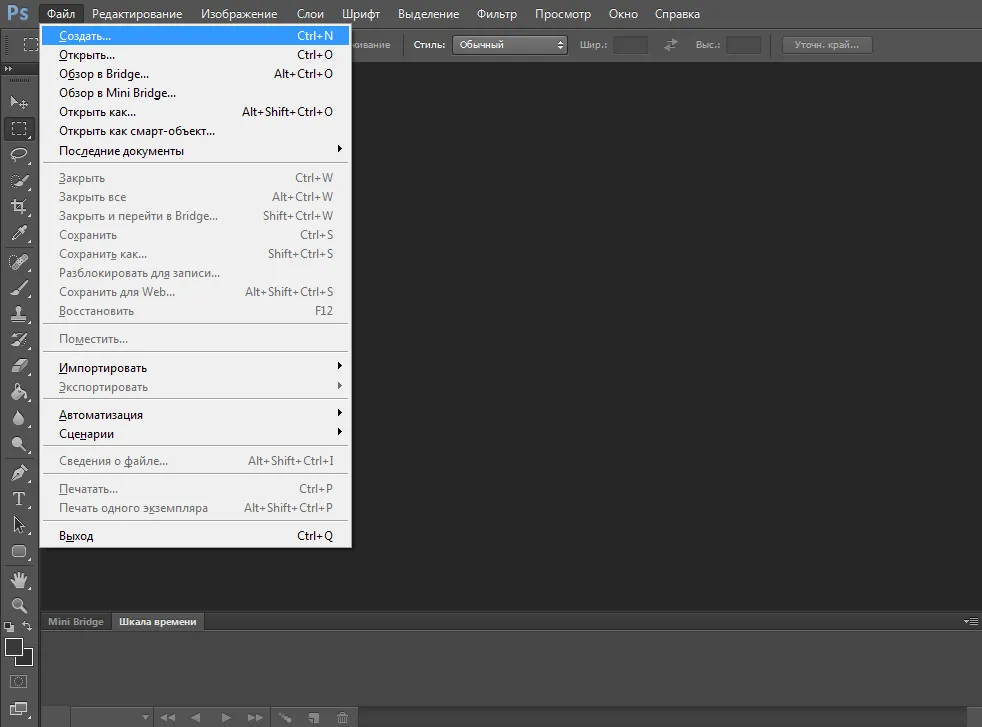
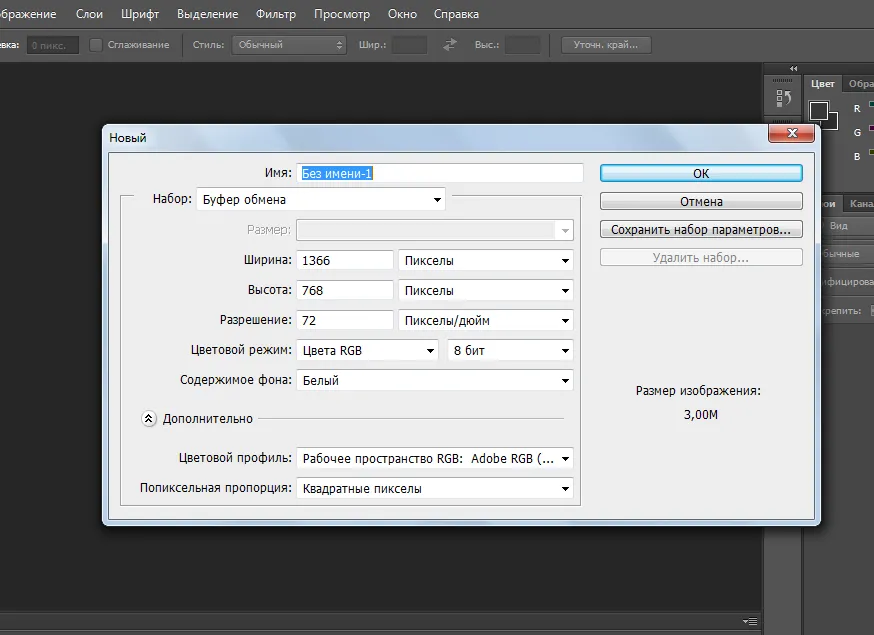
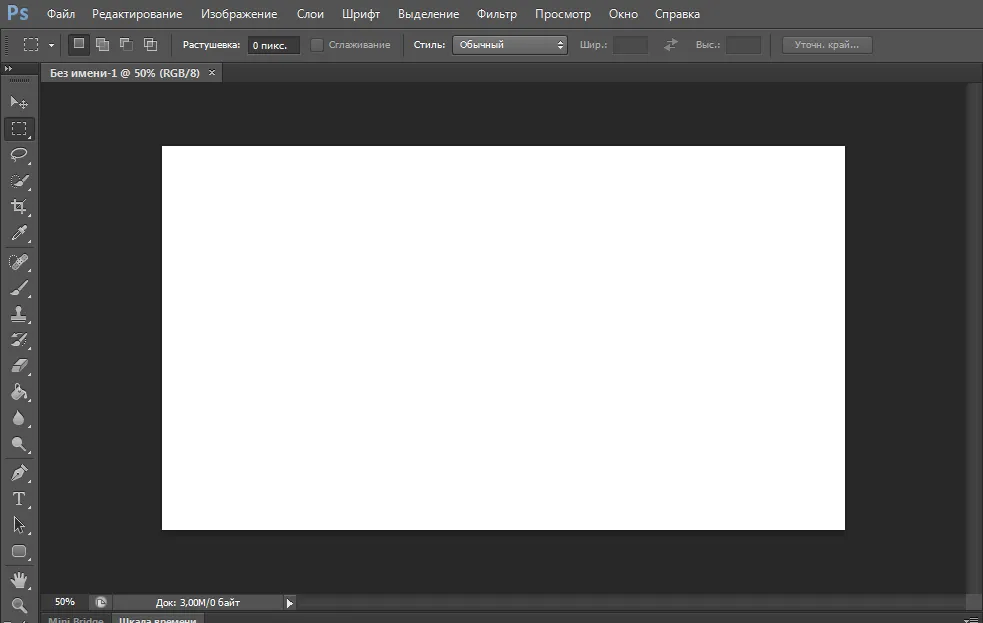
In the right upper corner we press the file, create and you will have a window where you need to specify the height and width of the future logo. I advise you to do it immediately. I put expansions of 1366x768 on OK; after that you will have a white sheet on which we will draw a logo with the help of figures and their deformation .
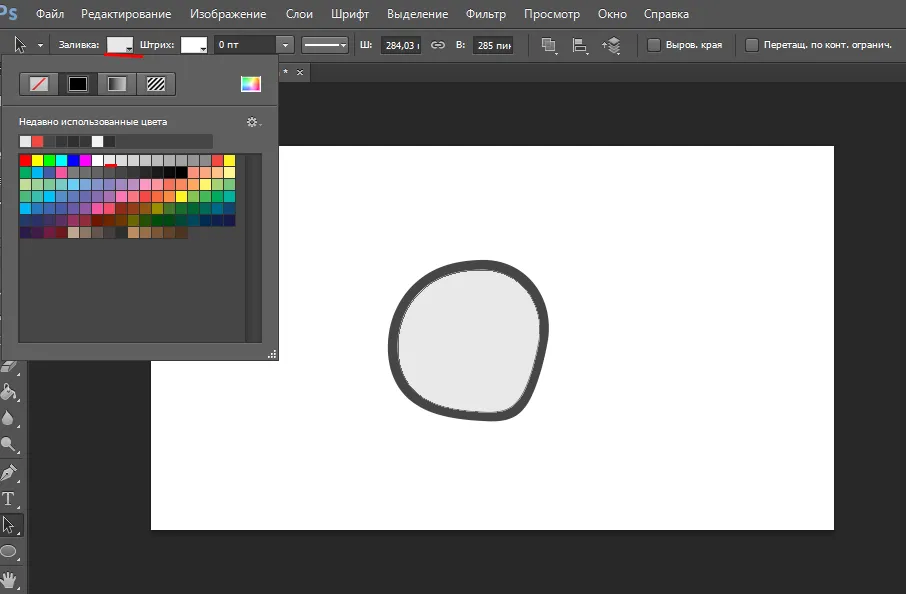
Select the Shape tool and select the shape of the circle
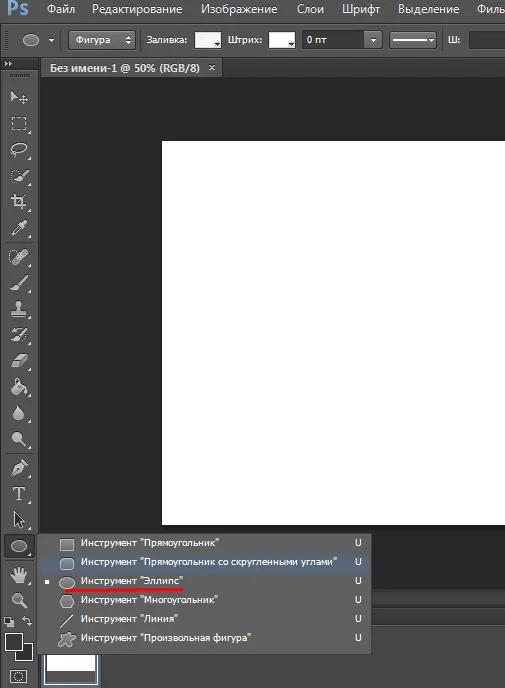
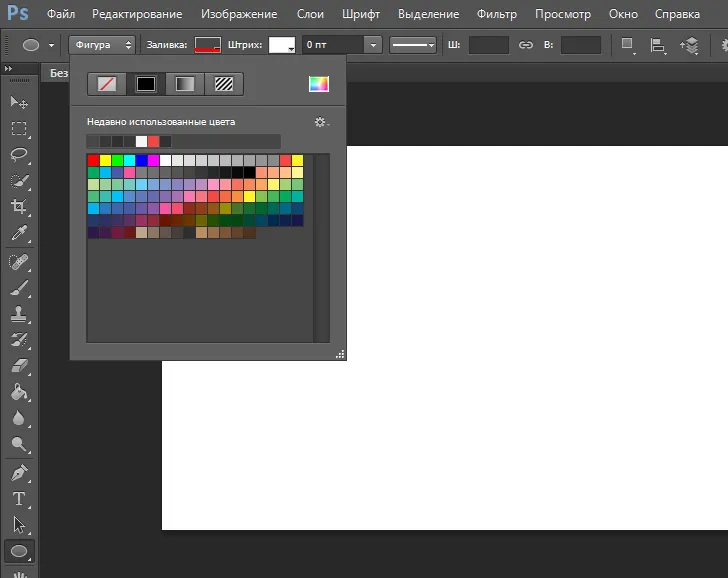
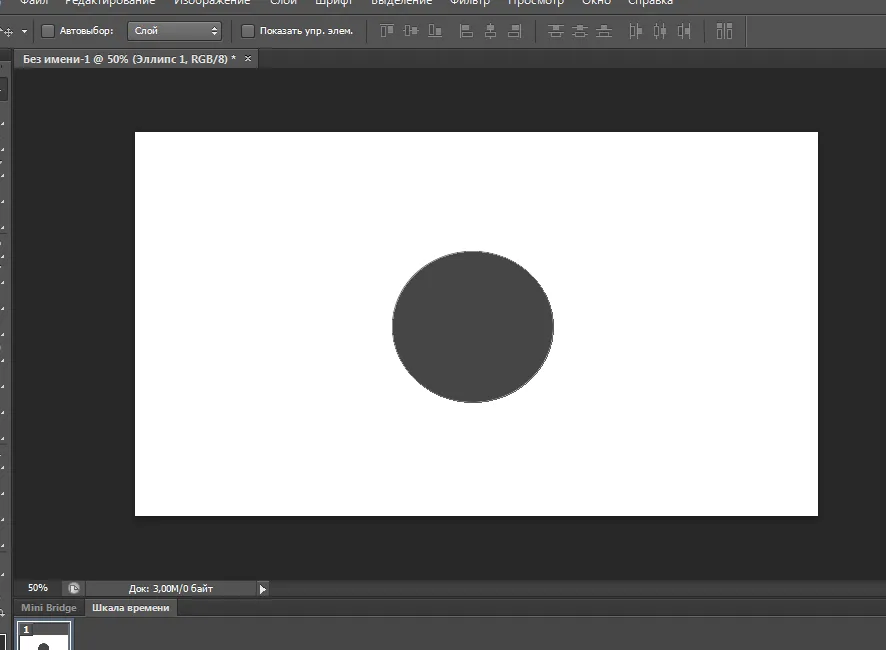
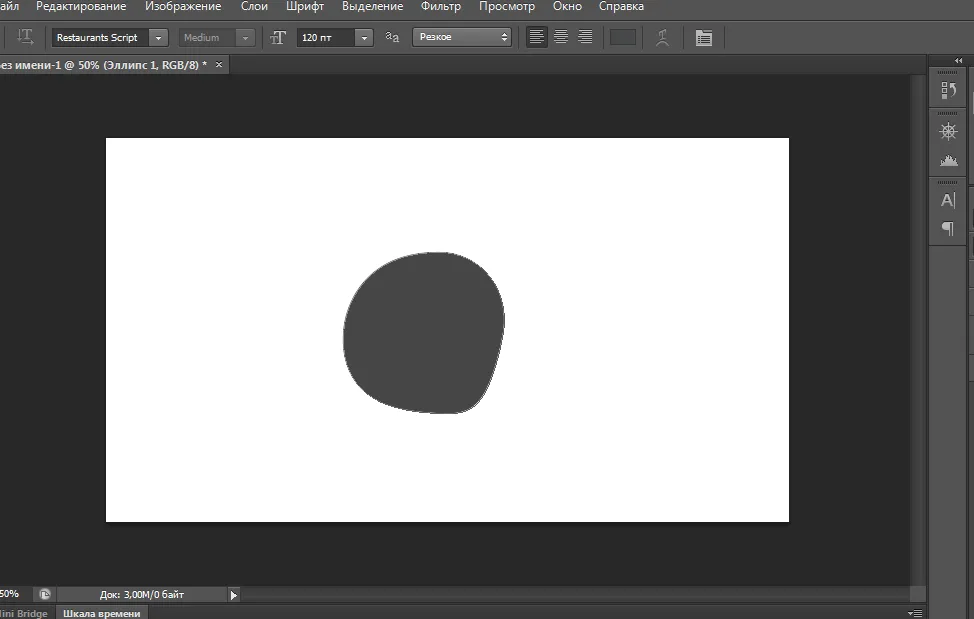
After that, we need to select the color of the figure gray and draw a circle like this on the screen.
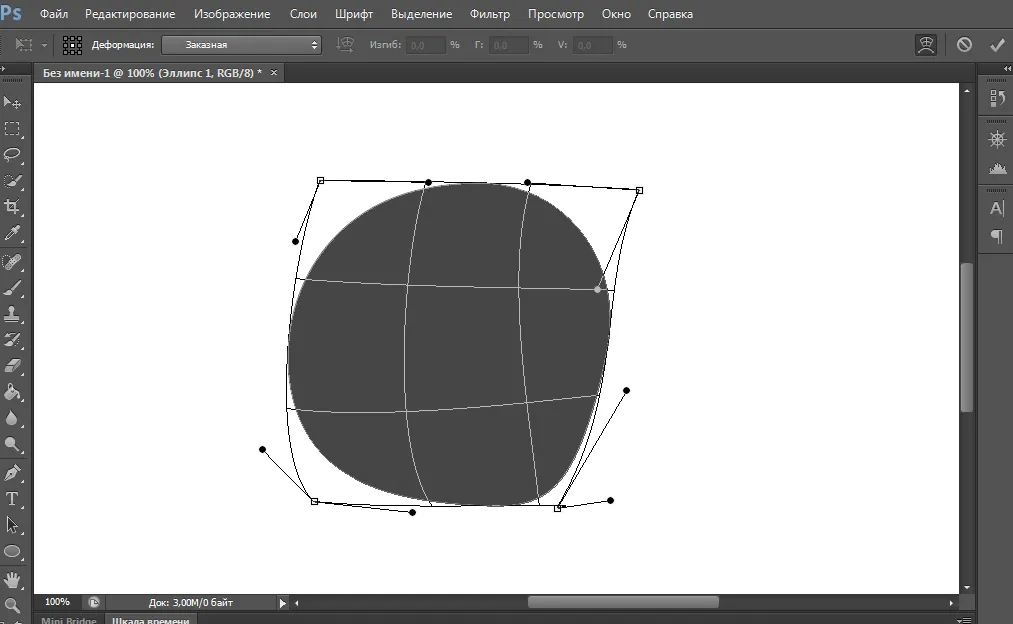
Using the Ctrl + T hot keys, we call the resizing parameter by right-clicking the mouse and in the menu that appears, select the Deformation option

With the help of points, we deform the figure approximately like this
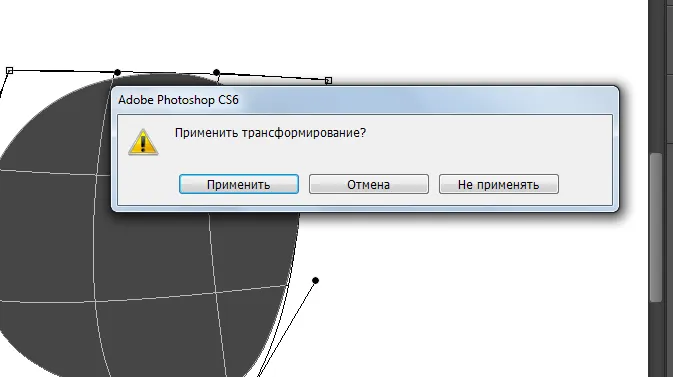
Push in any free space and apply the transformation! That's what we got ...
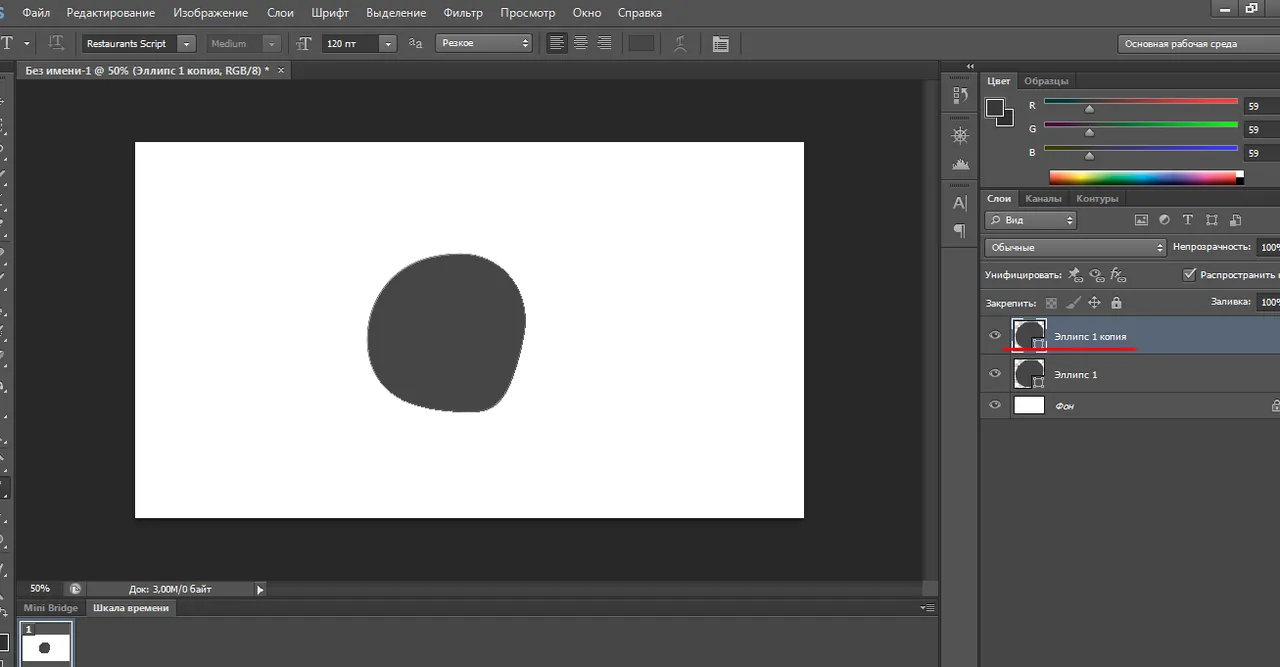
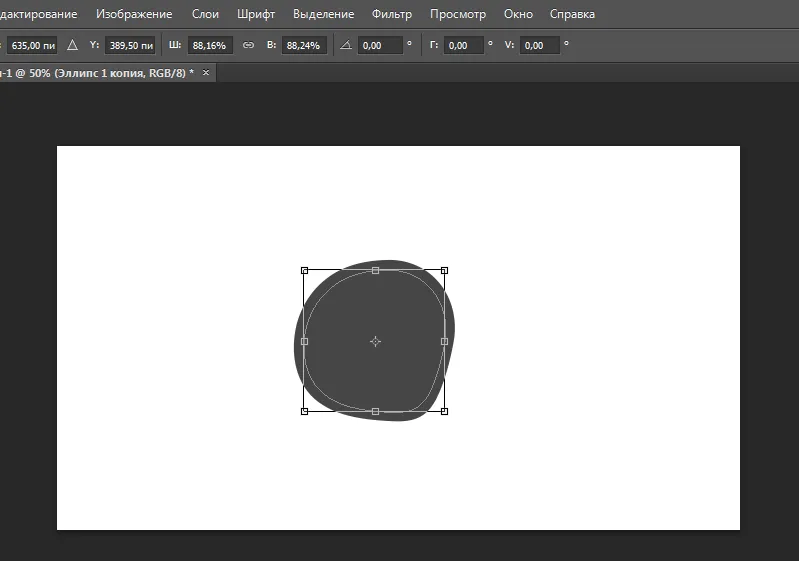
Using the Ctrl + J hotkeys, create a copy of the shape and use the Ctrl + T keys to shrink the Shift
And we reduce the figure in size and rotate by 110 degrees approximately .... it should work like this
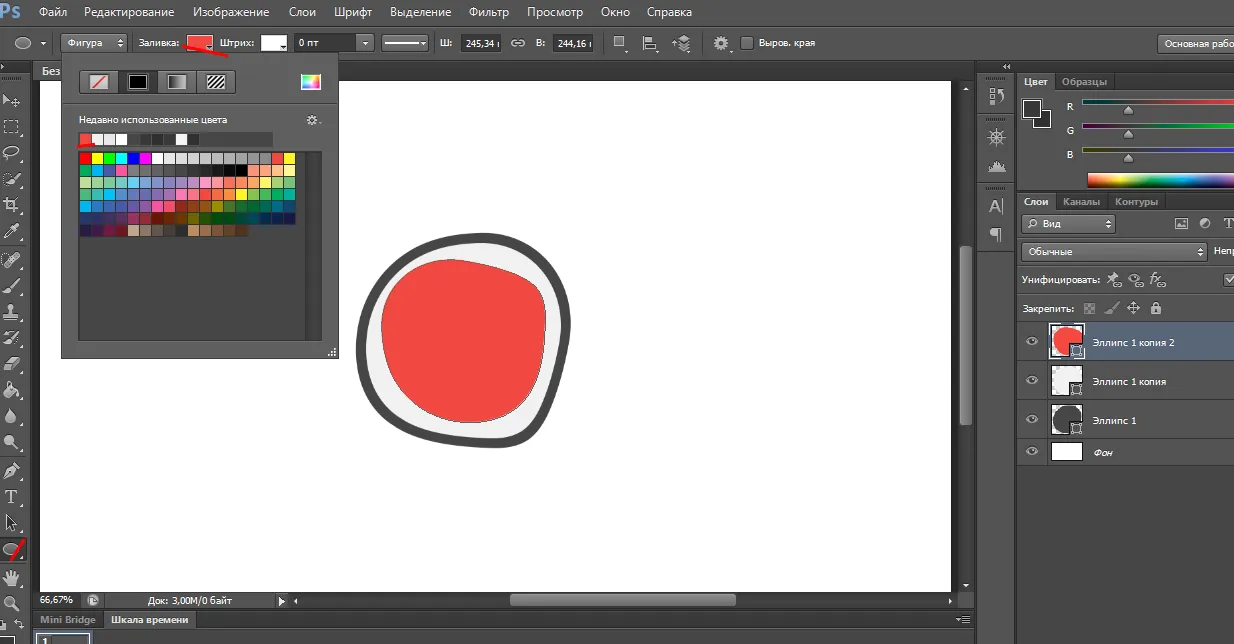
Now go to the section of the figure and fill this figure with a slightly darker white color.
Then we make another copy of the layer as we reduce it in size and fill it with red color that's what happened.
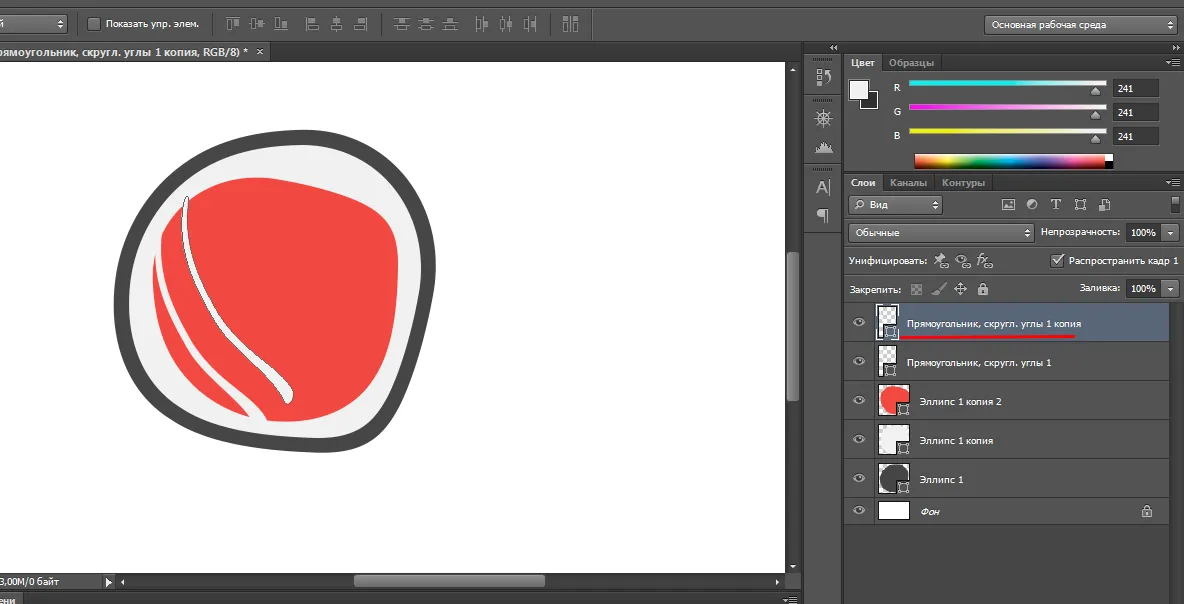
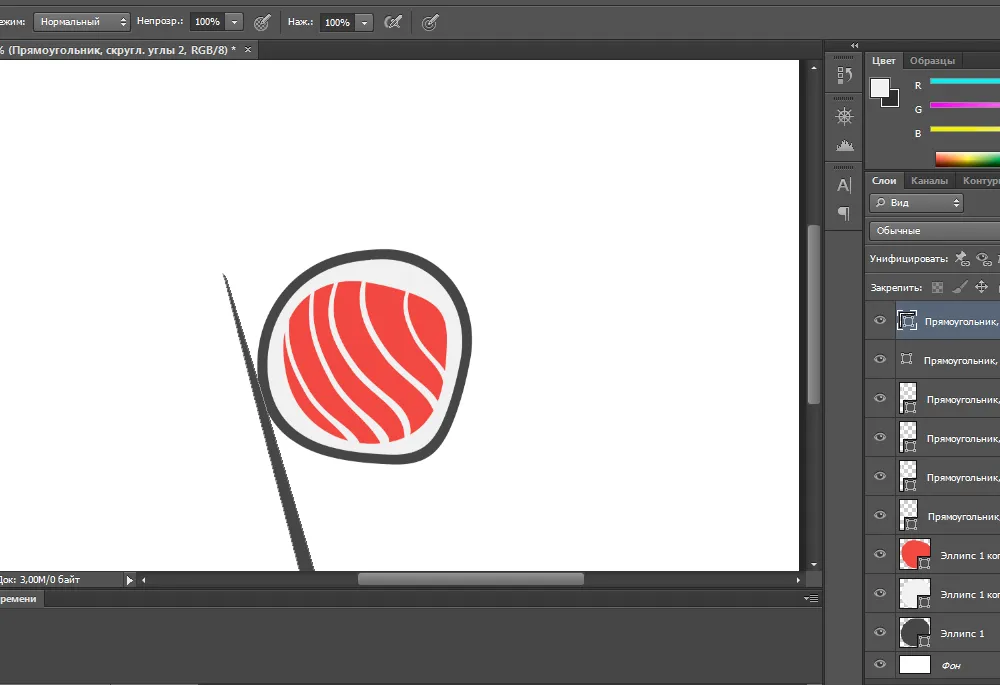
Go back to the tools of the figure and select the shape with rounded corners drawn as on the screen
Use Ctrl + T to resize and move it
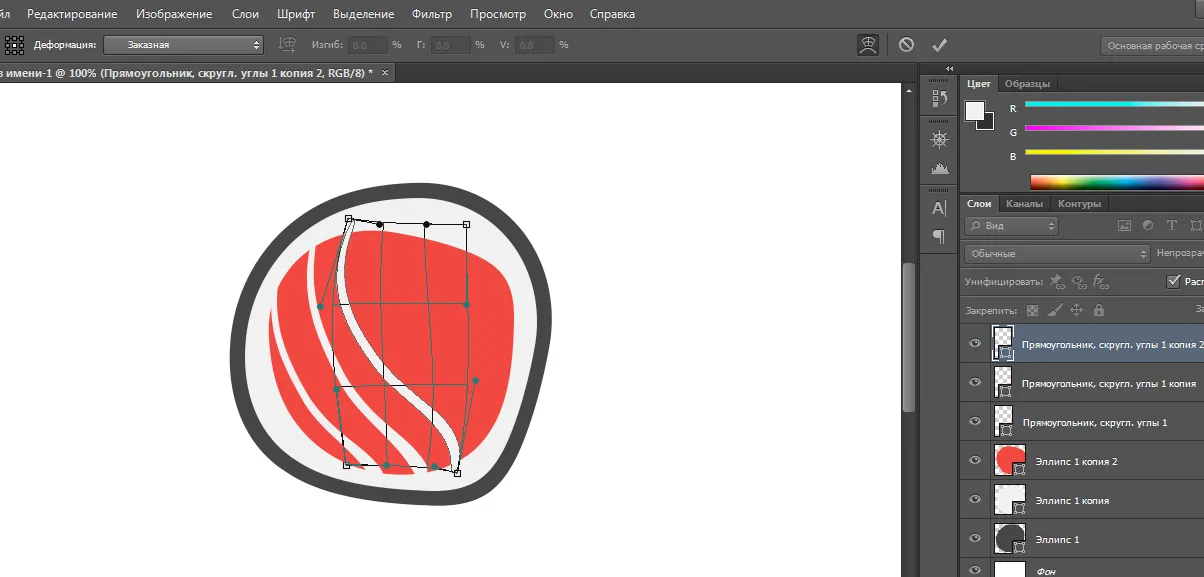
Then click the right mouse button and select the Deformation parameter and do something like mine


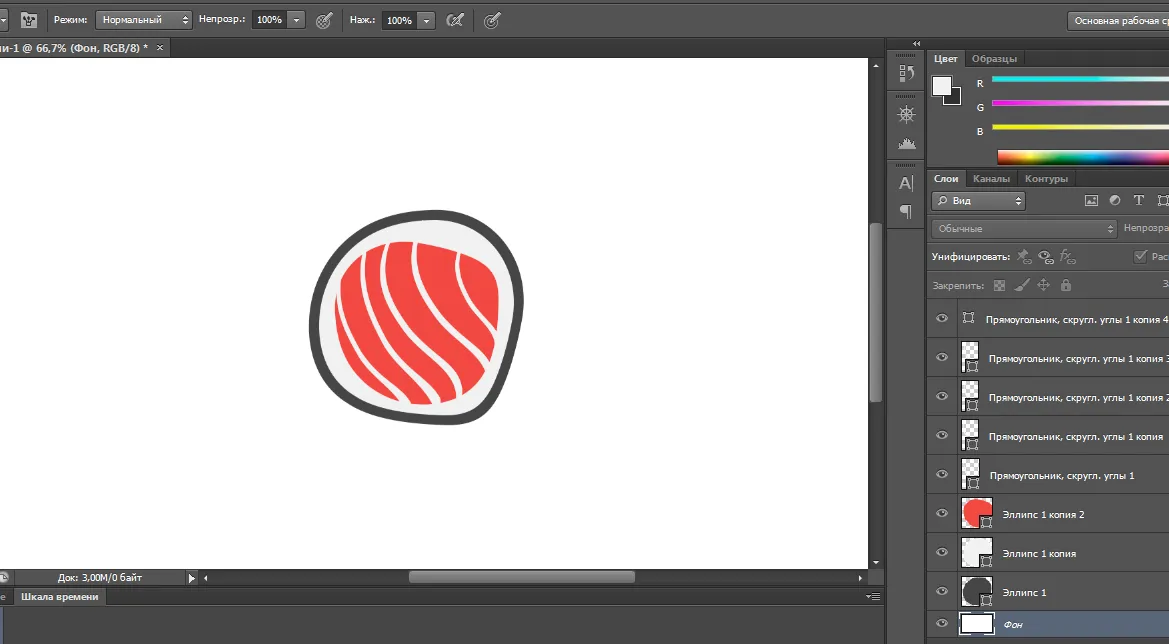
Now we need to duplicate the layer with the Ctrl + J keys and do the same manipulations as with the previous layer and in this way copying the figures and deforming them we get this result.
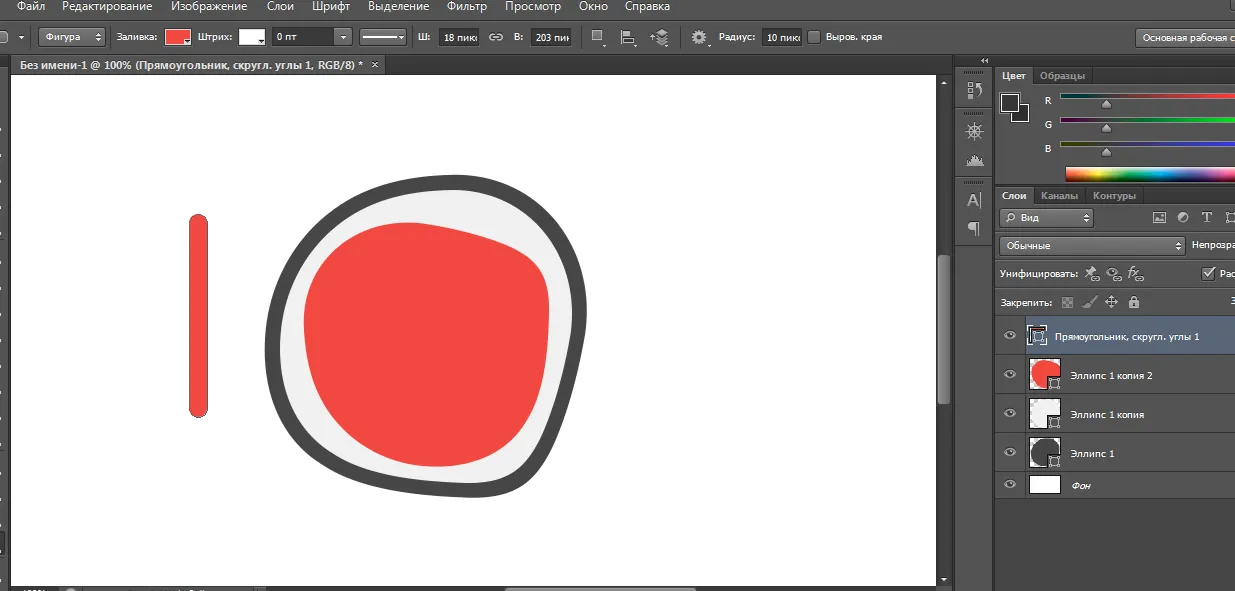
Now we need to draw another figure, press the shapes, select the shape of the rectangle again and draw as on the screen

Using the hotkeys that we used to deform earlier so that it would be like a stick with which to eat sushi
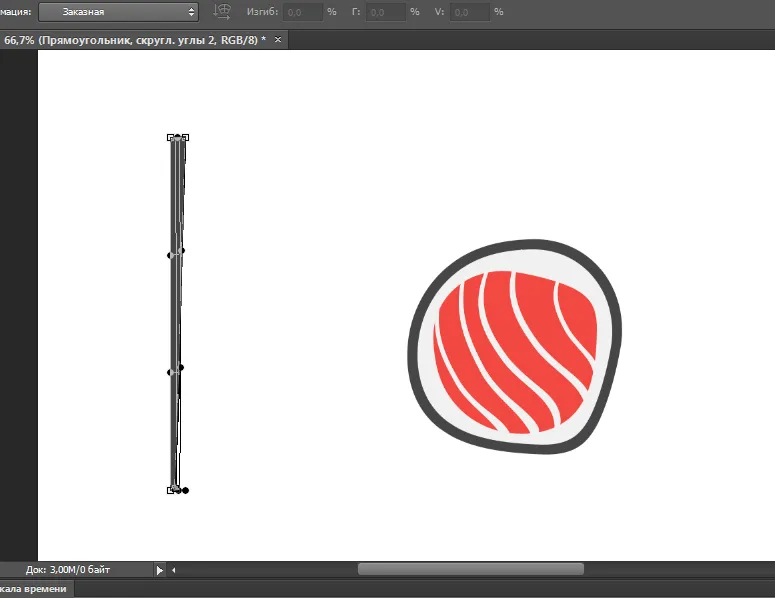
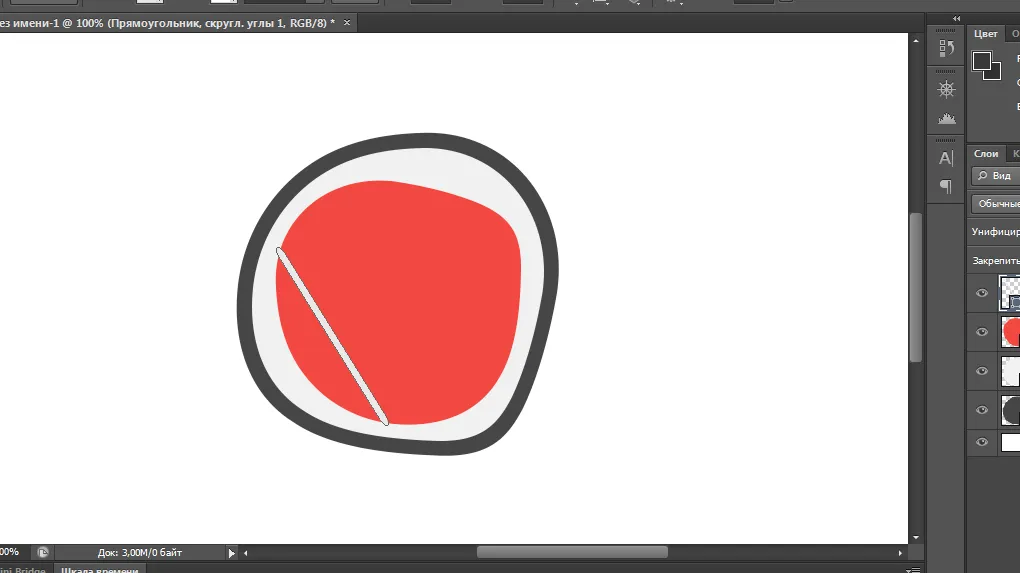
Then drag it as on the screen and use the Ctrl + T keys to turn it around and make a copy of the layer and substitute one more that would come out like this

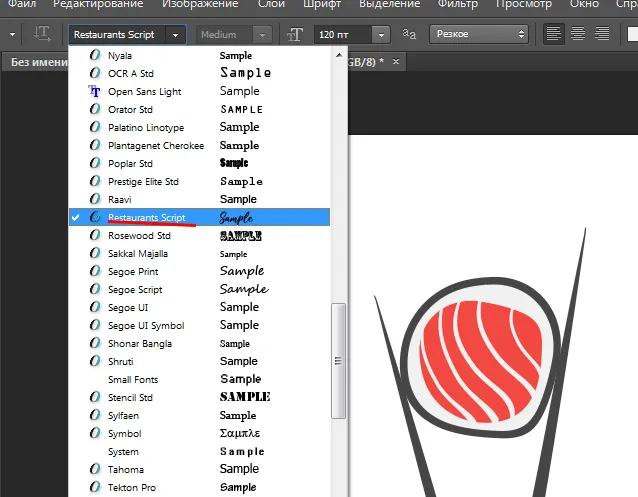
Now add the text, select the Text parameter, the font that suits you, and write the name of the logo.
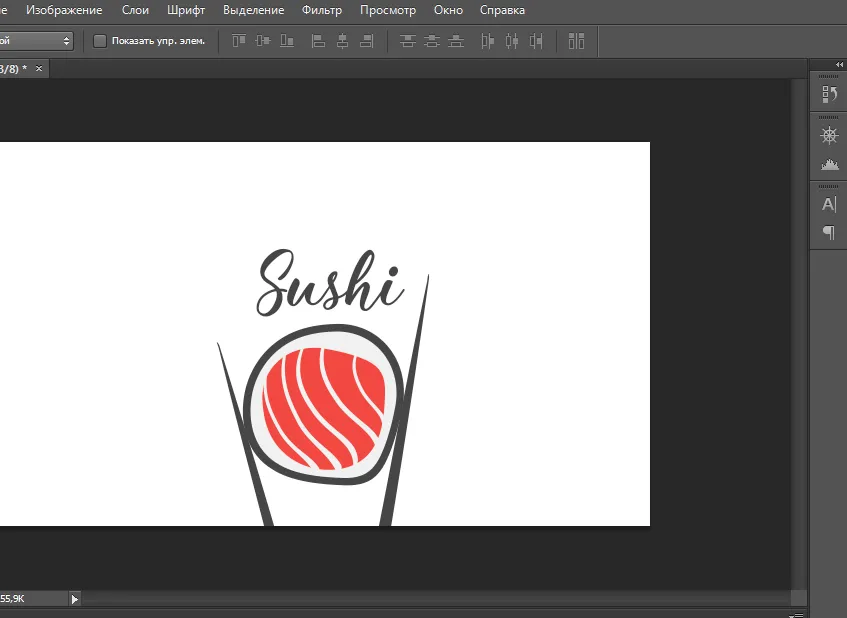
Here such unpretentious lesson for you it is possible to create logos any which you only can think up with the help of deformation of figures here only your imagination and the minimum knowledge of a photoshop ... All thanks good luck) Can to that that will be useful
