
Progress is being made! Here you see the results of an afternoons work, the table top has been fixed to the base I made, then planed with a hand plane, and cut down to the size I wanted, plus, I cut notches out for the rear legs of the table.
Let's take a look how ended here.
No photo's of me attaching the top to the base, or using the hand plane to knock down edges, sorry about that 😞
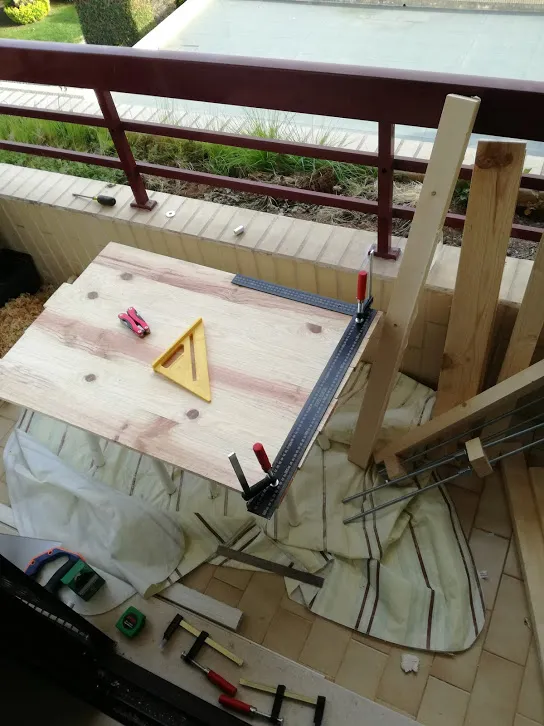
At this point I have attached the top to the base, roughly planed the top and am getting ready to cut the board to width. Thankfully I have a nice large ruler, which I clamped to the board to prevent it from moving.
Instead of drawing a line with a pencil, I use a knife, to scribe a line into the wood. This wood is very soft so it scribes easily. To get a nice straight line, scribe very softly at first, then progressively harder as you go.
This allows the knife to cut a groove bit by bit. It helps so that you do not wander with the knife point and damage the wood.
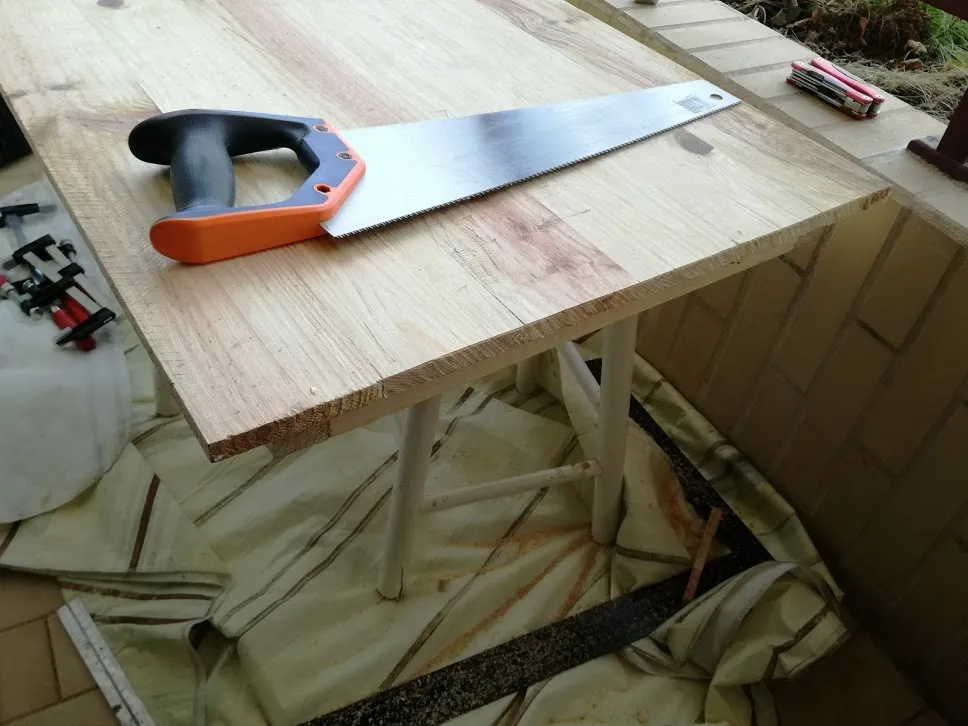
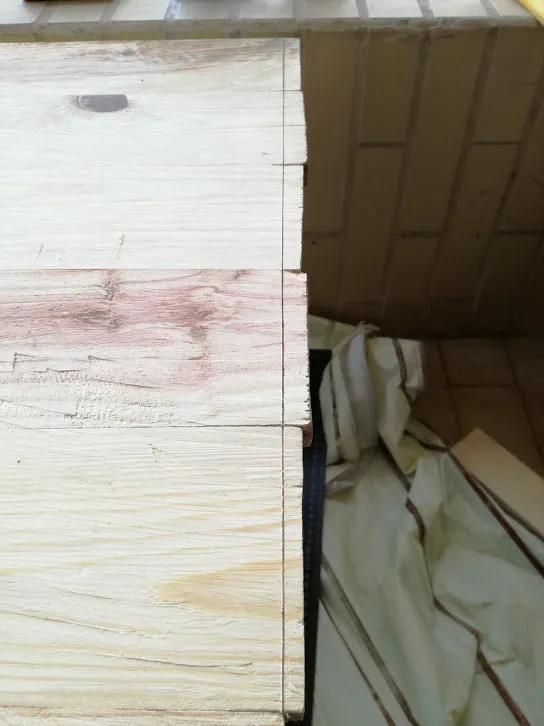
At this point I had cut one side down to size, I cut it as wide as I could, so the last board was untouched. I cleaned up the edge by running the hand plane over the side.
Scribing a line also reduces the tear out from sawing, I sawed on the outside of the line so that any tear out would be limited to the waste piece.
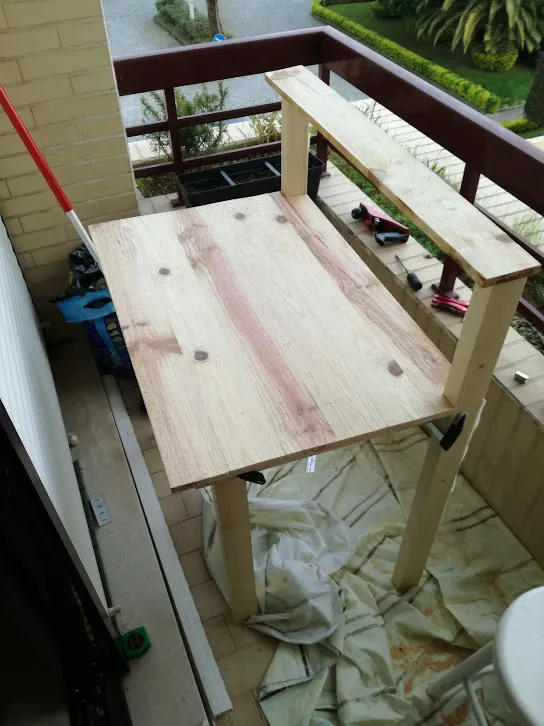
At this point I was really excited to see how it would look, so I grabbed the clamps, and mocked up the table.
The top piece is going to have more depth, and for a built in rack, for books etc.
So, as I tend to do, a lot of work was not photographed. I spent a lot of time planing down the boards as my gluing up procedure was not the best.
Regardless, I was very happy at this point with the progress I had made.
Part 1 - https://steemit.com/creativity/@shaunmza/making-a-table-on-a-balcony-part-1
Part 2 - https://steemit.com/makerwannabe/@shaunmza/making-a-table-on-a-balcony-part-2-makeshift-clamps-and-glue
