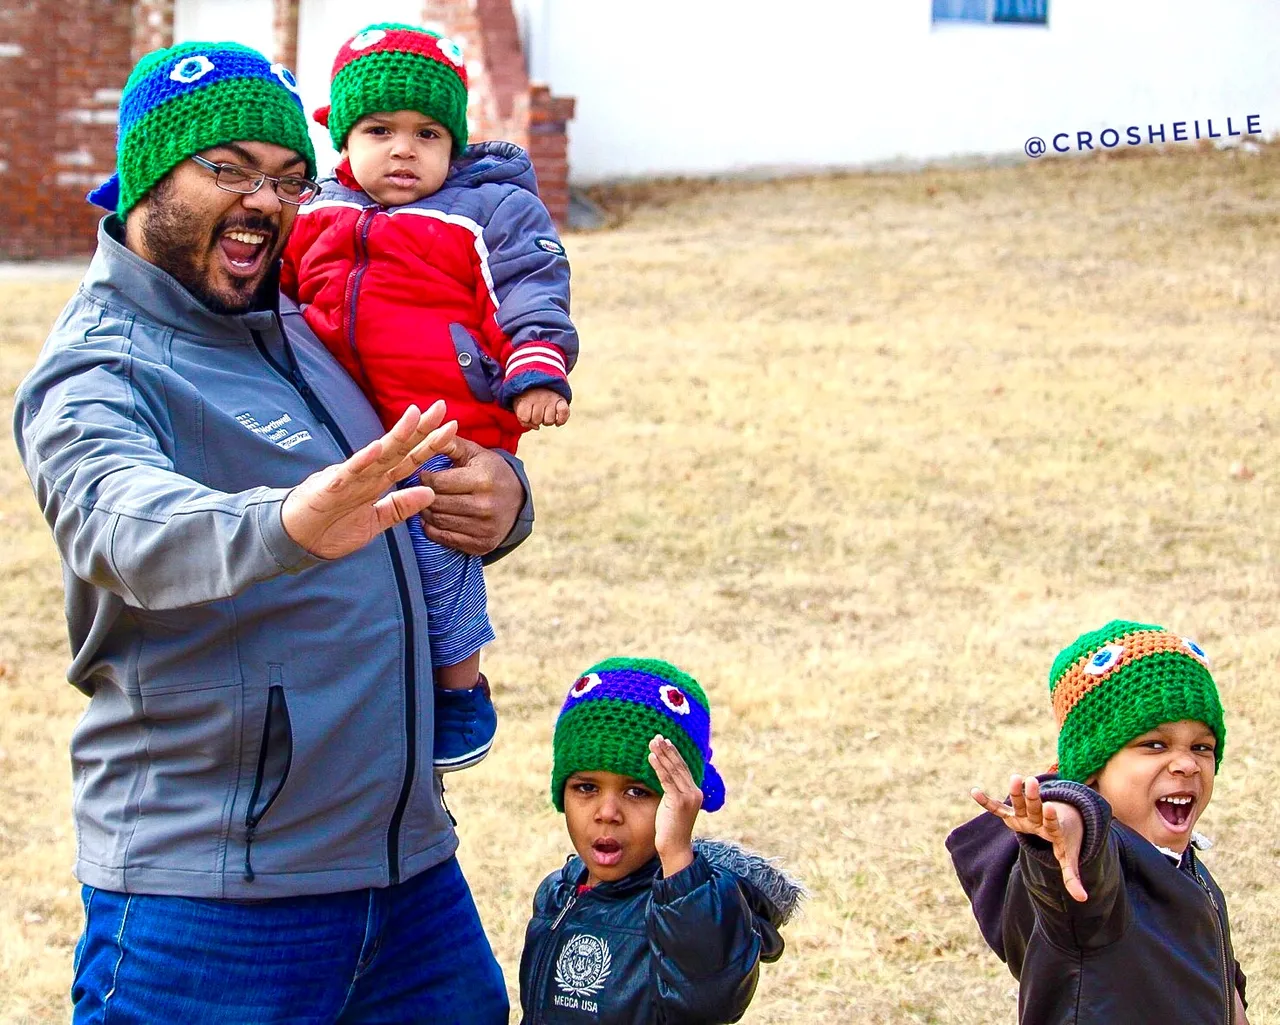
Hello my needlework friends! Welcome to another #NeedleWorkMonday! Today I am sharing the crocheted Ninja Turtle Hats I made for the boys in my family...yep including their dad! Every year each family member gets a new hat of their choice. This year my four year old son suggested I do Ninja Turtles for them. I thought it was a great idea especially since there are 4 turtles and I have 4 guys in my gang. So I got to work with the yarn I already had in my stash!

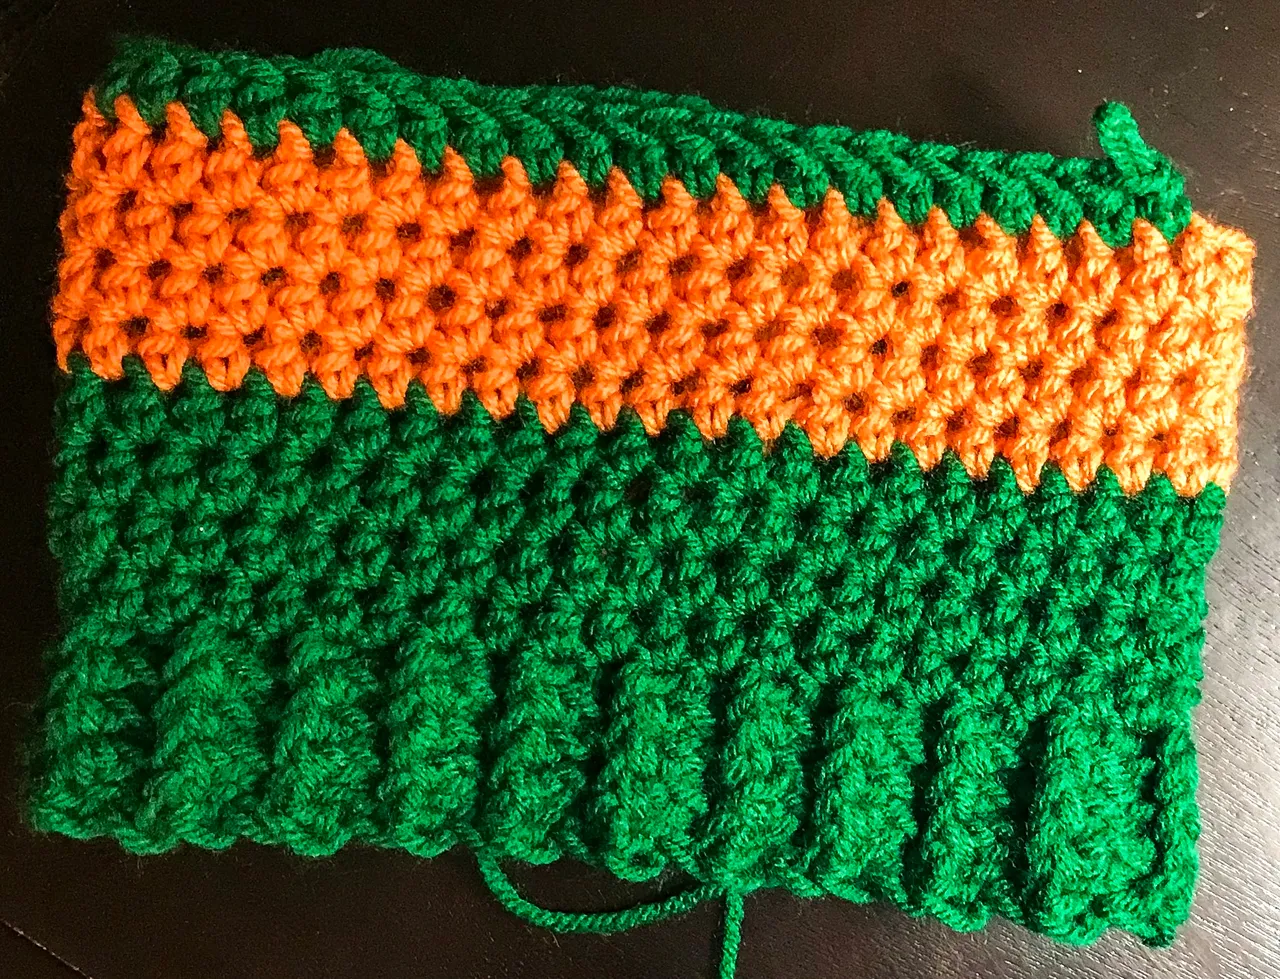
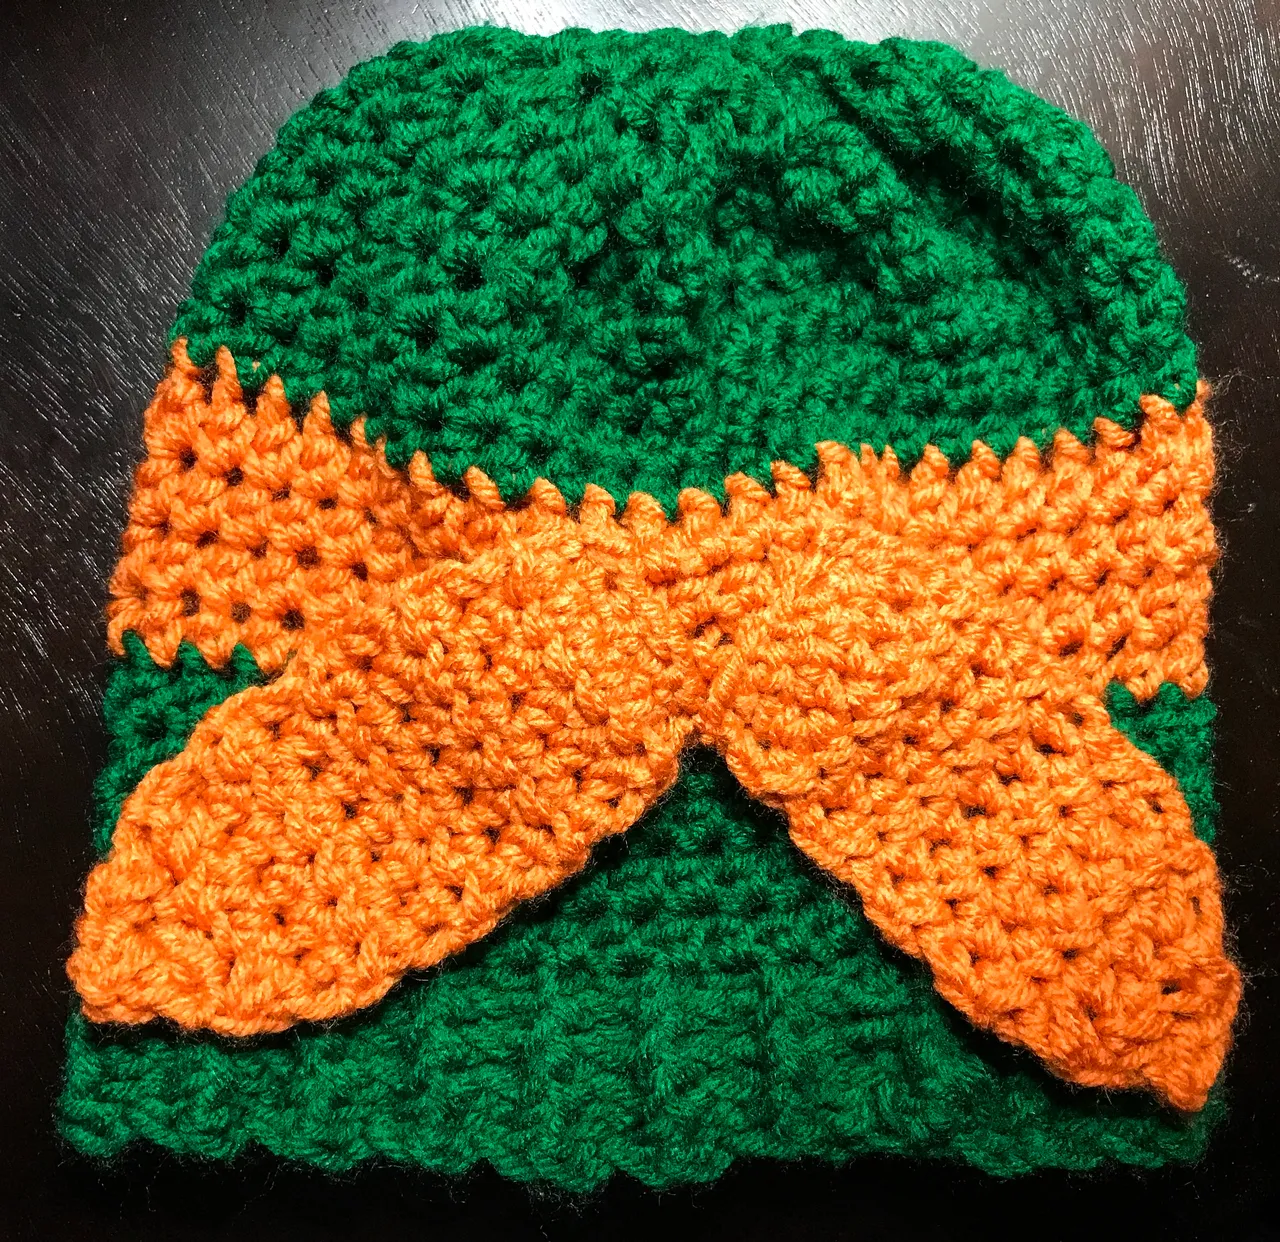
I’m proud to say I didn’t use a pattern. This is my own creation based off what I thought the turtle hats should look like. I started with a dc foundation chain because I like my hats to have stretch.
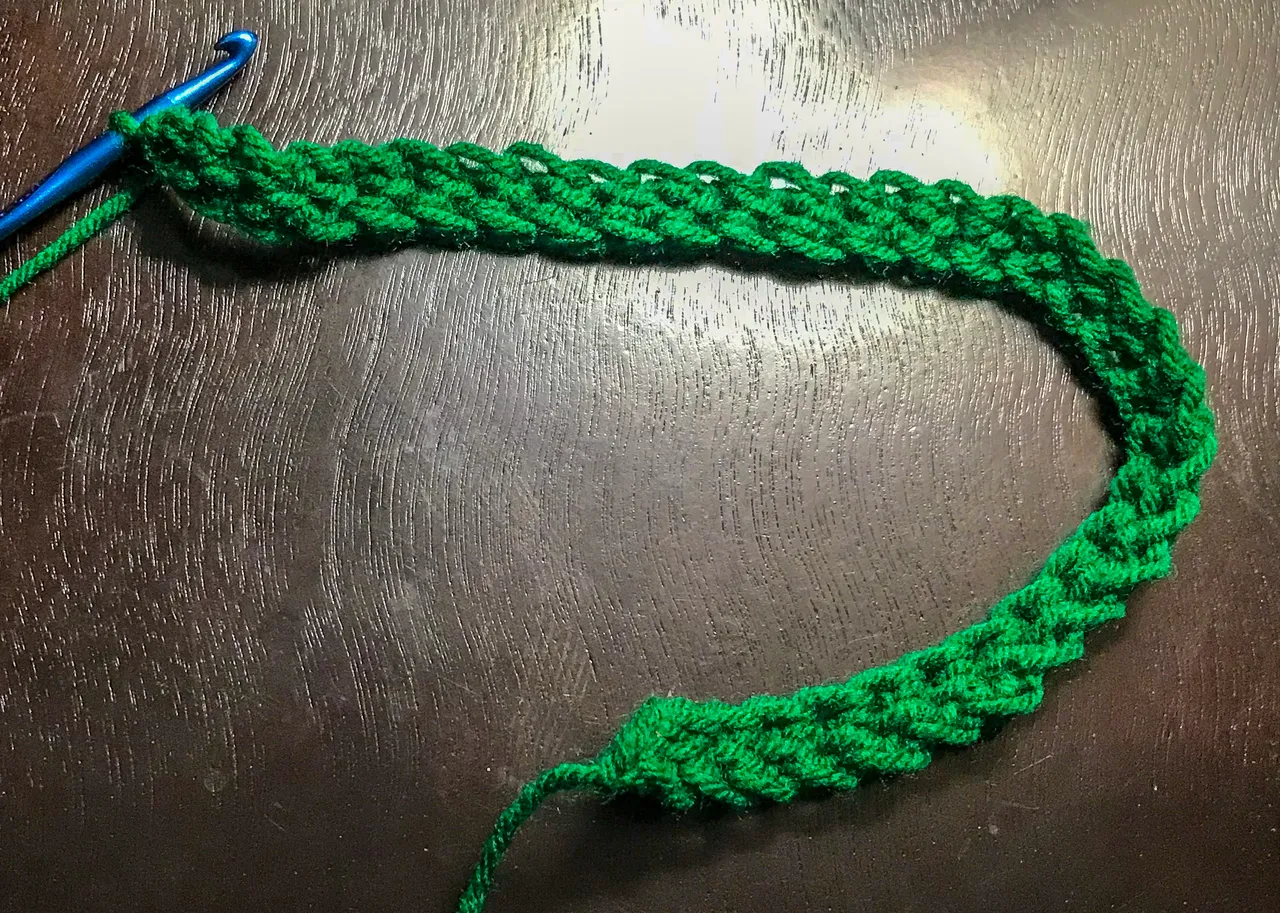
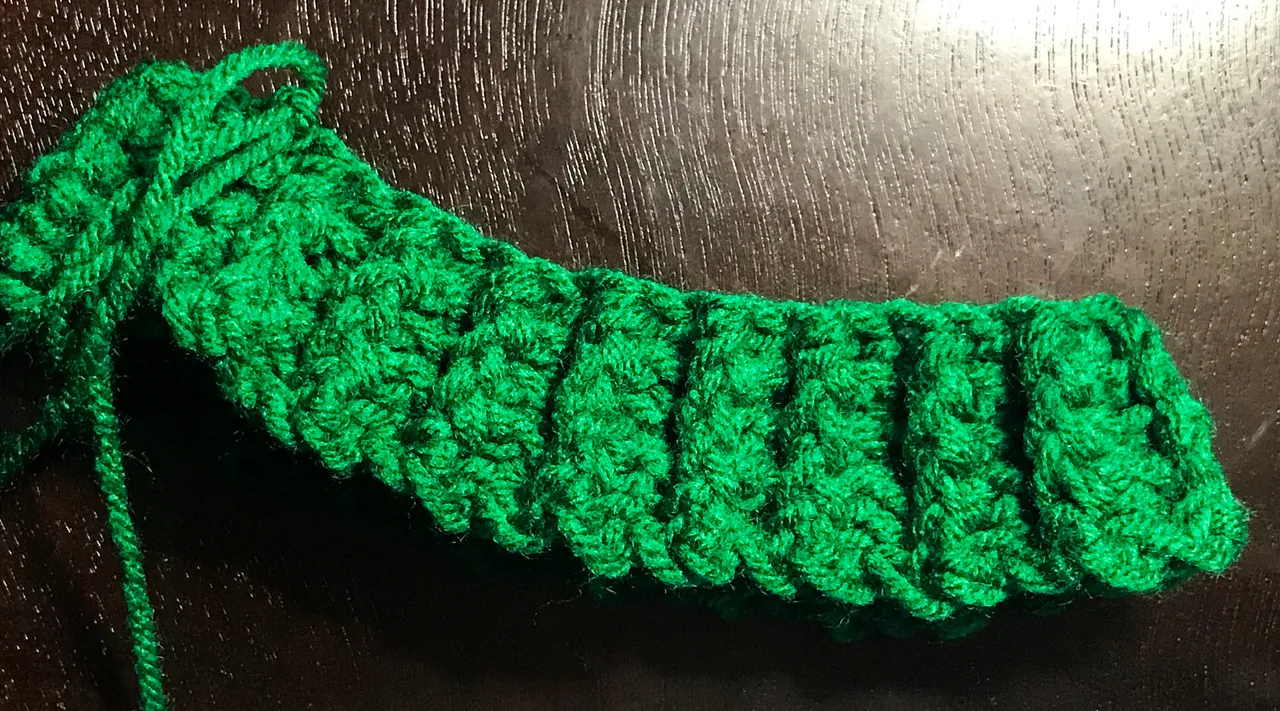
You then repeat these steps for as long as you need the chain starting in the loops of the last dc. It’s kind of hard to get the hang of where to continue the dc’s at first but there are video tutorials online that could help you see it better. I keep going until the chain measures the circumference of the recipients head and then join both ends together with a slst. Then I proceed with doing fpdc and bpdc for three rows to make the band.
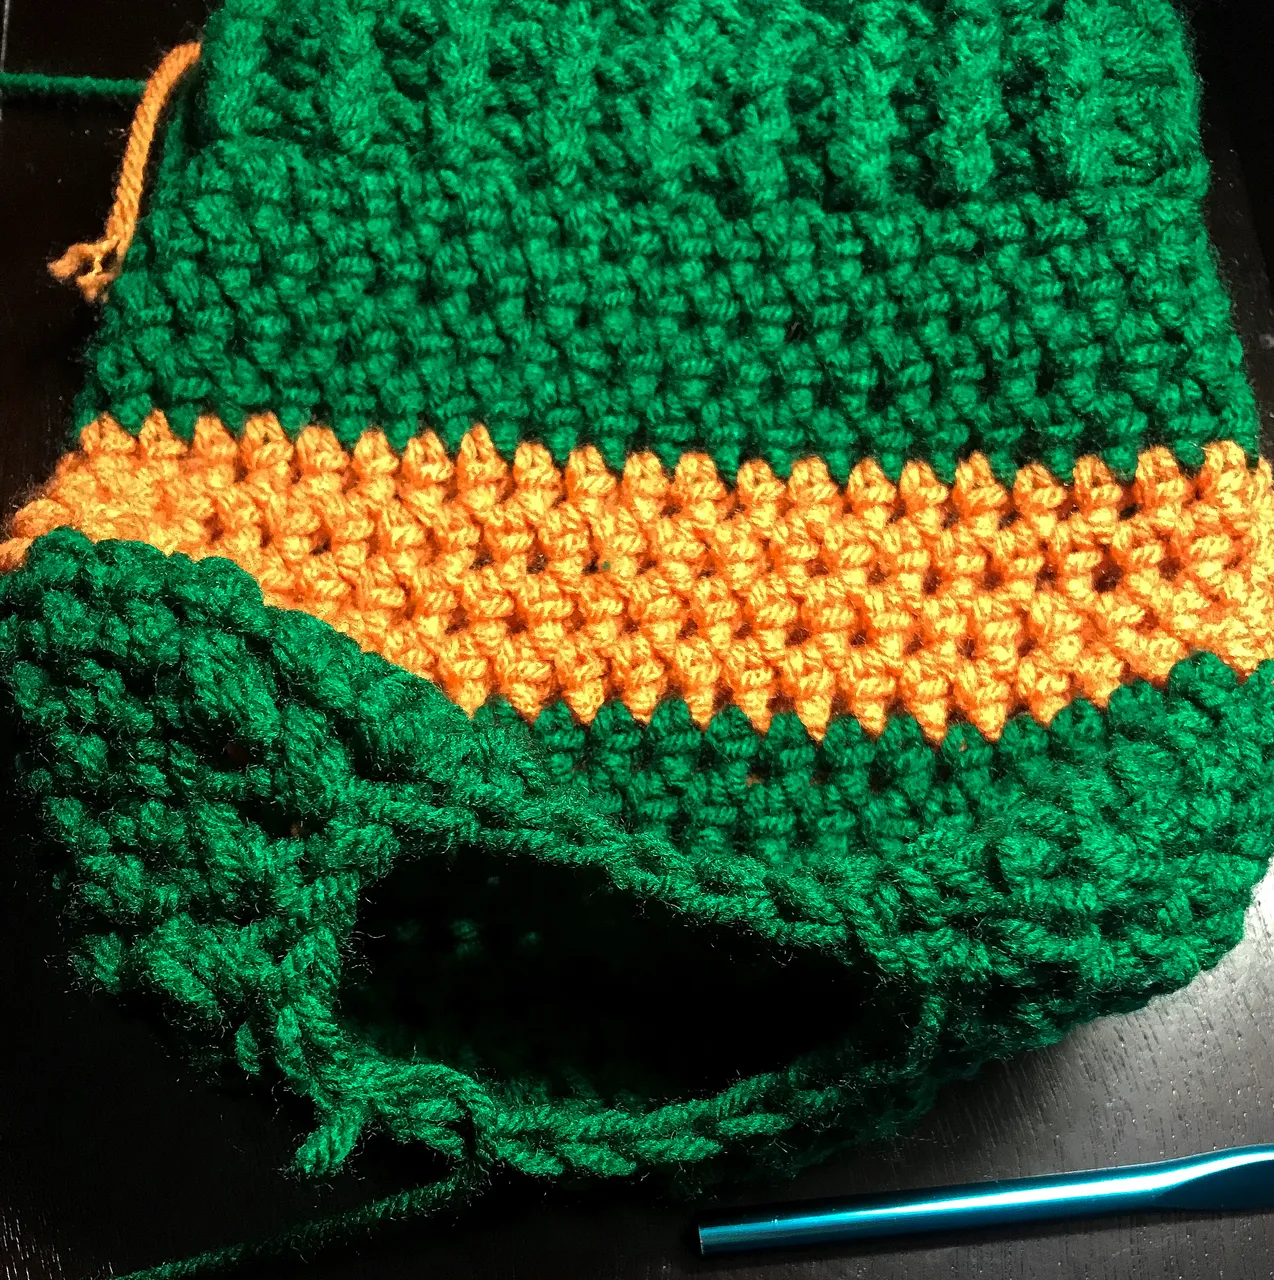
I continue crocheting in the round with hdc in every stitch. I wanted the colored Ninja band to be almost midway up the hat so I had my boys try on their hats so I could measure it right. Once I added in the colored yarn I crocheted 3 rows with it and then switched back to the green to complete the hat.
Once at the top when the hat is just about long enough I do one row of hdc decreases in every 3rd stitch. Then for the next row I do hdc decreases in every stitch. For the very last row of the hat I do a sc in every stitch. I leave a long tail to weave it in and out of the sc’s so that I can tighten and close the hole at the top. I then sew in all ends.
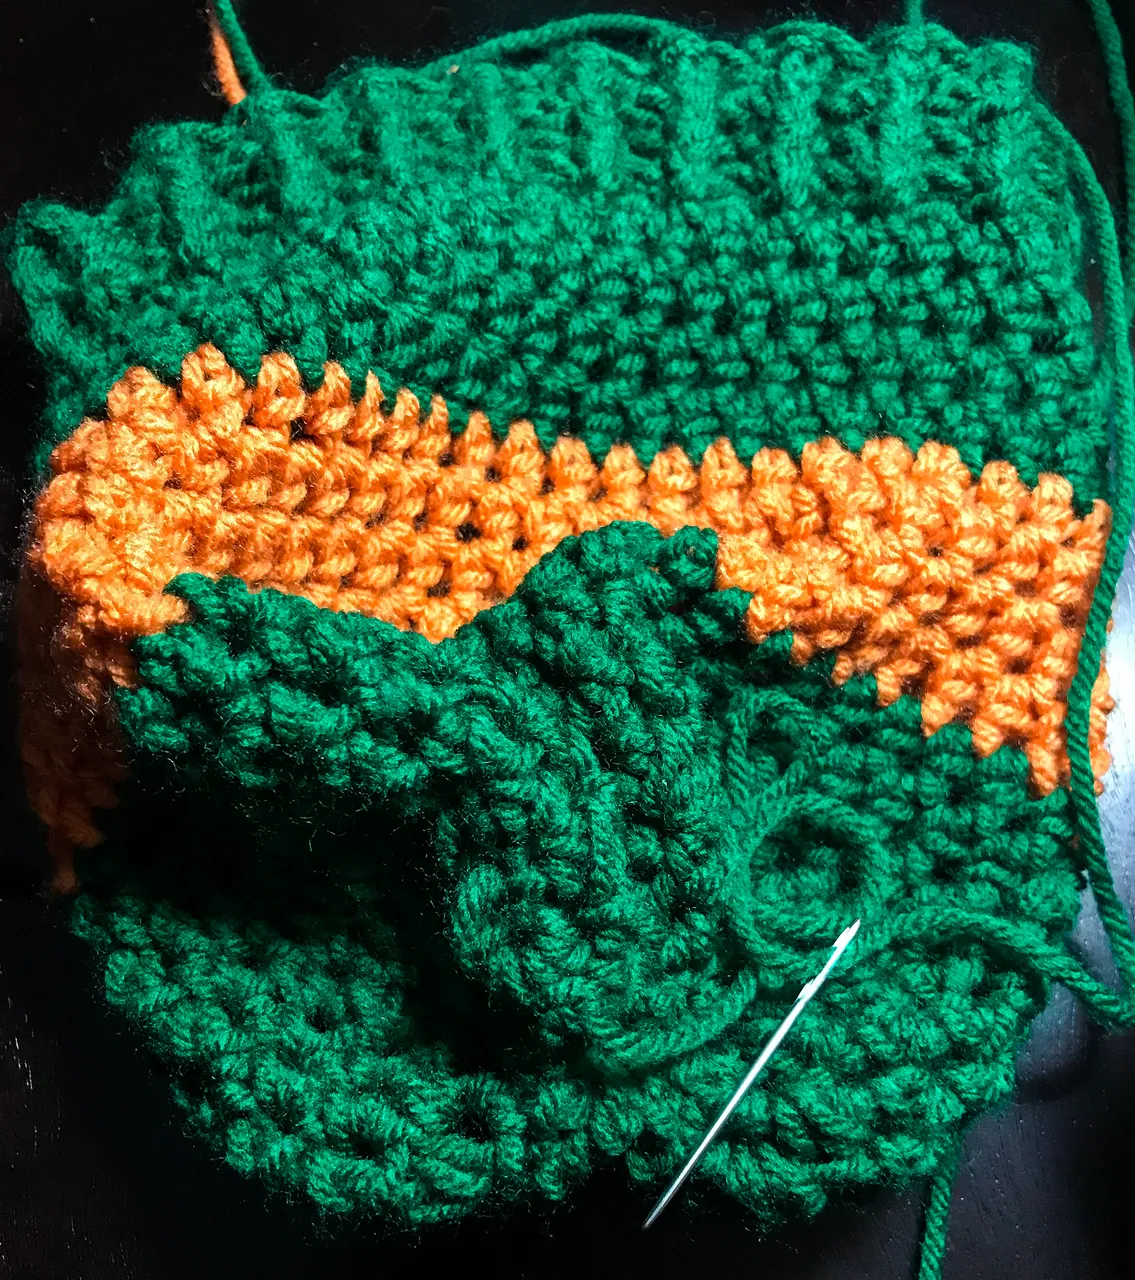
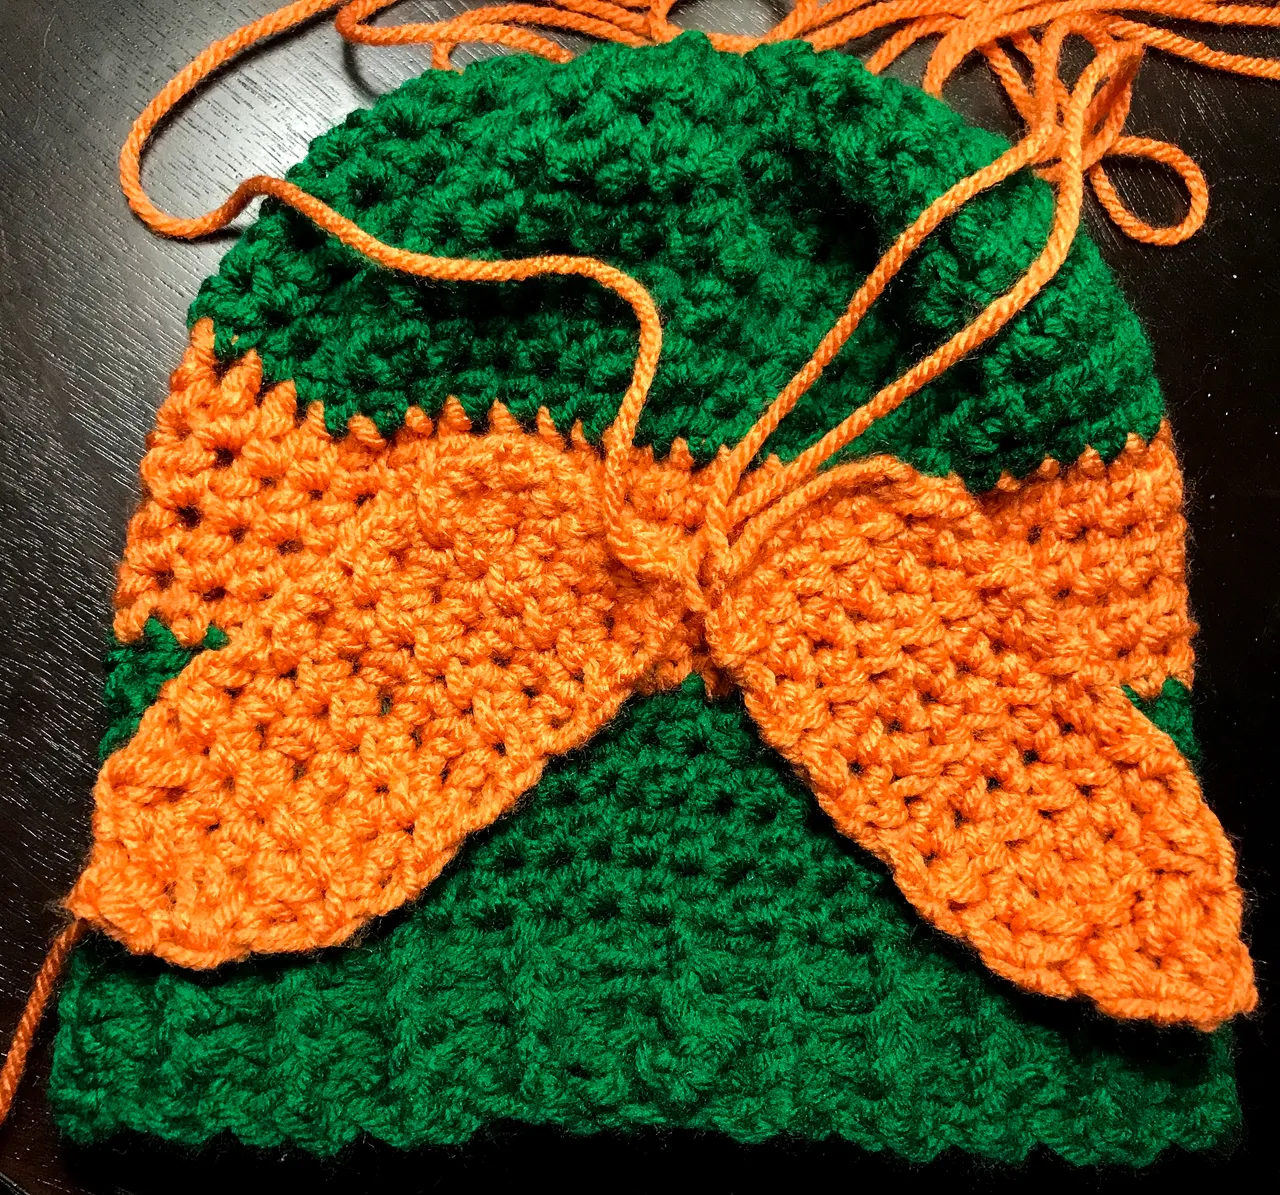
Once the hat was completed I made the back of the Ninja bands to sew onto the hats. I did a chain 7 and did hdc across for 8 rows. I then started to decrease for 3 more rows to get the point at the end of the bands. I laid the hats down with the center back facing me and just tried my best to get both sides lined up even. I sewed on one side at a time.
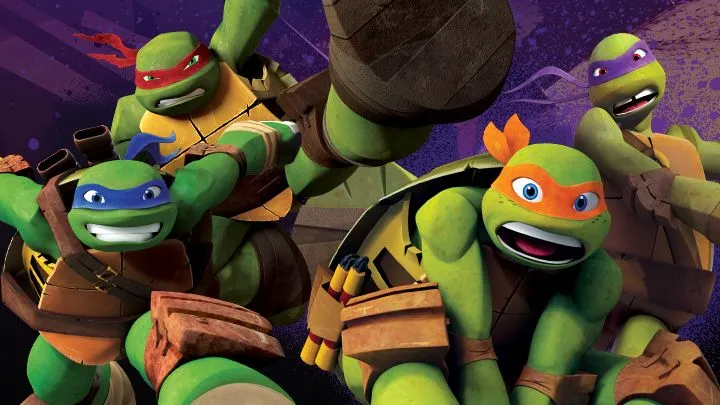
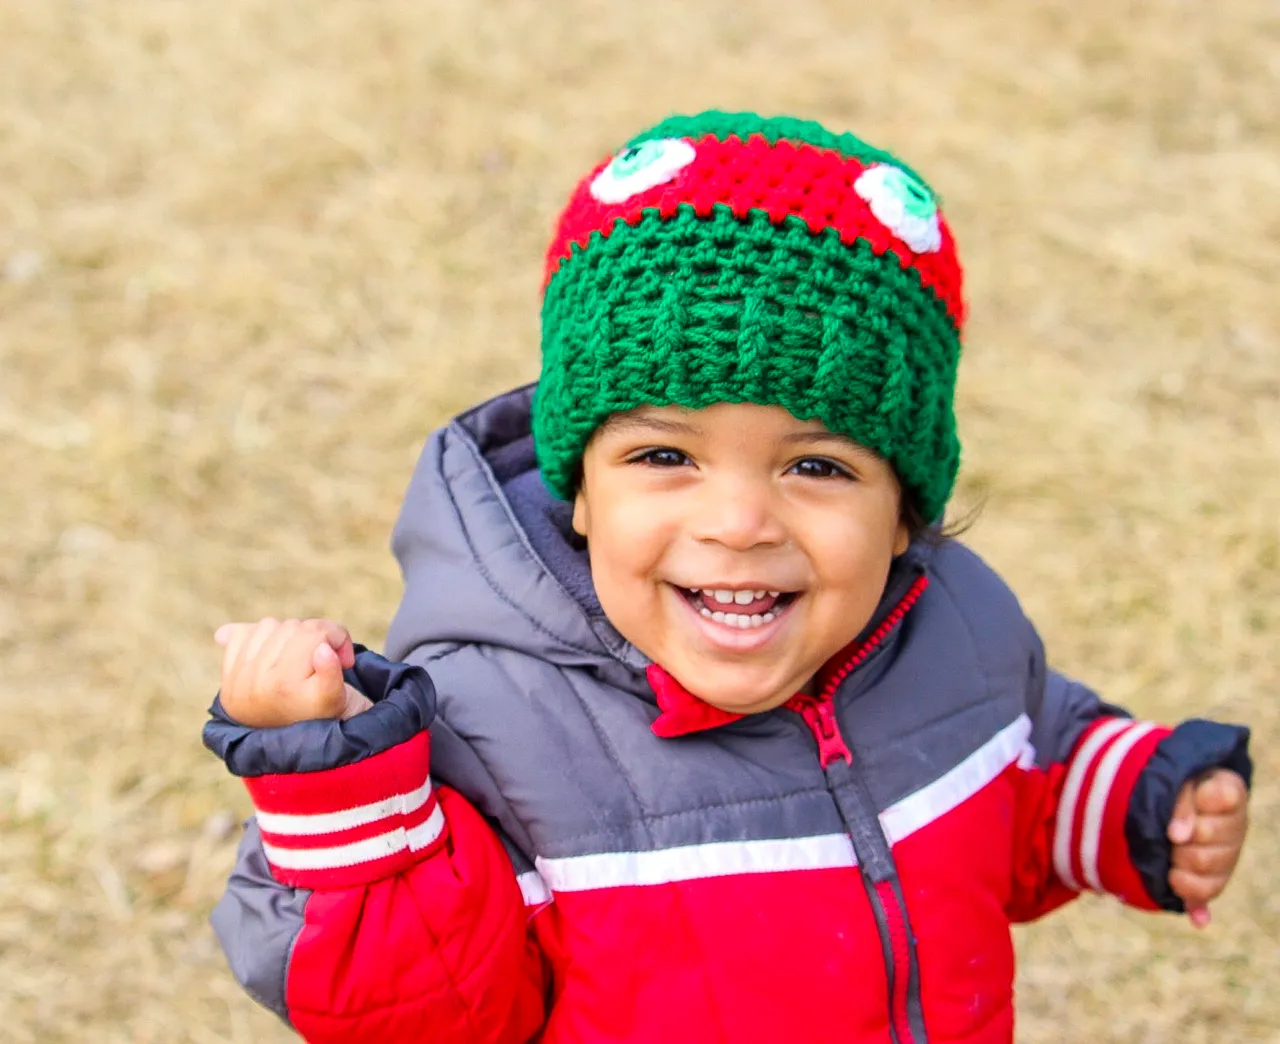
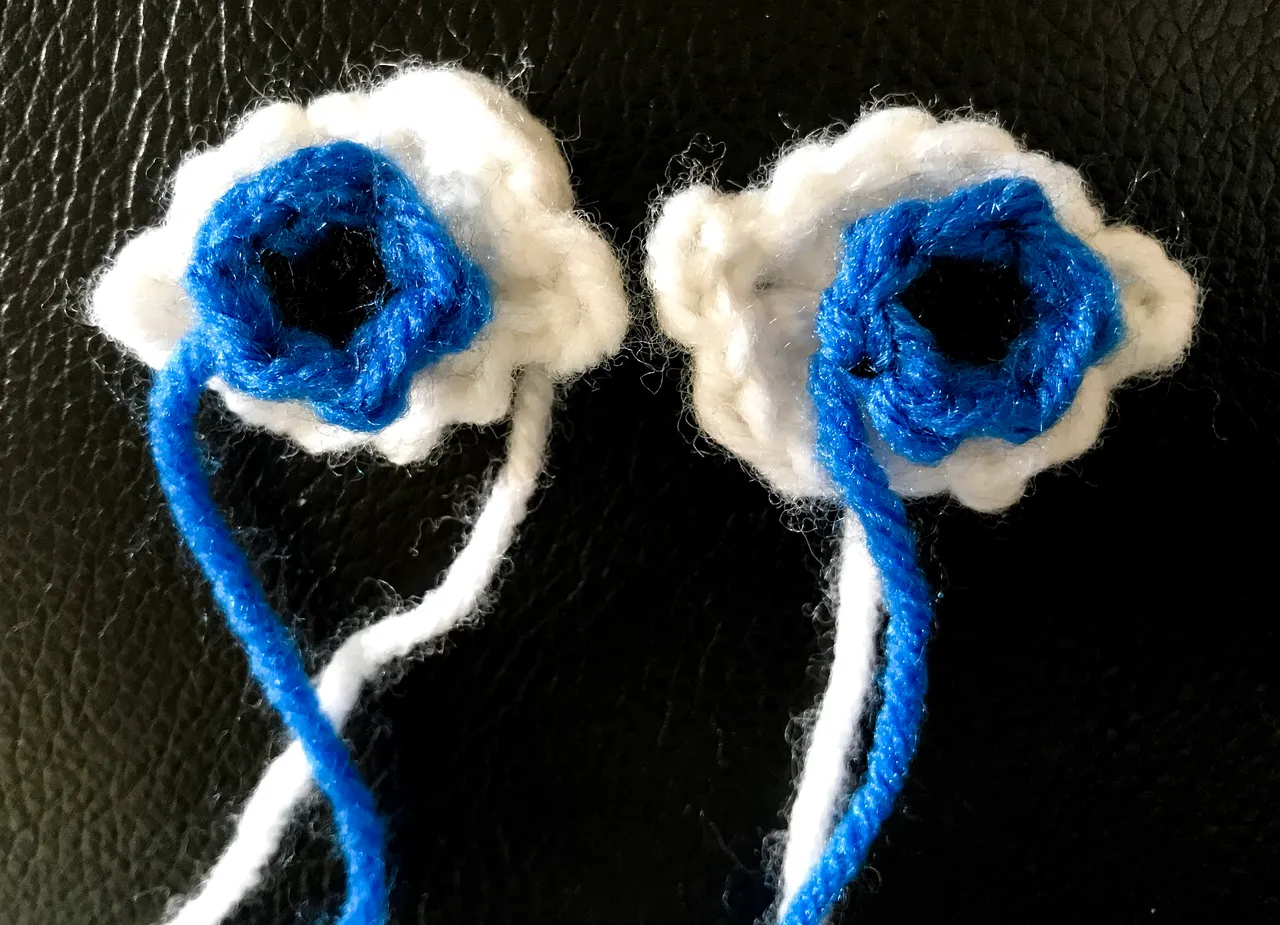
Finally the eyes were last! This picture inspired the colors I chose for each turtle. I started each one with white yarn using a magic loop.
Once I had all three parts of the eye completed I then sewed the iris and pupil together. I then used the long tail from the iris and sewed that into the sclera. Finally use the long tail left on the sclera to sew the eyes onto the hat.
Now you can imagine how hard it was keeping all the boys together to get decent shots of their hats. Here’s what I was able to capture...
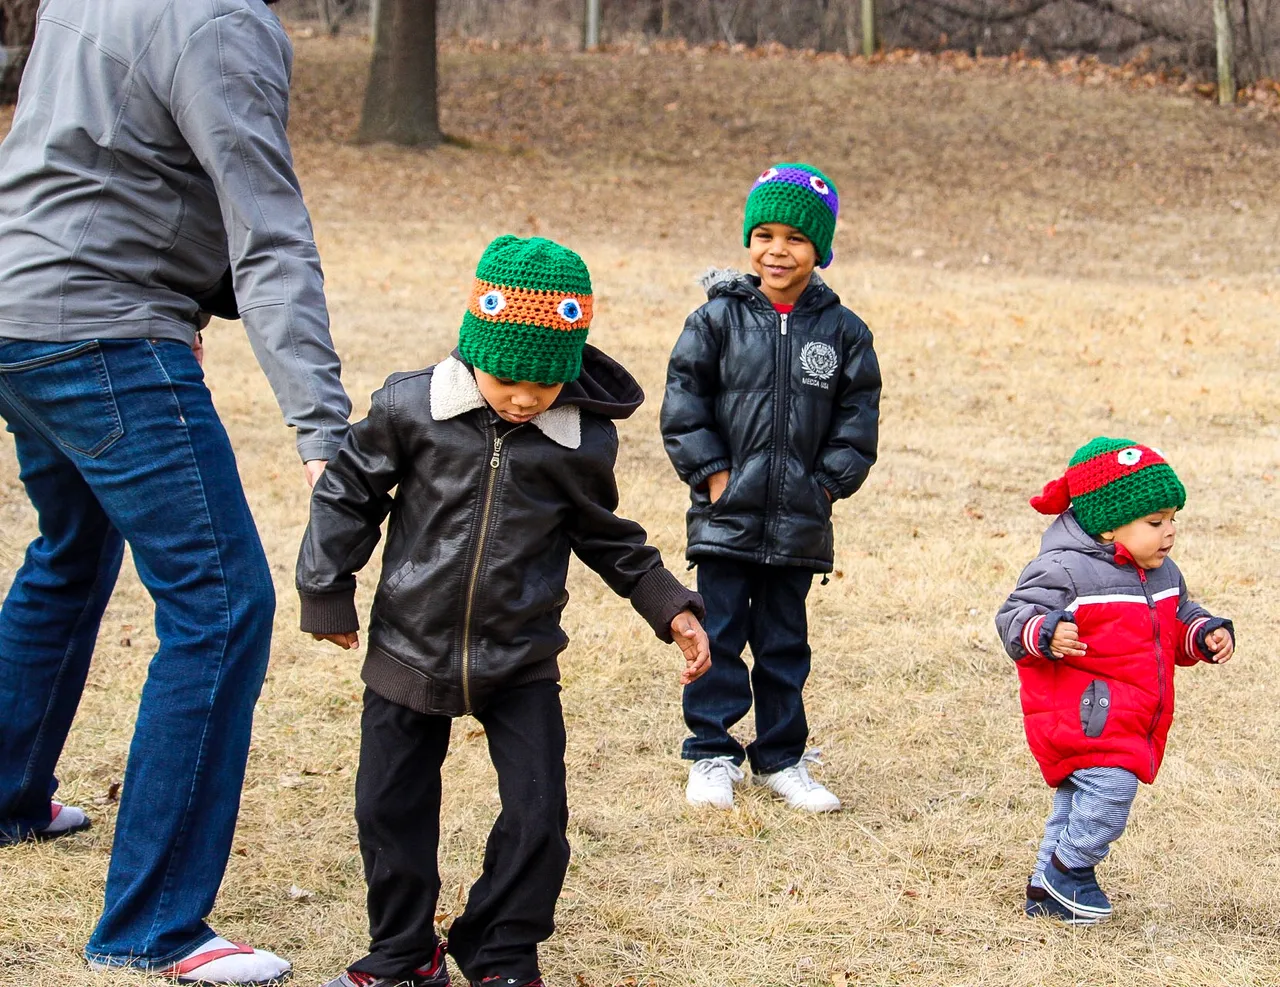
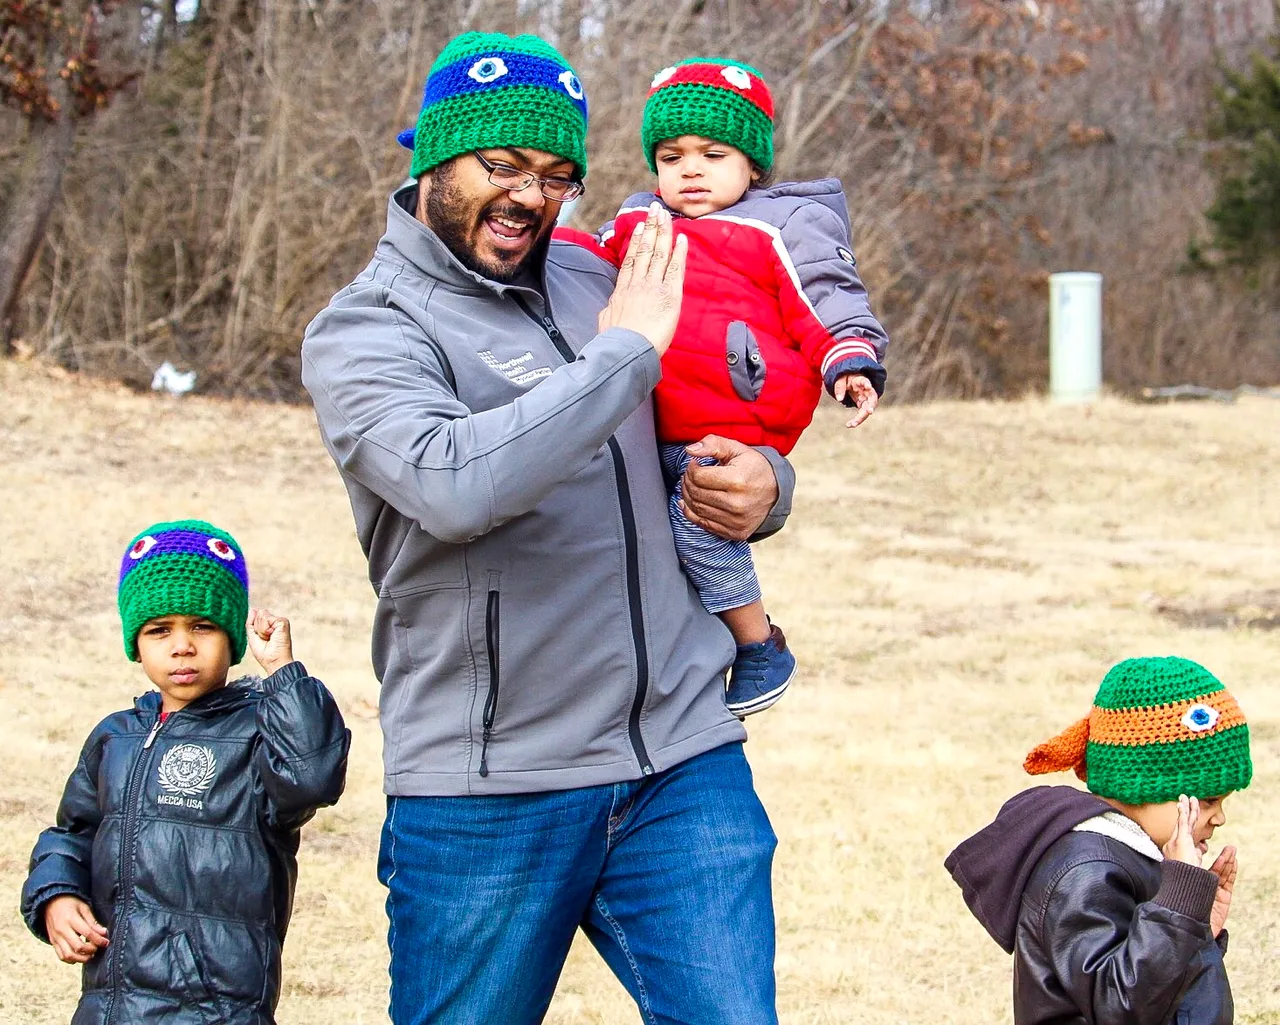
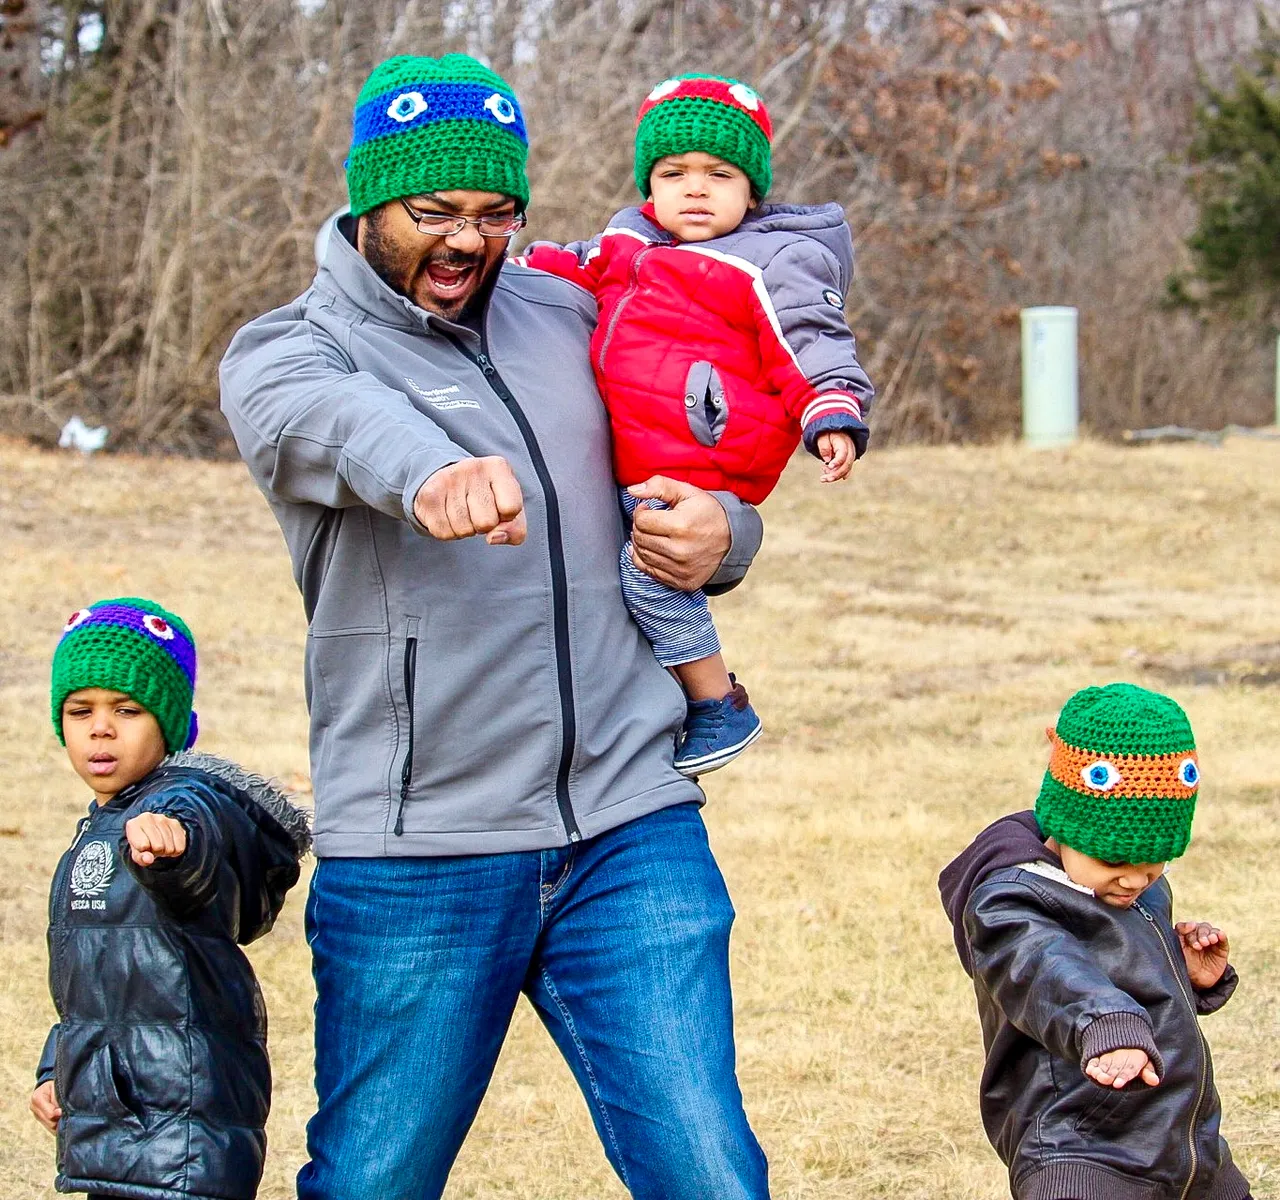
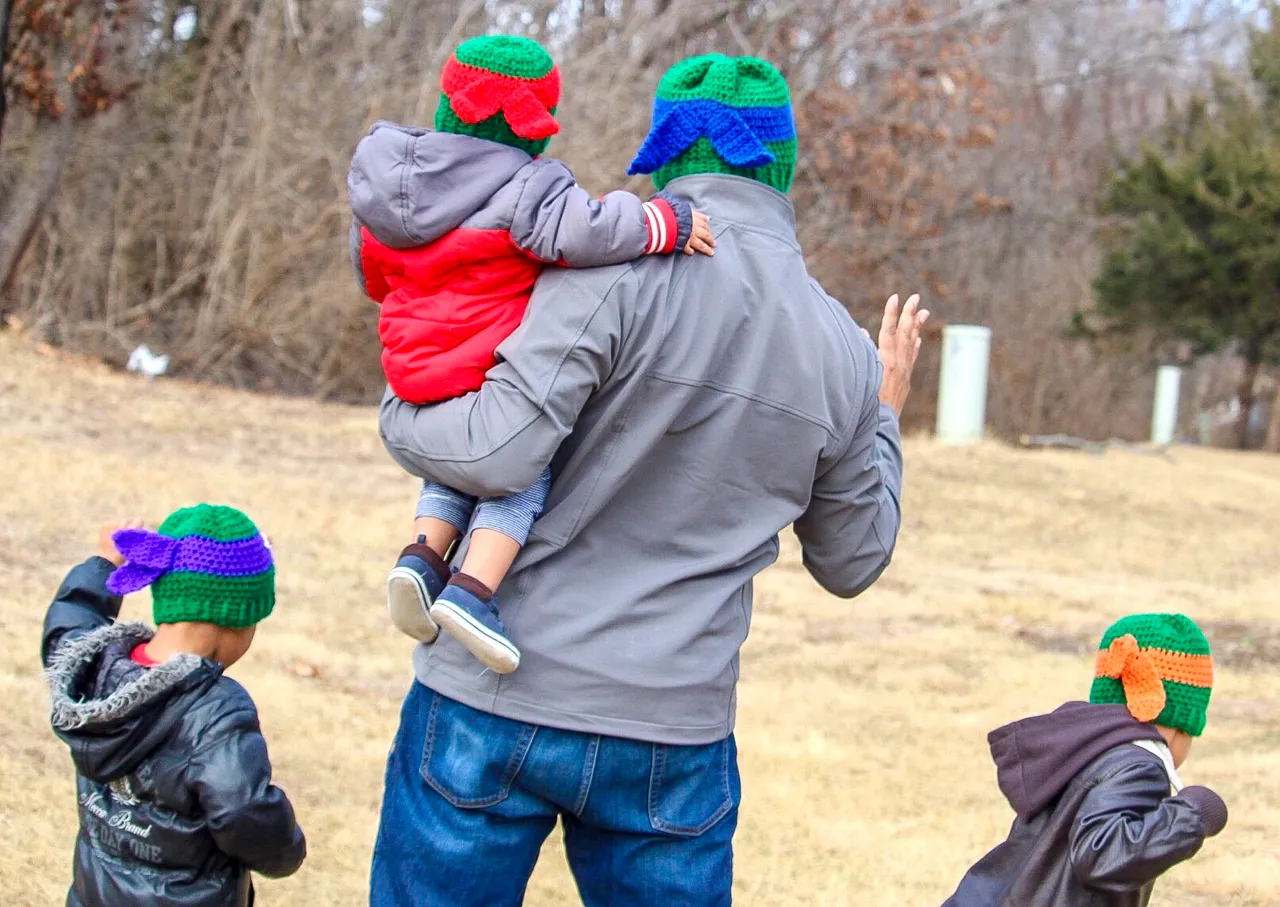
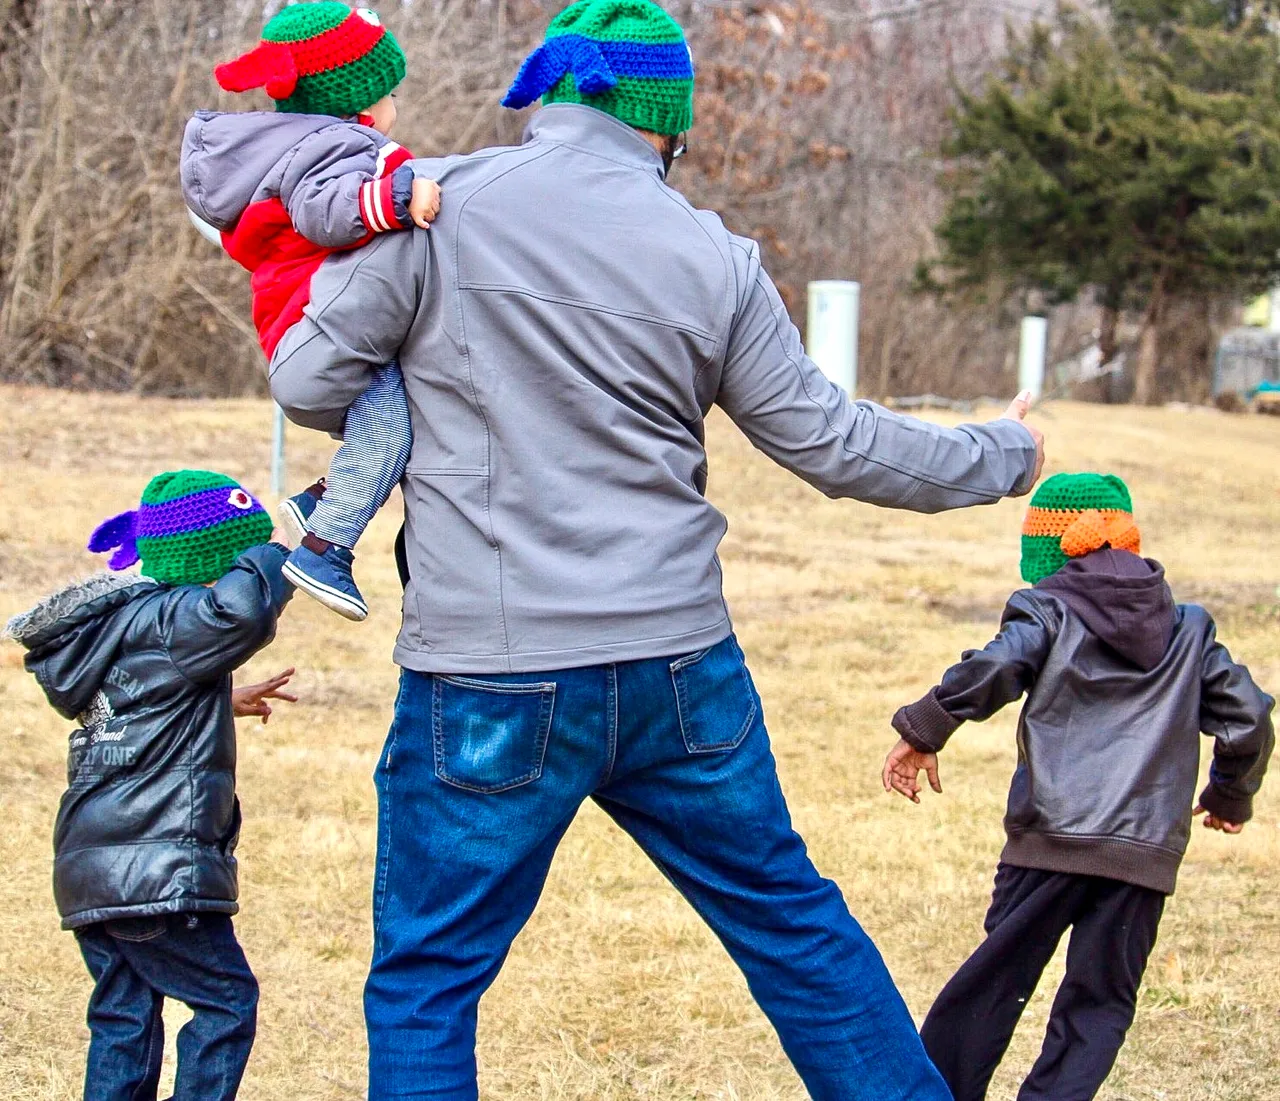
I had fun getting these hats together! I’m so glad my son suggested doing the Ninja Turtles this year. When they wear their hats out together they get a lot of attention and compliments from other kids. They tell me quite often how pleased they are with them. Mom’s Mission Accomplished! ☺️
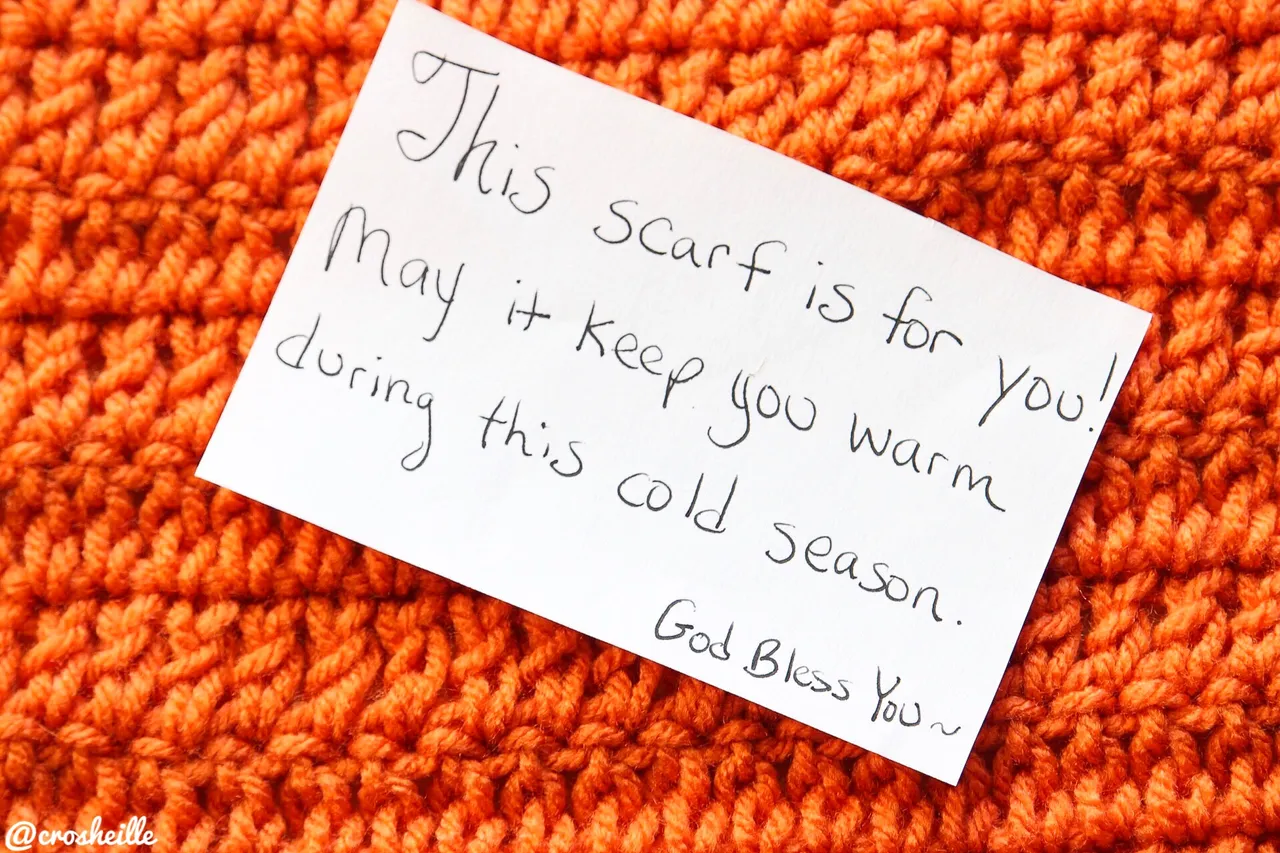
’Project Warm A Soul’ Reminder
Last week I announced our Community Project #2 called ‘Project Warm a Soul’. We will be making scarves🧣 for those that need help keeping warm this Winter season. Once finished with the scarf you will attach a note to it and wrap it around a tree or pole in an area outside where you feel someone in need will find it. For more details please visit the initial post HERE!
All photos are my own and were taken with our Cannon EOS Rebel T6
Thank You for Viewing!


A huge shoutout to @rigaronib for creating my Logo Banner! He was incredibly pleasant and awesome to work with!!! I was blessed to have found him and that he was available to work with me!!! Thank you so much for your lovely work!!! I am very pleased with the outcome!!! 😆