Visual Studio Code is one of the best products from Microsoft that every developer would like to have for coding. I personally admire this IDE for writing my code because it is lightweight and comes with many great features and plugins. The main attractive advantage that VS Code has is the ability to use multiple extensions that increase our coding experience. Especially for the JS developers, there are many comfortable extensions available that can make the coding experience great.
In this article, I'm going to talk about ESLint which is an important linting extension for VS Code. For any application, we write linting is very important. It makes the life of a developer easier. With ESLint it is possible to see the linting errors in the code then and there while writing the code.
Importance of Linting
Every programmer has their own style of coding especially when it comes to the usage of Tabs, spaces, semicolons, single quotes, double quotes etc, it can always be the preference of a developer. Especially when it comes to a big project, it will be important to maintain consistency and standard everywhere. Linting applications help in configuring our coding style and make sure we follow the coding style consistently throughout the application. Every individual developer will have a strong opinion about writing code in their own style. There is nothing right or wrong here to debate but the consistency should be maintained throughout the project. That is where ESLint helps.
There are multiple coding styles available for use. A developer can choose to write his coding style or standard when he starts a new project or he can choose to use an existing popular coding standard like Google, Airbnb or the Standard rule that ESLint suggests. In spite of using these existing standards, we have full freedom to even customize these rules for our convenience.
Configuring ESLint in the project
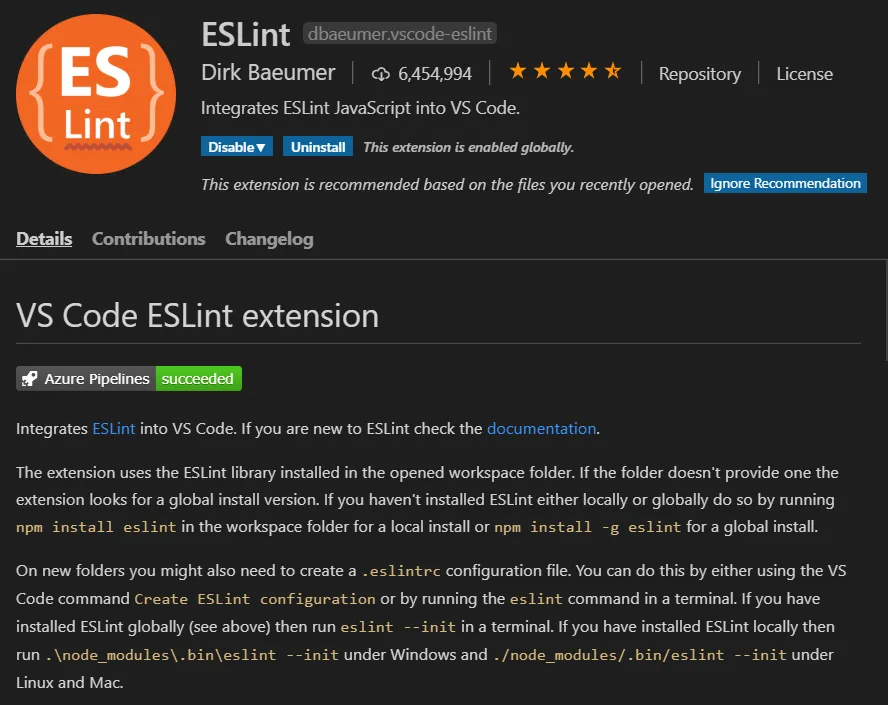
I'm going to take NodeJs application as an example to explain how we can configure ESLint. There is an extension called ESLint available in the extensions library in VS code. The extension will look like below and will have details as to what it is capable of doing. There is documentation available that helps us go through the full process of installation and setting up an ESLint in our project.
Though the documentations are very clear, it took me some time to understand how to configure it when I used it for the first time. I have to admit that I was also a bit lazy to go and read the full documentation. Now that I use this in all my projects, configuring ESLint has become easier for me now.
The first thing that we have to do is to install this extension in the VS Code editor. After installing this, we have to go to our NodeJs project and install some packages as dev dependencies.
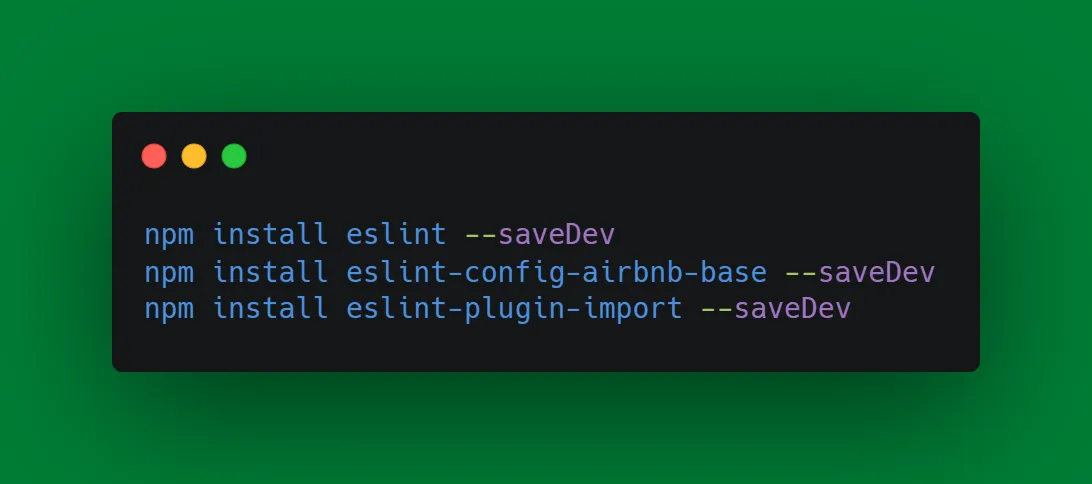
After installing the packages using the above command, it will be listed in package.json file as dev dependencies.

After the above is done, now ESLint will need a config file will start off. Without adding the config file, we will be getting an error message in the VS Code saying that the configuration is missing for the project. In order to add a configuration, we have to add a file called .eslintrc.json. Based on our preference the file can either be in JSON format or js format. It doesn't matter. The contents of the configuration file will look like below:

In my case, I have used airbnb-base as my standard. You are free to choose anything as per your choice and even you can write your own rules if you are interested to create your own standard for the project. I use this piece of configuration and when I start a new project, I simply copy this file to the new project and start off.
One thing to note is that the linting in the VS code will not immediately work as soon as we do all the above configurations and add a config file. It took me some time to understand that the changes will take some time to take effect. I had to close my VS code and open it again for the changes to be recognized and for the linter to start working on my project.
This is my second article in this series. Please find the link to the first article in this series. I will try to add more articles in the same series.