Hello "hivers", it's your favorite brand @smilestitches☺ back on your screen again, how're we doing? I trust we'll had a peaceful night rest , I did as well. As we all know today marks the first working day of the week, for me today is always occupied with much work, and it's always very stressful for me but atleast by God's am managing.
Today I'll be showing you guys something deferent. there's this least pocket I'll be showing you guys how to make on your dresses and trust me your customers will love it, i call it least because its actually trending now in the fashion world, have showed lots of people how to make it already so i thought i should come share with you guys as well so enjoy the session.
Its mostly called a flamtom pocket👇
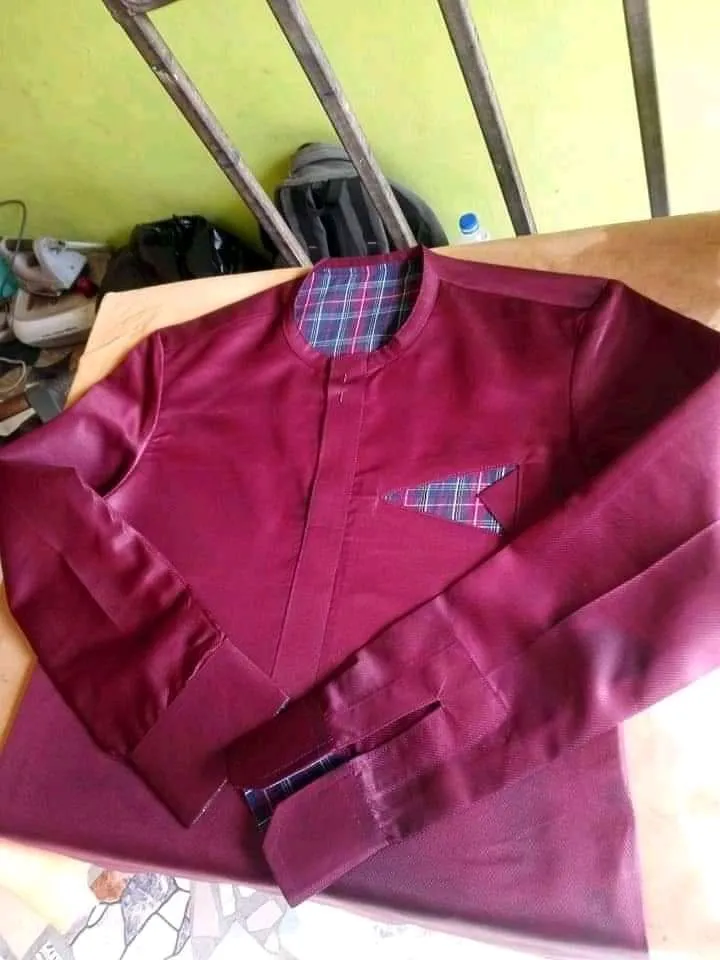
my customer needed a new deferent pattern of pocket on his top other then the normal usual one i always do for him so i had to improvise then i did this flamtop pocket and he loved it.
So how to achieve this pocket, actually its very simple only if you follow my guidelines carefully, trust me its very easy no pressure.
So now, am mainly going to focus on the pocket making today, after i had finish my cutting,I prepared and fixed the flap and I proceeded to the pocket.
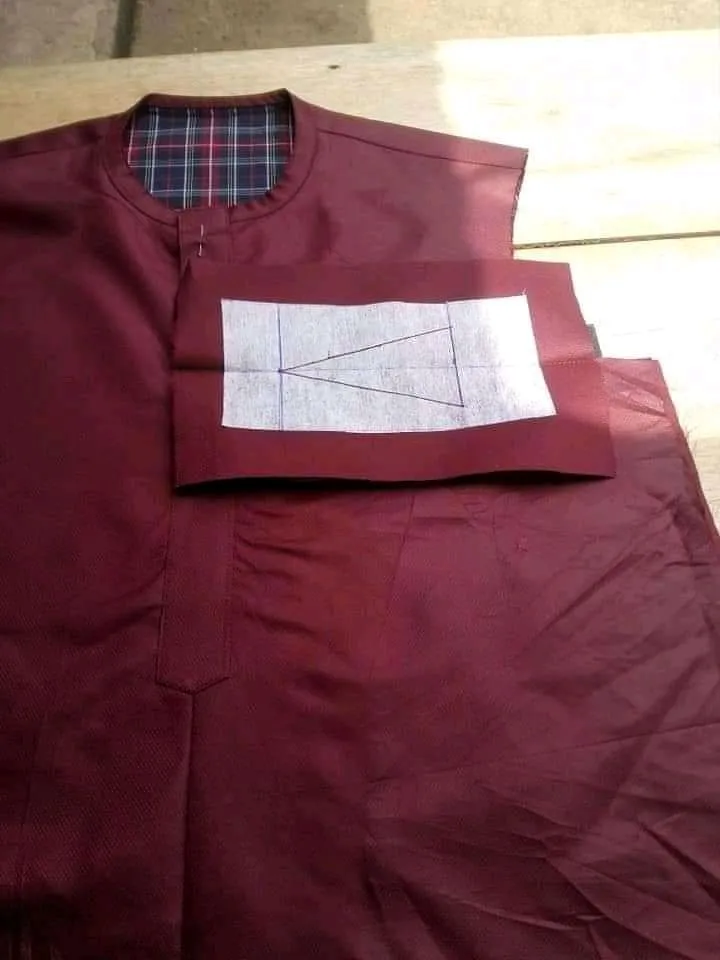
Firstly:
I cut out 5inches of the material and i cut my tissue gum same side and i gummed it on the pieces I had cut out already, after that with a pen i drew out the size and the pattern i wanted 👇
After that i placed it on the size of the cloth and I sewed out the pattern i had drew earlier, then i turned it to the back, now i have an opening to explore ☺👇
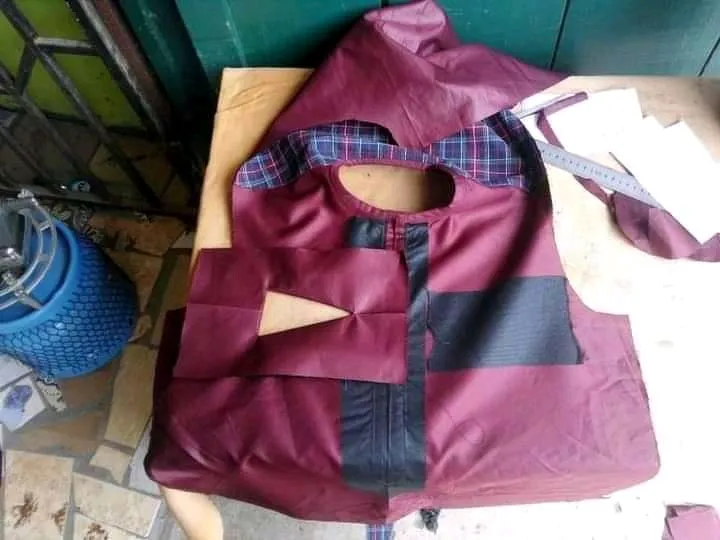
Its already looking nice, and we are almost done ☺ like i said earlier its not hard its just technical, just follow my lead and you'll achieve it. So now next thing is to cut out your paper gum, size of 4inches, length of 4inches, two will be enough and you gum them to a material of your choices, after that you bend them on an equal size to fit into the opening we created already 👇
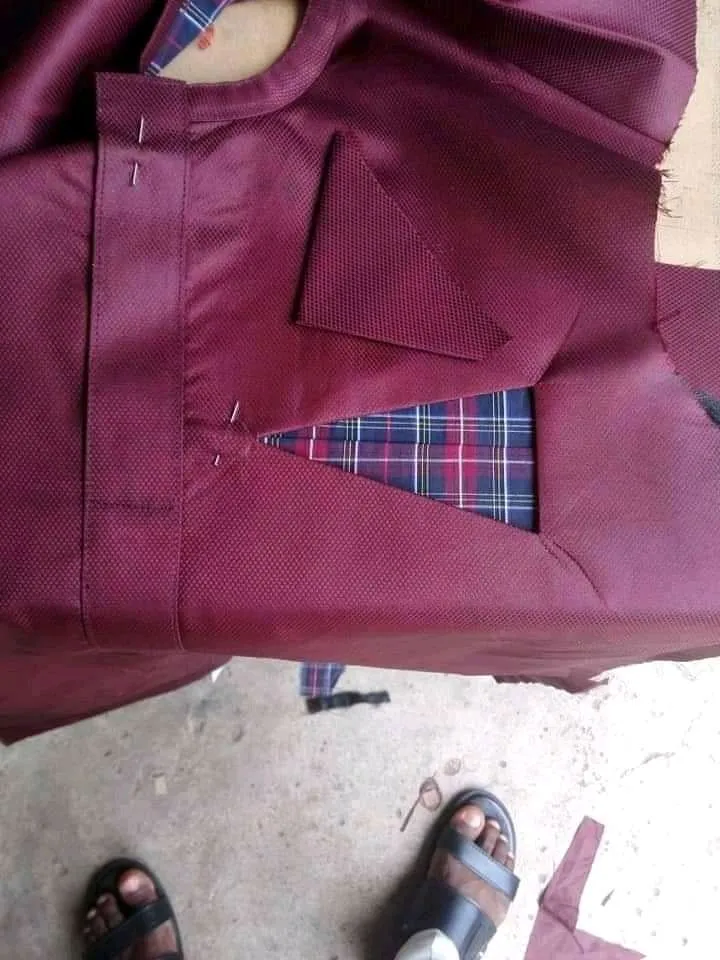
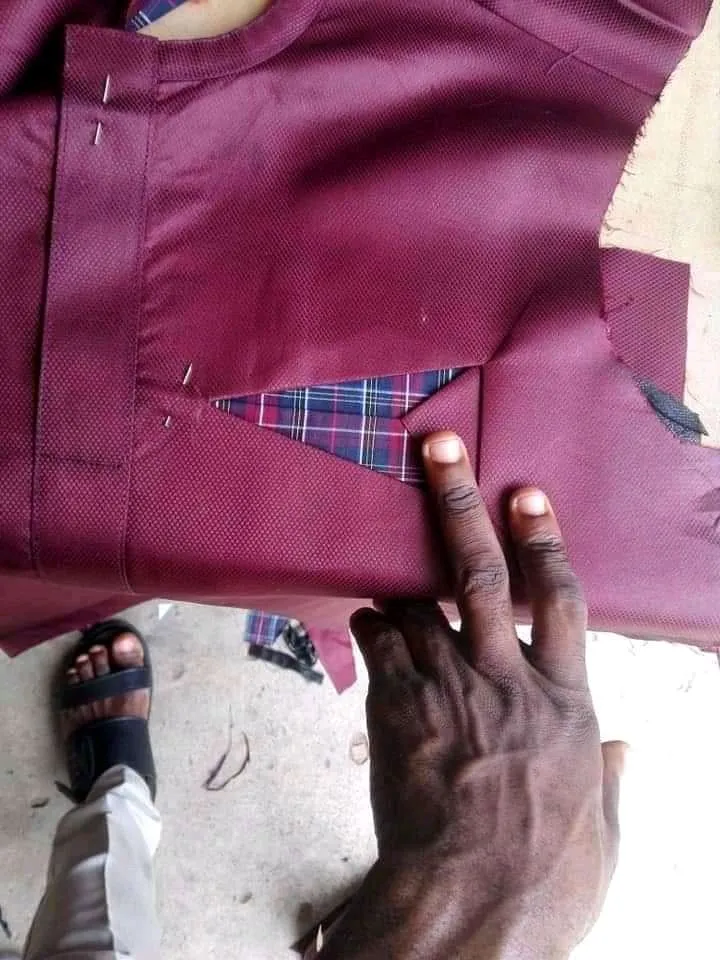
Secondly:
cut out he material again, bend and ironed it in a triangular form and the size should be thesame with the the size of the pocket so everything will fit in beautifully, after the shape is out you fix it at the extreme part of the pocket and you stitch from the back. 👇
Finally :
I then laid a big pieces under and I stitched it together to form the pocket, now my flamtom pocket is ready!!! 👇
Thanks guys for visiting my blog do have a lovely day ahead.