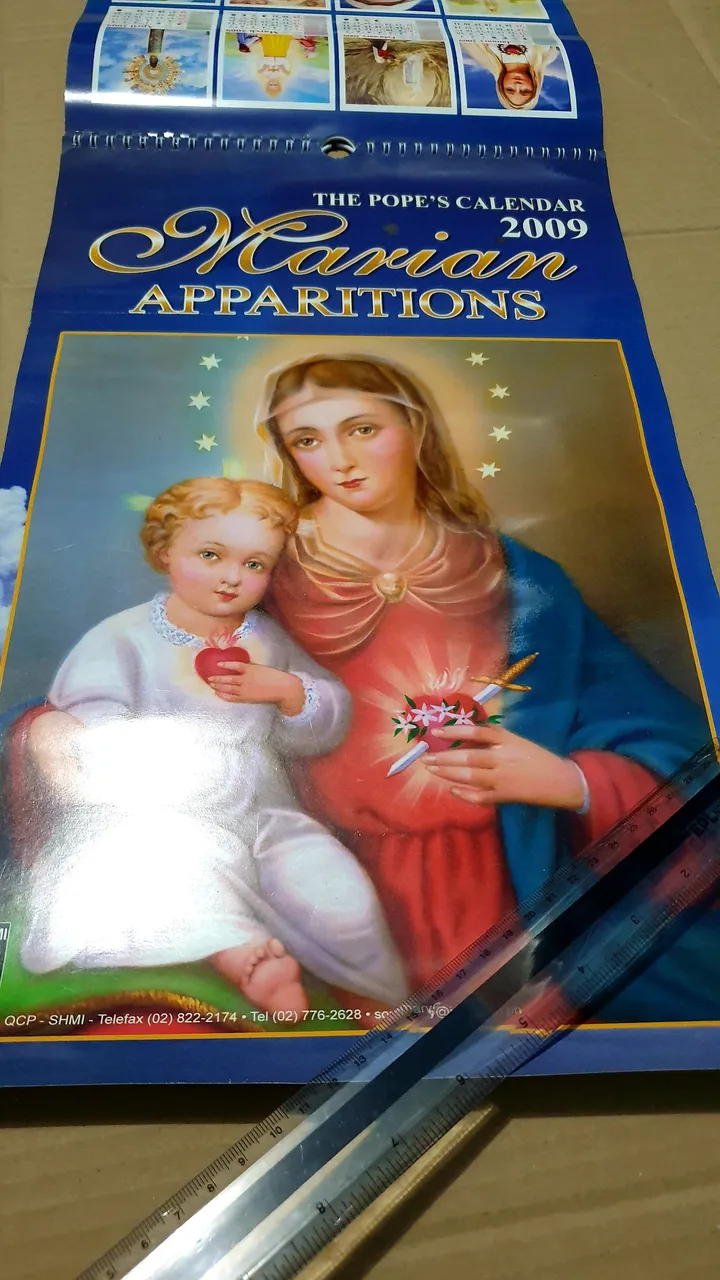
I kept this calendar because the posters are very good that can pass for good wall decorations aside from being religious articles. I planned to have the posters framed, either by looking for people who do the service or I'll experiment on them by myself. I know I have these pending for a long time but I did not realize that it has been a decade ago until I dug and started working on it few weeks ago.
When I asked a few stores that offer framing services, their prices were much higher than I expected and even higher than the ready-made frames. The challenge with ready-made frames is that none fits the calendar poster good enough for minor adjustments.
I finally decided to experiment by doing it myself. Ideally, I wanted to use wood strips for the frame but it was not easy finding them. Then I thought of recycling hard cartons instead.
Following are the things needed.
- cartons wide enough for the poster plus allowance for the frames
- packing tape
- double-sided tape
- ribbon for finishing of the frame
- plastic cover
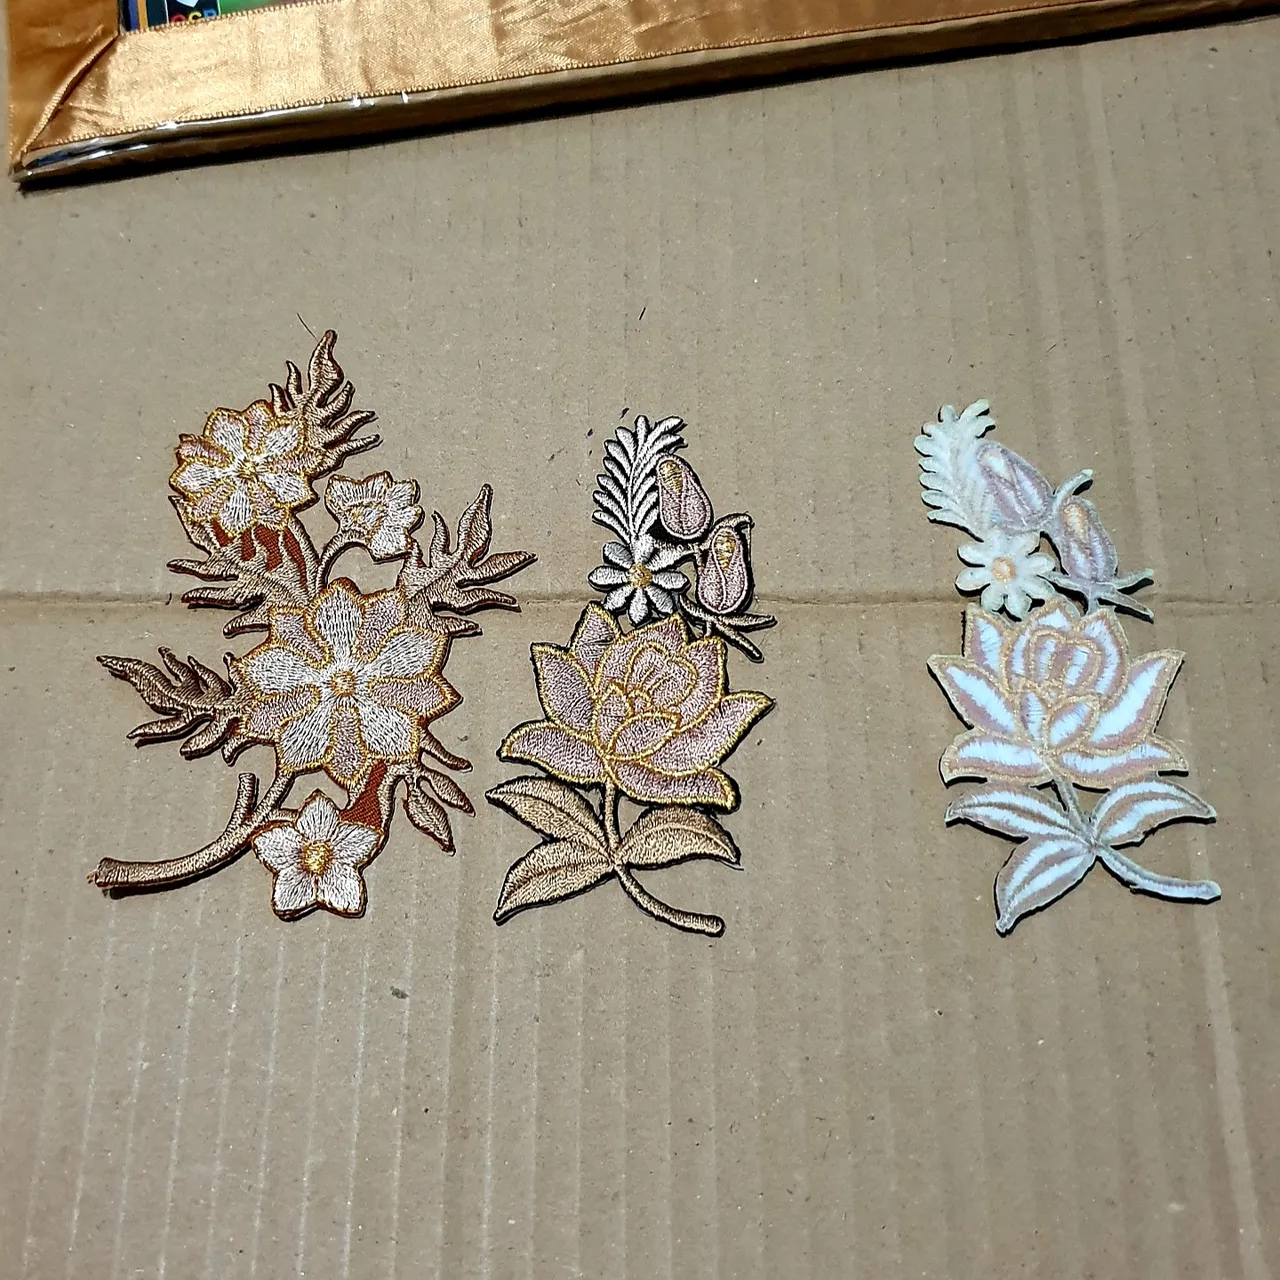
- applique for decorations
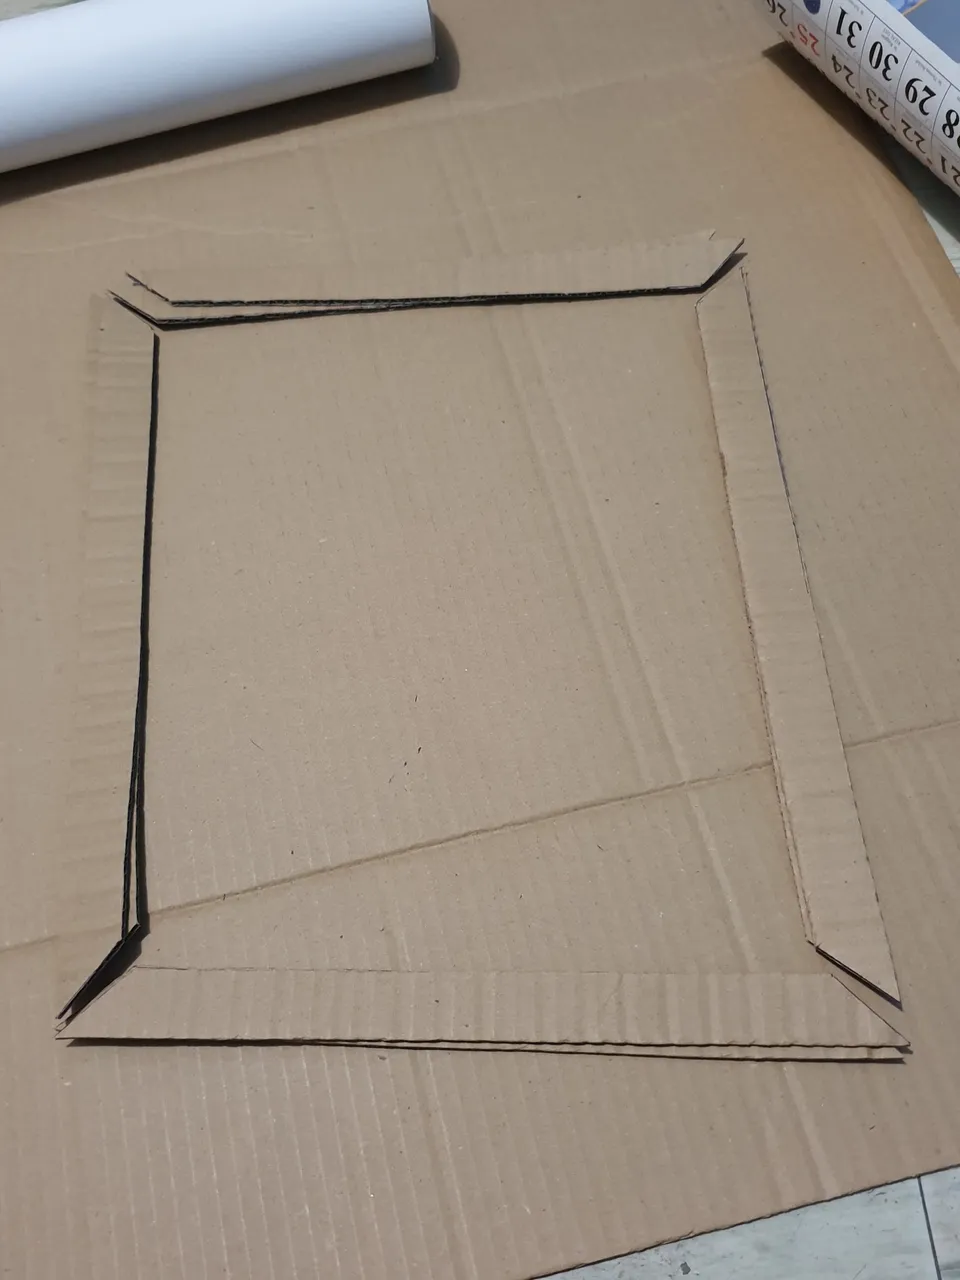
First thing to do is to cut the carton wide enough for the poster and allowance on all four sides. I gave an allowance of an inch wide which will also be the width of the frame strips.
Cut the frame strips.
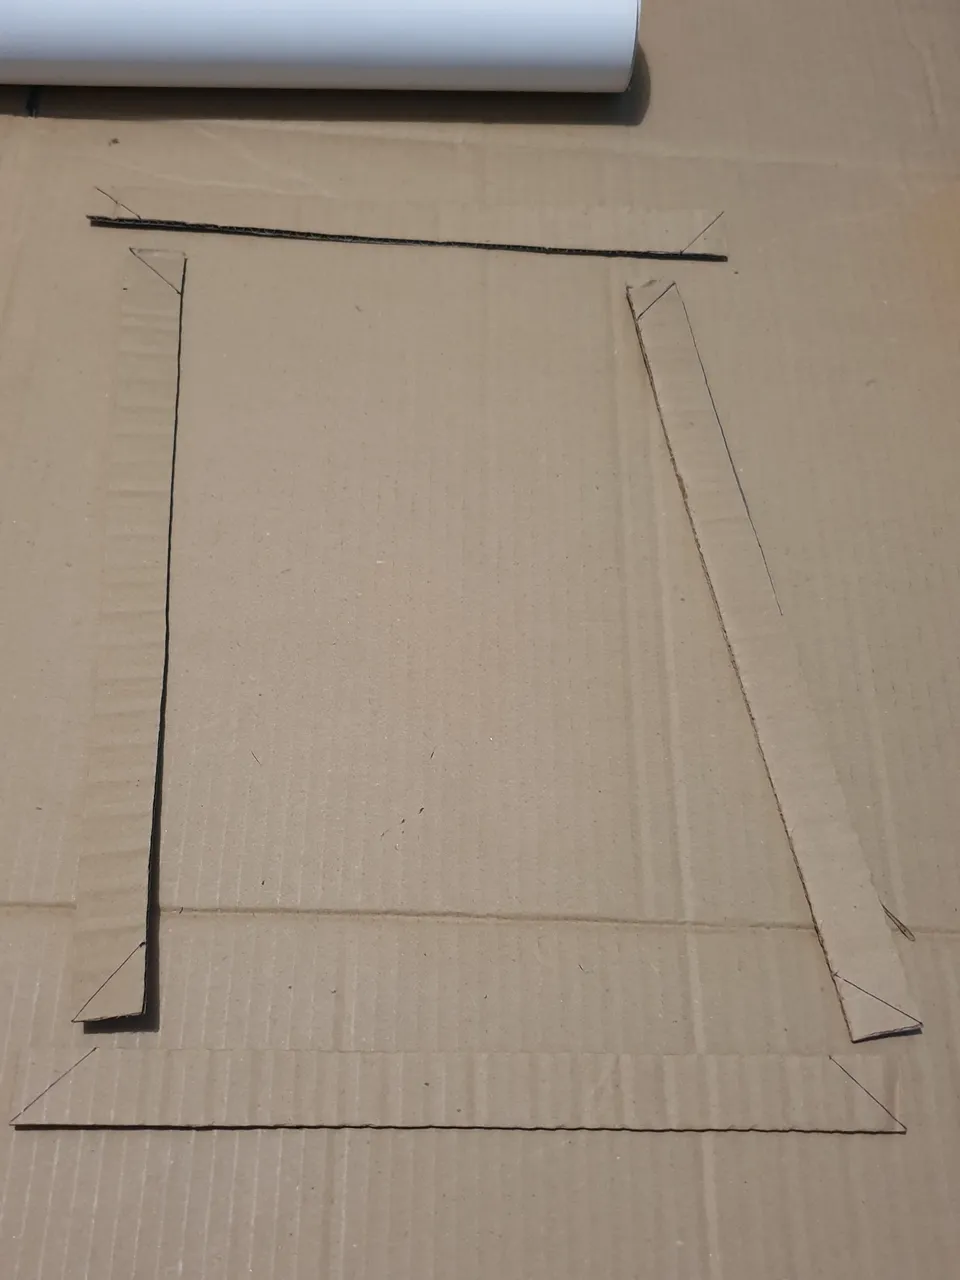
Cut the corners of the strips by 45 degrees. The cuts will be used to join the strips together at the corner of the frame. If you want to have a more sturdy or harder frame, you can put two strips together.
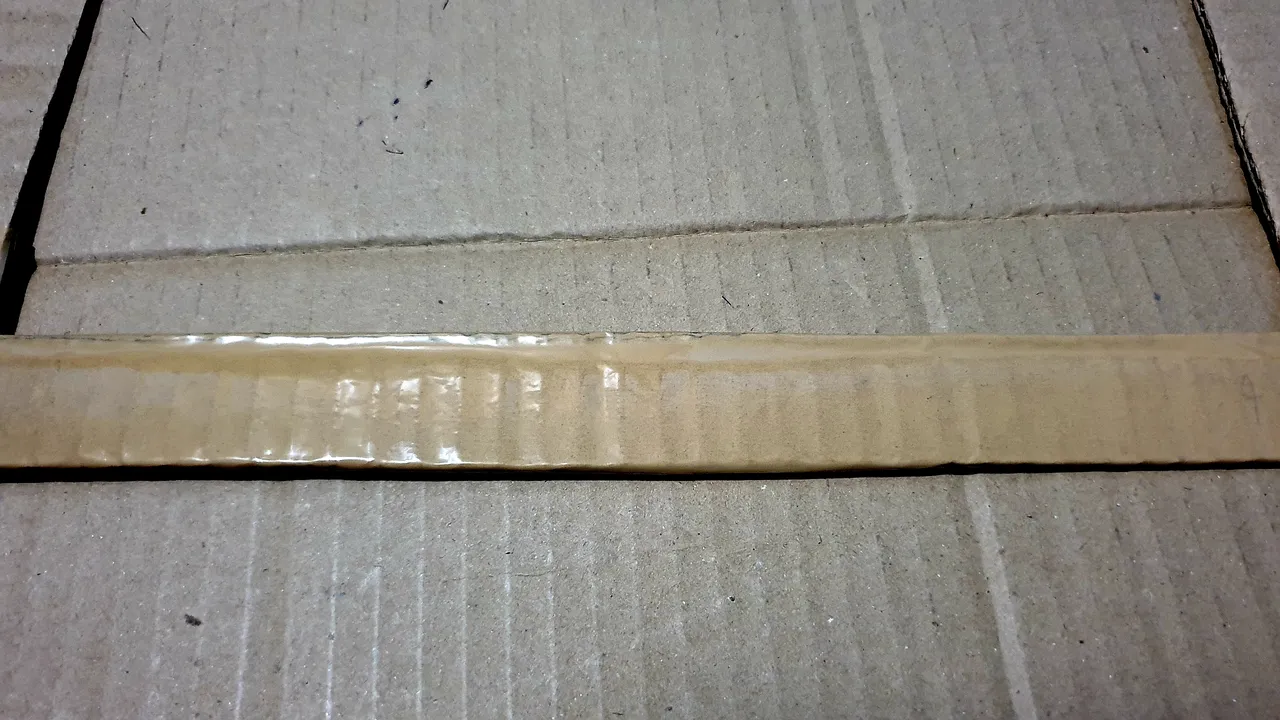
I used packing tape to stick the strips together. Aside from sticking the strips, I thought the plastic adhesive will help protect the paper frames.
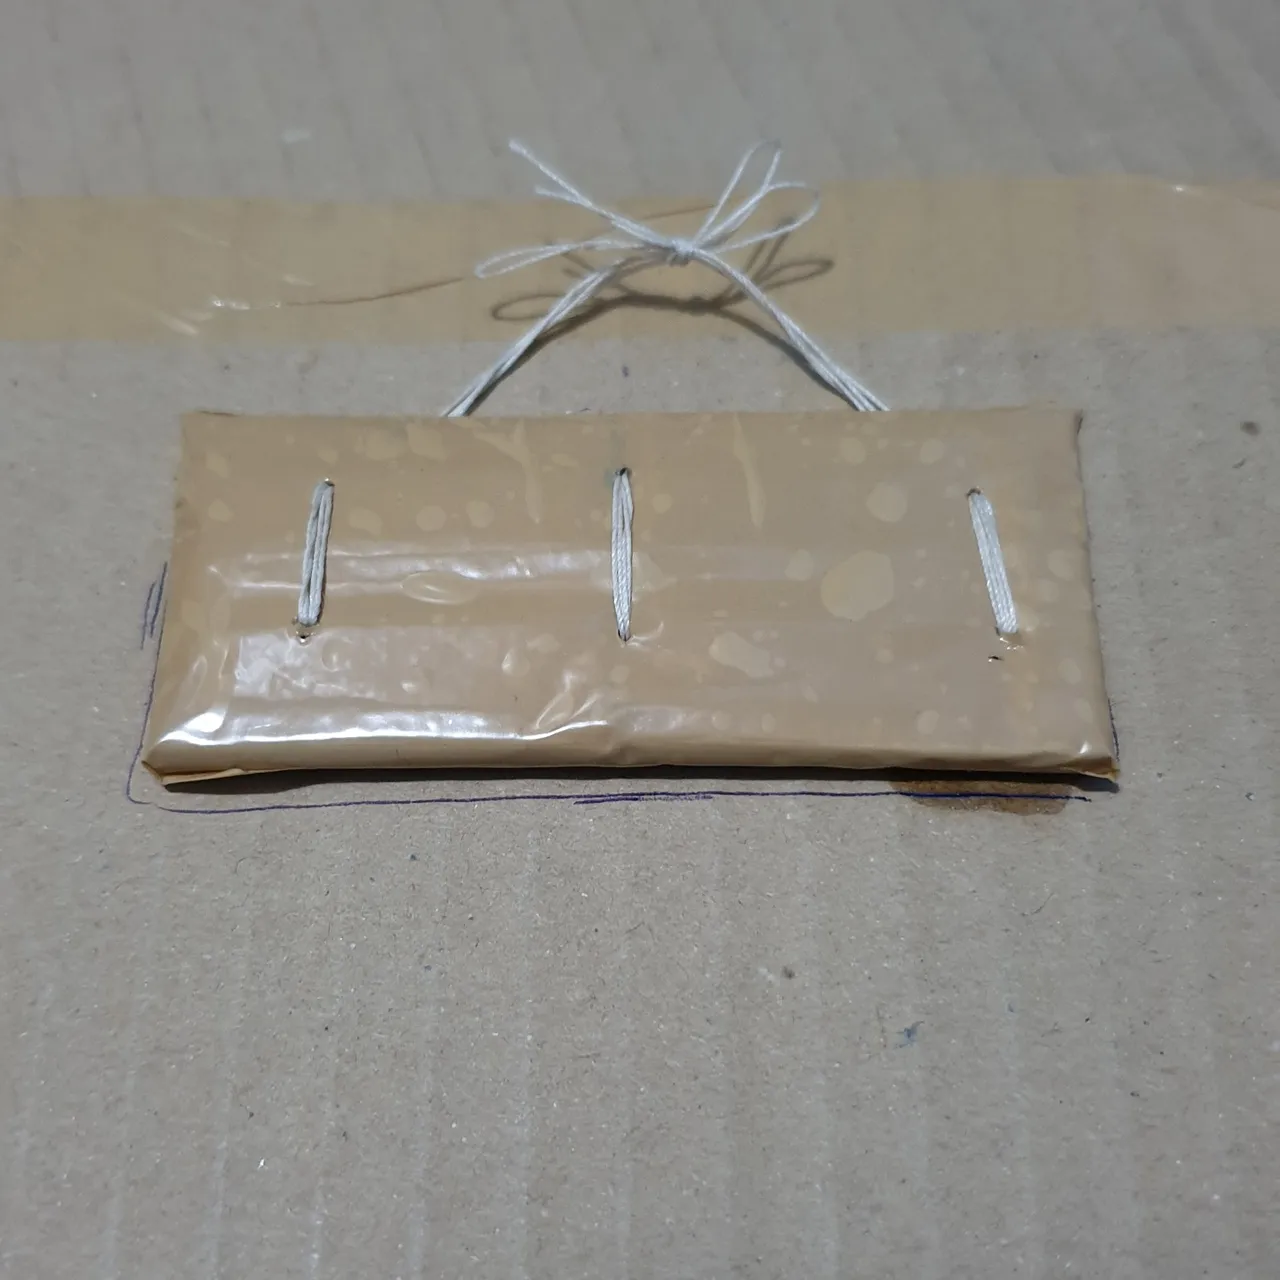
Sew up a carton patch with threads at the back of the base to serve as the hook to hang the poster up later.
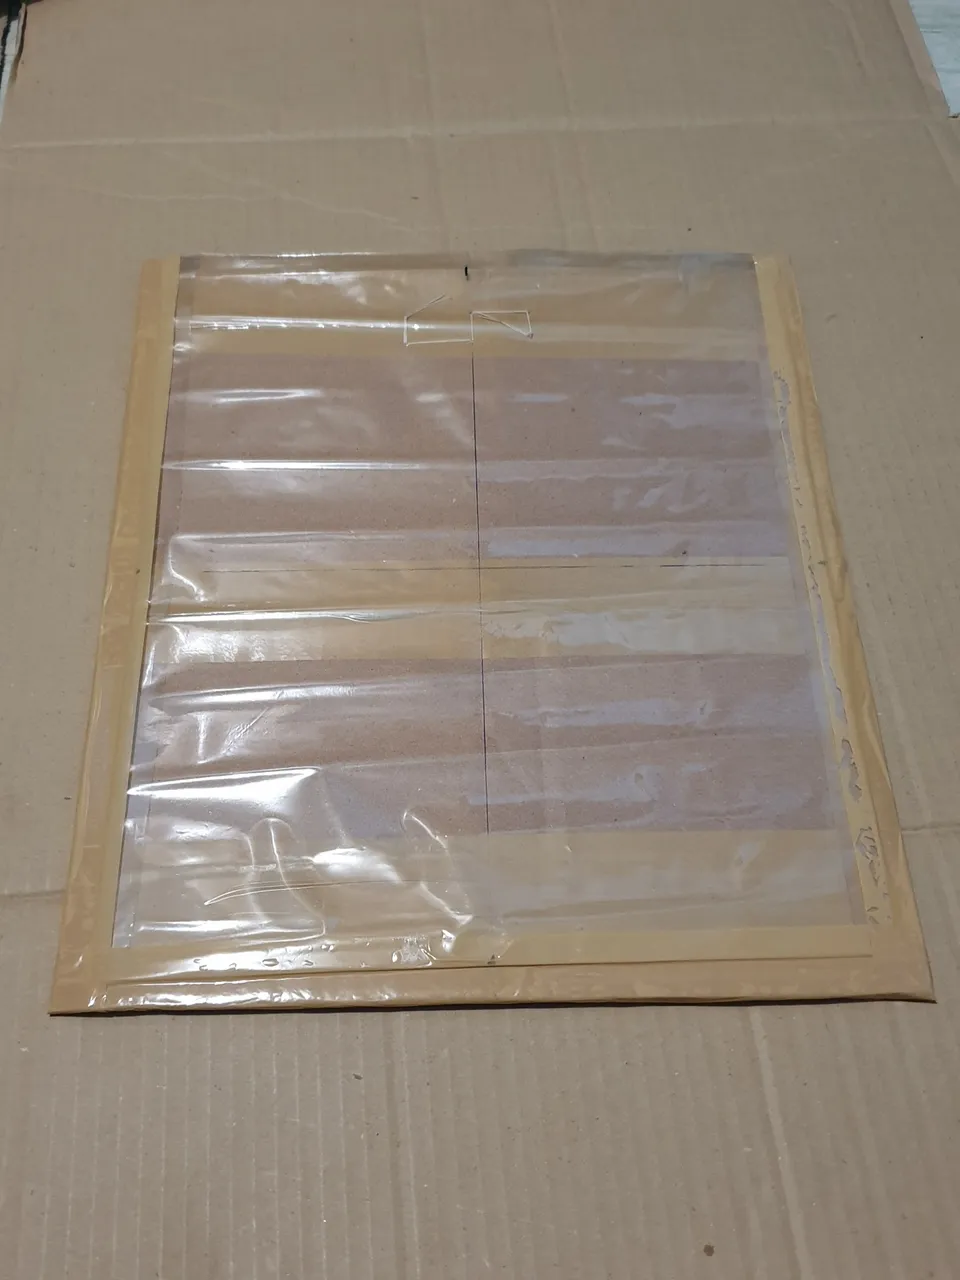
Next is to measure and cut the plastic cover that will be used as sleeve.
Stick the plastic cover on the sides of the base carton using packing tape. That is except the top portion which will be the opening of the sleeve.
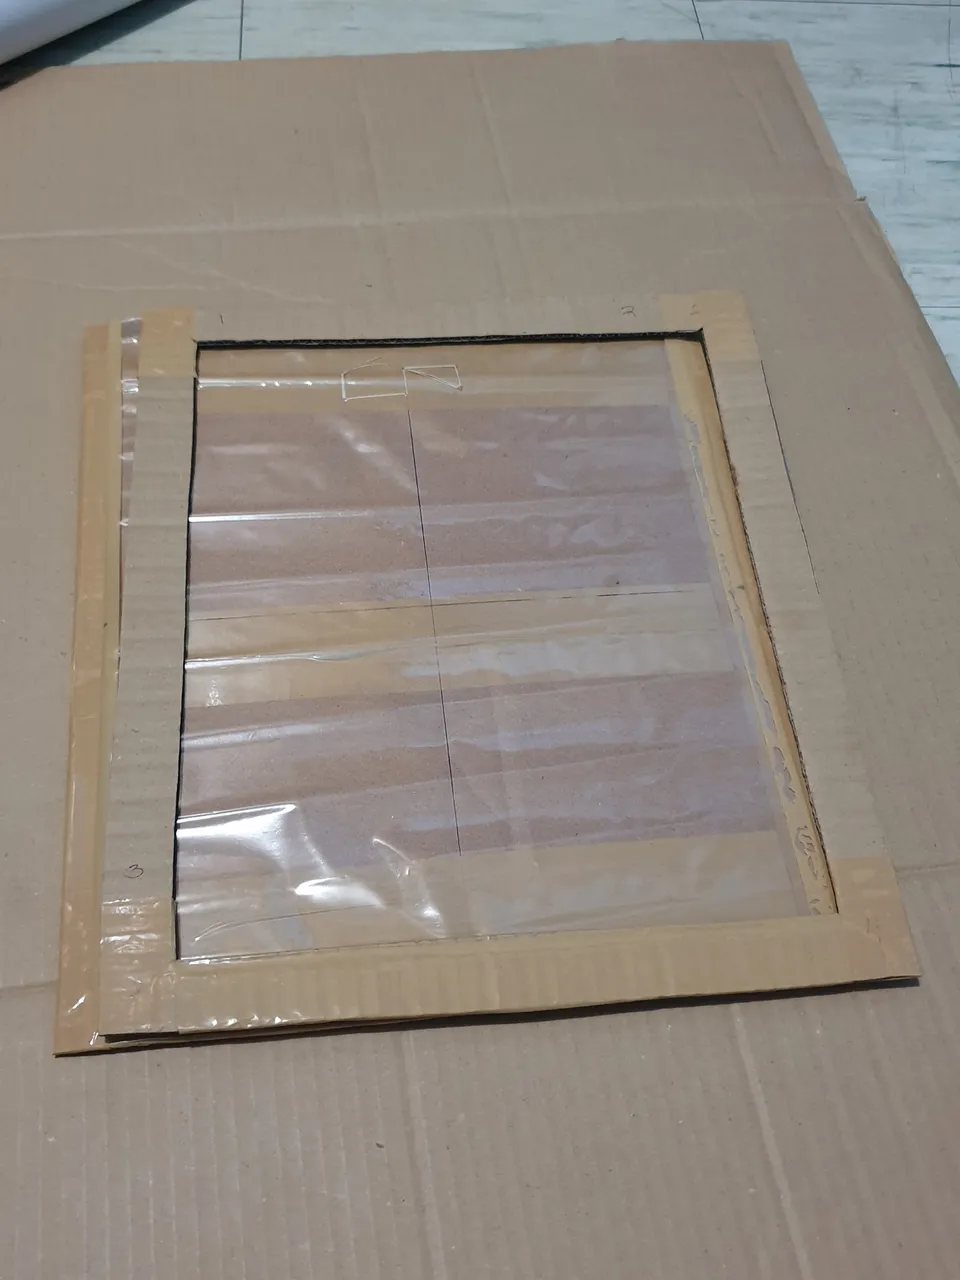
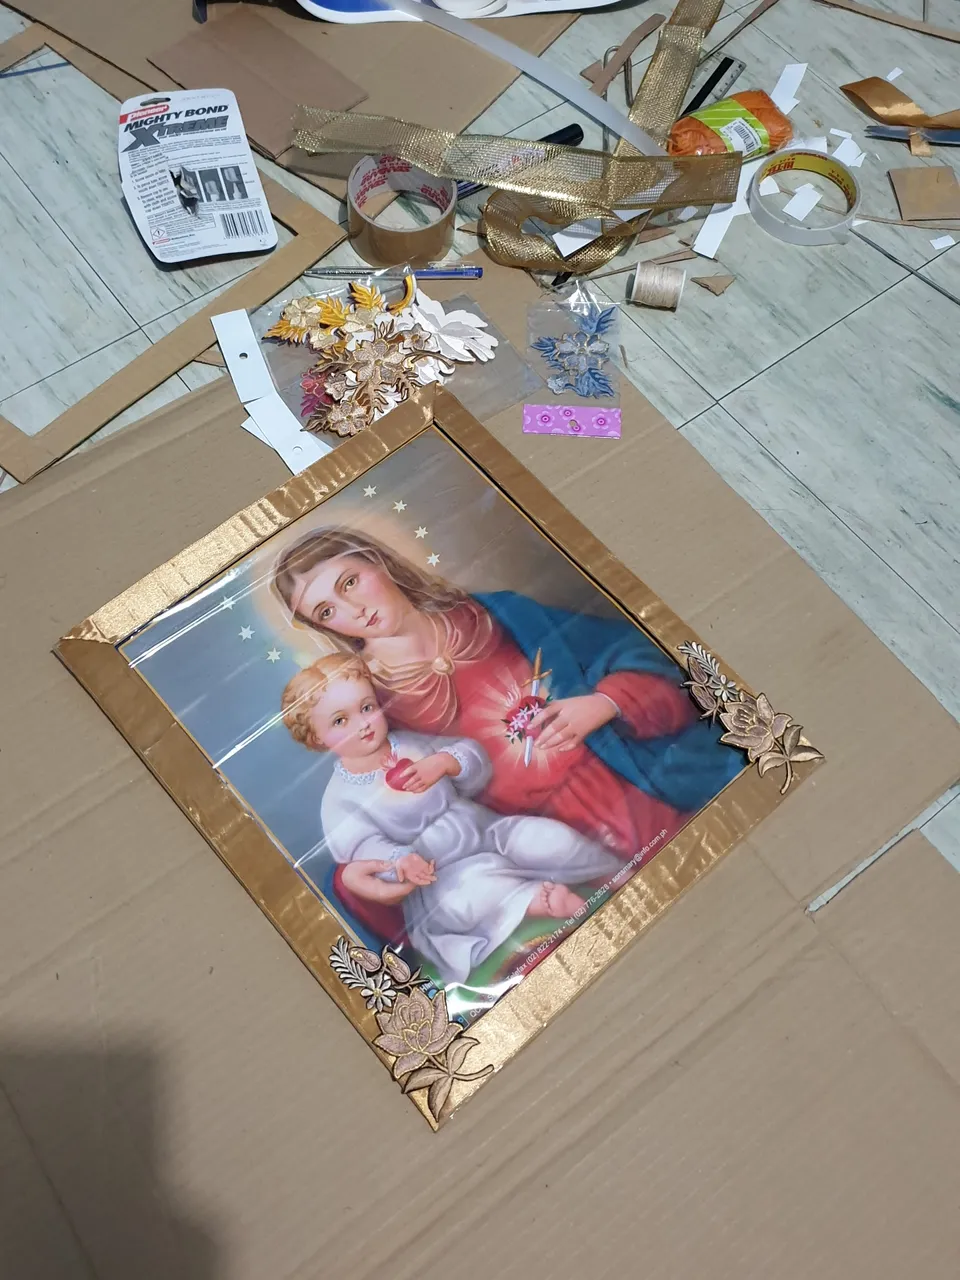
Stick the frame over on the plastic cover. Ensure that it is tightly stuck by using double-sided tape between the frame and the base. Make it more protected by taping the sides using the packing tape.
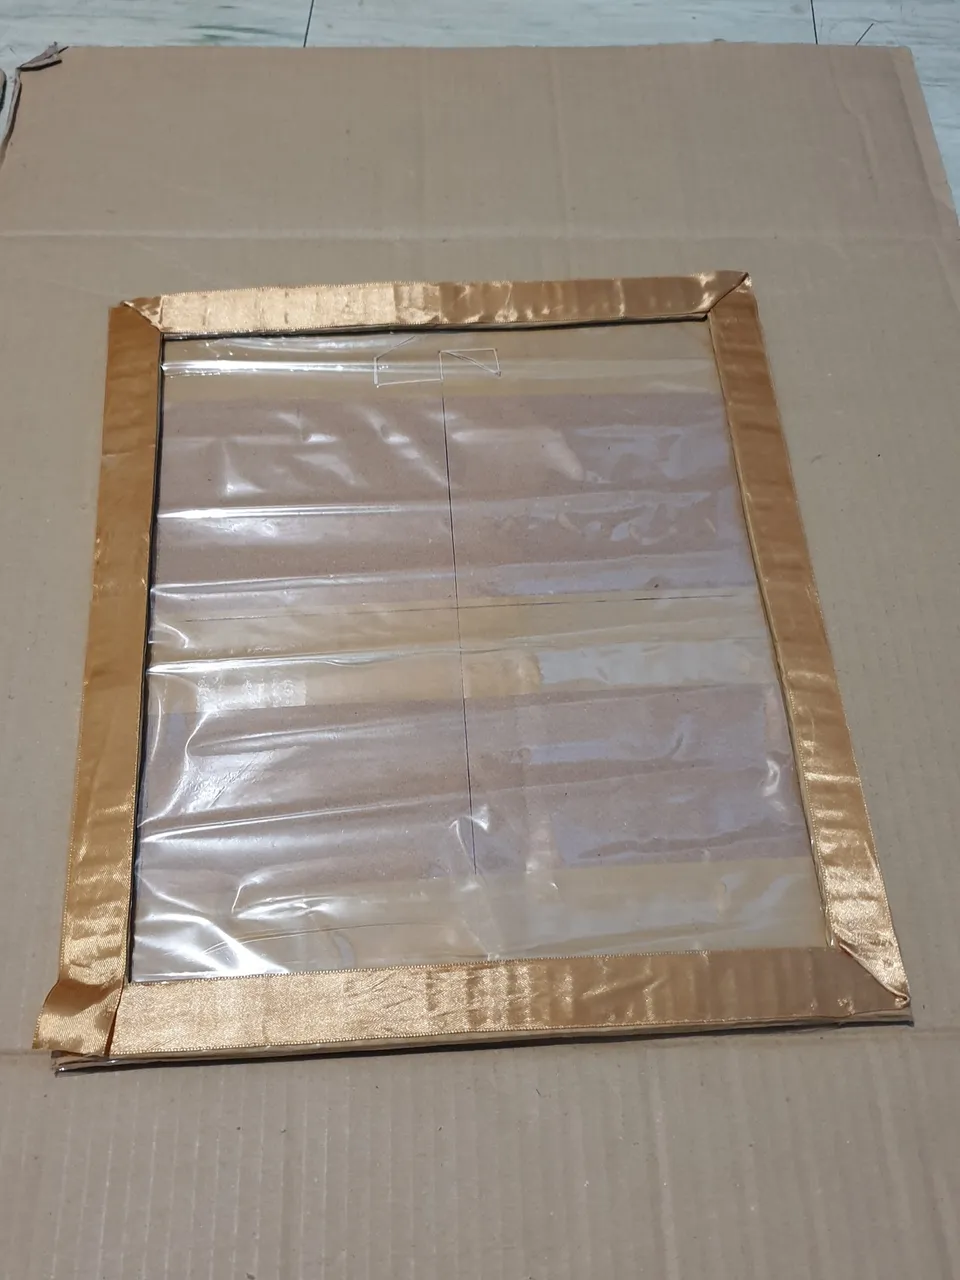
Cover and decorate the frame with ribbon all along the sides. I used double-sided tape to stuck these together. The sleeve frame is now ready.
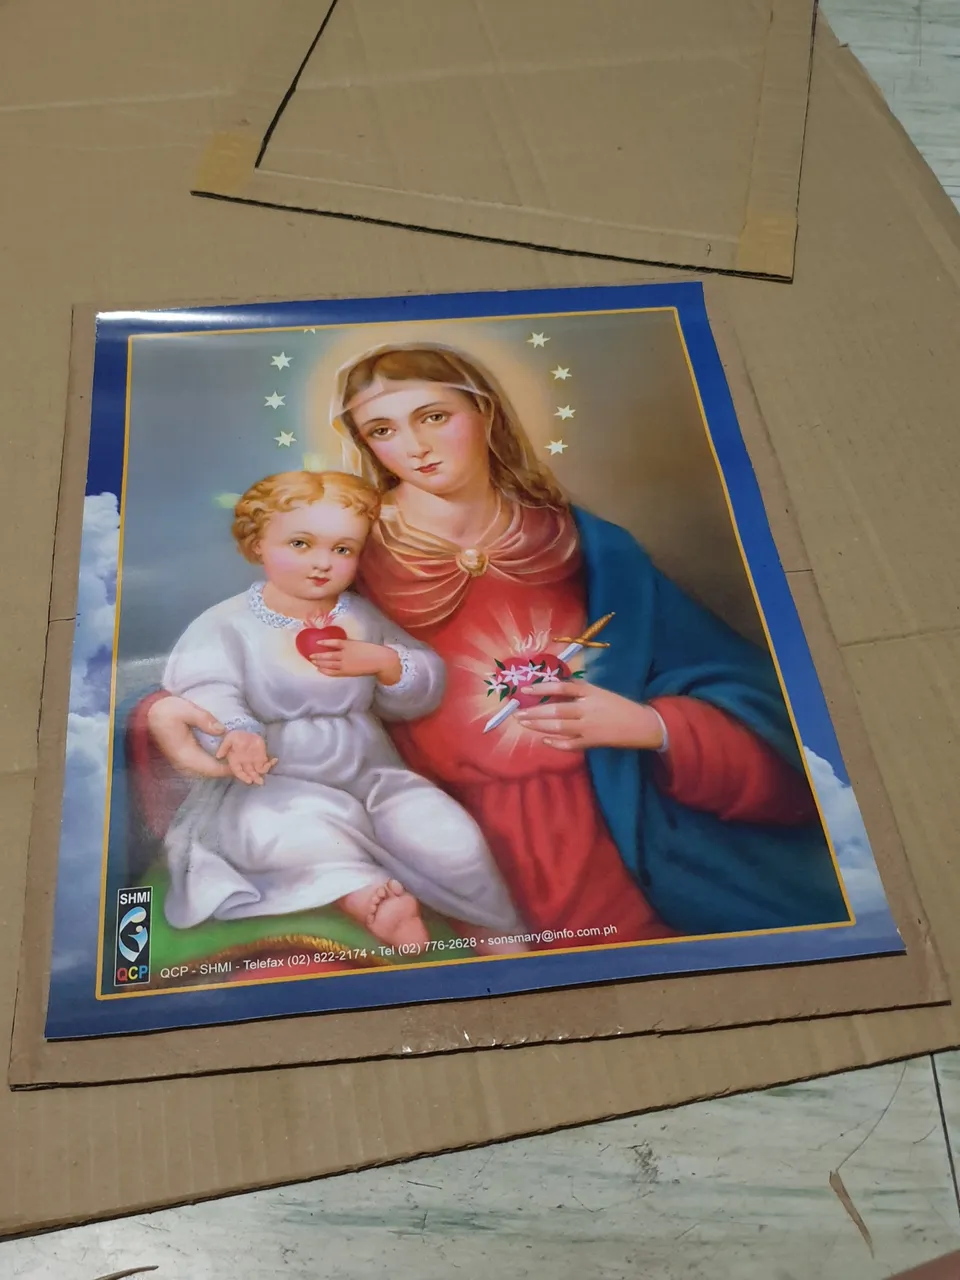
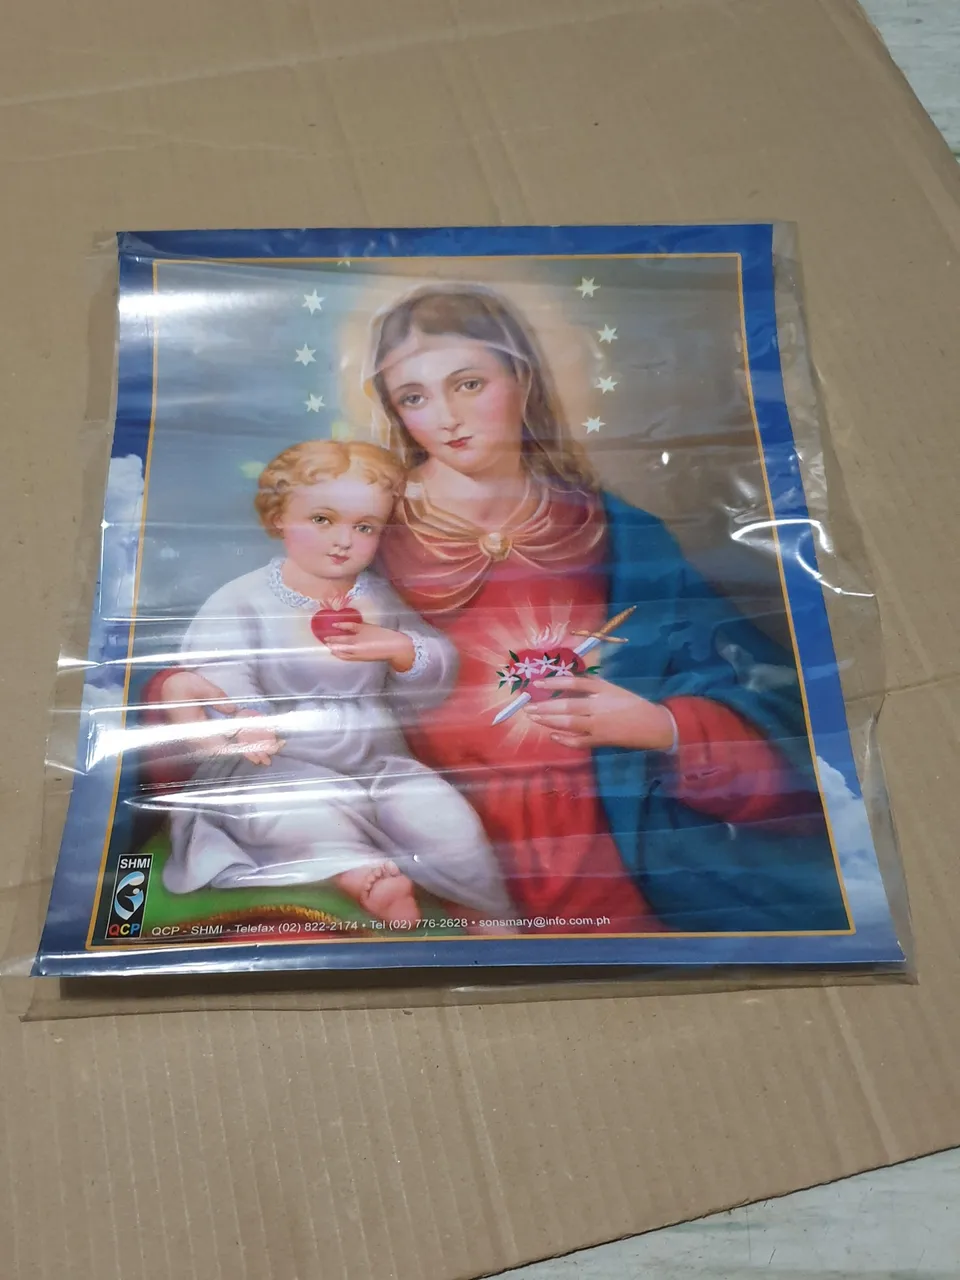
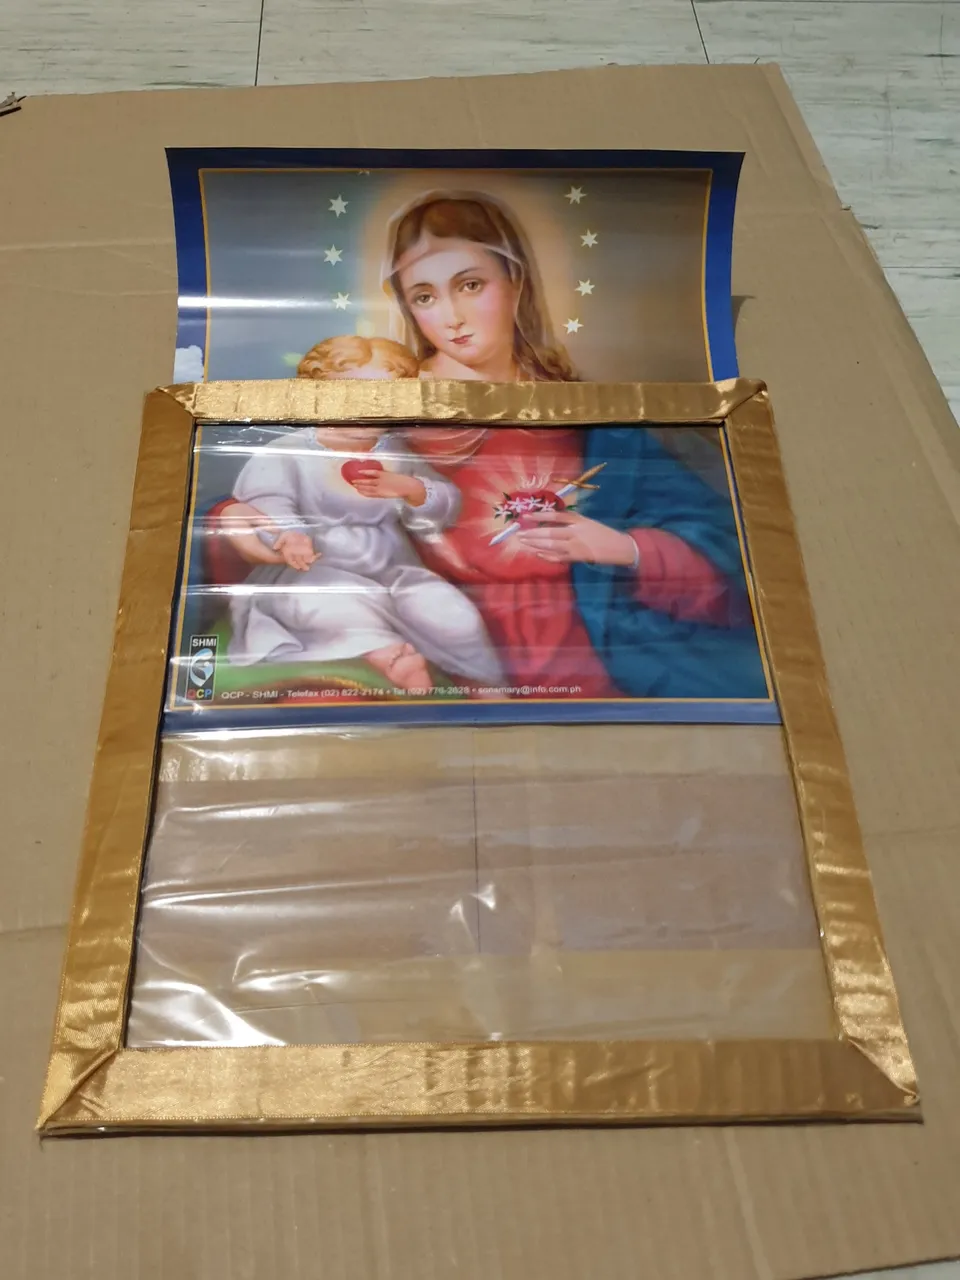
Insert the poster into the sleeve.
The folding of the ribbon on the corners do not seem fine as I wanted them to be. I need something to tune it up a bit and I remembered that I bought appliques long time ago. They suddenly got used this time.
The appliques have hardened plastic at the back. To stick this to either fabric or paper, iron it on the base. The iron will melt the plastic on the back and stuck it on. I haven't tried on wood but I guess it will also work.
This is how the product looked like with all the scraps. It looks so amateur as if done by one of my nieces but I did it. I would still pat my back for not-bad-for-a-first-time attempt.
I started it before eight o'clock on a Saturday night and did not want to stop. It rook me up to almost three o'clock in the morning the following day to finish it. That's around seven hours, again, for an amateur output.
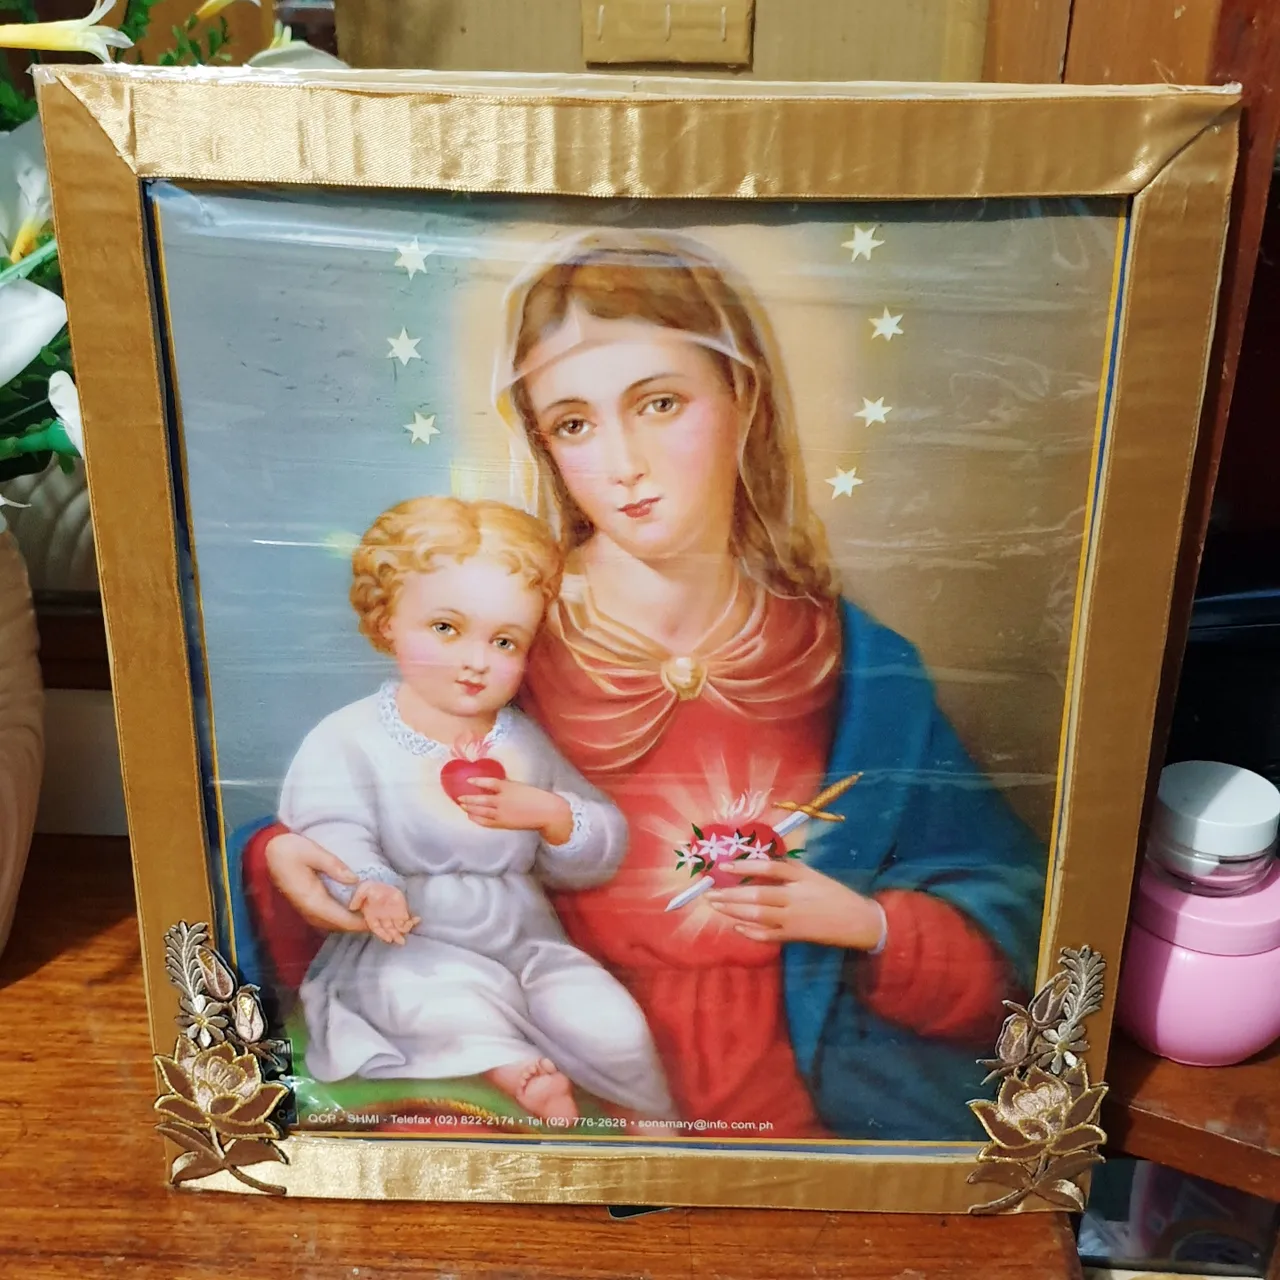
The frame is about 22 cm x 33 cm. This is now how it looks on the wall.
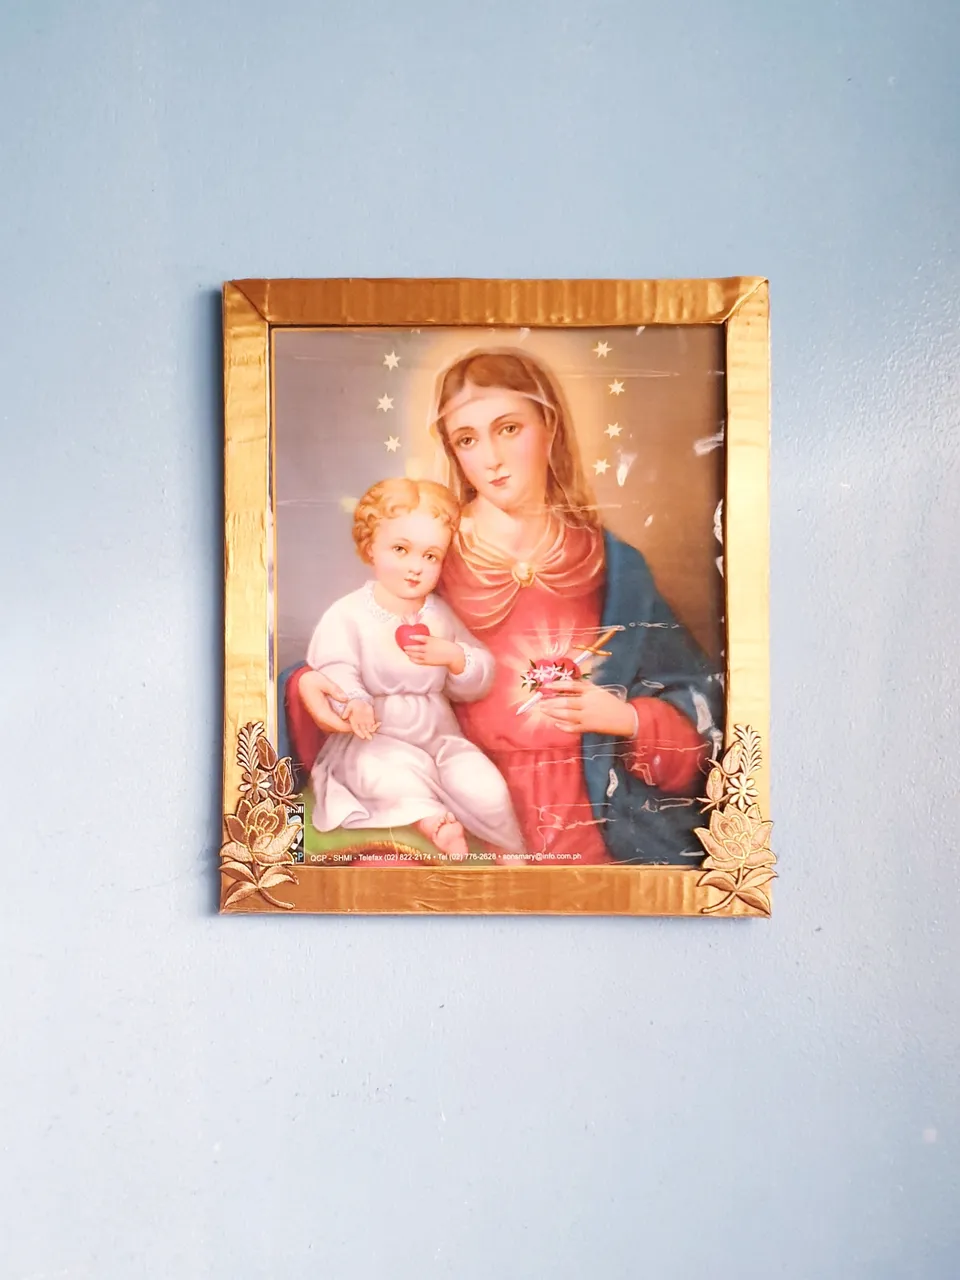
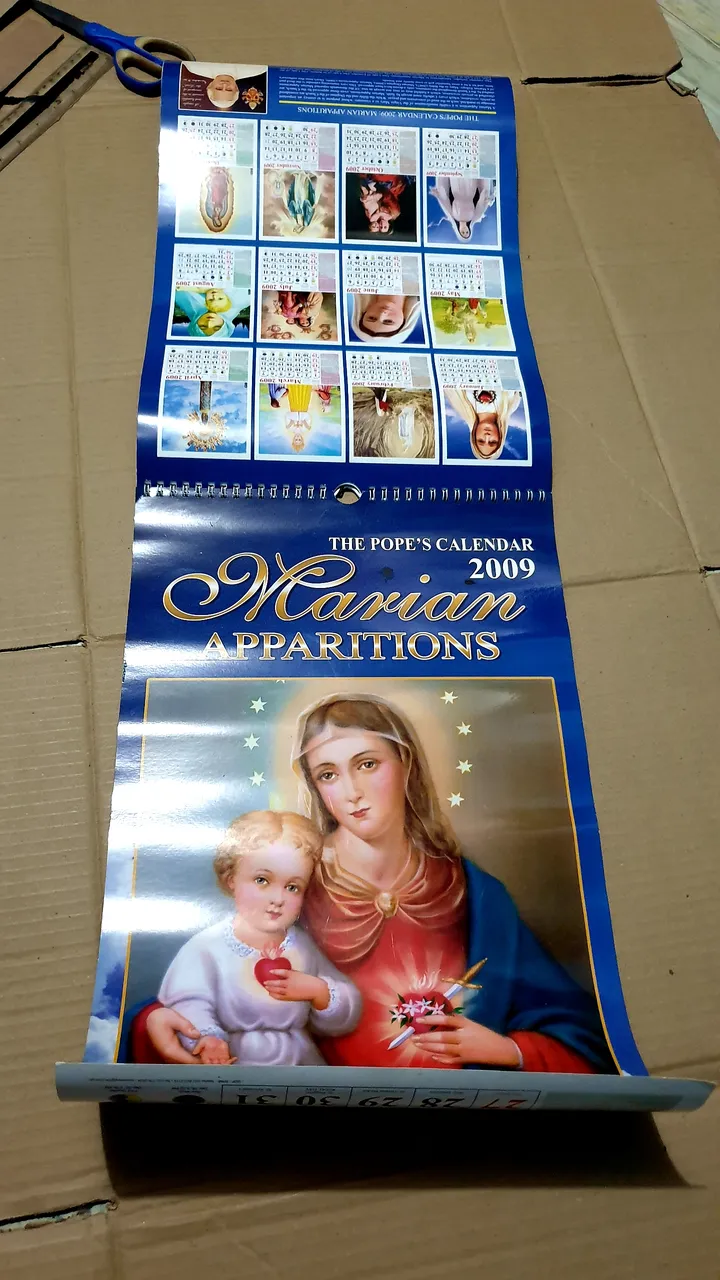
There are six leaves of the calendar and I did only the cover. That means I still have six to work on. There are more opportunities to improve. I hope I can find wood strips for the frames next time. And by the way, I have two more old calendars. That's at least 12 posters to work on...

Join #ccc for Guaranteed 👍 Daily Income 💵 and Payout 💸 for Newbies (2.0) 🐟 🐜 🐛 in #ccc 👣 and Follow 👣 the Honor Code 🏅 - the Creed (Conditions and Limits Inside) AND the latest update <<< please click to read.
