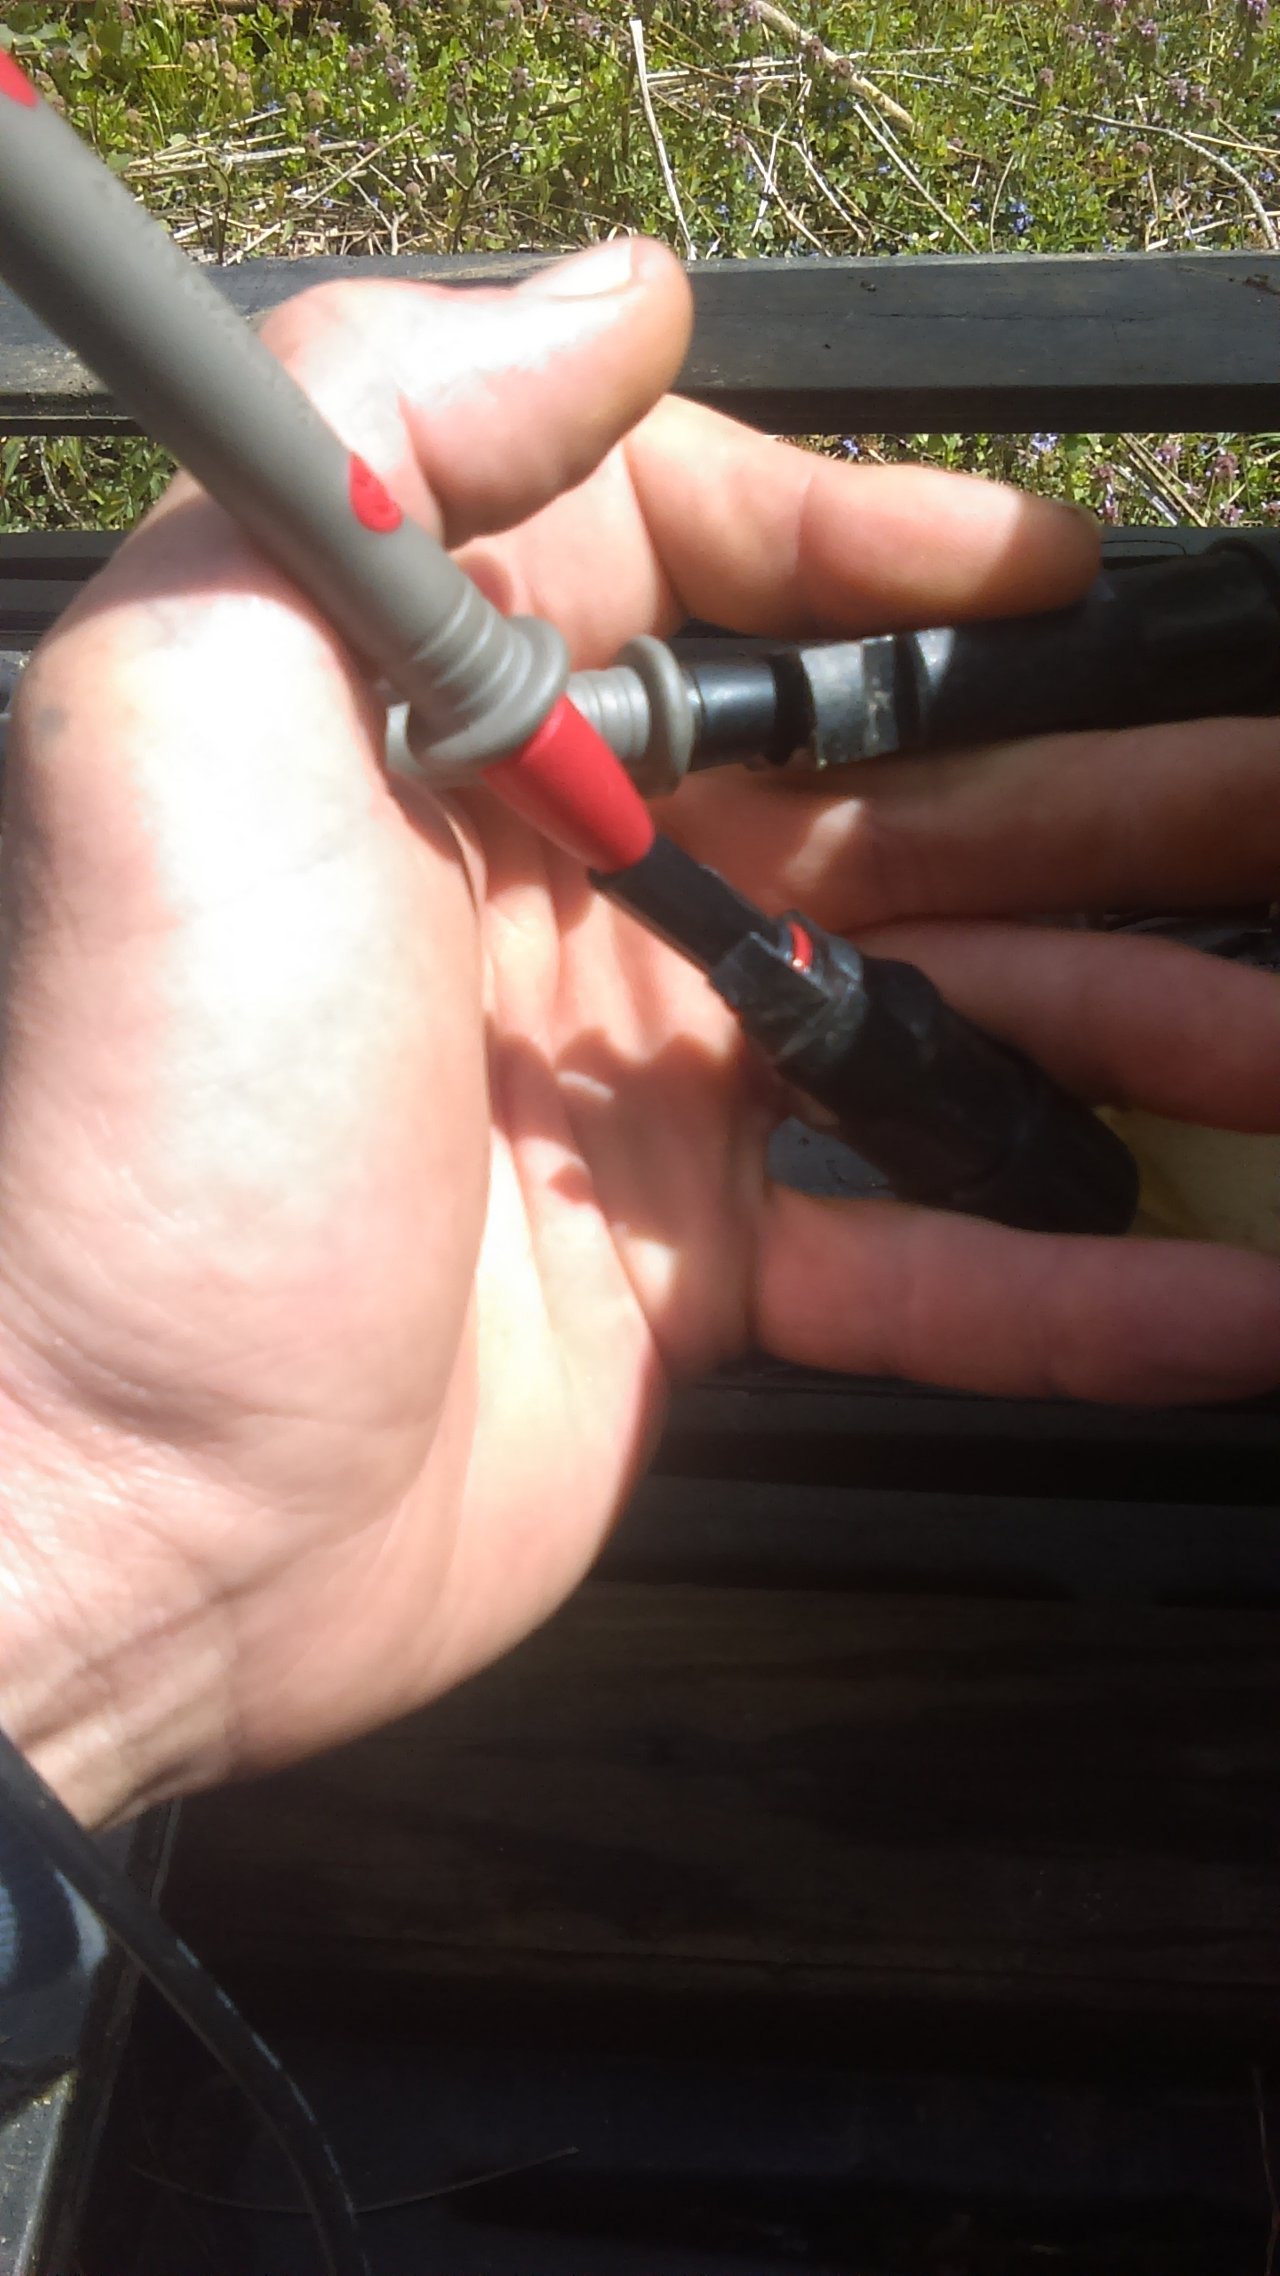
The first step was to lean the panel on some sawhorses and angle it towards the sun so that I could use a multi-meter to check the open circuit voltage of the panel.
The open circuit voltage and other specifications can be found on the back of the panel. The label on my panel states that it has an open circuit voltage of 46 volts but the manufactures website says that the open circuit voltage is 44.6 and while this discrepancy does not really matter to me I find it worth noting. The actual voltage that I got from the panel was 43.4 volts which could be due to the shattered glass and because it was cloudy outside when I was taking the voltage reading.
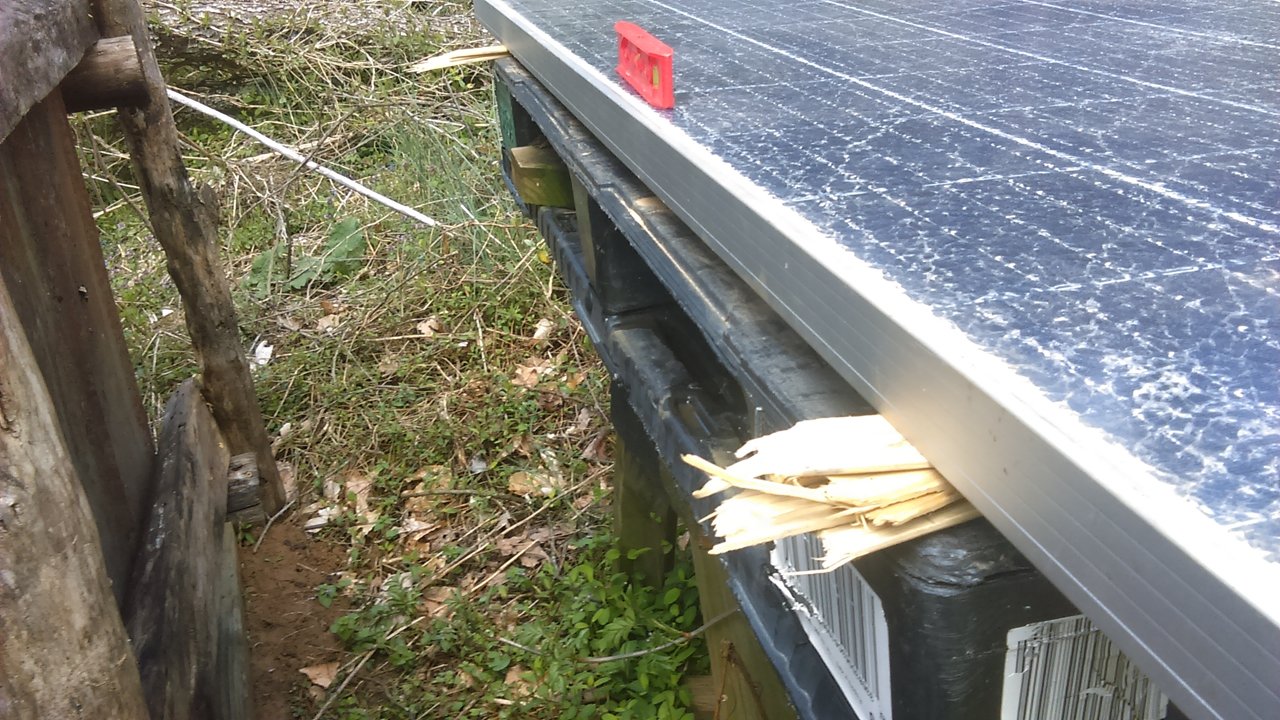
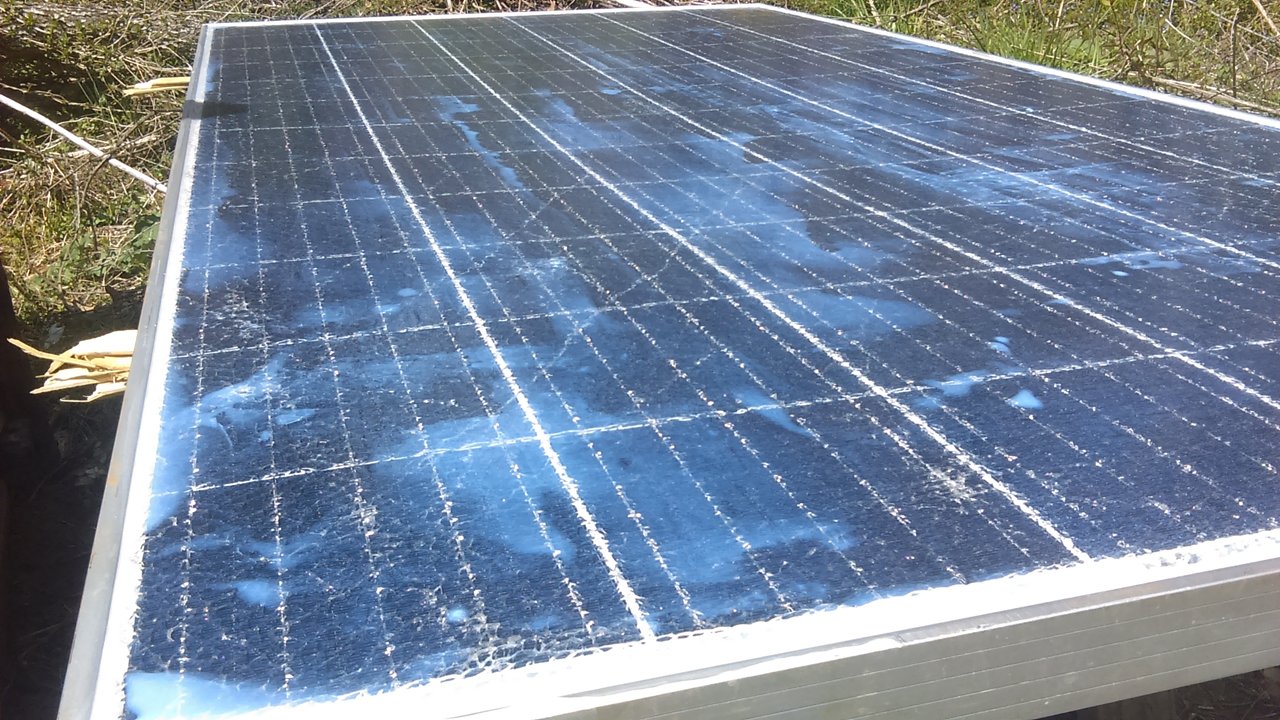
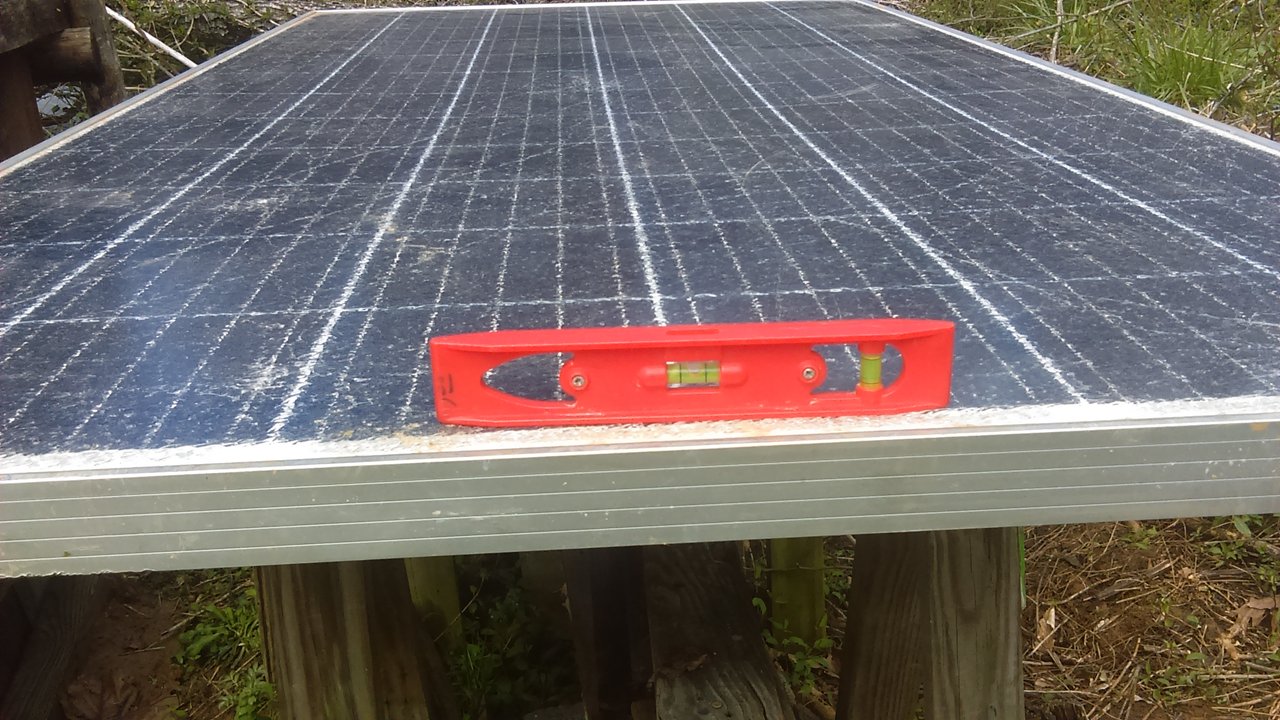
The next thing that I did was to position the panel on top of a pair of sawhorses that had a plastic pallet resting on them which made it just wide enough to accommodate the panel's width. This particular panel is nearly six feet by four feet.
I then used a level and some small pieces of wood to level the panel in all directions.
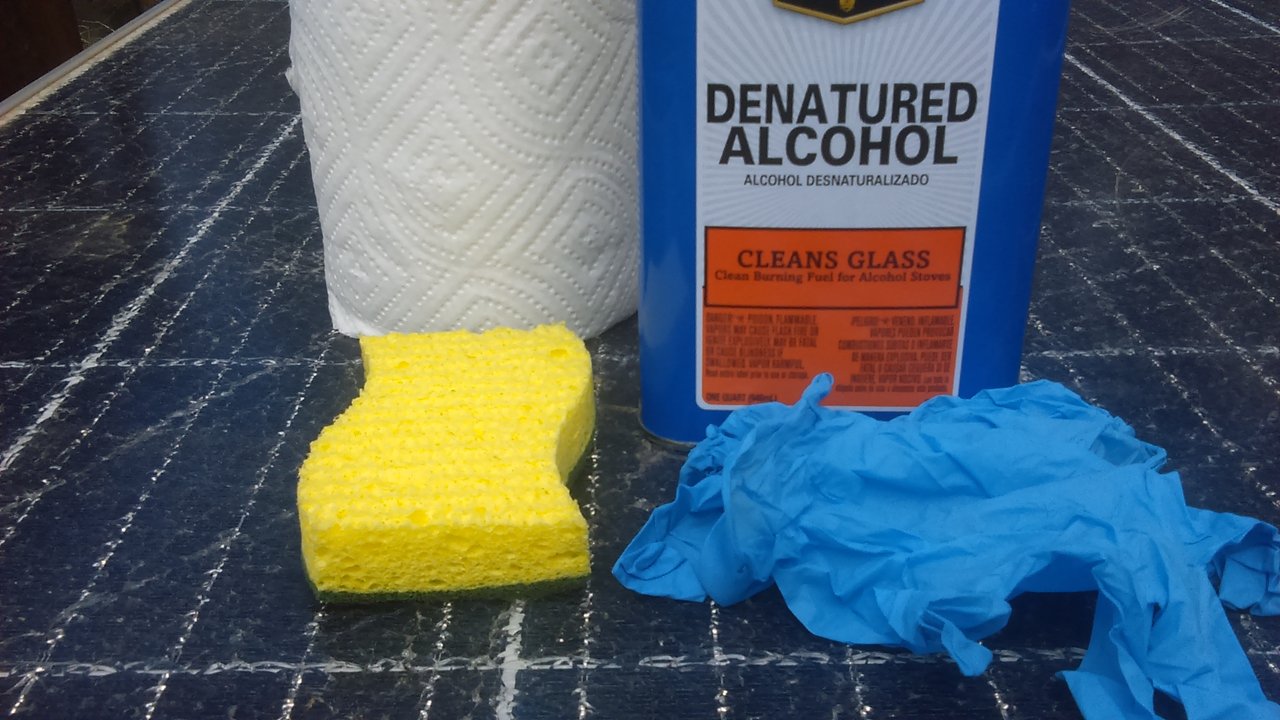
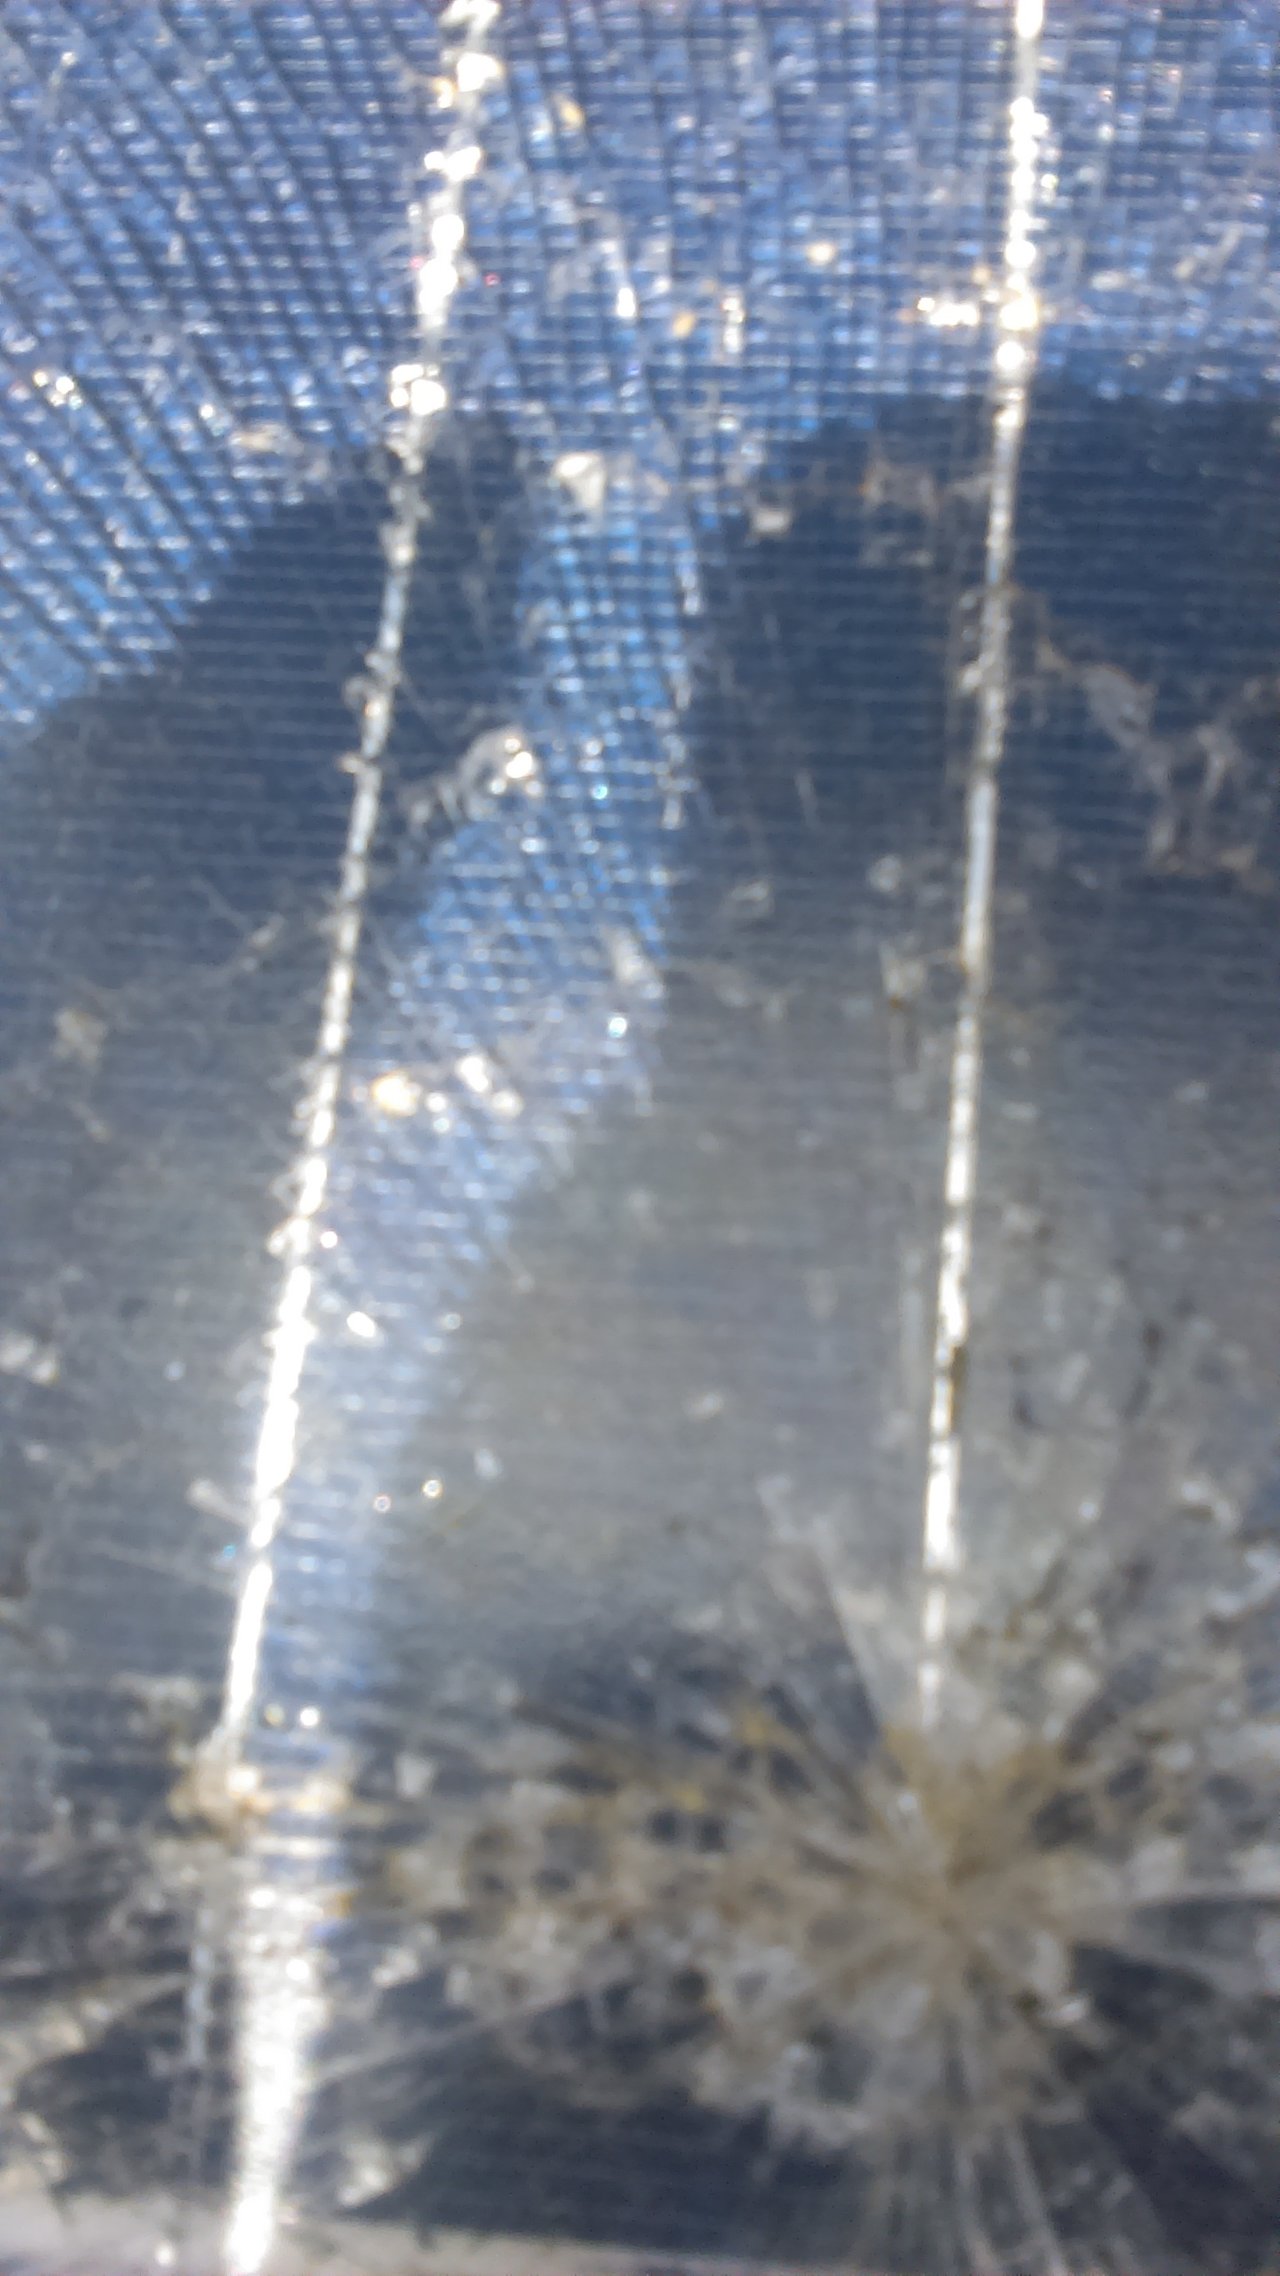
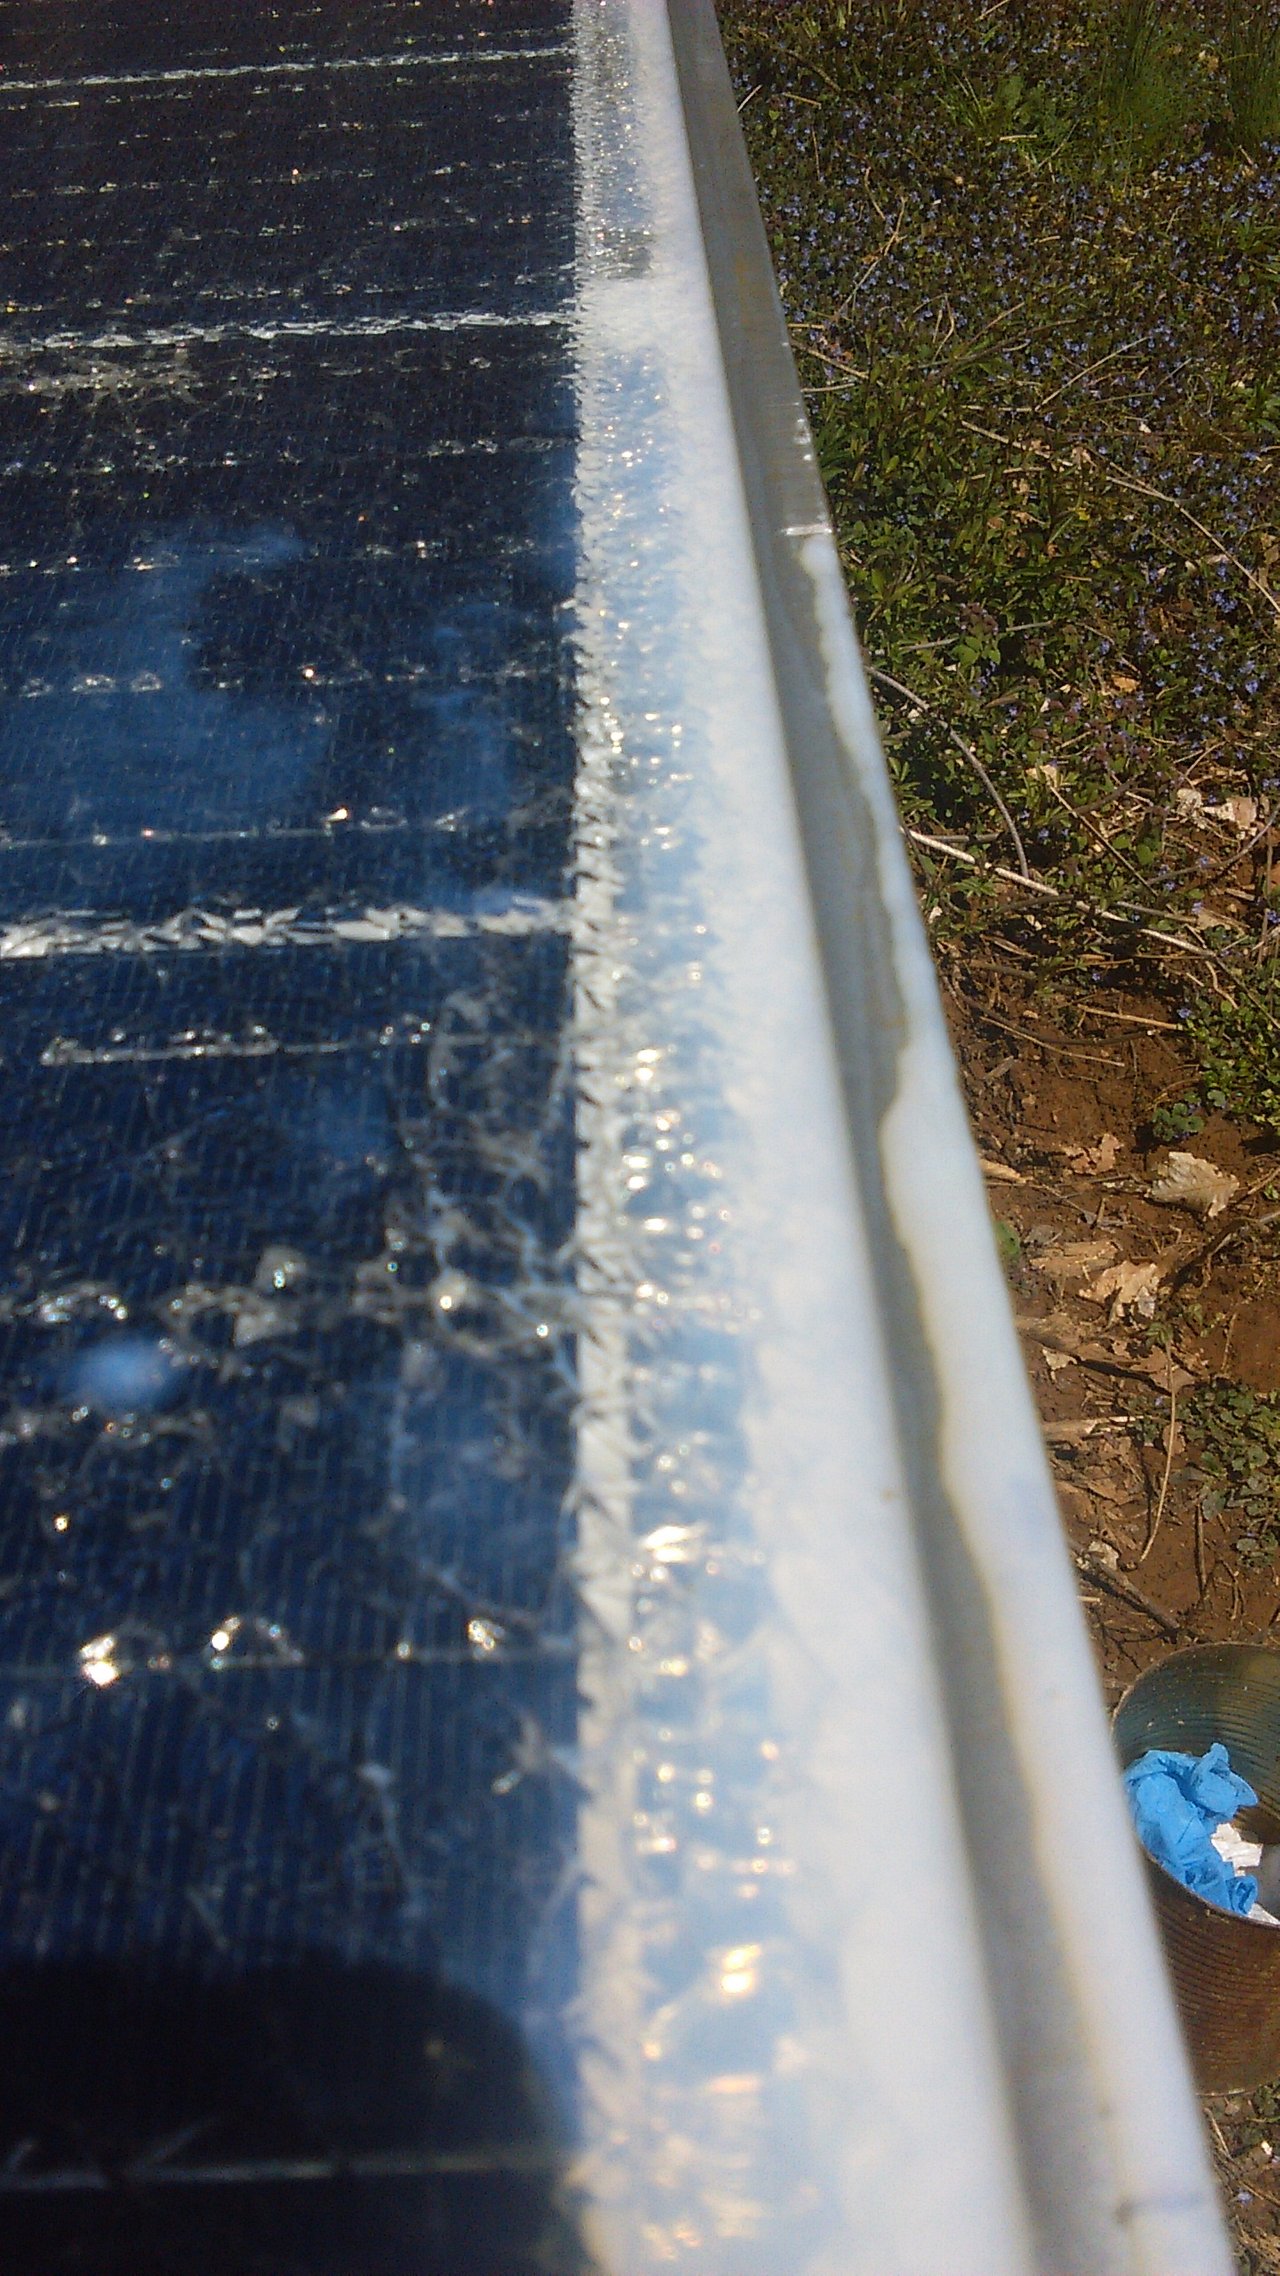
I then used denatured alcohol and a sponge to remove the larger accumulations of dirt and any loose pieces of glass. I also used the sponge to thoroughly scrub where the glass meets the aluminum frame. Do not use a scrubbing pad to clean the glass because it will cause scratches.
I then used paper towels and denatured alcohol to remove any remaining dirt and repeated this process until the paper towels came away more or less clean and did not appear dirty after wiping them across the glass. Be careful of heavily pitted areas and small shards of glass during this process. Also do not press down hard while wiping the glass because it could further damage the panel.
I then used more paper towels to remove as many streaks on the glass as possible that were caused by the cleaning process itself.
I used a coffee can to pour the denatured alcohol onto the sponge and paper towels over and then tossed the paper towels into it when I was done with them so that I could later burn them.
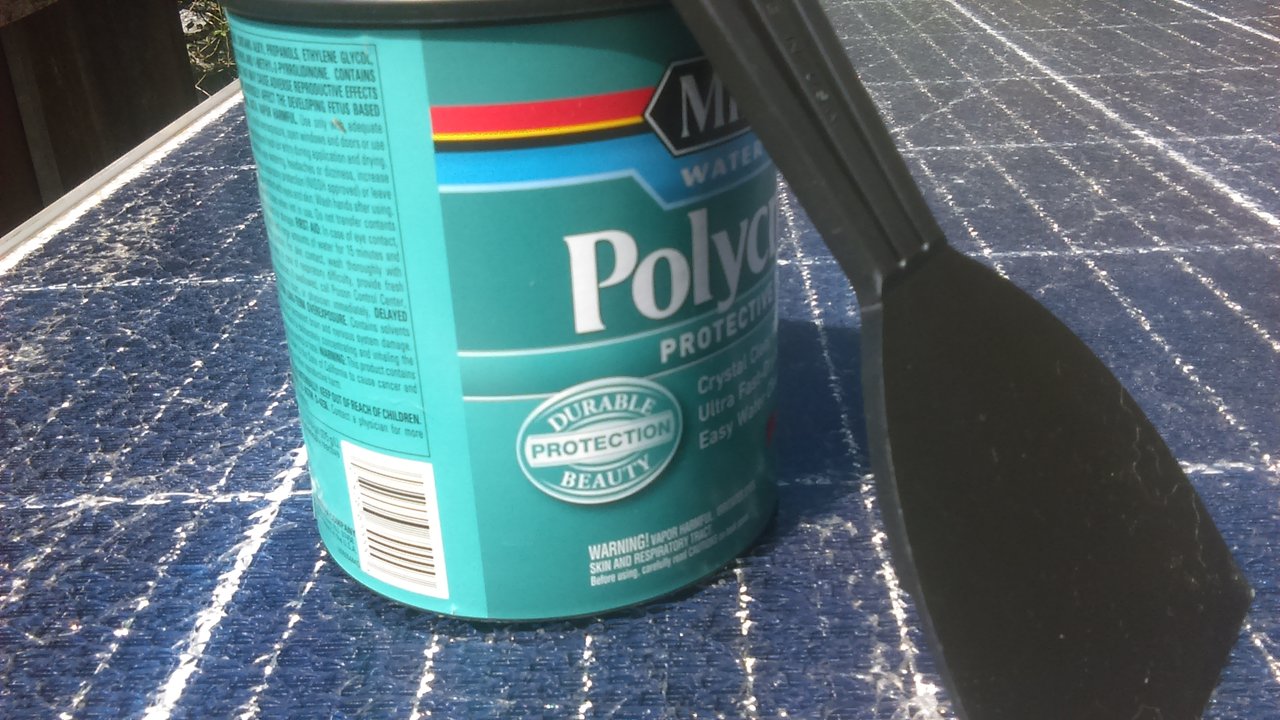
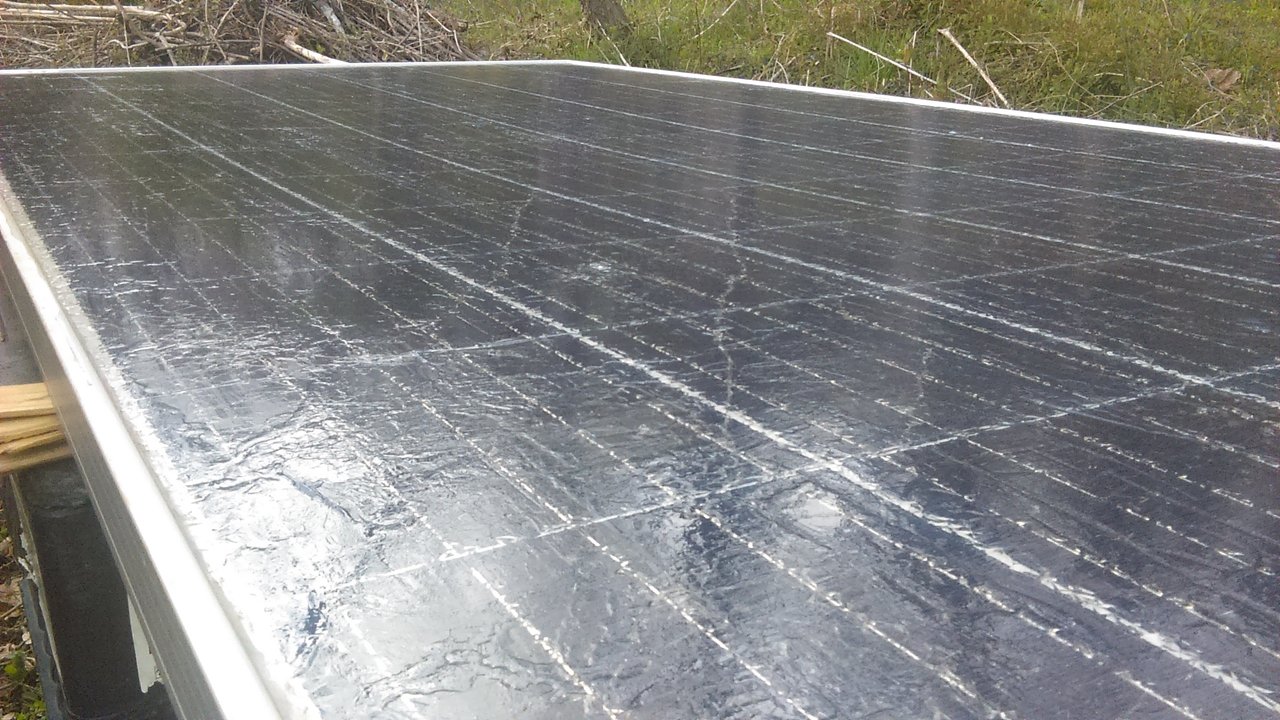
Next came the actual sealing process which in this case I used a water based polyurethane intended for indoor use and a wide plastic putty knife but I highly recommend that folks use an outdoor polyurethane and either a paint brush or roller to apply the polyurethane evenly and work it into the pits and cracks. You can also use epoxy to seal the glass but it is more expensive. There is even an epoxy made explicitly for solar panels.
I just poured the polyurethane from the can a little at a time and then spread it evenly with the putty knife over the glass and was extra meticulous with working it into the heavily pitted areas and also along the edges where the glass meets the aluminum frame. It is better to apply several thin layers than to apply a single thick layer and you should expect a minimum drying time of two hours between each layer.
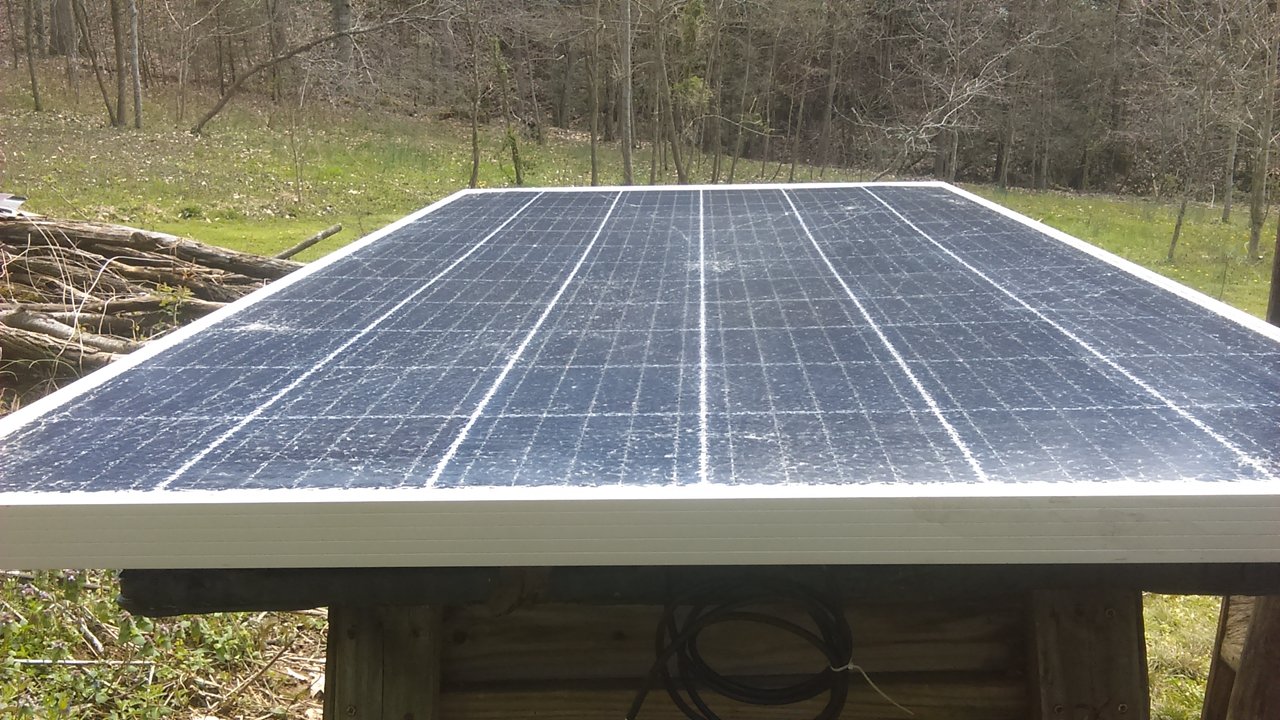
It started to look like it was going to rain so I only got a single coat of polyurethane applied today before putting the panel away in the shed but hopefully I will get a few more hours of bright sun tomorrow so that I can add another coat. I have a one quart can of polyurethane and am planning to just keep applying coats of it until I use it all.
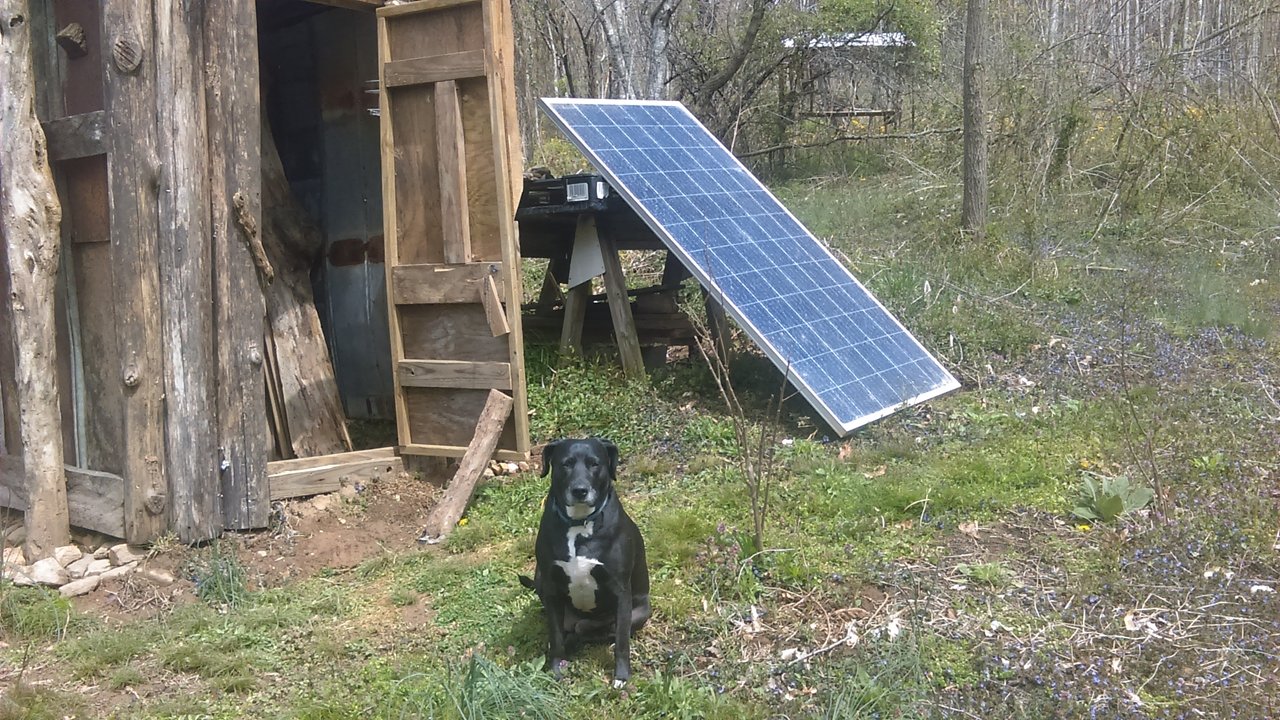
Moral support dog is optional.
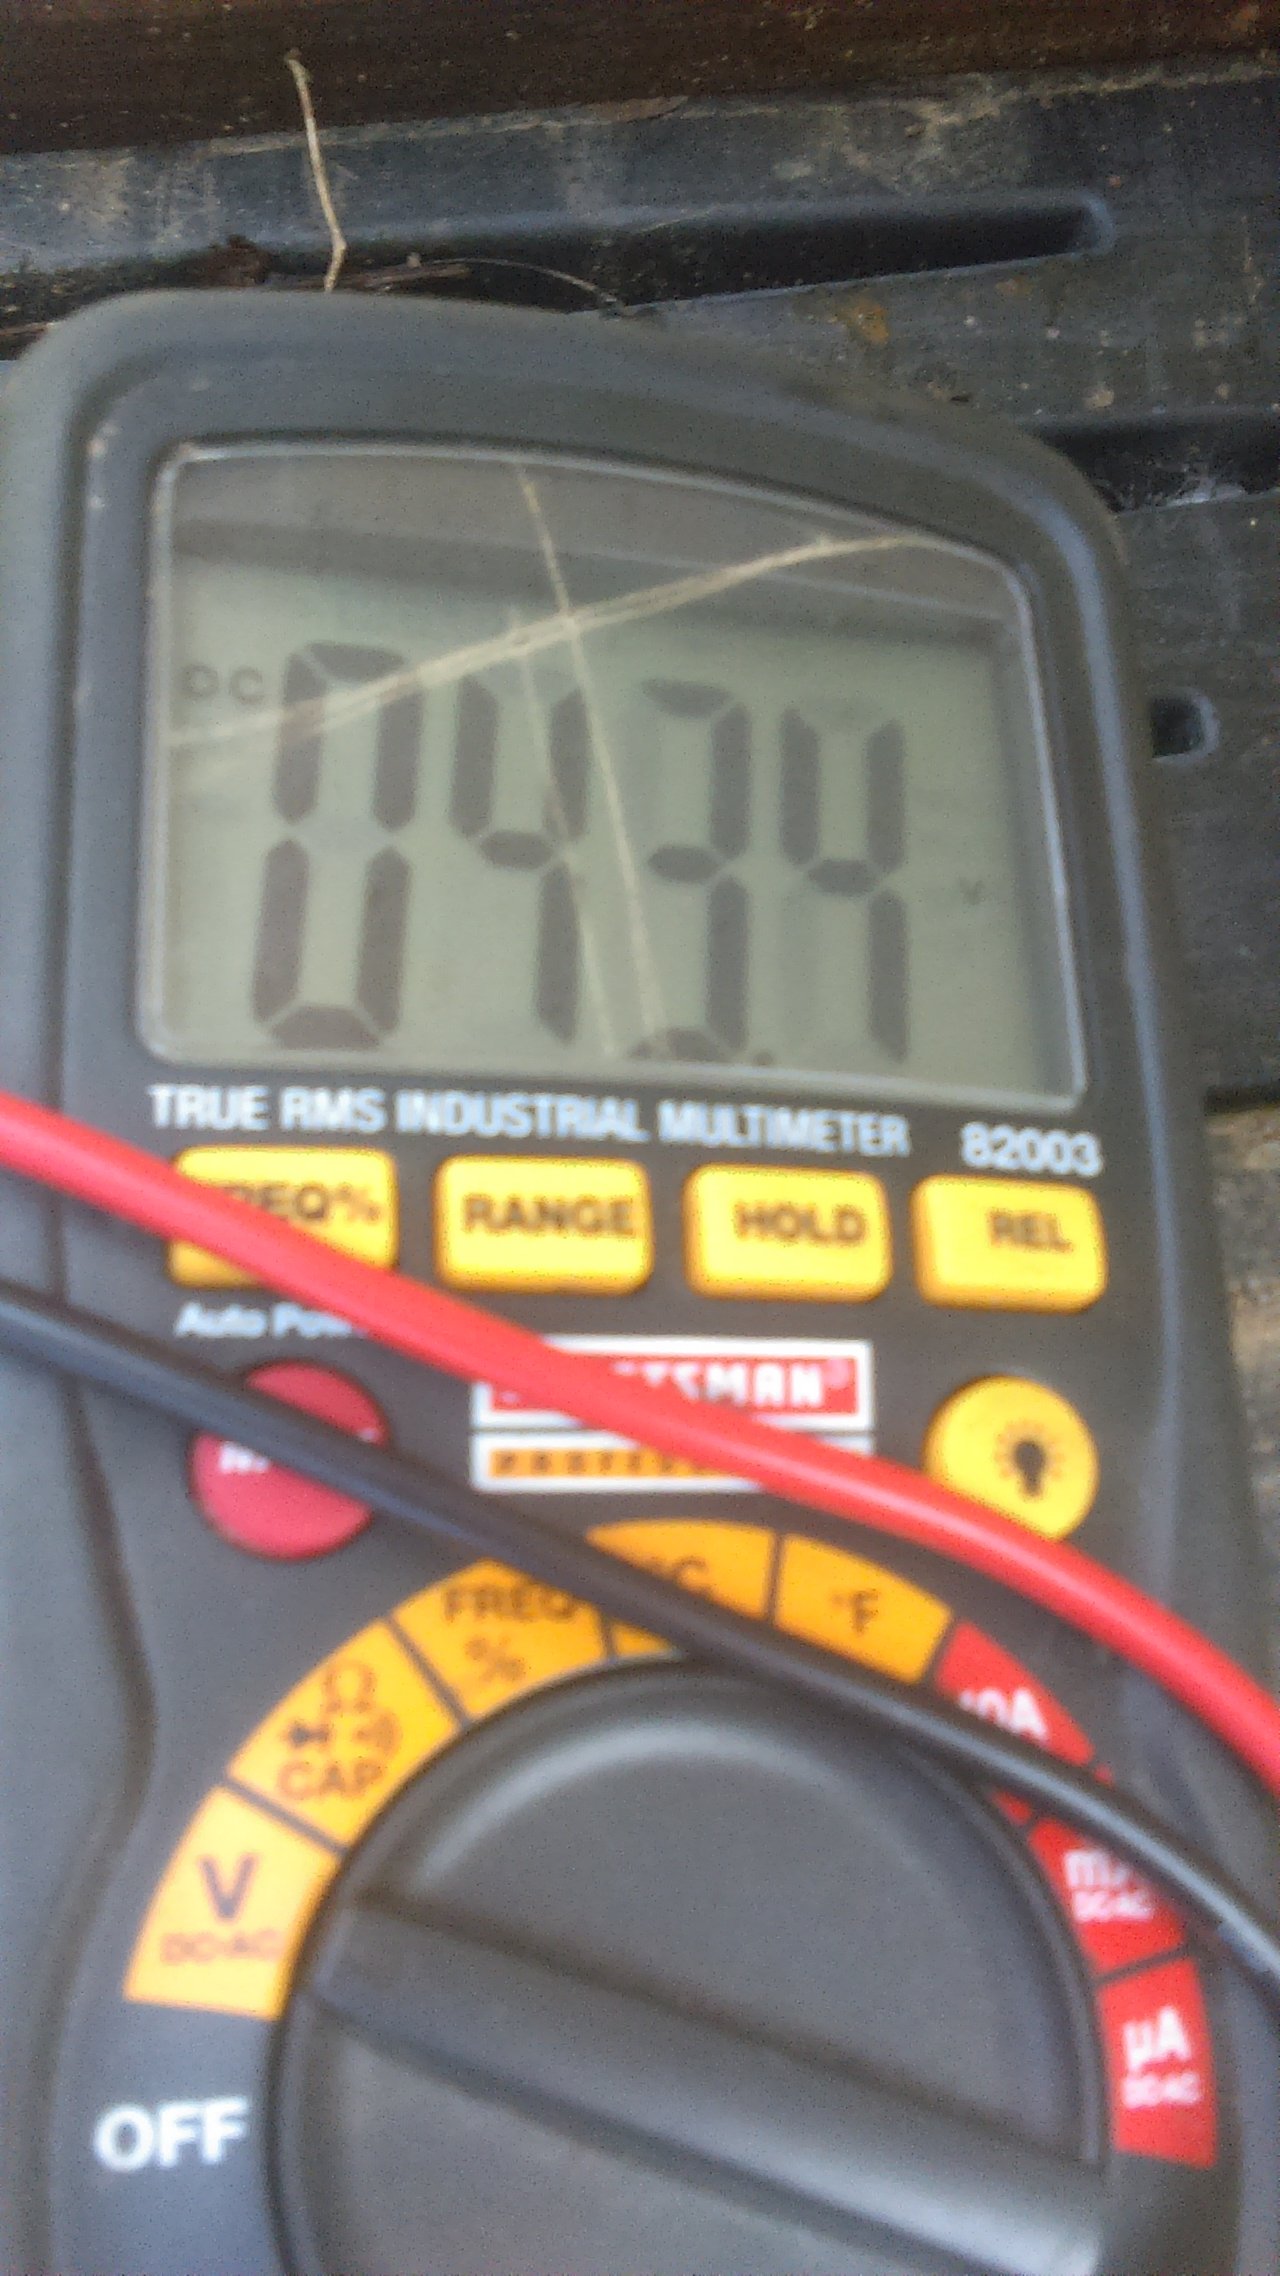
The voltage is close enough to tell me the panel is still good.
 )
)