Introduction
A little bit over a week ago, I started a little series of posts in order to track my progress regarding smartphone photography (Improving my Smartphone Photography game! - Part #1). After focusing on mobile photo editing software in part #1, this part is dedicated to probably my personal favorite photography mode - long exposure shots. I have always loved those, especially on waterfall photos - but until a talk to @lichtcatchtoby a few weeks ago, I had no clue how those were made. And now, I can even make some with my smartphone - how that is done, will be shown in this post.
What is "Long Exposure Photography"
Unlike "normal photos" which only capture a certain moment of a picture, "long exposure shots" capture a scene for an extended period of time and mix up the captured pixels so that the picture looks like it is displaying the motion of the object photographed. Those was my own noob explaination, the matching article from Wikipedia describes it more precisely:
Long-exposure, time-exposure, or slow-shutter photography involves using a long-duration shutter speed to sharply capture the stationary elements of images while blurring, smearing, or obscuring the moving elements. Long-exposure photography captures one element that conventional photography does not: an extended period of time.
If you saw the first post of this series, you probably remember that there already was one long-exposure shot in the comparison section. This one:
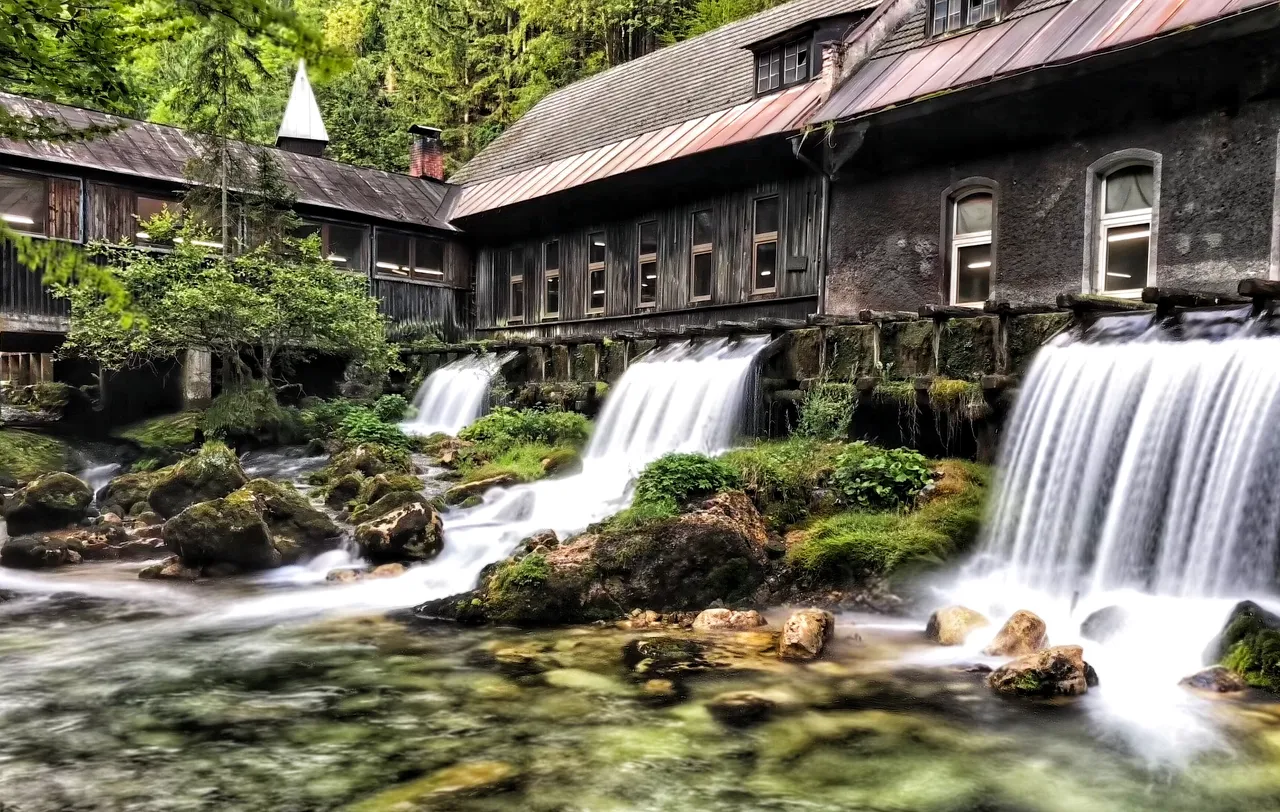
But how did I do this with my iPhoneX?
Area of improvement #2 - "Long Exposure" on smartphones!
On iPhones which are capable of doing "Live Photos", which in reality are very short videos rather then photos, those "Live Photos" can be turned into something that looks like a real long exposure shot. I am sure there are some Android modes or apps to reach the same result as well, however I only haven an iPhone and I will therefore write for those. If anybody knows if a similar function is available on android, a comment would be much appreciated. Now let's look into more detail on how it is done on iOS.
The first thing you need to do is turn on "Live" by just clicking on the logo on top of the screen (the yellow one in the following screenshot) when having the photography app open.
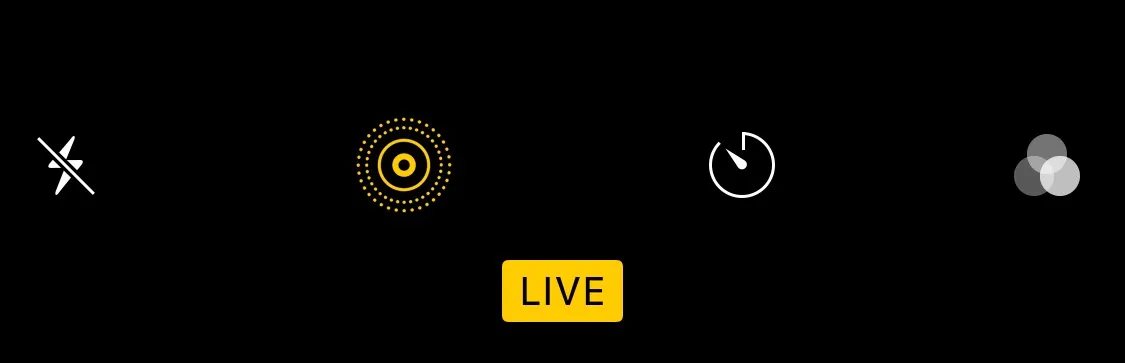
When having that option activated, all you have to do is to take a picture of the moving object you wanna display. I would recommend using a tripod if you have one, the results get way better :)
After you have taken the picture, just open it and swipe upwards. Now the following effect-settings should appear on your screen (note: only works with "Live" photos):
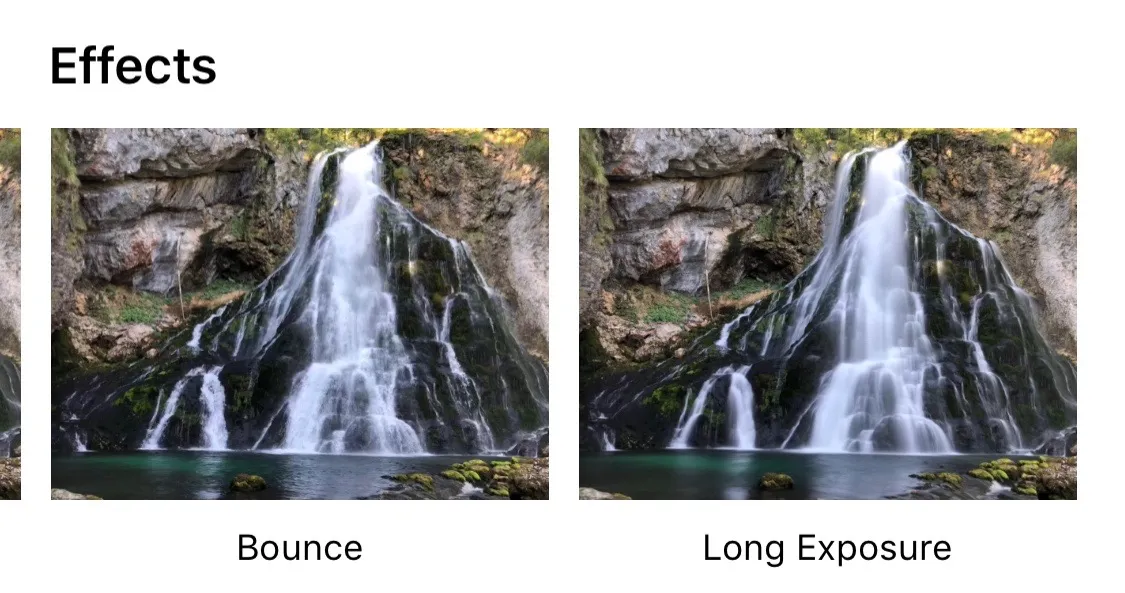
Now you can choose between a effects for you picture - the one you want is the last one on the right: "Long Exposure".
That way, your "Live Photos" turn into long exposure pictures. Here are two examples:
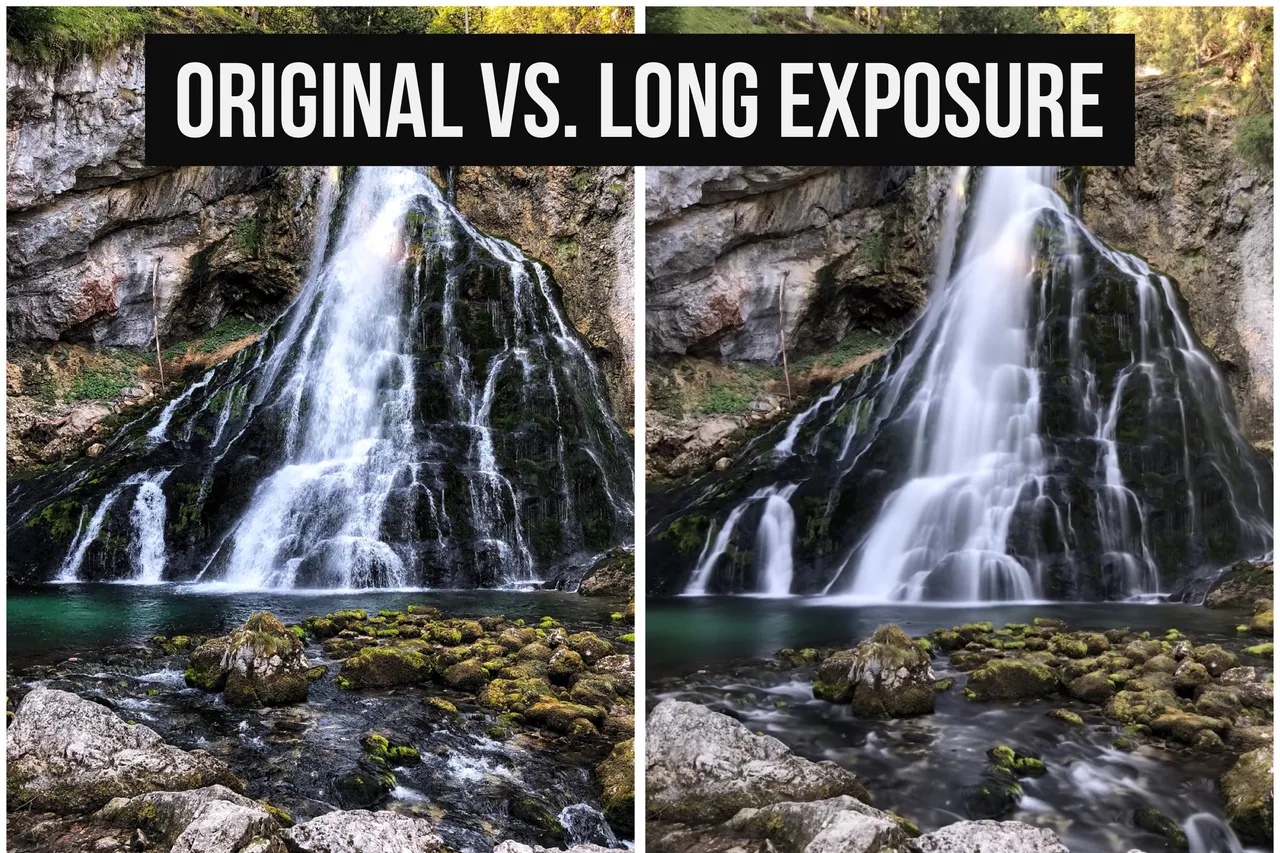
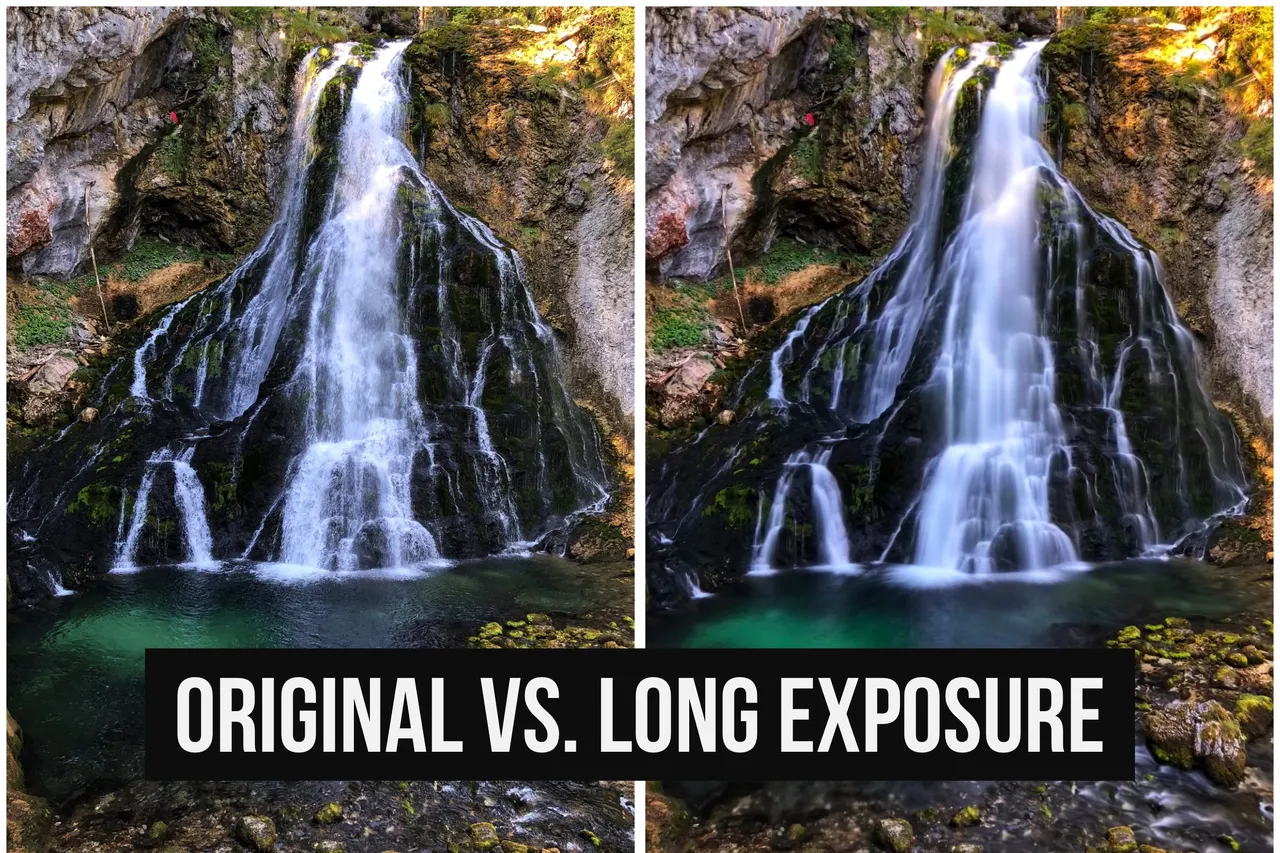
I only figured out this is possible on my smartphonee a few weeks ago and I am really stoked by this new option. While traditional cameras need extra equipment for long exposure shots (@lichtcatchtoby had a darkened lense with him - explaination by himself can be found in the comments section of this post), you need no additional equipment (even though a tripod helps a lot with the quality) and not even a new app to use this effect.
Closing words
There are more and longer long exposure options on third party apps - I will try those out soon as well and see if they maybe even work better. But for now, I am more than just happy with this easy solution!If you happen to have great tipps, good tutorials, great links or just constructive criticism, please don't hestitate to share it with me. Of course I will not forget to upvote and reward stuff helping me out! In the comment section of this part for example, a little bit of information for long exposure on Android phones would probably be nice for many people.
Thank you for reading and see you soon,
Martin