Introduction
Recently I have been looking through some of my old photos to find something new to sketch or paint.
Whilst doing so it reminded me of the importance of how much of a difference colour makes to the mood of a photograph.
This is not difficult to achieve in Photoshop although it does take time -since it often requires some experimentation and tweaking - but I think it is worth it.
Using Photoshop we can replicate the effects of certain old film types and light combinations.
Obviously you need to start with a good image in the first place. I have included the image details at the bottom.
The Photos
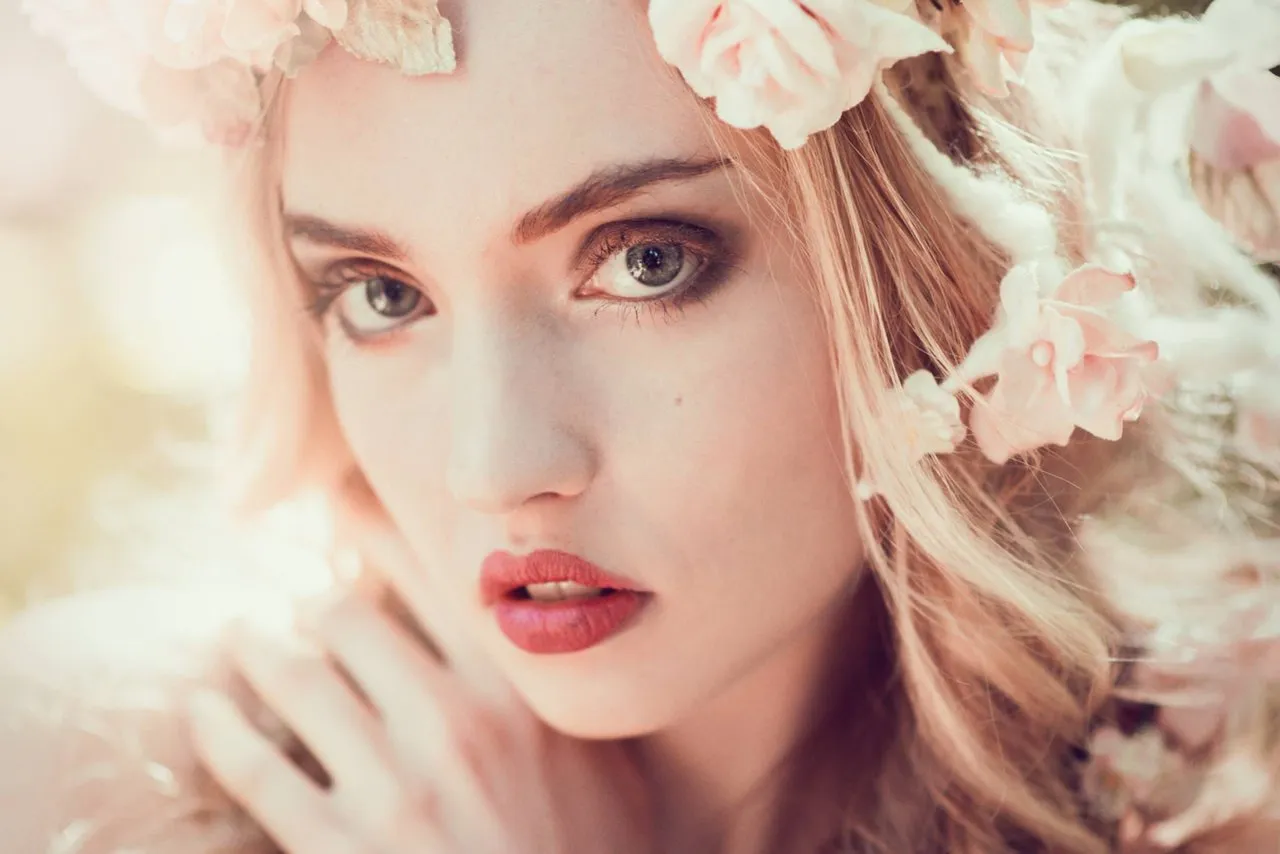
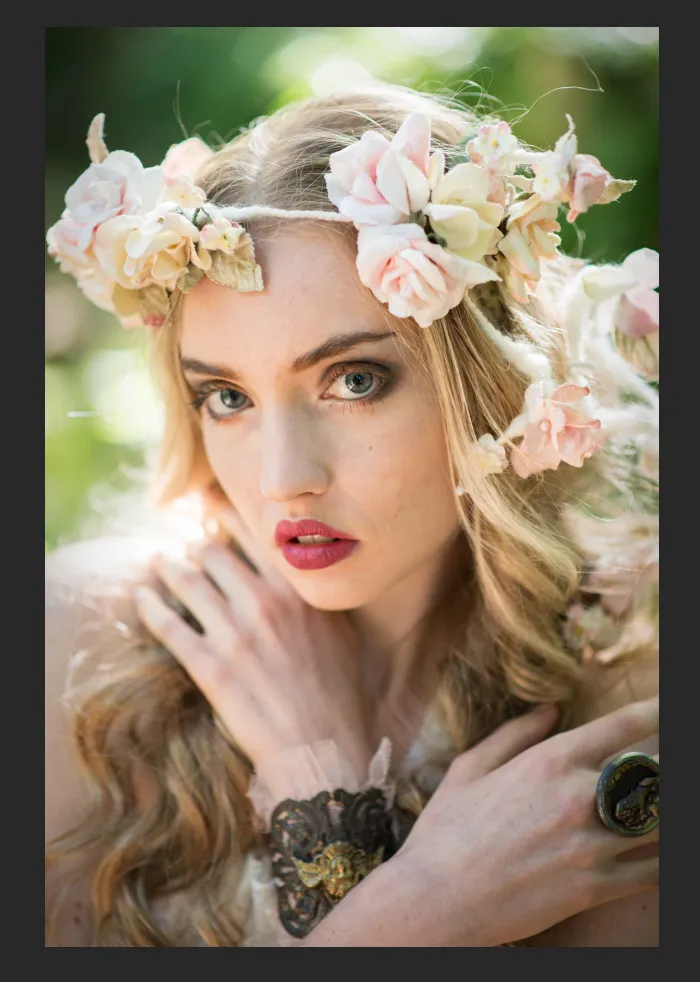
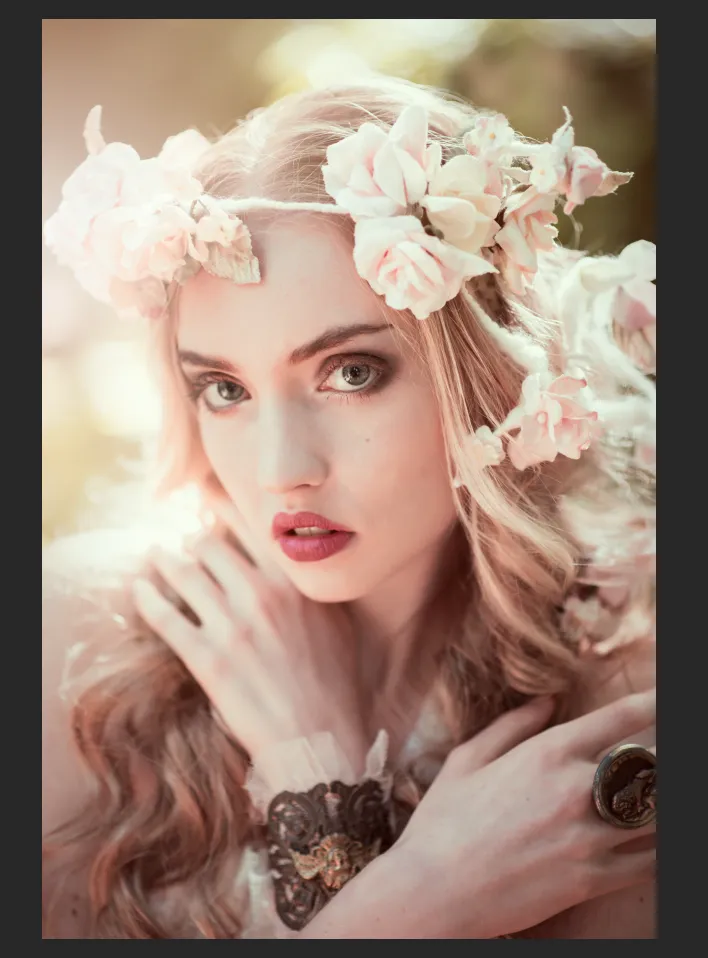
1 - The Original Photo
This actually looks pretty good already but it lacks some warmth.
2 - Highpass Filter
The high-pass filter allows you to sharpen the eyes and face a little to draw more attention to it. This can be helpful particularly when you shoot with very wide apertures but should not be overdone.
3 - Mild Vignette
You can do this a number of ways but one way is to make a new layer with reduced exposure and use a mask to shape it the way you want.
4 - A Black and White Layer at 25% to increase contrast
This is one of my favourite techniques for tweaking contrast, by adjusting the colour balance in the black and white layer it allows more fine control than regular contrast adjustment.
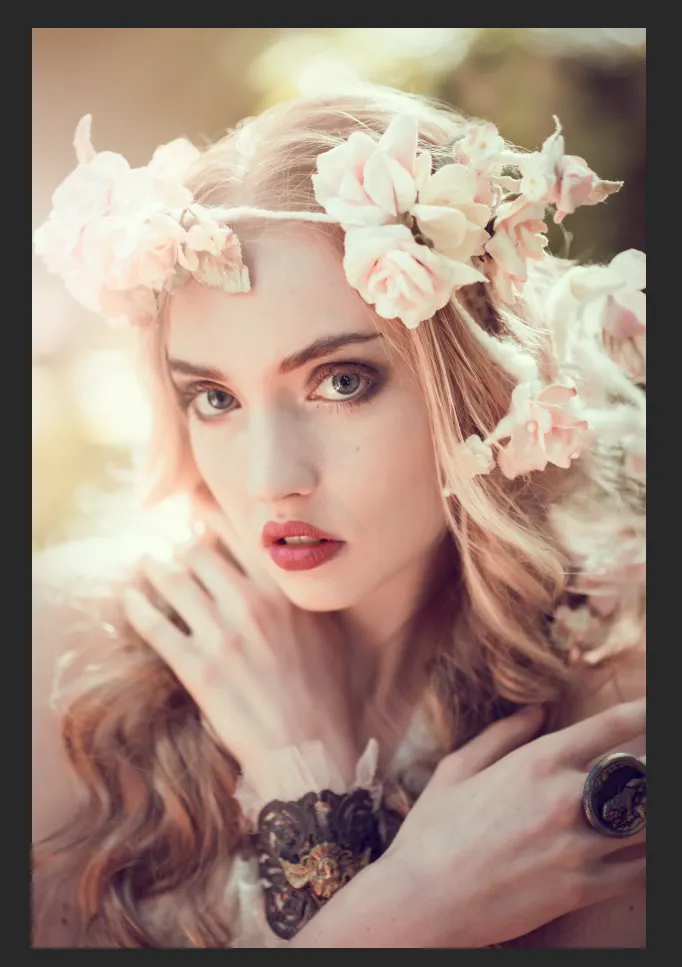
5 - A Tweak to Saturation and Vibrance
Just increasing the warmth.
6 - Selective Colour Adjustment Layer

I wanted to further tweak the colours.
7 - Curves adjustment
This also helps to reduce some of the excess red and boost some of the greens.
8 - Adjustment to Vibrance and Saturation

Further colour tweaking.
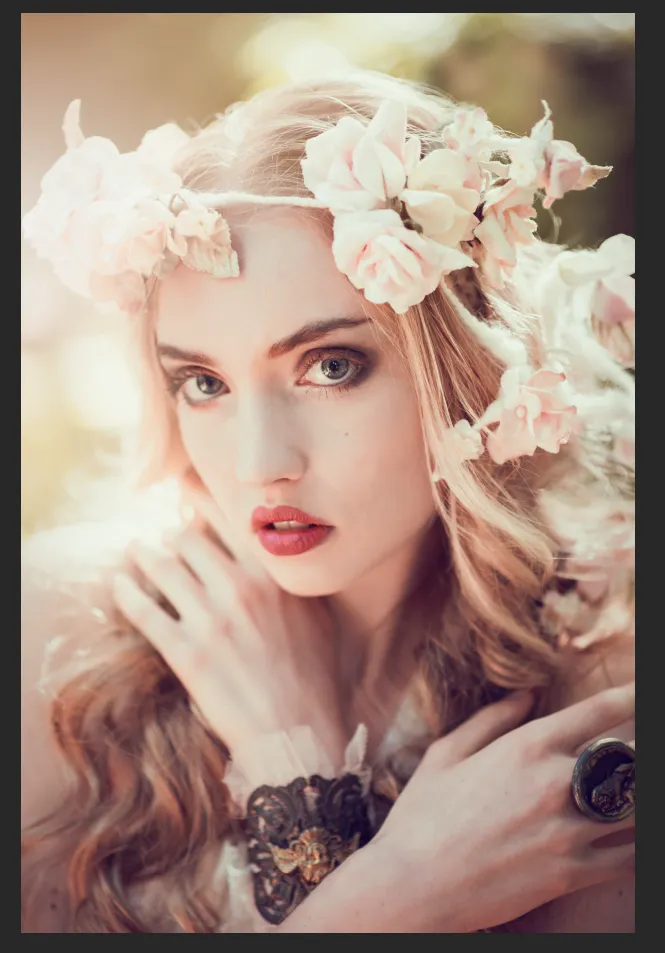
9 - Use of a Gradient to Create an Area Light
This is something I specifically learned from Emily. Previously I had used plugins for this sort of thing (like Color Efex Pro). Gradients give a lot more control by combining the gradient with masks and other layer types.
10 - Final Skin and Hair Fixes
The changes have made some skin and hair issues more prominent so I did some minor retouching.
11 - Final Colour Adjustment
Colour still felt like it needed tweaking so I readjusted it.
12 - Final Curves Adjustment
I couldn't resist some further tweaking to adjust contrast and colour using a curves layer. I have a tendency to tweak a lot!
13 - Add Grain
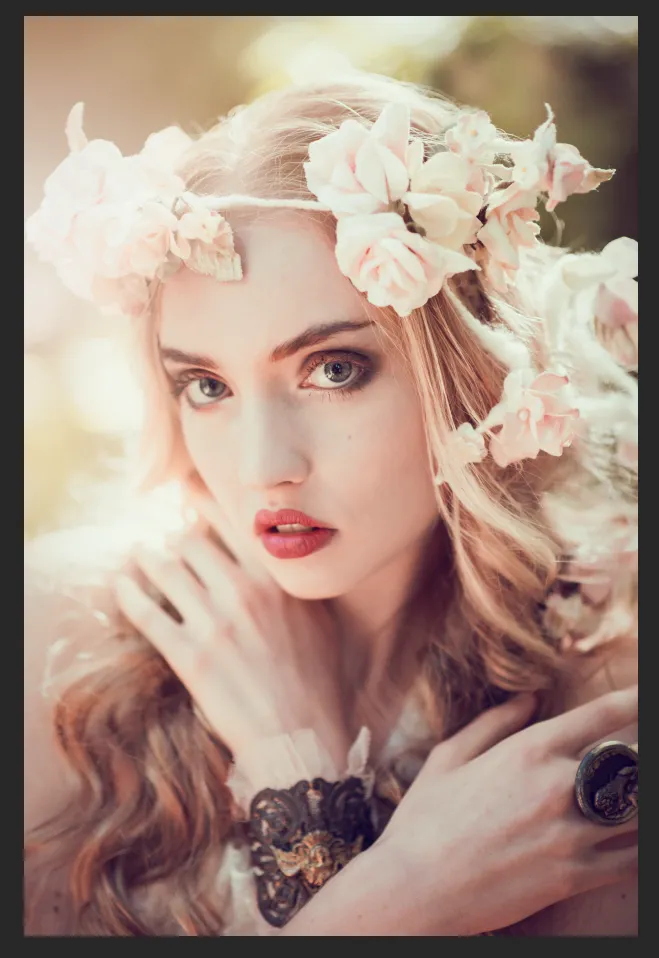
Another thing that I do quite a lot is add some film type grain to replicate that old school look. This is achieved using the PS noise filter.
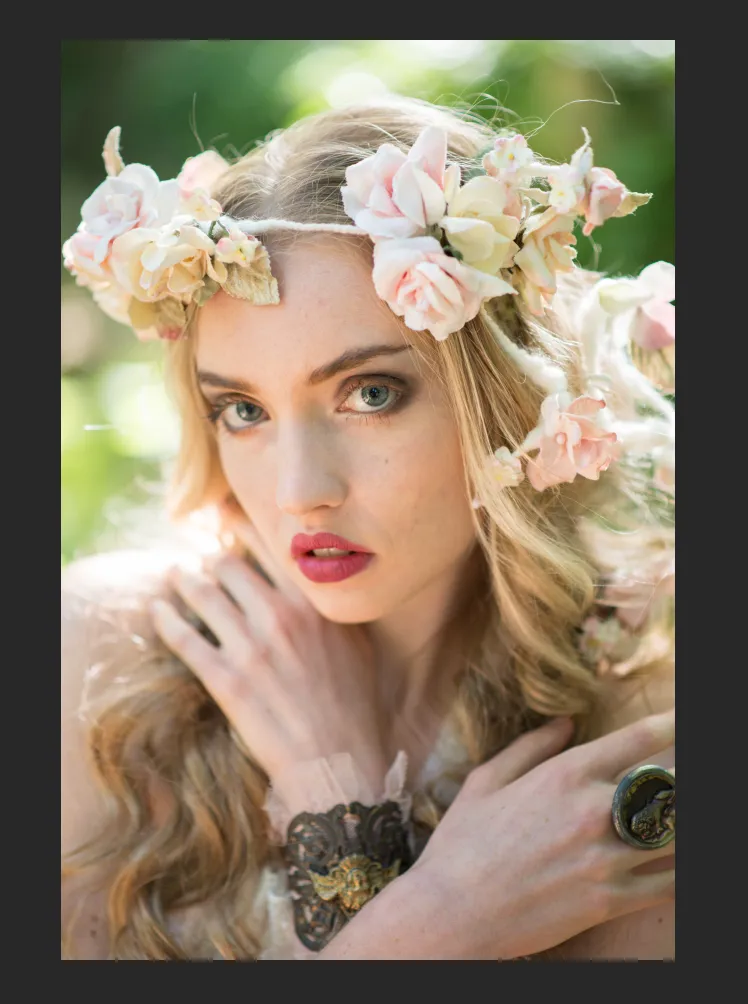
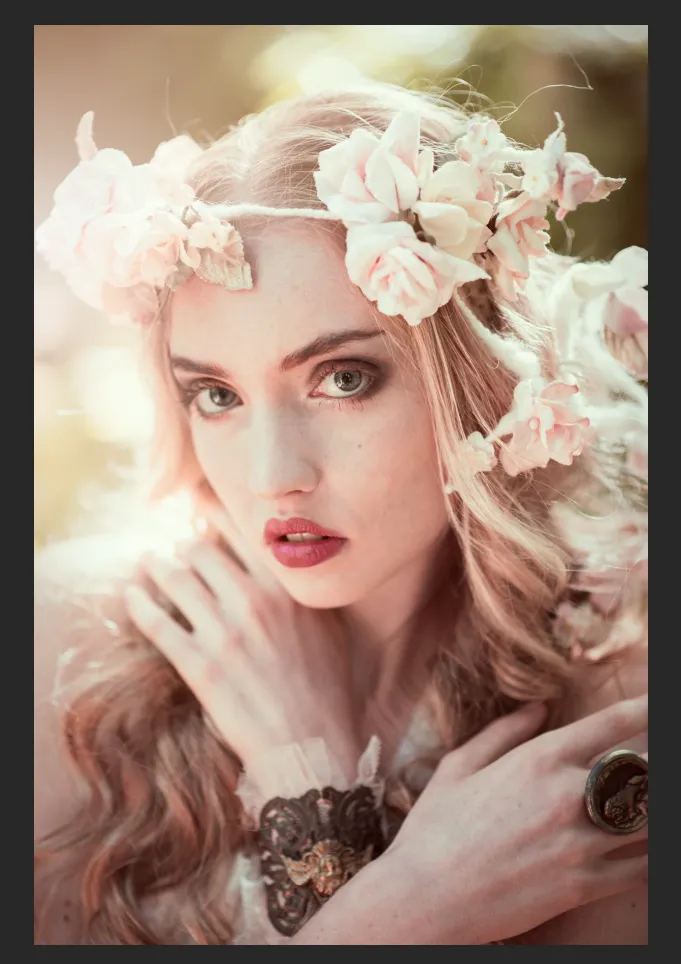
14 - Final Image Uncropped

15 - Final Image Cropped
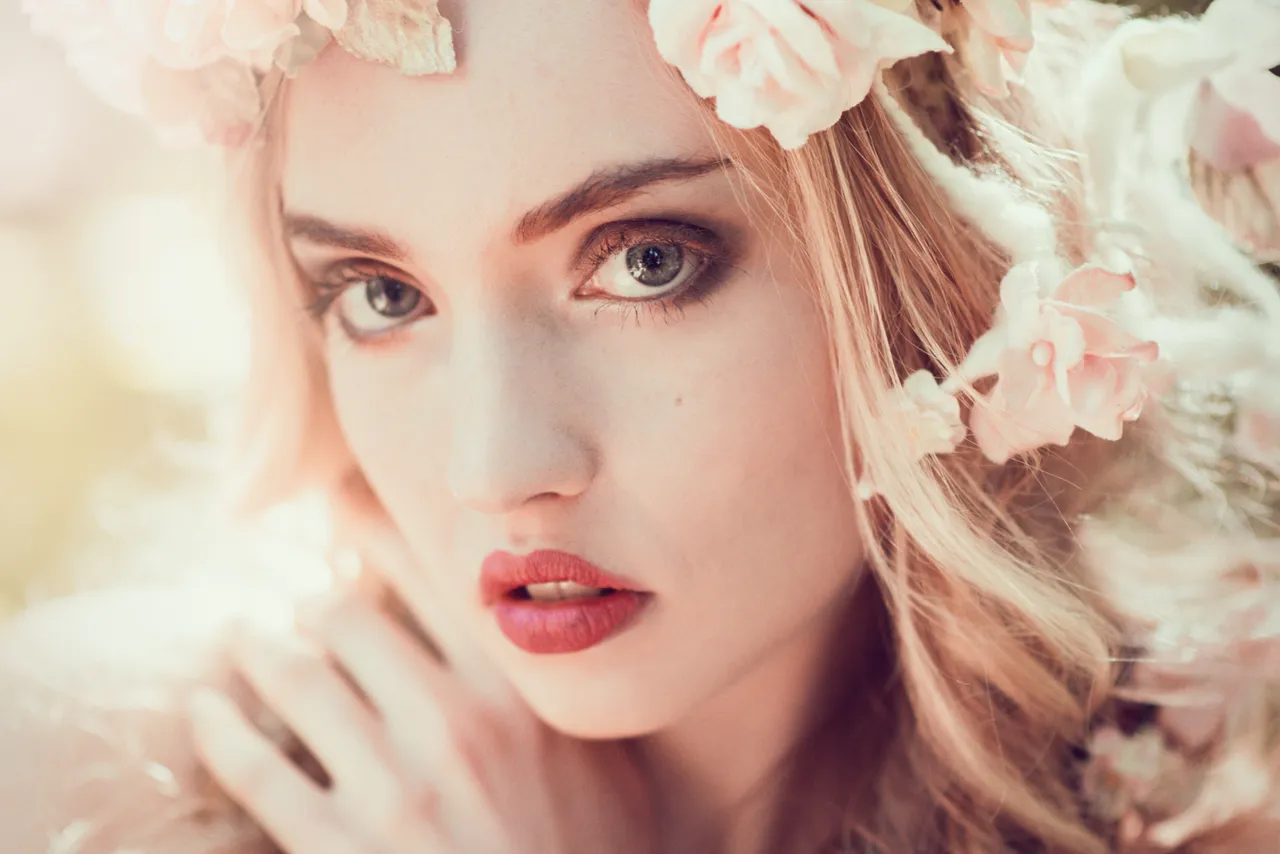
I generally prefer landscape orientation and also it works better for blog posts. Let me know if you prefer the portrait or landscape version. Because of the high megapixel count of modern cameras it gives a lot of leeway for this.
Photo Details
These images were taken during a 2013 workshop with one of my favourite photographers Emily Soto.
One of the things I learnt there was that having professional hair and makeup makes a huge difference to how much retouching you need to do.
So do professional wardrobe and accessories.
It also greatly speeds up the shooting process if you can have assistants to direct.
Emily let us use her team and equipment ourselves so that we could direct the lighting, reflectors etc without having to continually stop shooting and change our positions.
The end result is that a group of shots that might normally take an hour when you are alone can get done in about 5 minutes!
Unfortunately it is too expensive for most of us amateur photographers to afford such luxuries, but one way of getting around it is to attend workshops and group shoots where the costs can be divided amongst a group of photographers.
Plus you learn new techniques too!
One of the things that Emily really taught me was to be more creative in my colour editing to help create the mood of the photo.
Emily sells her own Photoshop actions called "Fashion Actions" (which you can get for free if you attend her workshops) but are also available on her website.
The great thing about them is that unlike a plugin, these actually take you through the steps to alter the colours etc in Photoshop (rather than just clicking a button), so it guides you through the process of making the changes yourself.
As a result you learn how to use these techniques yourself and can create your own actions (an action is basically a macro for PS).
You could just learn by sifting through online PS tutorials but had I known about these actions earlier I would have spent some money and saved myself a lot of time.
Details/Camera Info
- Nikon D800.
- Nikon 85mm/1.8 lens.
- Natural Light, reflectors, beauty dish.
- Edited in Photoshop.
- Model Nancy Morris.
- Clothing by Fiori Couture.
- Hair/makeup by Monic Swiatek.
- Emily Soto Workshops.
- Photography and direction - me!