
This week's challenge is using the new Water-Splinter Opportunity card, the Deeplurker... An extremely terrifying monster, that lurks in deep waters in the dark. This guy packs a big punch and is great when put together with other cards that have the Opportunity or Sneak abilities, which allow them to pick off monsters in the back row of your enemies lineup.
You can watch the entirety of this featured (Silver-Tier) battle by clicking here.
Round 1
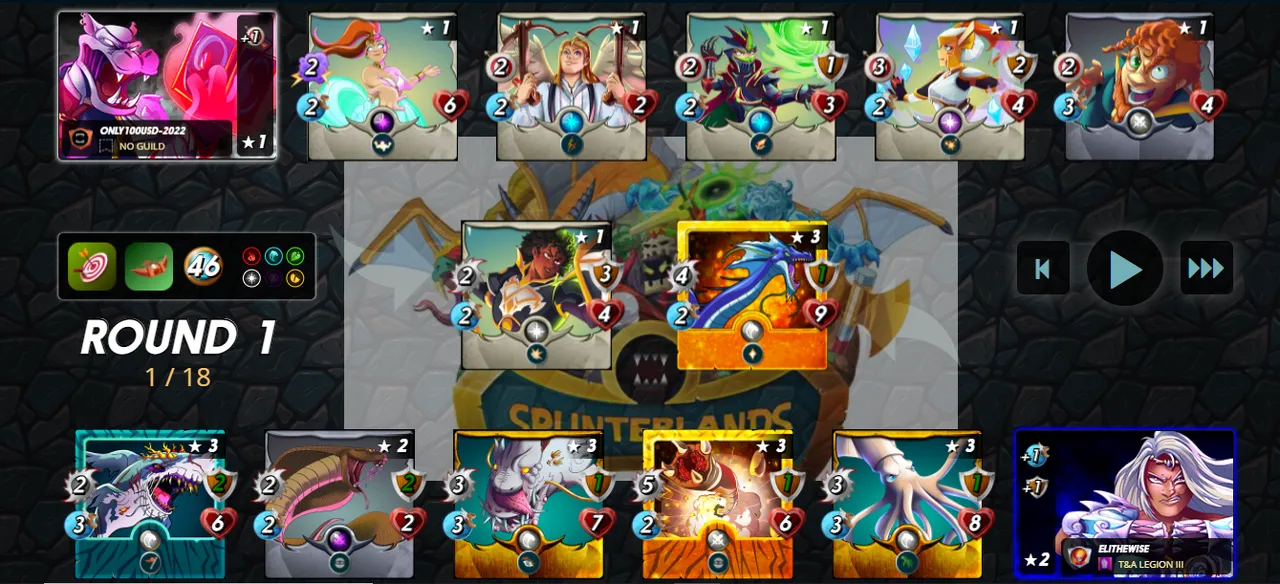
Rulesets
This match consisted of the "Close Range" and "Aim True" rulesets which allows ranged monsters to attack from the first position and ensures all ranged/melee attacks never miss, respectively. My opponent went with a heavy ranged team to take advantage of the rulesets with strong abilities including double strike (Pelacor Arbalest) and blast (Prismologist), but as you will see it was still no match for the Sneak/Opportunity lineup.
Monster Positioning
I used a strong self-healing tank (Sea Monster) in the first position followed by a backup tank with reach (Flying Squid) in hopes of allowing ample time for the sneak/opportunity monsters to do significant damage to the opposing team. I also positioned my strongest attackers (Deeplurker and the Sand Worm) in the middle of my team to give them maximum protection for longevity. With enough mana available, I was able to add the Demented Shark at the back of the team to add protection from sneak attackers, as well as a +1 Melee damage bonus to my team from its Inspire ability.
Round 2
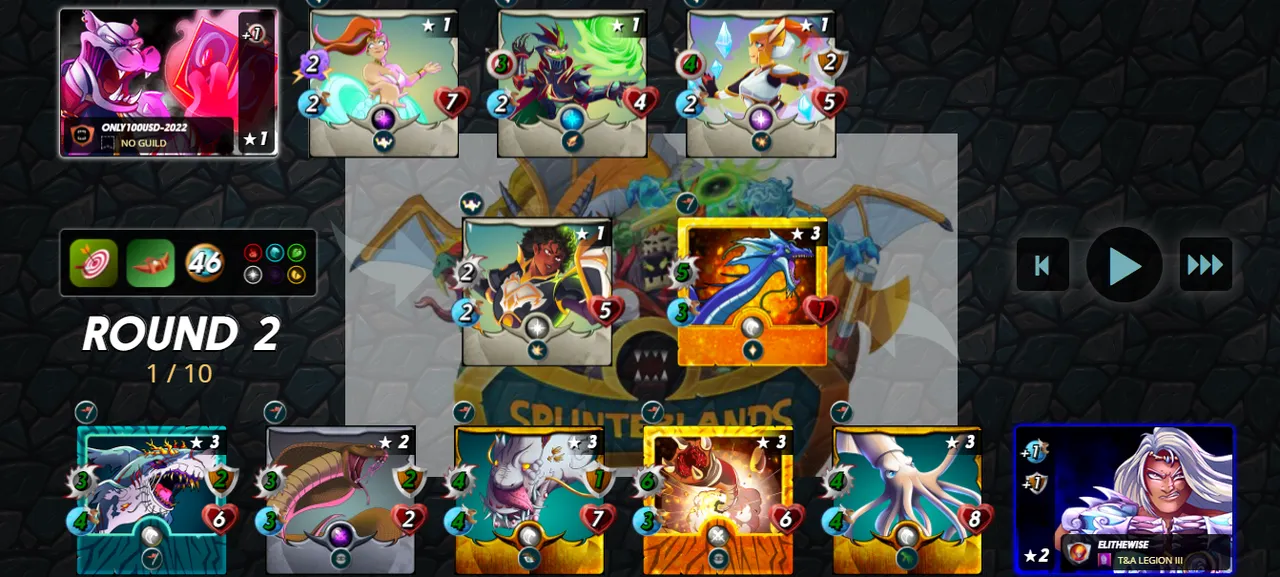
In the first round, with the +1 speed boost from my Water Summoner (Kelya Frendul), most of my monsters were able to attack before the opposing team had a chance to do anything. Deeplurker attacked first, and took out the Pelacor Arbalest, and the archer at the back (Speed Runner) was taken out shortly after by my sneak attackers (Uraeus and Sand Worm).
Round 3
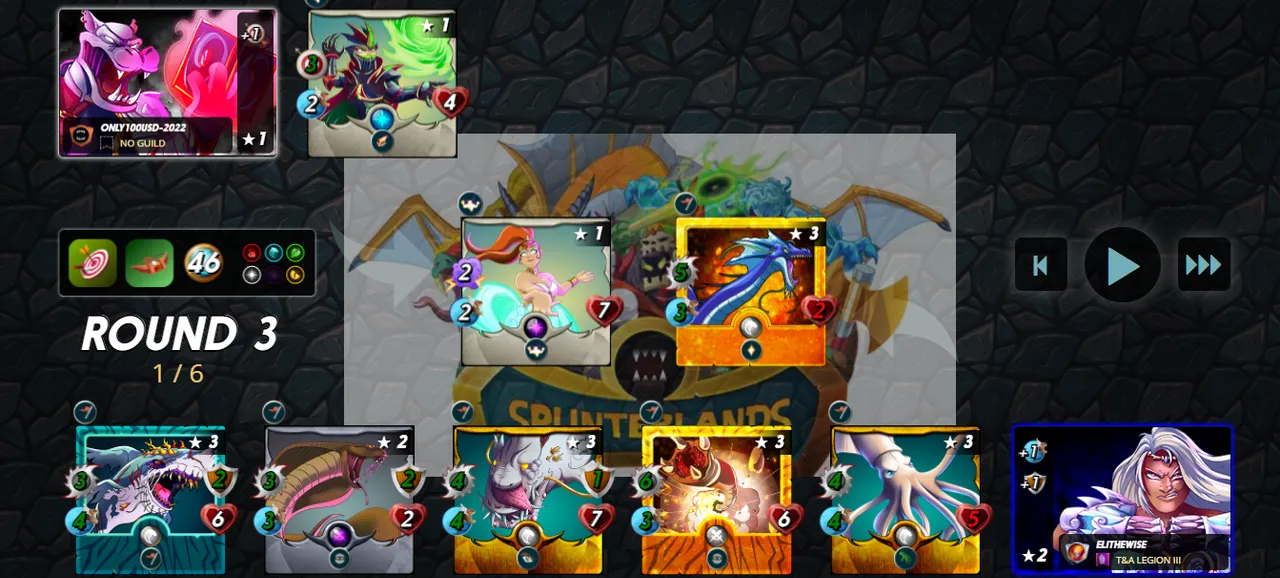
By round 3 it was clear which side would be the victor; my faster team would finish out the fight with the destruction of the entire opposing team without the loss of a single unit on my side. Although not every battle with this setup ends in a near "flawless" victory, it does seem to have an advantage over many setups.