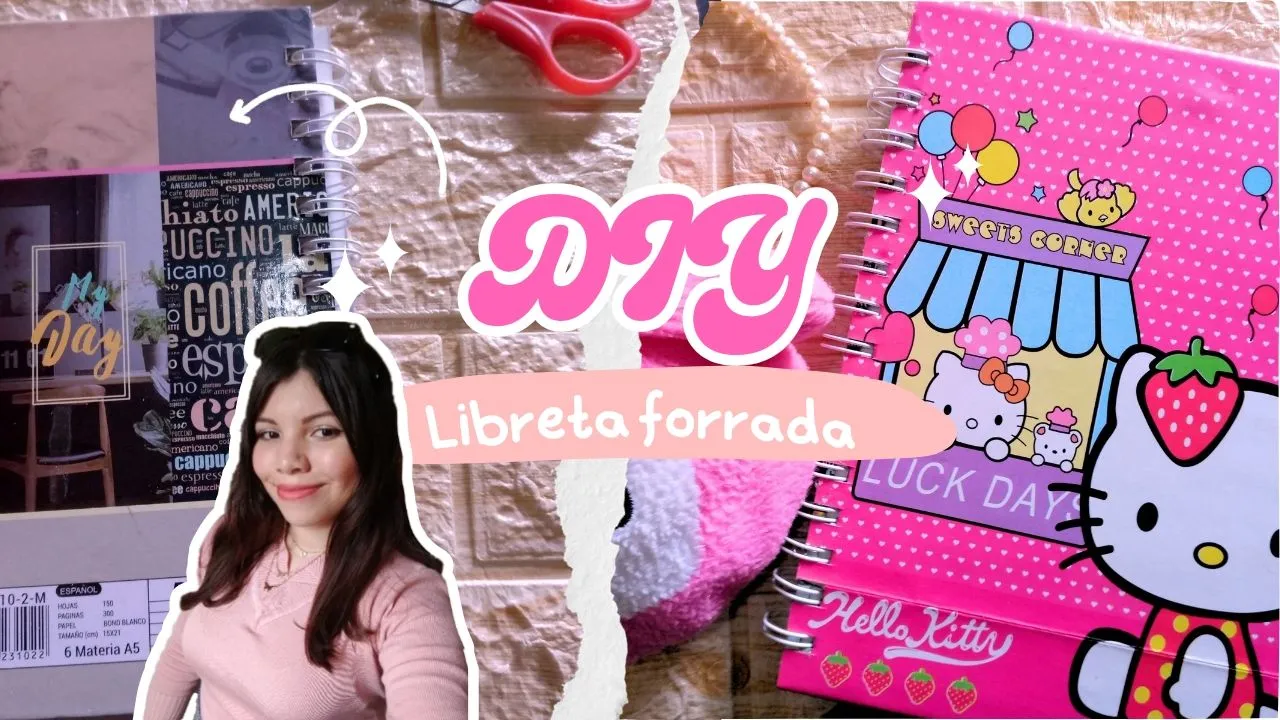
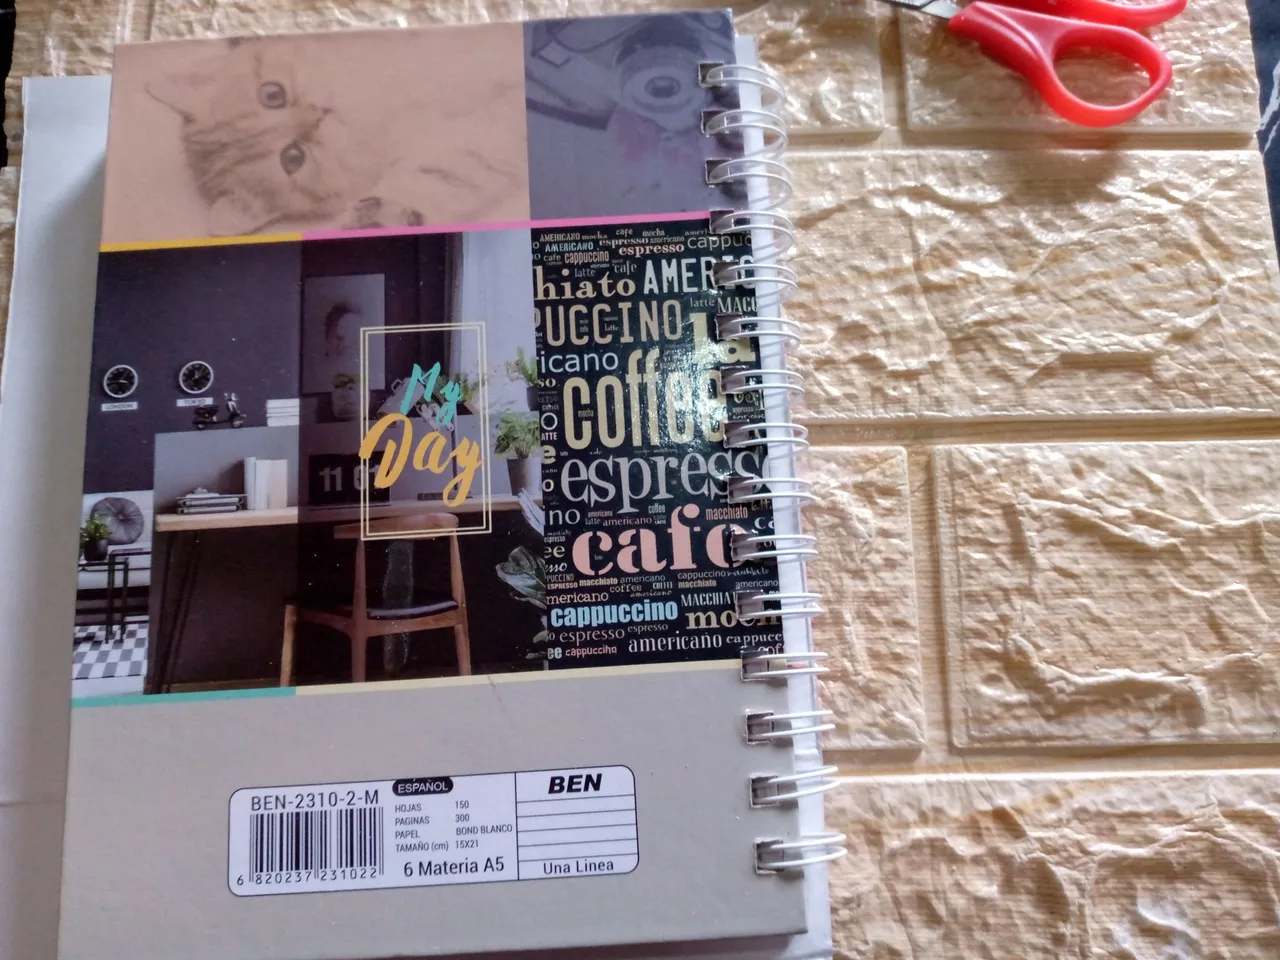
There are many ways to remodel those notebooks and notebooks that we think are useless but the truth is that our notebooks always wear out and we still have sheets left that are not worth discarding or throwing away, so that this does not happen, I discovered a very nice and recyclable technique where you can give a new image to your notebooks, folders and more, when I went to a friend's store I saw that she had several options for gift bags that seemed so beautiful to me to do a specific project, but I remembered that I had my notebook with a design that although I liked it, I wanted something more striking 🥺...
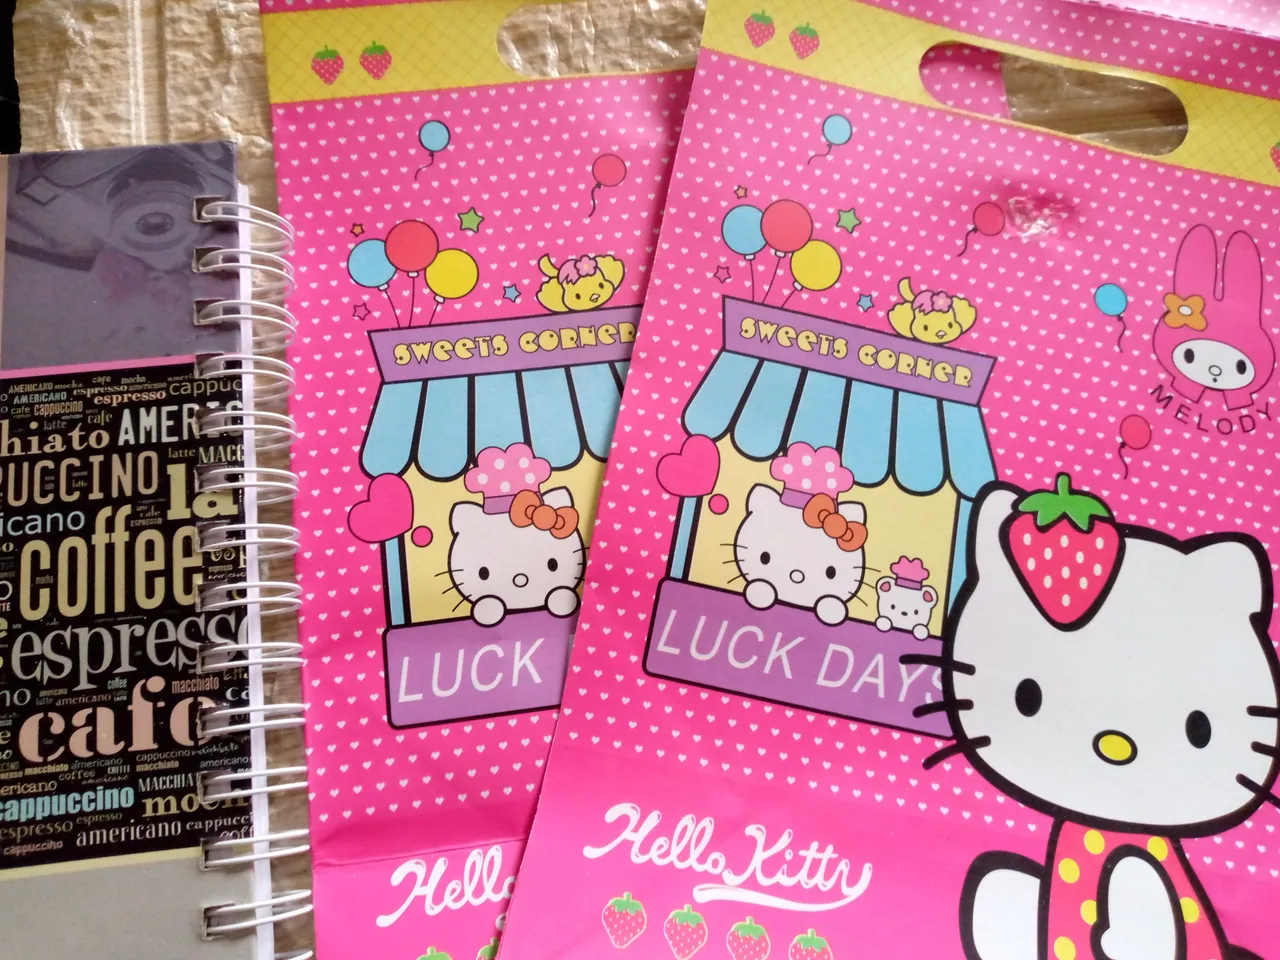
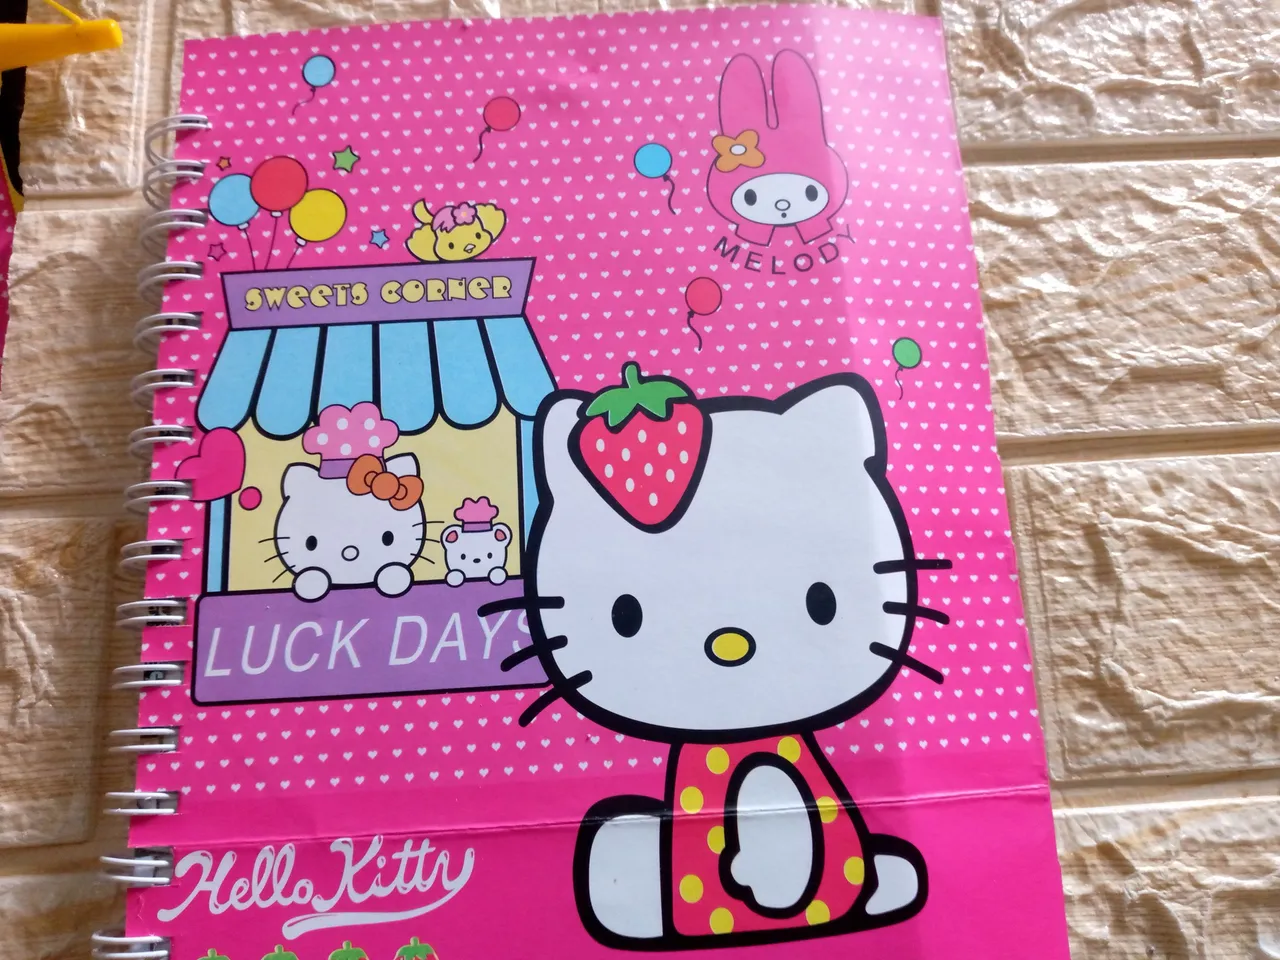
Inside the gift bags that my friend had in the store I found a Hello Kitty one that I loved so much 😻💖 and I thought it could look so pretty because it looks tender, delicate and very striking, in this tutorial I show you how you can use the gift bags that you have stored at home or that have been given to you to decorate your notebooks like this pretty, I show you the before and after and I would be very happy if you stayed to appreciate this tutorial 🥰, let's go with the materials ☺️.
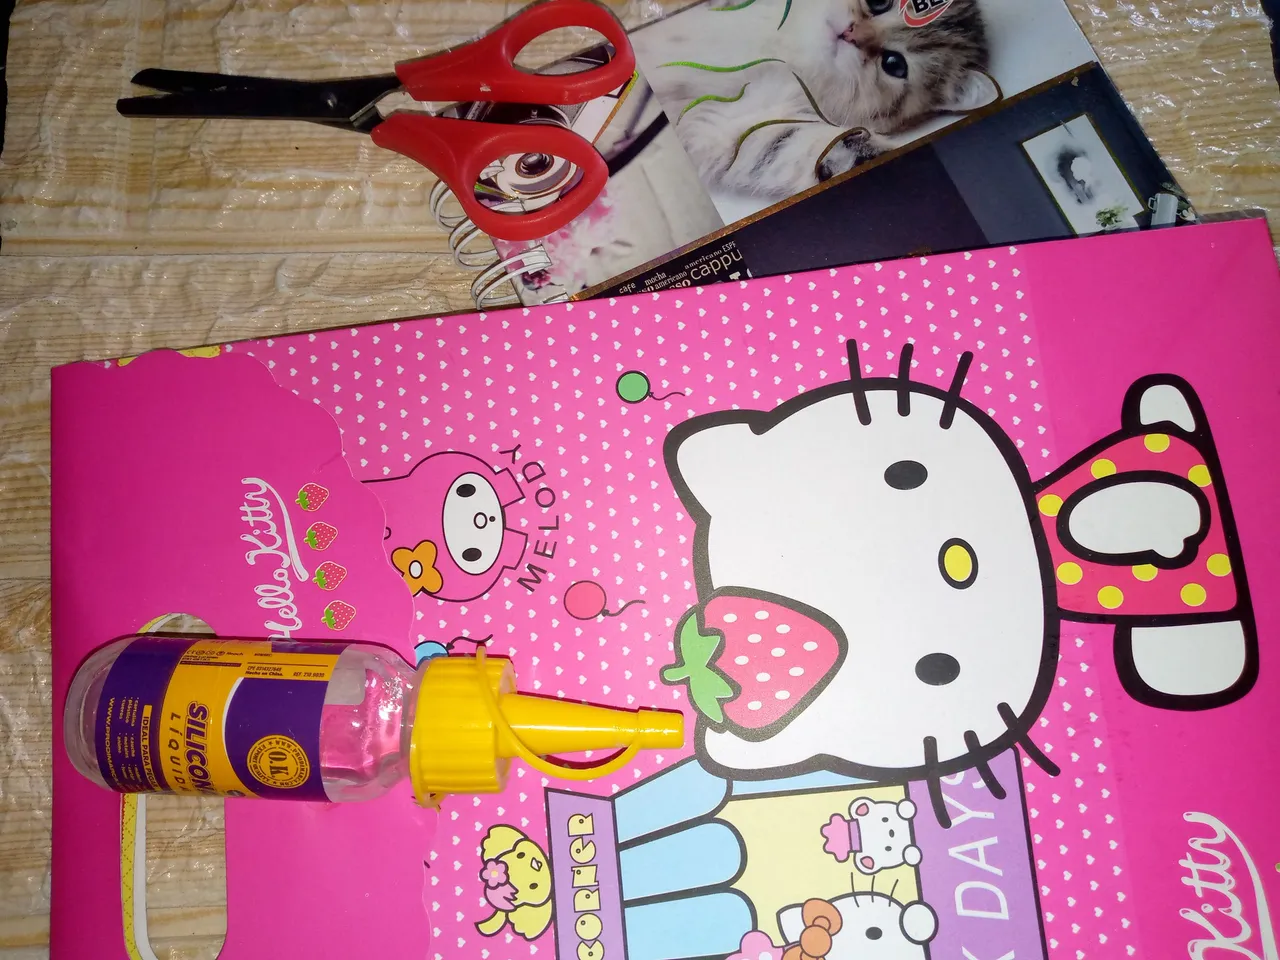
Materiales:// Materials:
- Usaremos bolsas de regalo
- Silicón líquido
- Tijeras
- Lápiz
- Libreta a forrar
- We will use gift bags
- Liquid silicone
- Scissors
- Pencil
- Notebook to be covered
Pasos a seguir://Steps to follow:
Paso 01
Step 01
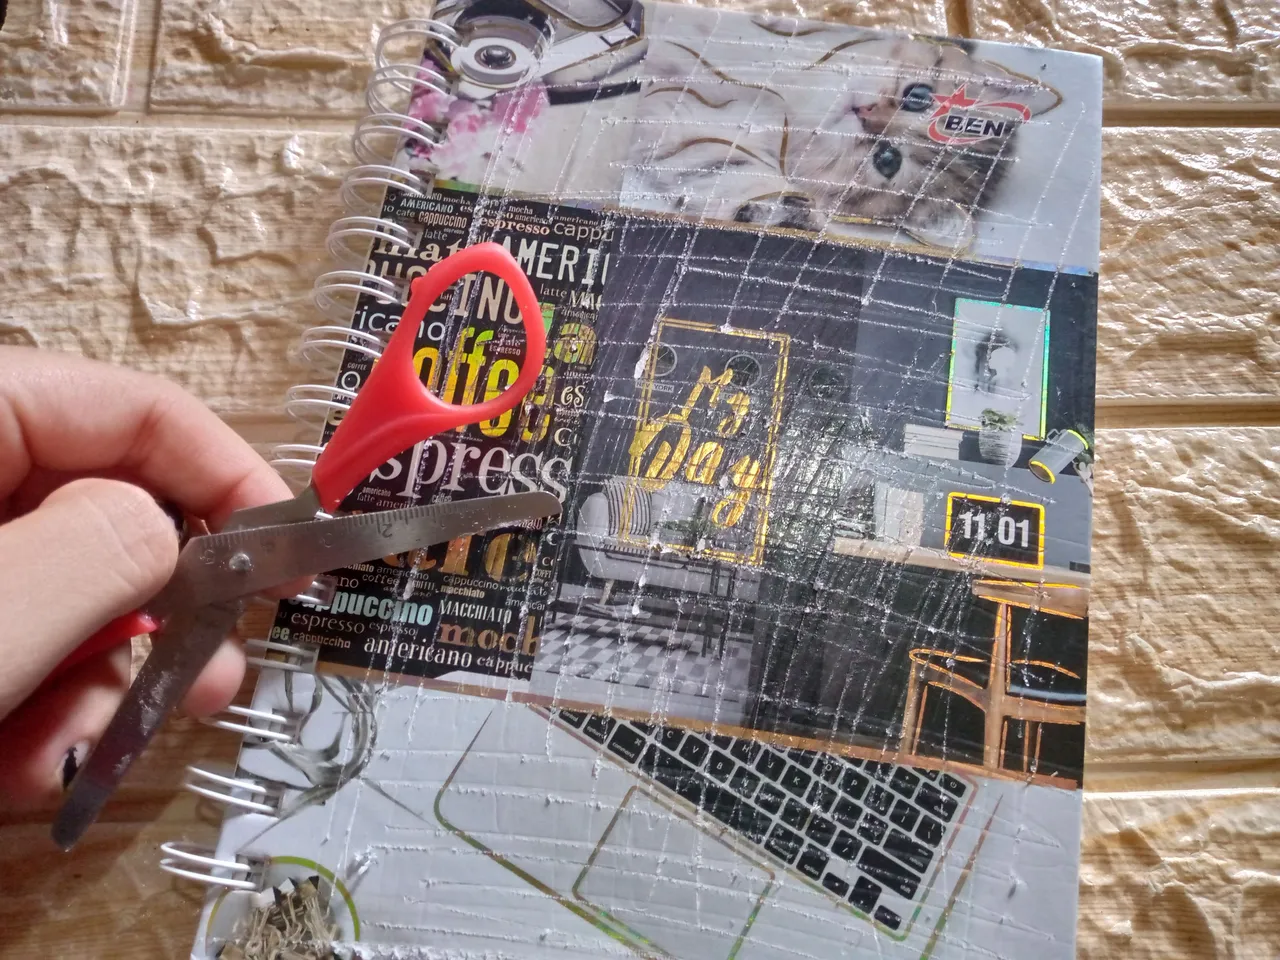
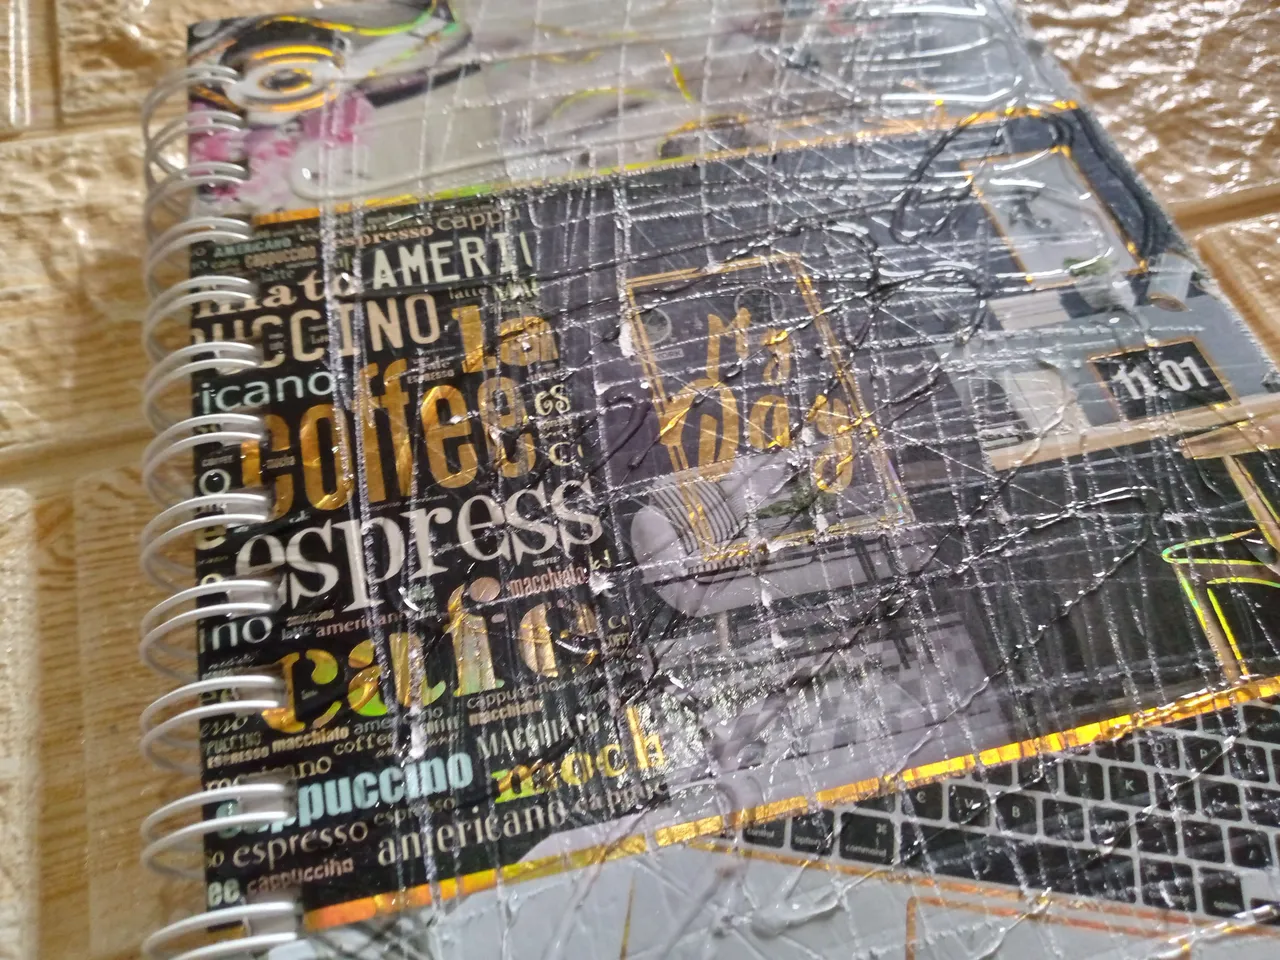
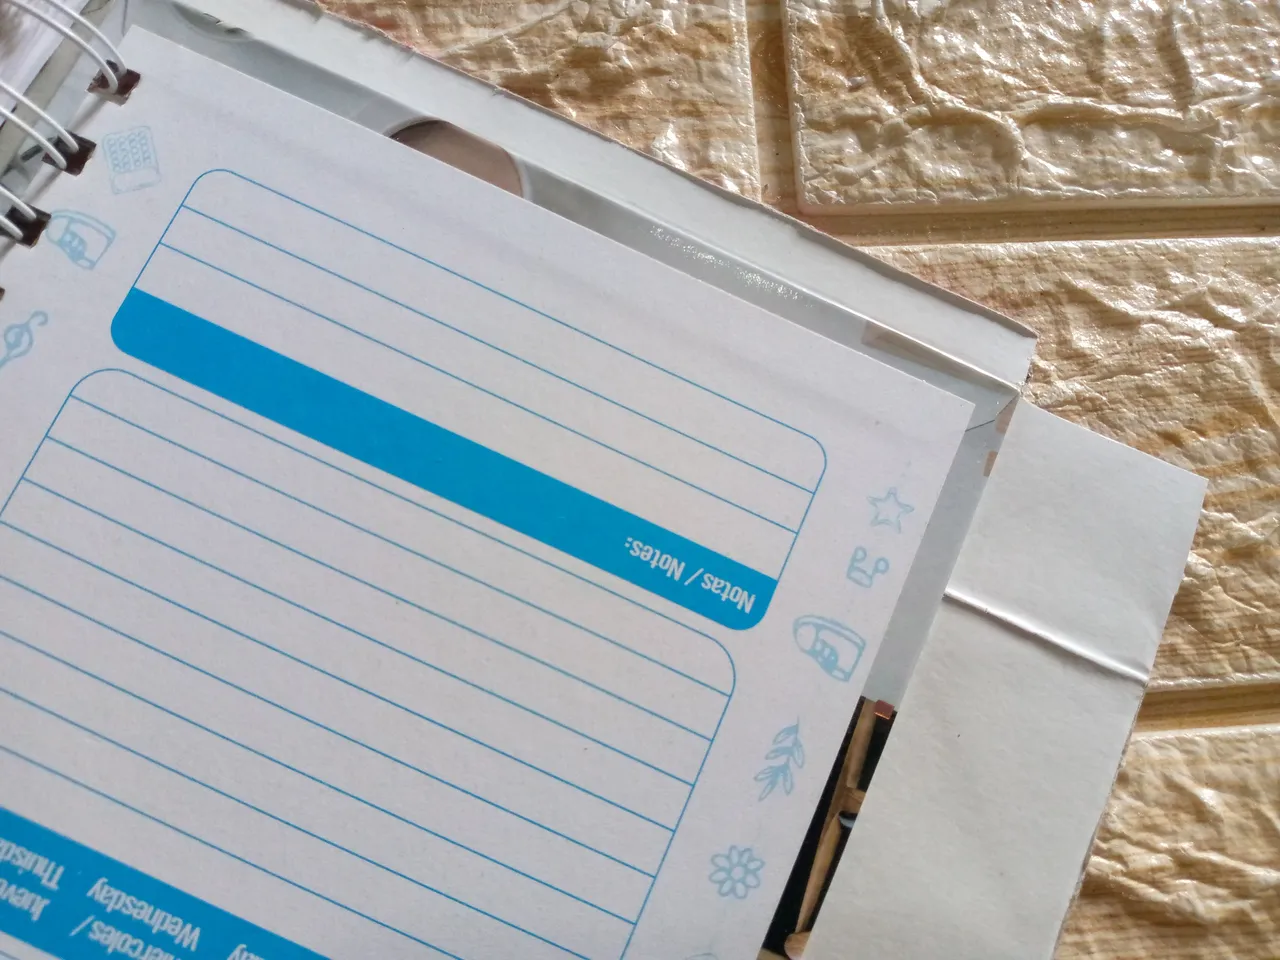
The notebook that I have is medium so I bought a bag at the store that was a little bigger, this gift bag 💖🛍️I really liked it because the material is a little more resistant and it will be very good for my notebook to last much longer than I want it to, so what I will do is cut both sides of my bag, both the front and the back, removing the excess from the sides, and then I will take my scissors and simply what I will do is scrape the surface of the notebook so that the paper or the bag with which I am going to cover it can adhere together with the silicone, that is what I did with both sides of the notebook.
Paso 02
Step 02
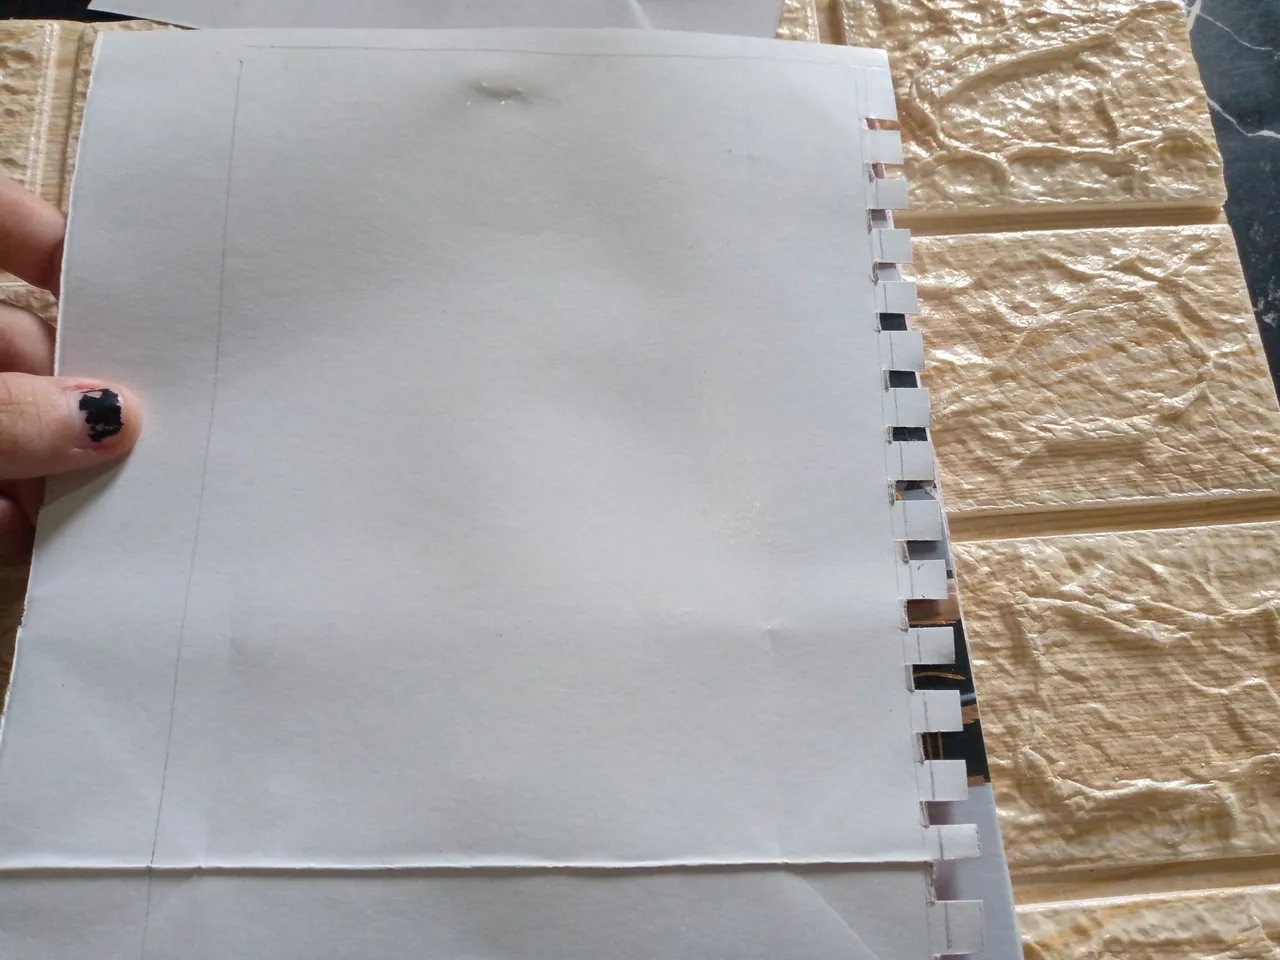
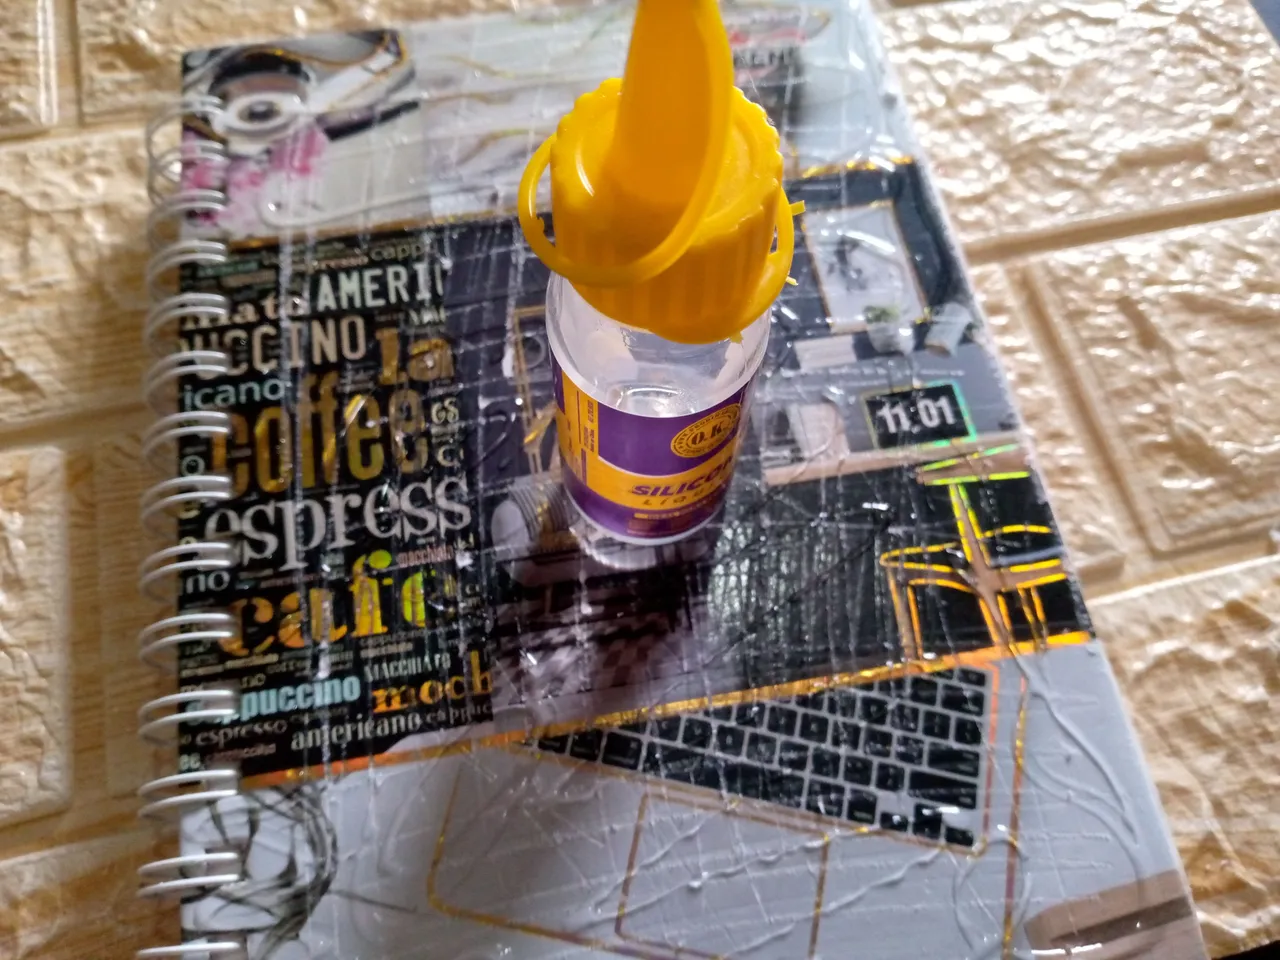
The next step is to flip my cover over on one side of the bag and I'm going to mark the spaces between the springs so I can glue the cardboard of the bag between them. I mark and cut the holes where the metal spring of the notebook goes. Then I proceed to add silicone to the surface of my notebook.
Paso 03
Step 03
Once the top part of the notebook is glued, all I have to do is simply glue the excess paper inwards. If there is a lot left, this will help our bag to stick well inside completely.
Paso 04
Step 04
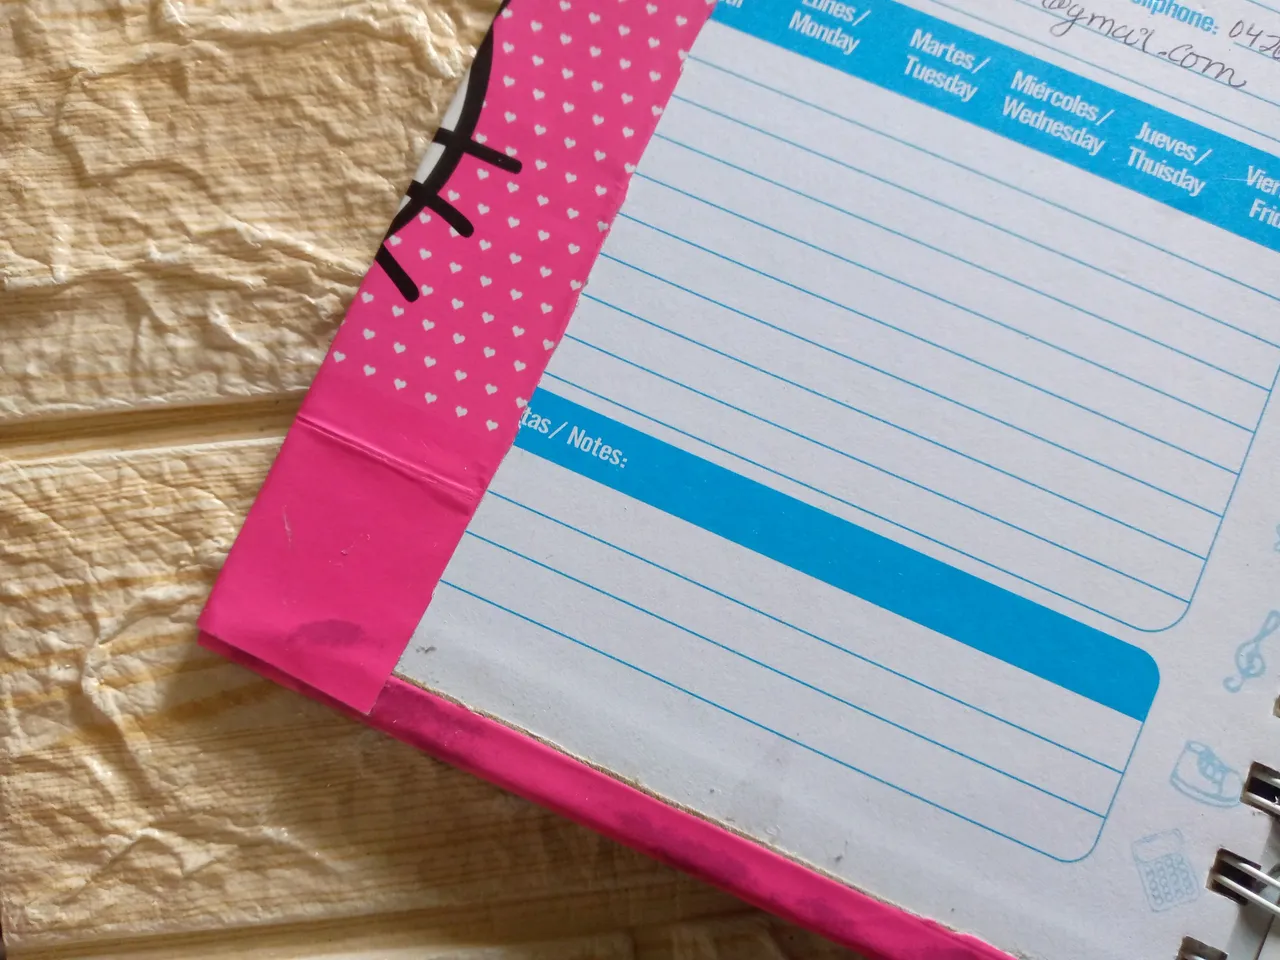
I glued the other part of my notebook on the back and also folded the flaps inwards, so the notebook is finished 🥰.
Resultado:// Result:
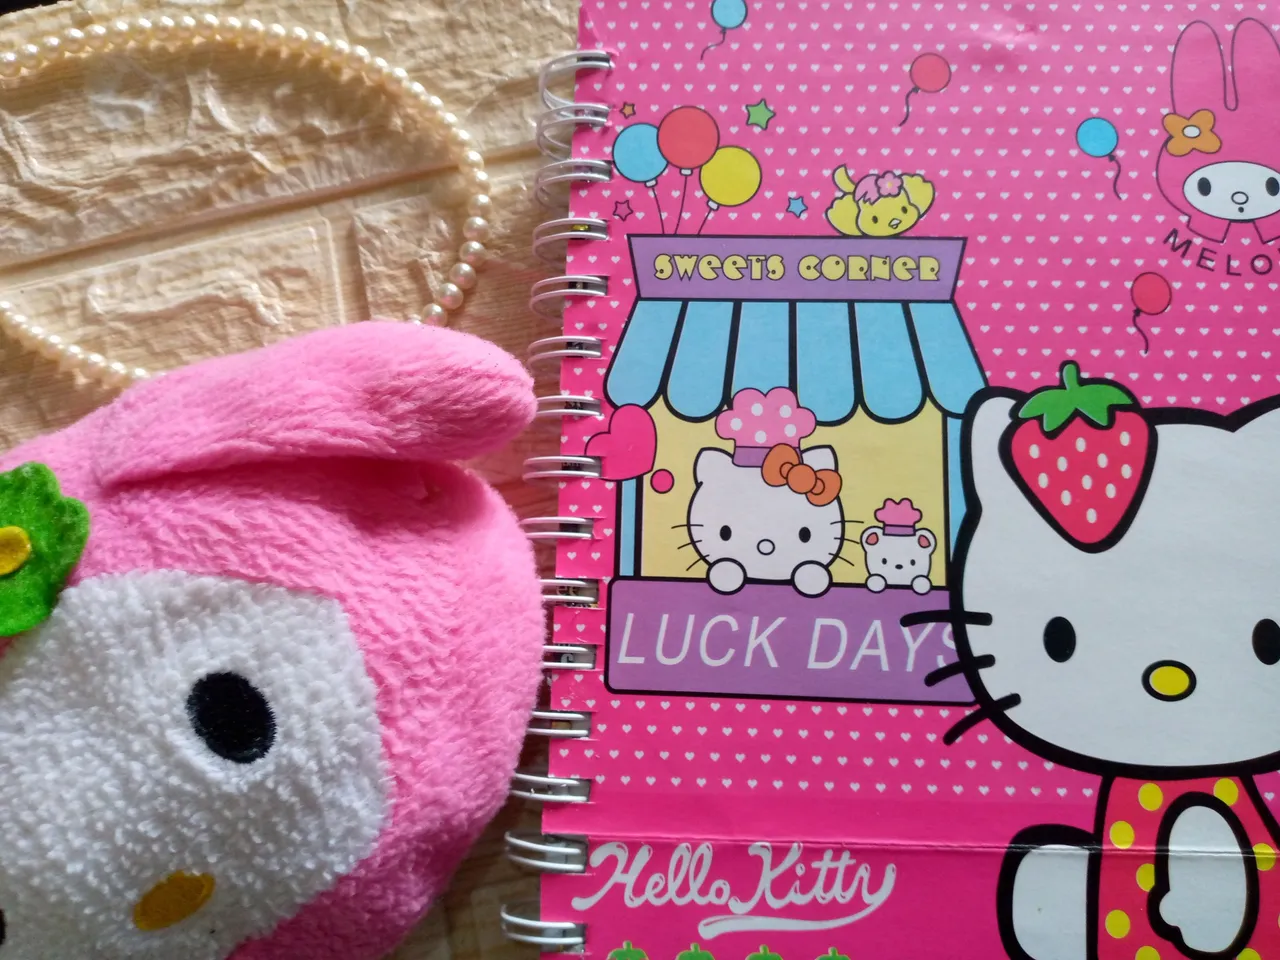
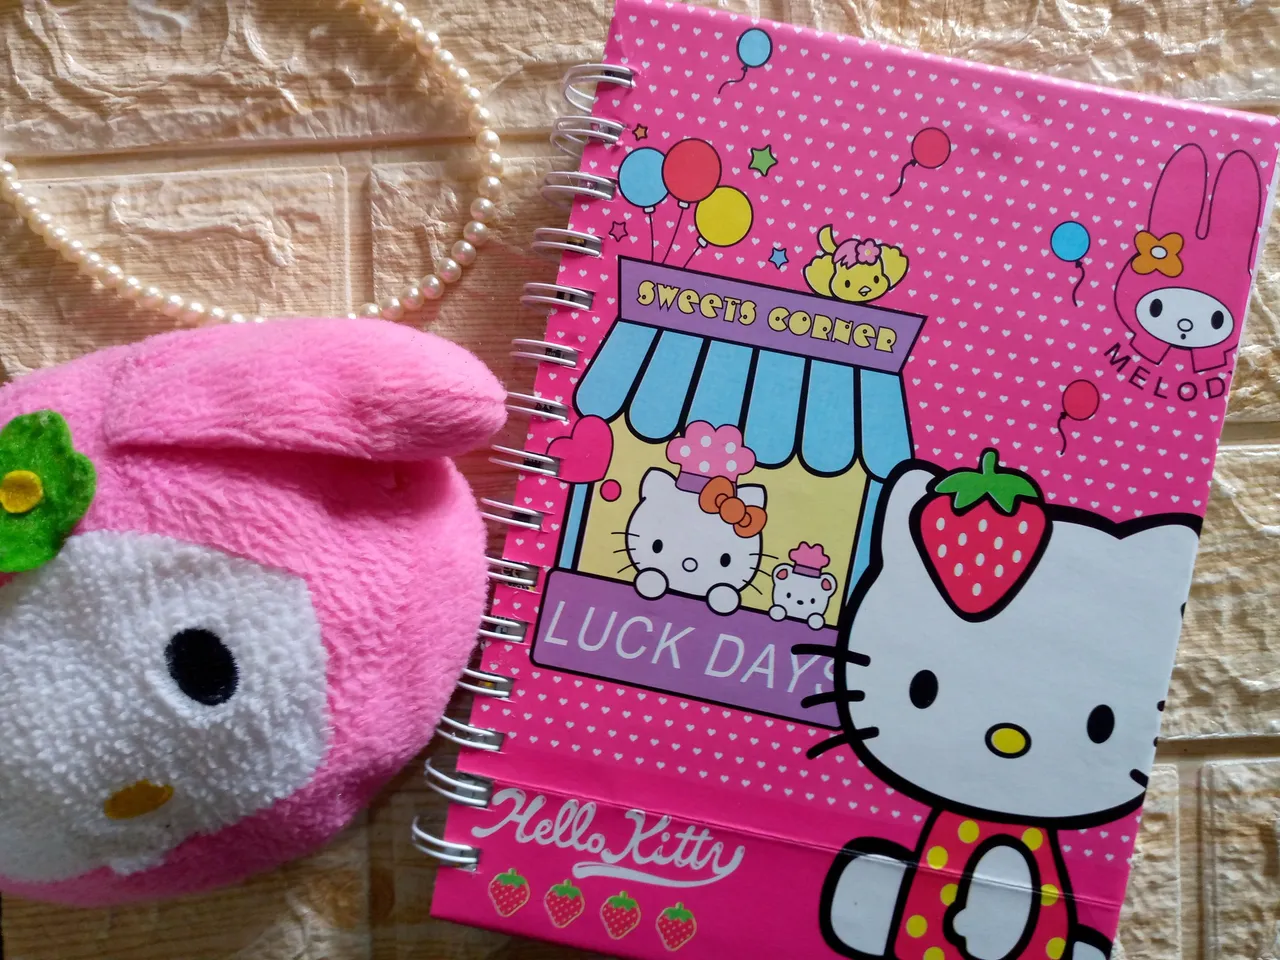
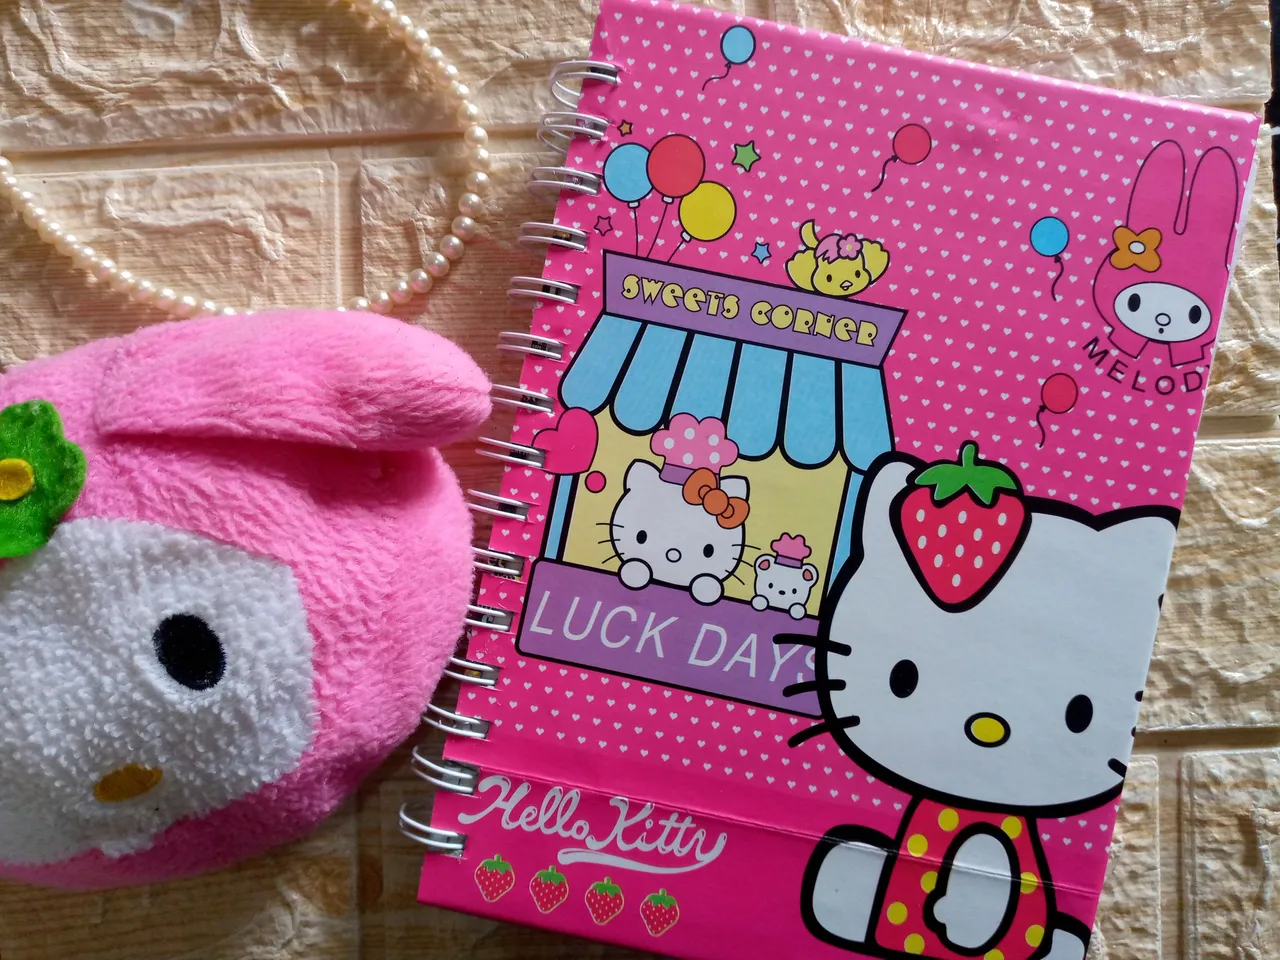
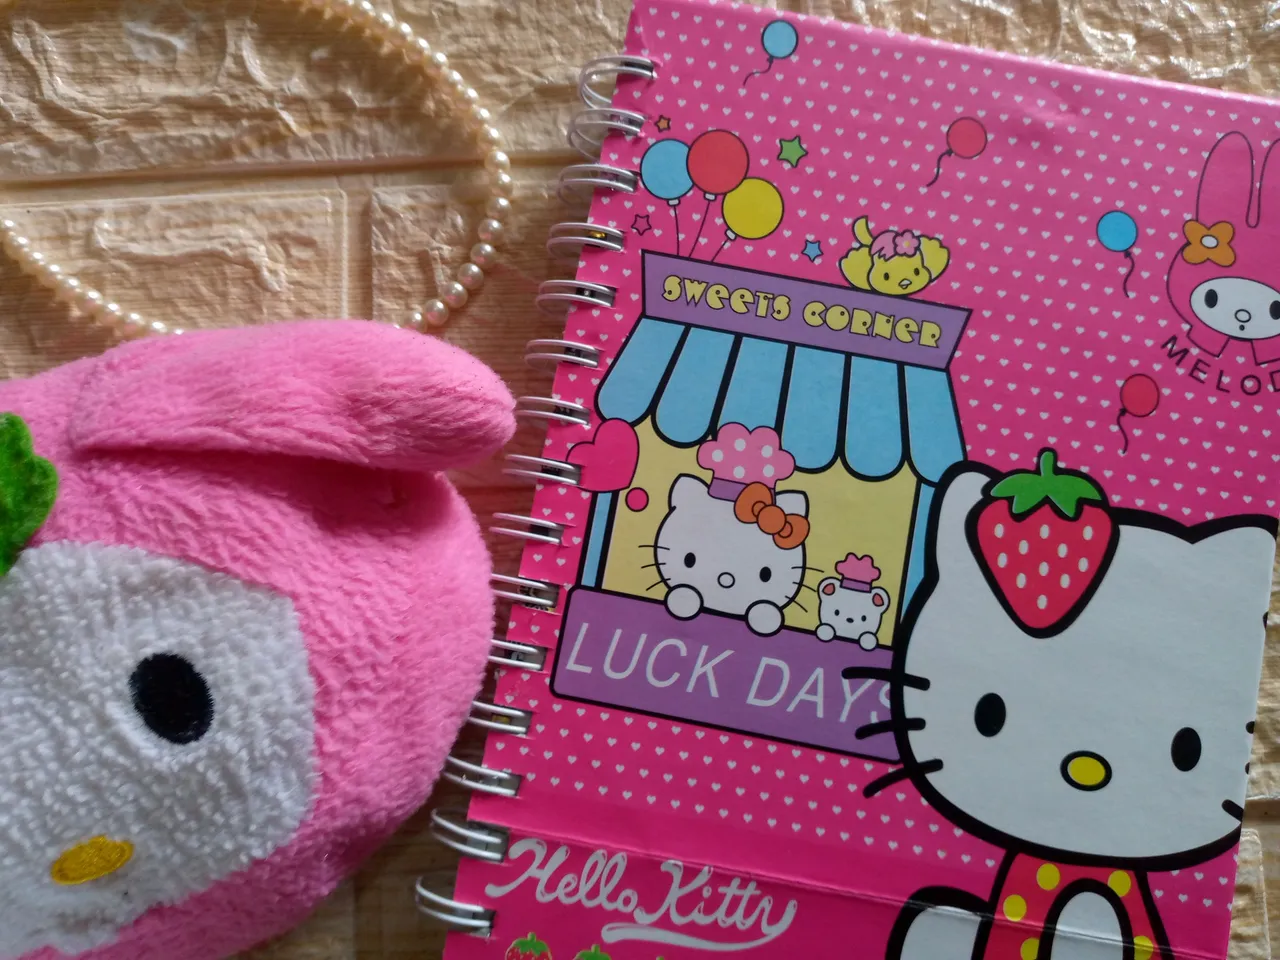
Look at these cute results 🥰☺️The design of the notebook with this Hello Kitty bag is very pretty 💖✨I feel it looks very cute, I can't stop looking at the results 🥺.
Remember that you can recycle these bags that have been given to you to cover your notebooks and notebooks and give them a nicer and new touch 🥰😍what are you waiting for to decorate yours too 🤭, with the photos of the results I say goodbye and thank you for reading me ❤️ I wish you a nice afternoon and it will be until another next creative crafts tutorial 😊see you.
Creating things with love 🌷❤️
🦋✨ All the images in this publication are my author ,📱taken with my TecnoSpark8C cell phone |📸Photos edited in PicsArt and Canva. Text translated in Google Translate.
