
Hi,
This is my first participation in #DIYHub community which I read on many occasions to get various ideas that help me in my day to day. On this occasion I have thrown myself into writing a small tutorial following a DIY job I had over the weekend.
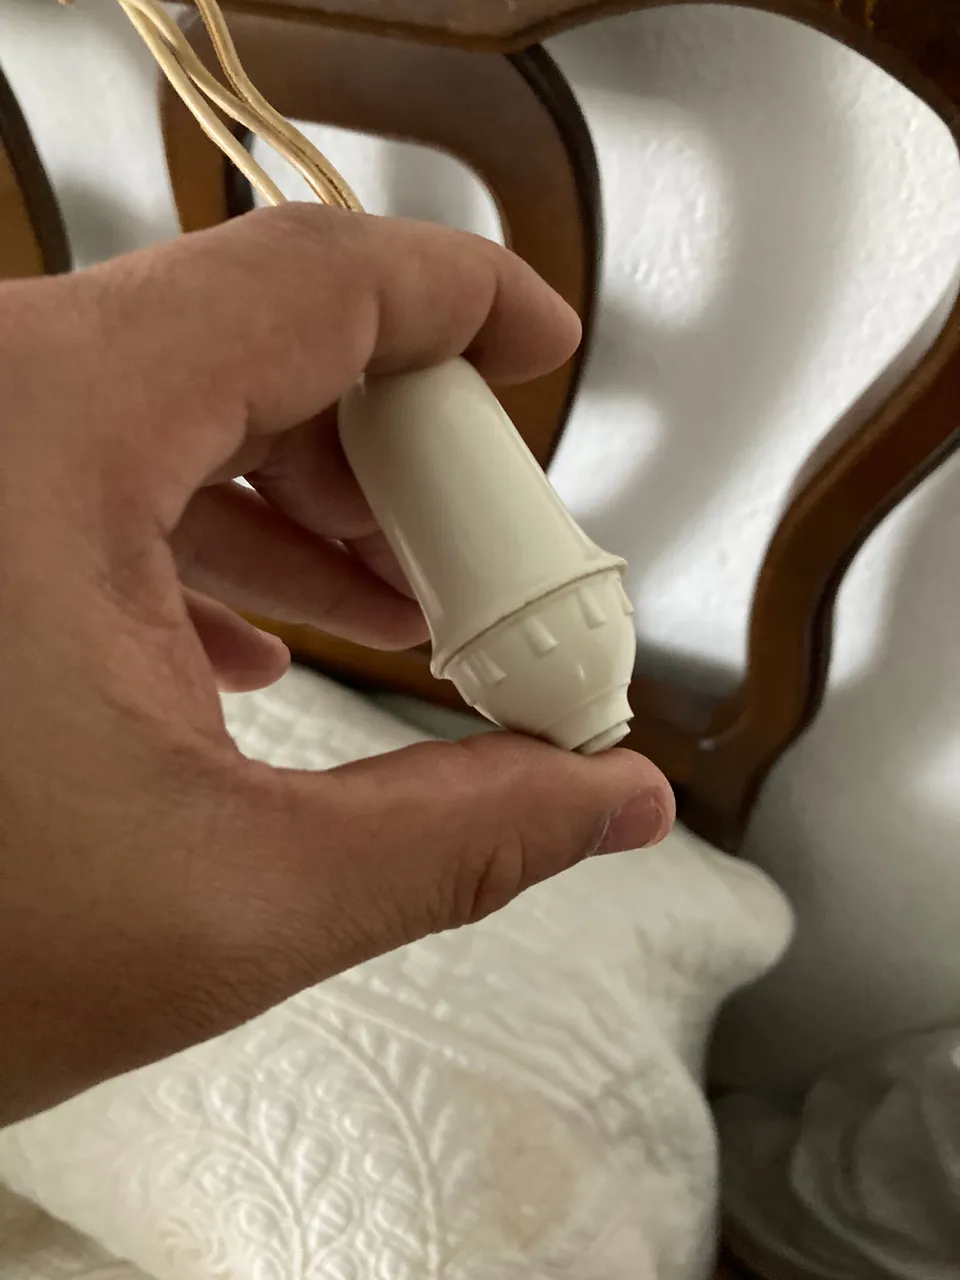
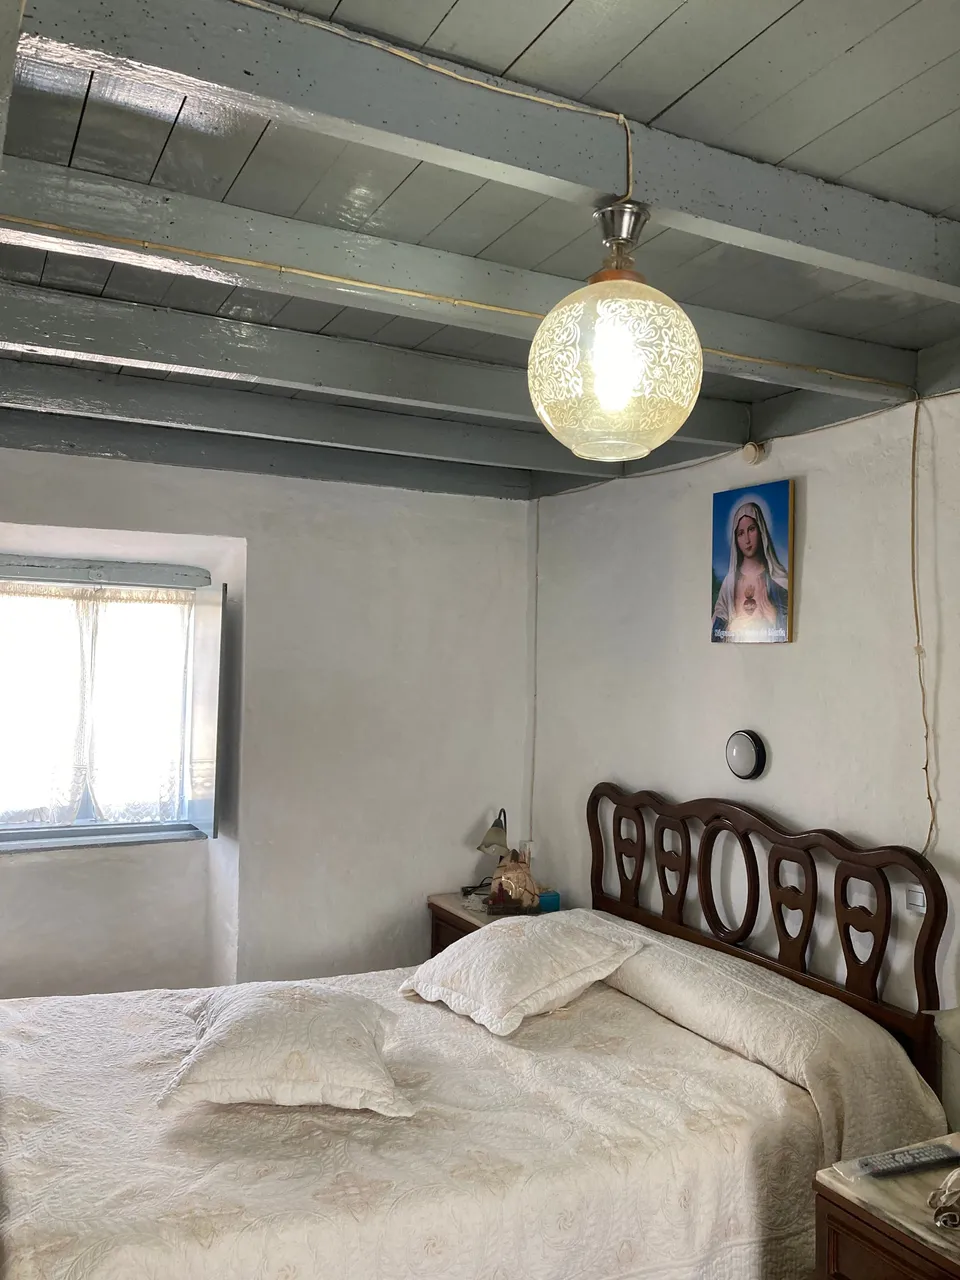
On Friday, when I went to visit my mother for the weekend, she commented that she was having a problem with the pear switch she has near her bed to turn on the bedroom light without having to move to the side of the door in the dark.
After checking it out, I could see that the push button was completely broken.
So, I made myself a list of materials I would need to make the switch replacement.
Materials
- Light switch from two points.
- Flat and Phillips screwdriver
- Knife or cutter
- Lag bolts
- Two screw plugs
- Drill
- Hammer
1. Shopping at the DIY store
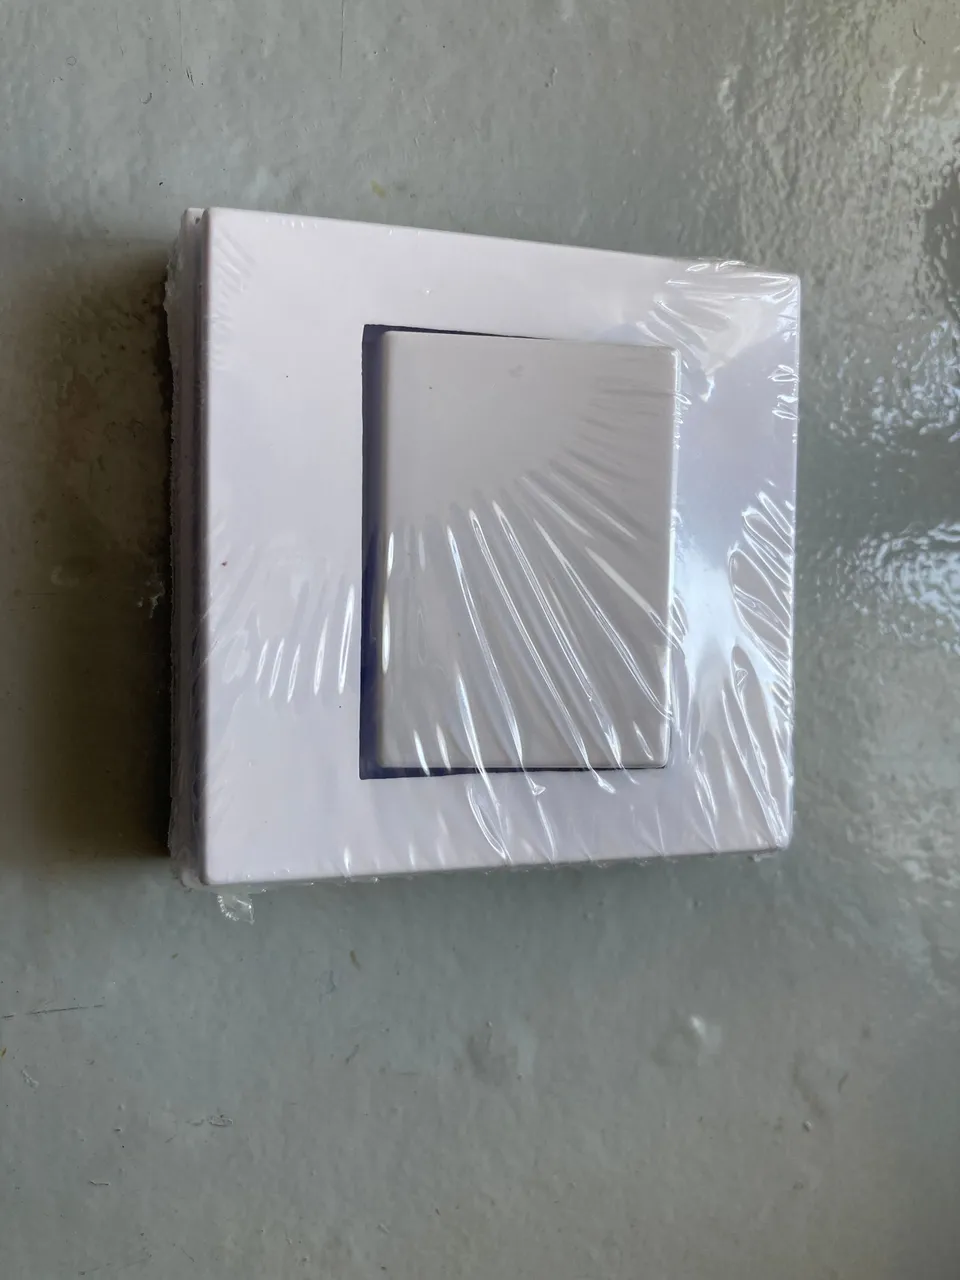
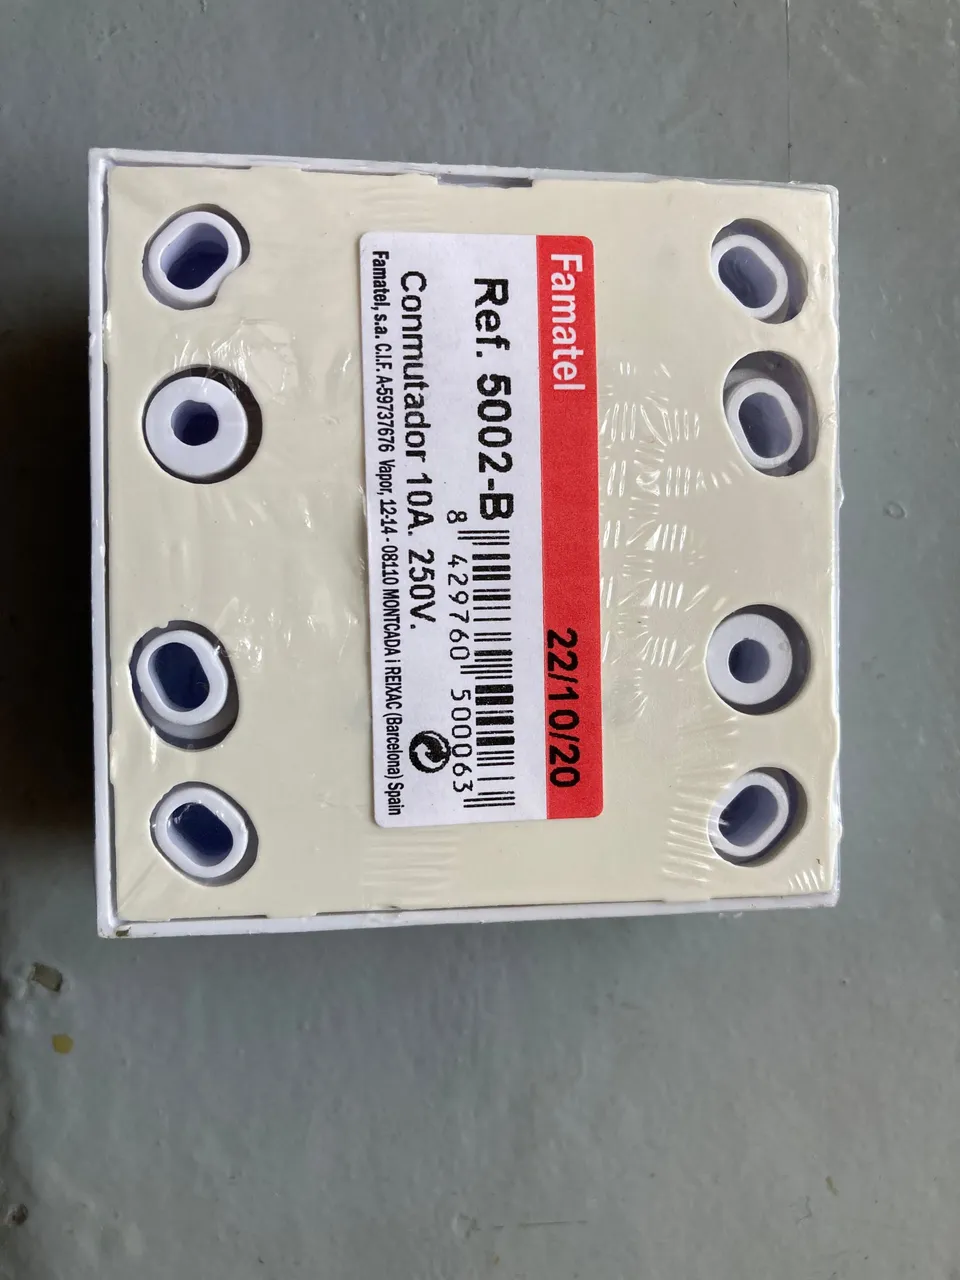
On Saturday morning, I went to the DIY store closest to my mother's house with the intention of buying a two-point ignition switch.

However, they told me that they hadn't had this type of model for years and suggested a wall-mounted switch light switch, which I bought for 2.80 Euros.
2. Safety first
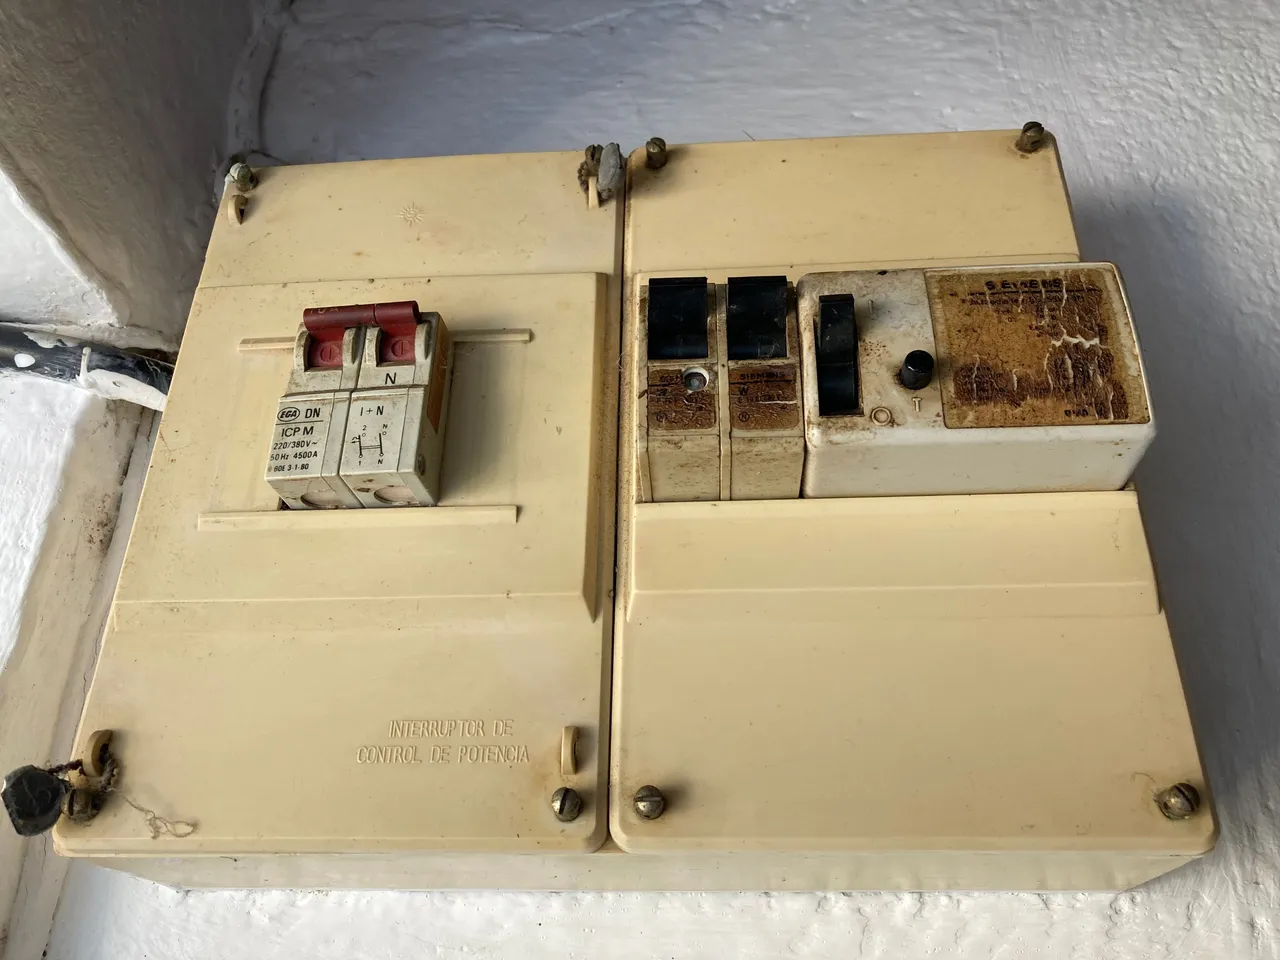
To do any work with electricity, the first step to follow is to disconnect the electricity in the house. In my case at the entrance of the house there is a fuse box which I put all of them in off mode and verified by turning on and off a lamp that the electrical current was totally disconnected.
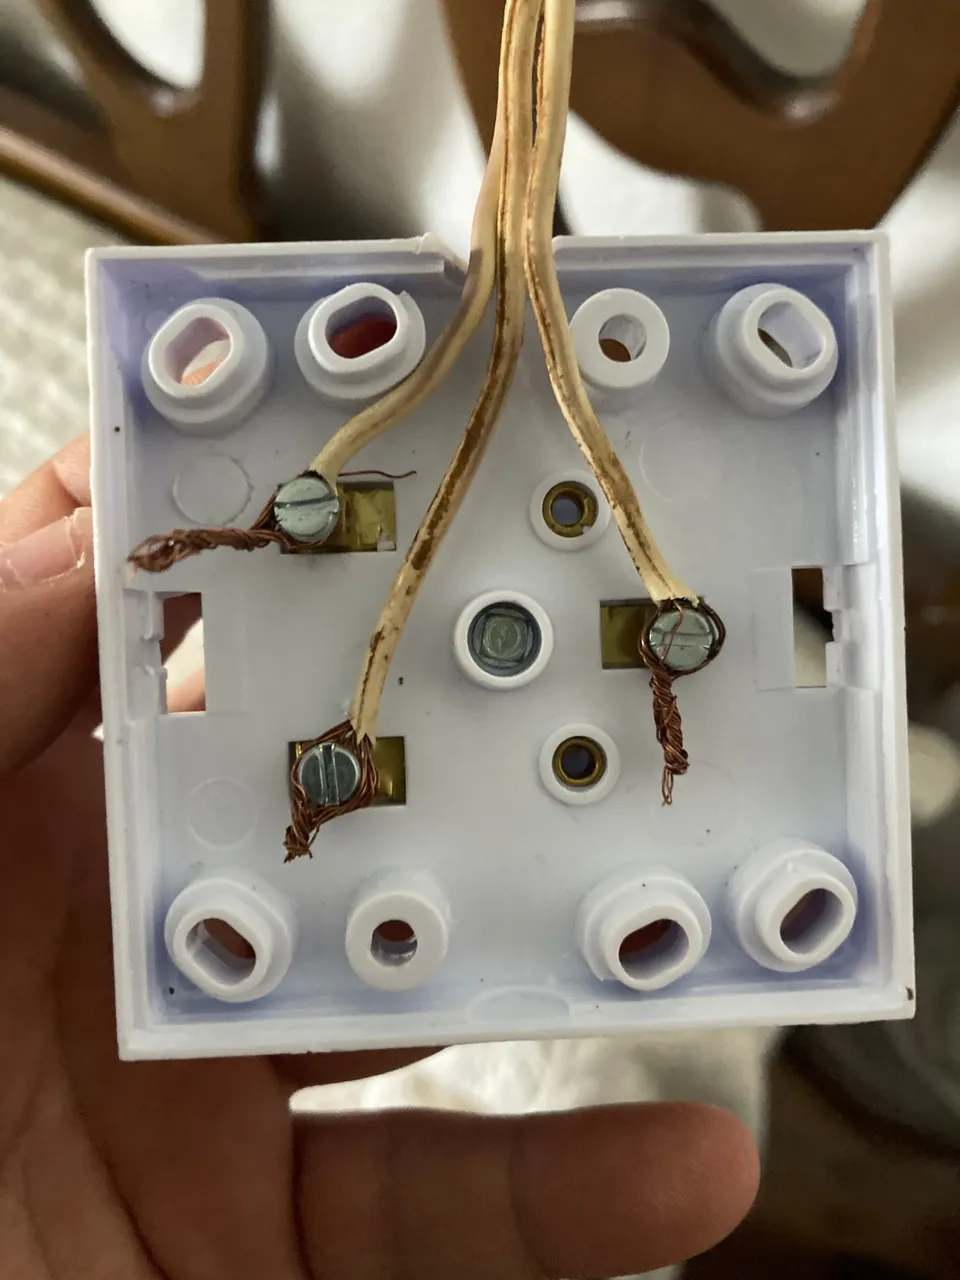
3. Disassembling the faulty switch
Once the power was off, I set about disassembling the broken switch. To do this, simply unscrew the lower part from the upper part to gain access to the three wires connected inside the switch.
Disconnecting these three wires using a screwdriver.
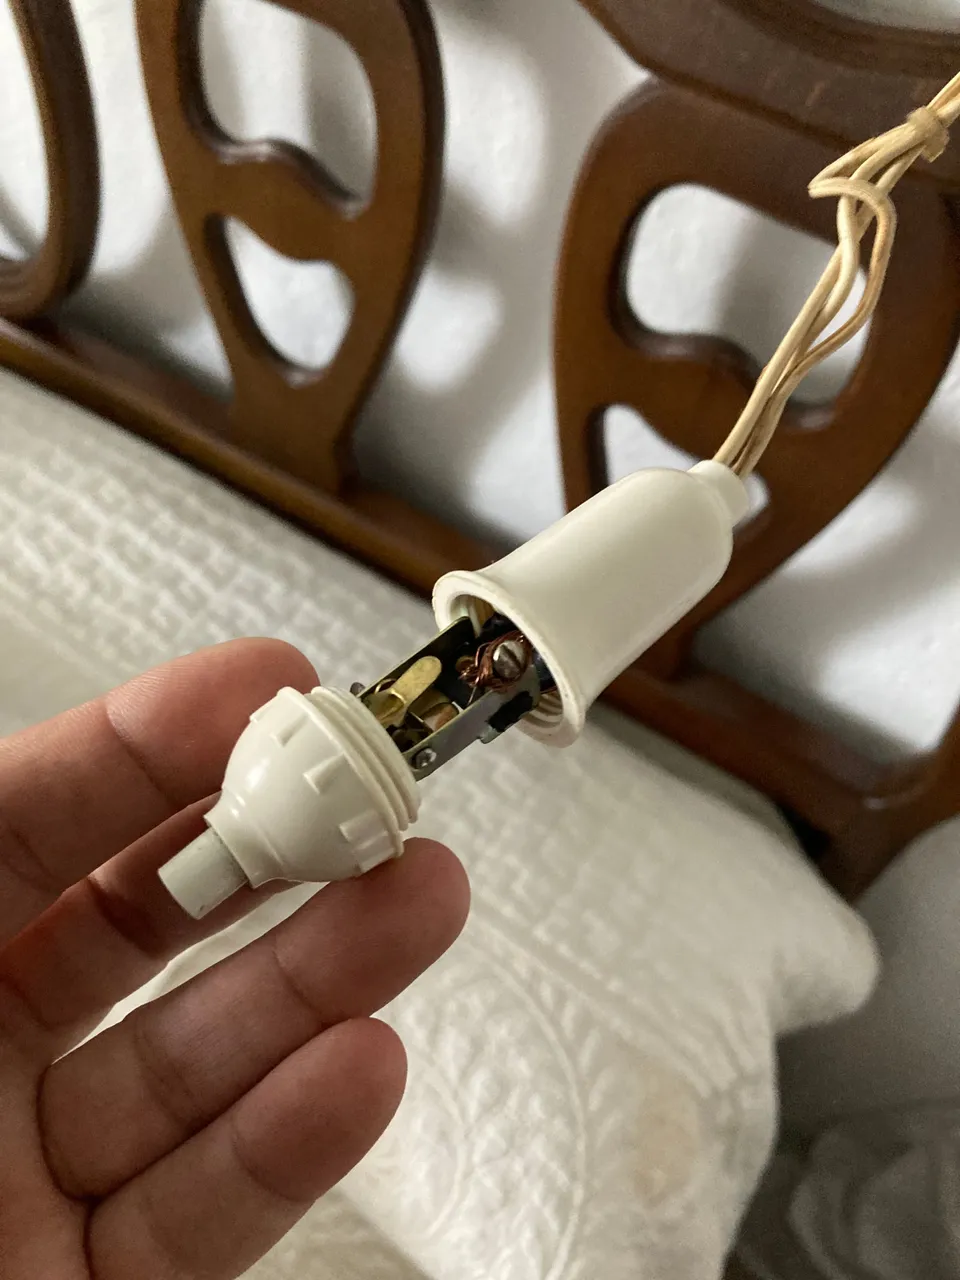
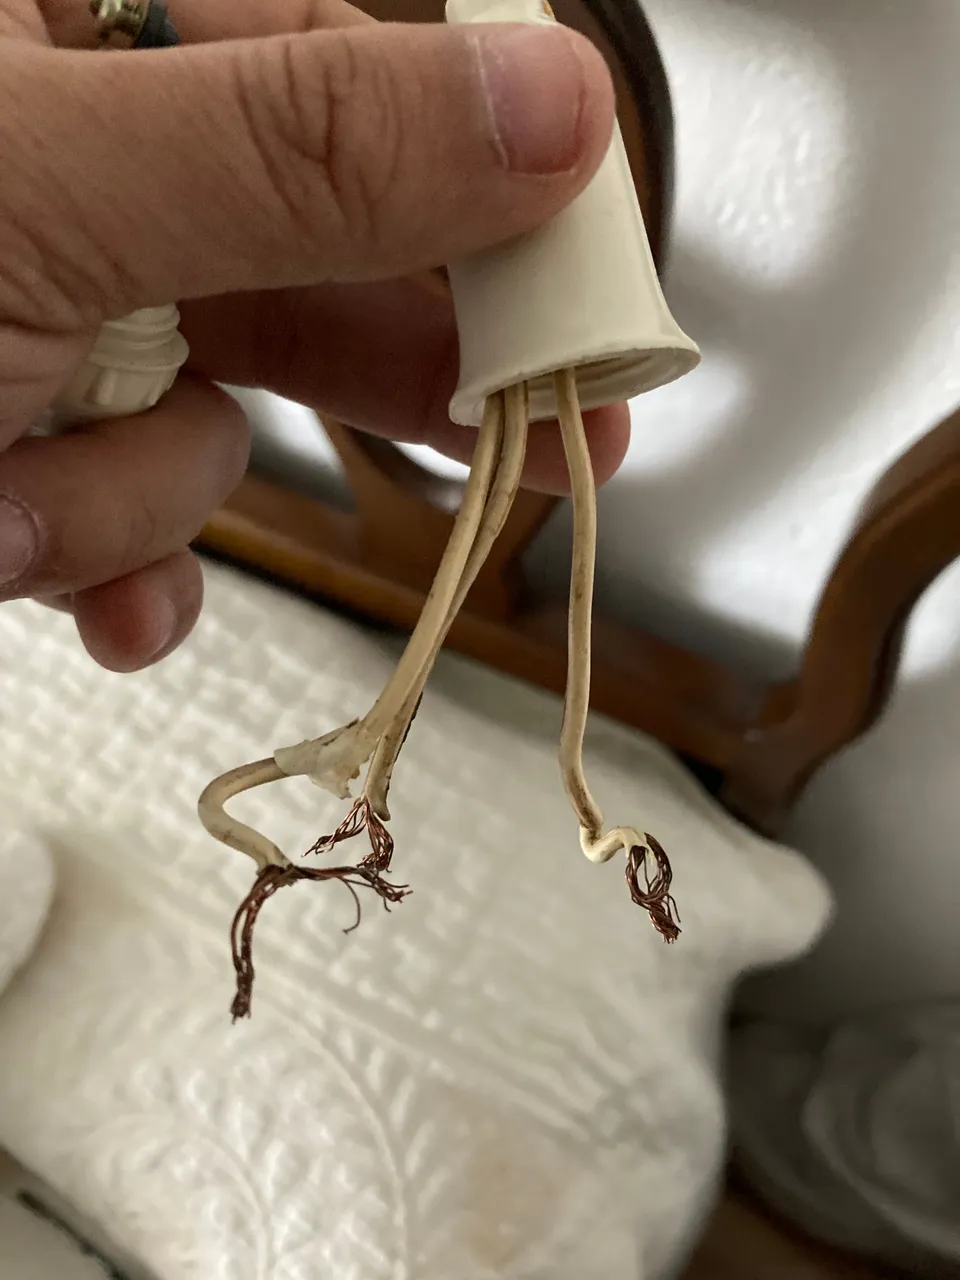
The reason there are three wires connected inside the switch is because it is the light, not just controlled by one switch.
What is a circuit with two light switches?
It is an electrical circuit where a light bulb can be turned on and off from two different switches and that obeys the scheme that you can see below.
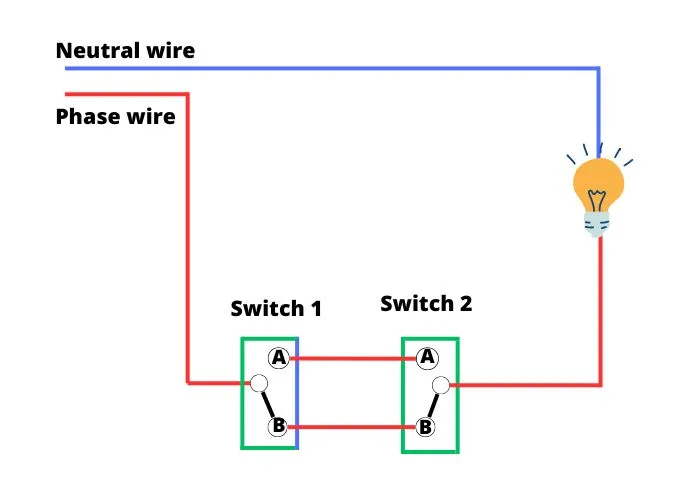
As you can see in the schematic, if I flip either switch, the black line would go to the circle with the letter A and this would cause the bulb to turn off. Subsequently, regardless of which switch we activate, we would cause the circuit to close again and the bulb would turn on.
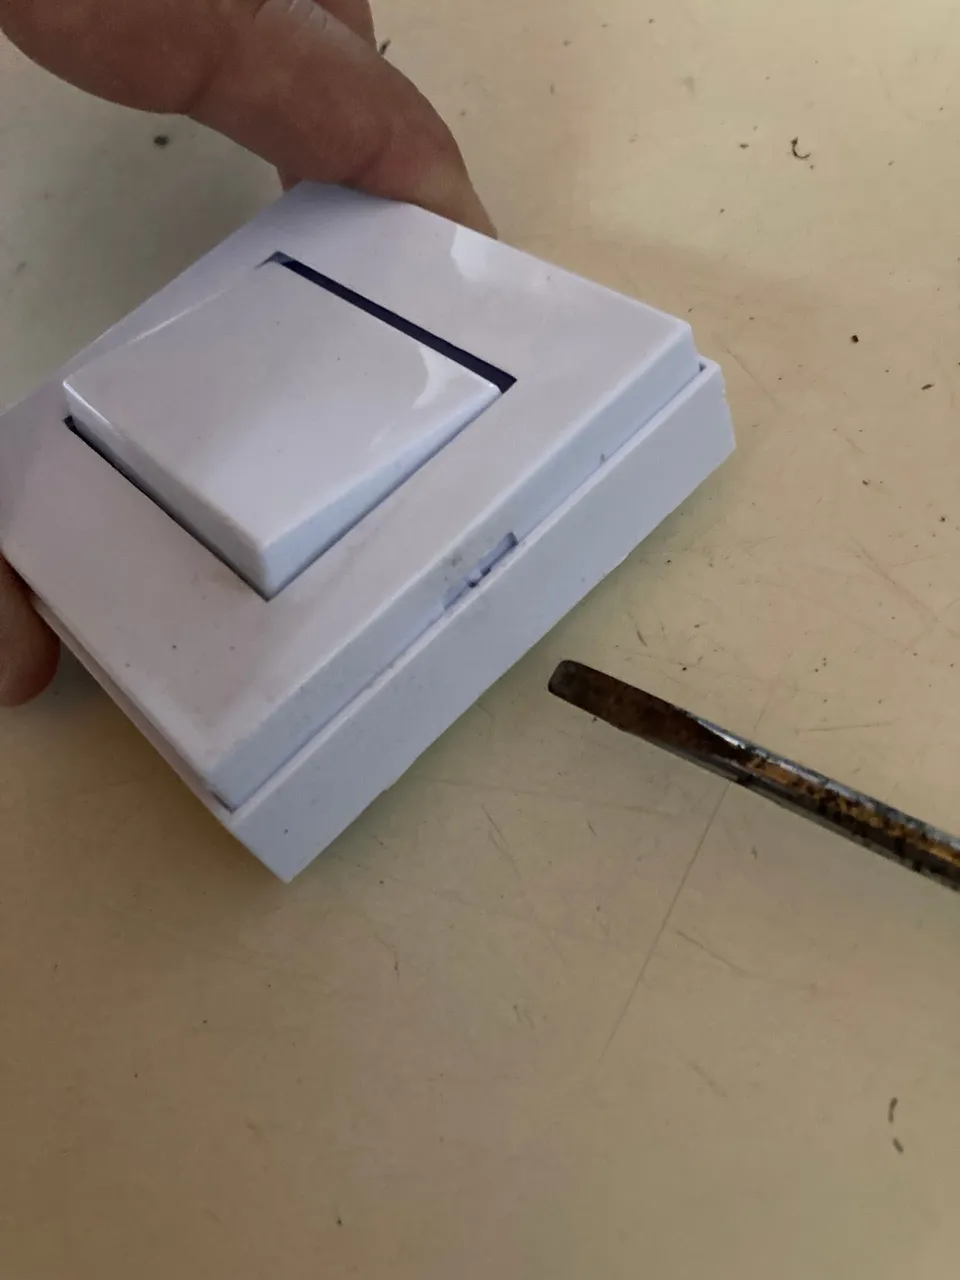
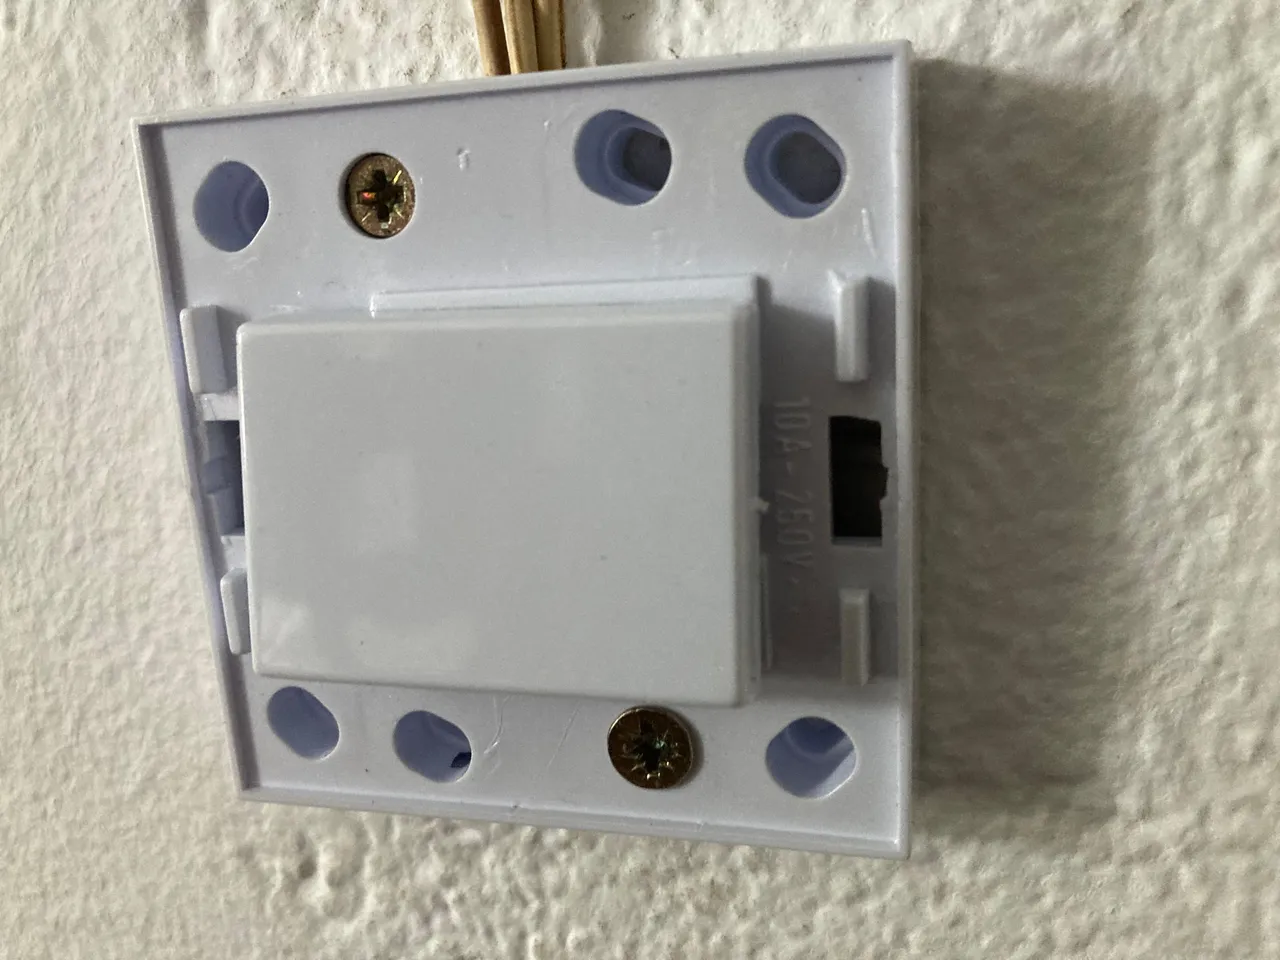
4. Connecting the new switch
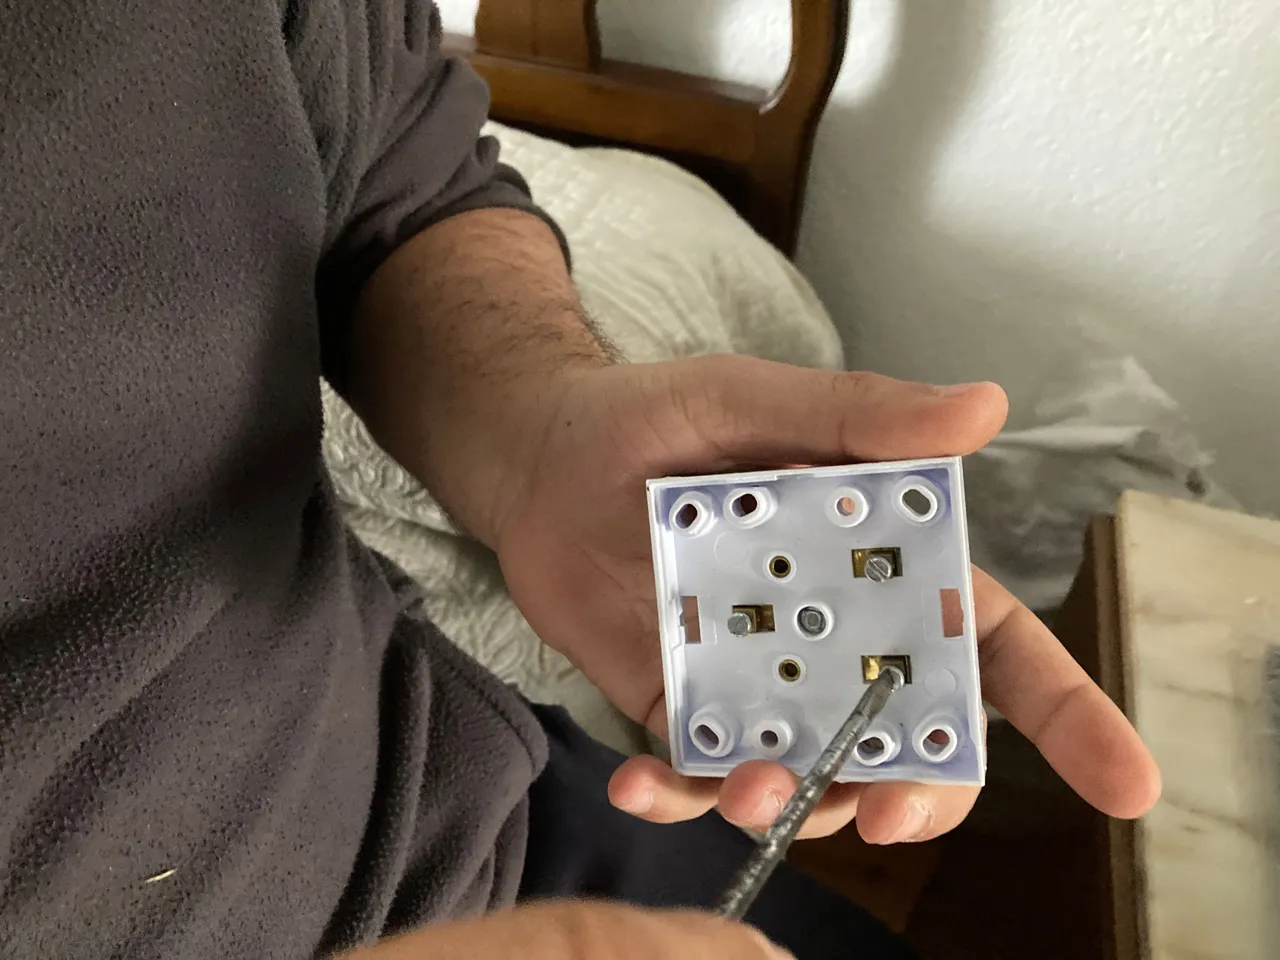
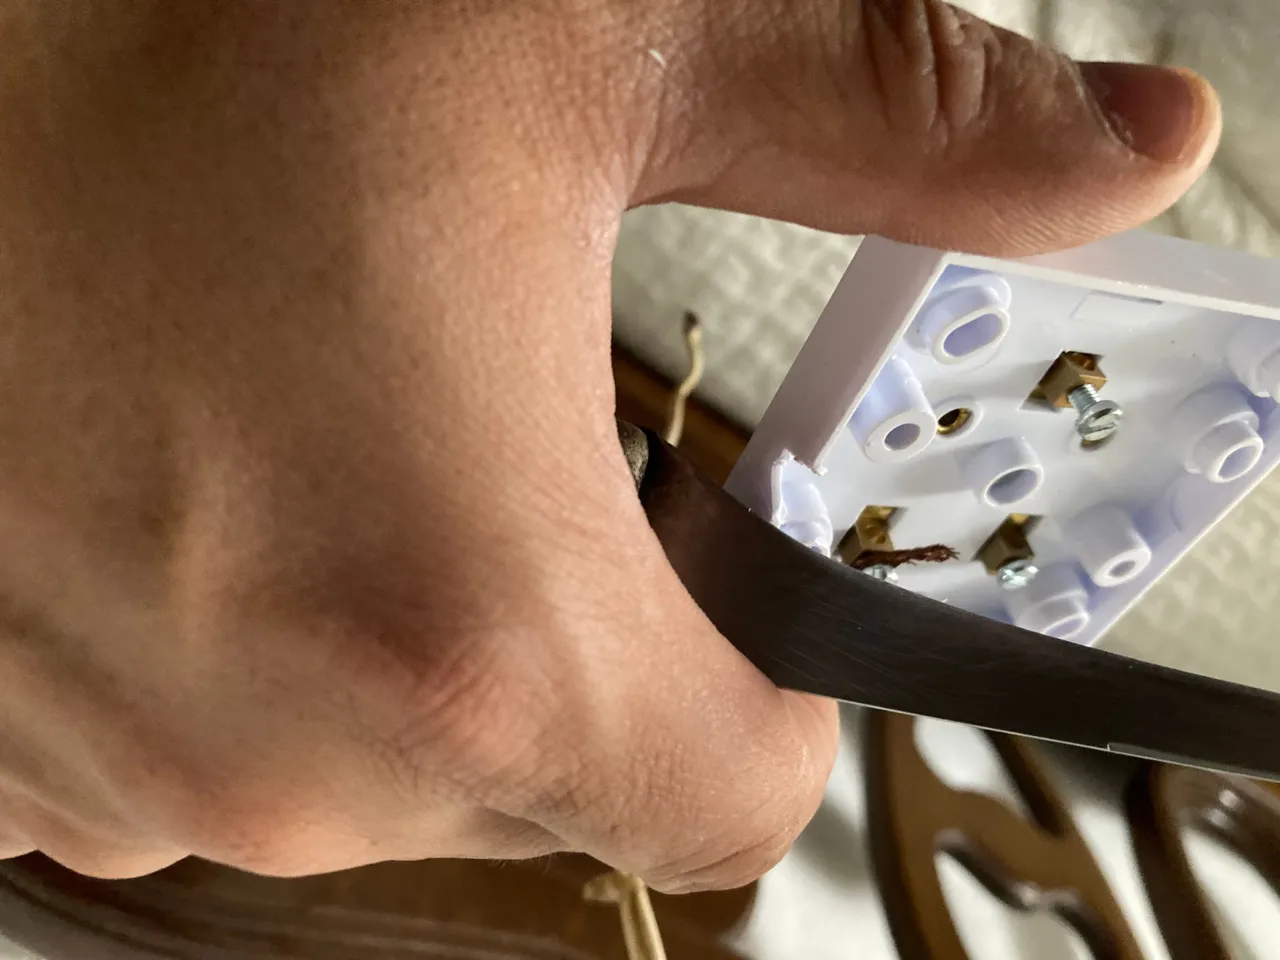
First, we remove the front and rear of the new switch. To facilitate this operation we can use a flat screwdriver.
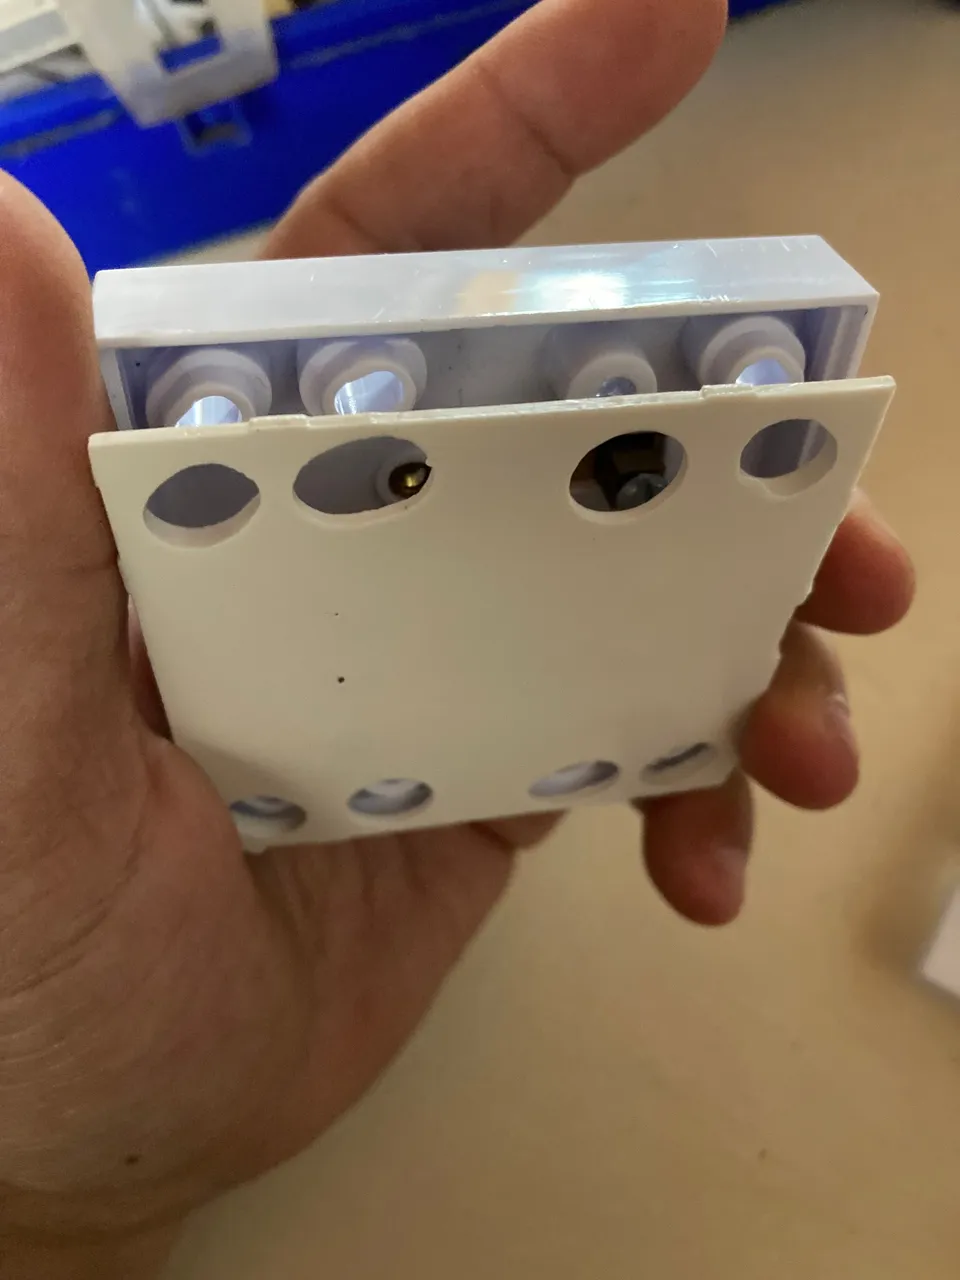
Next, we partially loosen the three internal screws of the switch.
Subsequently, the end of cable that in my case were already stripped, we divide part of the wires to a side and another part to another, with the intention of passing it to each side of the screw and to unite them again in the end.
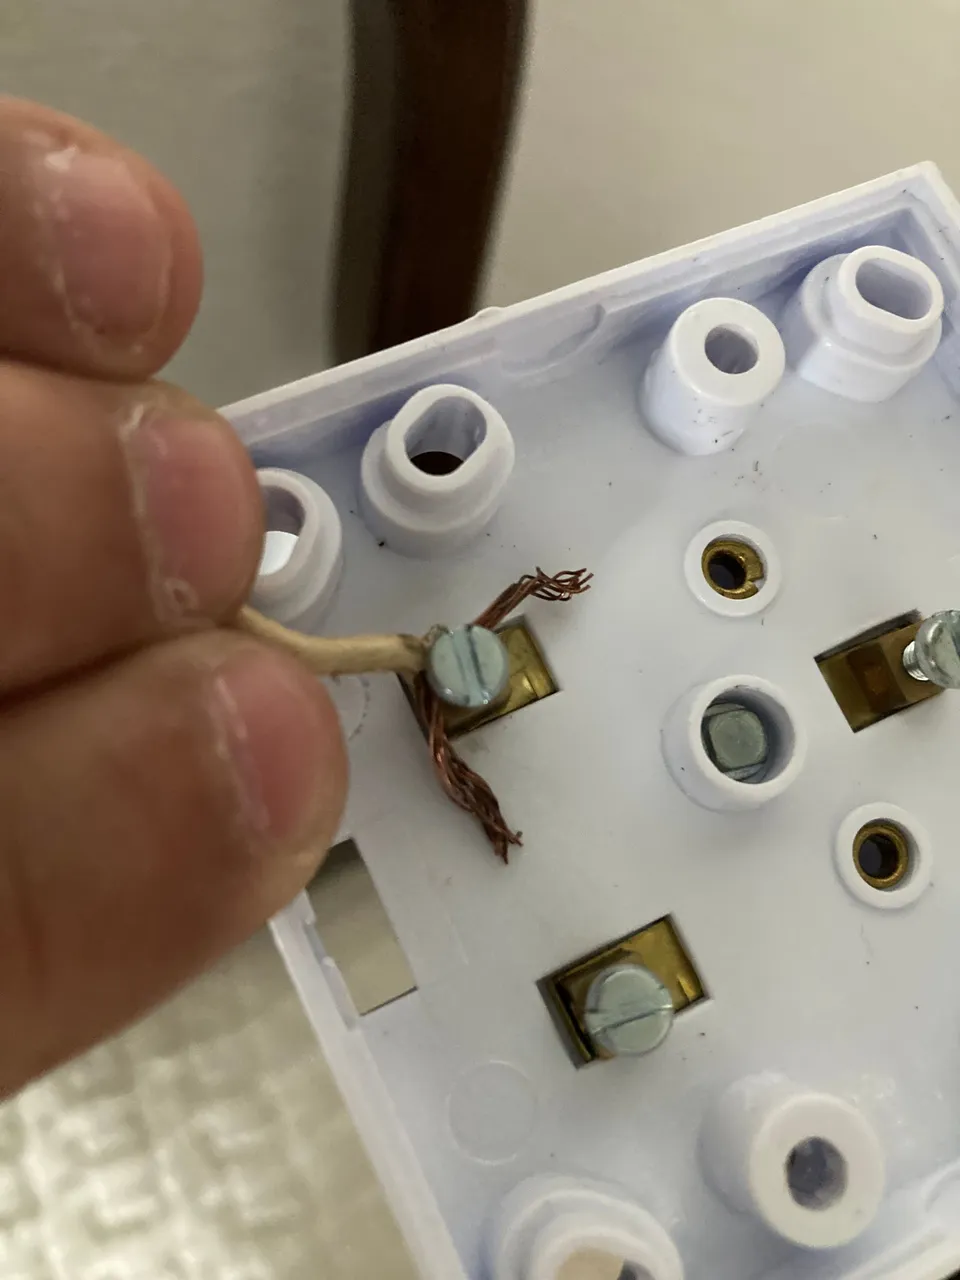
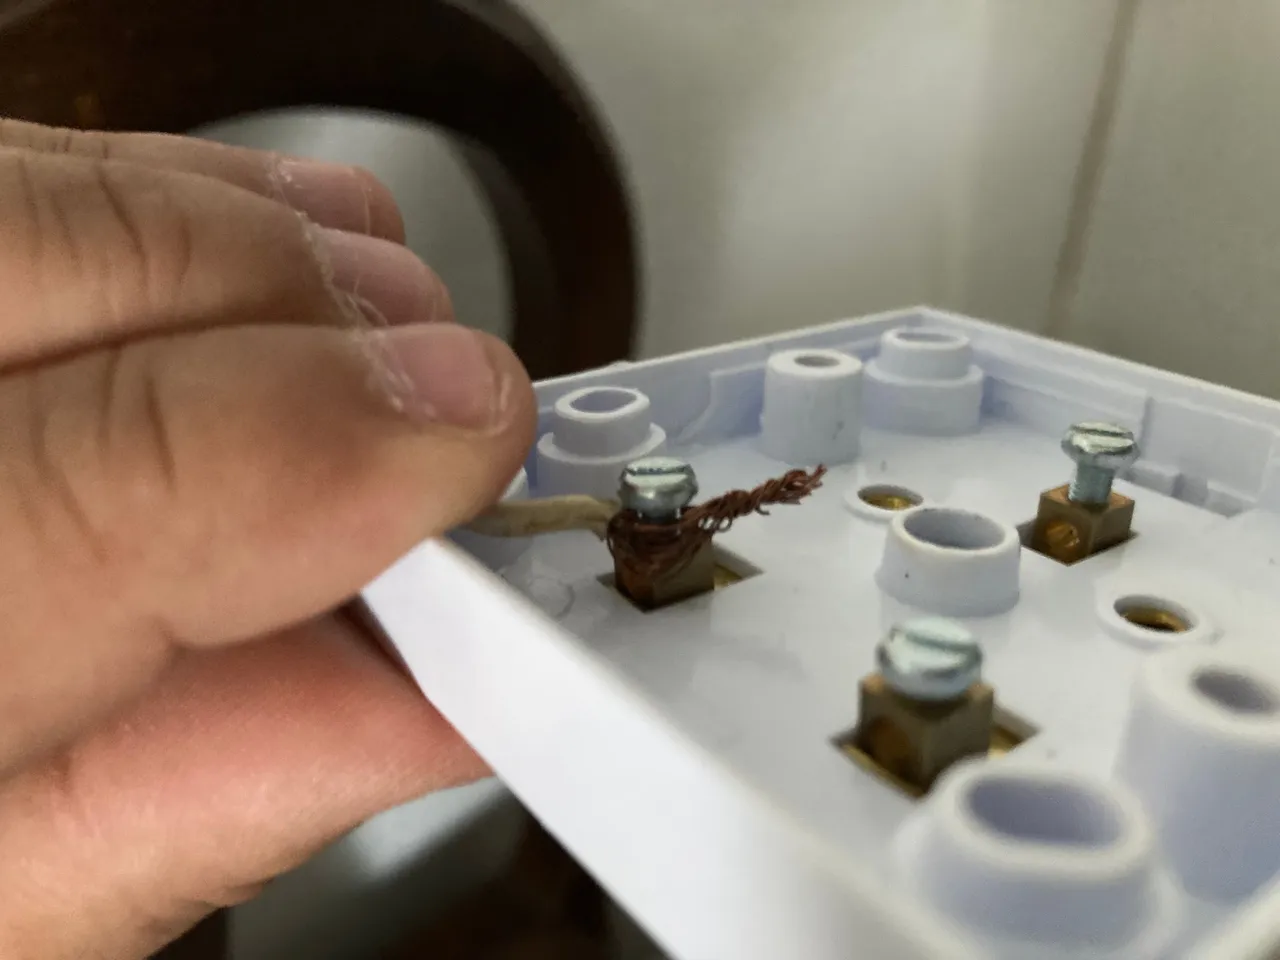
This operation will be done on the three wires with the three screws.
And to be able to later anchor the switch to the wall with the help of a knife, I passed the wires through the switch.
And then I put the back cover back on.
Very important
The wires coming from the first switch are placed in the positions that are close to each other in the model of switch that I had bought.
In the third connection would go the phase wire that goes to the bulb.
5. Anchoring to the wall
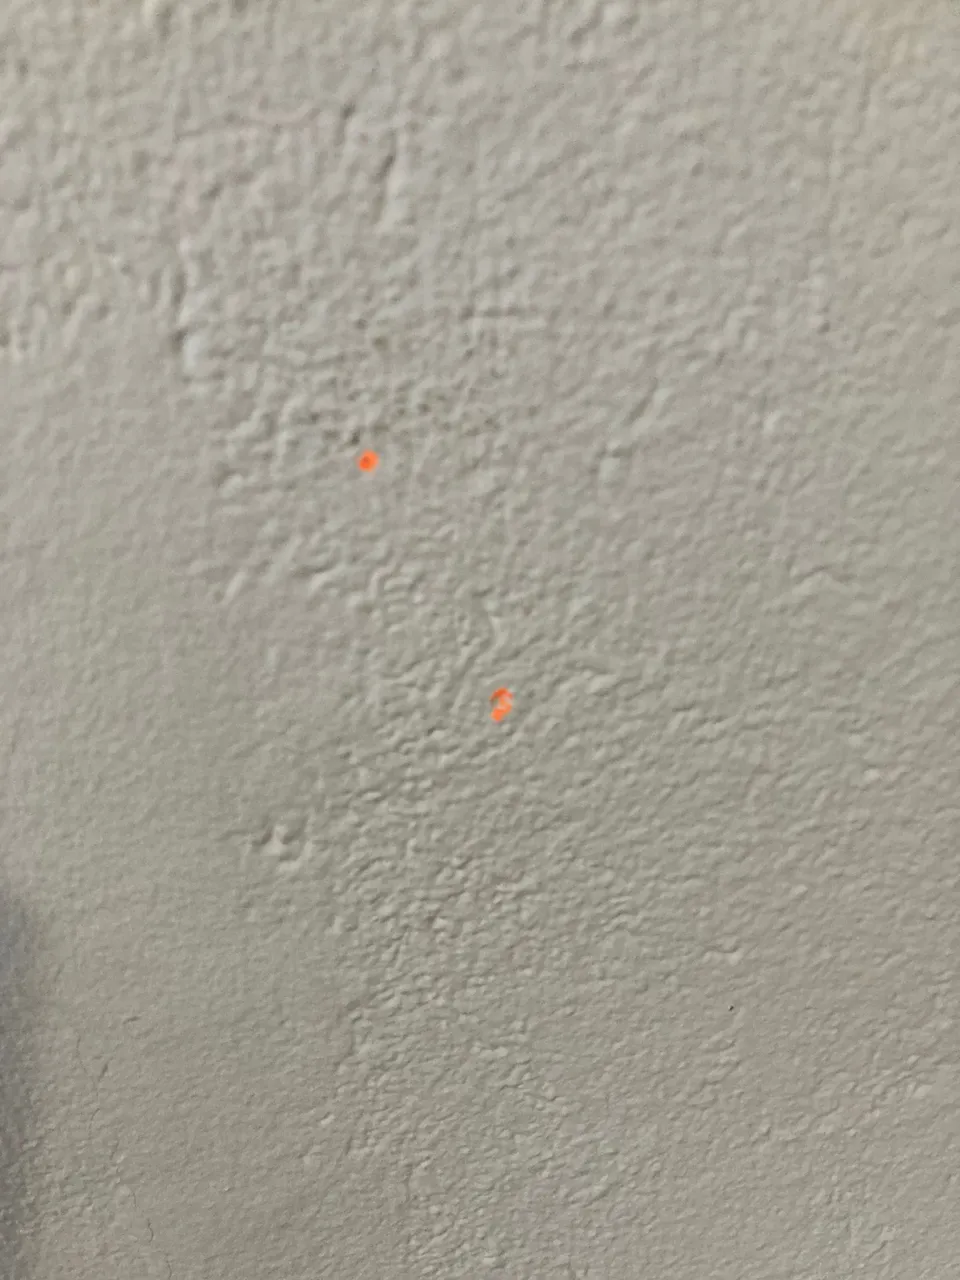
Later, with the help of a marker I made two marks of the positions where the fixing screws of the switch would be placed.
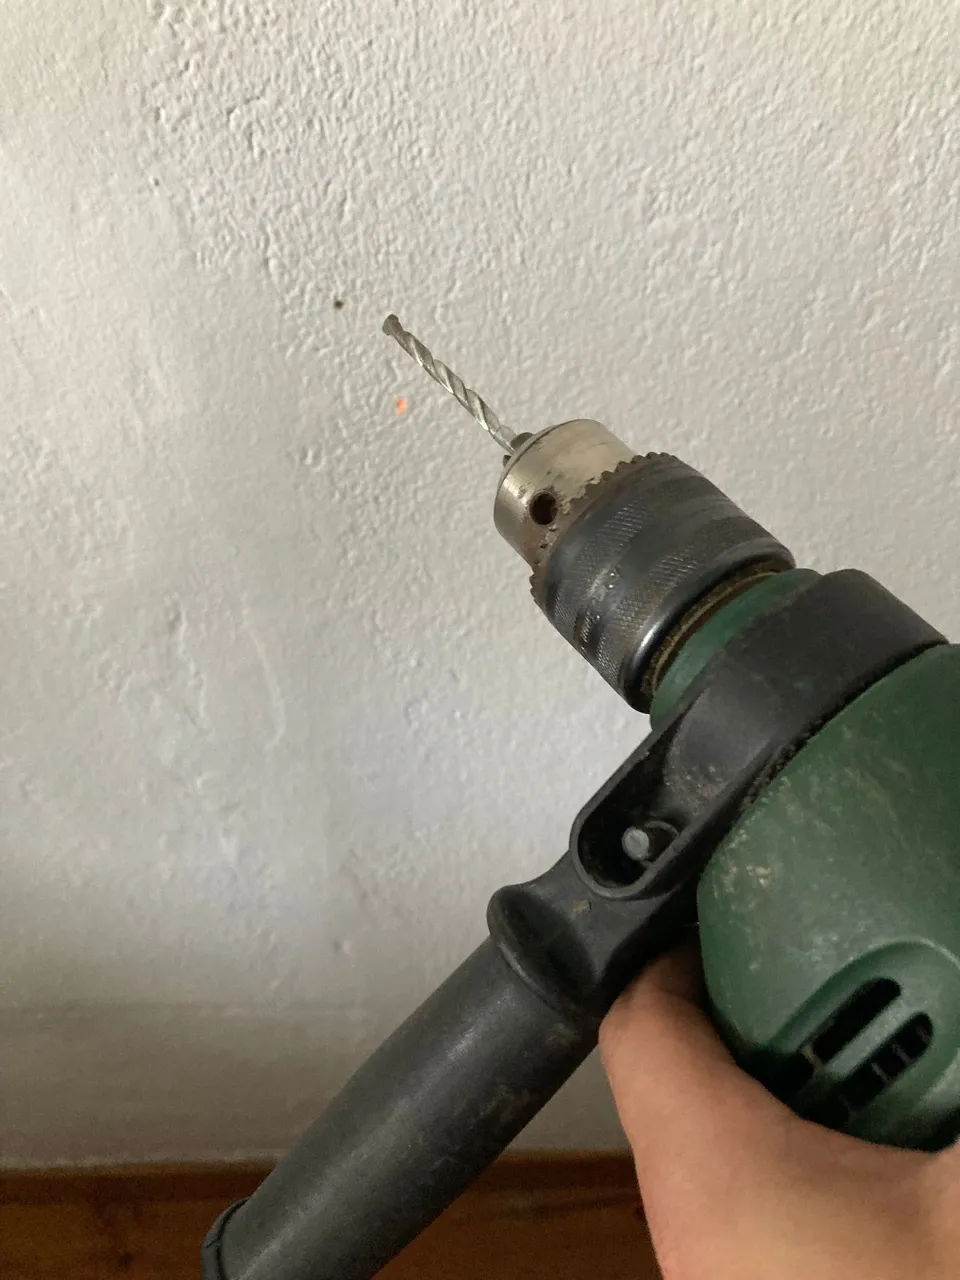
With the help of a drill I made the two holes. To do this, it is first necessary to activate the general fuses.
Then I placed twod screw plugs in the holes.
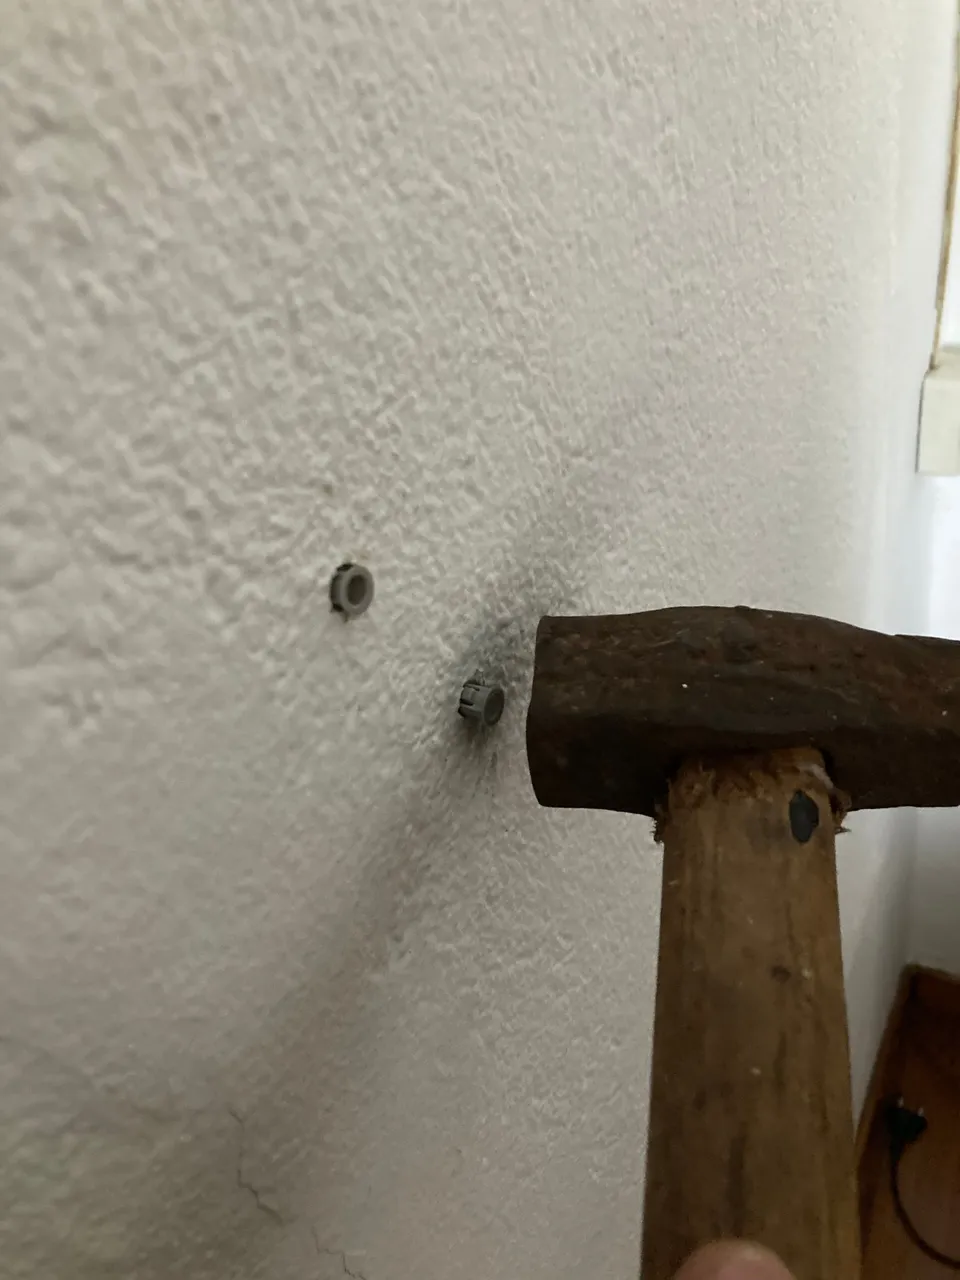
After removing the power again, I screwed the switch into position with two lag screws.
Finally, I placed the front trim.
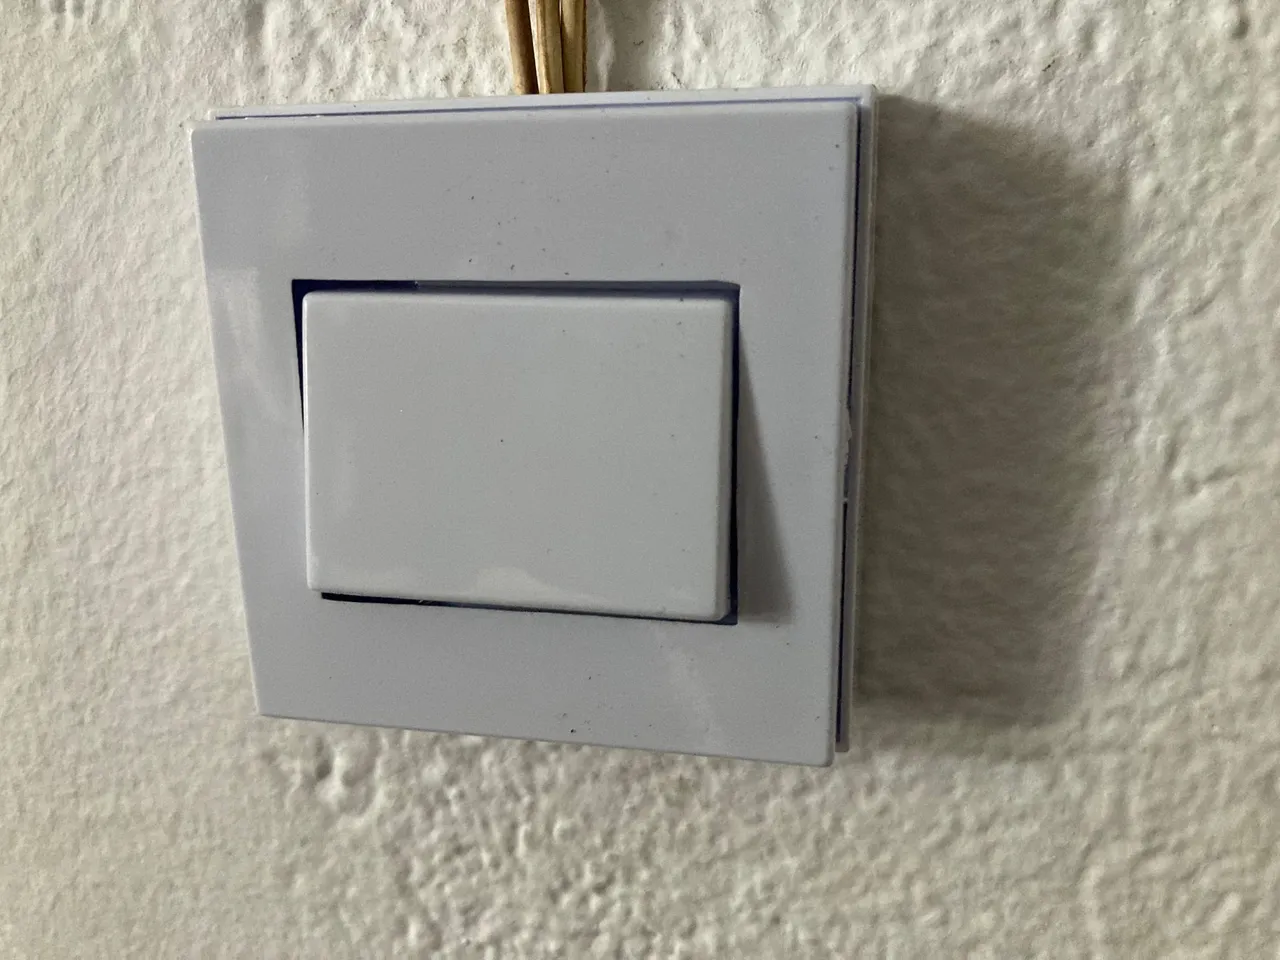
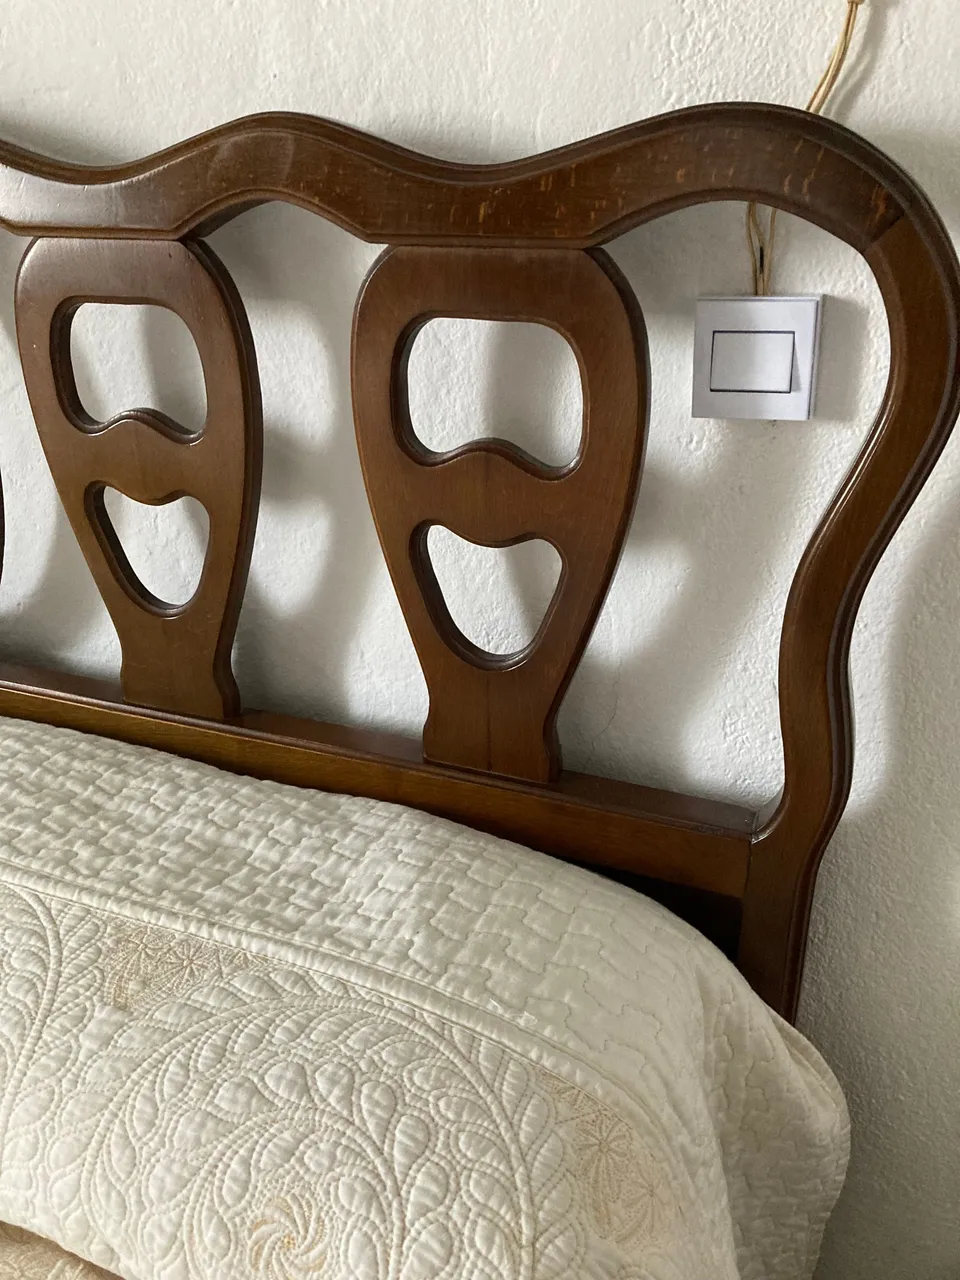
6. Final Result
And the end result, it was a success with a new switch that allows the light to be turned on and off from two different positions in the room, which is very useful in the evenings.
Best regards.
