
English
Hiiii, friends of the HiveDiy community, how are you today? I hope you are doing great!
So, recently I was going through Pinterest and I saw an image of one of my favorite Junji Ito's characters: Tomie. I've always admired the fashion with which that character handles herself, and in this case was no exception, as she was wearing a kind of blouse with separate sleeves (here I leave you the image link, just in case, hehehe).
Automatically, I thought I wanted a piece of clothing that looks like that; although I don't know its name, I was looking for it and I couldn't find it. However, that wasn't going to stop me. I had an idea in mind, and I wanted to execute it.
I prayed to heaven that everything would turn out the way it looked in my mind and grabbed my materials to start this transformation. Here we go!
Materials.
- A long-sleeved blouse.
- Scissors.
- Elastic ribbon.
- Yarn.
- Needle.
- Safety pin.
I also used a bead to make bracelets or necklaces, those little stones that have a little hole in the middle. And finally, I will use a pack of faith to trust the process, hahaha.
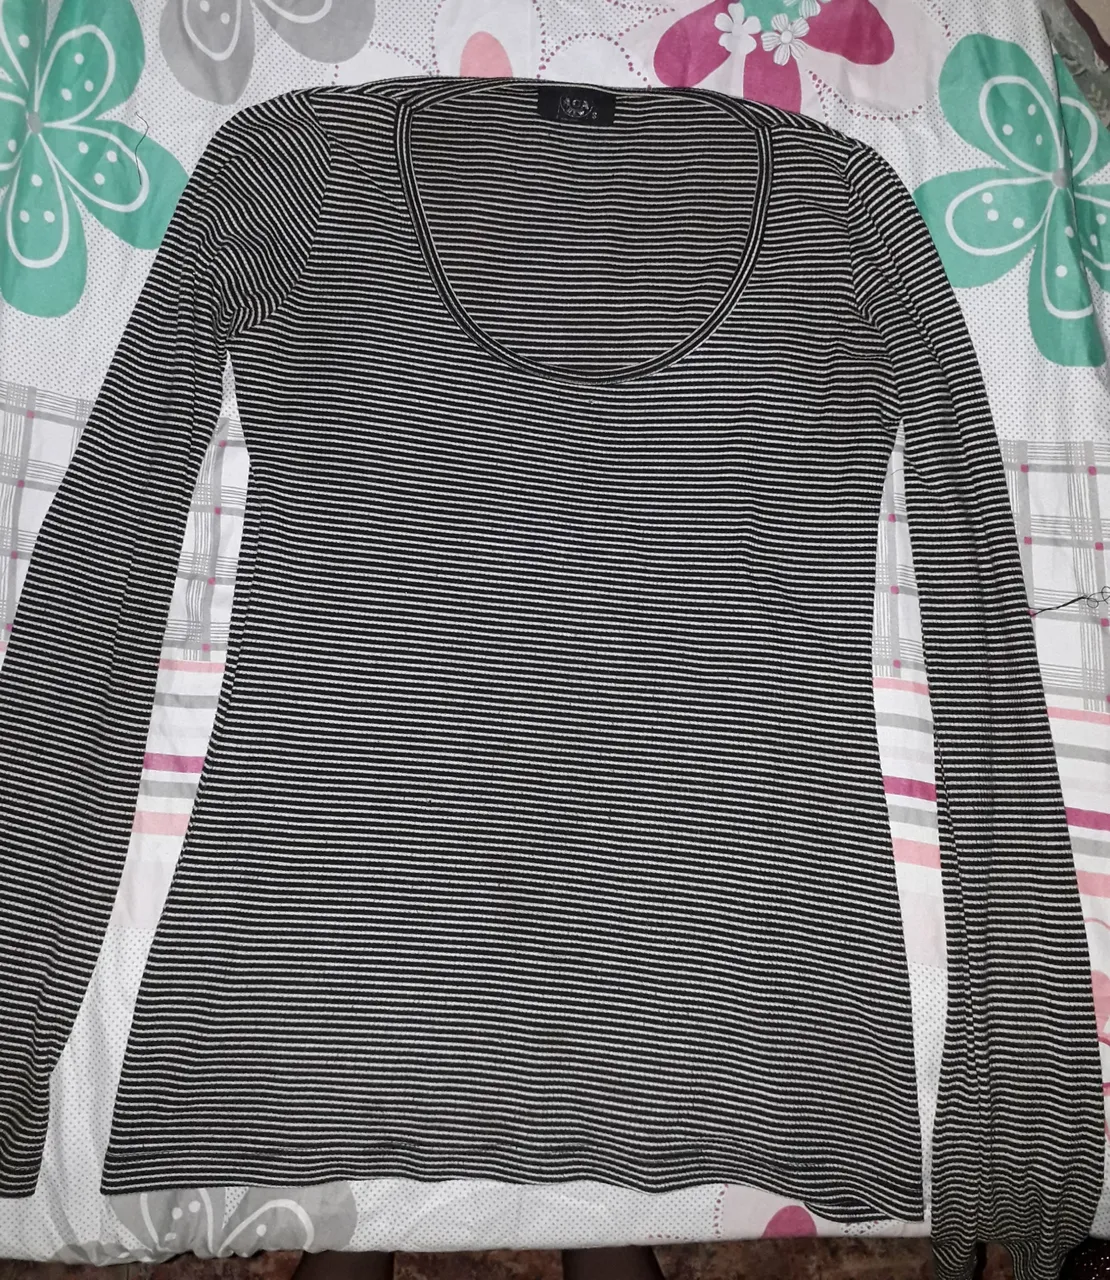
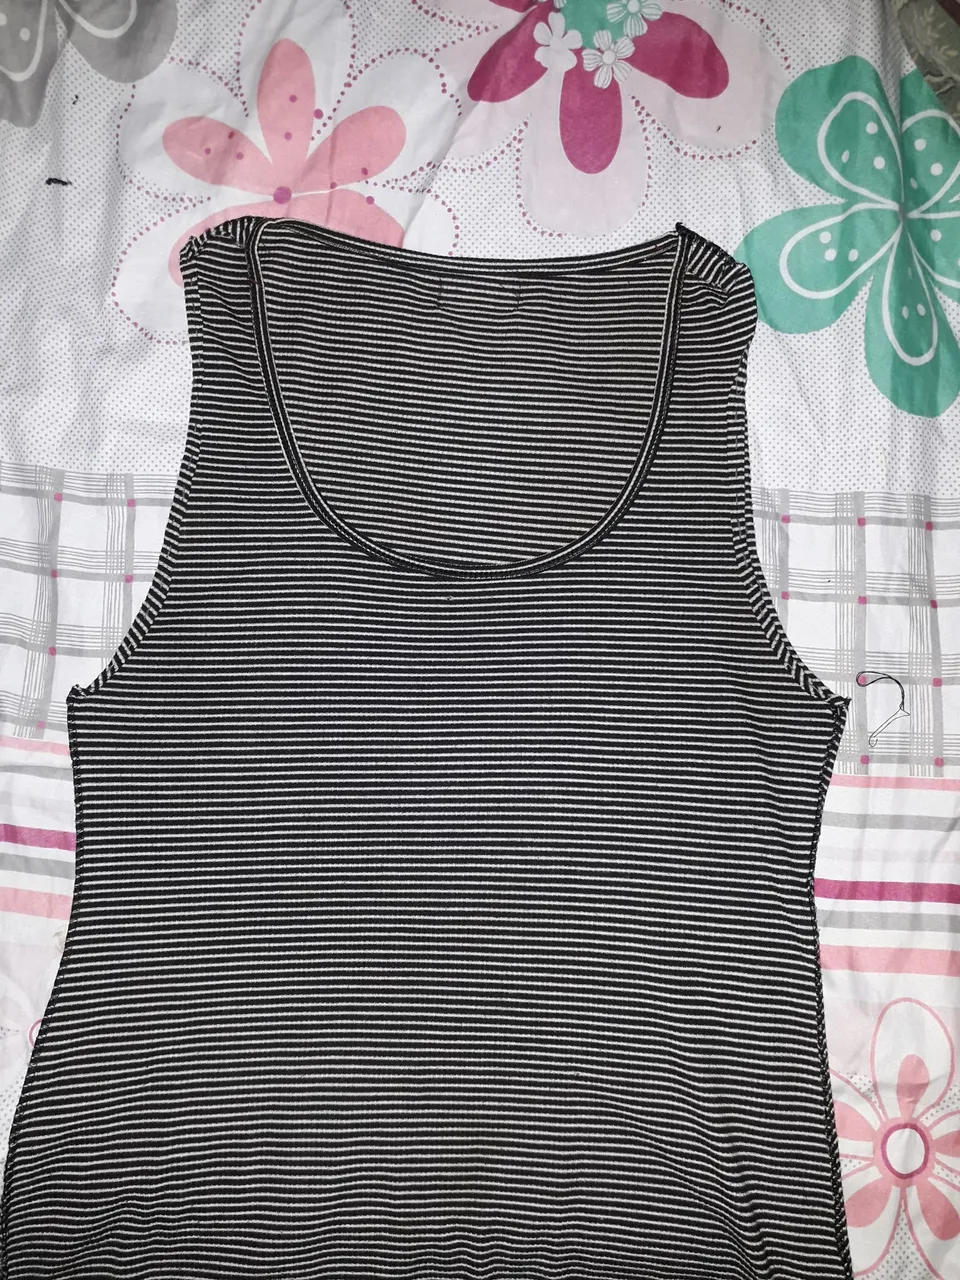
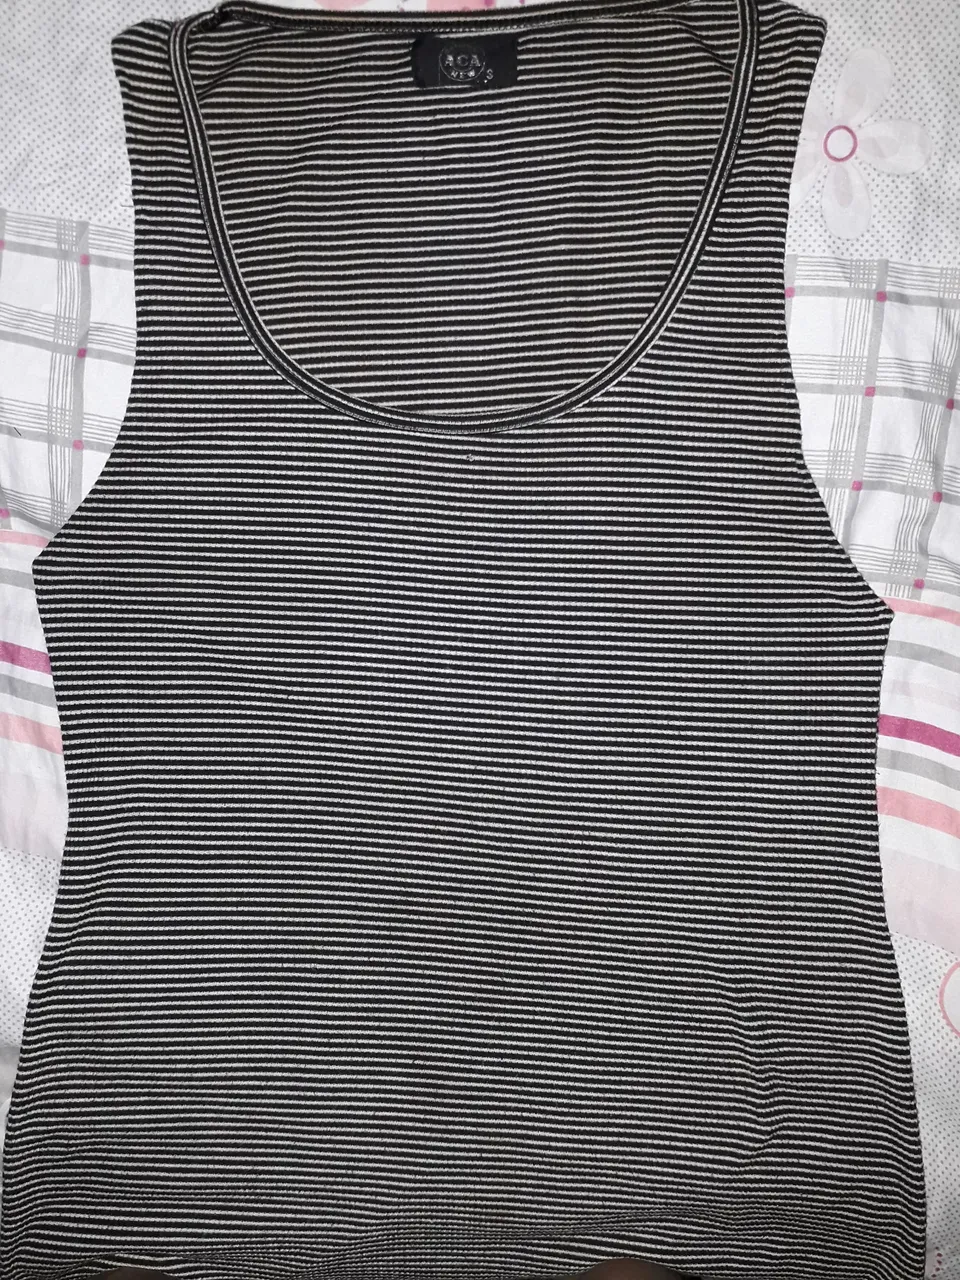
First, I leave you a picture of my unfortunate long-sleeve blouse, hehehe.
Well, I have things to say about it. I didn't like it, especially the top, because it was too wide. I don't know my body type, but what I do know is that I felt that this blouse didn't flatter me at all. Plus, wearing it made me look skinnier, which doesn't help me at all.
Anyway, it really didn't look good on me. So, as soon as the idea of transforming it came to my mind, I didn't hesitate.
The only experience I have with transforming clothes was when I made the red skirt, but I thought, if I could do that, which was more difficult, why not this?
 |  |
|---|
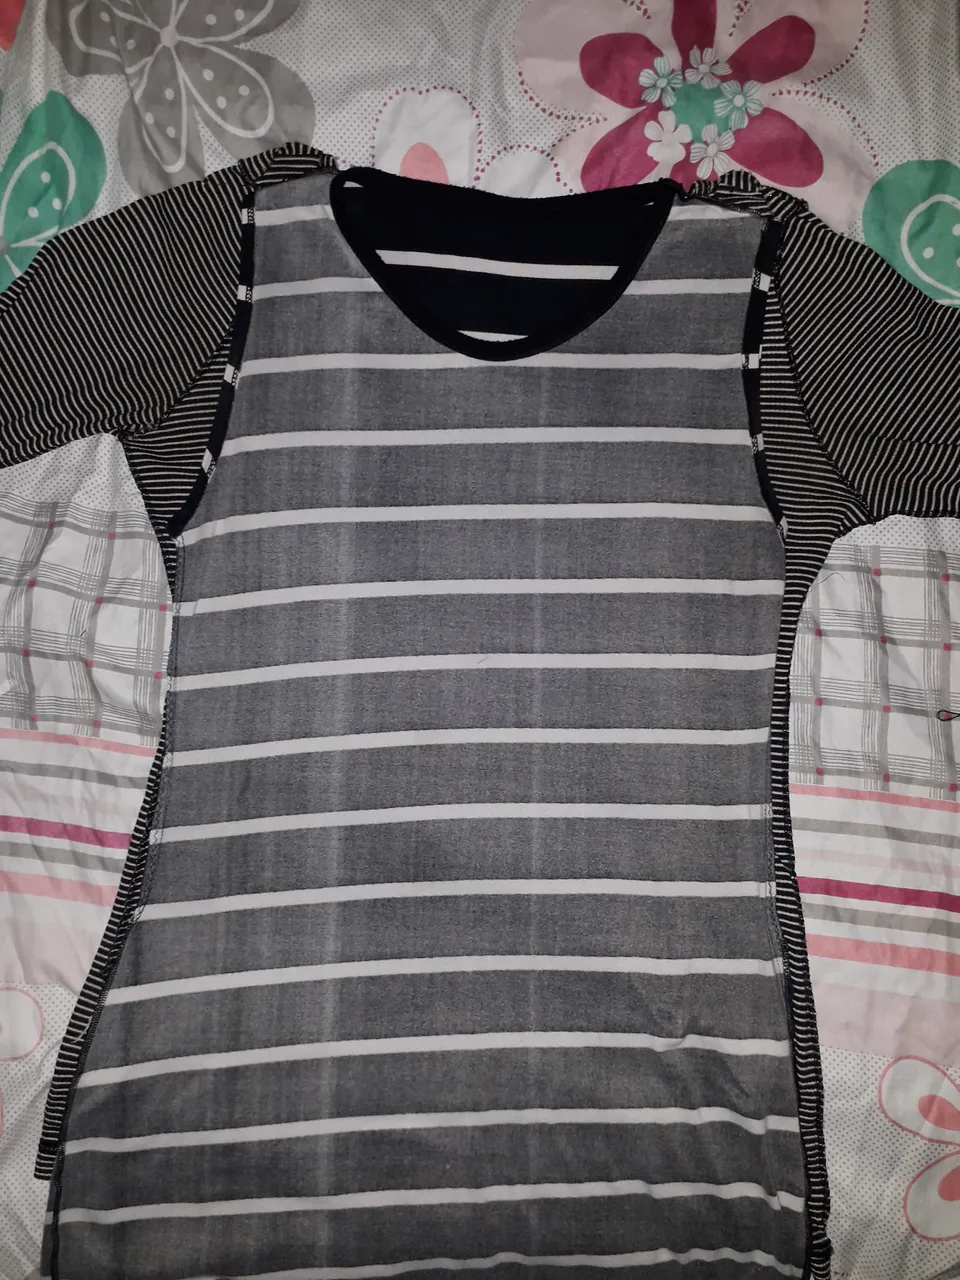
The first thing I did was to take one of my dresses whose cut was similar to what I wanted in this blouse. I laid it on top of the blouse to figure out where and how I should cut the sleeves.
Following the silhouette of my sleeveless dress, I cut the blouse.
I got really scared here, because there was no turning back now, and I worried that it would look ugly, but from here on out, I would just trust the process.
 |  |
|---|
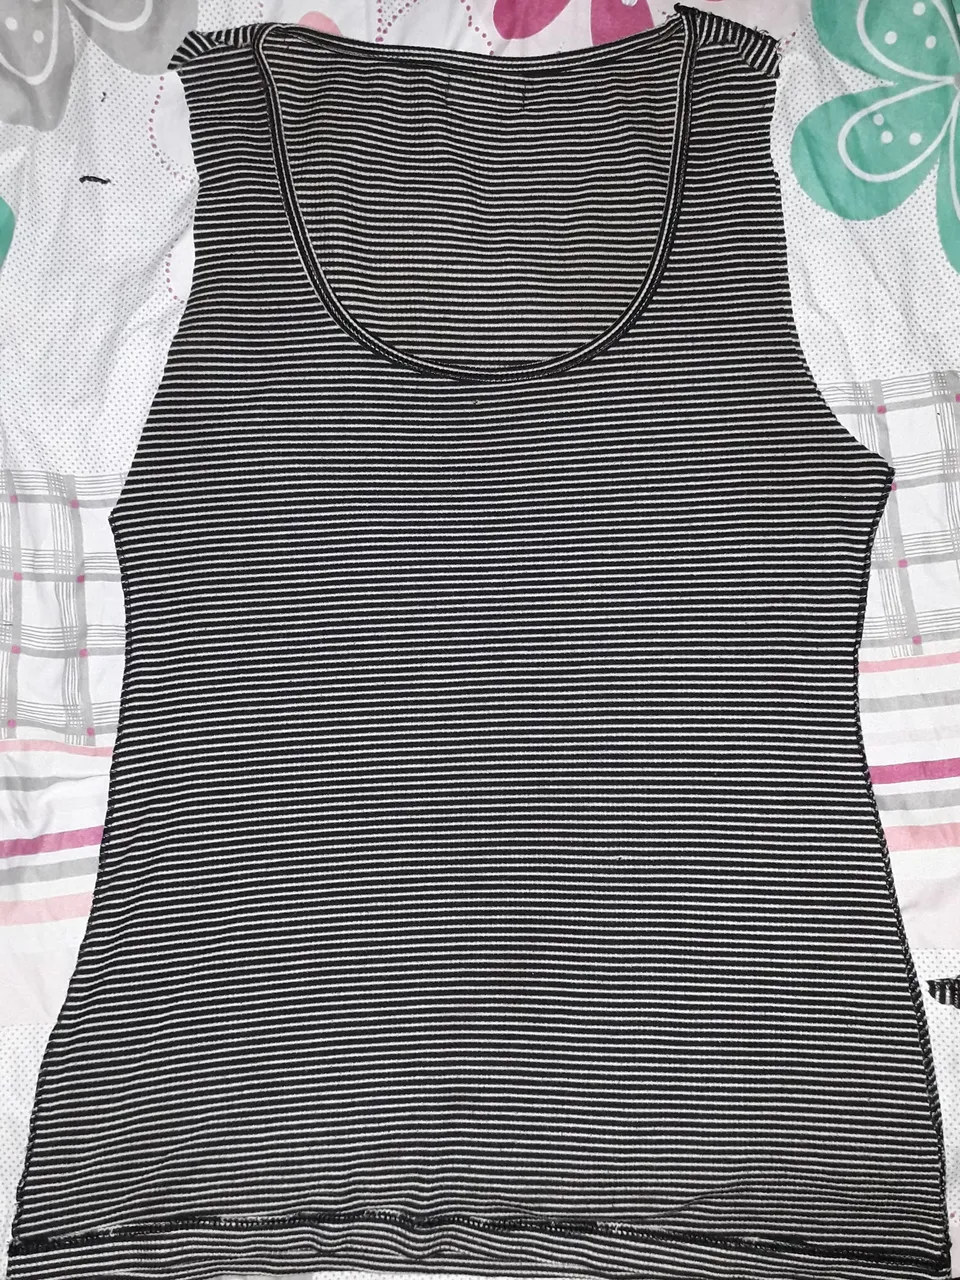
The next step was to hem the edges where I cut. I turned the blouse inside out, and folded about 1 cm of fabric inward at the edges, and handstitched all around that area. I then repeated that process one more time to make sure the hem was strong and didn't unravel.
After that, the blouse looked like a shirt sleeve, which wasn't bad, but I wanted to take it a step further by adding a feminine and eye-catching detail so it wouldn't look so simple.
 |  |
|---|
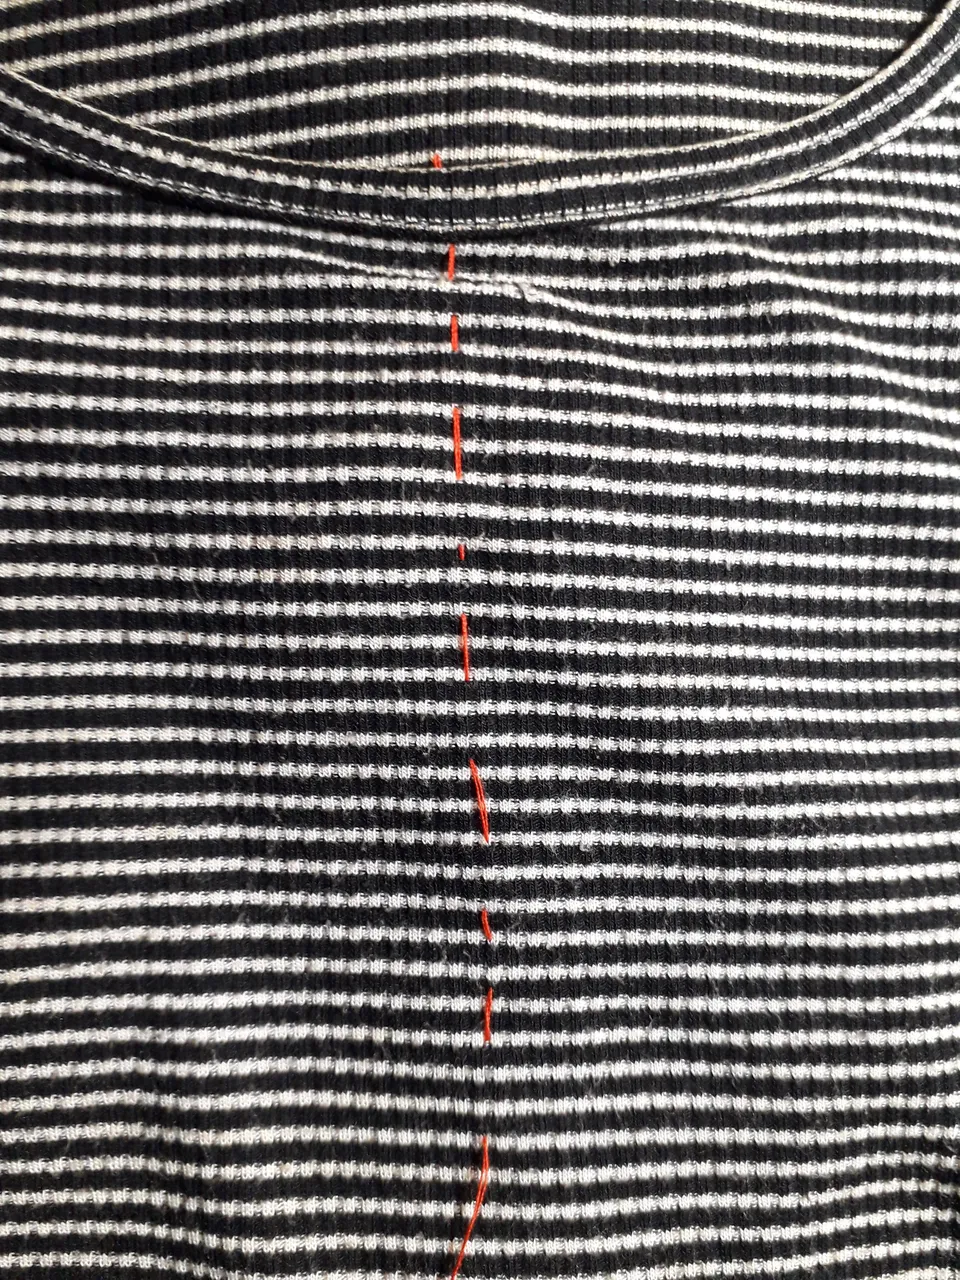
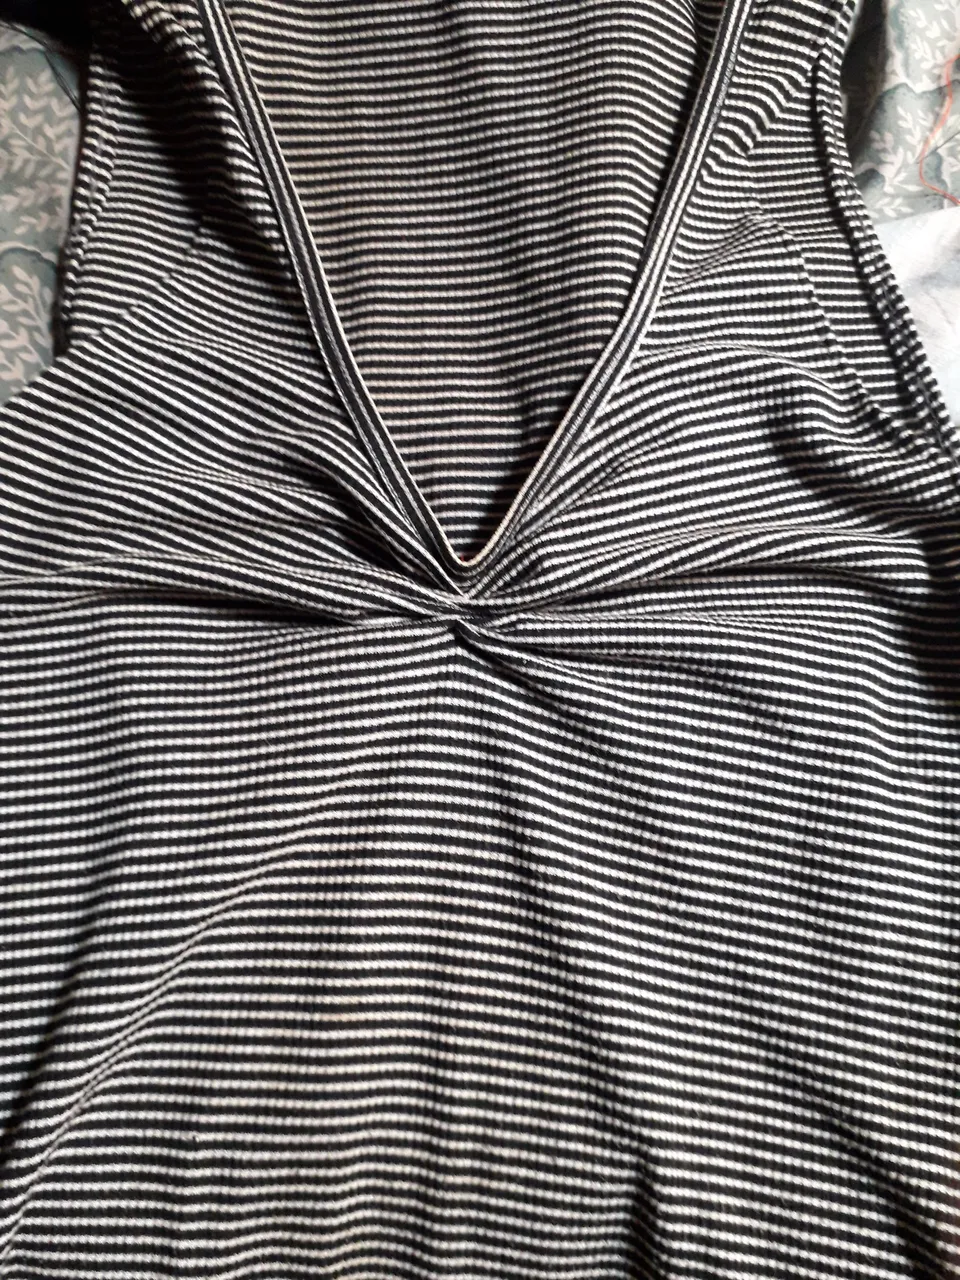
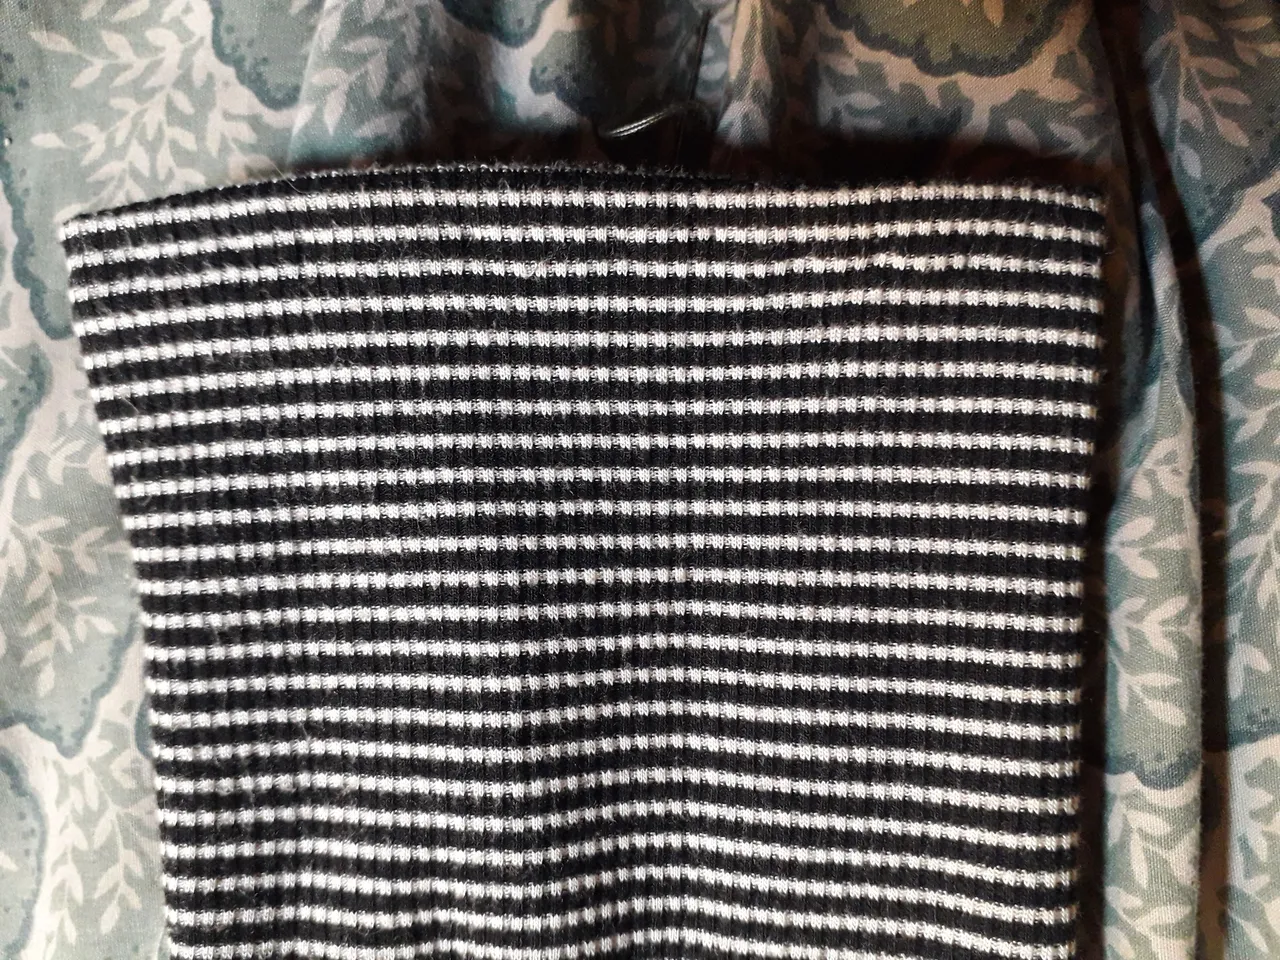
Right in the middle of the blouse, in the neckline area, I made a baste seam about 8 cm down from the edge. Then, I pulled it to gather the fabric this way, and secured it by passing the needle through the gathered fabric a couple of times so it wouldn't come loose, haha.
Anyway, I was delighted with this cute embellishment, and it actually accentuated my figure a bit more, as opposed to how the blouse looked before, with the fabric a bit loose.
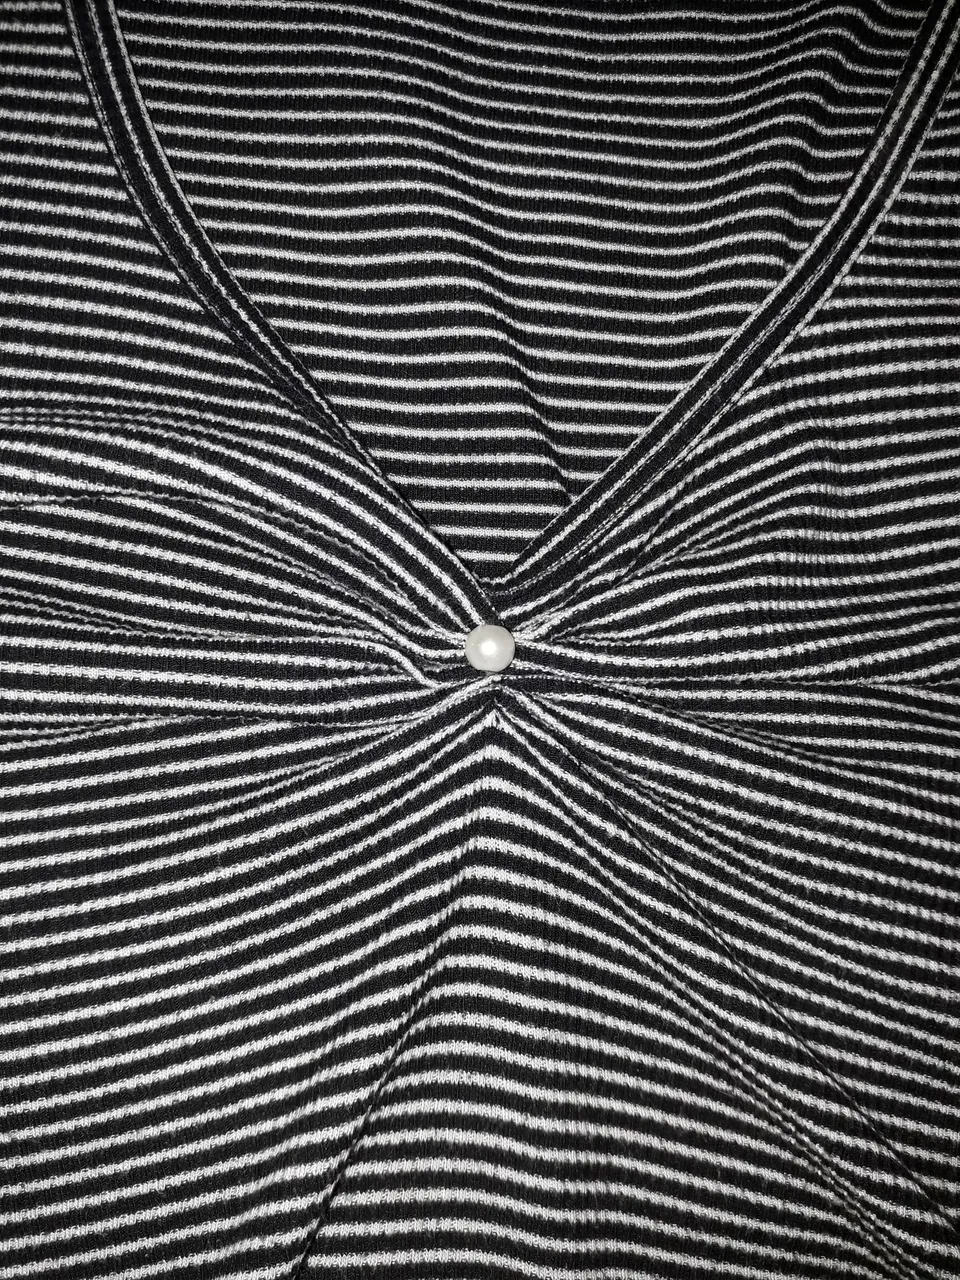
I then decided to sew a bead on it to give it a detail that would draw more attention. I like it because it makes it even more feminine, and it is practically the perfect color choice.
Now the blouse is ready; now it's time for the sleeves, which is a bit more complicated, but there is almost no risk of making a mistake.
 |  |
|---|
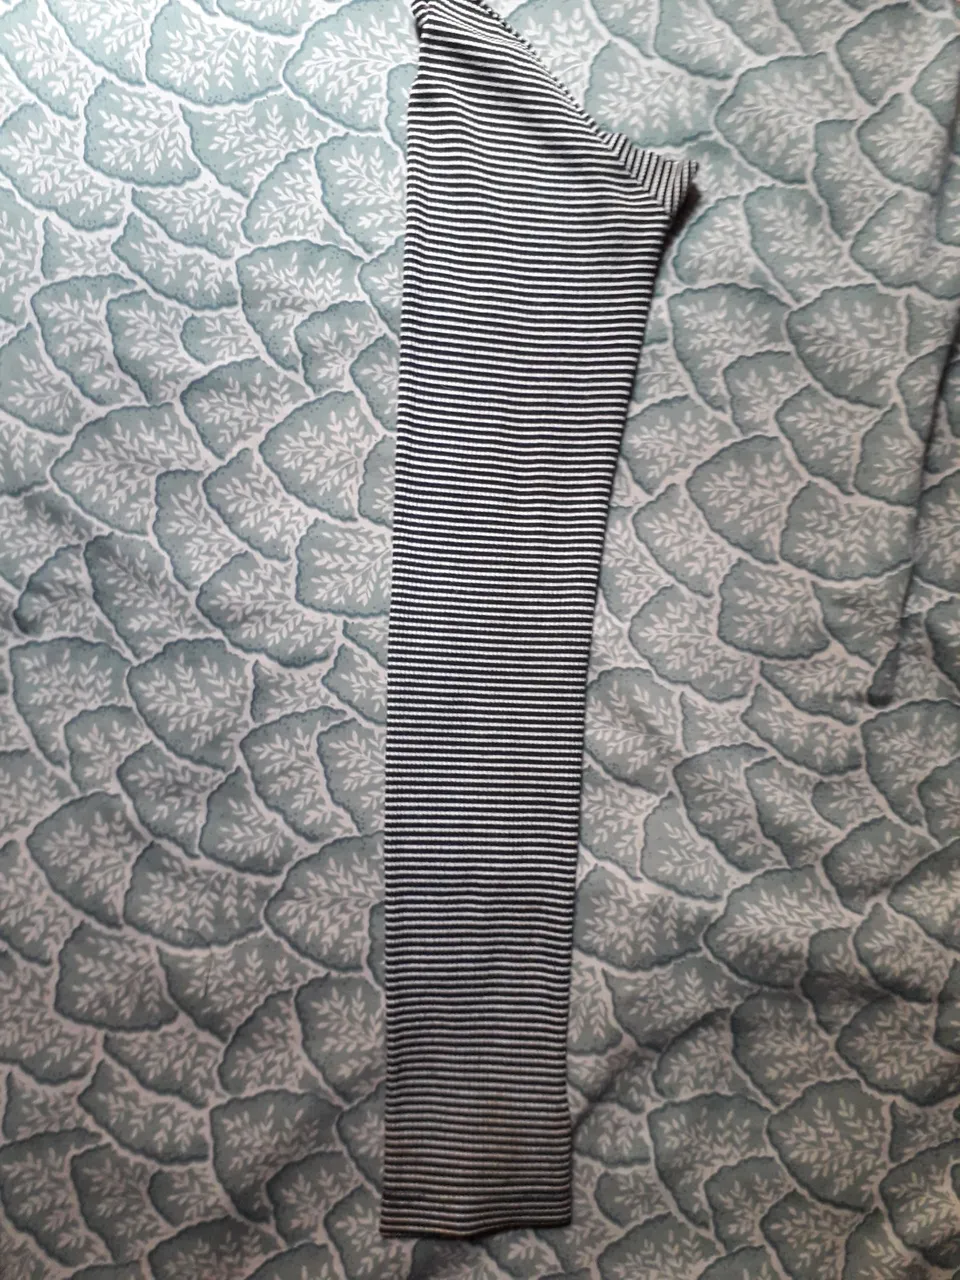
Here is where I would cut the triangular part of the sleeve, which is where it joined the rest of the blouse before. I cut straight where this “triangle” ended, leaving us now a rectangular fabric, although it is not so rectangular as it is wider at the bottom than at the top.
I decided to now wear the sleeve backwards so that where the hands used to be, would now be on my arm. Furthermore, I did this so that I would have a looser sleeve and it would look nicer. I'm not going to lie, and I feel like I'm going to sound a little weird with this, but I also did it because it reminded me of the sleeves used by many VOCALOID; and I wanted to get inspiration from that.
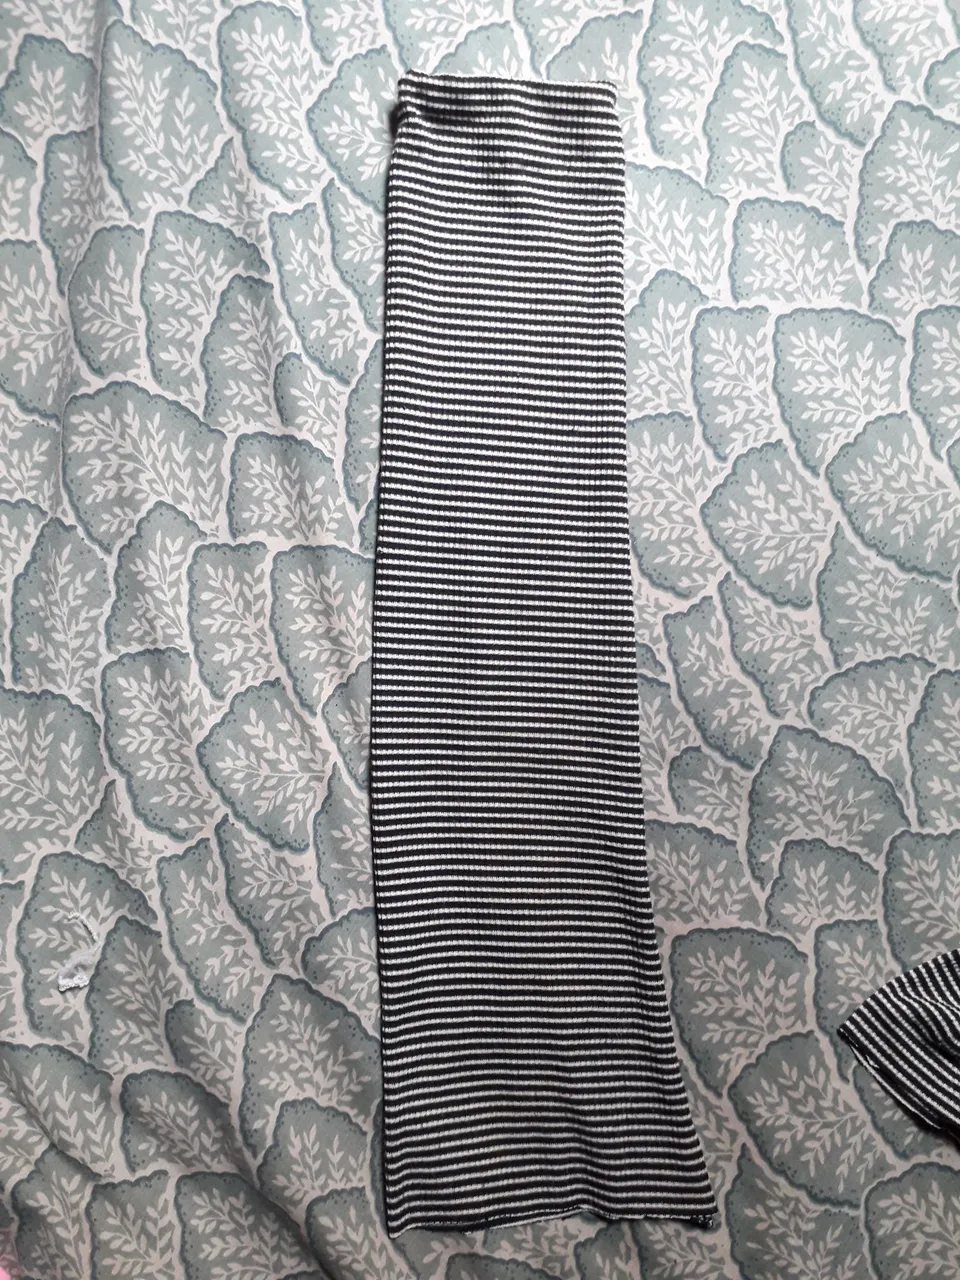
But well, that's how the two sleeves turned out, and next I'll hem them.
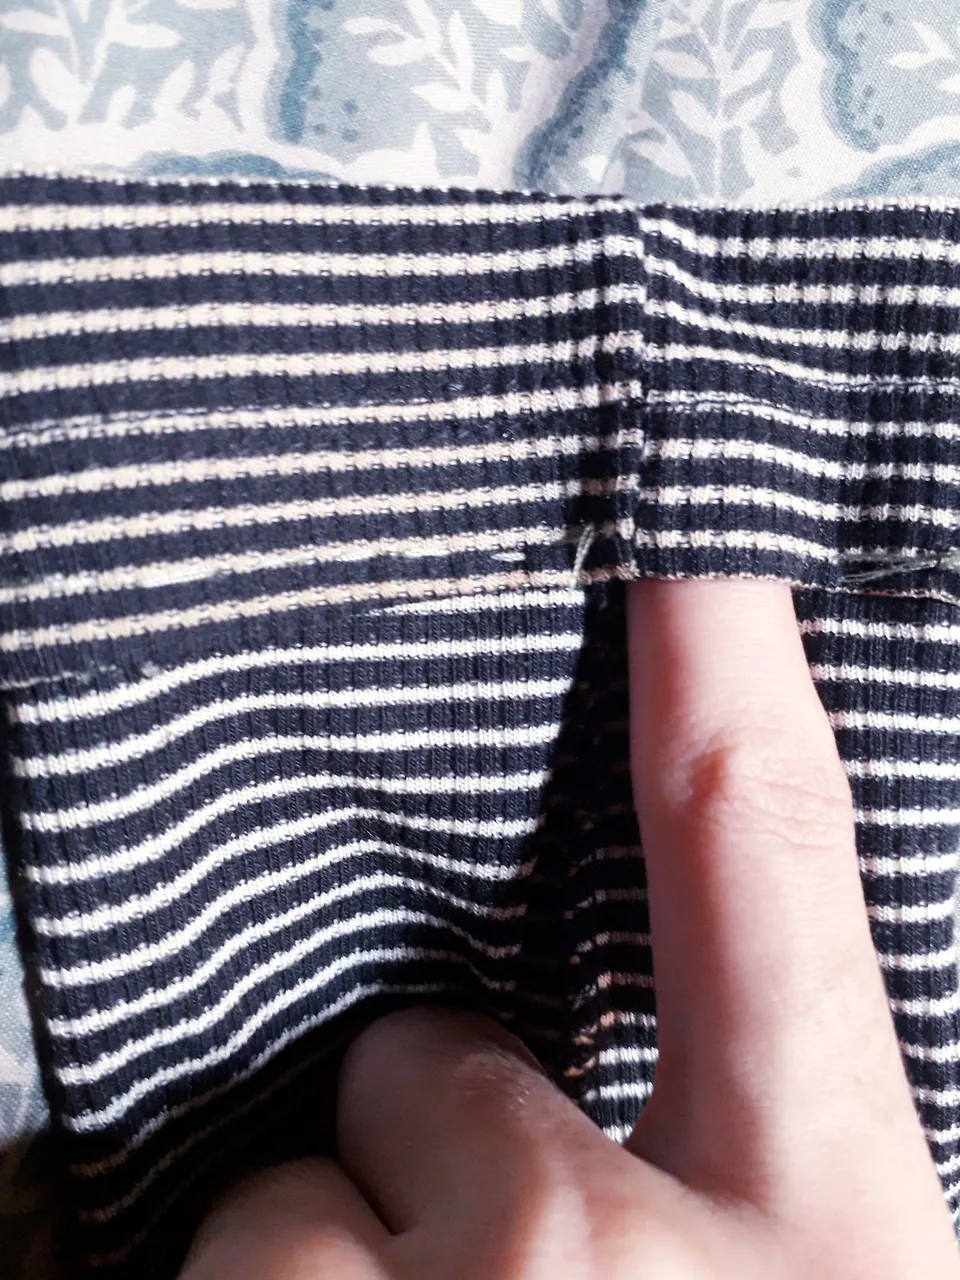
I turned the sleeve inside out and folded the edge of the fabric inward, at what would be the top of the sleeve. I did it this way, because in that “hole” I will pass the elastic band. Likewise, I sewed the whole hem, but I left a little unsewn, because that's where I'll put the elastic.
 |  |
|---|
I took the elastic tape and measured it around my arm and then cut. I must admit that I made a mistake here, because it is a little tight on one arm, since when I cut, I did it stretching the tape a little, so you have to be more attentive. Likewise, I don't mind this detail so much, because I can still change the elastic tape if it is too annoying.
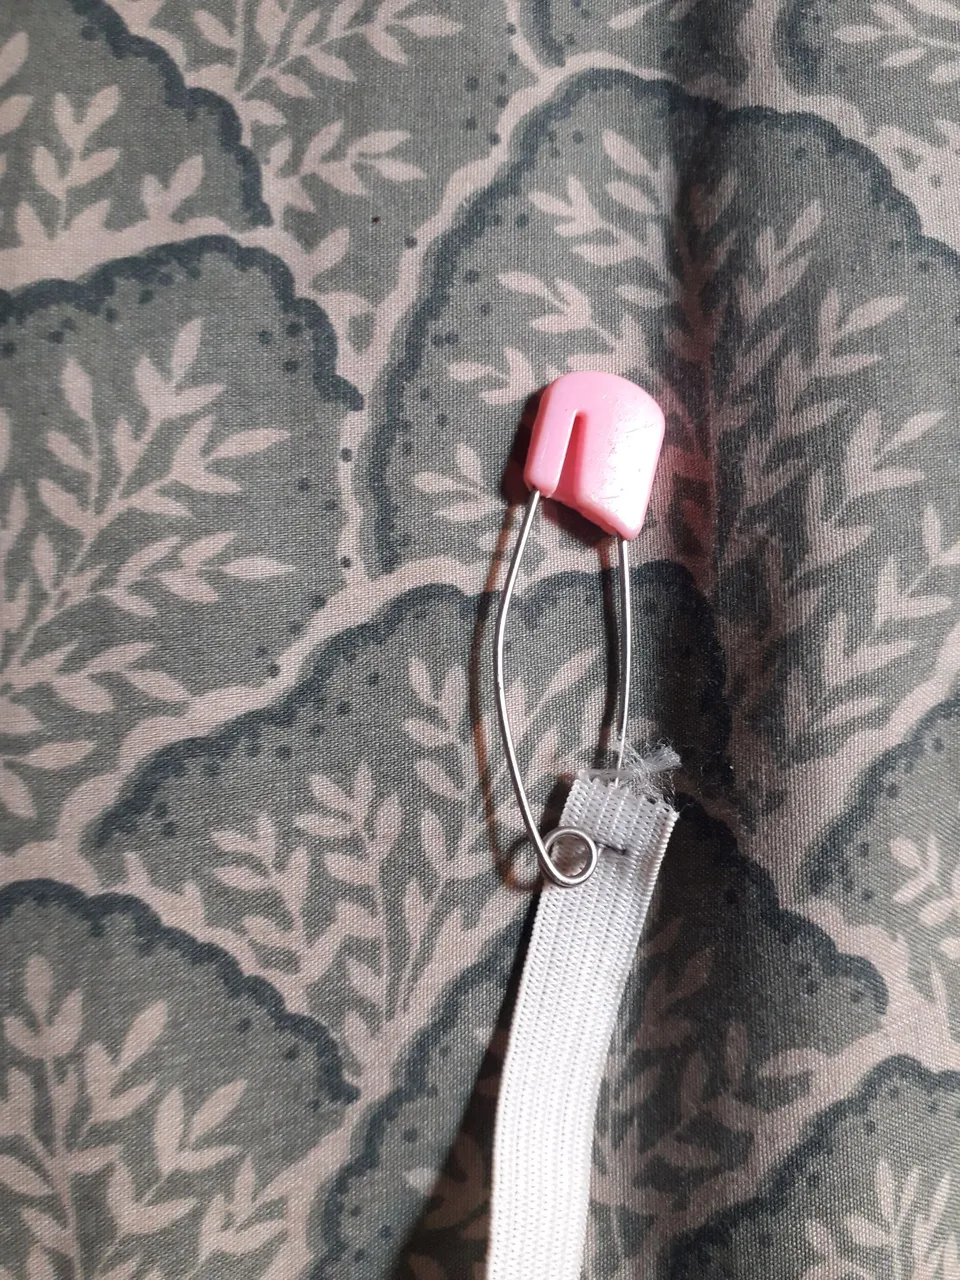
Then I took the elastic ribbon and put the safety pin on it, and then introduced it through the opening I left previously in the sleeve. Until I went all the way around the sleeve and then pulled it out on the other side. Once this was done, I joined the two ends of the ribbon and sewed them together.
Finally, I sewed the hem closed.
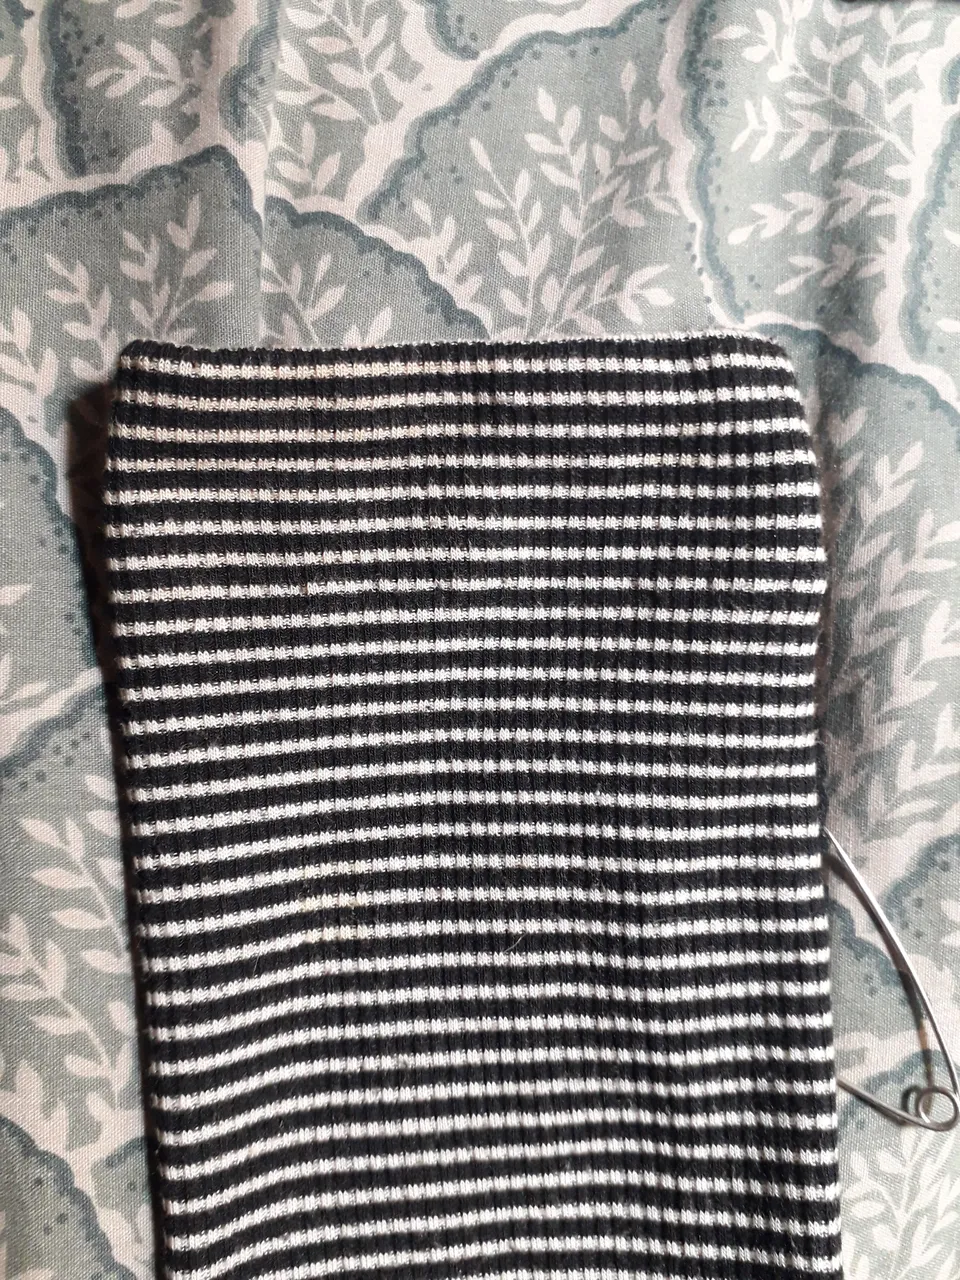
Now, I repeat the process on the other sleeve, and with this, we are almost done with our work; we still need to hem the bottom.
 |  |
|---|
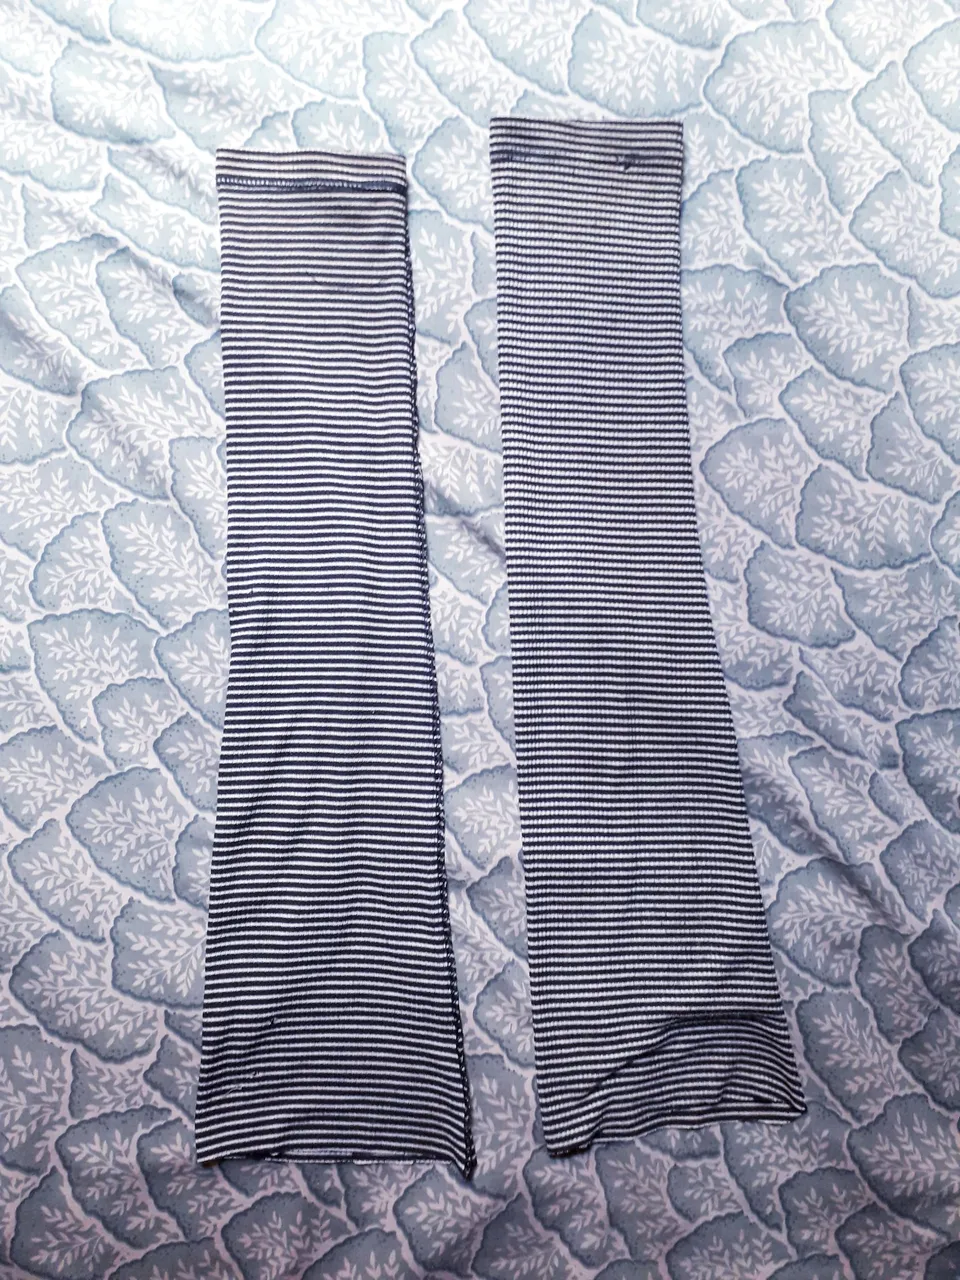
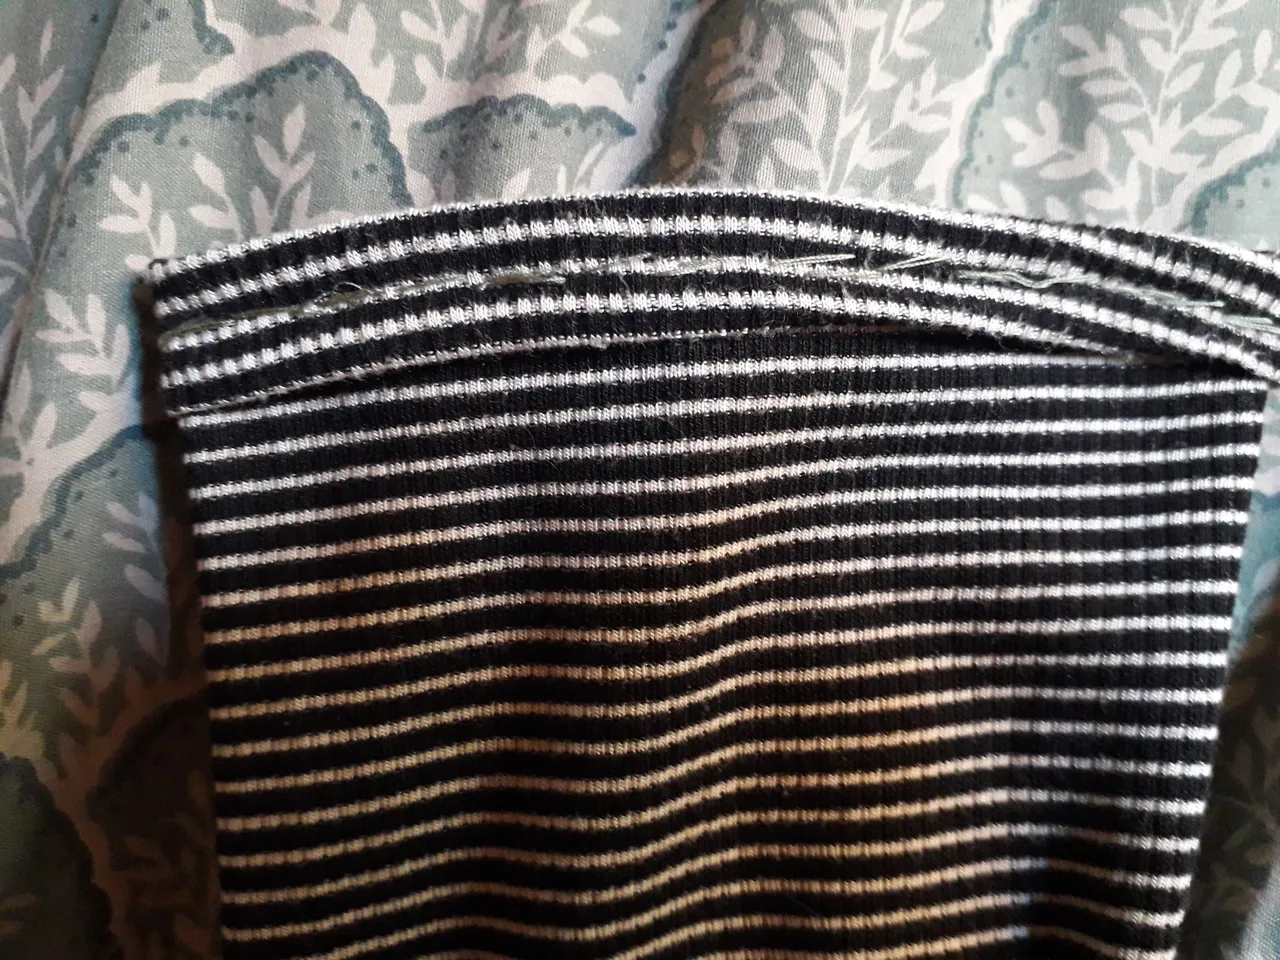
Turn the sleeve inside out and again fold approx. 1 cm inwards from the end. I first baste stitched, then folded the fabric back inside and stitched on top, but with a more discreet seam. In the second picture, you can see how the seam looks on the outside.
Repeat this process with the other sleeve…
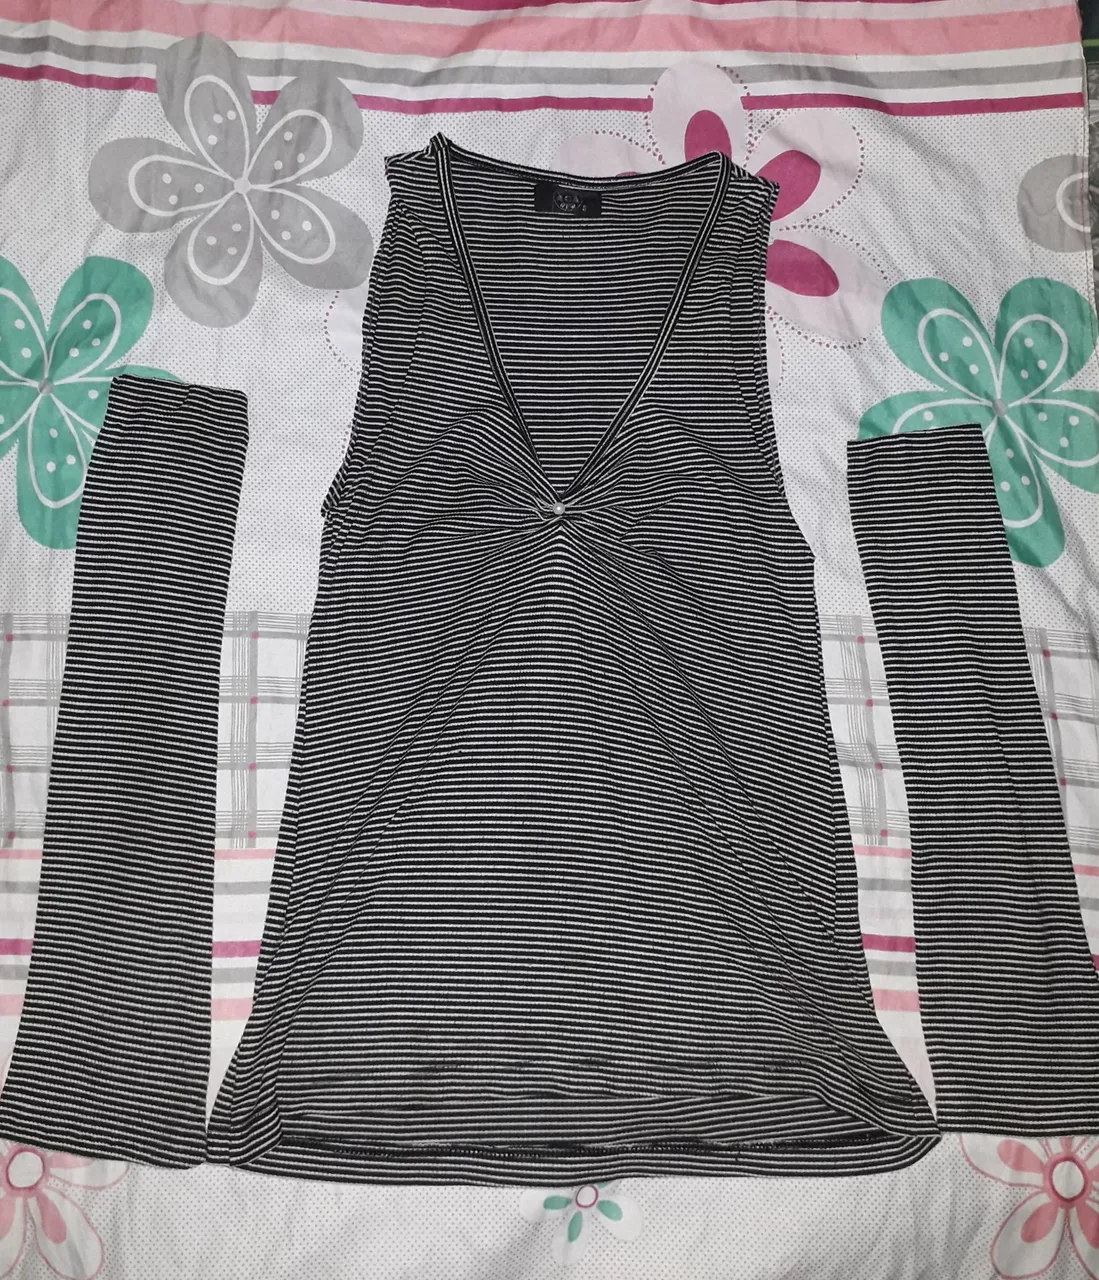
And that's it; with this we have an interesting and cute blouse design.
I had thought about sewing the sleeves together with the rest of the shirt, just like another blouse I have, but I decided to leave them separate for comfort and mobility.
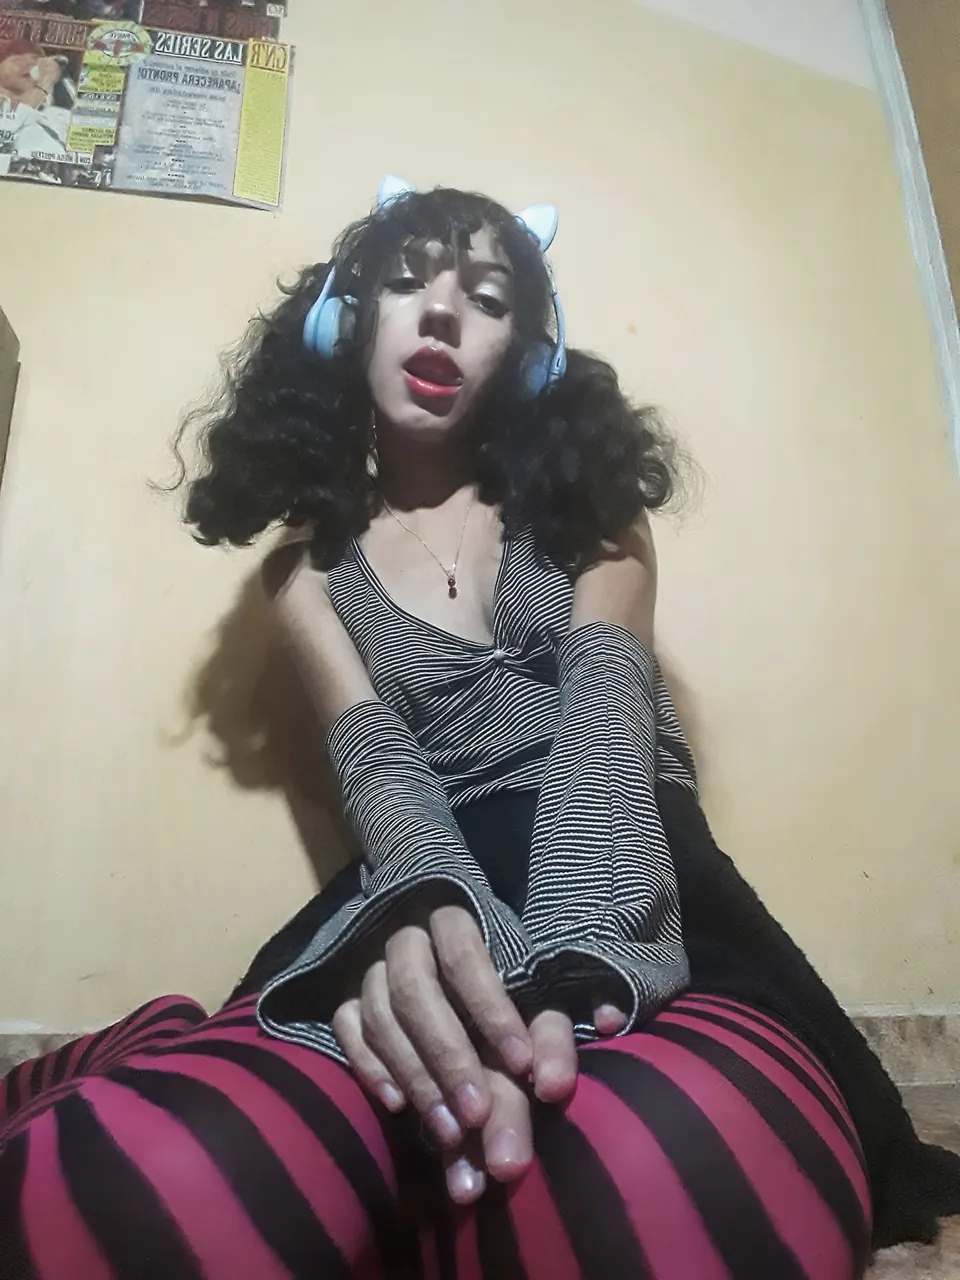
I like this new design better for several reasons. First, it's different from the clothes I usually wear, less boring. Second, it's more to my taste; in fact, my 2020 self would have loved to wear it (just as I would have loved to follow the e-girl trend).
Third, it accentuates my figure better and flatters me more than the long- sleeved blouse was before. Even though I'm not a big fan of wearing necklines, I feel like this one is quite nice, and the bust size fits me perfectly; I don't feel so bad about having small breasts anymore; otherwise, I wouldn't have looked so good in this blouse.
Fourth, I like that the sleeves are separate, because one day I might choose to wear the blouse alone, and it would look very pretty, depending on what other style you style it.
Anyway, again, as I said when I transformed the skirt a while back: don't be afraid to dare to give a new style to your outfit. And most importantly, don't be afraid to be yourself.
Without anything else to add… Take care, drink water, and don't forget to smile. Love you! See you in the next post, bye!
Español
Holiii, amigos de la comunidad de , ¿cómo se encuentran el día de hoy?, ¡espero que muy bien!
Entonces, hace poco estaba pasando por Pinterest y vi una imagen de uno de mis personajes favoritos de Junji Ito: Tomie. Siempre he admirado la moda con la que se maneja ese personaje, y en este caso no fue la excepción, pues estaba usando una especie de blusa con las mangas separadas (acá les dejo el link de la imagen, por si acaso, jijiji).
Automáticamente, pensé en que quería una prenda de ropa que se vea así, aunque no sé su nombre, estuve buscándolo y no lo encontré. Sin embargo, eso no me iba a detener. Tenía una idea en mente y quería ejecutarla.
Pedí al cielo que todo saliera como se veía en mi mente y tomé mis materiales para empezar esta transformación. ¡Vamos allá!
Materiales
- Un suéter.
- Tijeras.
- Cinta elástica.
- Hilo.
- Aguja.
- Alfiler imperdible.
También usé una cuenta con las que se hacen pulseras o collares, esas piedritas que tienen un huequito en el medio. Y por último, utilizaré un paquete de fe, para confiar en el proceso, jajajaja.
Primero les dejo una foto de mi desafortunado suéter, jejeje.
Bien, tengo cosas que decir sobre él. No me gustaba, sobre todo, la parte superior, porque era demasiado ancha. Yo no sé mi tipo de cuerpo, pero lo que sí sé, es que sentía que este suéter no me favorecía para nada. Además, usándolo me veía más flaca, lo cual no me ayuda en nada de nada.
En fin, realmente no me quedaba bien. Por lo que, en cuanto la idea de transformarlo se posó en mi mente, no lo dudé.
La única experiencia que tengo transformando ropa, fue cuando hice la falda roja, pero pensé: si pude hacer eso, que era más difícil, ¿por qué esto no?
| |
|---|
Lo primero que hice fue tomar uno de mis vestidos cuyo corte era similar a lo que yo quería en este suéter, y lo puse encima del suéter para saber dónde y cómo debía cortar las mangas.
Siguiendo la silueta de mi vestido sin mangas, corté el suéter.
Me asusté mucho acá, porque ya no había vuelta atrás, y me preocupé de que se viera feo, pero a partir de aquí, solo me quedaría confiar en el proceso.
| |
|---|
El siguiente paso fue hacerle un dobladillo en las orillas por donde corté. Puse la blusa al revés, y doblé aproximadamente 1 cm de tela hacia adentro en las orillas, y cosí a mano por toda esa área. Luego, repetí ese proceso una vez más para asegurarme de que quedara fuerte el dobladillo y no se descosiera.
Después de esto, la blusa me quedó como una guardacamisa, que no estaba mal, pero yo quise ir un paso más allá, agregando un detalle femenino y llamativo, para que no quedara tan simple.
| |
|---|
Justo en la mitad de la blusa, en el área del escote, hice una costura basteada de aproximadamente 8 cm hacia abajo desde la orilla. Luego, la jalé para que se frunciera la tela de esta forma, y la aseguré pasando la aguja por la tela fruncida un par de veces, no vaya a ser que se me suelte, jajaja.
En fin, quedé encantada con este lindo adorno, y de hecho esto logró que mi figura se acentuara un poco más, a diferencia de cómo quedaba la blusa antes, con la tela un poco suelta.
Decidí entonces coserle una perlita para darle un detalle que llamara más la atención. Me gusta porque lo hace aún más femenino y es la elección de color prácticamente perfecta.
Ahora sí, estaría listo lo que sería la blusa, ahora es cuando siguen las mangas, que es un poco más complicado, pero ya hay casi ningún riesgo de equivocarme.
| |
|---|
Acá es donde tocaría cortar la parte triangular de la manga, que es donde se unía antes con el resto de la blusa. Corté recto justo donde terminaba este “triángulo”, dejándonos ahora una tela rectangular, aunque no lo es tanto, pues es más ancha abajo que arriba.
Yo decidí usar ahora la manga al revés, de manera que donde salían las manos, ahora estaría en mi brazo. Hice esto para que me quedara una manga más suelta y se viera más bonito. No les voy a mentir, y siento que sonaré un poco rarita con esto, pero también lo hice porque me recordaban a las mangas que usan muchos VOCALOID, y quise inspirarme de eso.
Pero bueno, así quedaron las dos mangas y a continuación haré un dobladillo.
Puse la manga al revés y doblé la orilla de la tela hacia adentro, en lo que sería la parte superior de la manga. Lo hice de esta manera, porque en ese “hueco” pasaré la cinta elástica. Cosí todo el dobladillo, pero dejé un pedacito sin coser, pues por ahí meteré el elástico.
| |
|---|
Tomé la cinta elástica y la medí alrededor de mi brazo para luego cortar. Debo admitir que acá cometí un error, pues queda un poco apretado en un brazo, ya que al cortar, lo hice estirando un poco la cinta, entonces hay que estar más atento. No me importa tanto este detalle, pues igual puedo cambiar la cinta elástica si resulta muy molesto.
Después tomé la cinta de elástico y le puse el ganchito imperdible, para luego introducirlo por la abertura que dejé anteriormente en la manga, hasta dar la vuelta por todo lo que sería la manga y luego sacarla por el otro lado. Una vez hecho esto, junté los dos extremos de la cinta y los cosí juntos.
Por último, cerré el dobladillo cosiéndolo.
Ahora, repito el proceso en la otra manga y con esto estaría casi listo nuestro trabajo, aún falta el dobladillo de la parte inferior.
| |
|---|
Ponemos la manga al revés y nuevamente doblamos aprox. 1 cm del extremo hacia dentro. Yo primero cosí basteando, luego volví a doblar la tela hacia dentro y cosí por encima, pero con una costura más discreta: en la segunda imagen se mira cómo se veía dicha costura por fuera.
Repetimos este proceso con la otra manga…
Y ya estaría, con esto tenemos un interesante y lindo diseño de blusa.
Había pensado en coser las mangas junto al resto de la camisa, igual que otra blusa que yo tengo, pero decidí dejarlas separadas para mayor comodidad y movilidad.
Me gusta más este nuevo diseño por varias razones. Primero, es diferente a la ropa que suelo usar, menos aburrida. Segundo, es más a mi gusto, de hecho, a mi yo de 2020 le hubiera encantado ponerse (al igual que me hubiera encantado seguir la moda e-girl).
Tercero, acentúa mejor mi figura y me favorece más que el suéter que era antes. Incluso, yo no soy muy fan de usar escotes, pero siento que este es bastante bonito y la medida del pecho me quedó perfecta para mí; ya no me siento tan mal por tener pechos pequeños, pues de otra forma no hubiera lucido tan bien esta blusa.
Cuarto, me gusta que las mangas estén separadas, porque un día podría escoger usar la blusa sola y se vería muy bonita, dependiendo de qué otro estilo se le dé.
En fin, nuevamente, como dije cuando transformé la falda hace un tiempo: no tengan miedo de atreverse a darle un nuevo estilo a su ropa. Y lo más importante, no tengan miedo de ser ustedes mismos.
Sin nada más que añadir… Cuídense, tomen agua, y no se olviden de sonreír. ¡Se les quiere! Nos vemos en el próximo post, ¡chau!
Credits | Créditos
- English translation DeepL (sorry for any mistakes, English is my second language)
- Traducción al inglés DeepL (lo siento por cualquier error, el inglés es mi segundo idioma.)
- Cover, dividers, and banners made in Canva
- Portada, separadores y banners hechos en Canva
- Photos used in the post were taken by me, using a Samsung Galaxy J6
- Las fotos usadas en el post fueron tomadas por mí, usando un Samsung Galaxy J6n by me, using a Samsung Galaxy J6