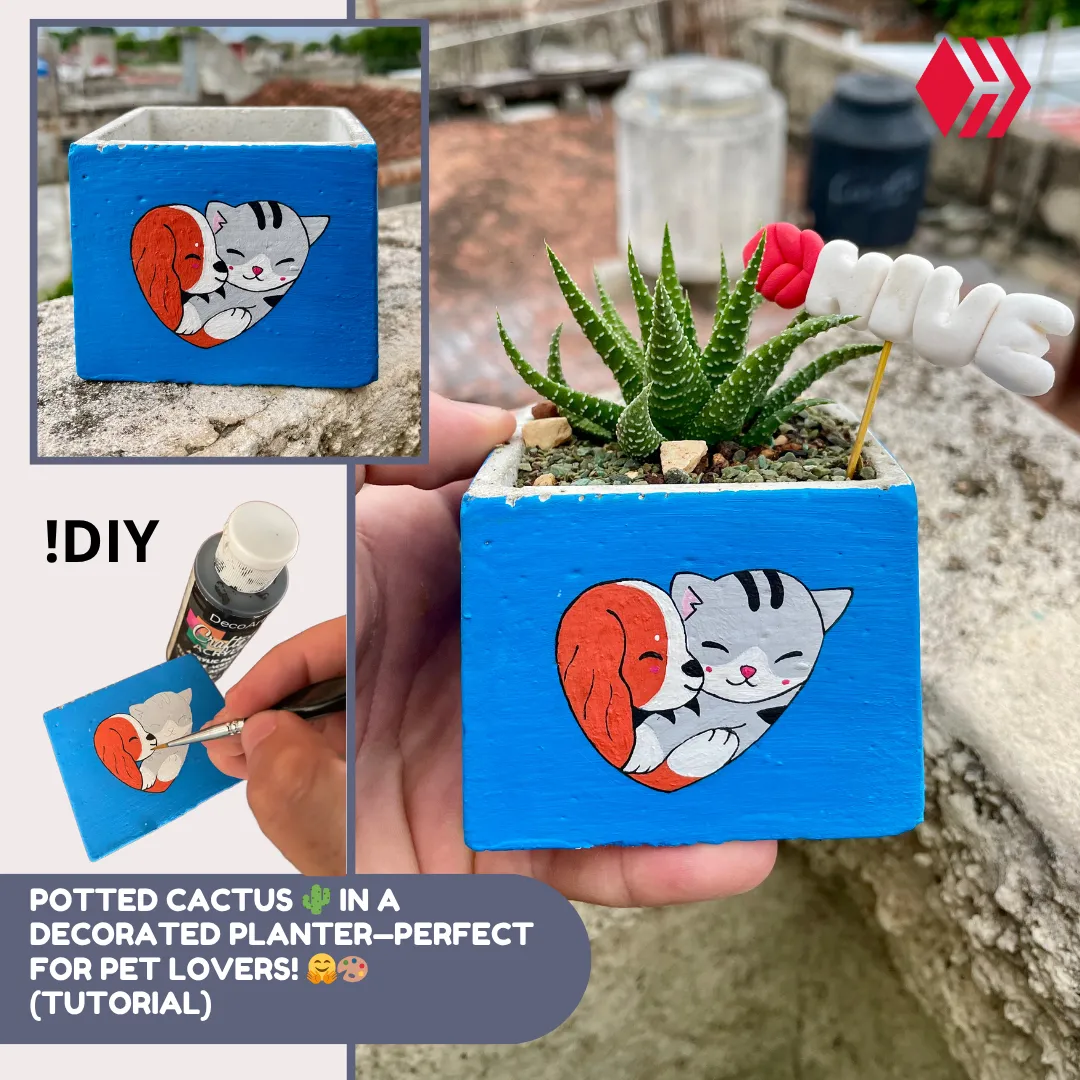
Hello everyone! Today, I want to share with all of you in the @diyhub community this flowerpot decoration I designed for lovers of adorable pets like dogs 🐶 and cats 🐈. I hope you really like this creation—for the entire hive in general—and I’m super happy with my contribution to your space. Join me! 🤗
¡Hola a todos! Hoy quiero compartir con todos ustedes la comunidad @diyhub esta decoración de maceta que diseñé para los amantes de estas mascotas tan adorables como el perro 🐶 y el gato 🐈. Espero que les guste mucho la creación, a toda la colmena en general y yo súper contento con mi aporte para su espacio. Acompáñenme! 🤗

In the following I will show you step by step the realization of my work. To begin with I will mention all the materials used:
A continuación les mostraré paso a paso la realización de mi trabajo. Para empezar, mencionaré todos los materiales utilizados:
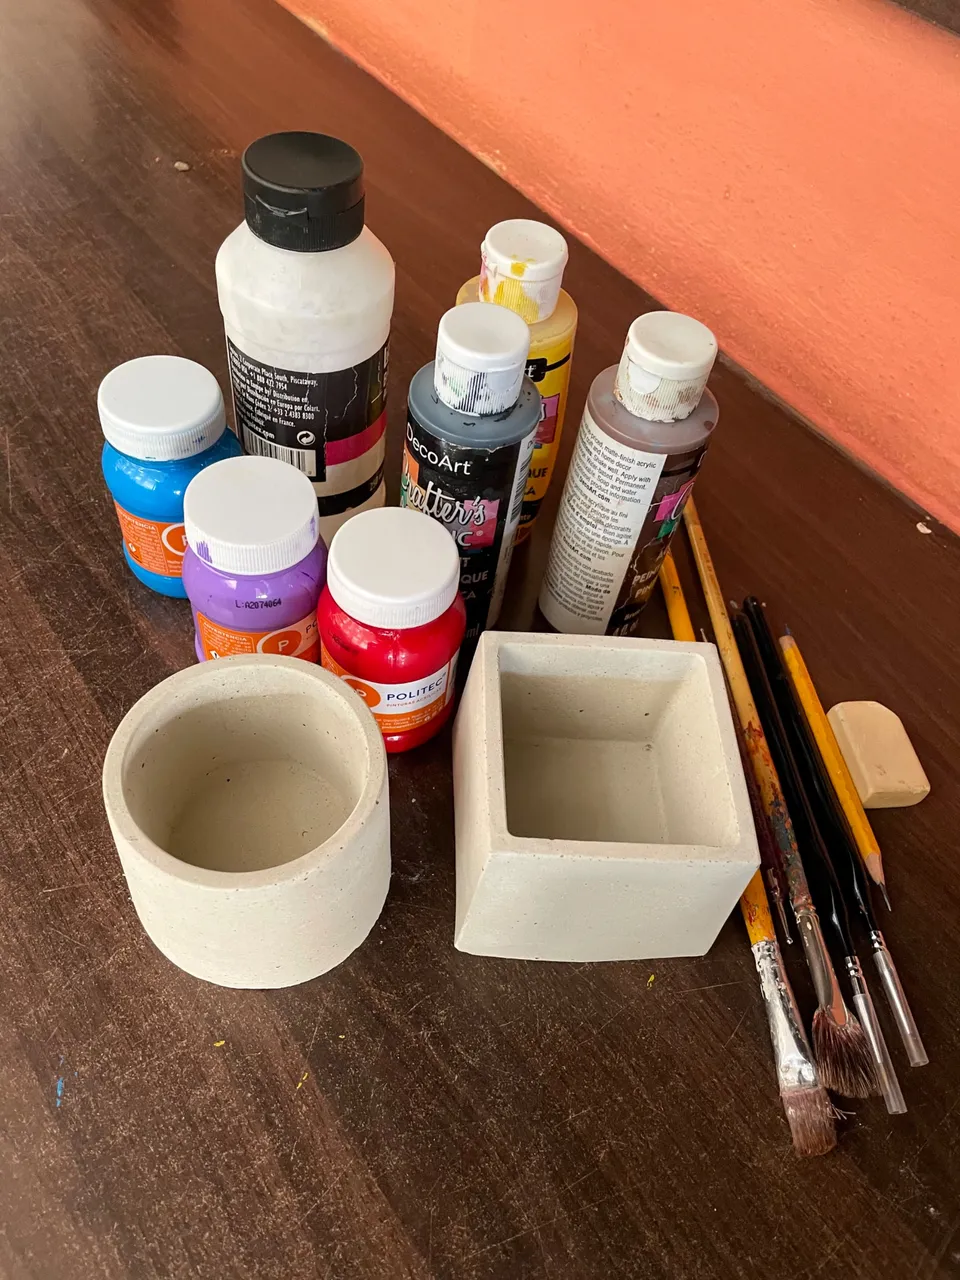
Materiales / Materials

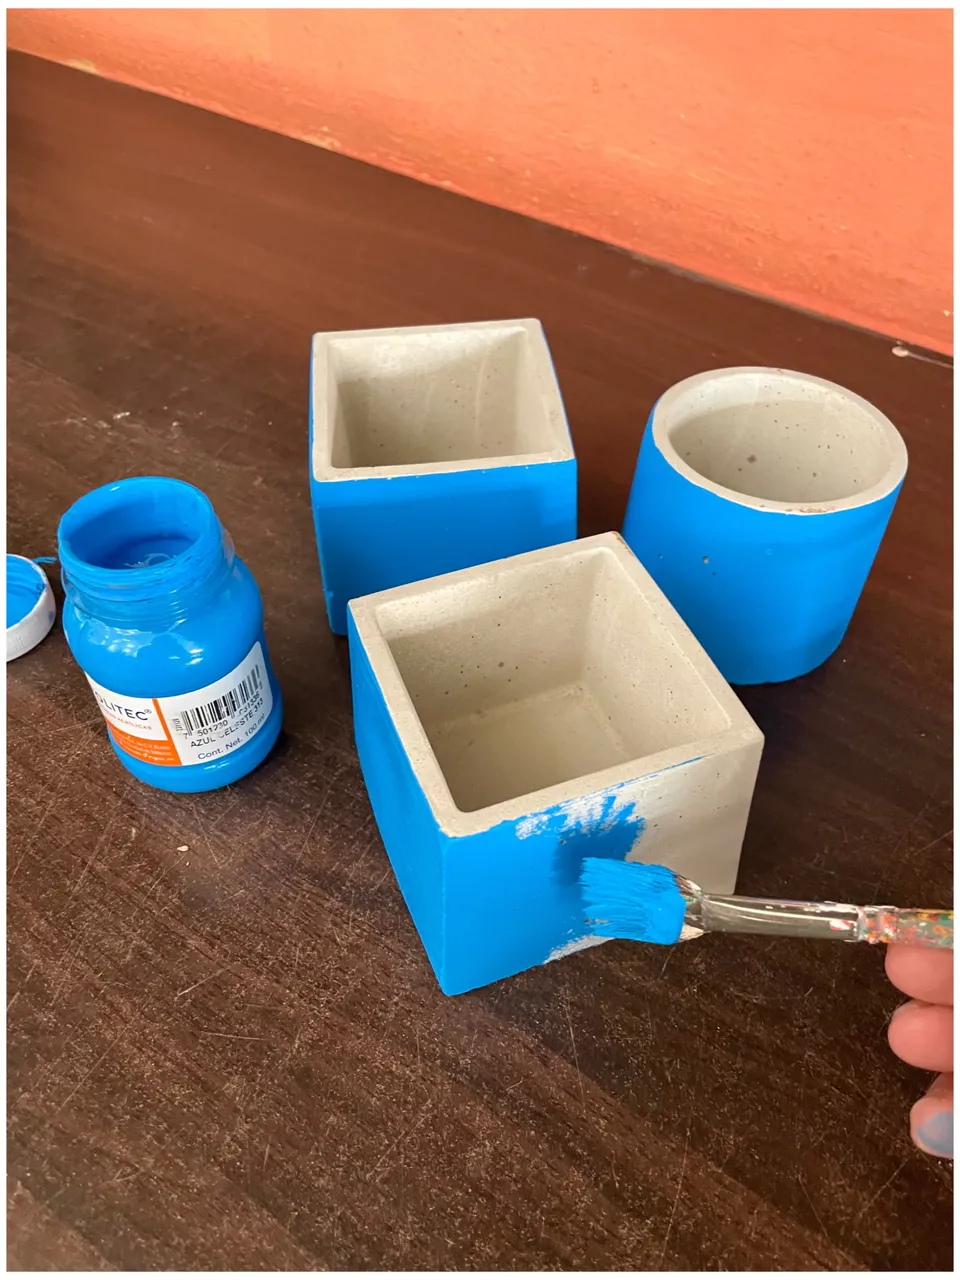
STEP/PASO 1
In the initial phase I start by painting the base in blue color, giving a fine tone to the design. Used the 🖌 wide brush for a longer stroke and nicer finish. Always in the same direction for a curious finish.
En la fase inicial comienzo pintando la base en color azul, dando un tono fino al diseño. Utilizó el pincel 🖌 ancho para un trazo más largo y acabado más bonito. Siempre en la misma dirección para una terminación curiosa.
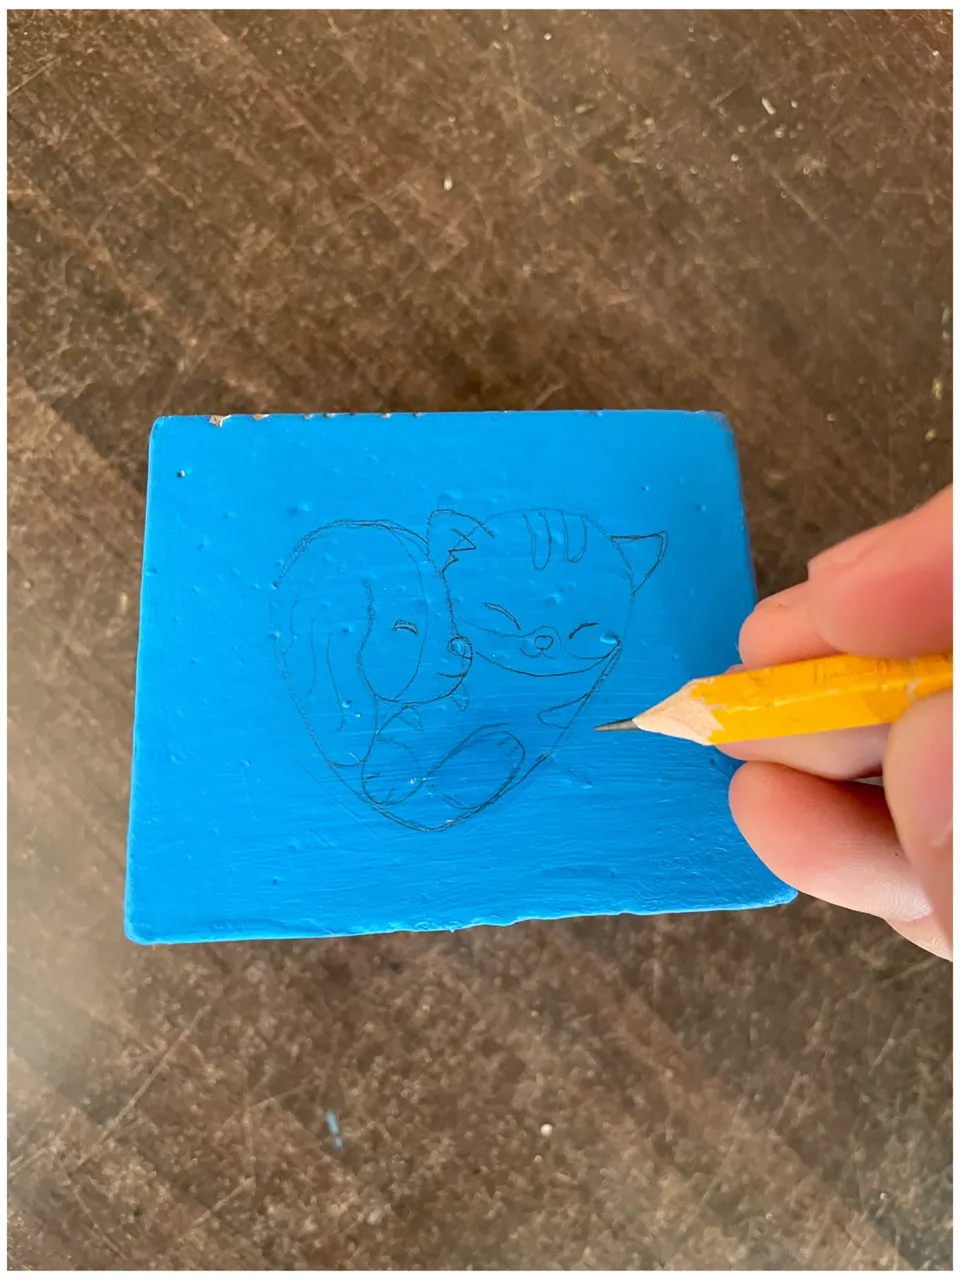
STEP/PASO 2
Next, I sketched with a pencil ✏️ the faces of these adorable animals, framing them to make it easier for me to draw the flowerpot.
A continuación, dibujé con un lápiz ✏️ el rostro de estos tiernos animales, enmarcándolos para que me resultara más fácil dibujar la maceta.
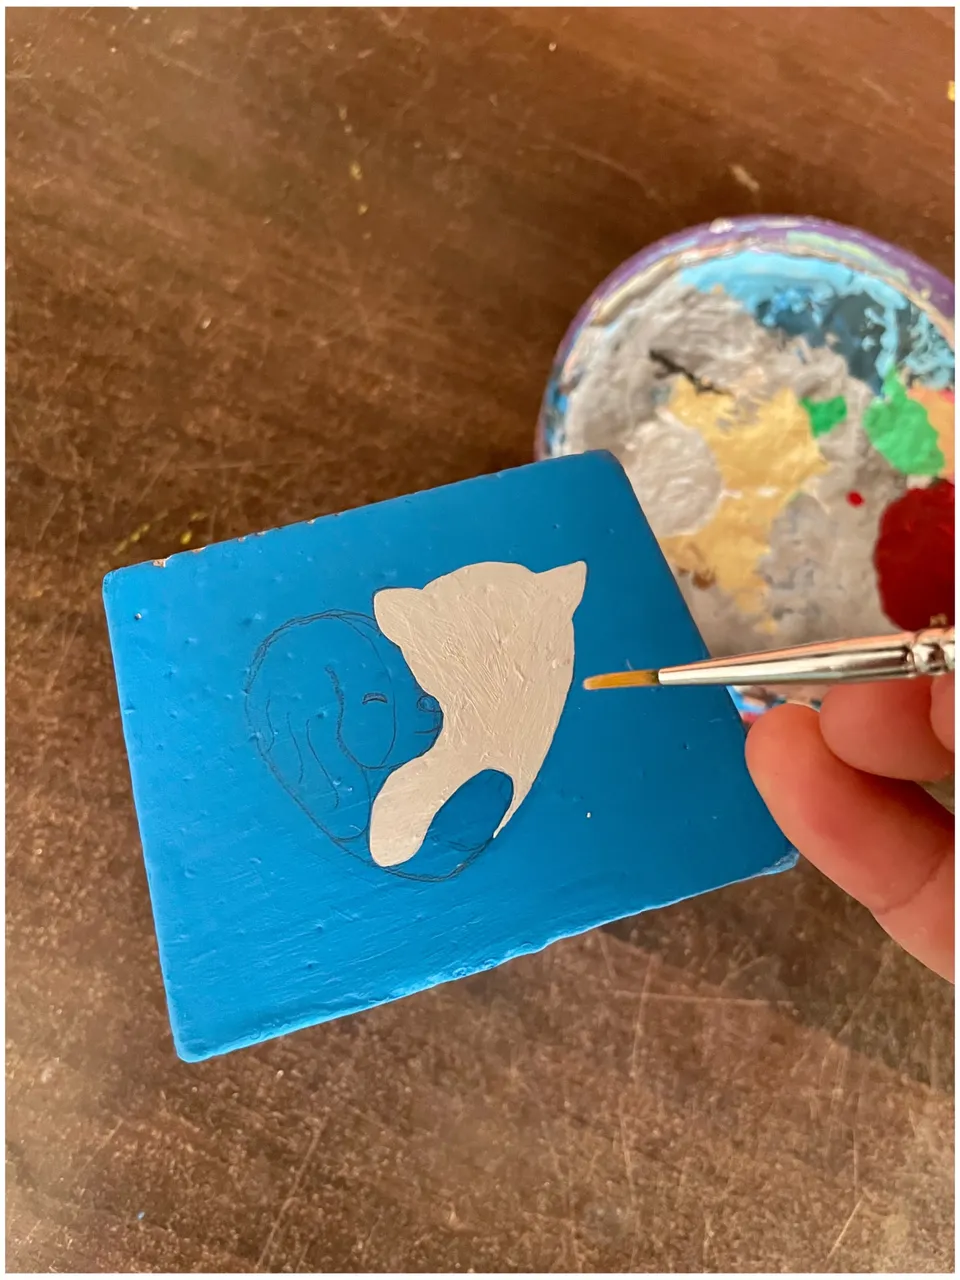
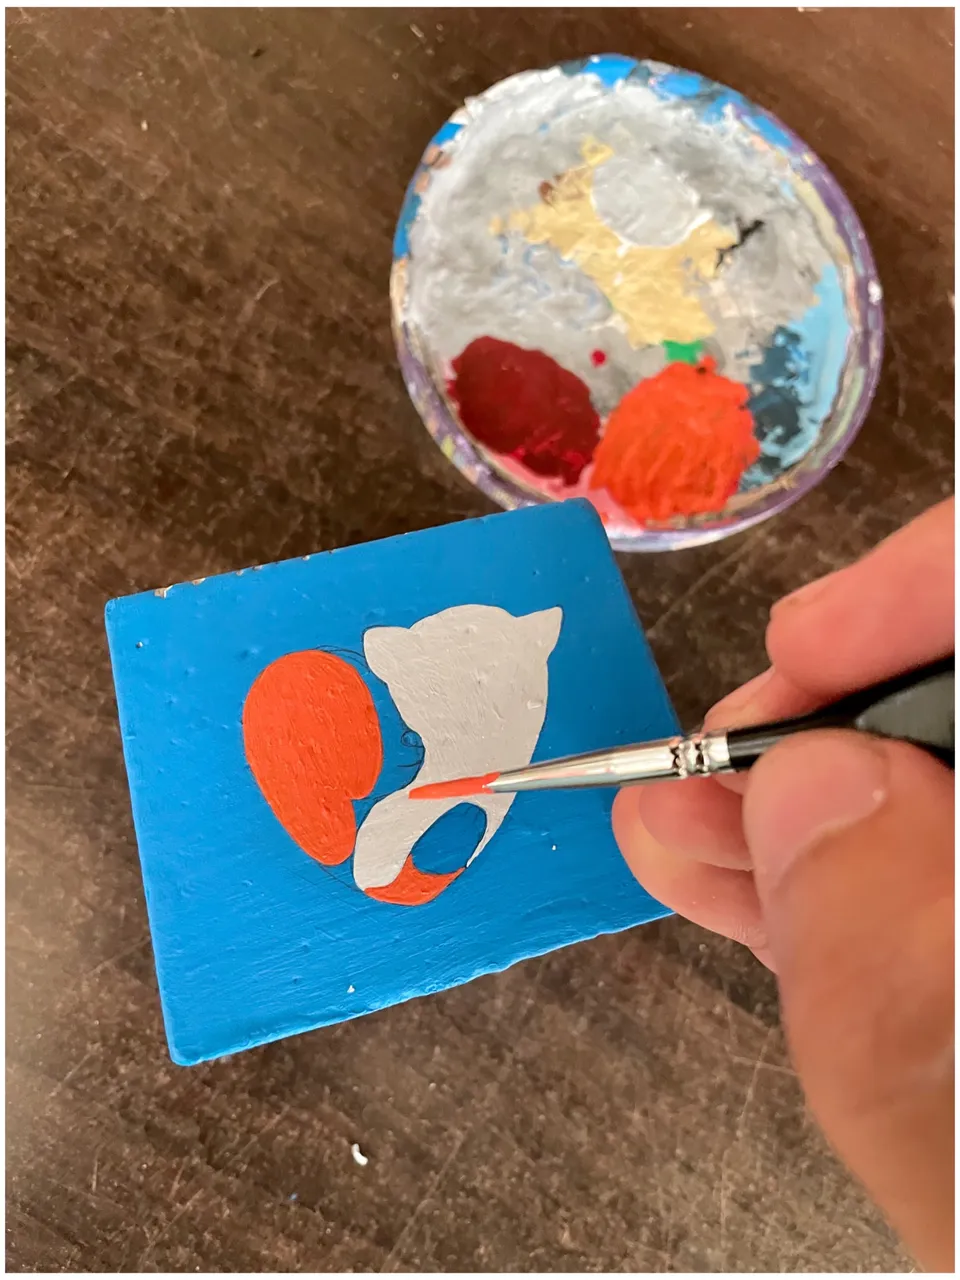
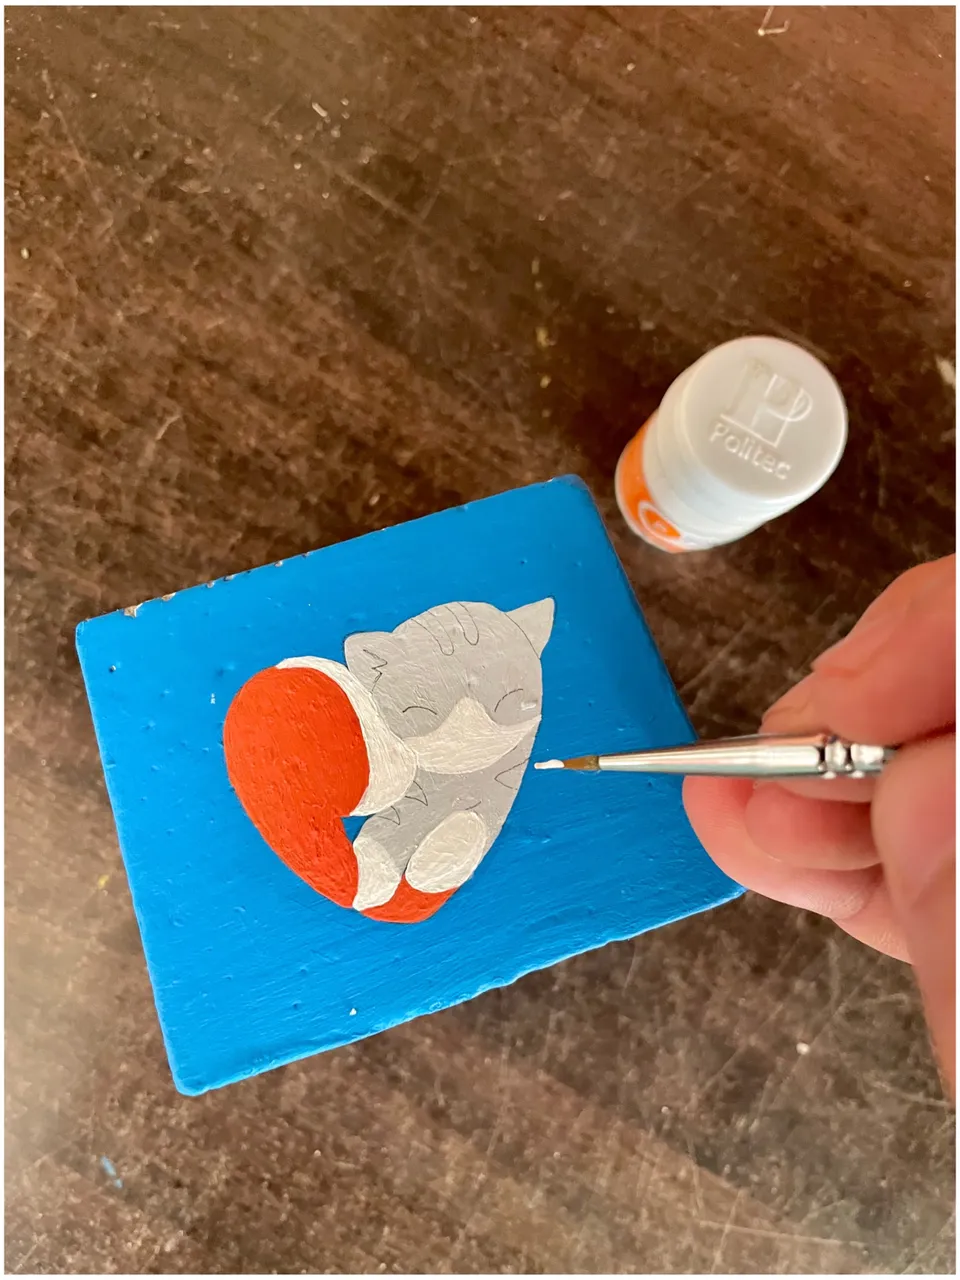
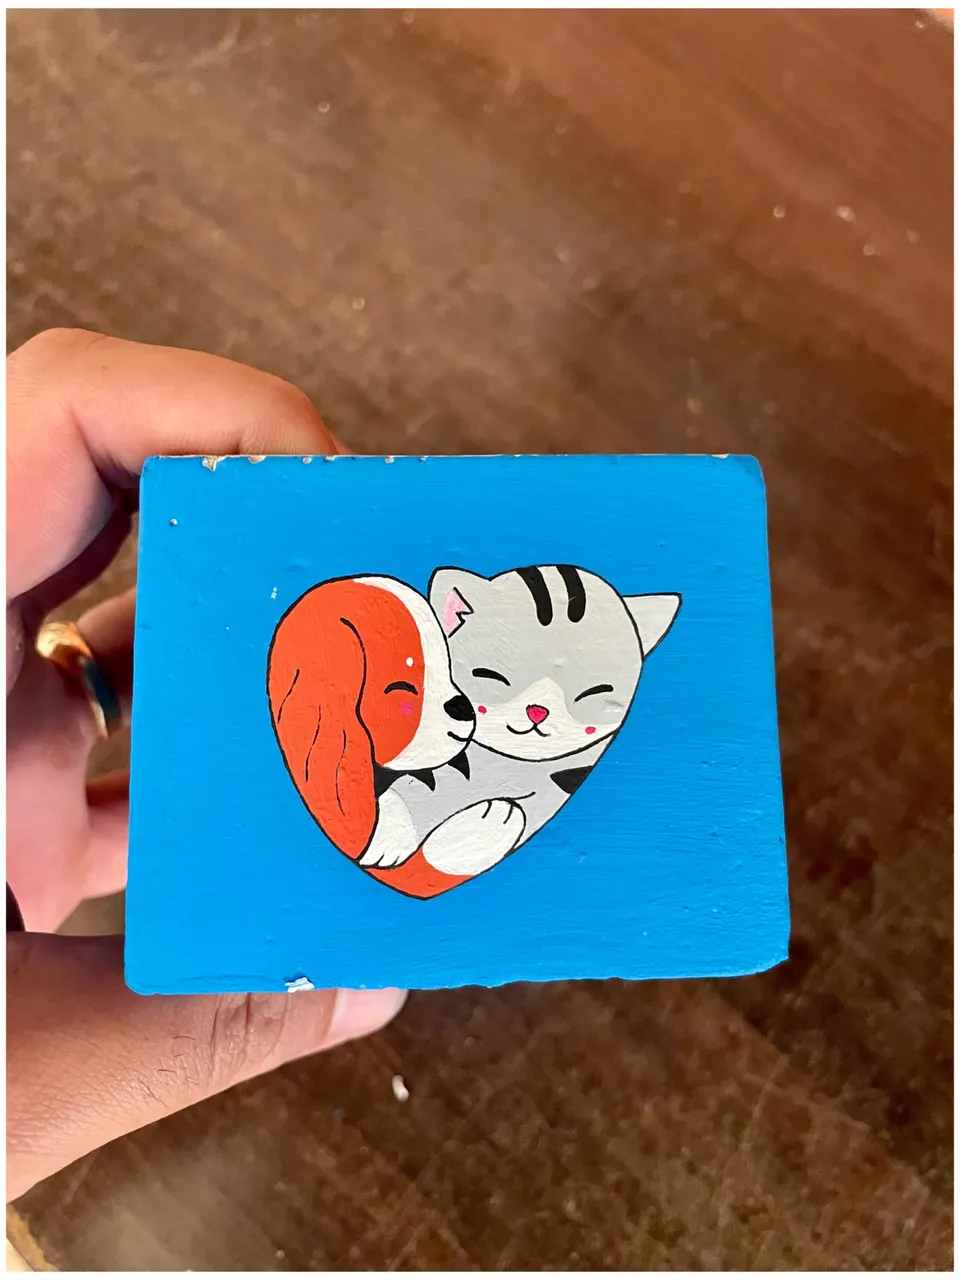
STEP/PASO 3
Once the pencil sketch was done, I used a fine brush to paint the flowerpot, starting with the cat and then moving to the dog. I used gray, white, and orange acrylic paints for the design.
Una vez terminado el proceso del lápiz, utilizamos un pincel fino para colorear la maceta, empezando por el gato y luego al perro, utilizando pinturas acrílicas de color gris, blanco y naranja.

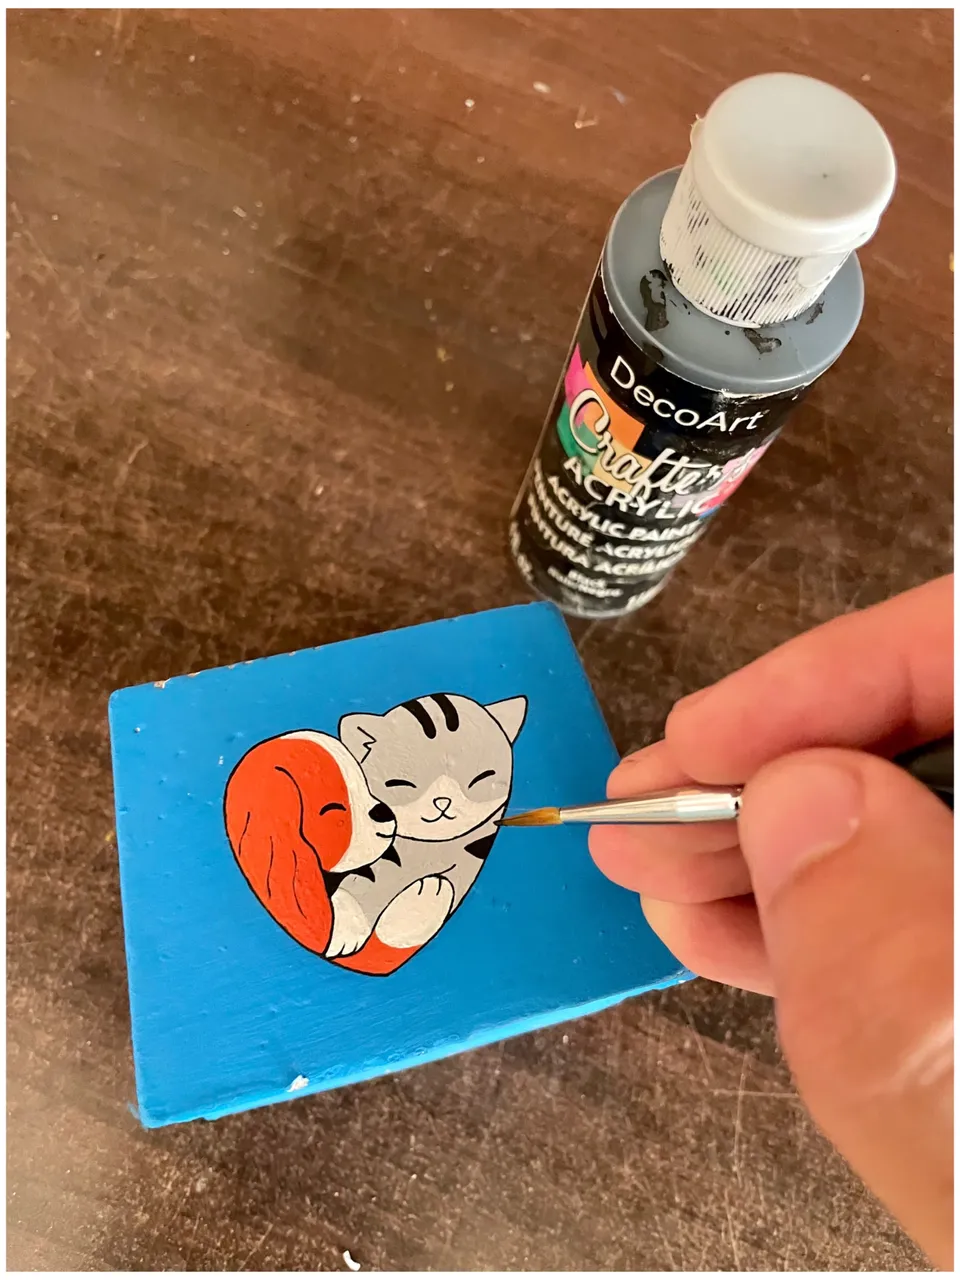
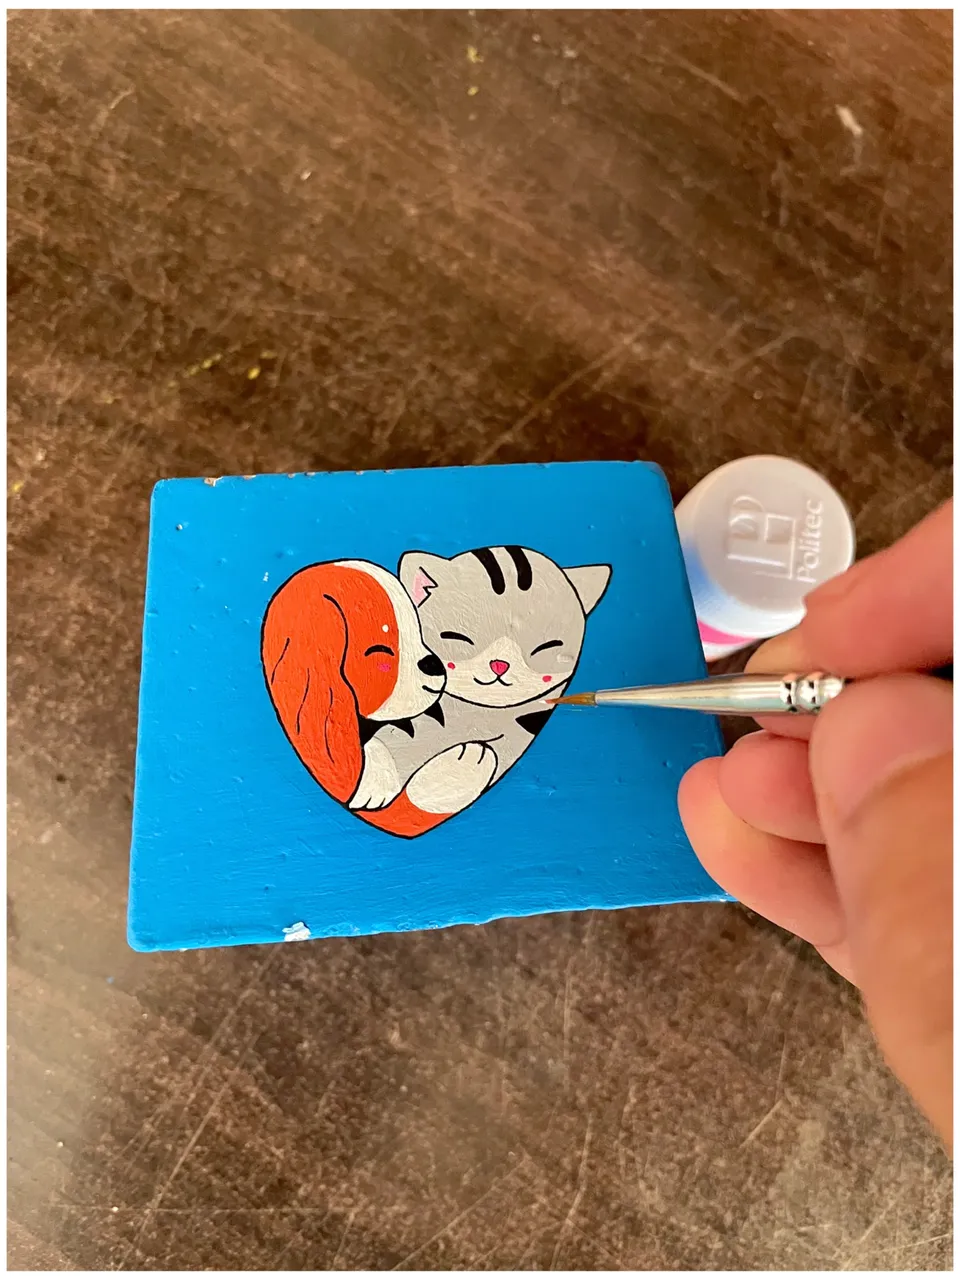
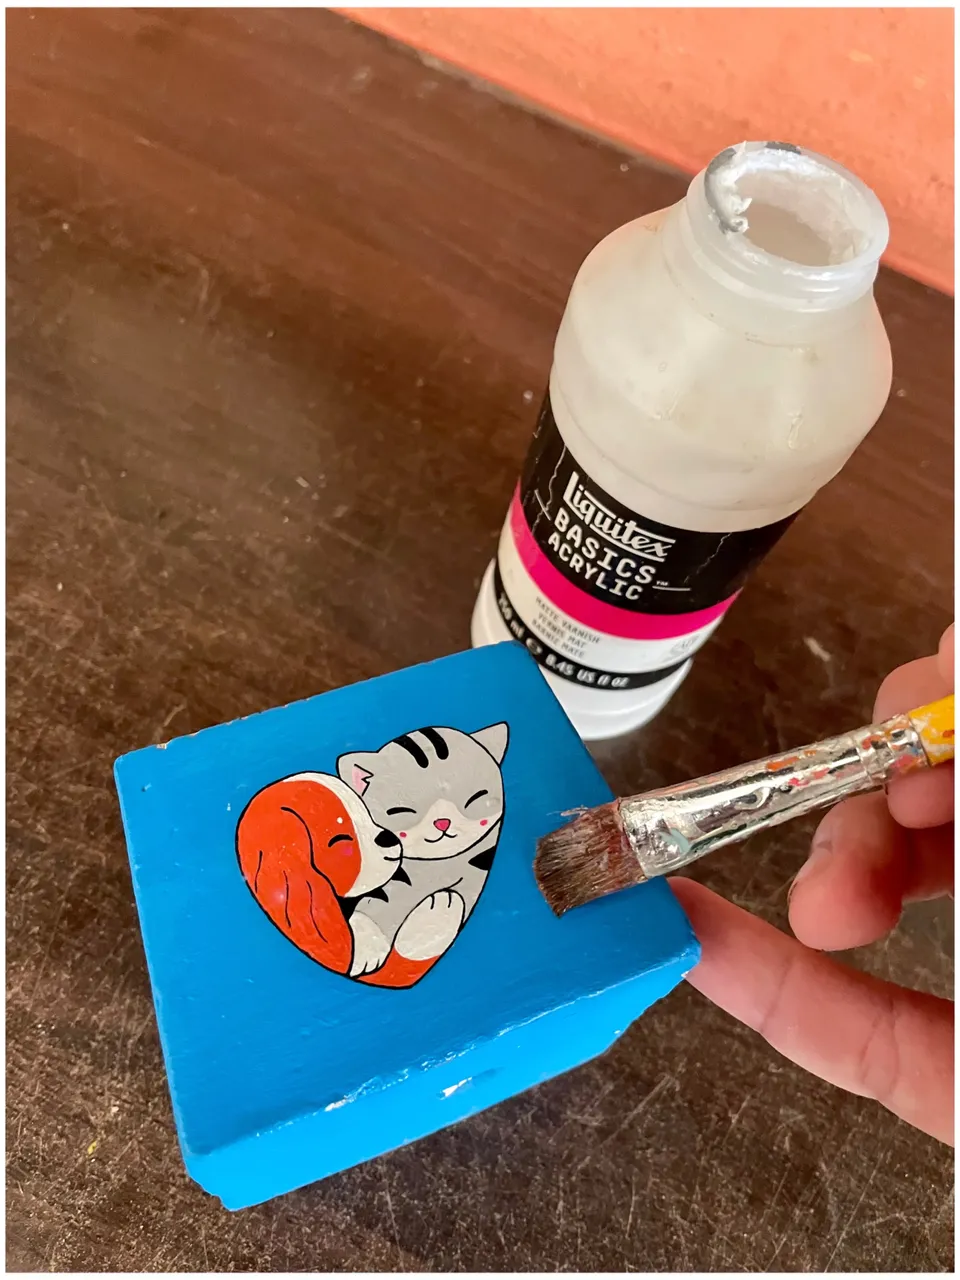
STEP/PASO 4
Finally, we gave the final touches to the eyes with a pointer, using black and white paint to give them a better look. Next, we added a coat of matte acrylic varnish to give it a glossy finish and let it dry for a few minutes.
Por último, dimos los últimos toques a los ojos con un puntero, utilizando pintura blanca y negra para darles un mejor aspecto. A continuación, añadimos una capa de barniz acrílico mate para darle un acabado brillante y dejamos secar unos minutos.
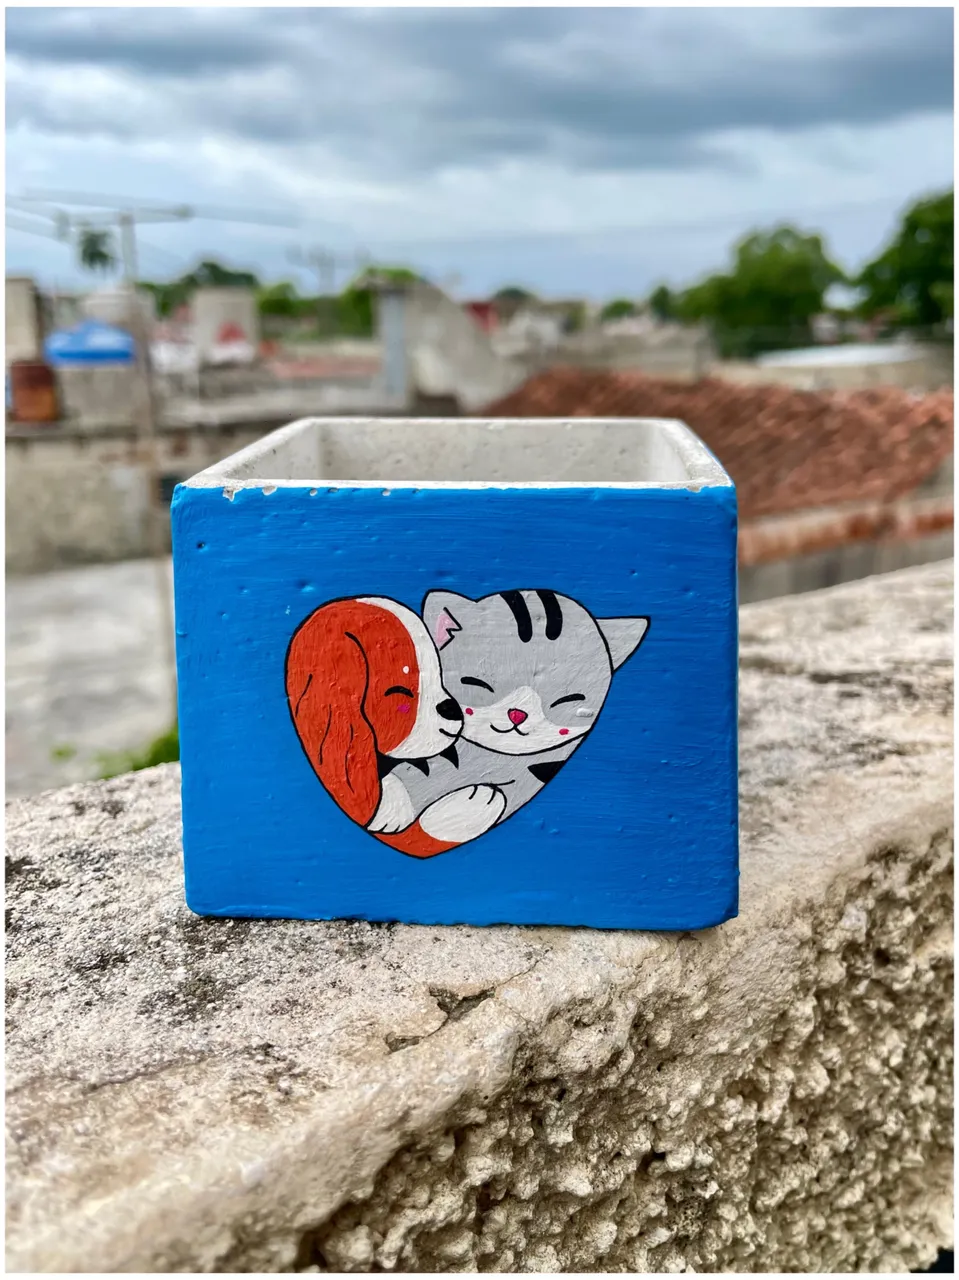
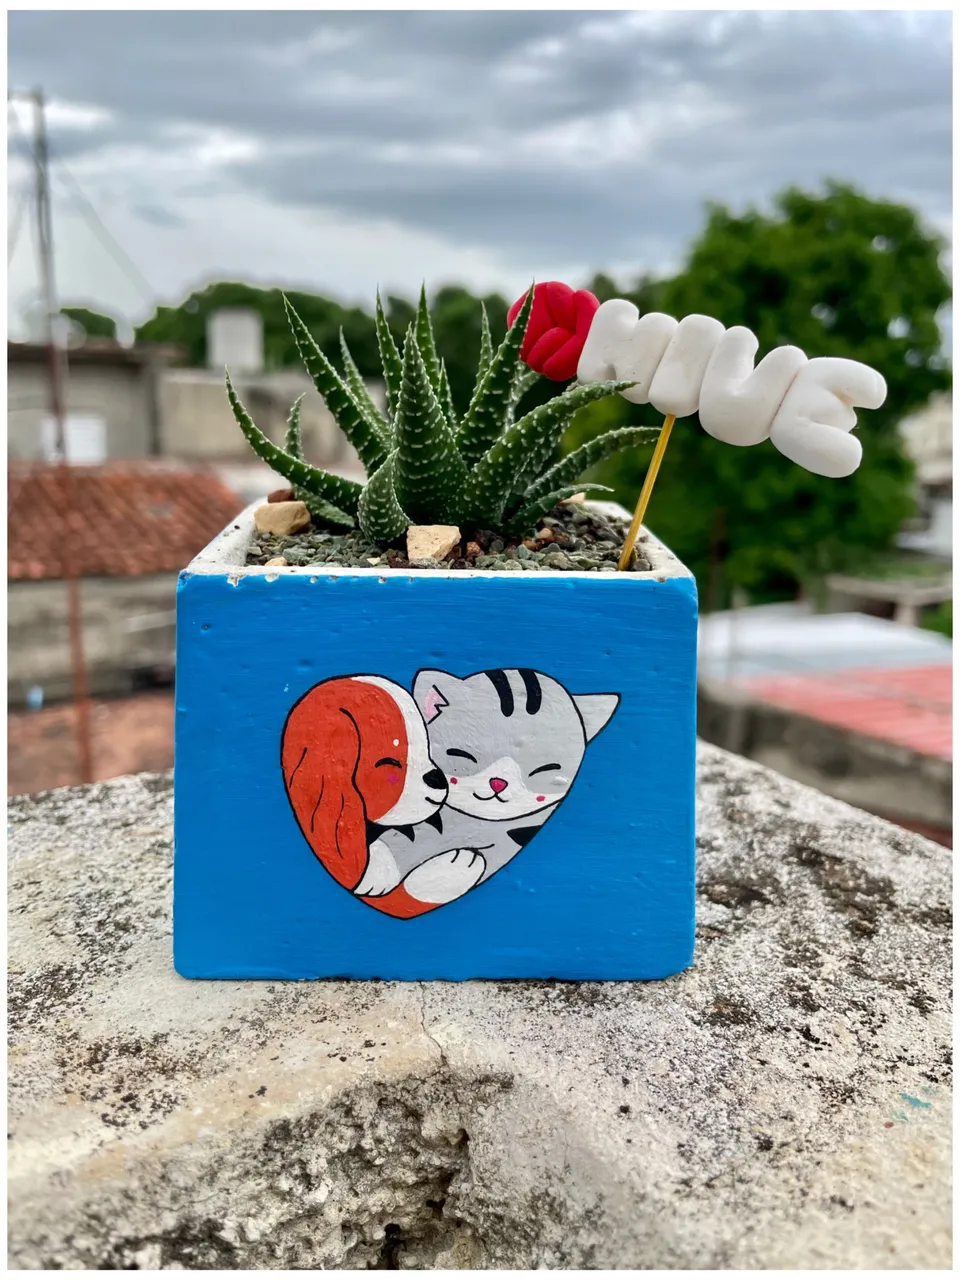
RESULT FINAL / RESULTADO FINAL
It’s worth mentioning that I found this design inspiration on Pinterest, but the actual decoration was handcrafted by me—made with care to make the cactus 🌵 look even cuter!
The final step was planting it, choosing a small-sized one to complete the piece.
Cabe destacar que este diseño fue buscado en Pinterest; pero la realización de la decoración es hecha por mí, con dedicación para que luzca más bonito el cactus🌵.
El paso final es plantarlo, eligiendo de uno de tamaño pequeño.

Si te ha gustado, no olvides dejar tu comentario y seguirme para próximas publicaciones. Me encantaría saber tu opinión e ideas para el siguiente. Saludos
If you liked it, don't forget to leave a comment and follow me for future posts. I'd love to know your opinion and ideas for the next one. Regards