Good morning great minds, and happy new week.
Today I will be showing you how I made this short gown and a shirt for my choir.

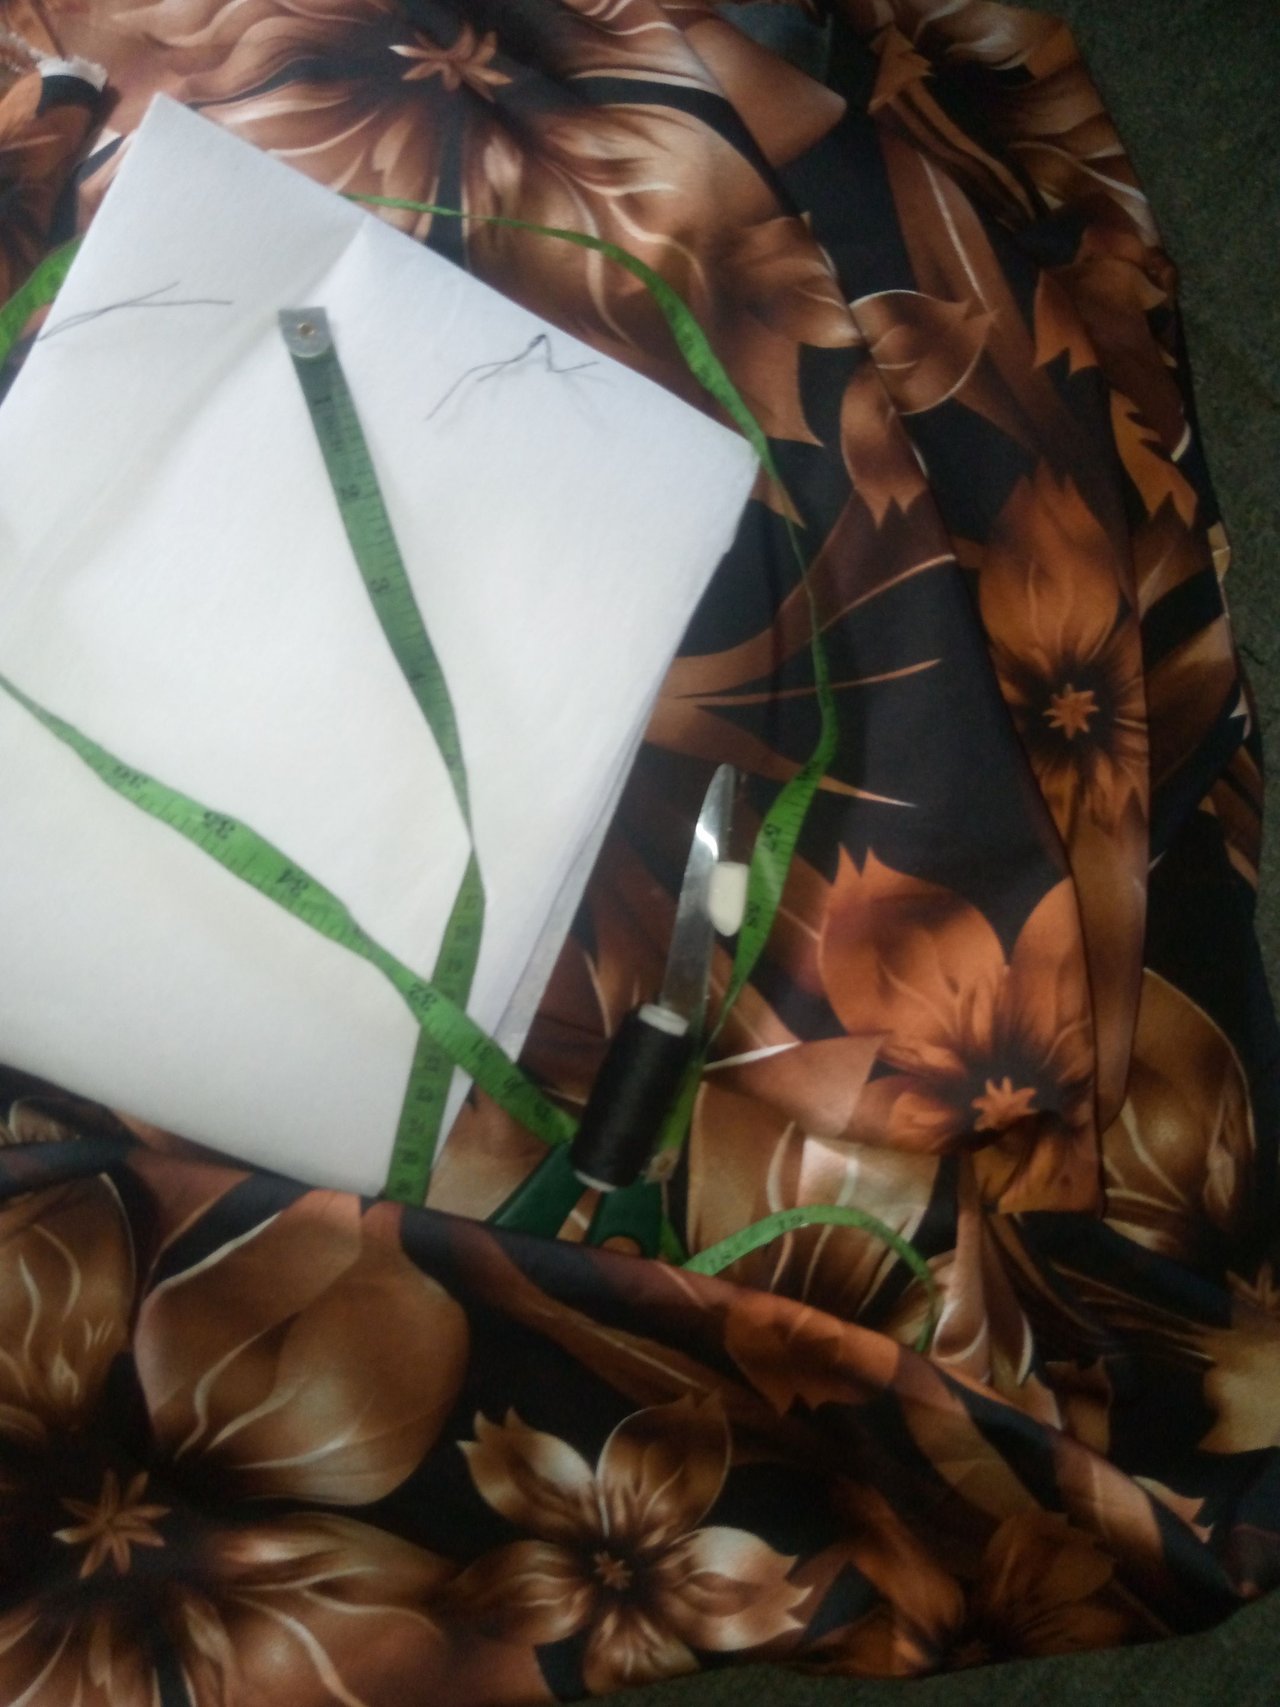
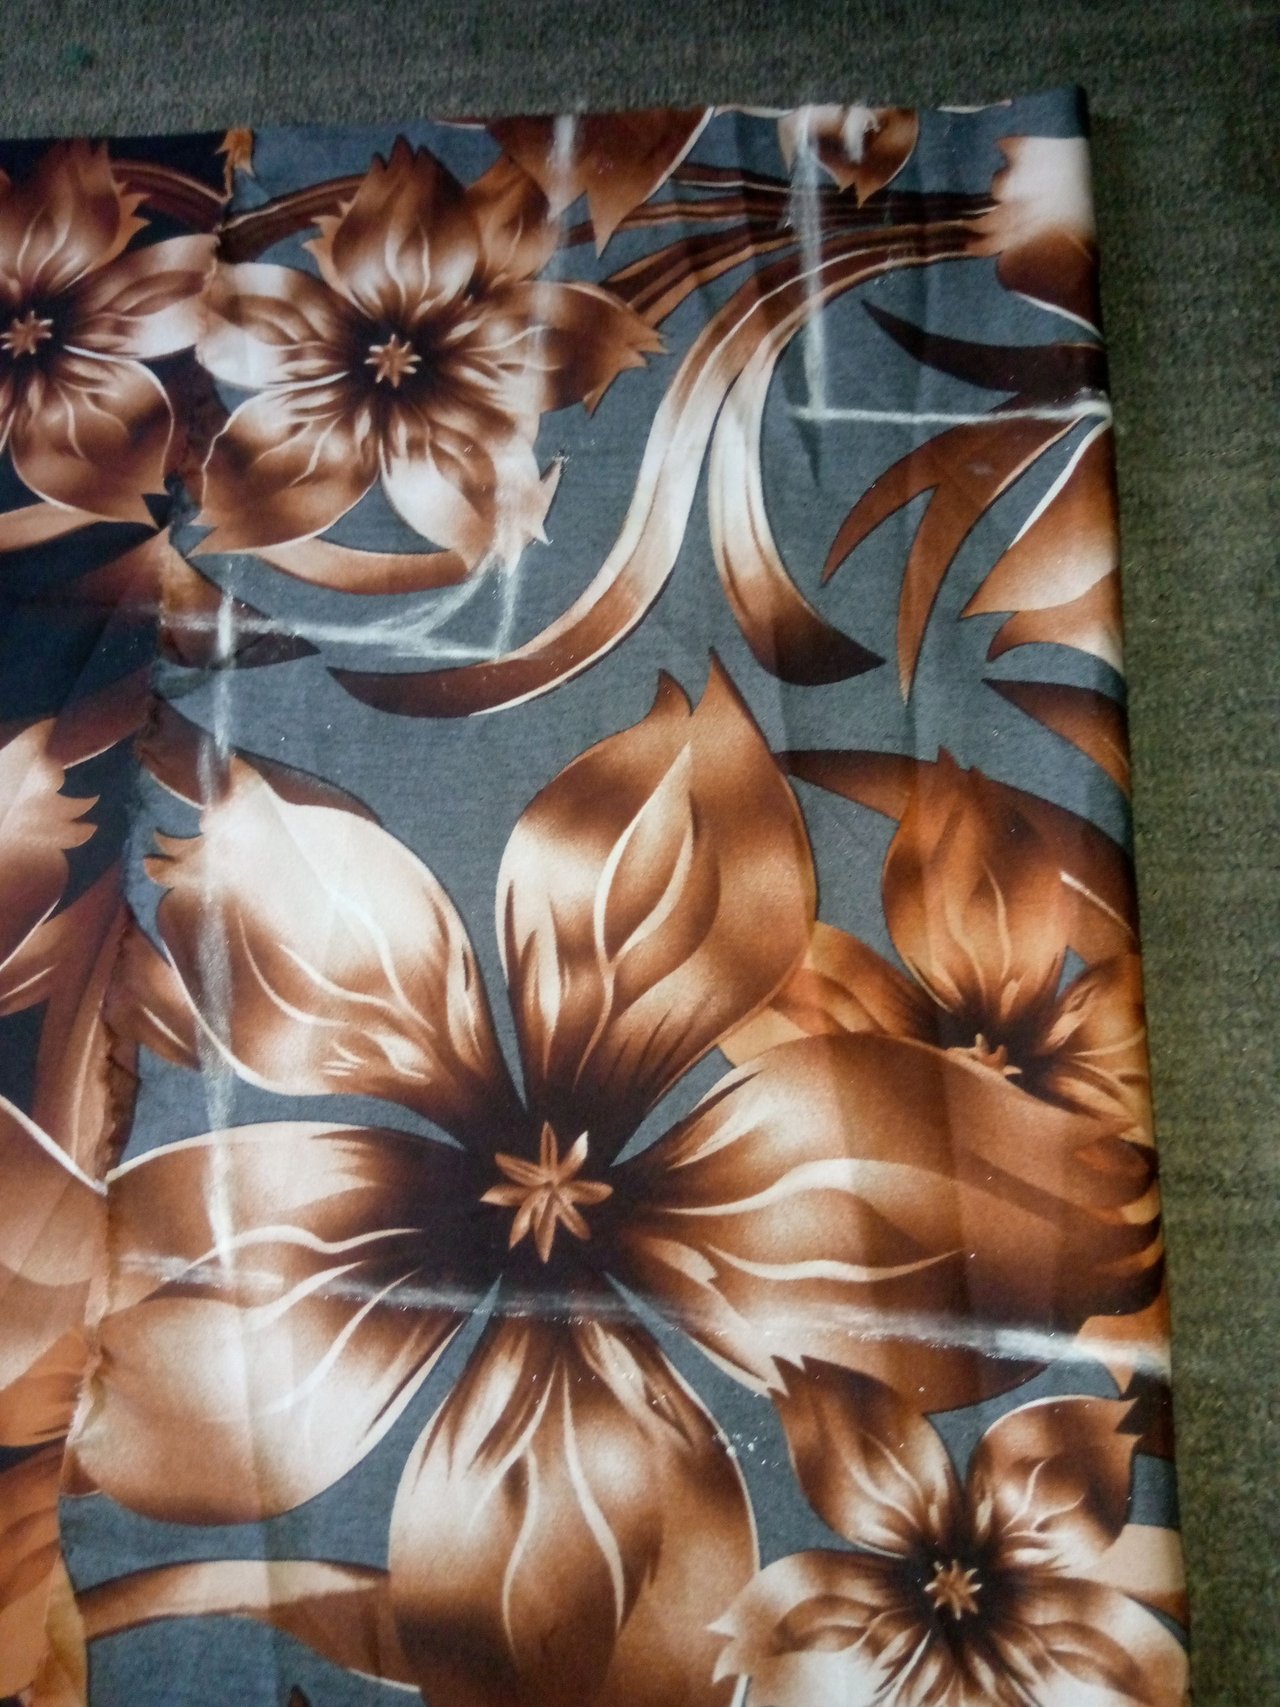
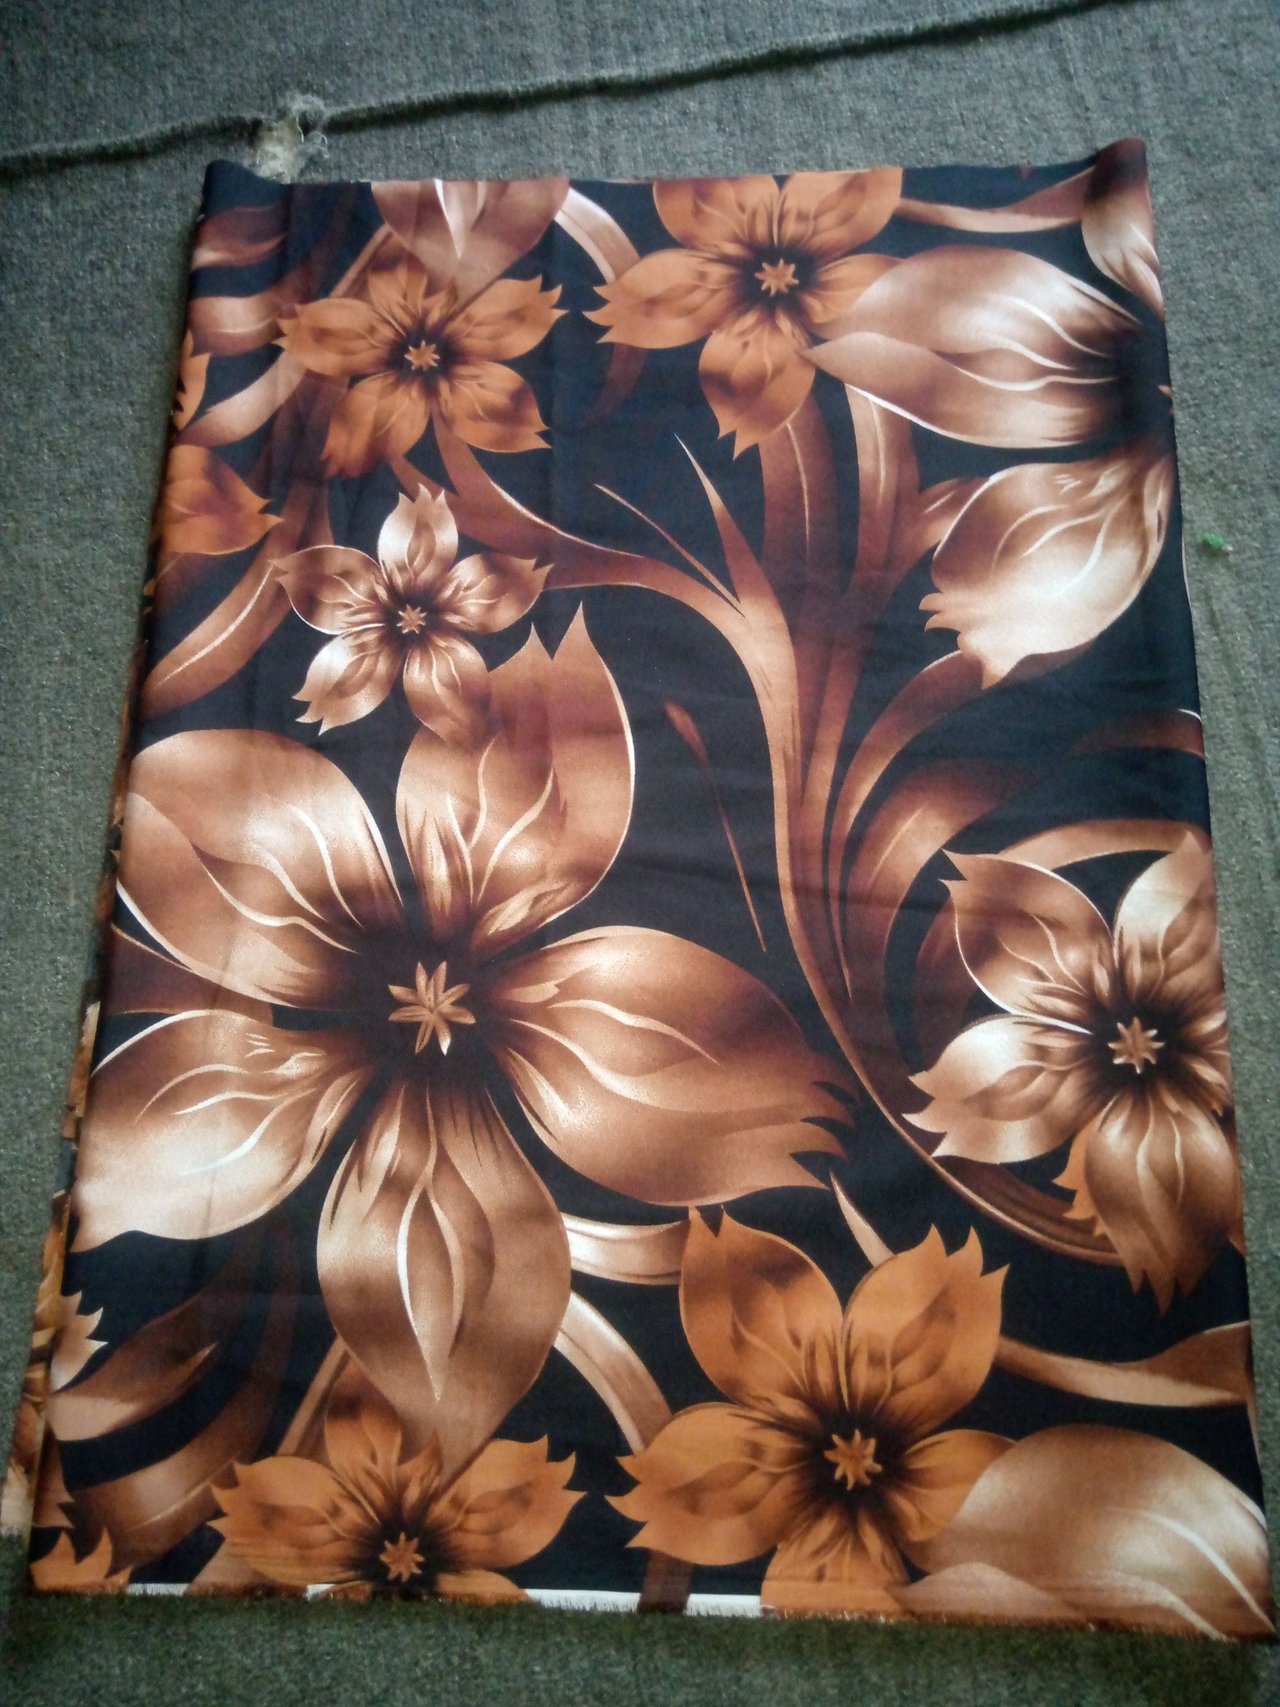
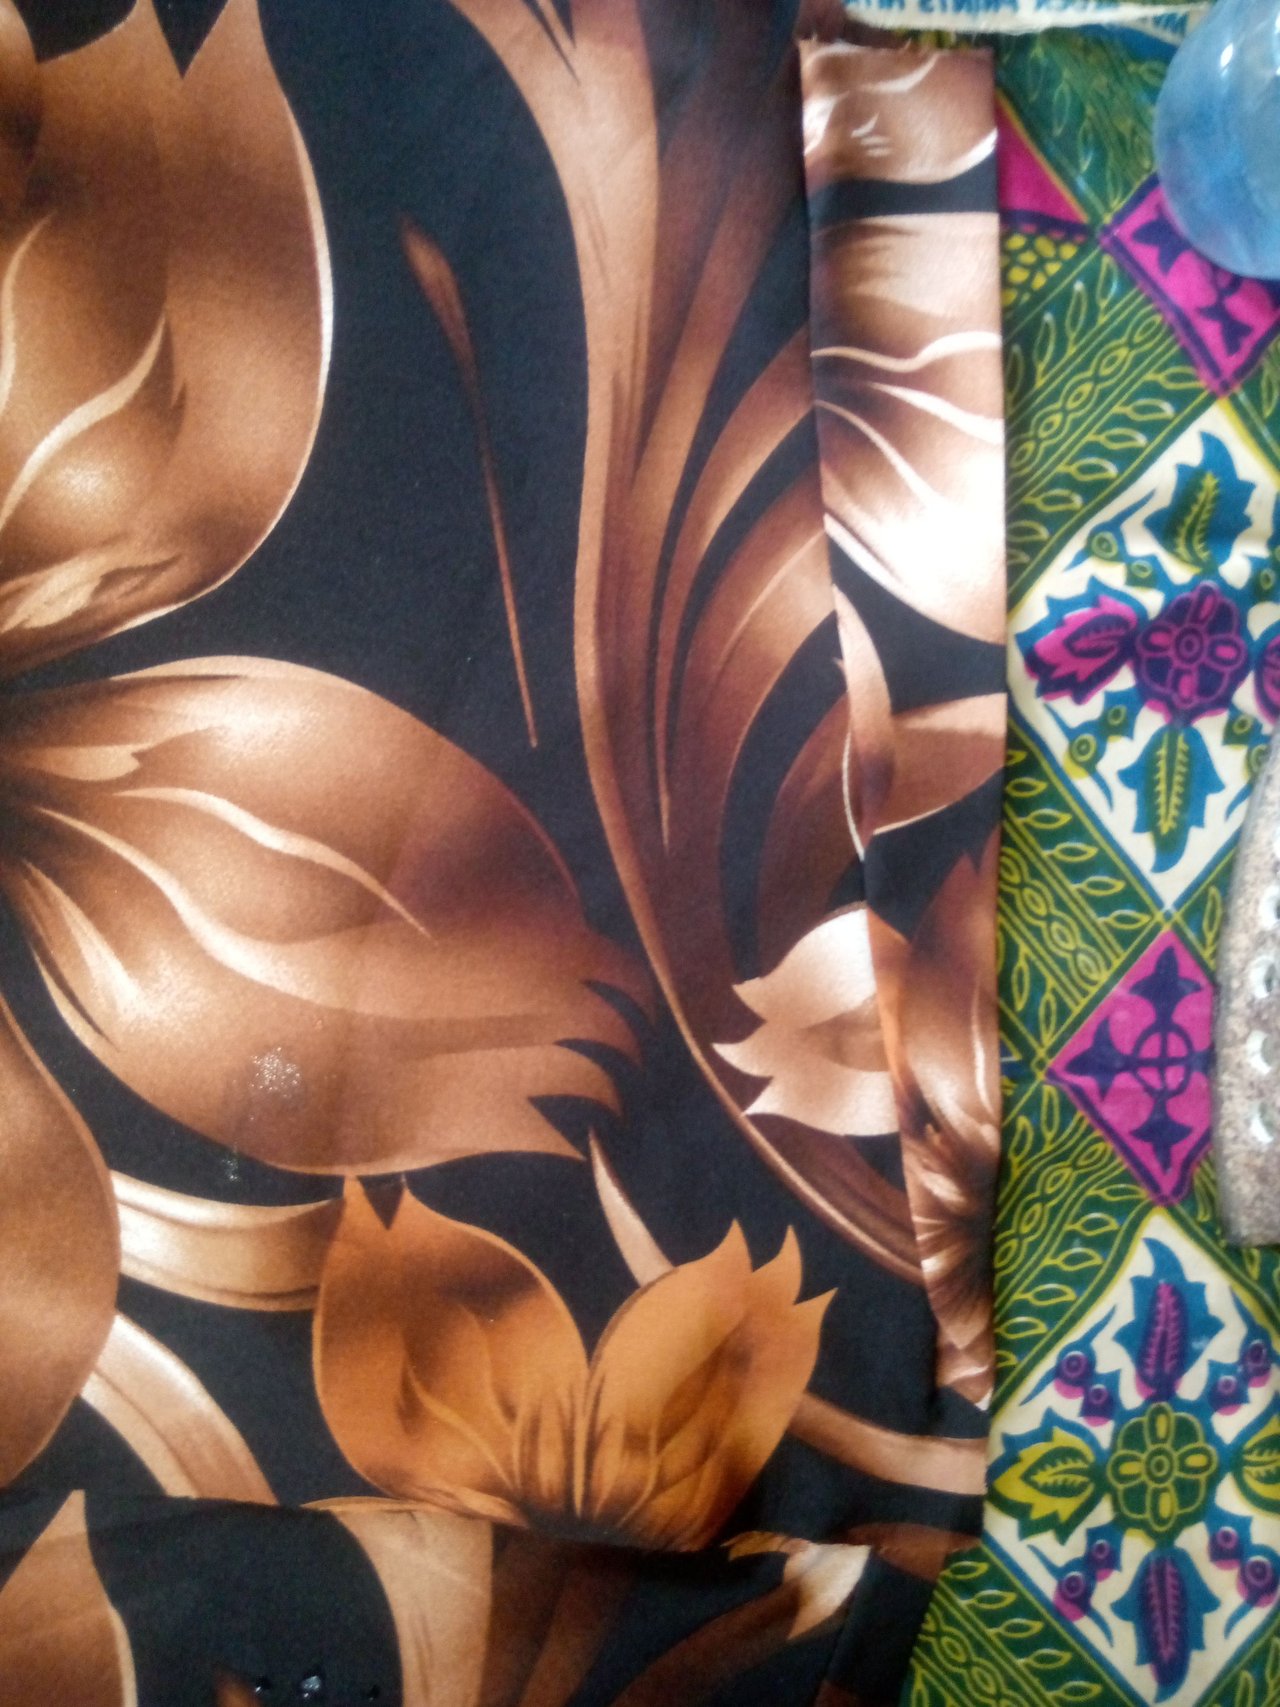
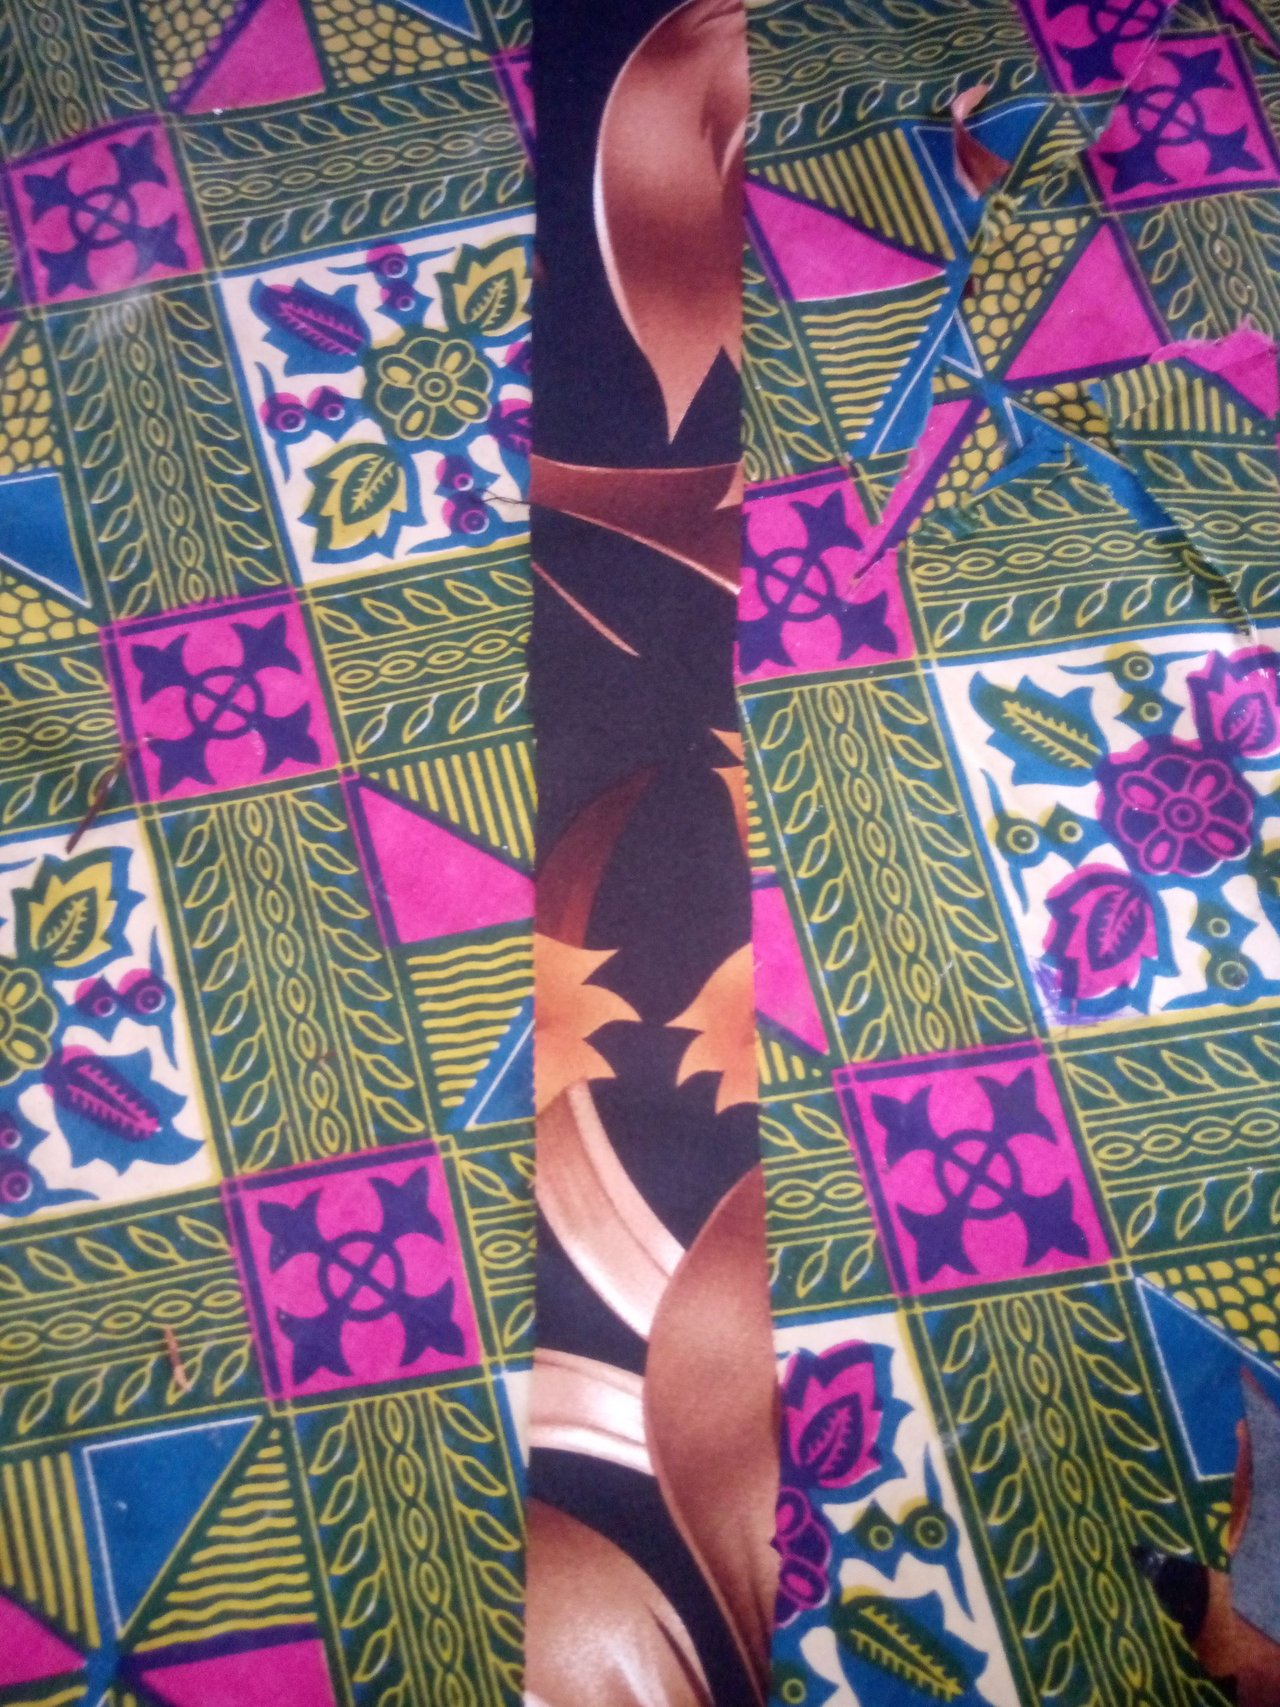
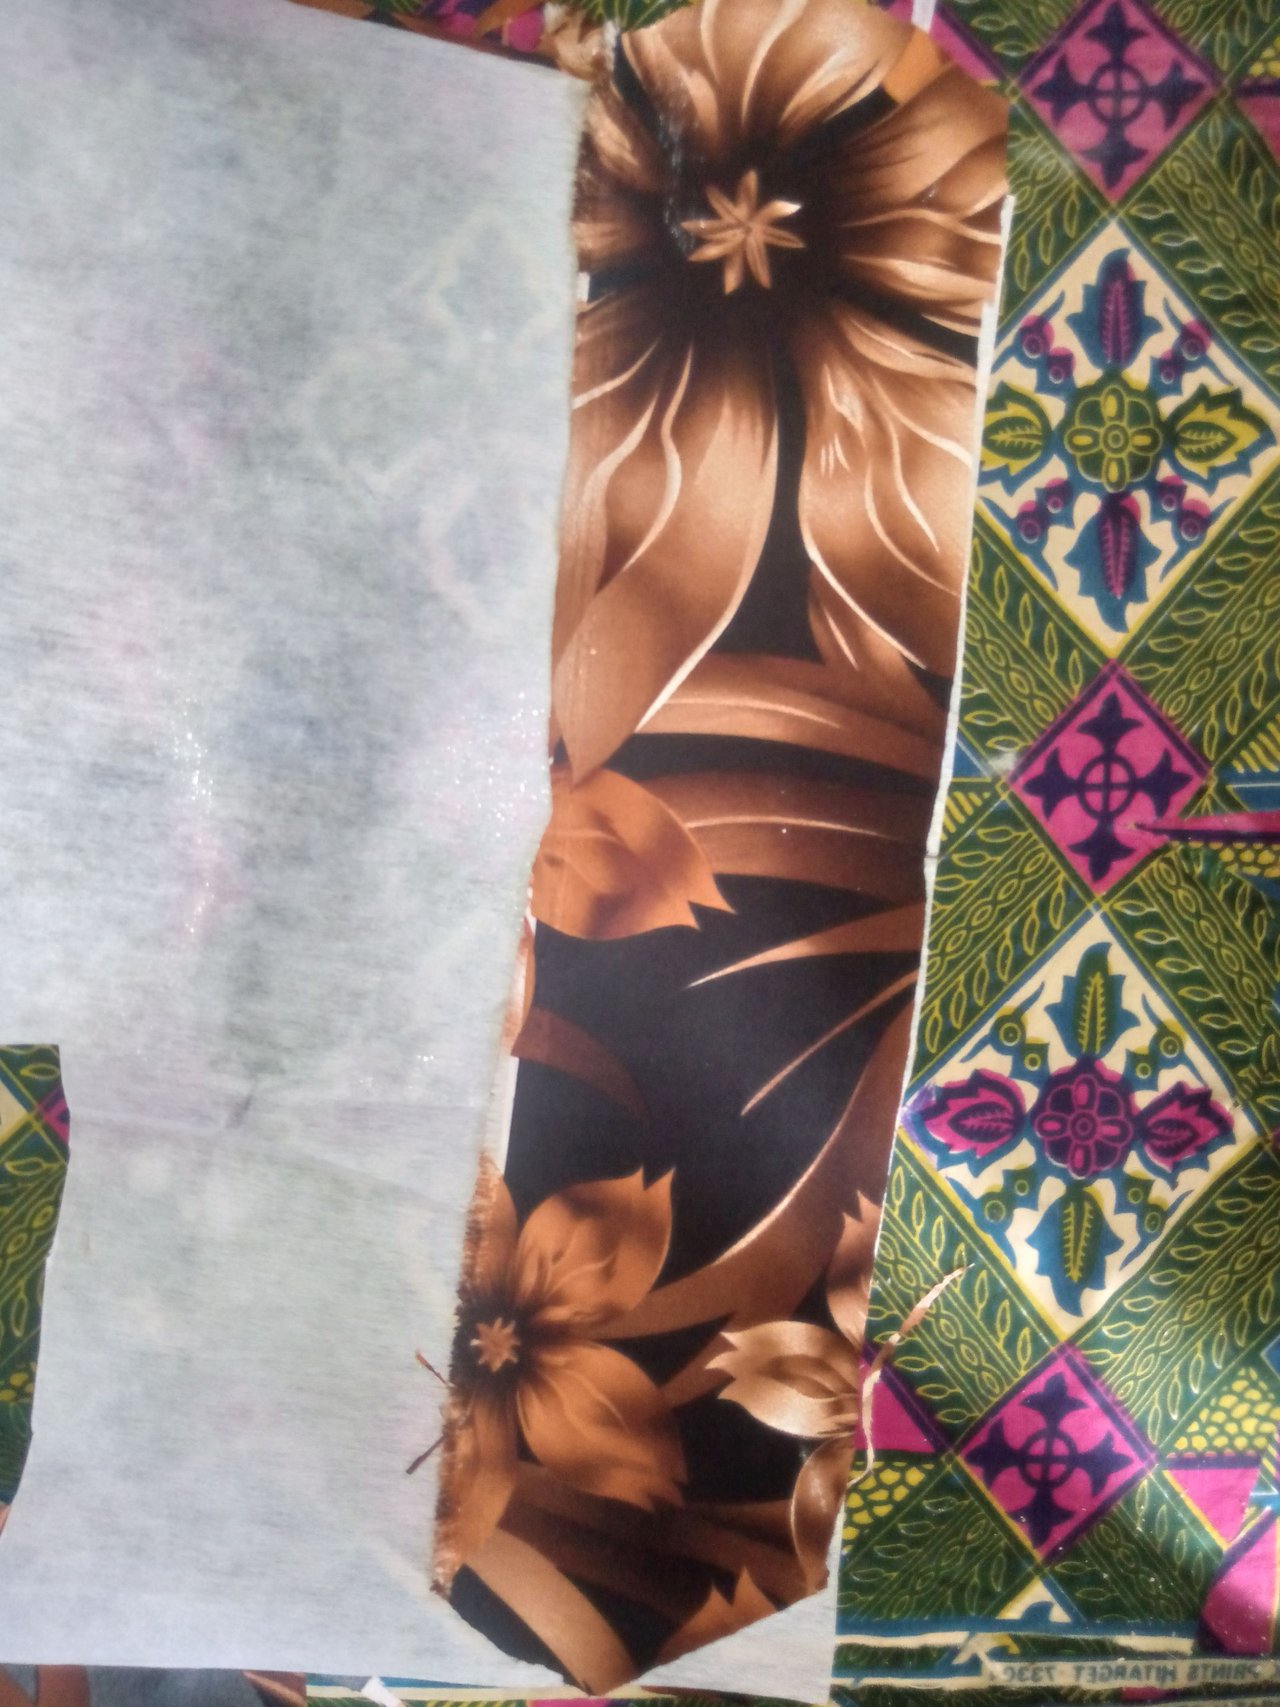
Materials needed, lining, zip gum still, tread, scissor, chalk and my vintage material.

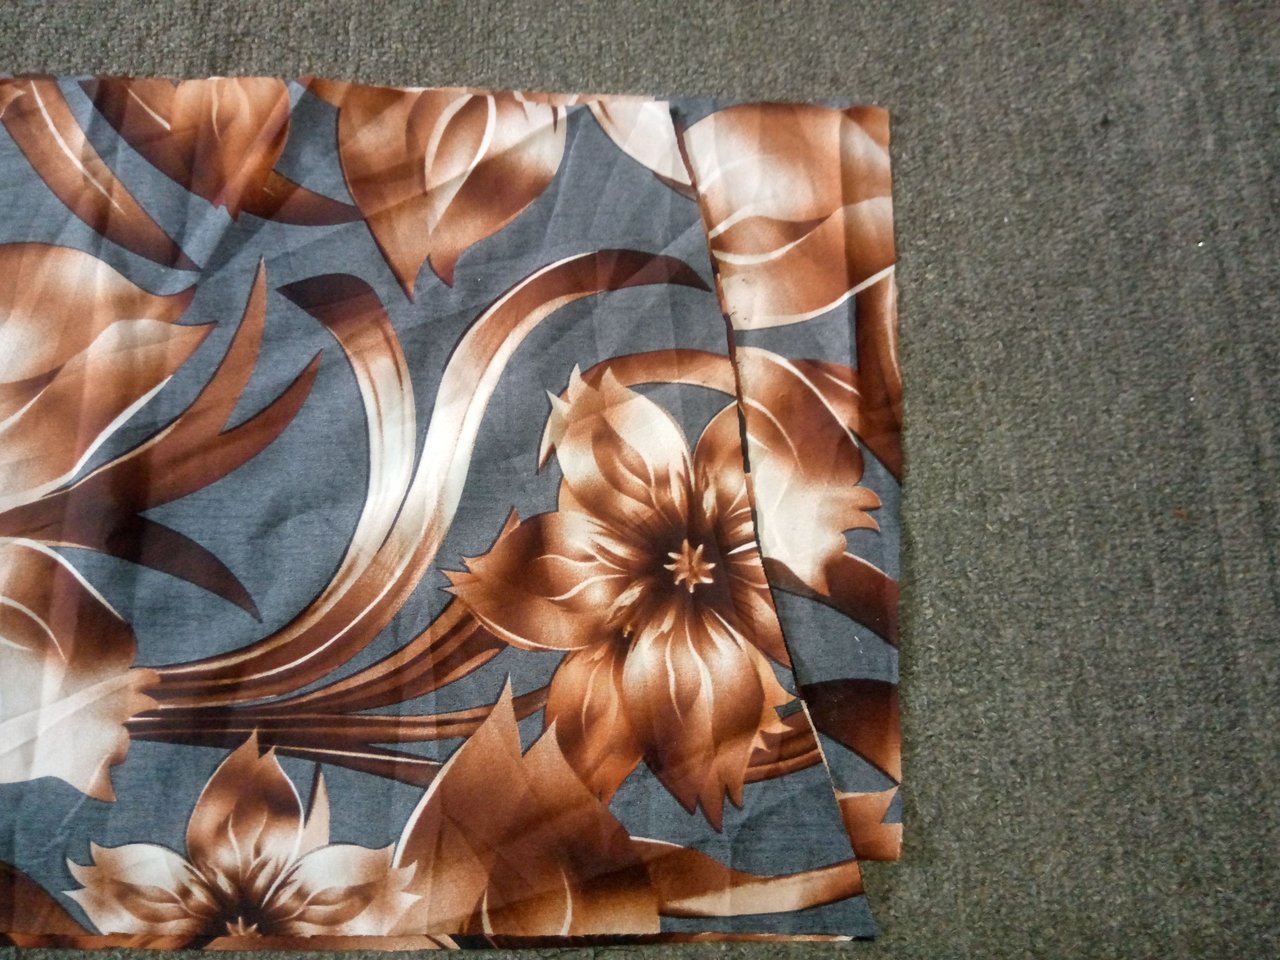
I started with the gown.
I firstly remove the upper side, which the length is by sixteen, and then the hand pit by eight inches and I measure out the neck length by five inches and the width by four inches using my chalk to trace it out.
After that I placed the front part on the other side of the fabric and give out one inches allowance for the zip and cut out the back neck by one point five inches.
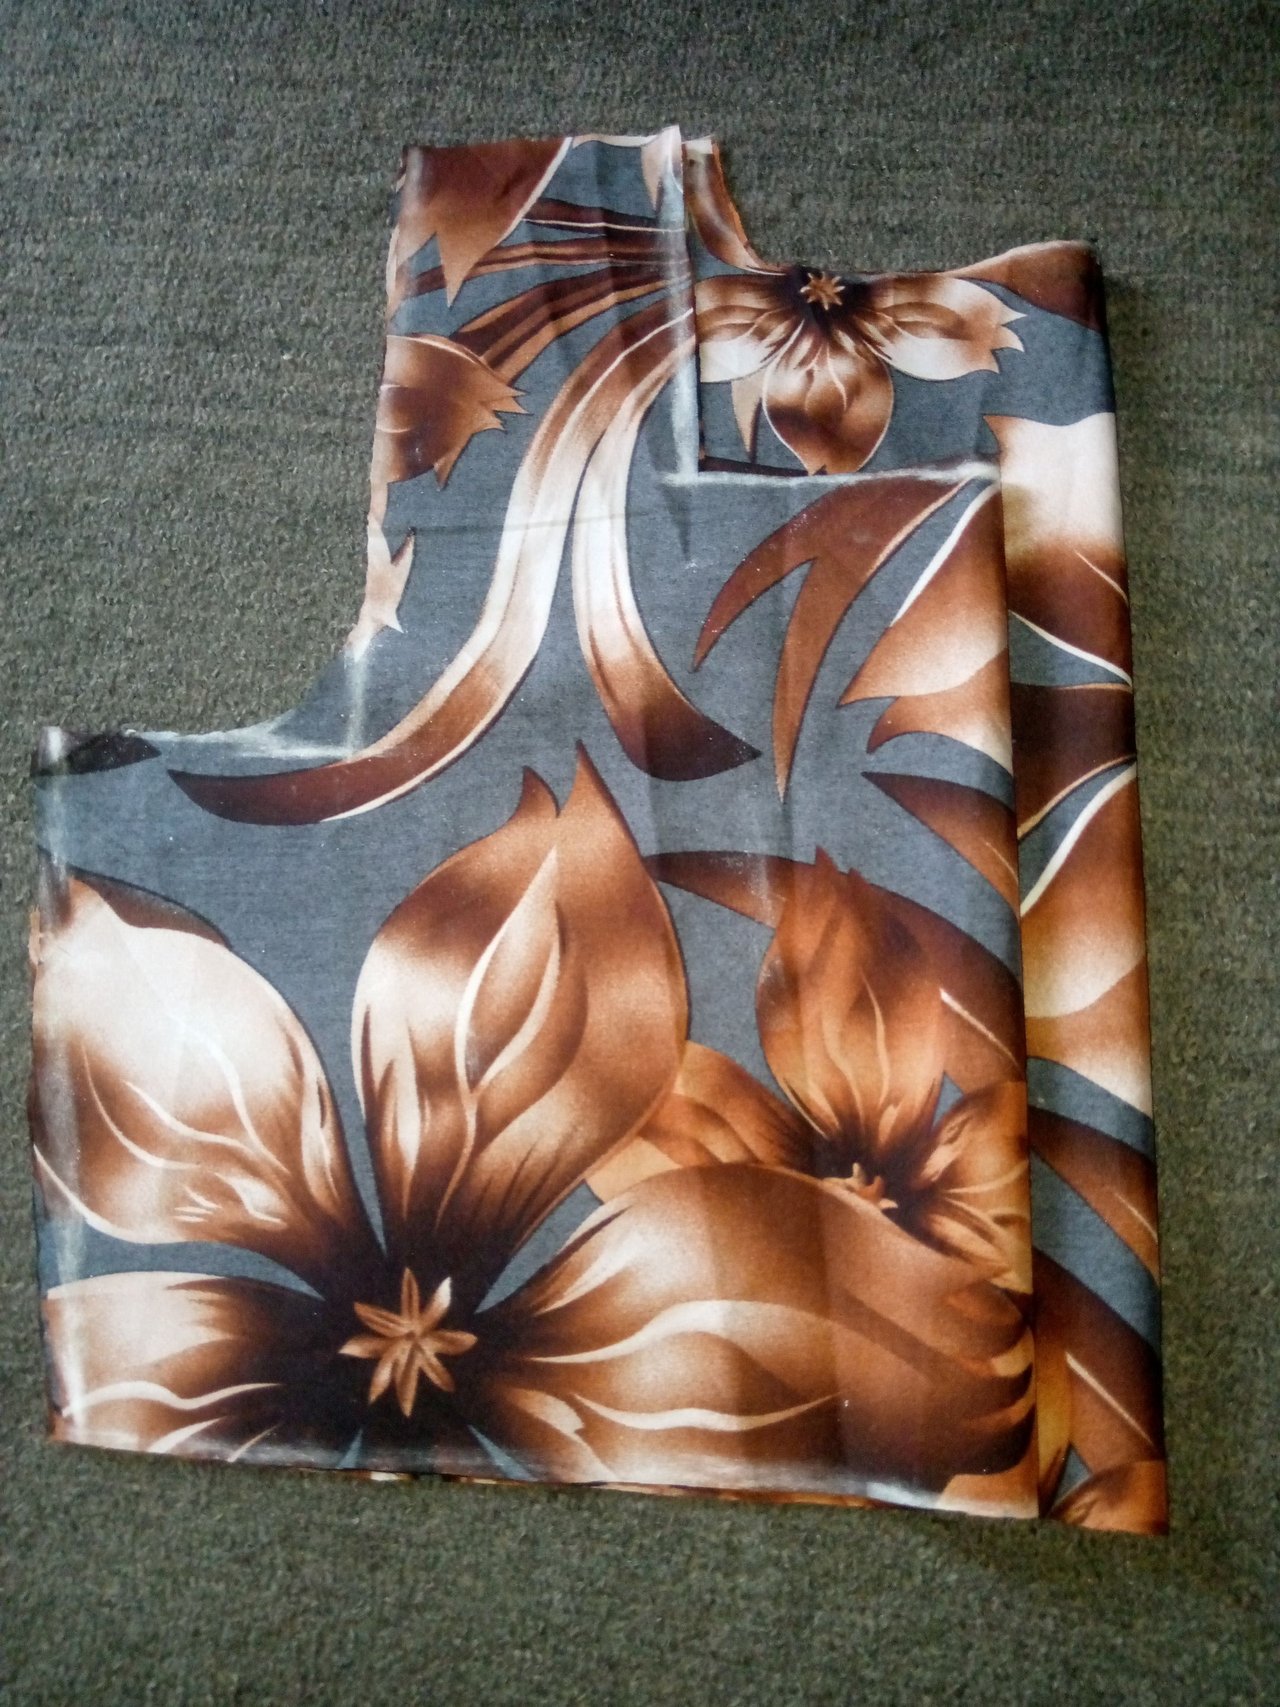
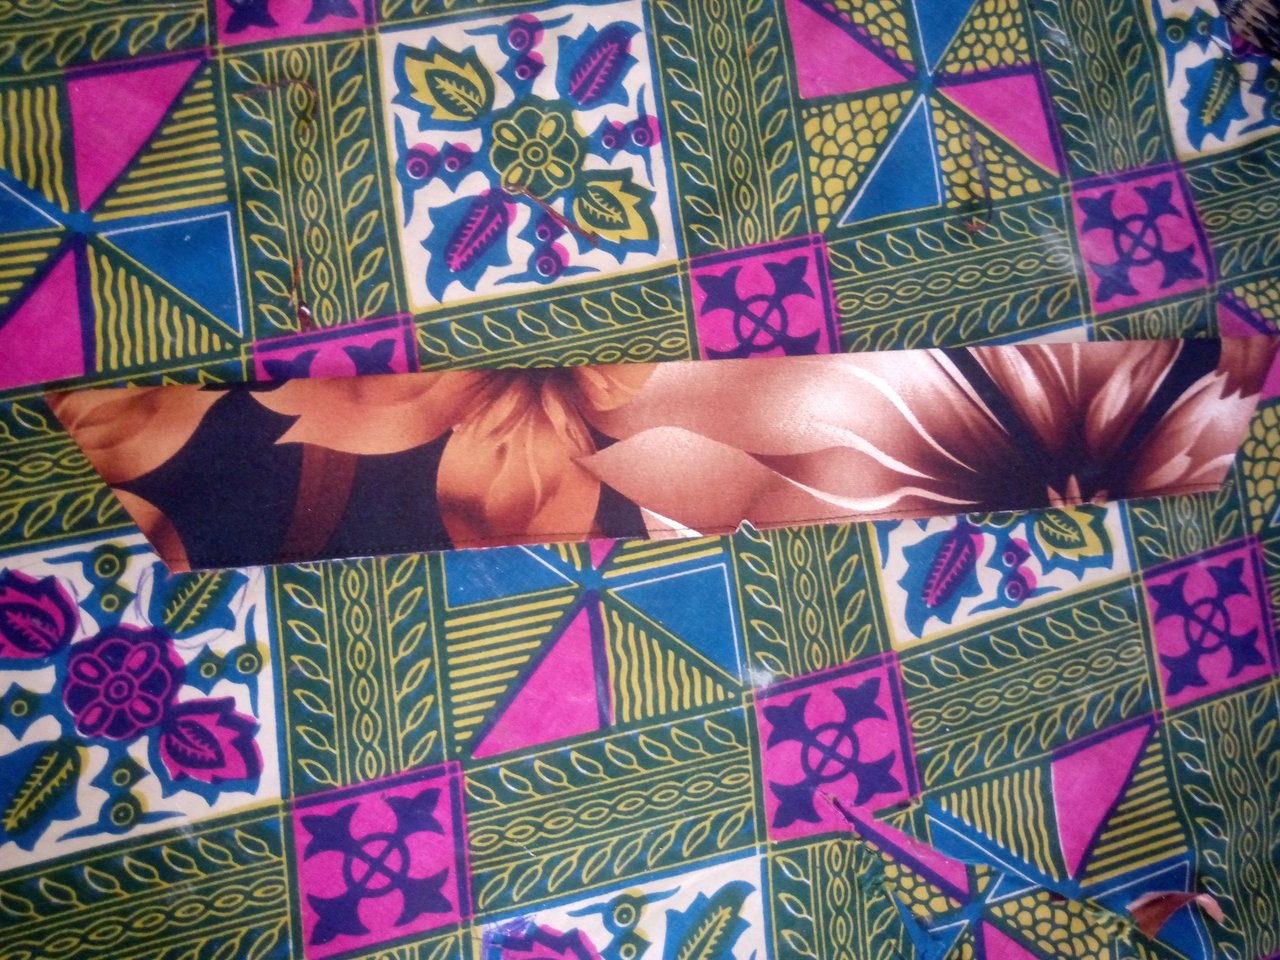
Here I also cut out the hand, and the down part which I will be using for the plinting.
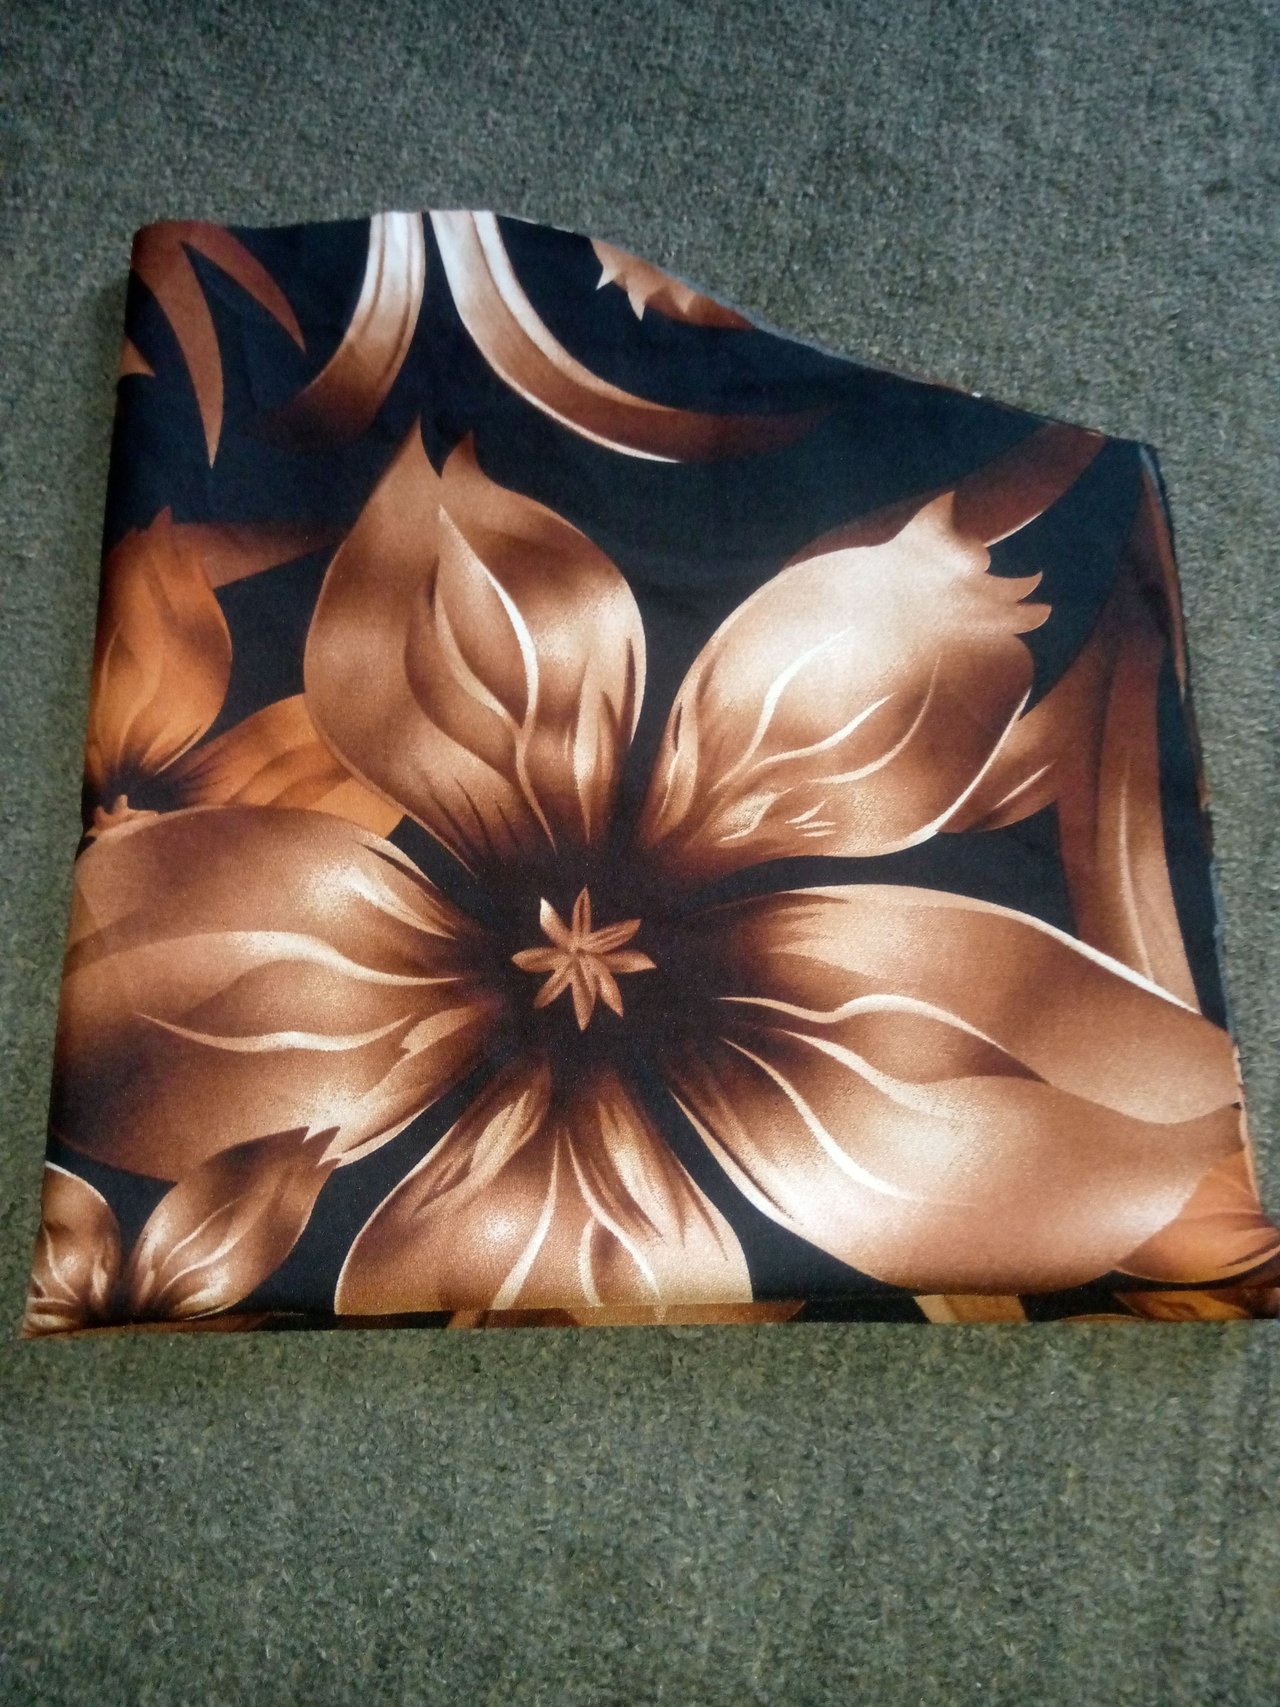
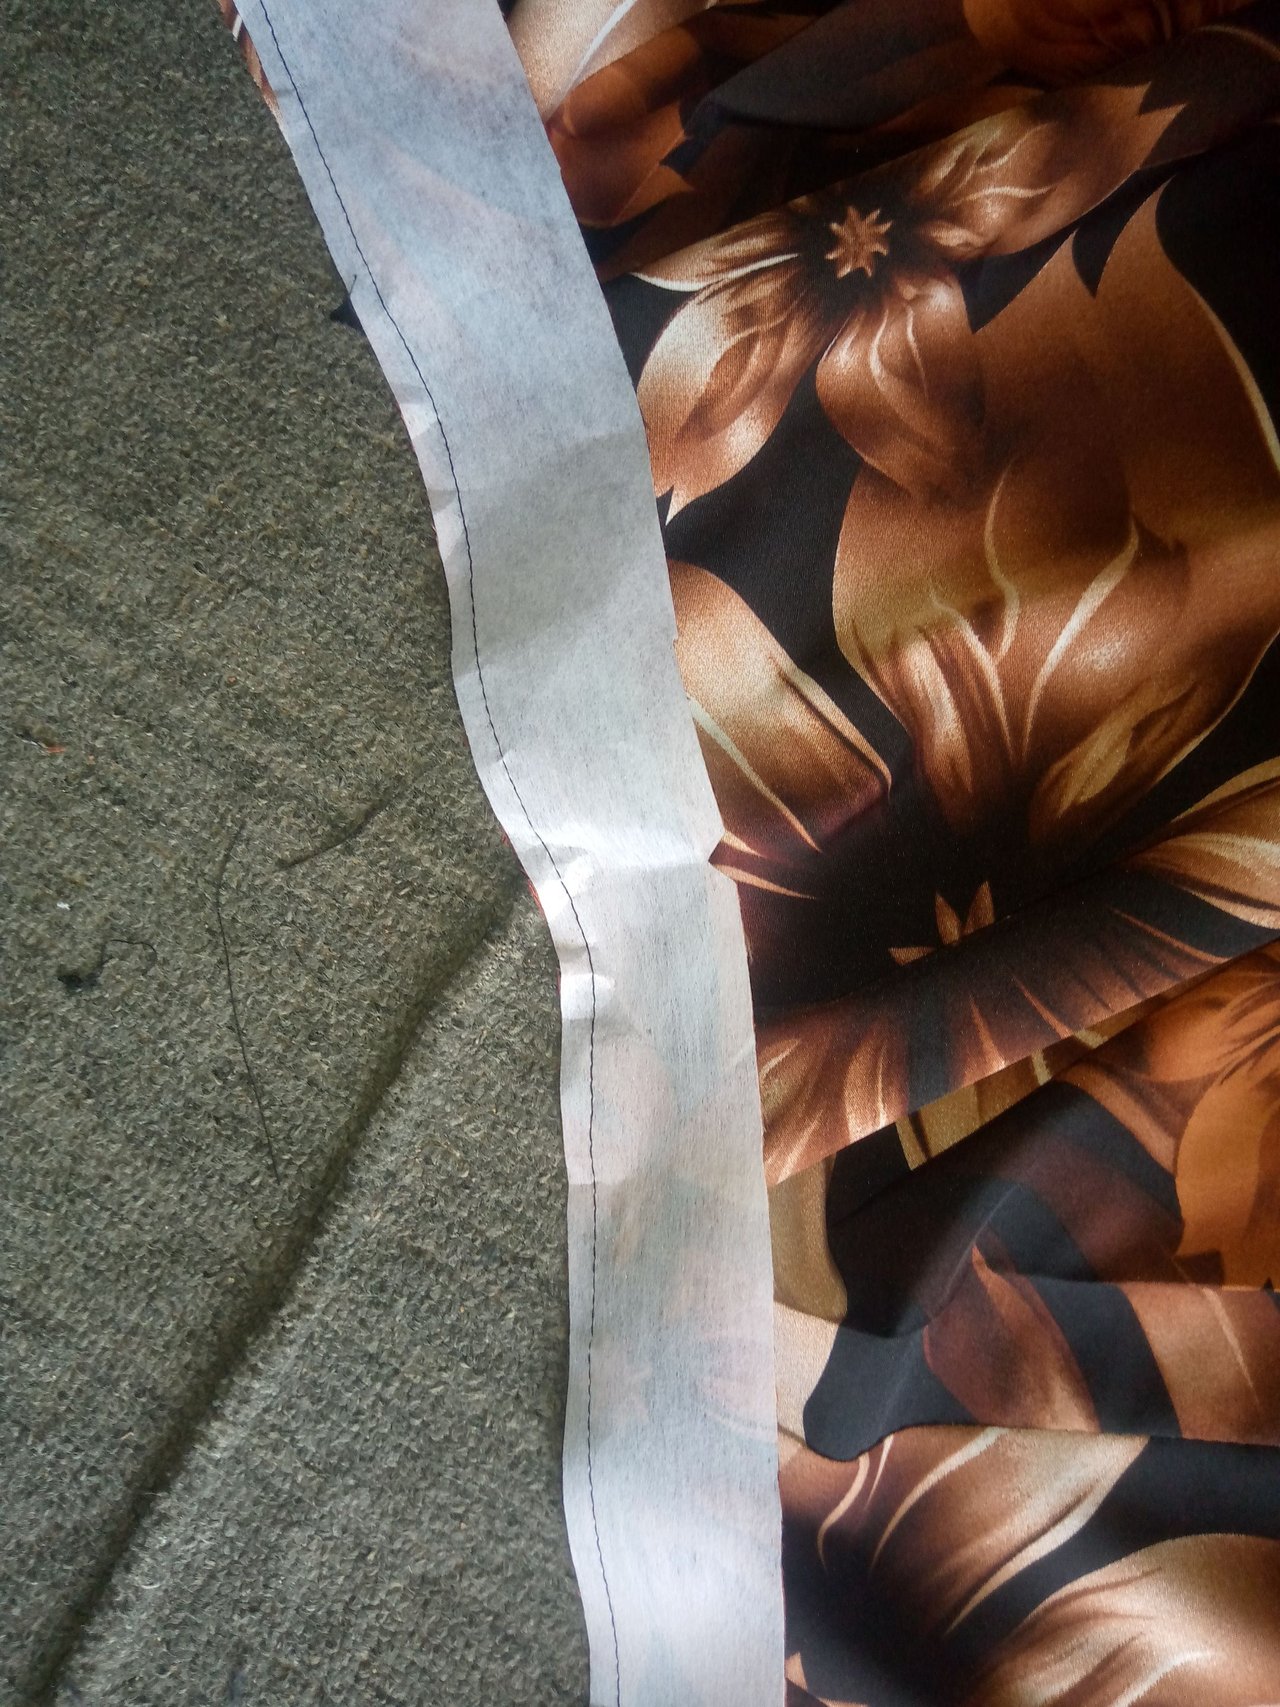
After that I cut out the lining and proceed to fixed it and put it in a dart both front and back.
I now join the both part together fixed the hand.

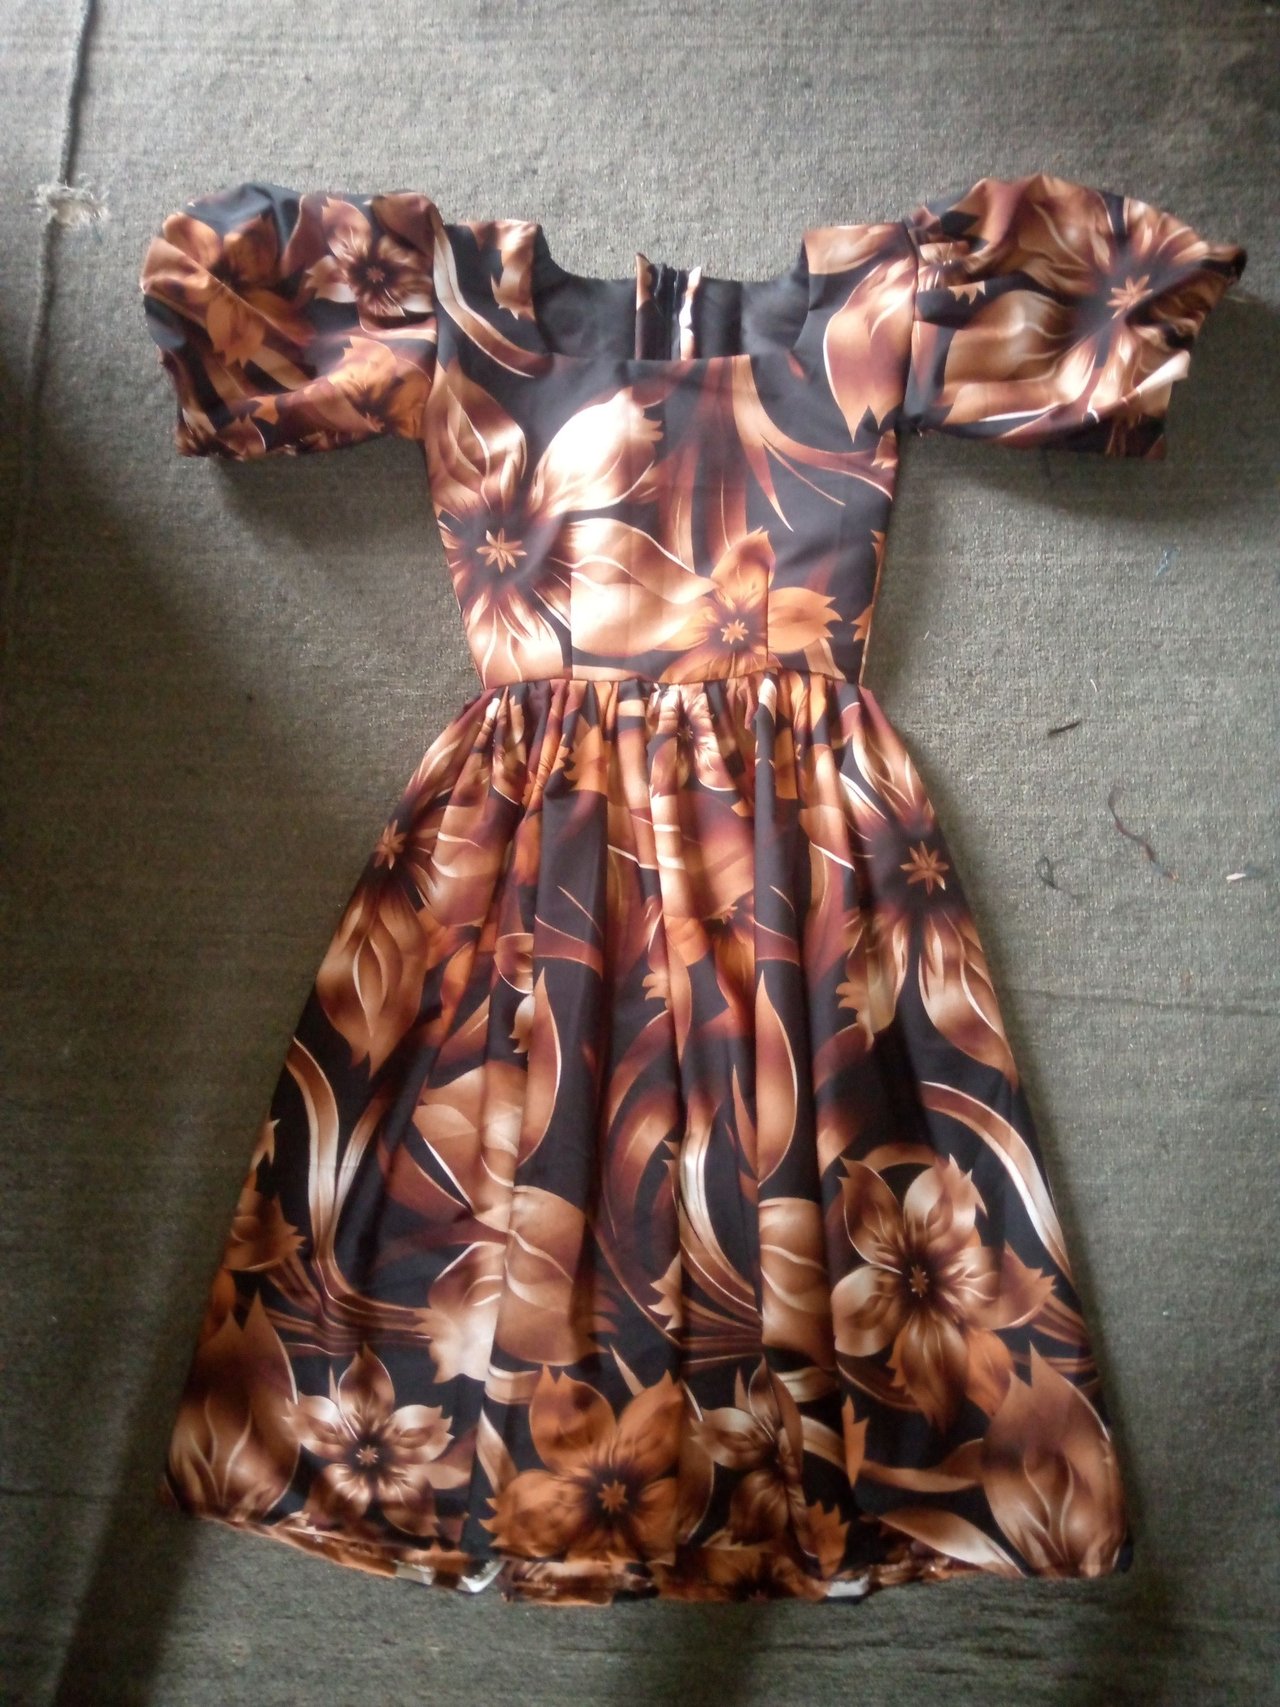
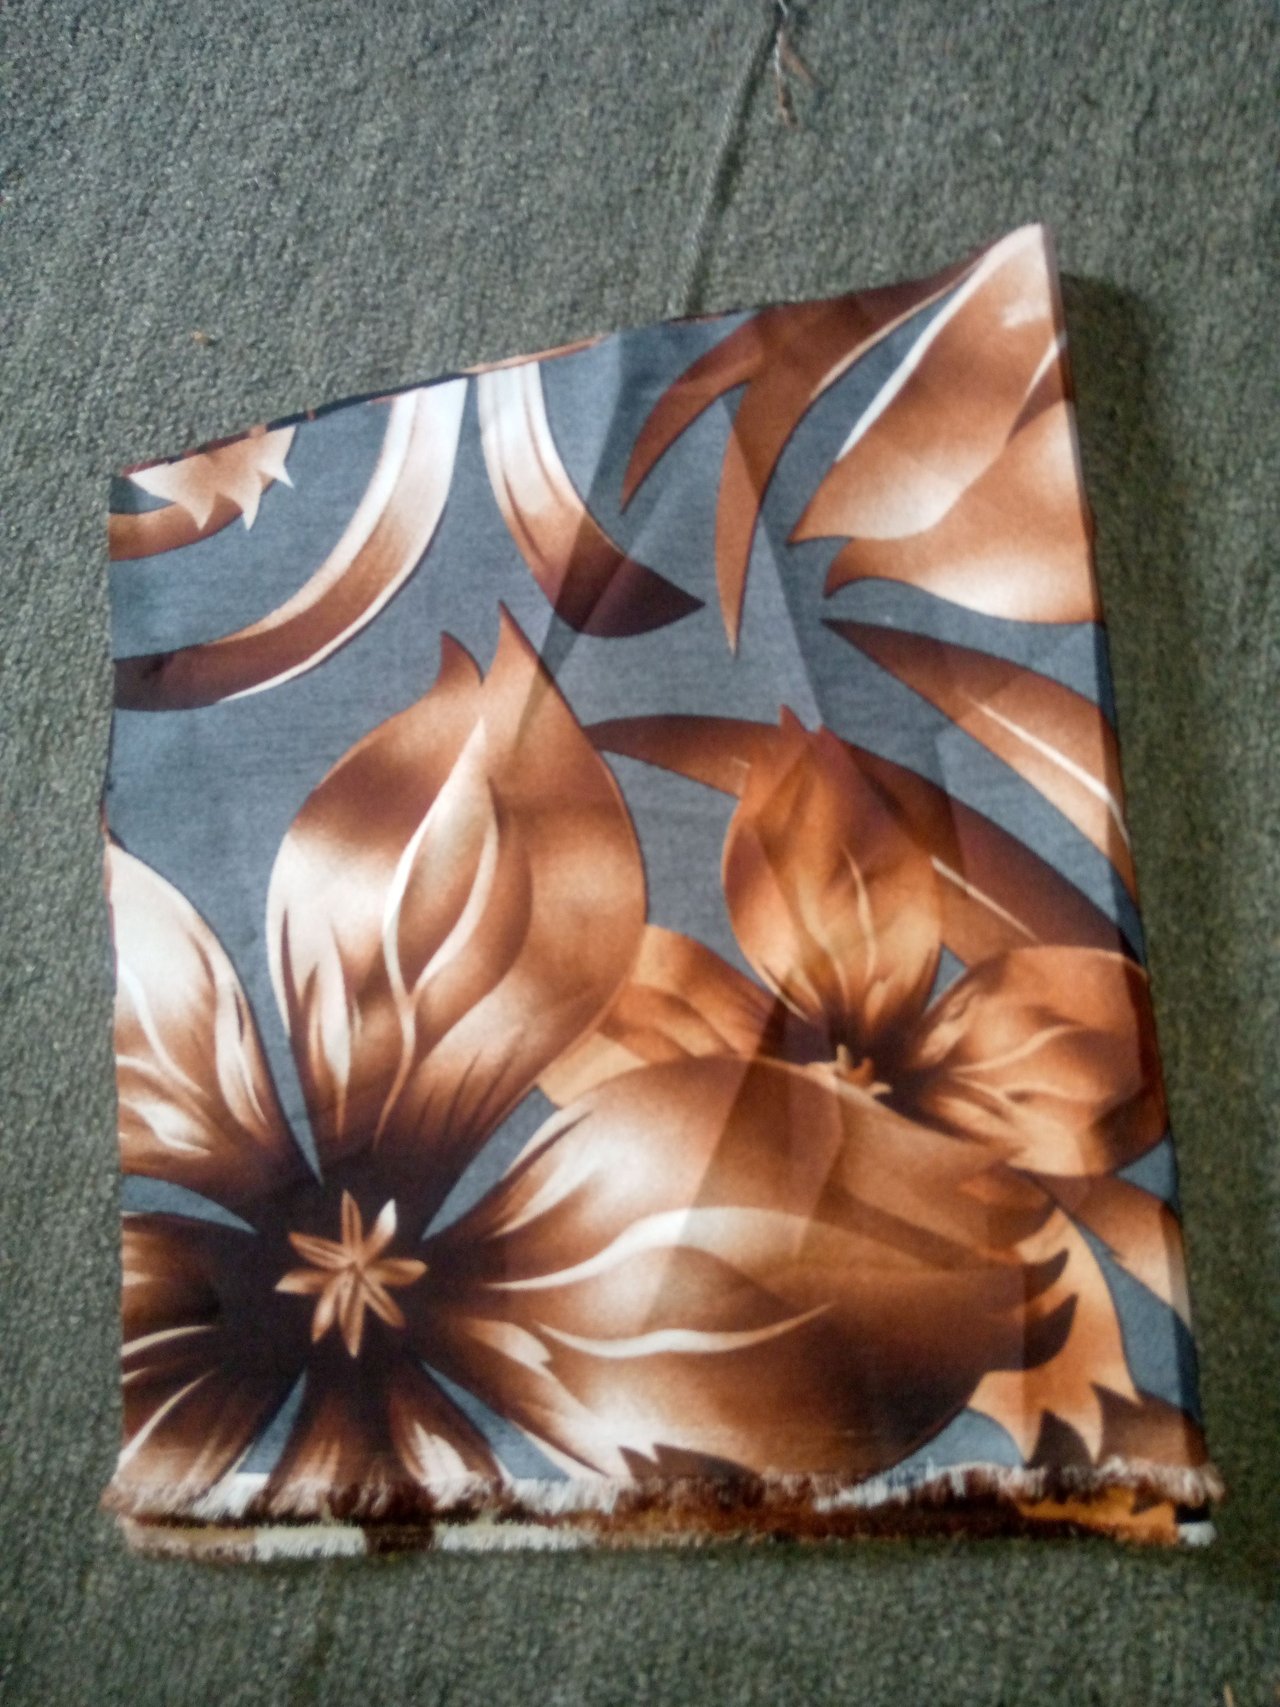
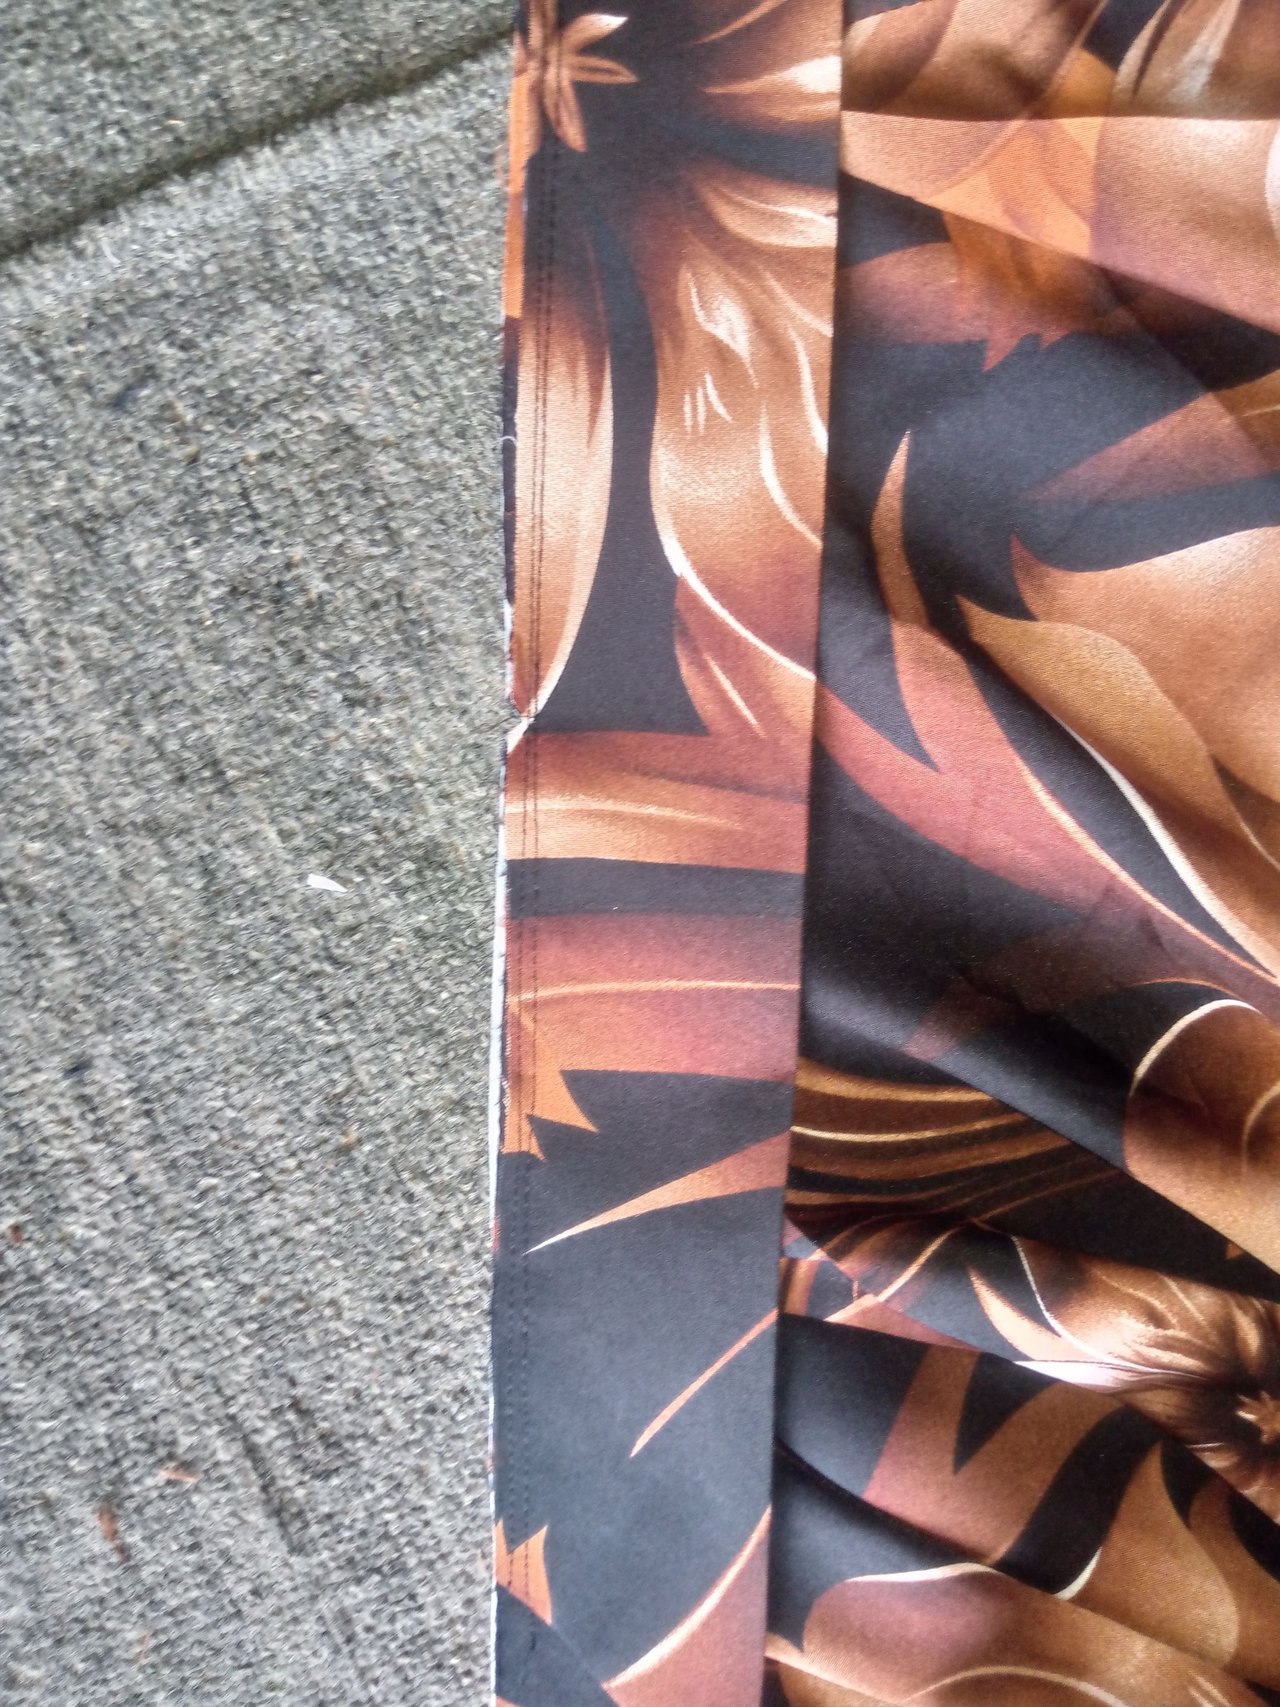
After that I proceed to plint it round and then fix my zip and here is the gown.
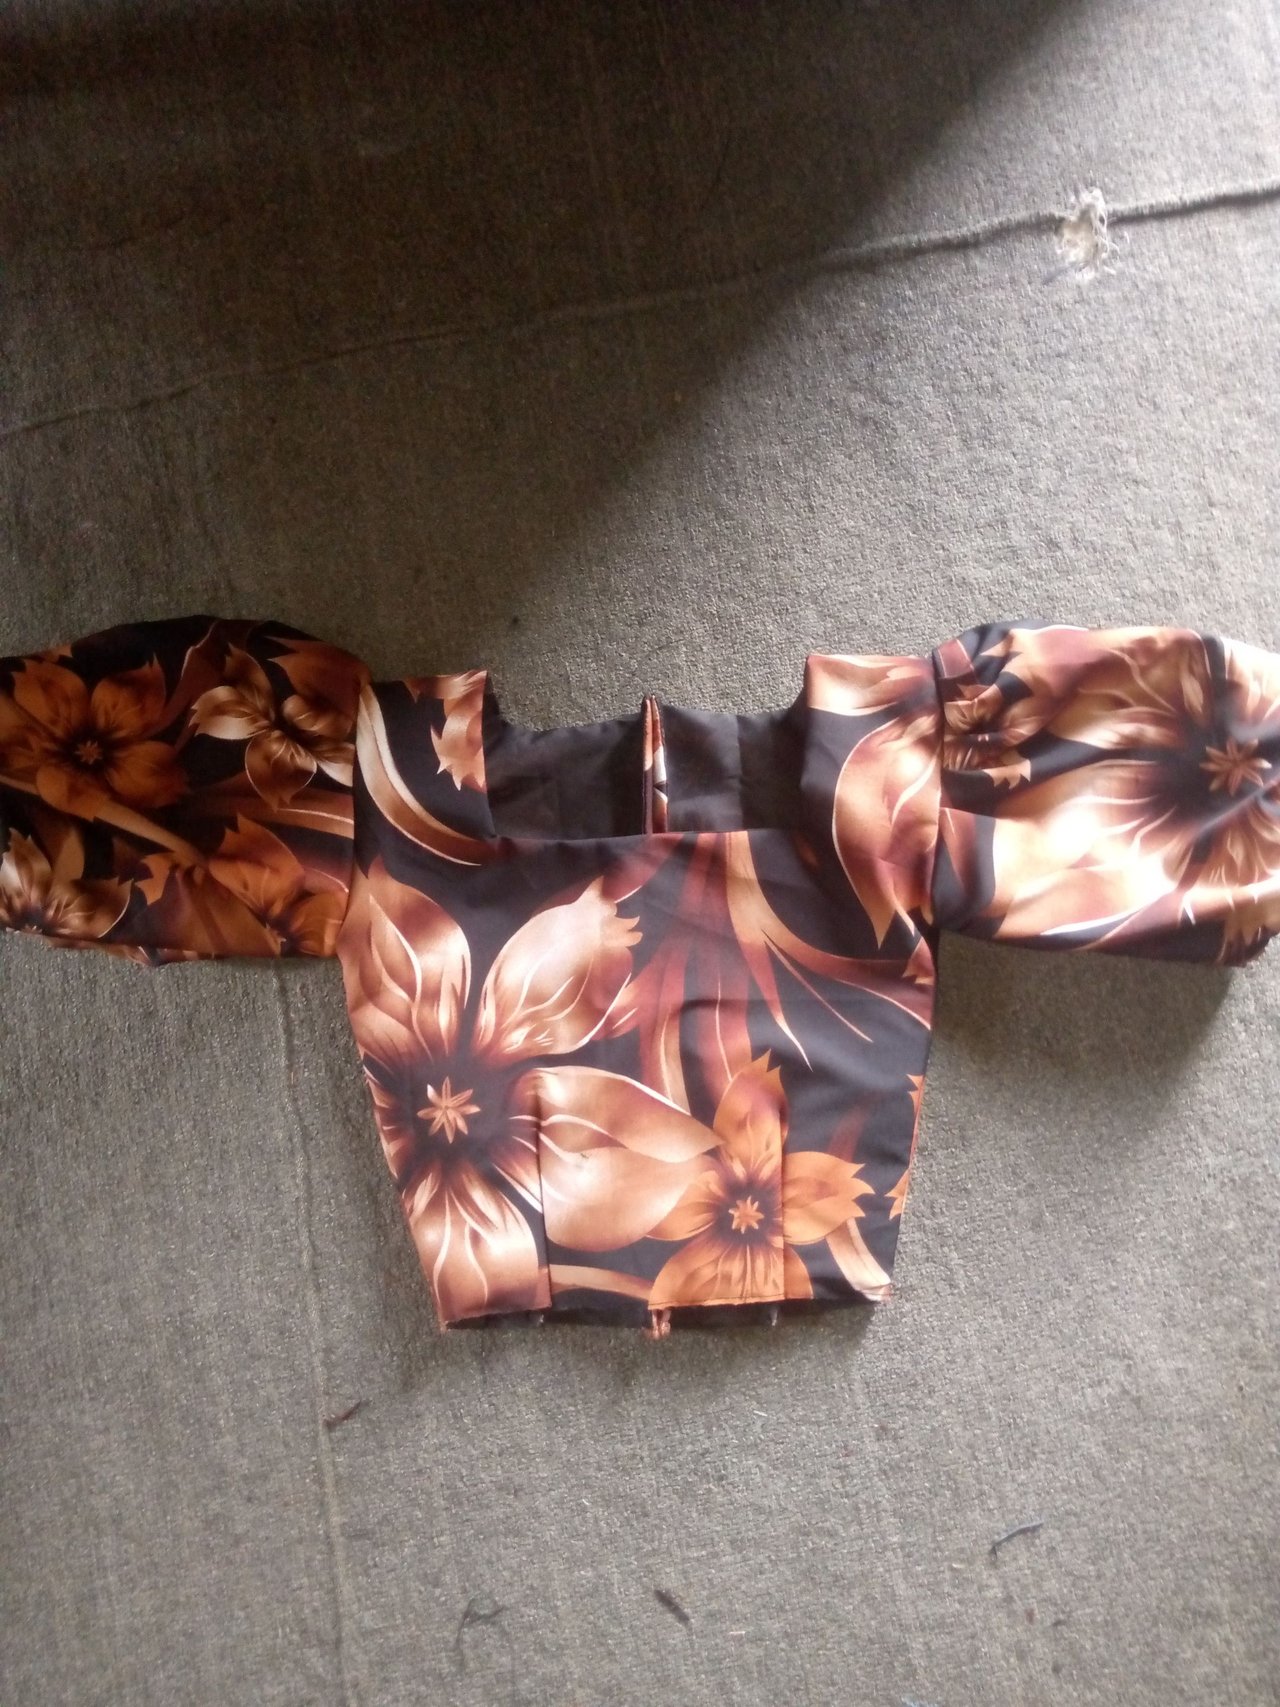
Then I moved to the shirt.
And the first thing I did was to fold the fabric by four and give out one point five inches allowance for the button on the front part of the fabric shirt.
After that I had to trim the front part to come down by three inches around the shoulder side.
After that I proceed to join the shoulder and iron it.
I cut out my hand, collar.
Proceed to put in the gum still and sew it.
Now proceed to fixed one side of it at the neck.
After that I placed in the collar and use the other side of the material and sew it round.
After all that I fixed my hands and take it to the market and they fixed the button for me and here is the shirt.
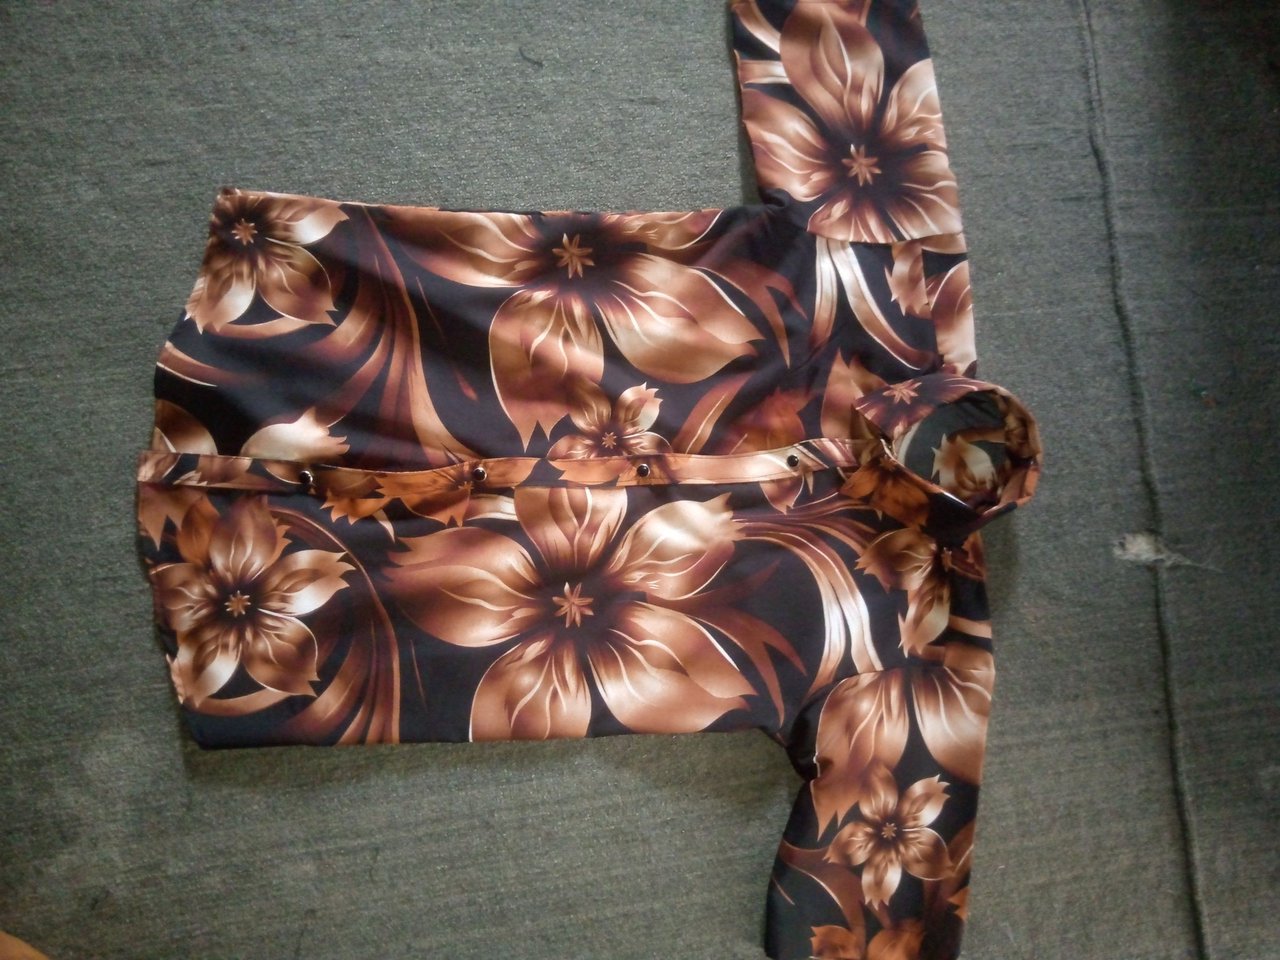
And here is the gown and shirt.


Thank you for checking on my post, enjoy the rest of your week.