Hi,👋
I'm back with a new post where I'll show a paperwork that I did last night and this is a wall hanging that can be used as a part of home decoration.

I followed this DIY idea from a YouTube video and I lost the YouTube link so I'm not attaching that source and besides this one is my own work now as I made it myself but I don't credit myself for the original idea.
Let's see how I made this origami paper wall hanging.
Equipment's:
I used two colors A4 size paper, scissor, glue, pencil and color pen.
Steps to follow:
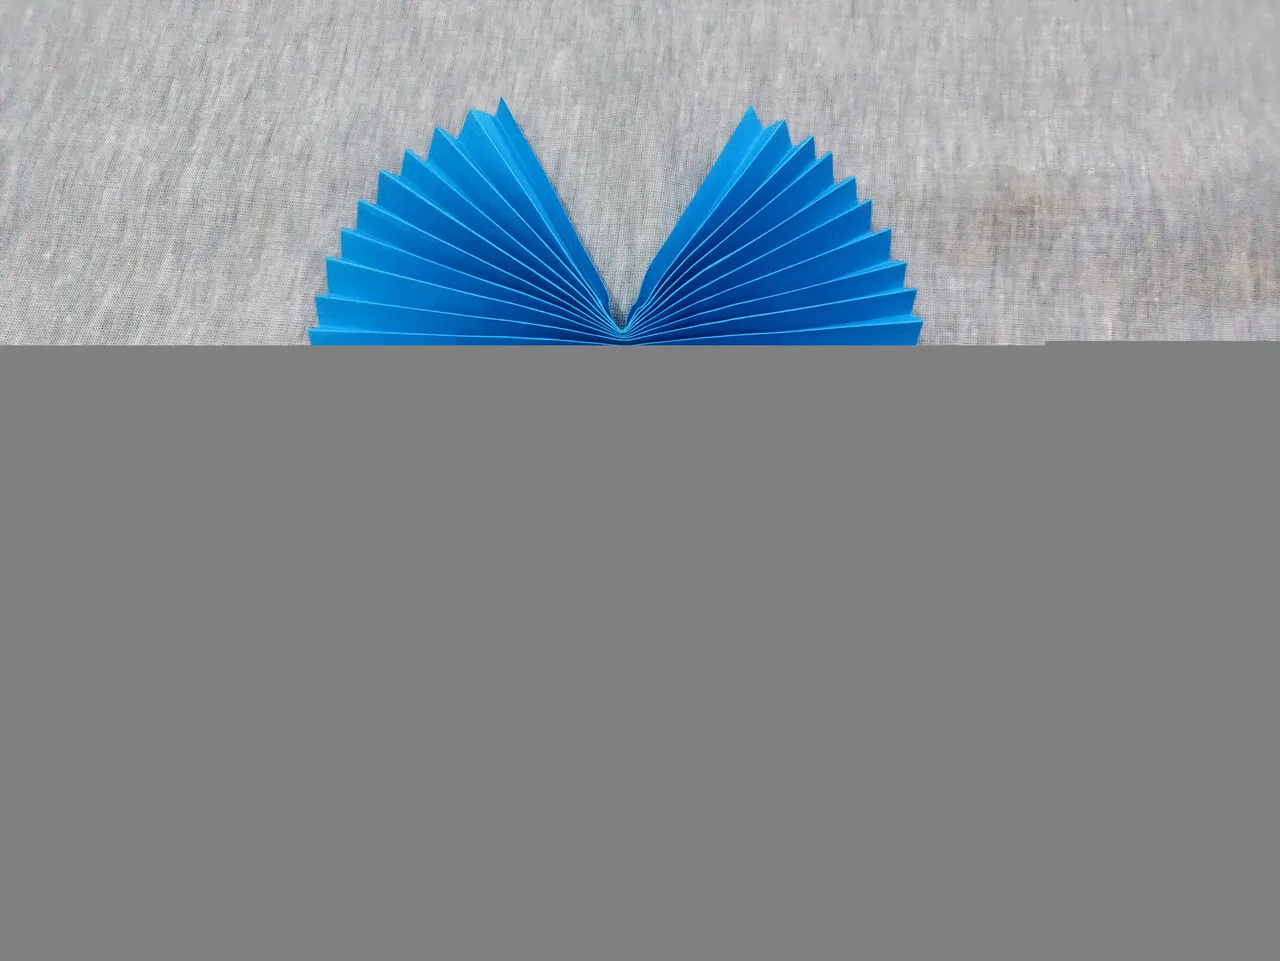
At first I started folding the blue color papers like below.
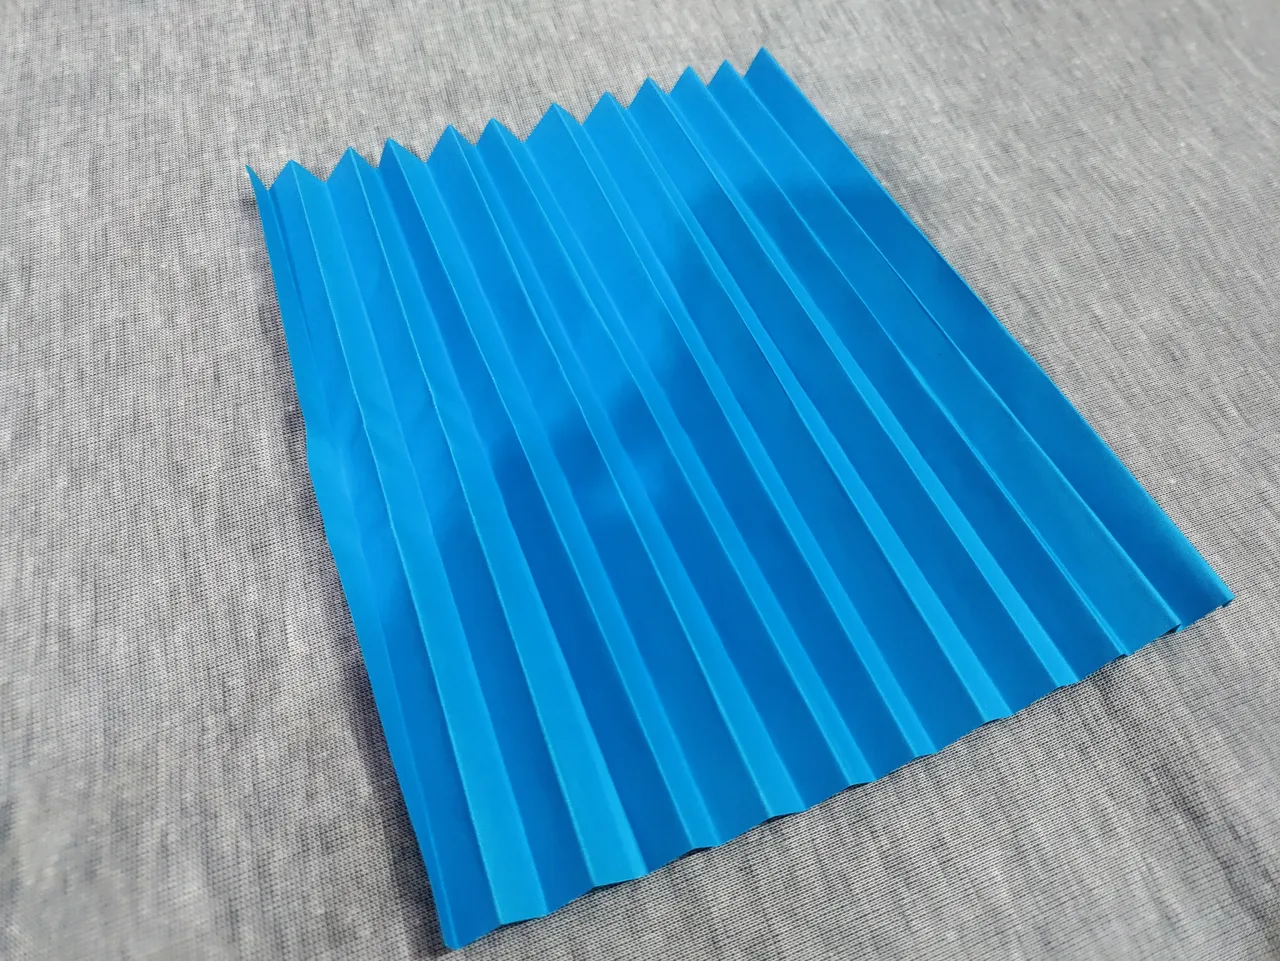
I don't know how to show this step in picture but I do hope its understandable how I folded it.
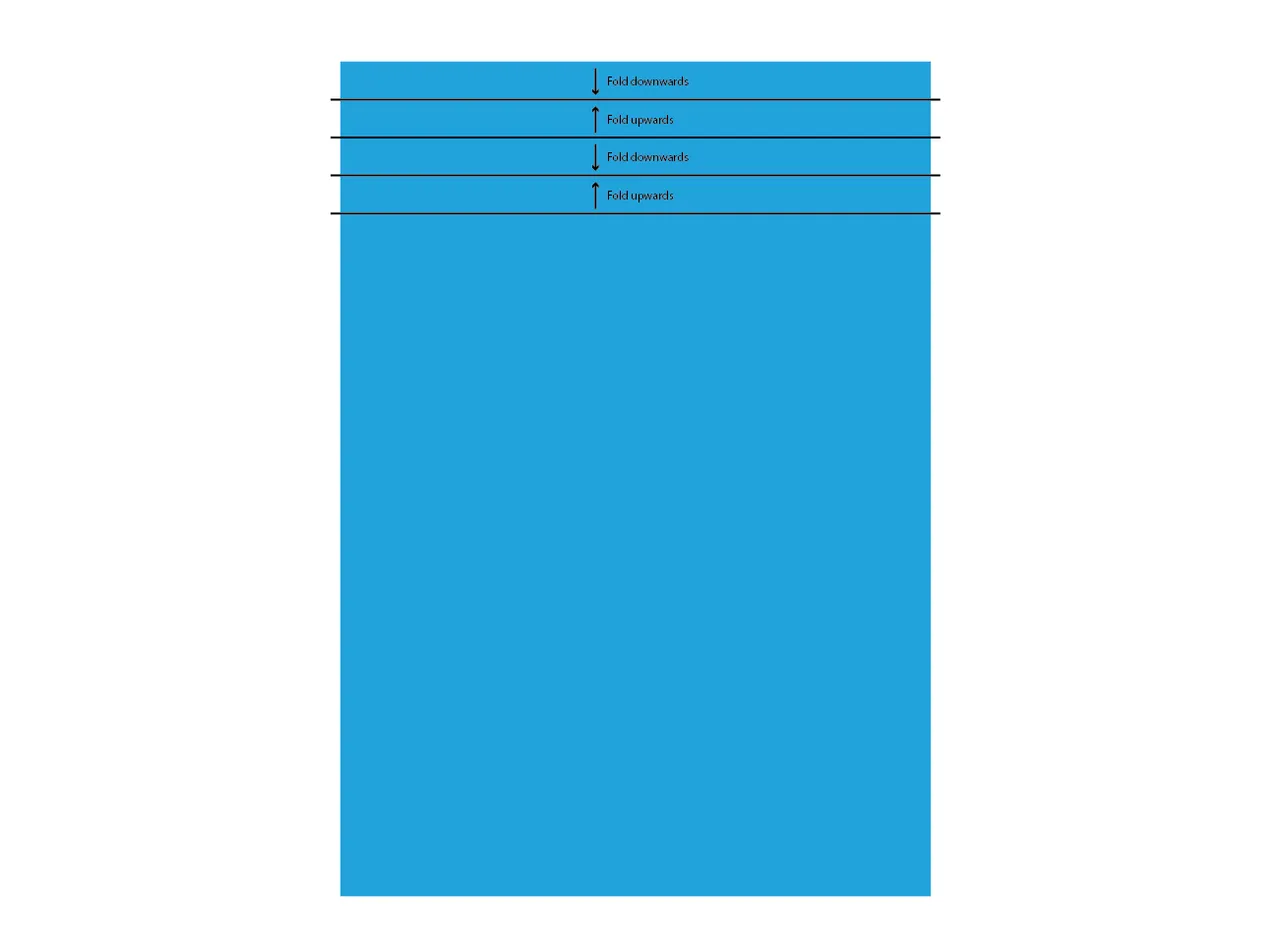
Here's an illustration on how I did that. I folded the first part downwards and the second part upwards and I kept doing it till the end of the paper.
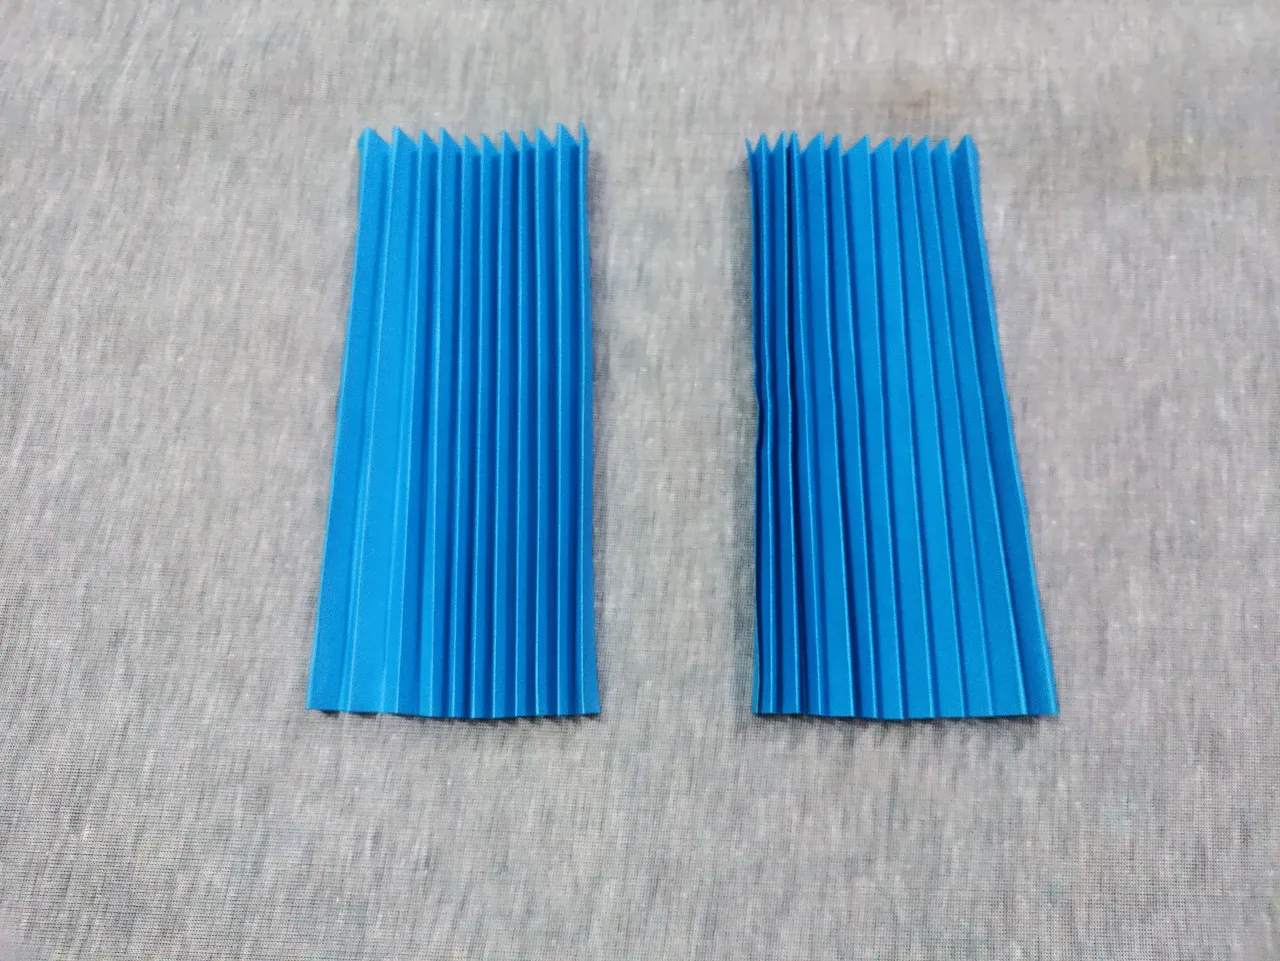
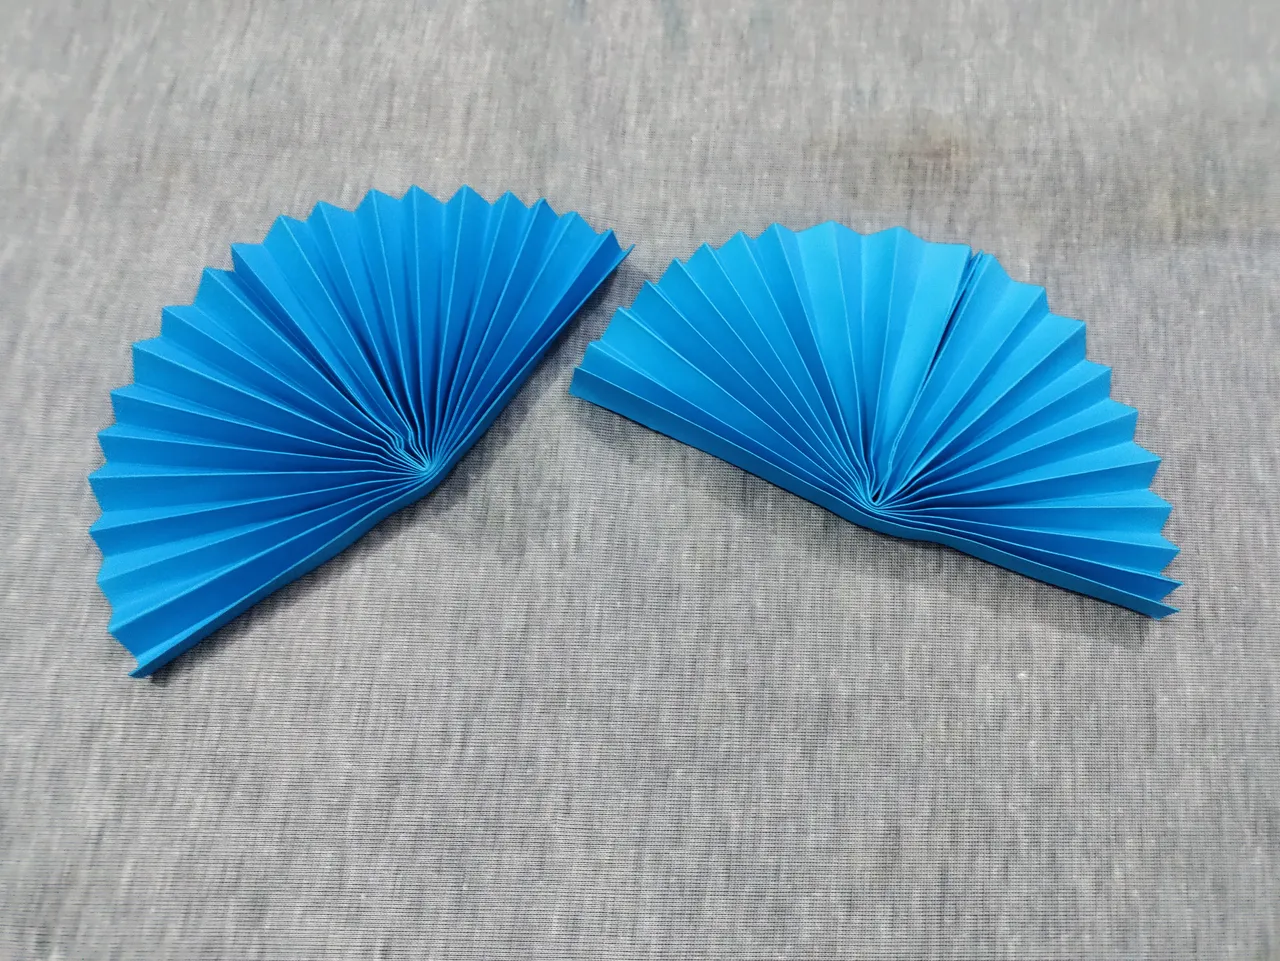
And I did that with two papers at first sight.
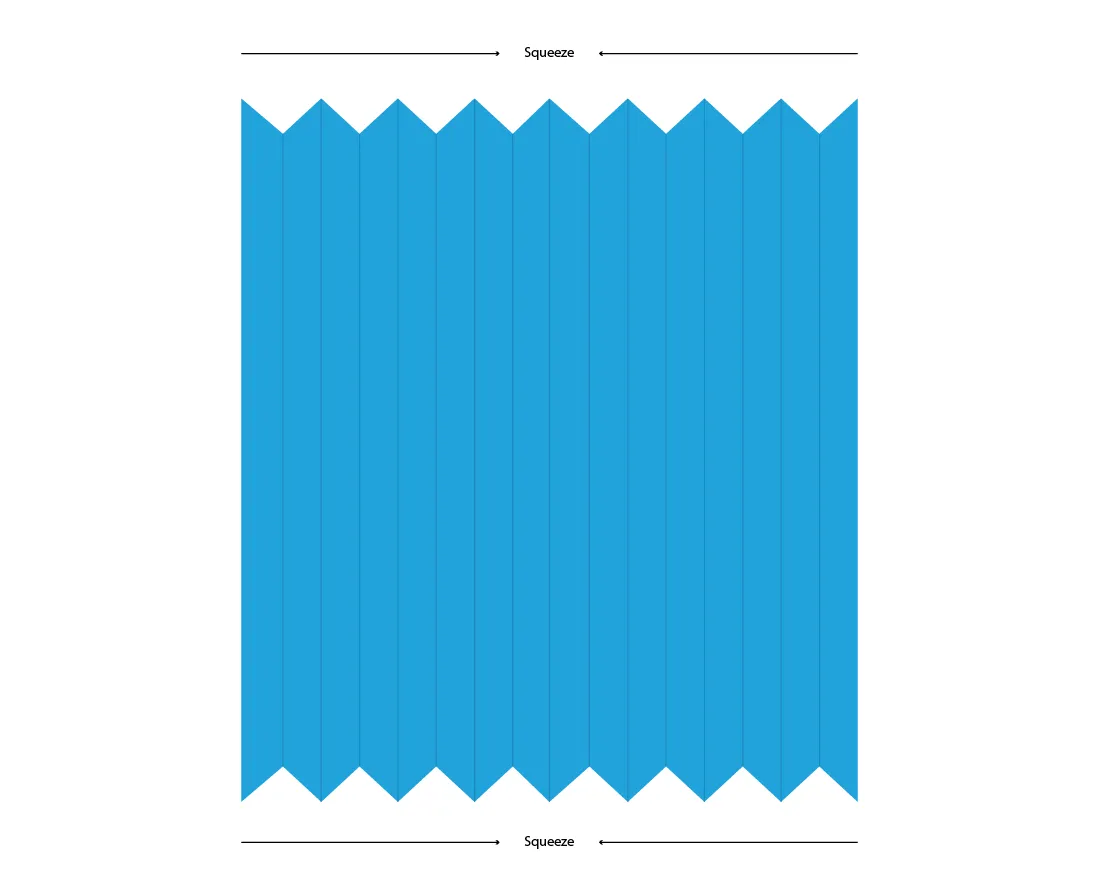

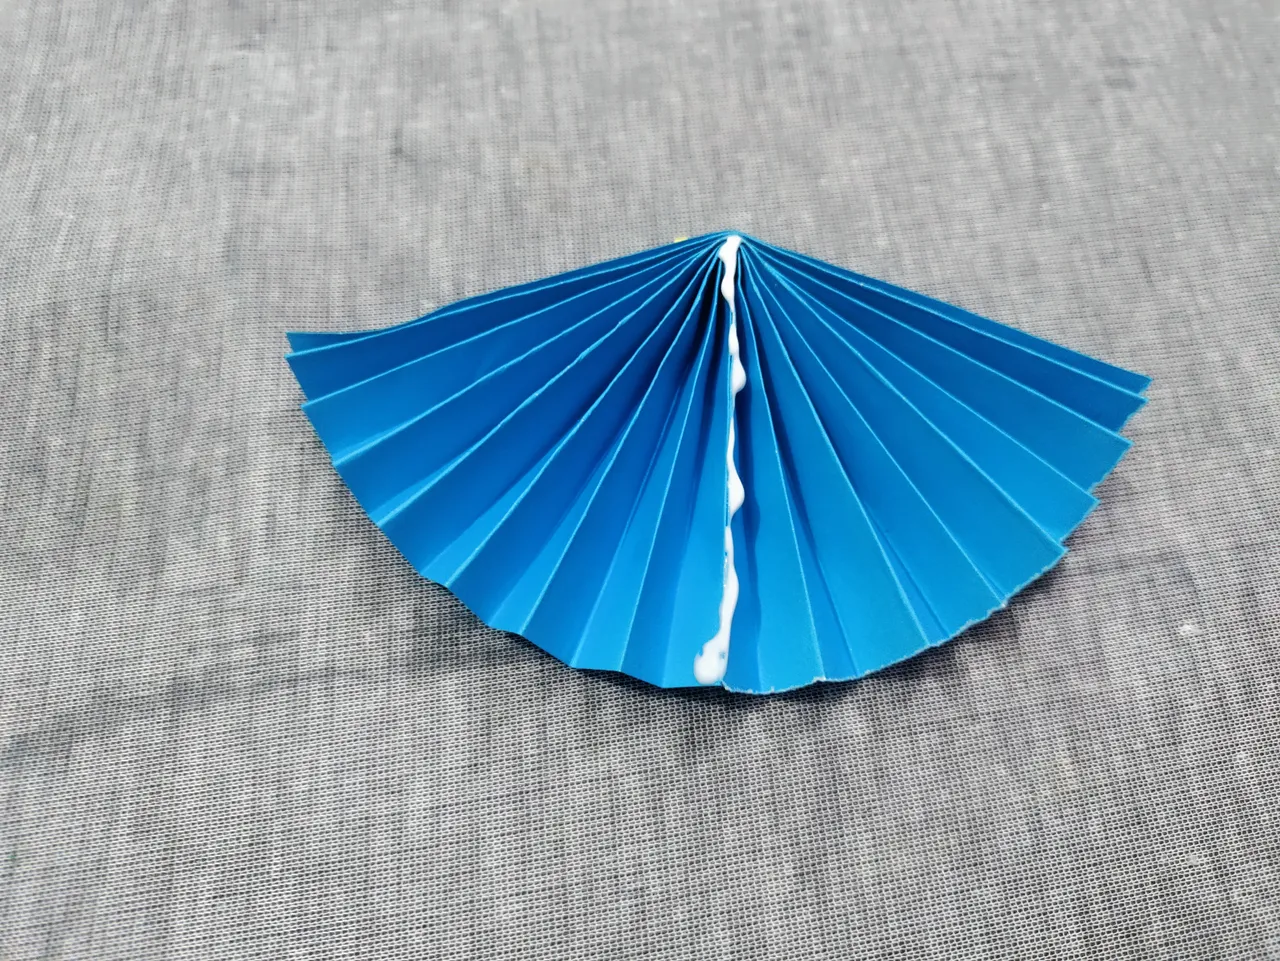
After squeezing the folded papers, I had to fold it from the middle position.
And it becomes like this. There are two full papers there.
Now its time to use the glue.
I glued that part to
Make them like this.
Then I glued this part of both papers
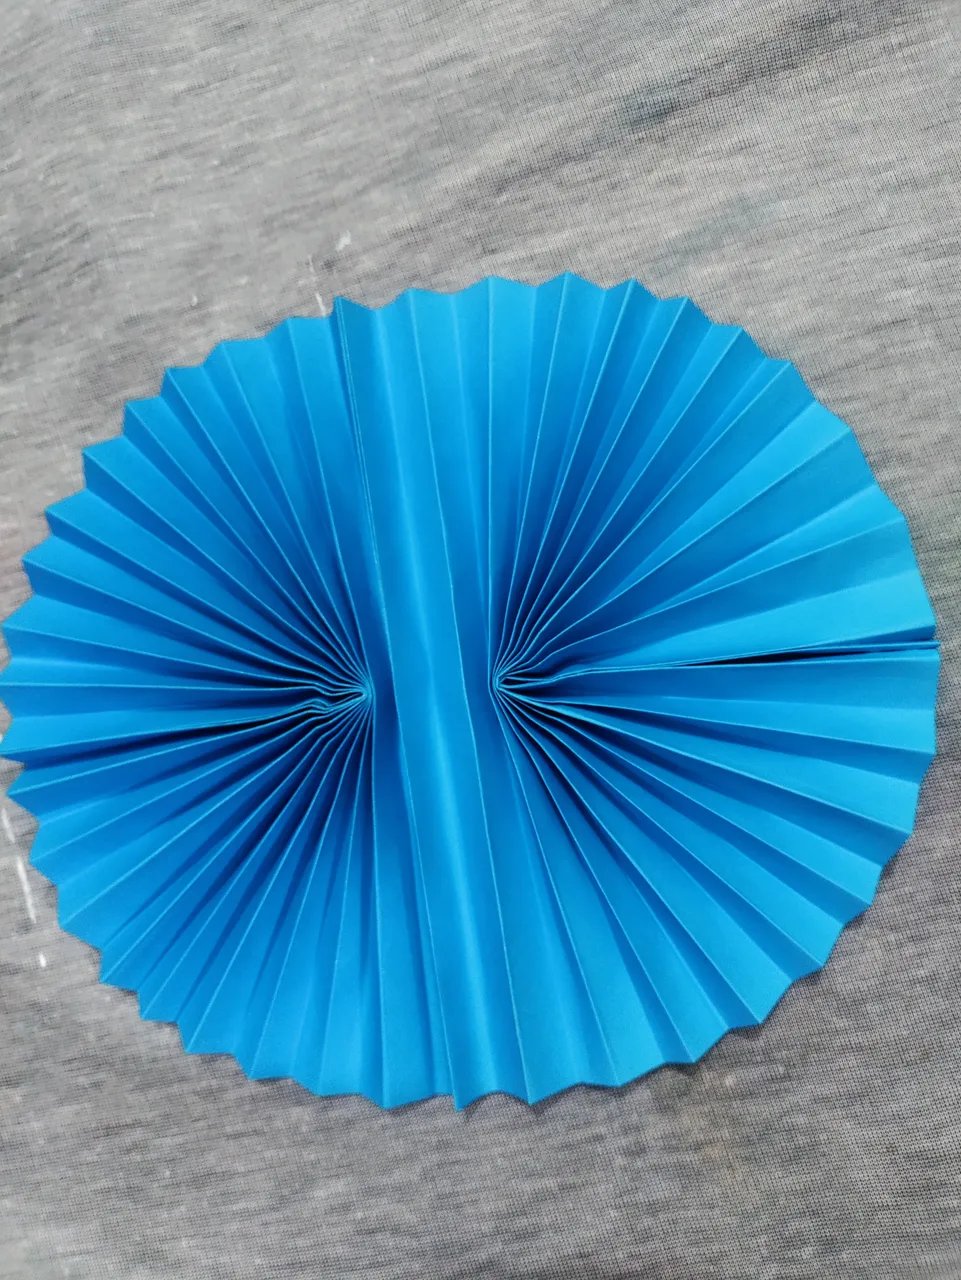
And I attached both papers and made a round figure.
Now its time to make some small flowers and I'm going through the steps of making the paper flowers and I'm going to need more than 20 flowers to attach there on the circle and so on.
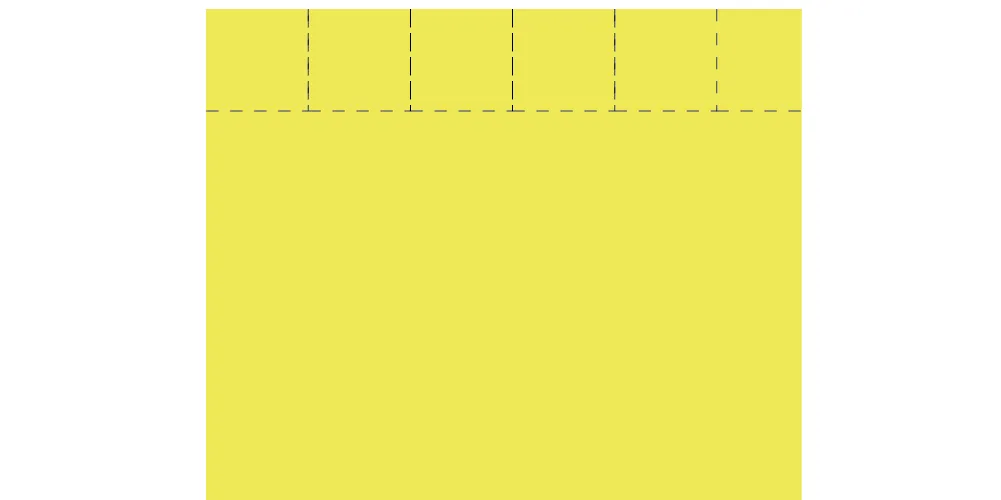
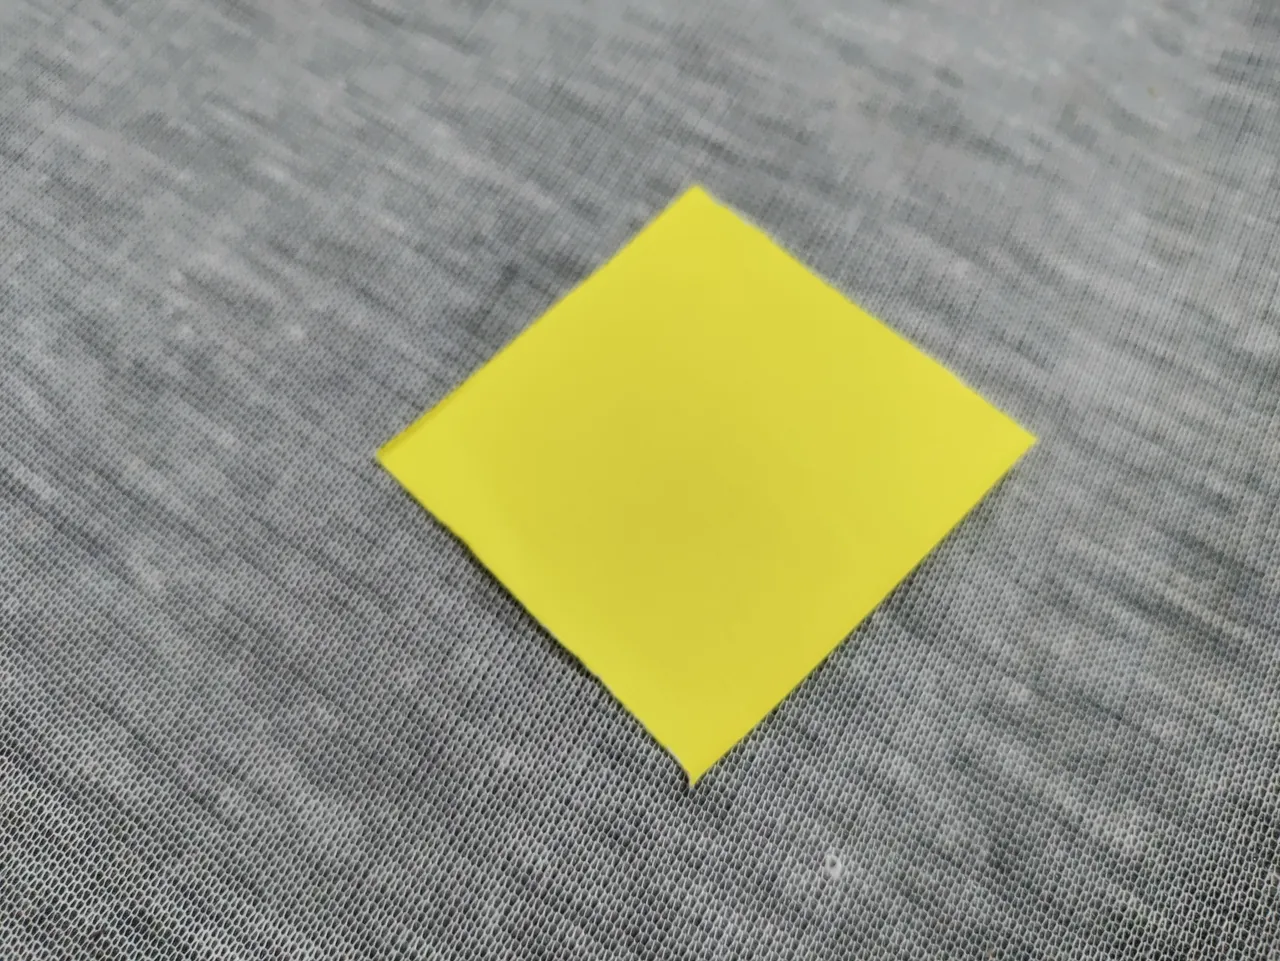
I used a yellow color paper for the flower and I sliced the paper into square shape and I took the size according to how big I want the flower.
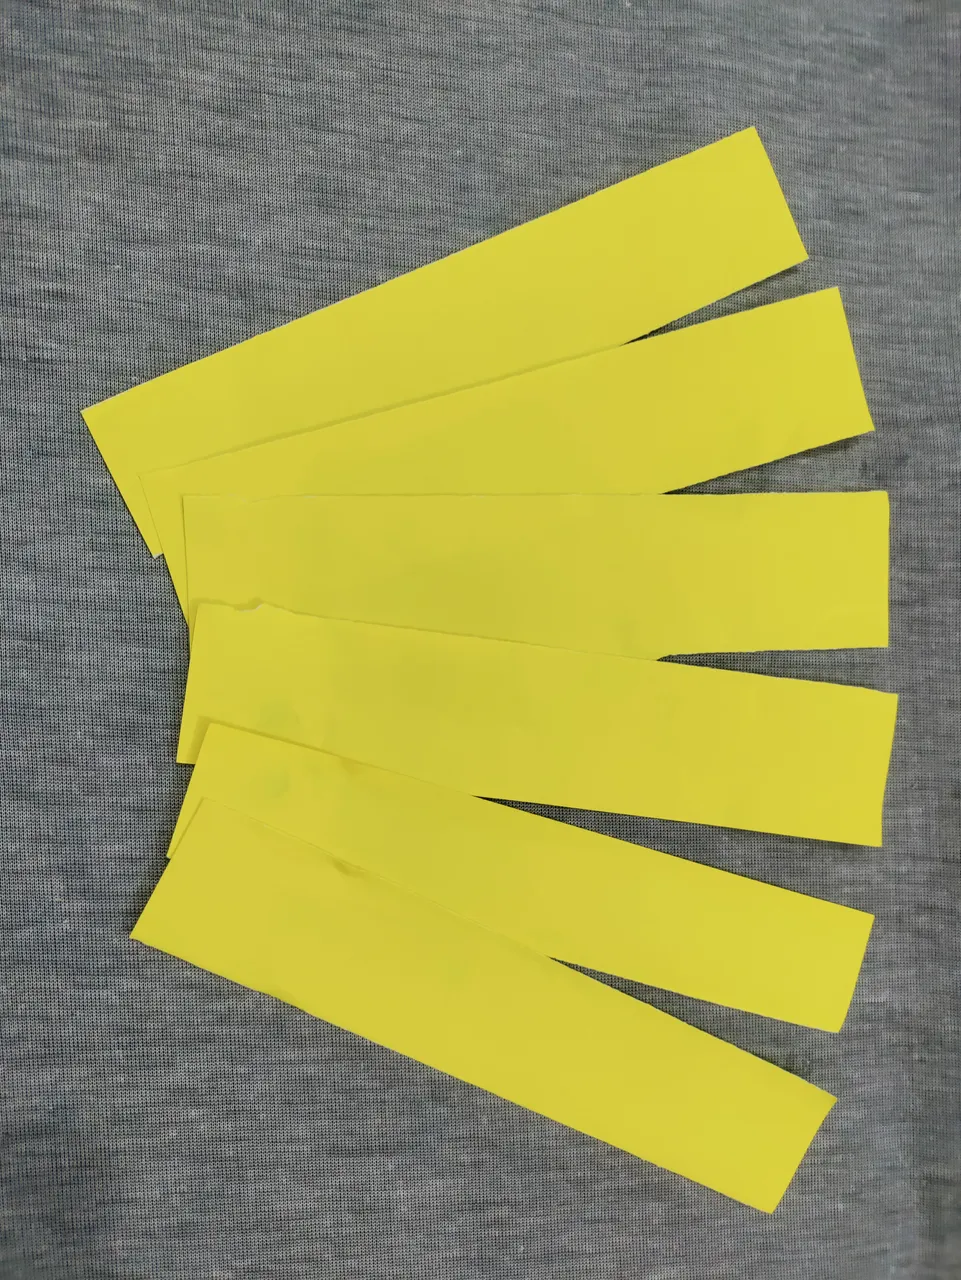
At first I sliced the paper like this.
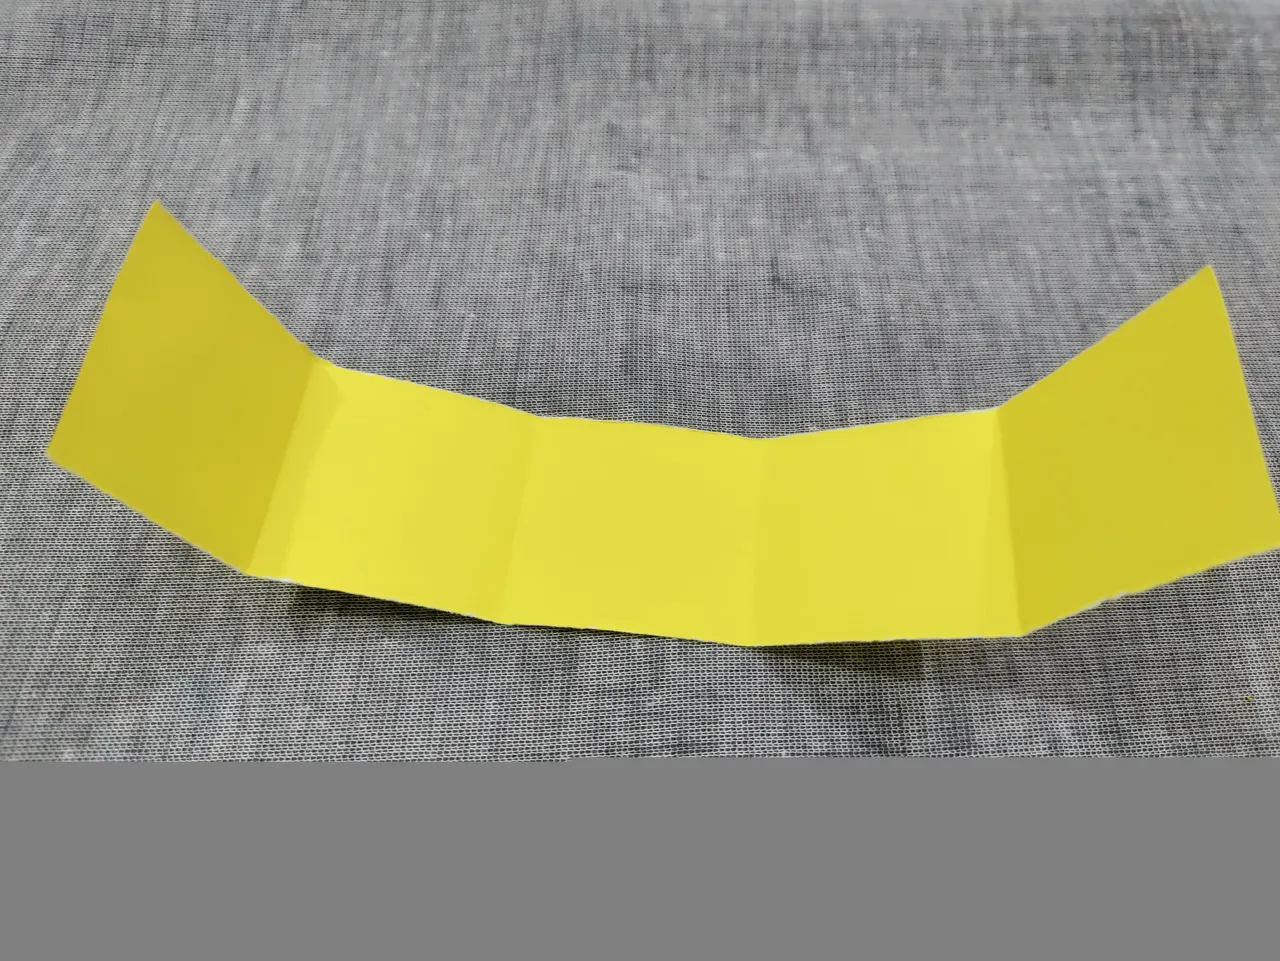
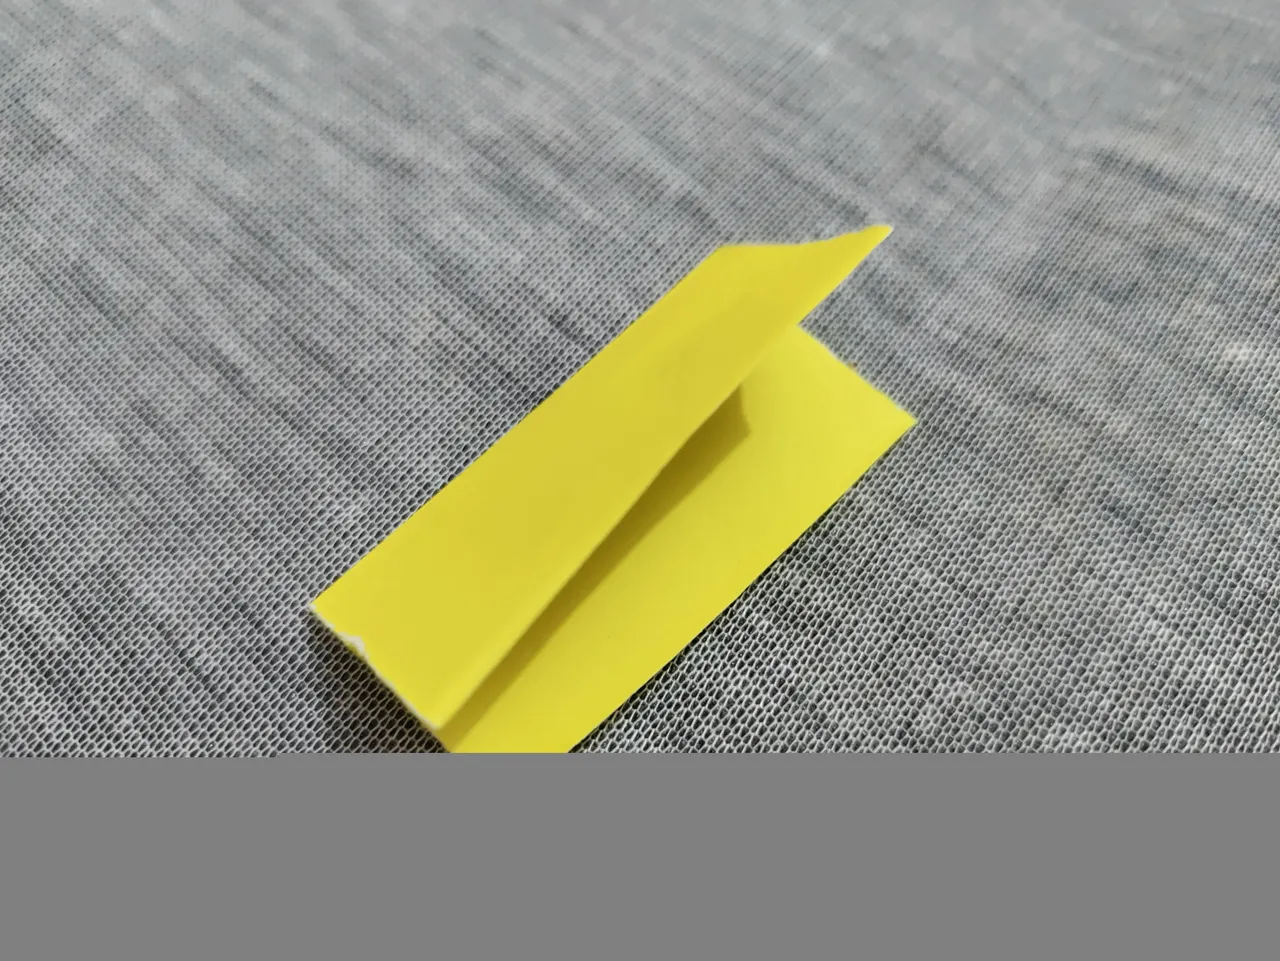
Then I folded this in square shape.
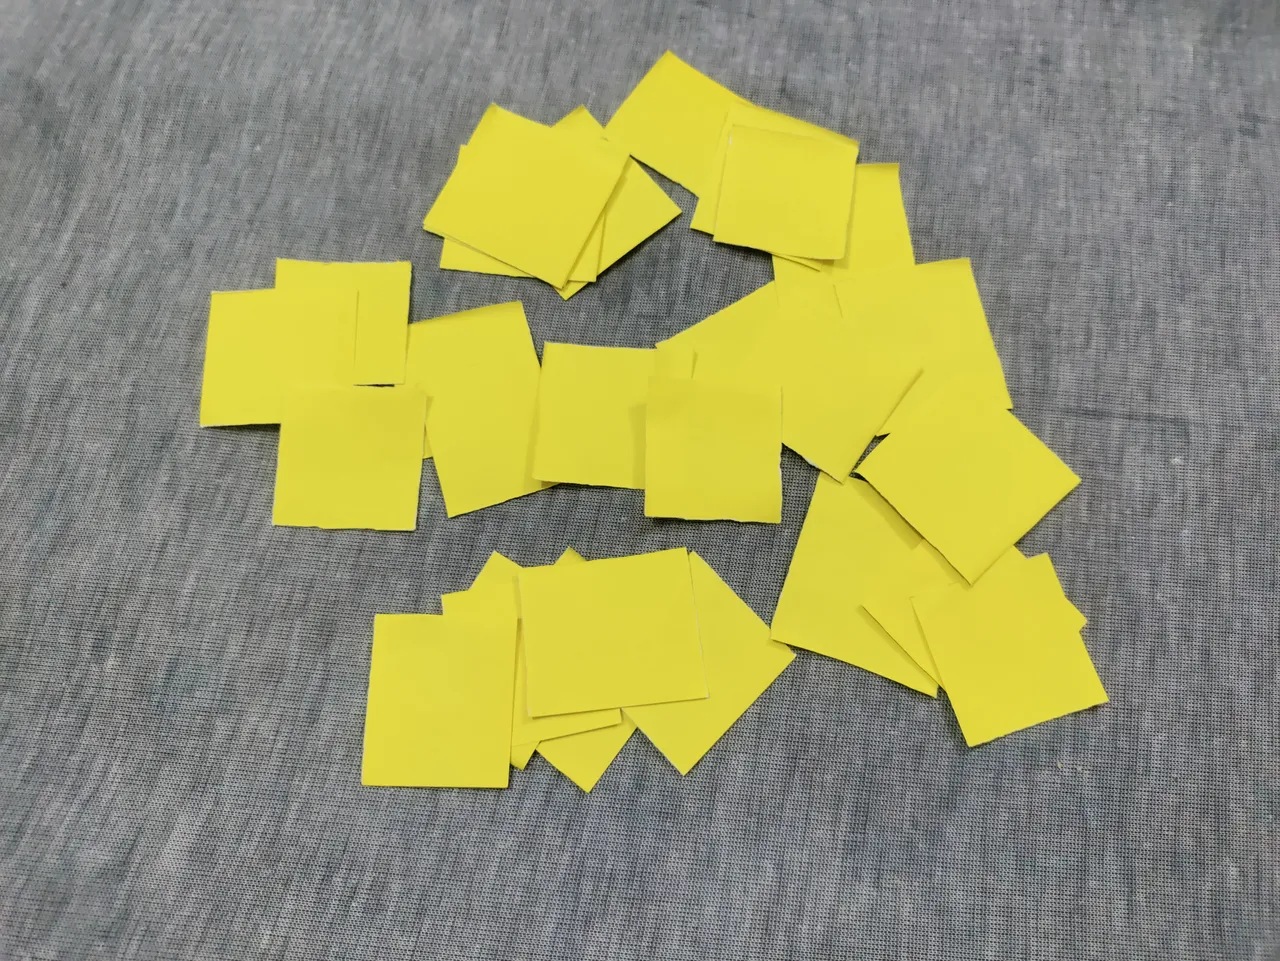
And then I got these square shaped pieces.
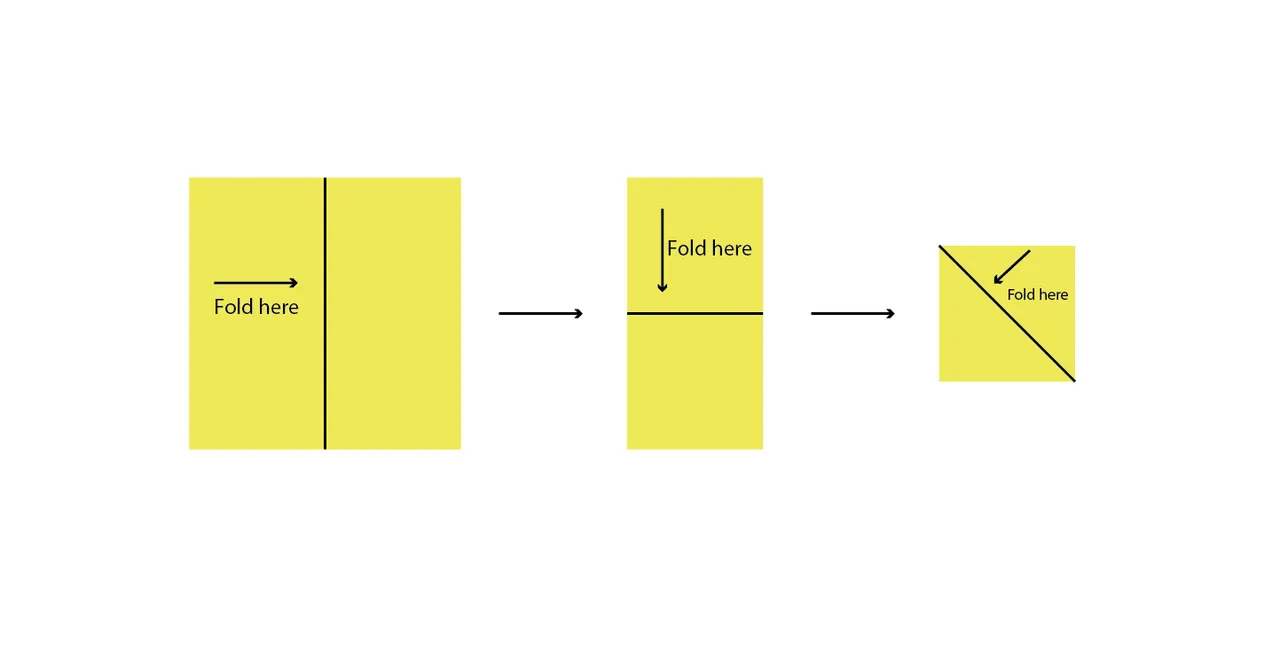
This is how I folded the square shape paper now. Let's see the real picture.
 |  |
|---|---|
 |  |
Then I did the same thing with all other square shaped parts.
Now its time to cut the paper and give it a flower look.
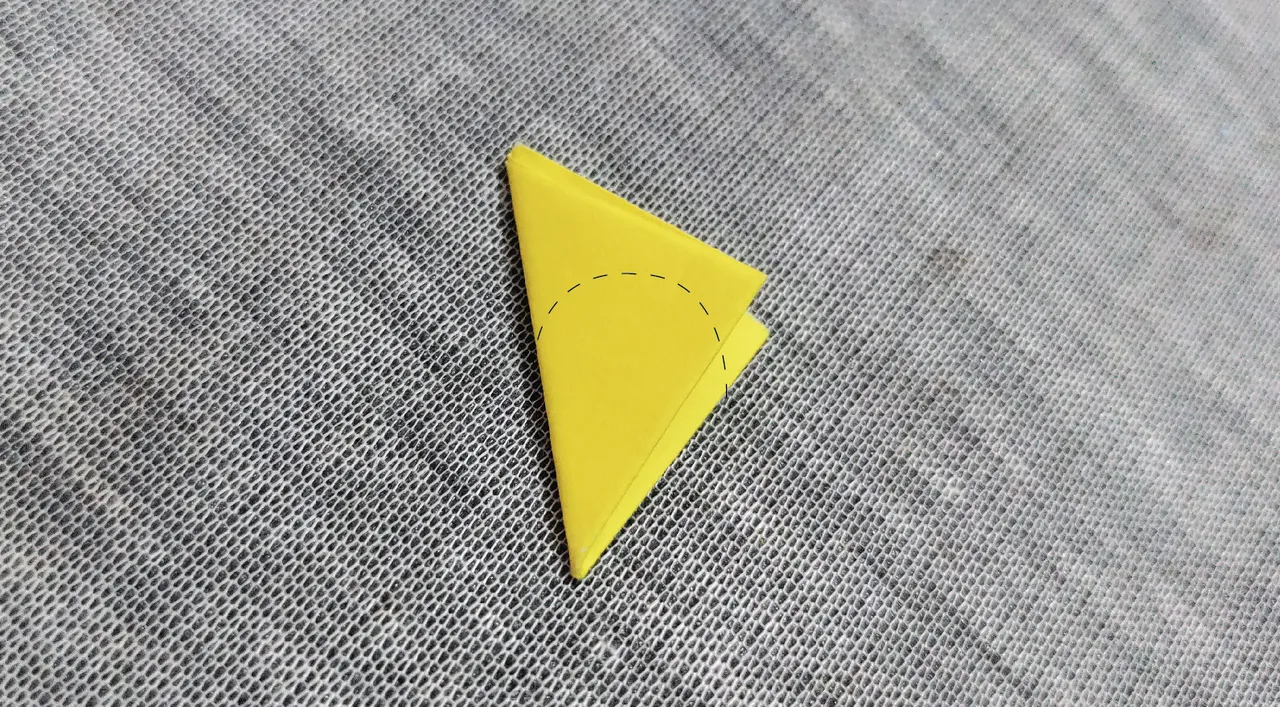
I sliced it in that shape.
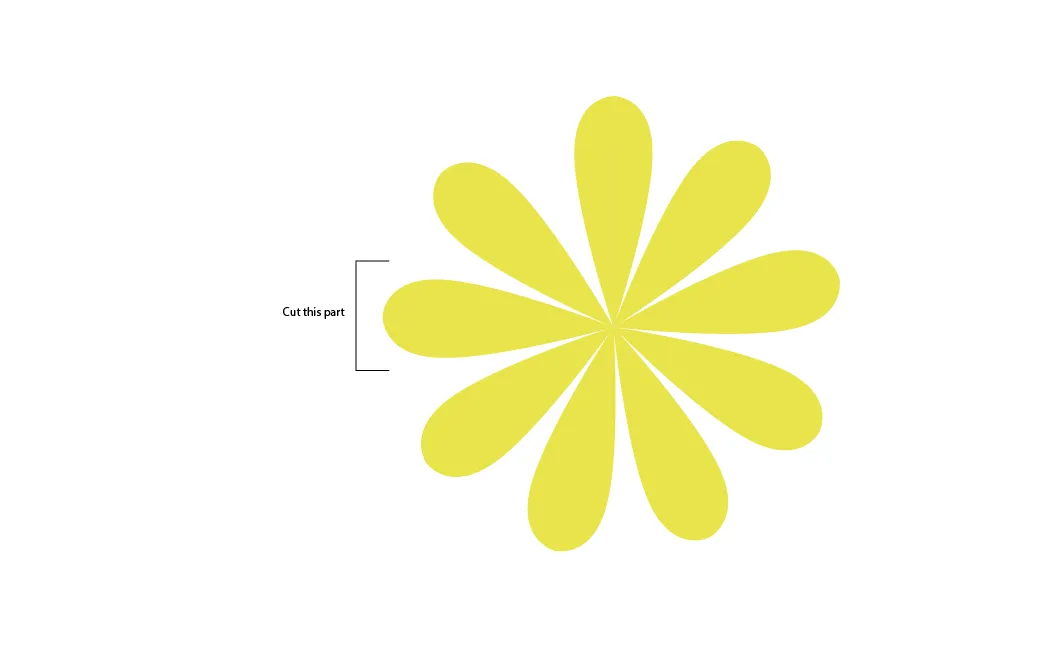
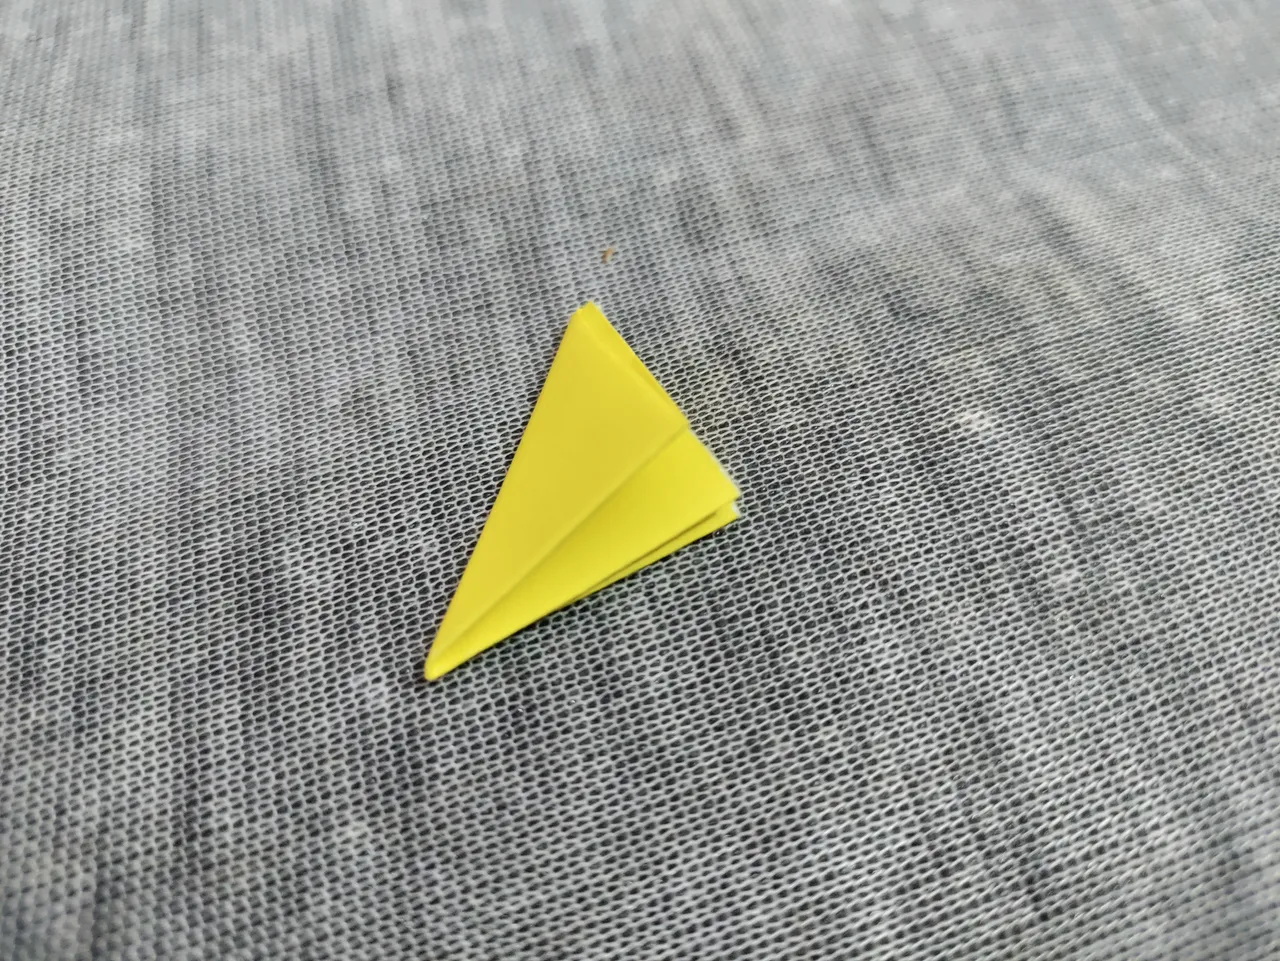
Then I find the first look of the flower like this but I needed to make it like 3d so I cut one petal.
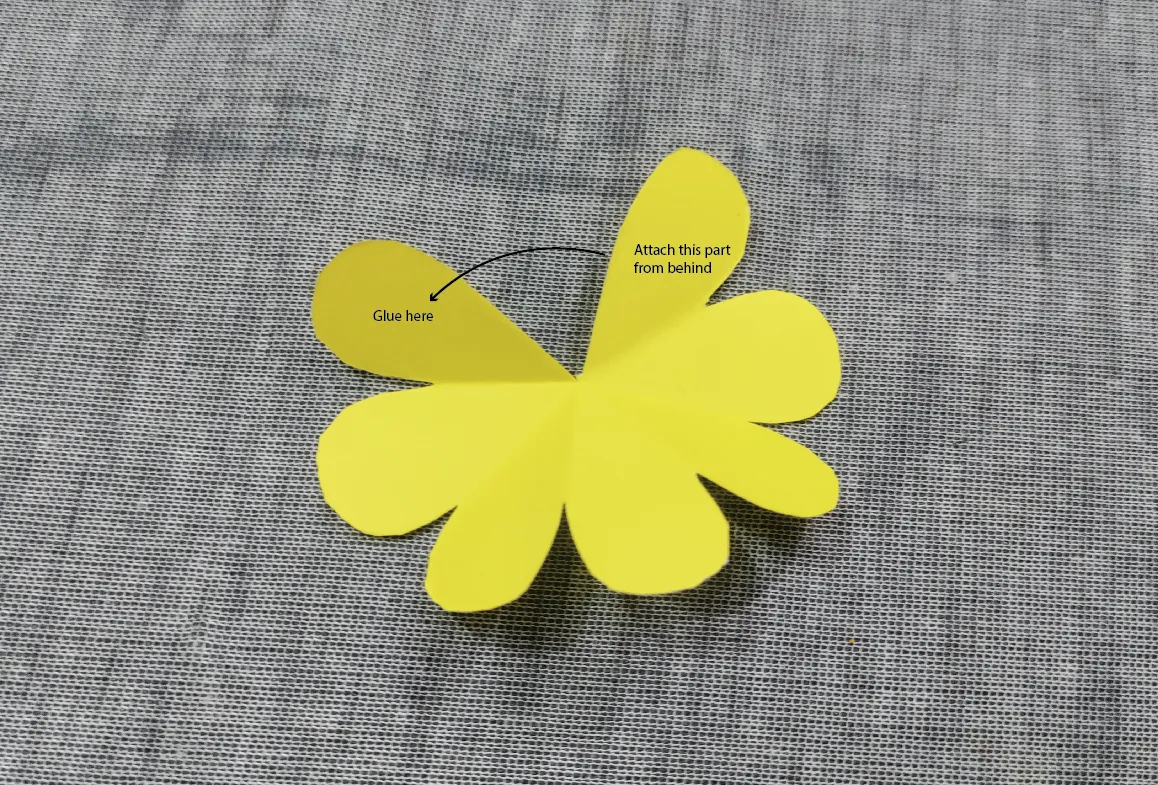
Then I glued the closest petal from the one I just cut out and I attached the other side petal with that and the flower gives a 3d look now.
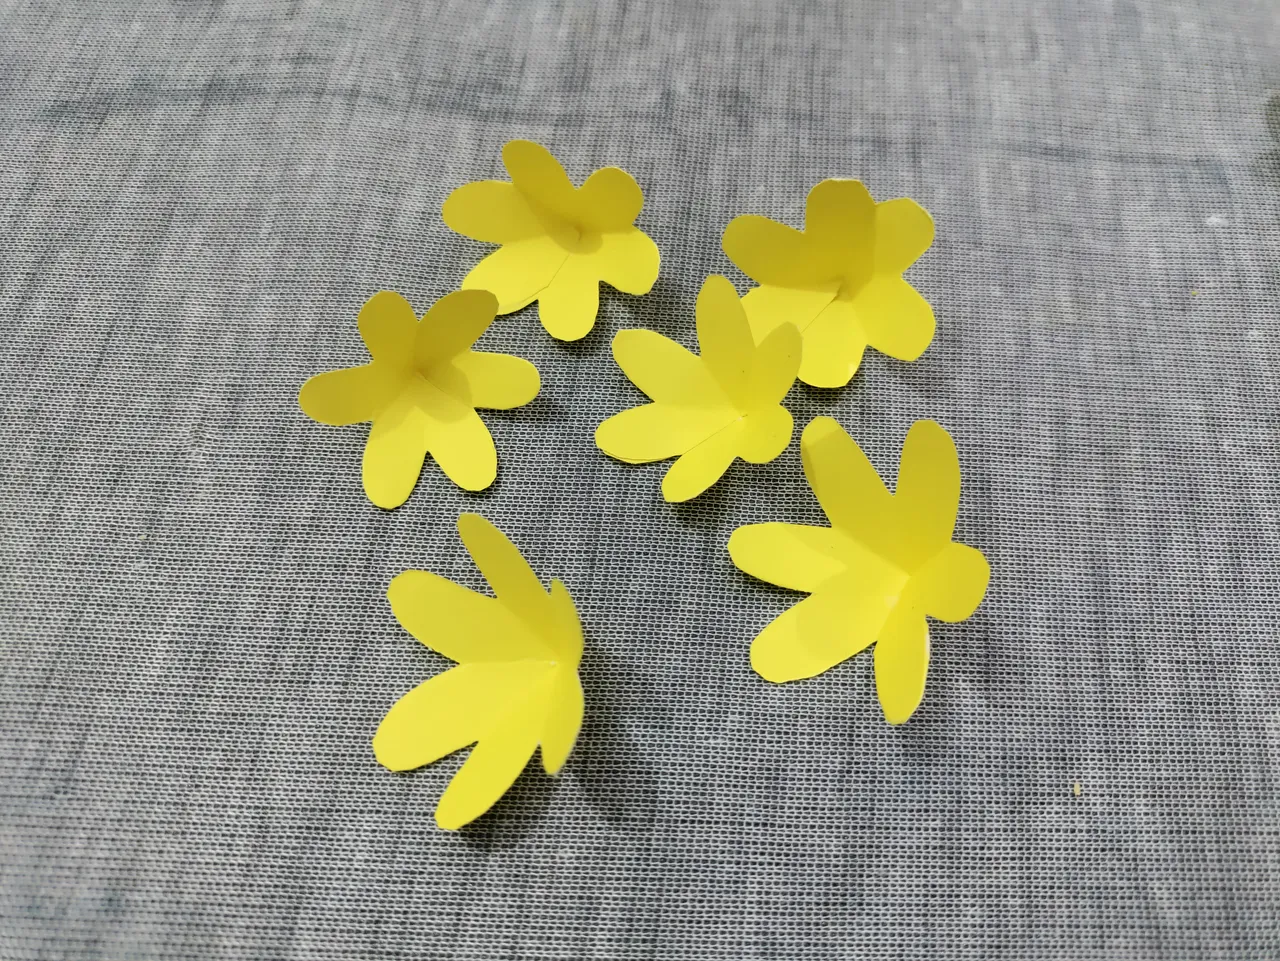
This is how they look now.
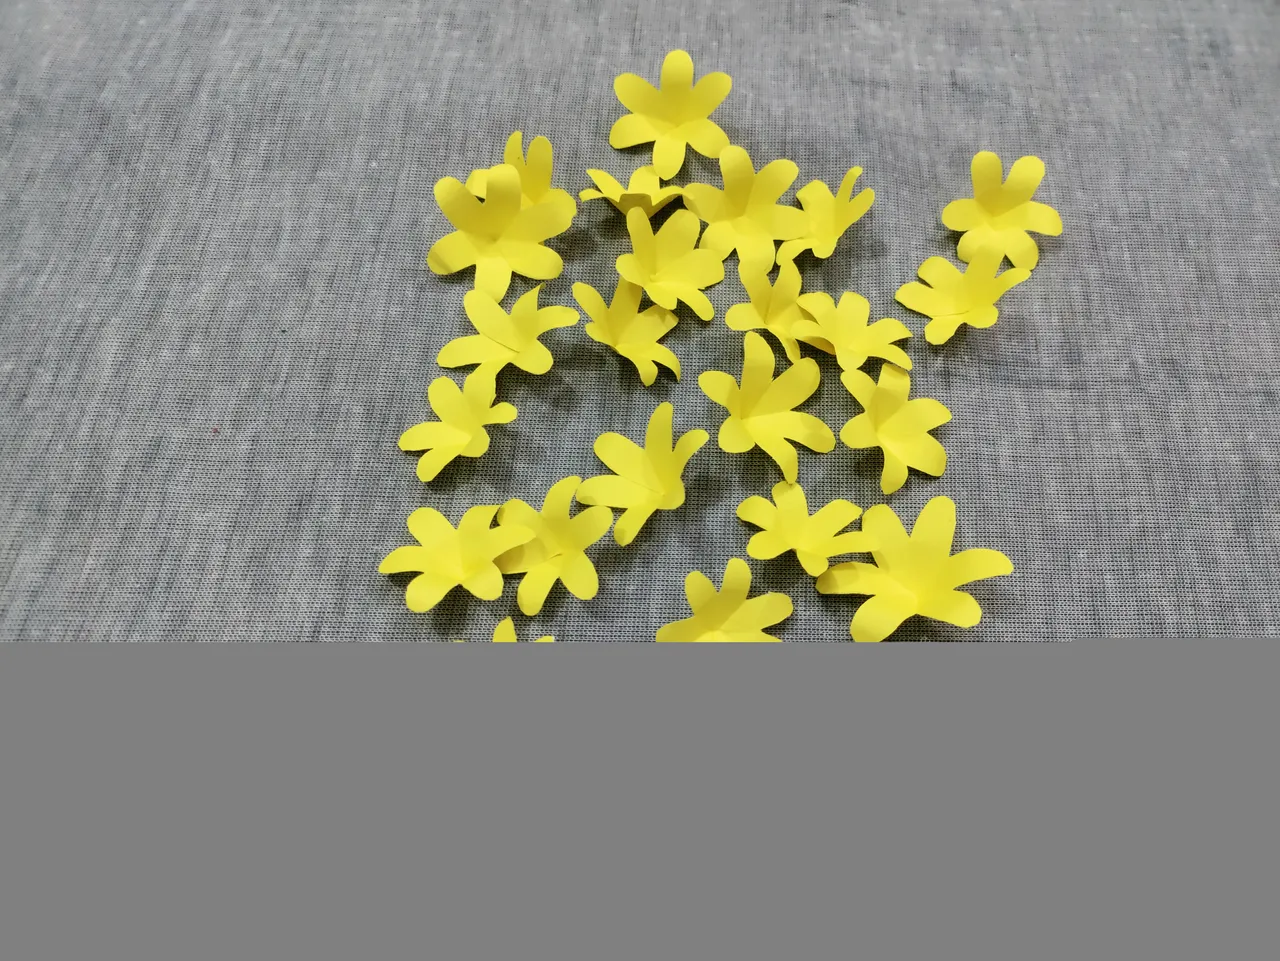
To make them more realistic, I used the pencil to curve and bend the petals a little and then they look like this.
Now I used the color pen and drew those tiny lines in the middle of the flowers to make them even more realistic.

Now its time to attach the flowers on the folded circle.

Then I attached a bigger flower on the middle of the circle and it became like below.
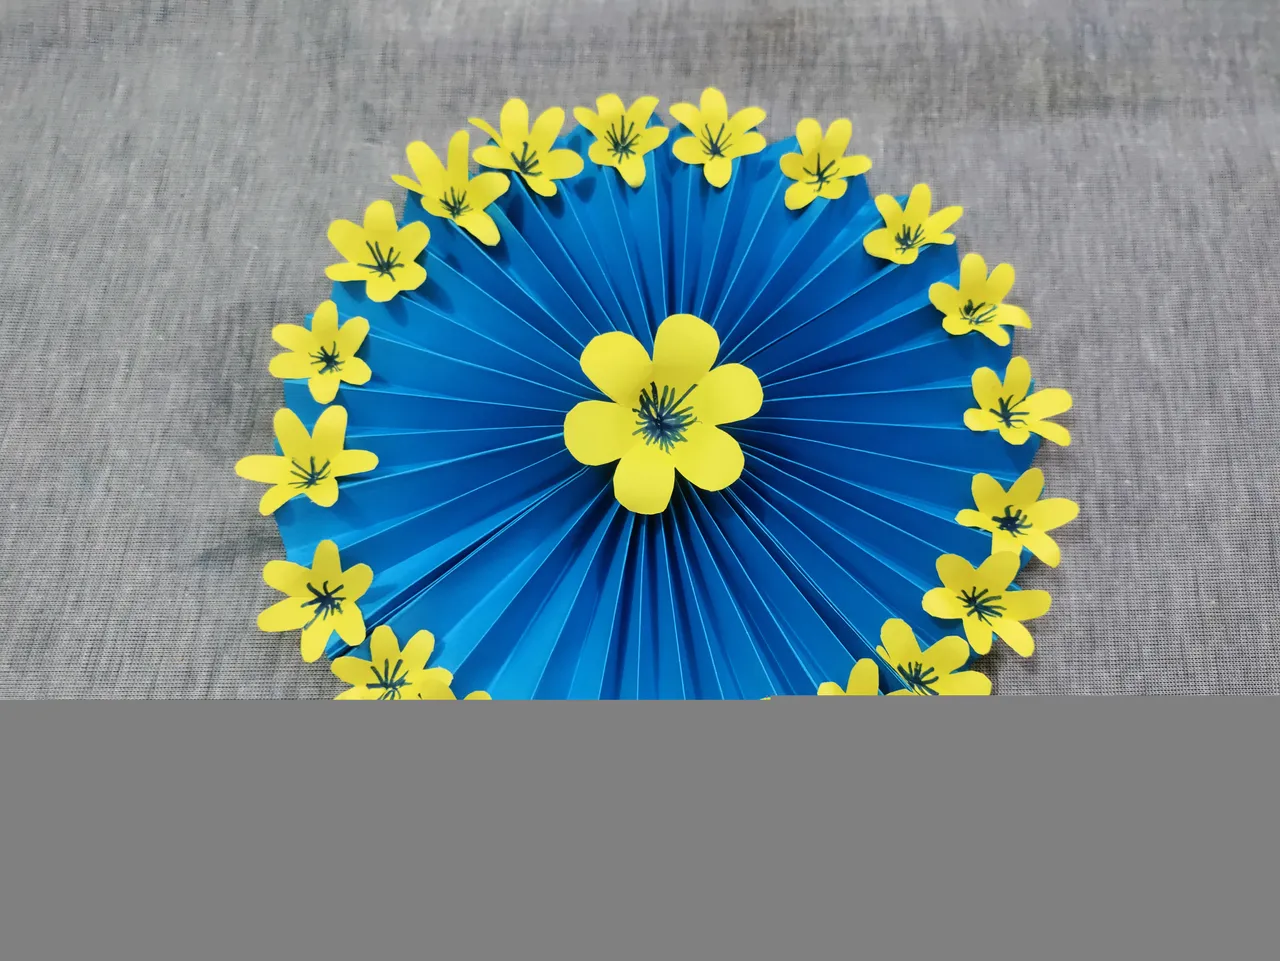
I used total 21 flowers there on the circle.
Now this part is finished but the work is not.

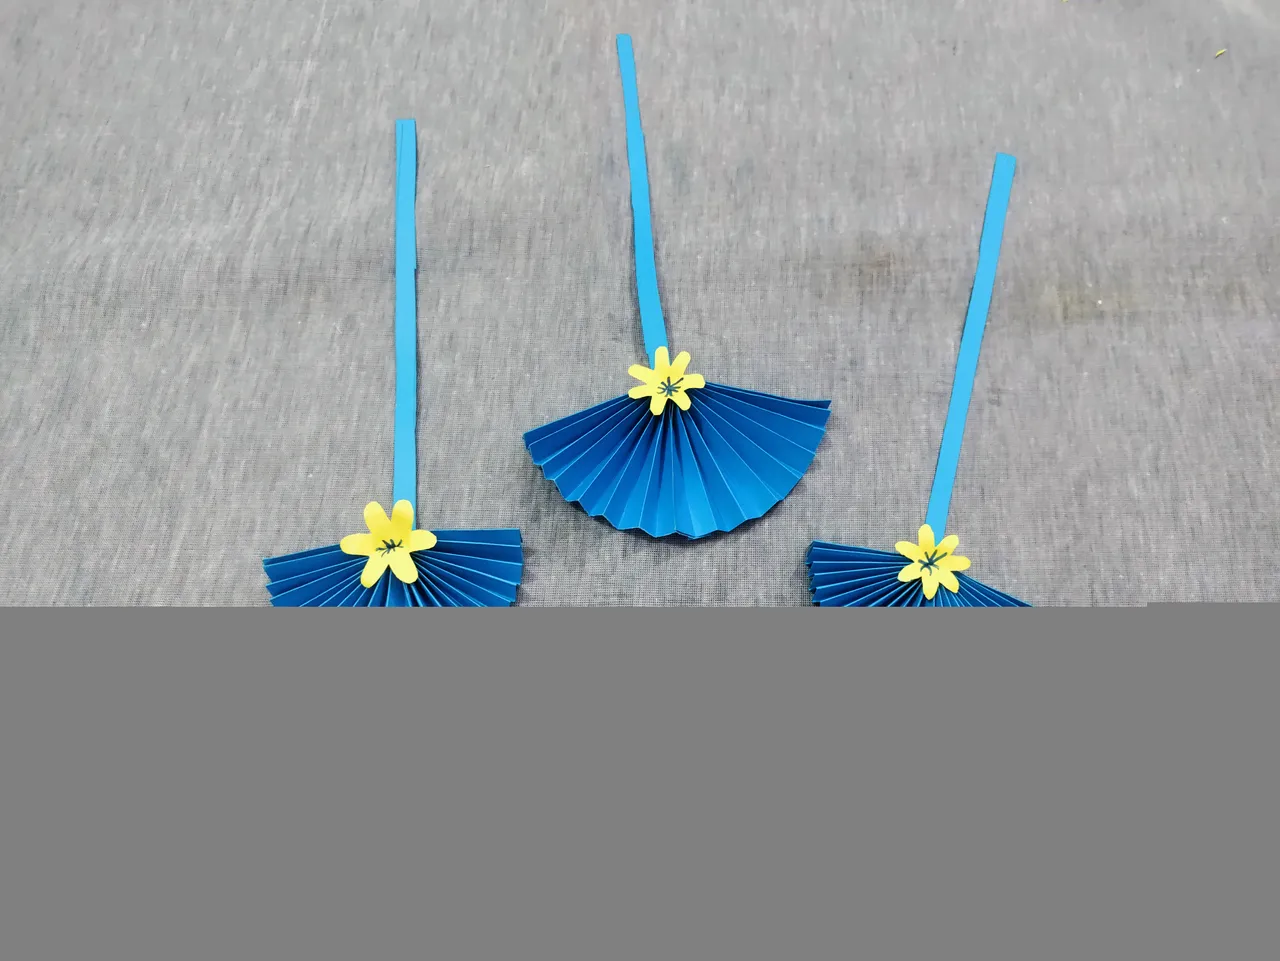
This time I needed 3 of them but they're not the whole A4 size paper but the half of them. It means there are 1 and a half A4 size paper there in the 3 folded parts and I did not make circle with them but left them as they were.
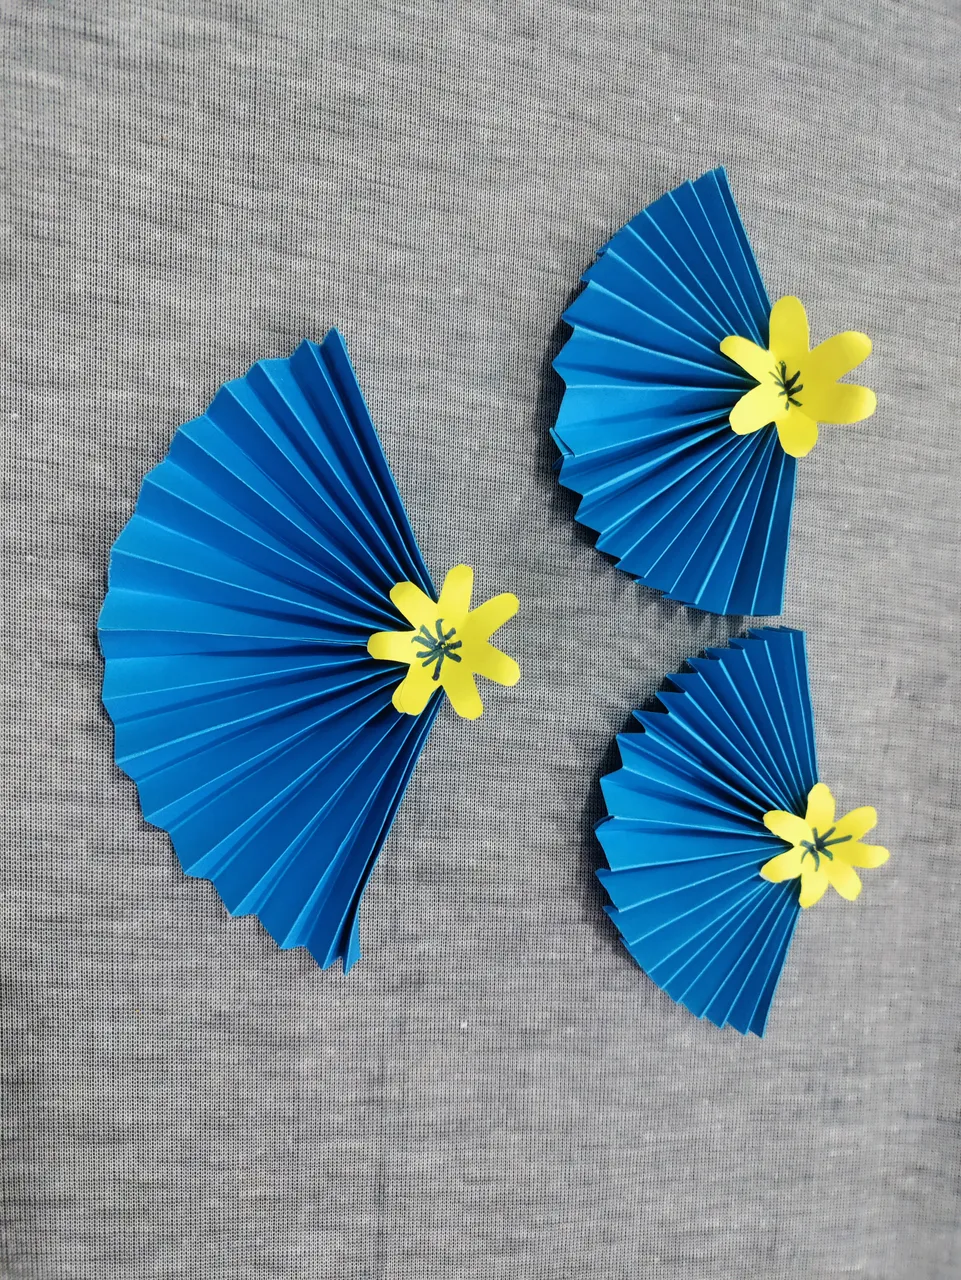
I used three flowers on those folded parts now.
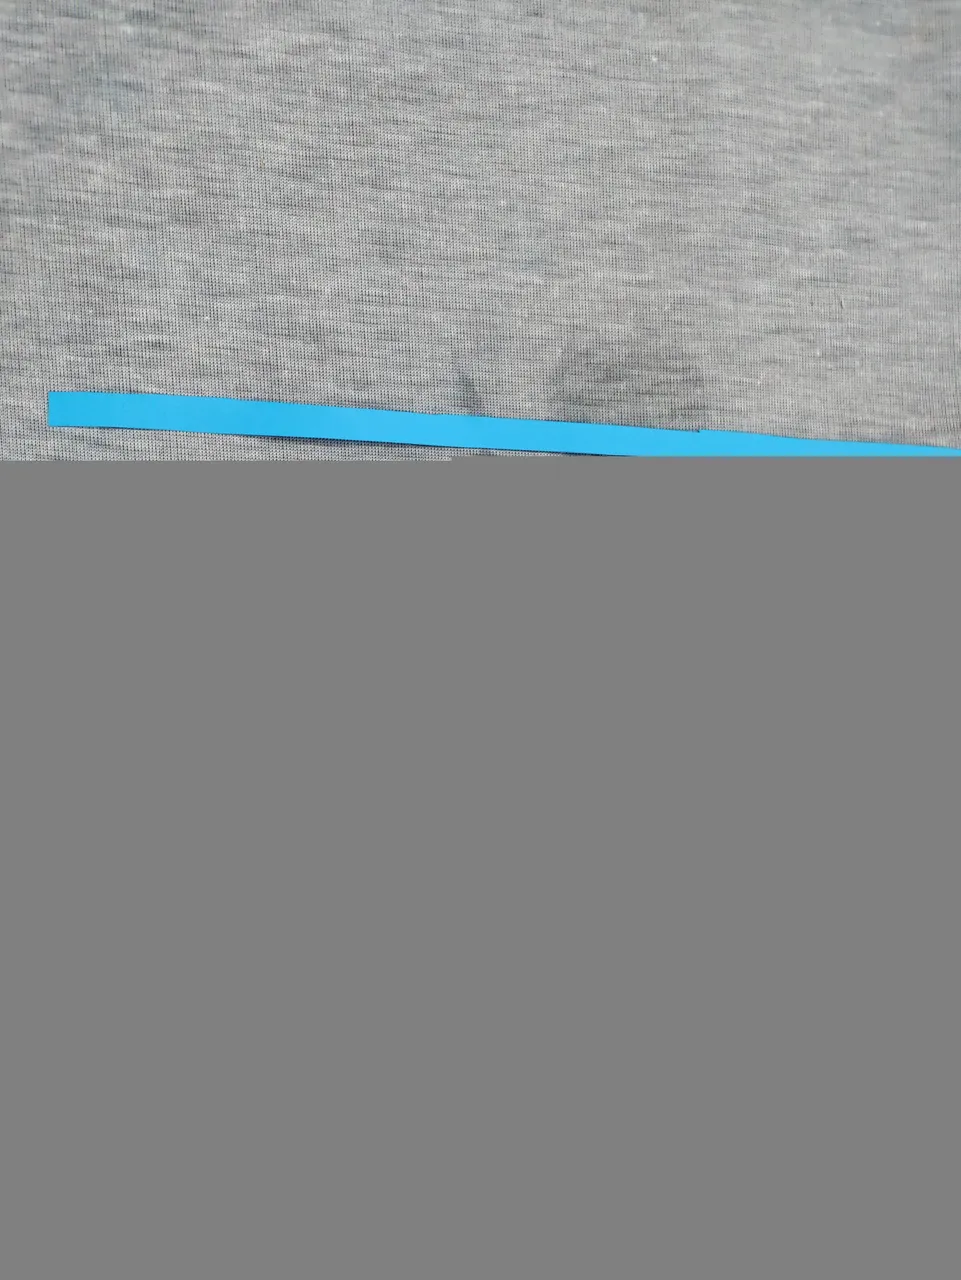
Then I started cutting another paper and this time I sliced in thin measurement.
Then I glued the back side of this part.

And attached the thin sliced paper with this.
And now I have 3 of them.
Then I attached all of them with the big part and finished the work. Now I can hang this on the wall by using glue, tape or anything that can be used to hang it.
I needed a lot of time to make this and I was kind of tired doing this. I may show more of my paperwork later but not this type of hard works, I'll follow easier ones.
No more today, I'll talk more later with another craft soon.
BYE BYE.