Feliz y bendecido sábado queridos amigos de Hive Diy, les envío un abrazo desde la distancia, espero que pasen muy bien fin de semana, esta semana gracias a Dios los planes han marchado bien espero que al igual para ustedes, hoy me tocó trabajar pero hace unos días estuve preparando este post con mucho cariño, así que no pude esperar más por mostrar el proceso.
Happy and blessed Saturday, dear friends of Hive Diy, I send you a hug from afar, I hope you have a great weekend, this week thank God the plans have gone well I hope the same for you, today I had to work but a few days ago I was preparing this post with much love, so I couldn't wait any longer to show the process.
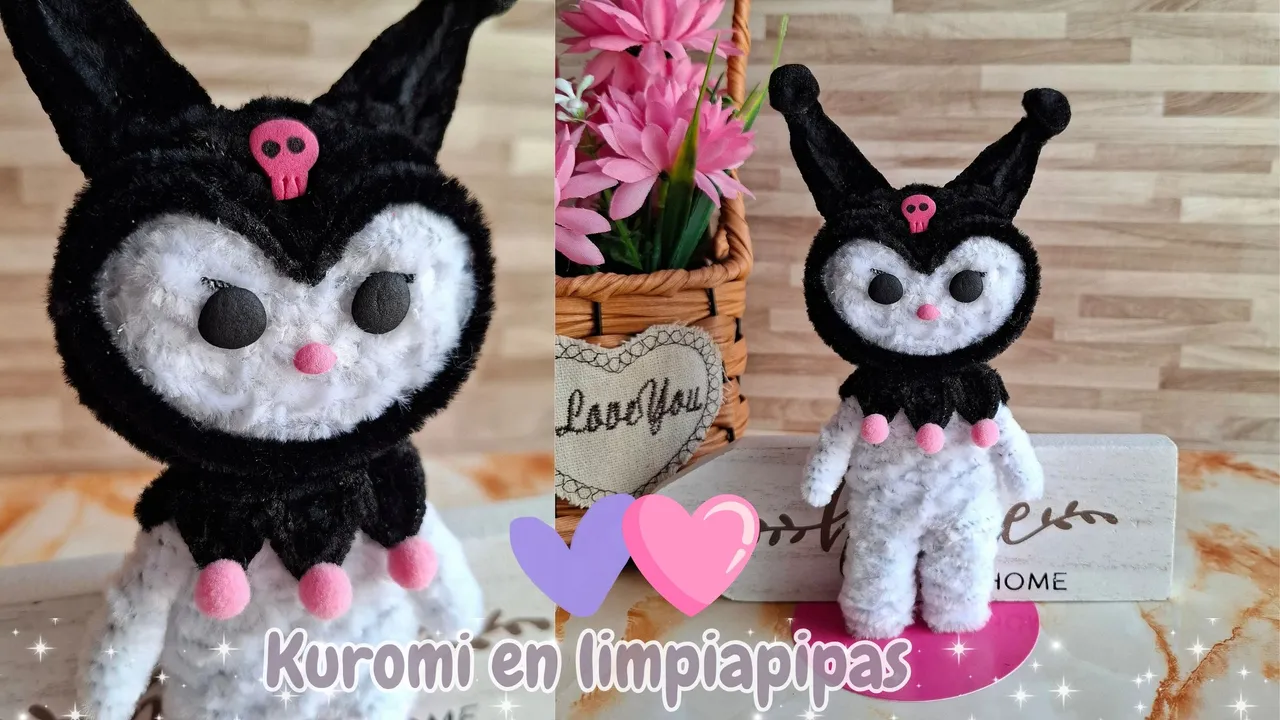
En esta oportunidad realicé a Kuromi uno de los personajes de Sanrio, últimamente se ha puesto muy de moda he visto varias niñas con accesorios alusivos a ella como bolsos, cuadernos, lápices, peluches, entre otros, así que decidí realizarla utilizando el material de limpiapipas, cabe destacar que se está convirtiendo en mi material favorito para realizar este tipo de muñequitos.
This time I made Kuromi, one of the Sanrio characters. She has become very fashionable lately. I have seen several girls with accessories alluding to her, such as bags, notebooks, pencils, stuffed animals, among others, so I decided to make her using pipe cleaner material. It is worth noting that it is becoming my favorite material for making this type of dolls.
Me inspiré en una versión tejida que se encuentra en Pinterest Kuromi tarde aproximadamente cinco horas en terminarla, si hay que tener paciencia para que el resultado sea fabuloso, además de confiar en el proceso.
I was inspired by a woven version found on Pinterest Kuromi it took about five hours to finish, you have to be patient for the result to be fabulous, as well as trust the process.
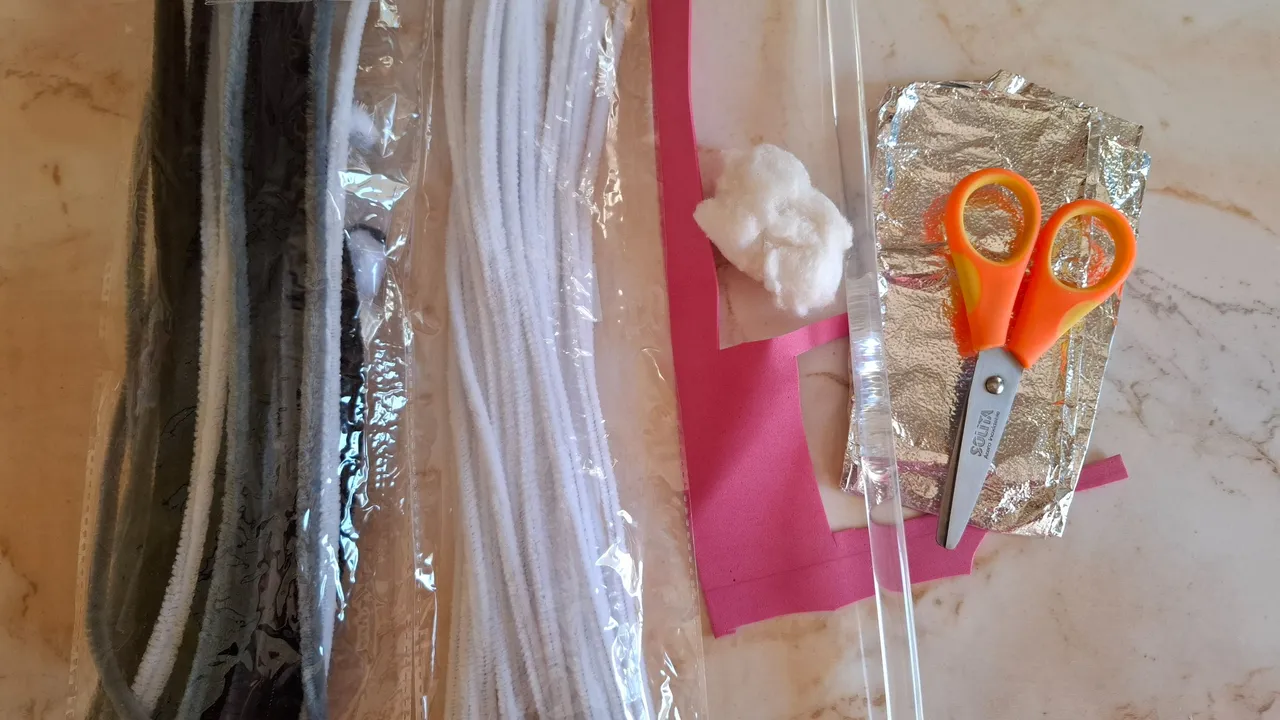
| Materiales | Materials |
|---|---|
| Limpiapipas blancos | white pipe cleaners |
| Limpiapipas negros | black pipe cleaners |
| Pompones rosa | pink pom poms |
| Papel aluminio | aluminum foil |
| Algodón | Cotton |
| Tijera | Scissors |
| Silicón | Silicone |
| Palillo | Toothpick |
Paso a paso / Step by step
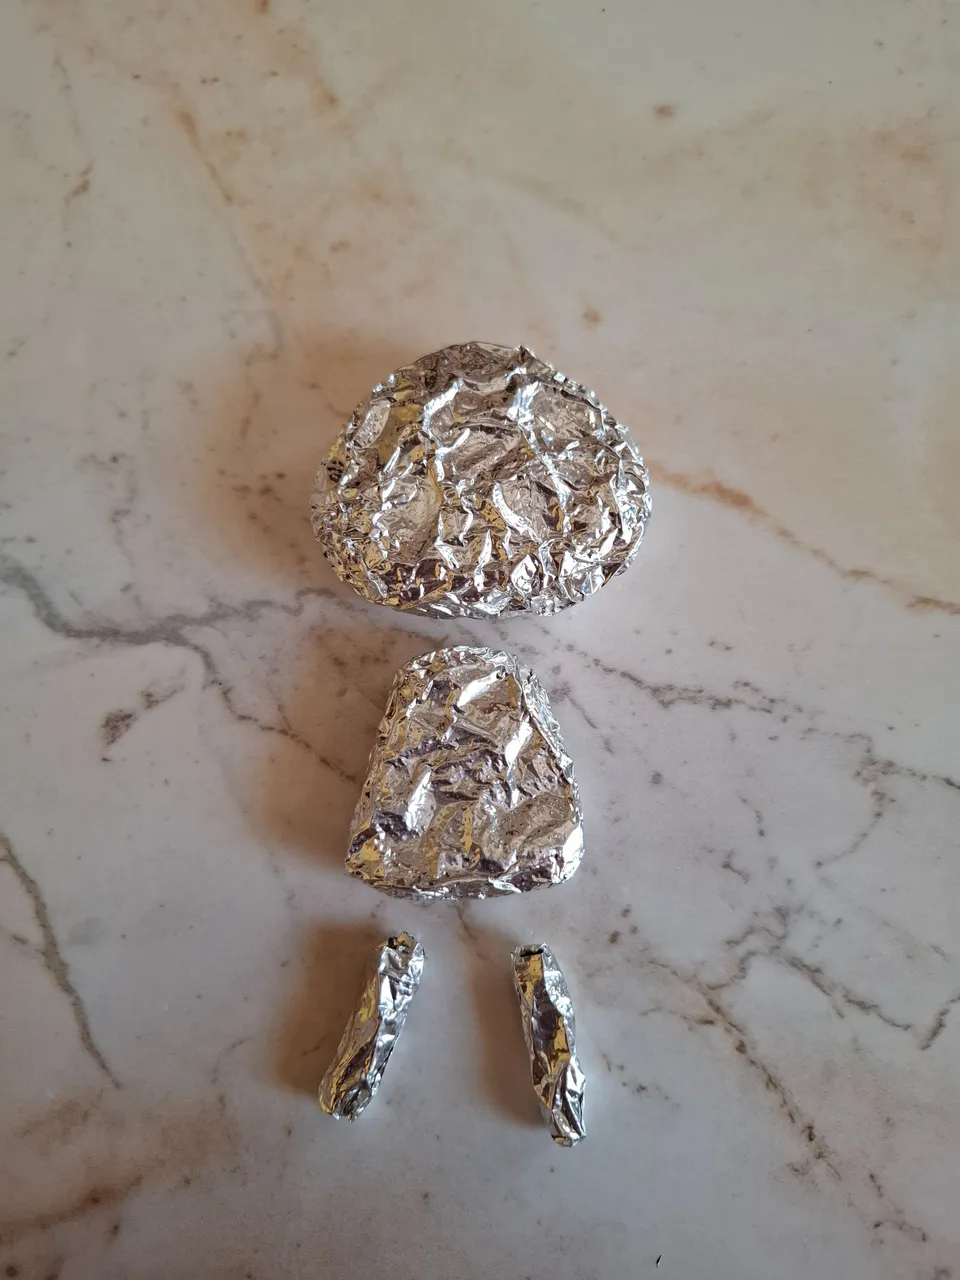
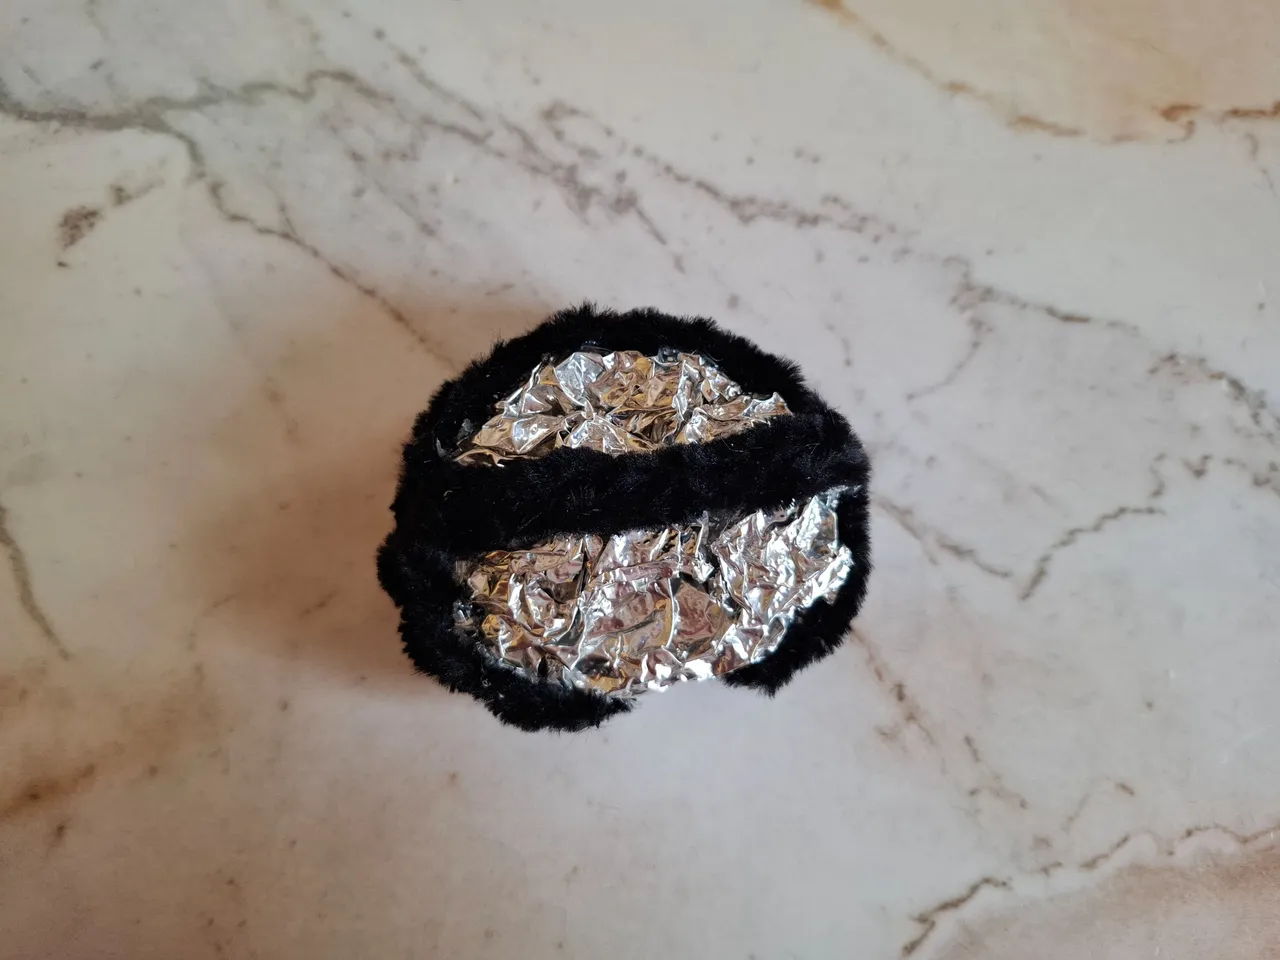
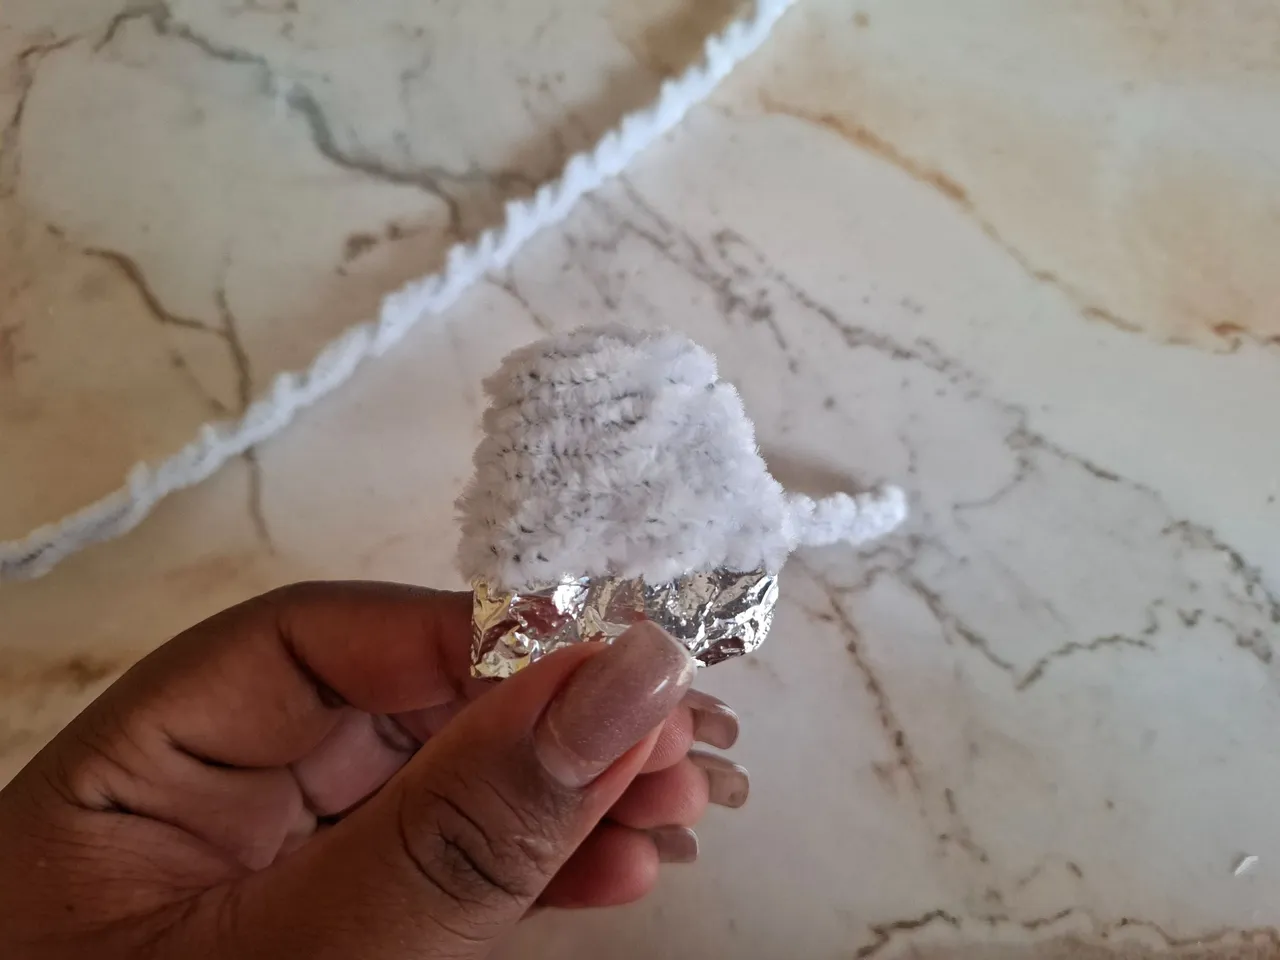
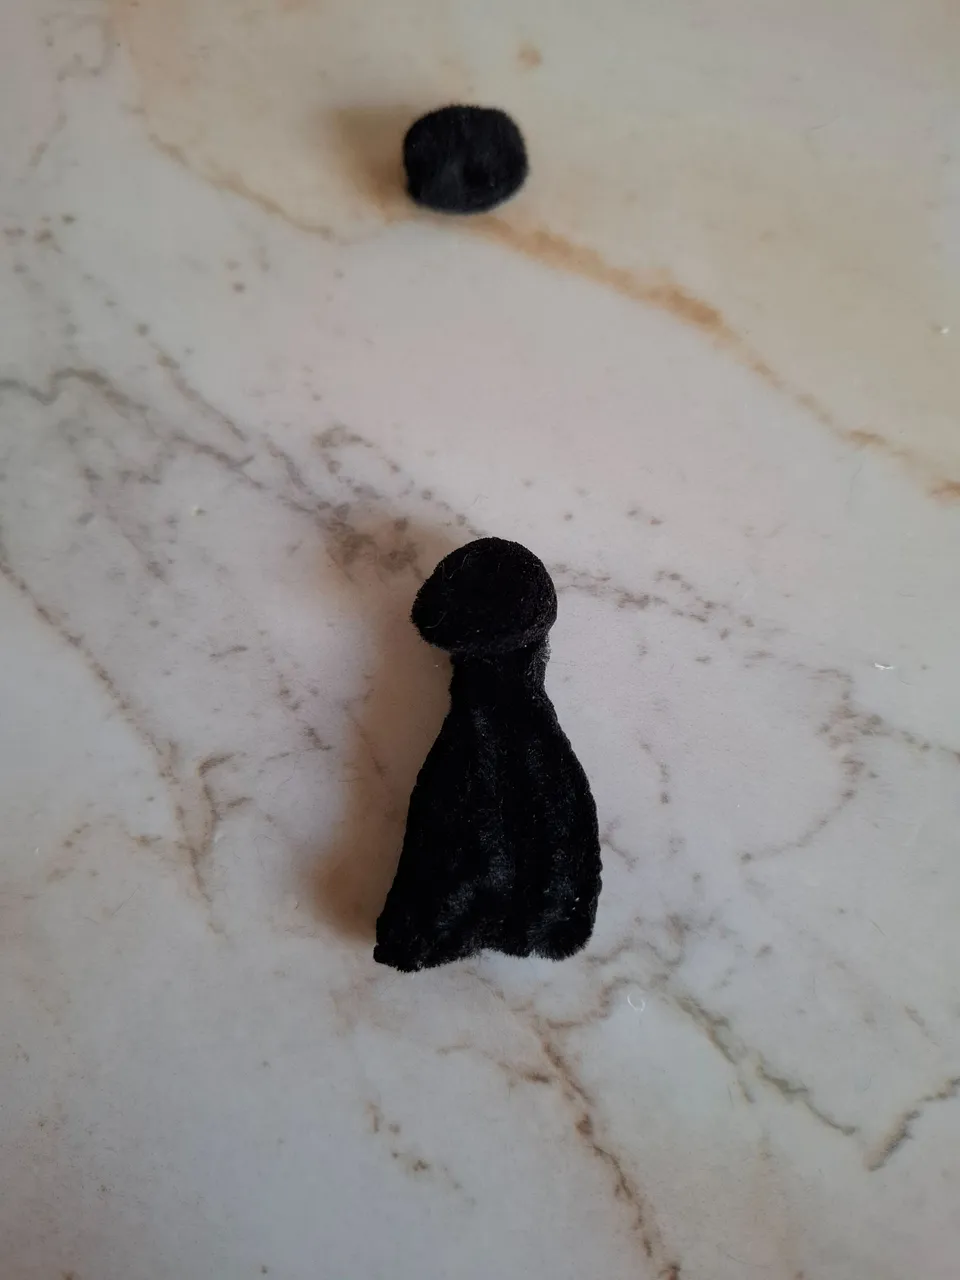
El primer paso que voy a realizar será armar la base para el cuerpo en aluminio con un poco relleno de algodón, esto para que nos quede más esponjosa ya que el papel aluminio es delgado y sin mucho volumen, realicé la cabeza, cuerpo y piernas. Enrollamos todos los limpiapipas a utilizar previamente en un palillo.
The first step is to assemble the aluminum foil body base with a little cotton filling. This makes it fluffier, since aluminum foil is thin and doesn't have much volume. I made the head, body, and legs. First, wrap all the pipe cleaners you'll be using around a toothpick.
 |  |  |
|---|
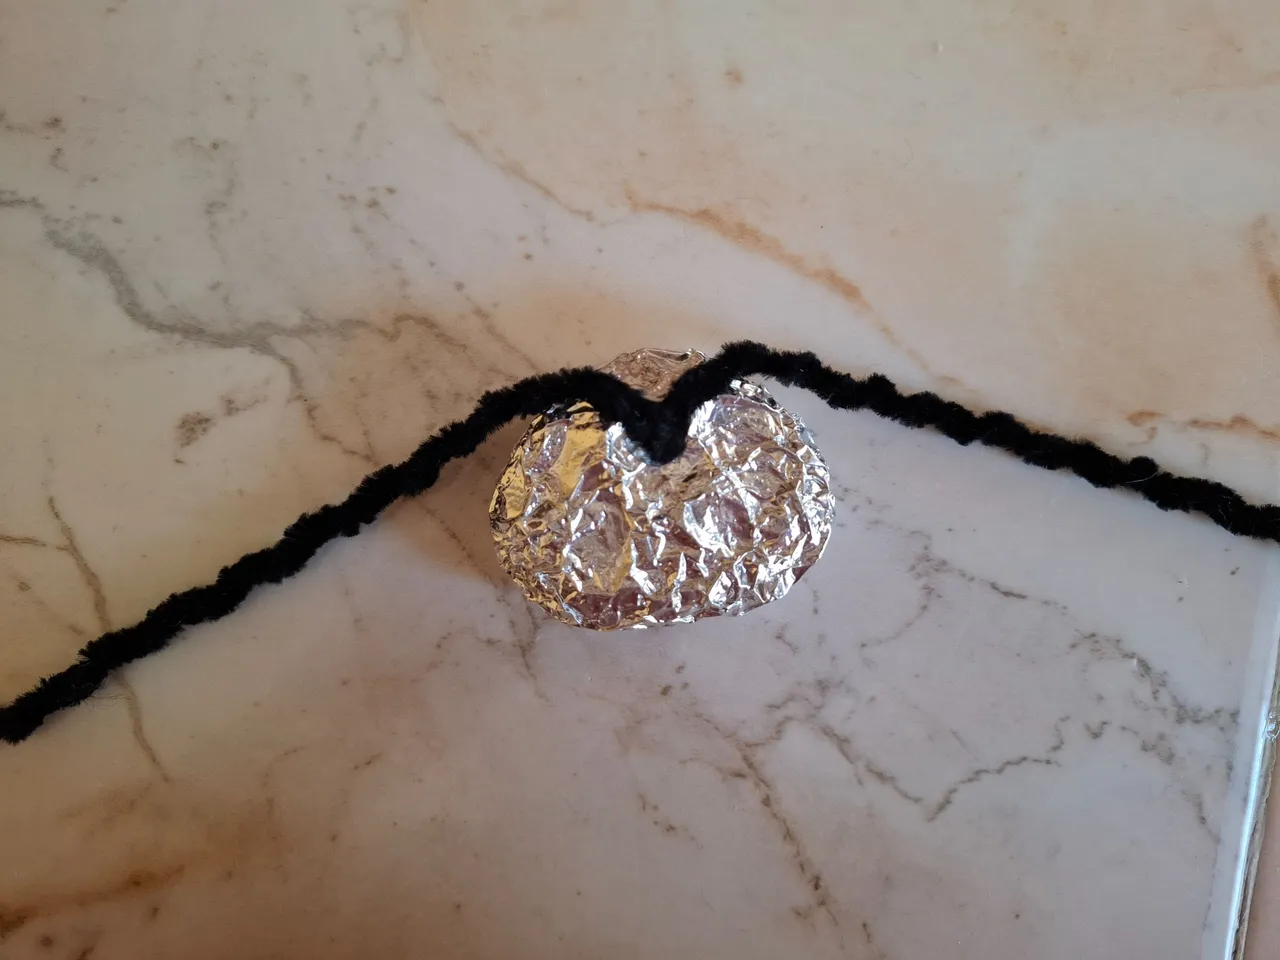
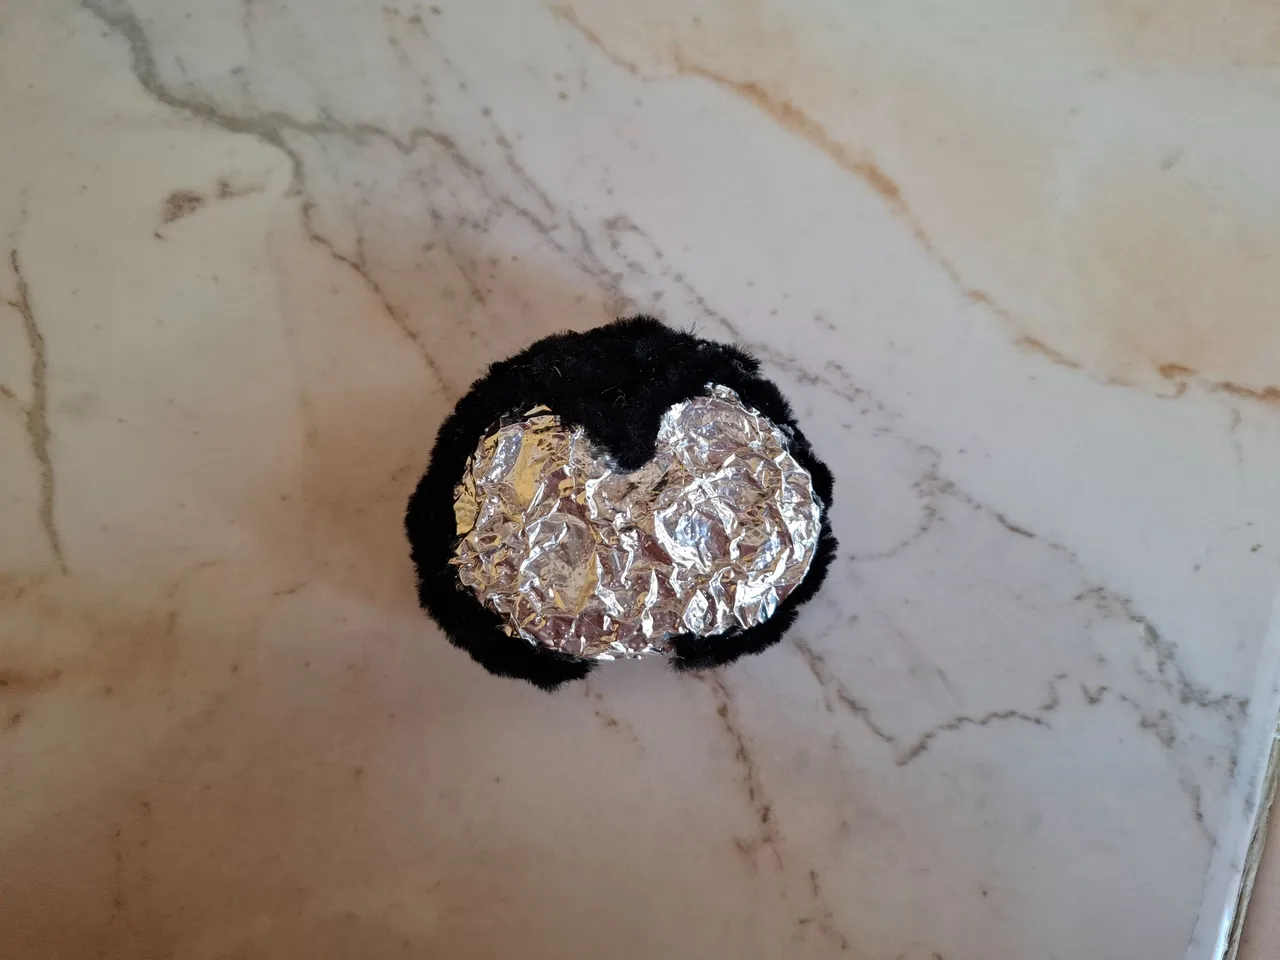
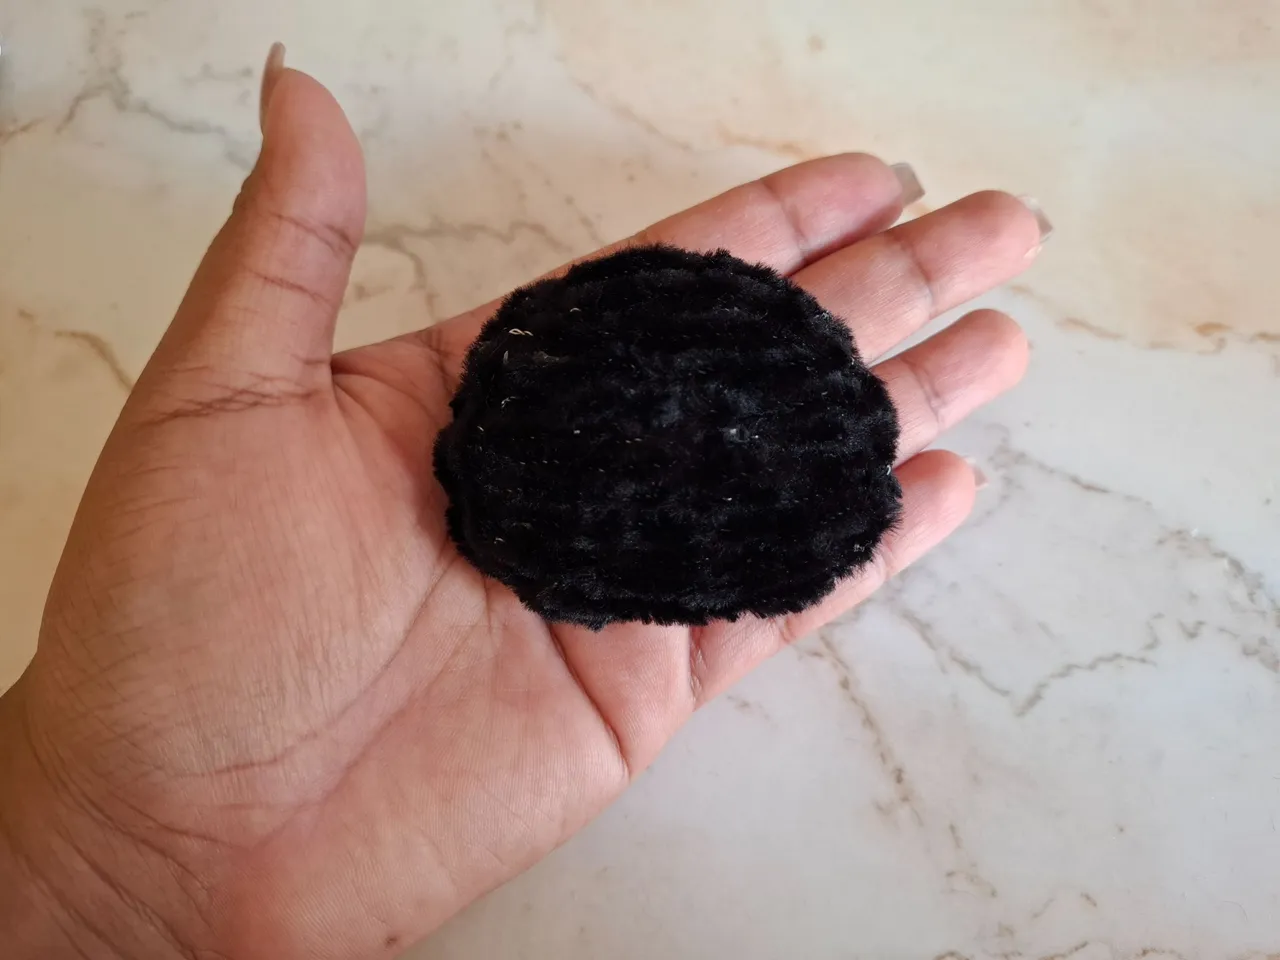
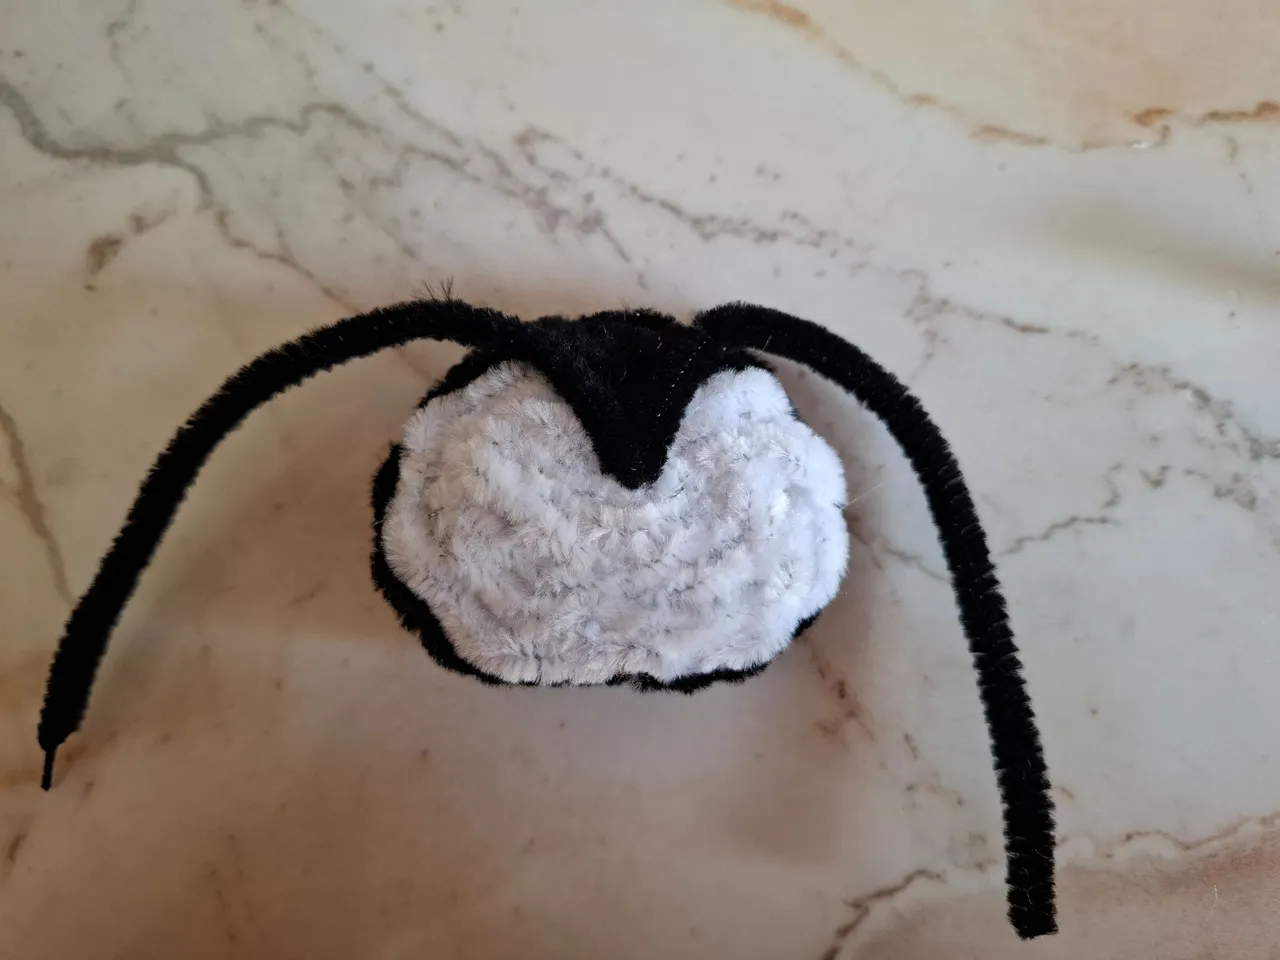
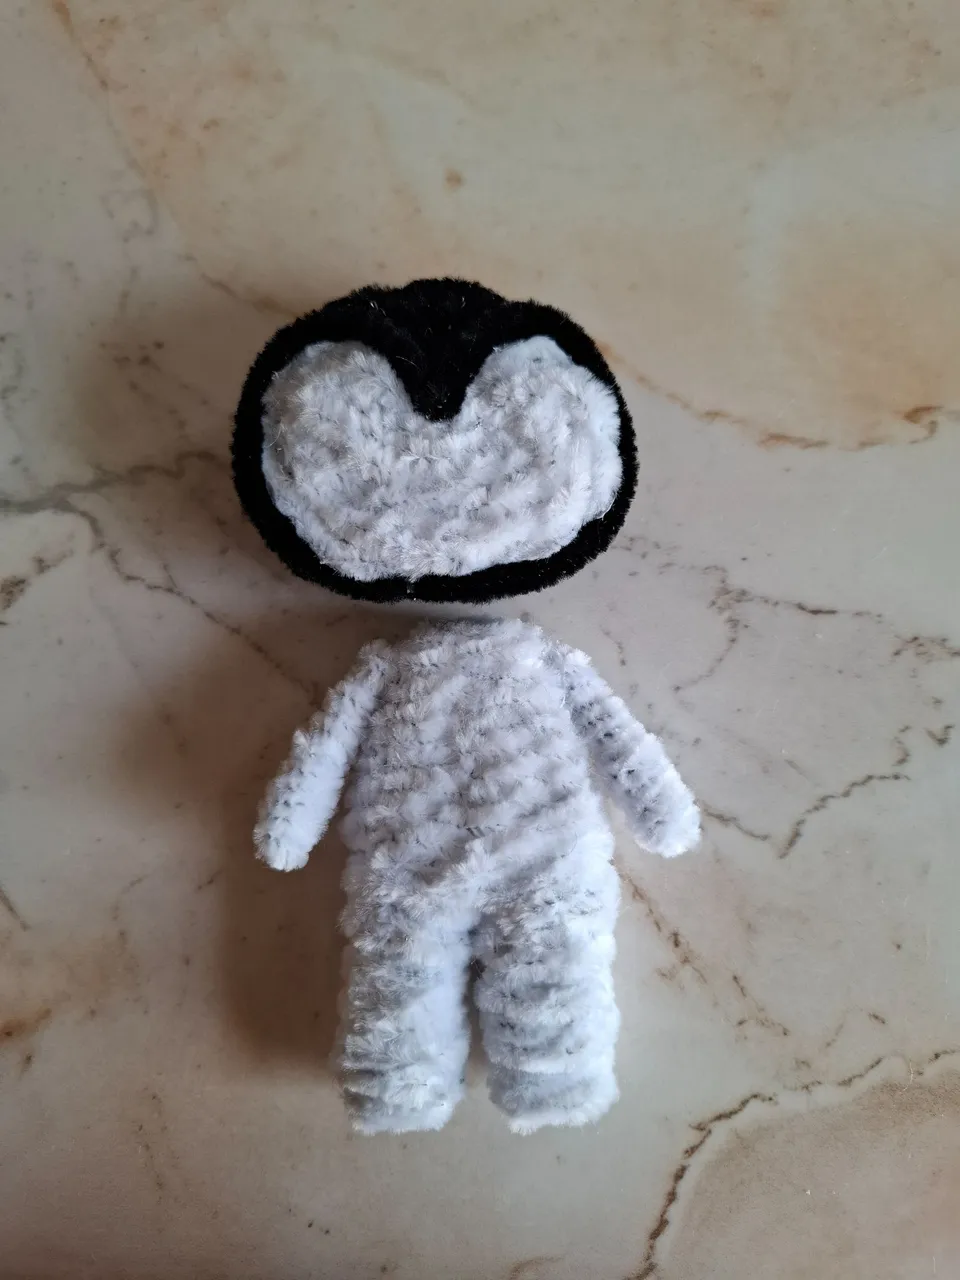
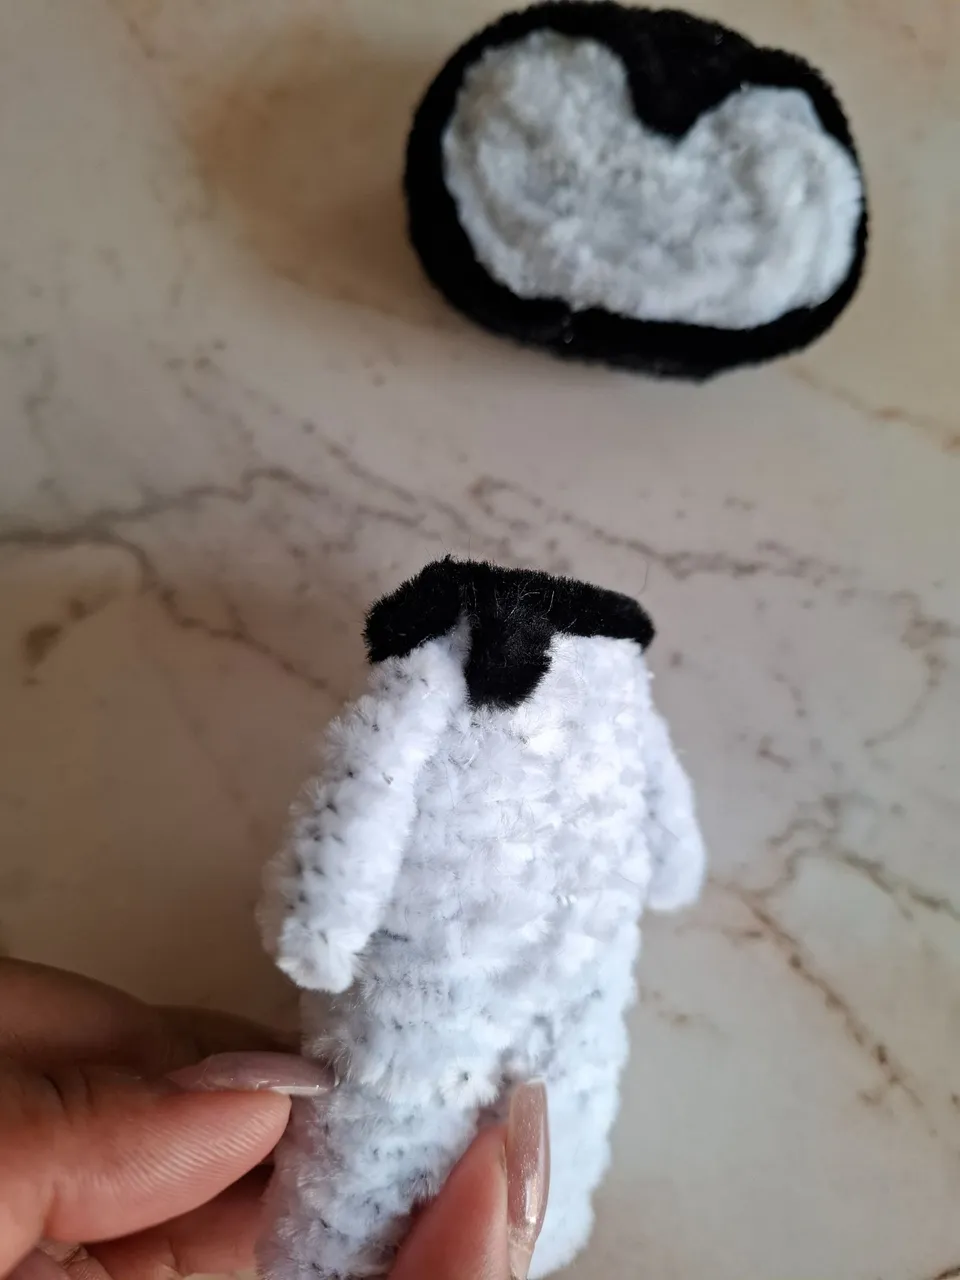
Voy a comenzar a realizar la forma del gorro negro colocando un limpiapipas negro en la parte superior, voy a cubrir el resto hasta la parte trasera, el limpiapipas negro tiende a ensuciarse con el residuo del silicón pero sin embargo puedes retirarlo con ayuda de adhesivo transparente al igual que cubrir las partes más blancas con un toque de pintura.
I'm going to start making the shape of the black hat by placing a black pipe cleaner on top, I'm going to cover the rest up to the back, the black pipe cleaner tends to get dirty with the silicone residue but however you can remove it with the help of transparent adhesive as well as cover the whiter parts with a touch of paint.
 |  |  |
|---|
 |  |
|---|
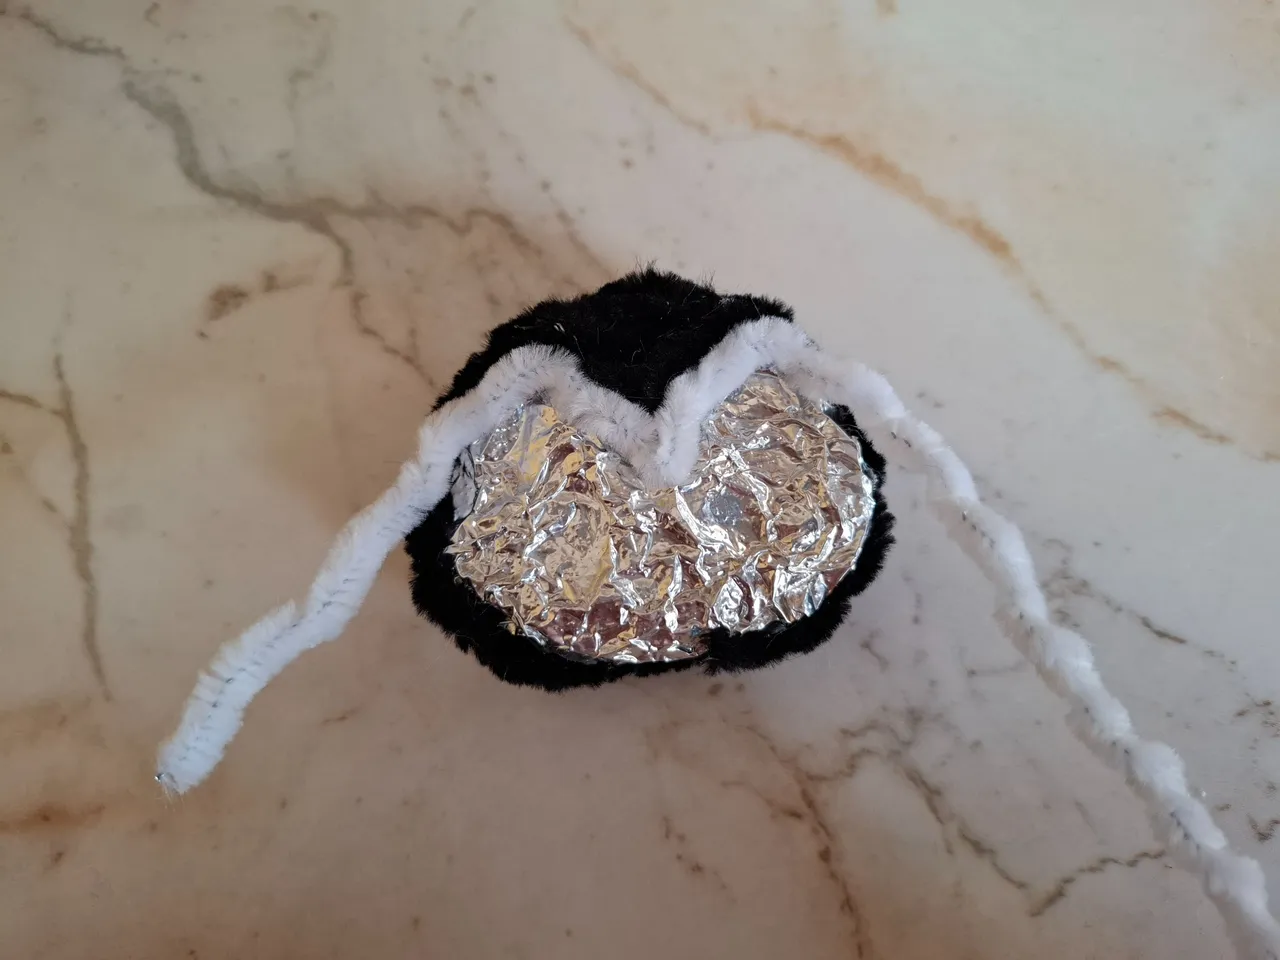
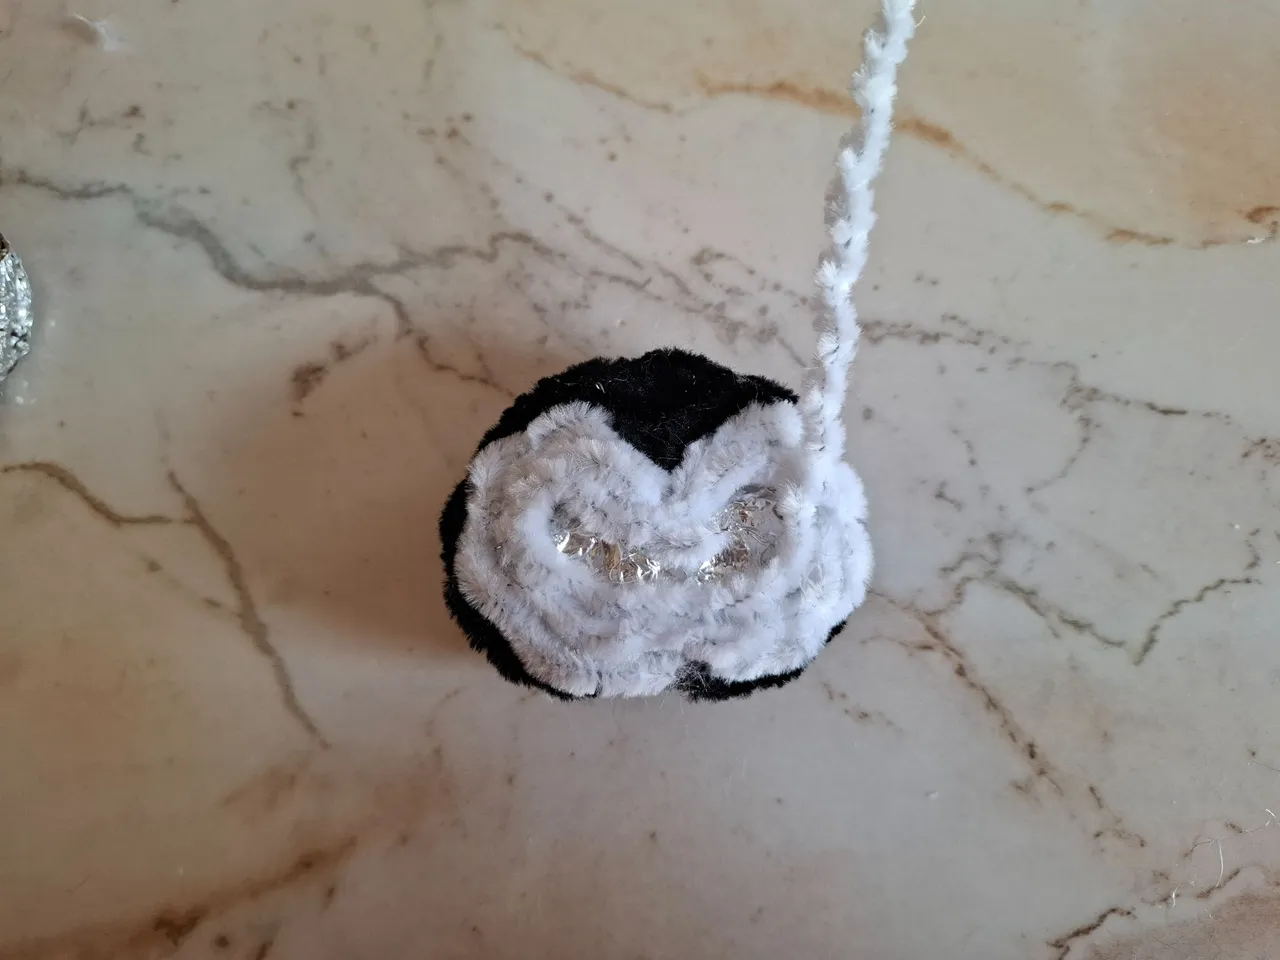
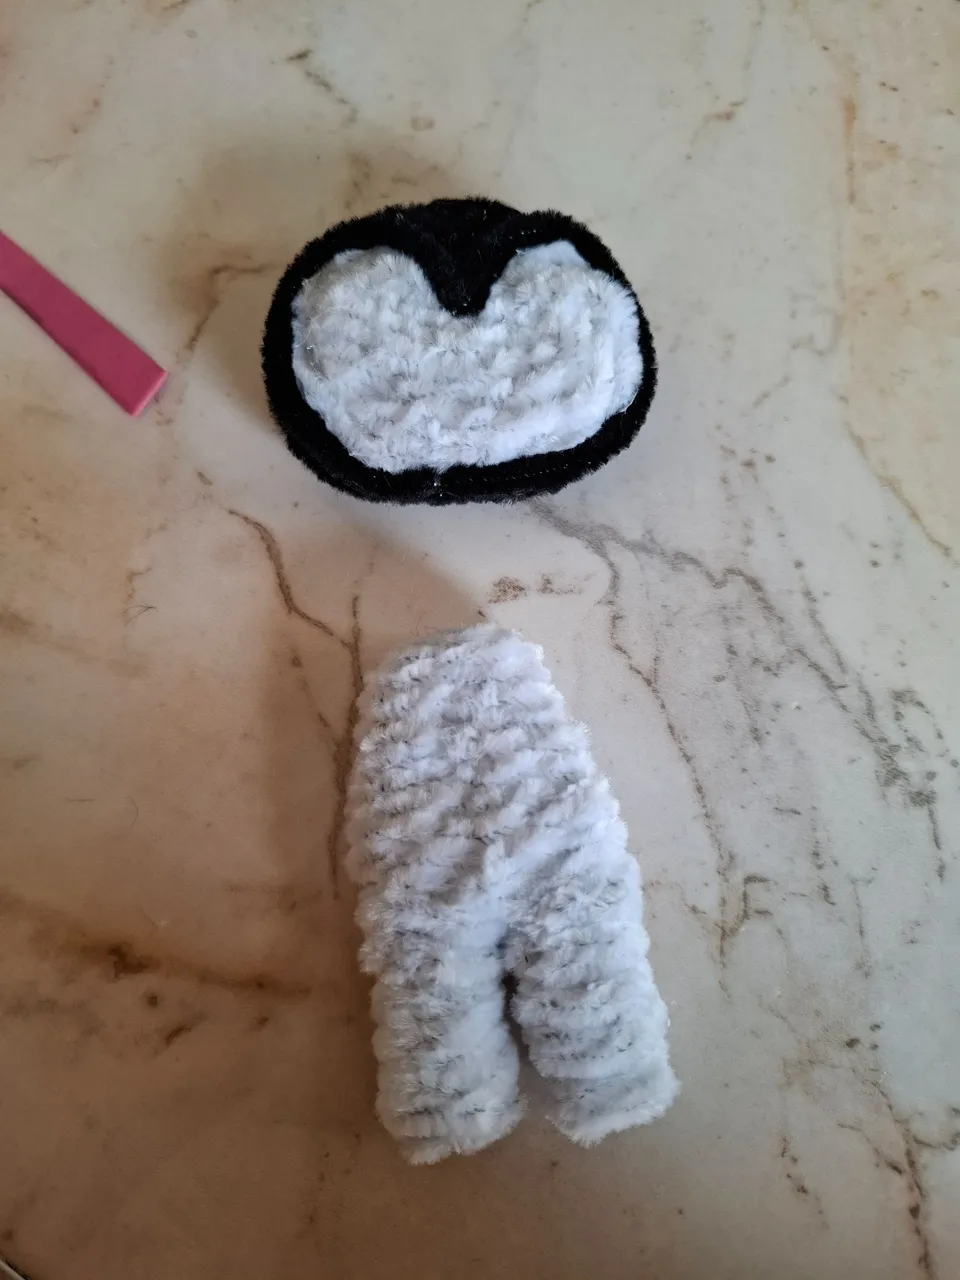
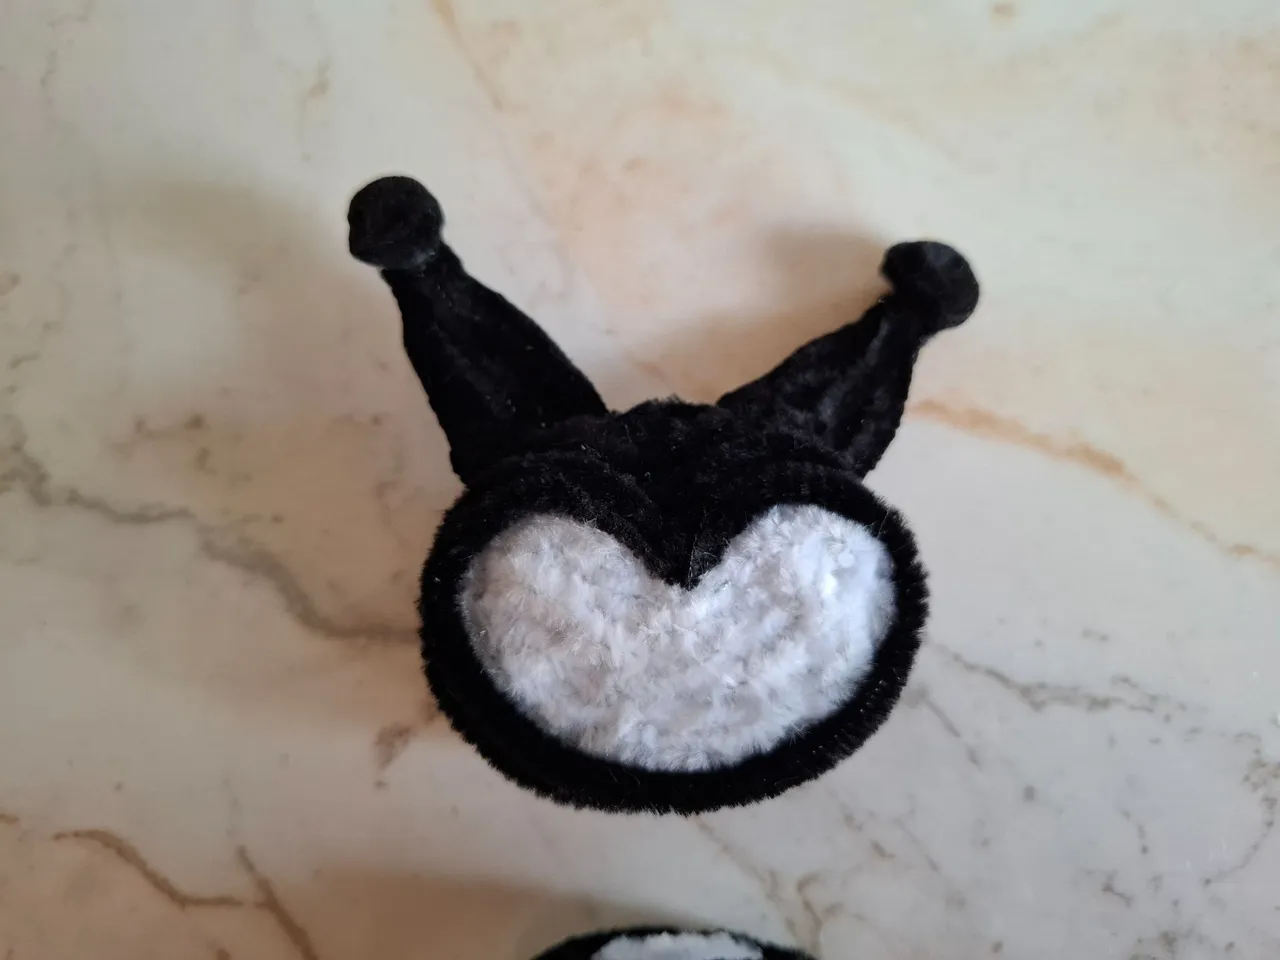
Luego de cubrir toda la parte del gorro voy a cubrir la cara, voy a ir rellenado poco a poco el borde negro con limpiapipas sin enrollar hasta que quede lo más parecido a la imagen, luego de eso cubrimos el cuerpo con limpiapipas color blanco.
After covering the entire part of the hat, I will cover the face. I will gradually fill in the black edge with unrolled pipe cleaners until it looks as similar as possible to the image. After that, we cover the body with white pipe cleaners.
 |  |
|---|
 |  |
|---|
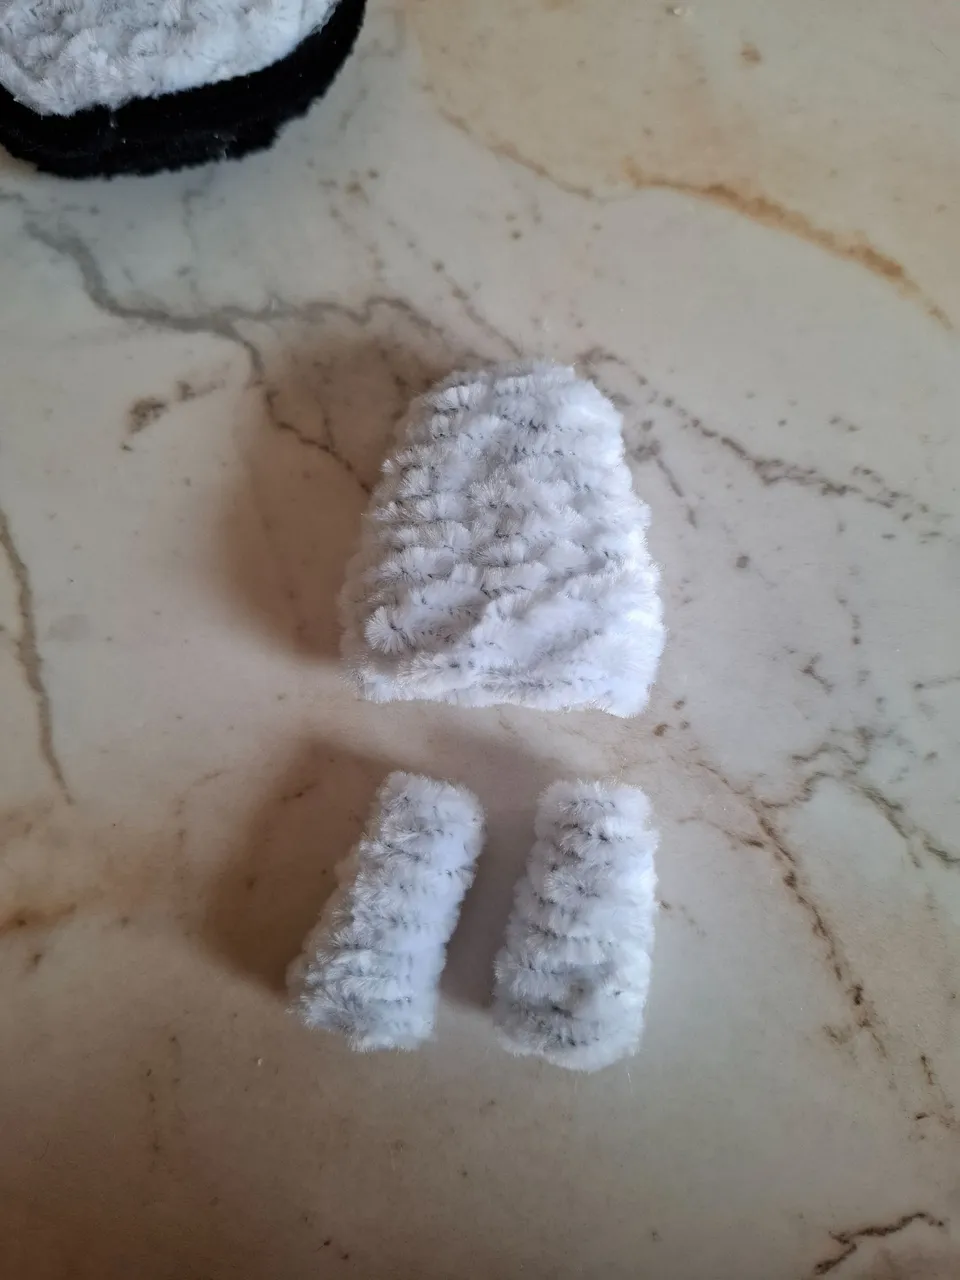
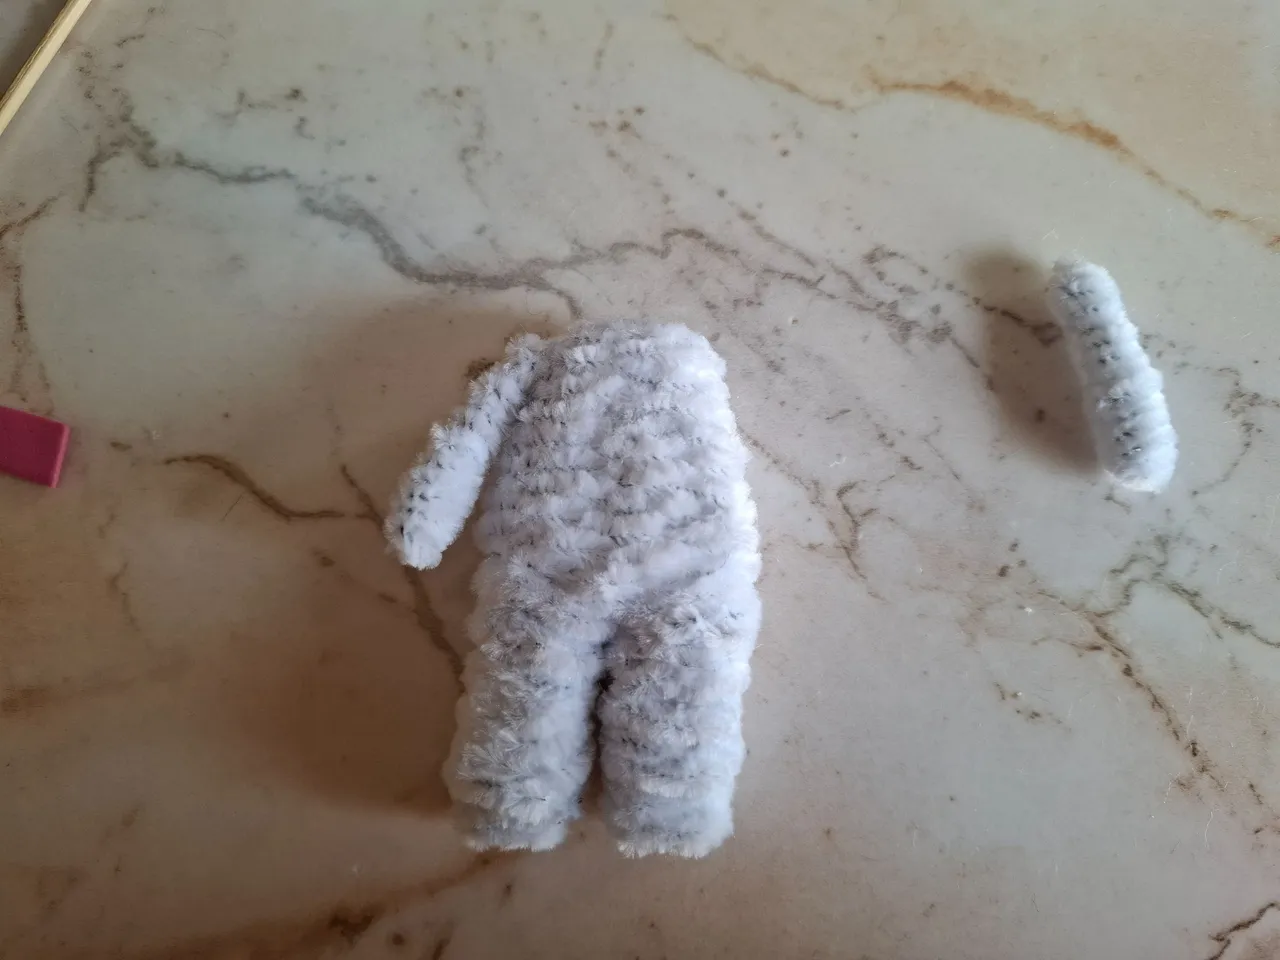
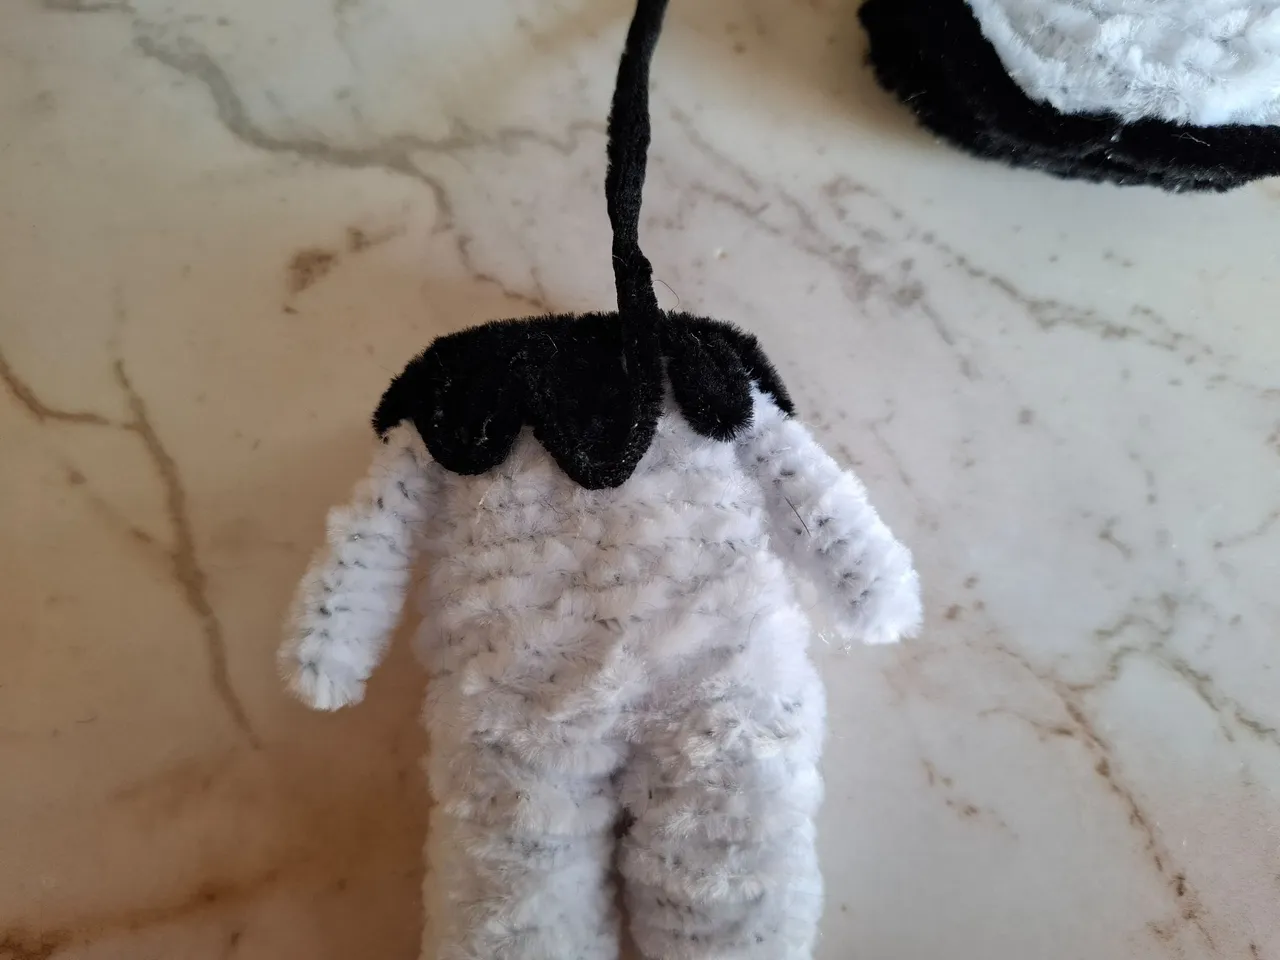
Para las piernas utilicé también limpiapipas blanco exactamente dos para cada pierna al iniciar, luego al unir al cuerpo no me gustó como quedó así que coloque dos limpiapipas más a cada pierna, así logré que se viera del mismo grosor del cuerpo.
For the legs I also used exactly two white pipe cleaners for each leg to start with, then when I joined it to the body I didn't like how it turned out so I placed two more pipe cleaners on each leg, this way I made it look the same thickness as the body.
 |  |
|---|
 |  |
|---|
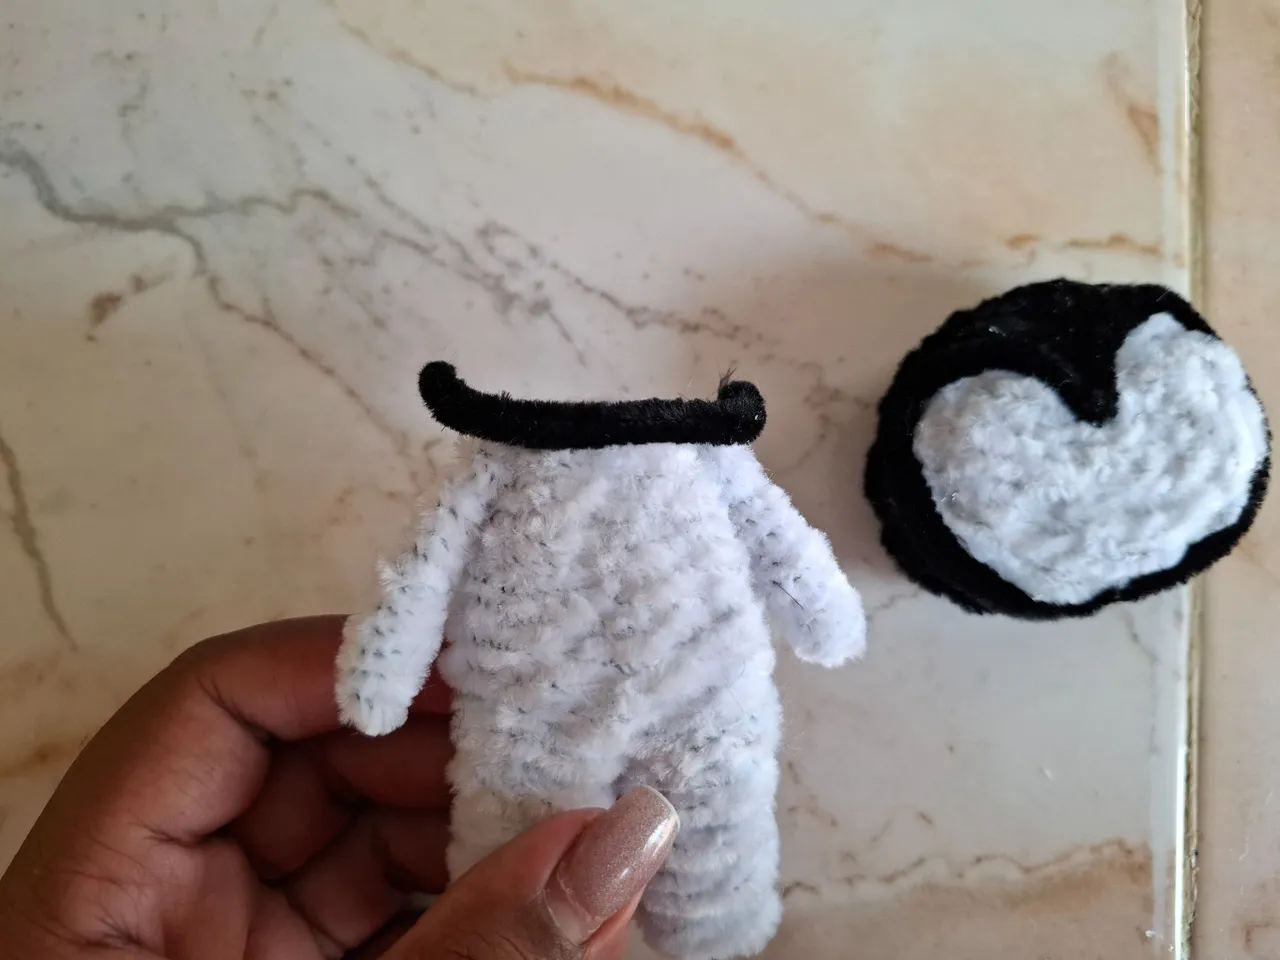
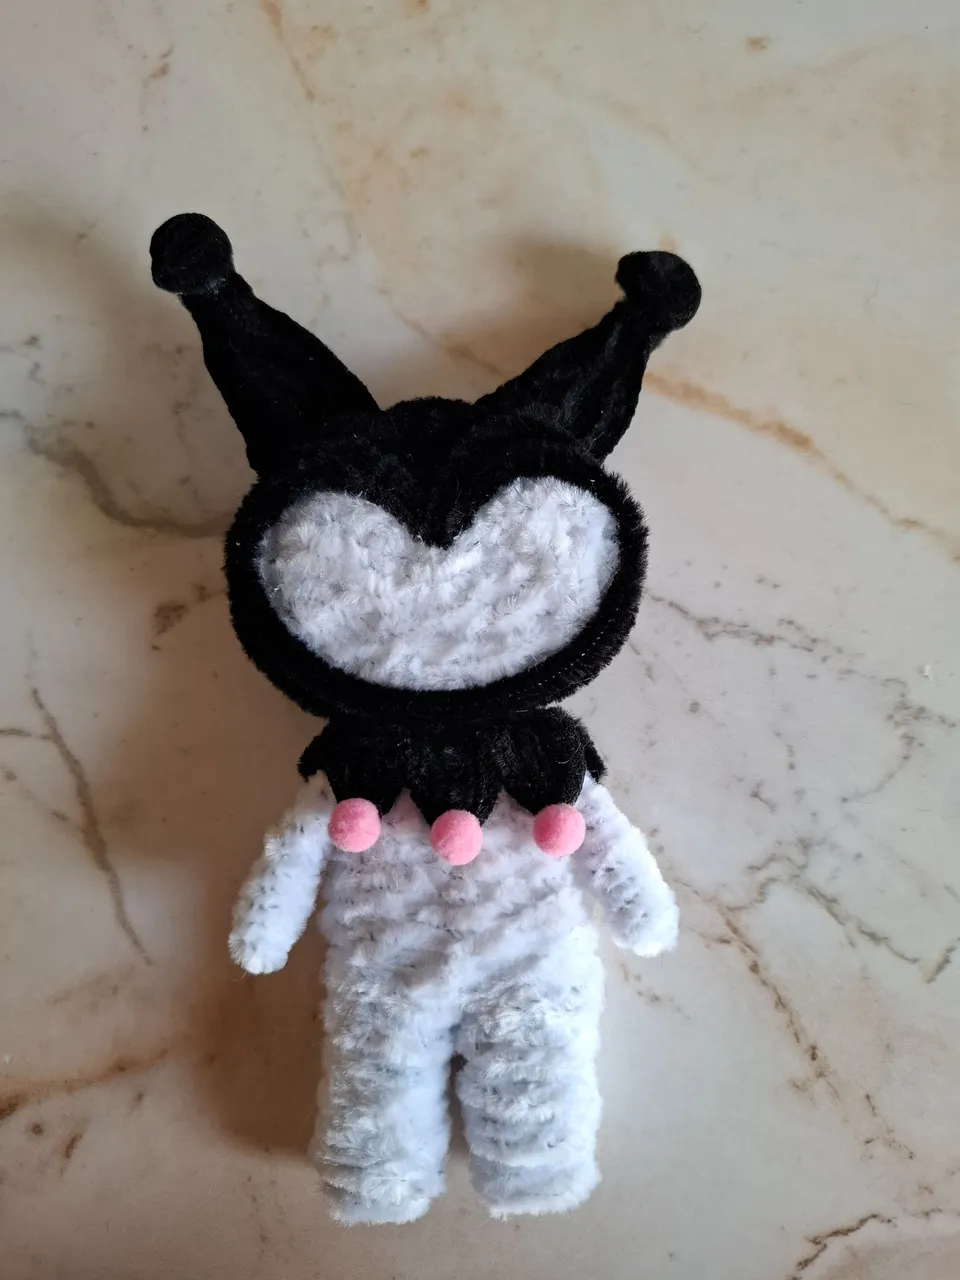
Para realizar los brazos utilicé dos limpiapipas solo debemos doblar hasta que quede pequeña y luego cubrimos con uno para dar volumen, para el accesorio que lleva en el cuello coloqué en el borde el limpiapipas negro, luego corté pequeños círculos de limpiapipas y los pegué debajo.
To make the arms I used two pipe cleaners, just fold them until they are small and then cover them with one to give them volume. For the accessory on the neck I placed the black pipe cleaner on the edge, then I cut small circles out of the pipe cleaners and glued them underneath.
 |  |  |
|---|
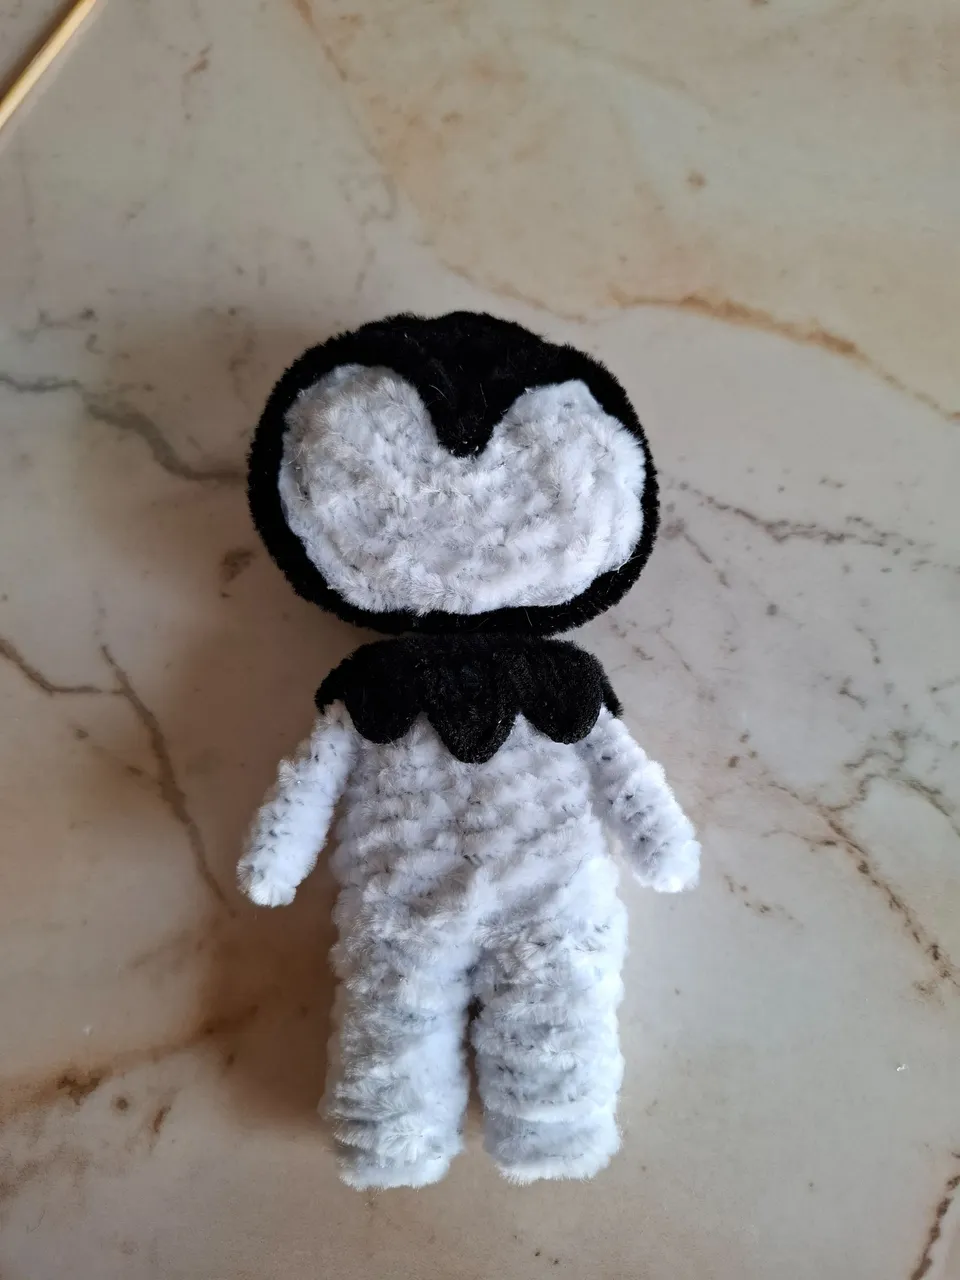
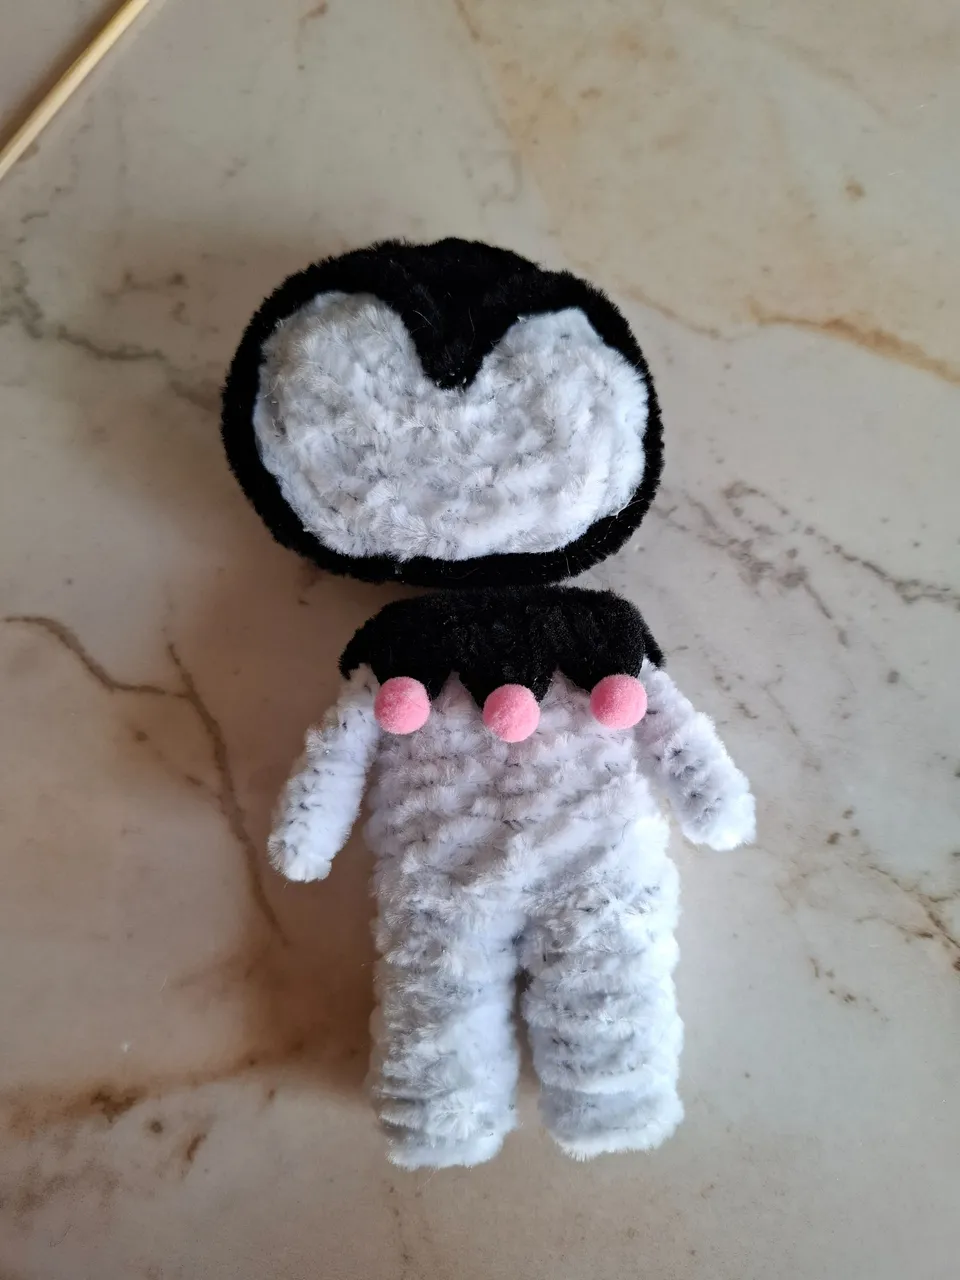
Para terminar de dar forma a este accesorio cubri toda la silueta con un limpiapipas de menos grosor, para lograr esto debemos quemar un poco la pelusa.
Ahora pegamos los pompones rosados para terminar el accesorio.
To finish shaping this accessory, I covered the entire silhouette with a thinner pipe cleaner. To achieve this, we need to burn some of the lint. Now, we glue the pink pom-poms to finish the accessory.
 |  |
|---|
 |  |
|---|
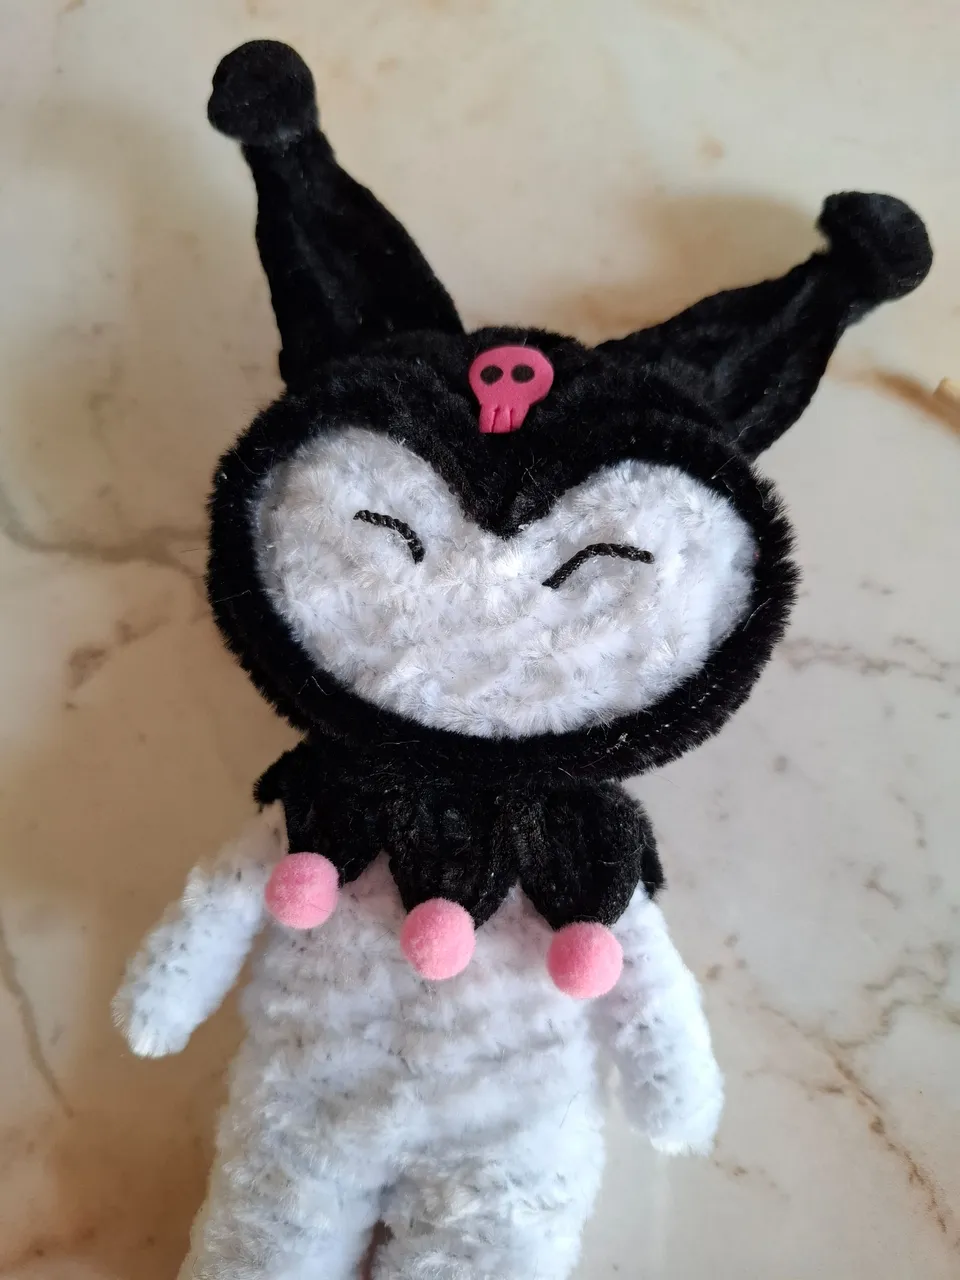
Luego realizamos las orejitas que lleva en el gorro, para mí está fue la parte más difícil, en la punta coloqué dos pompones negros, luego realicé la calavera rosa en foami y la pegamos también.
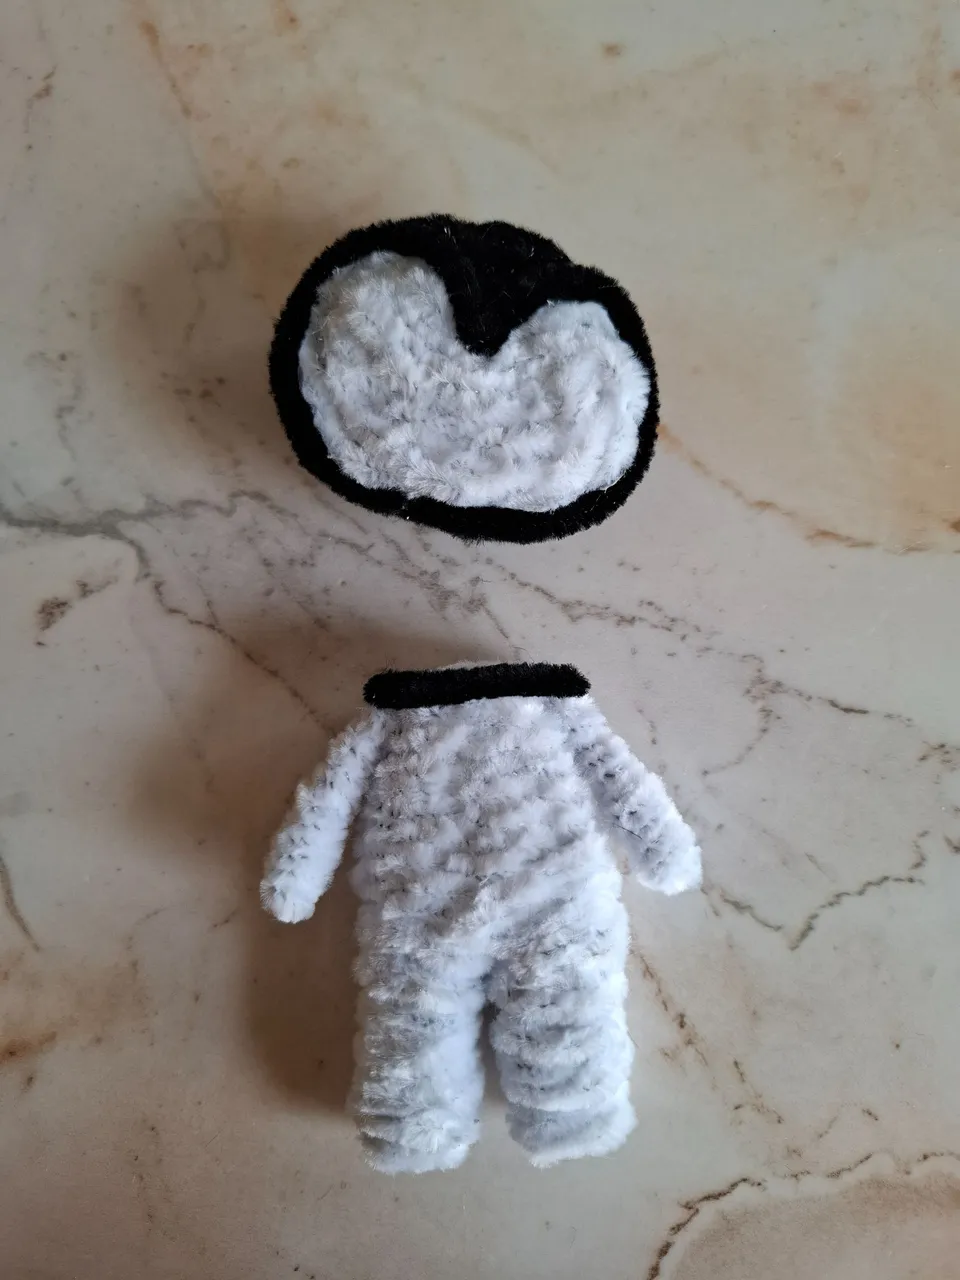
Ahora sí unimos las dos partes del cuerpo con silicón bien caliente, luego para los ojos pegué dos palitos del limpiapipas pequeños y encima colocamos los ojitos en foami la nariz en foami rosa, y listo.
Next, we made the little ears on the hat. For me, this was the hardest part. I placed two black pom-poms on the tip, then made the pink foam skull and glued it on as well.
Now, we joined the two body parts with very hot glue. Then, for the eyes, I glued two small pipe cleaner sticks, and on top, we placed the foam eyes and the pink foam nose, and that's it.
 |  |
|---|

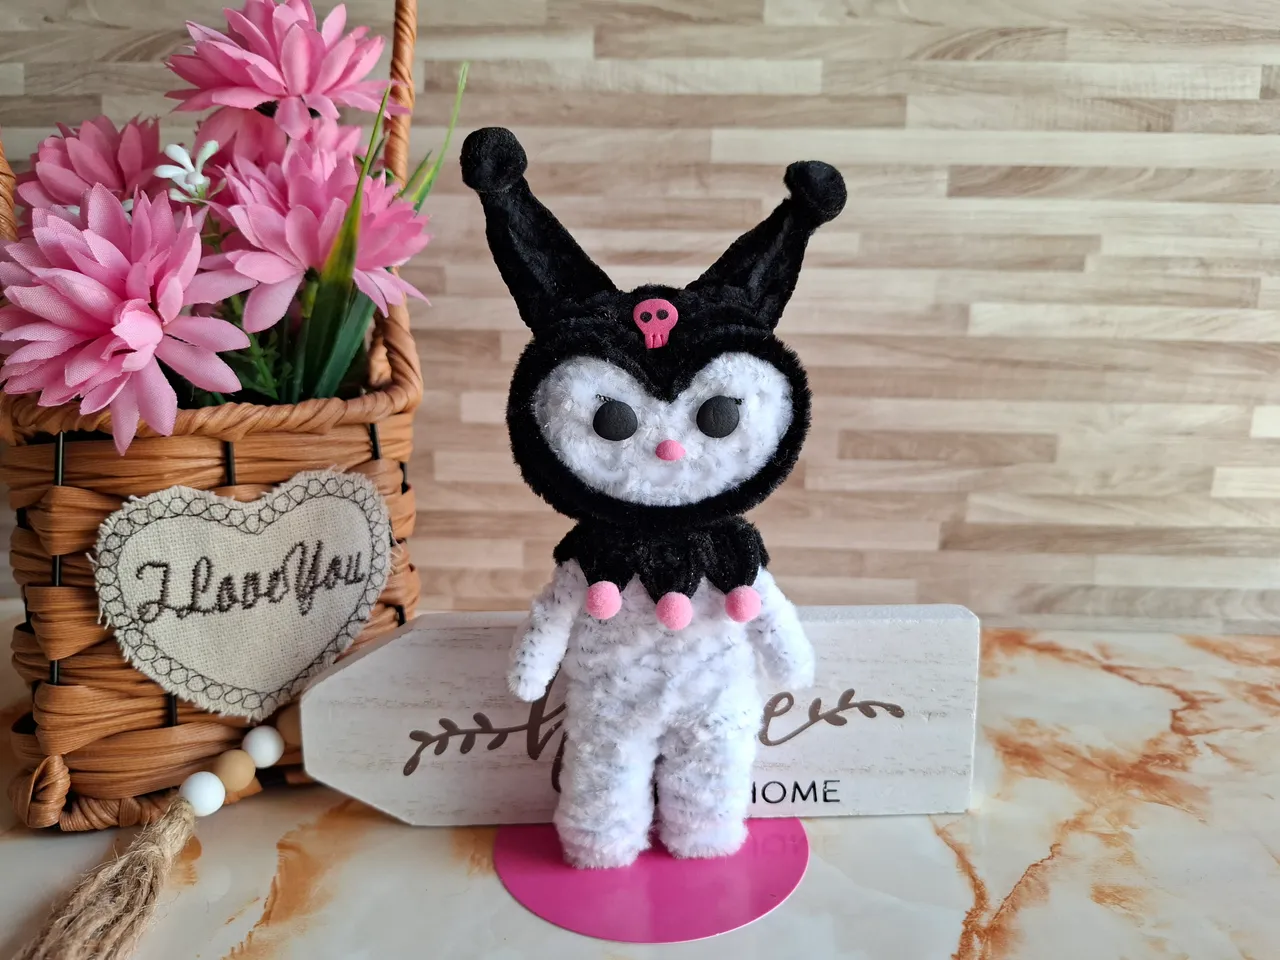
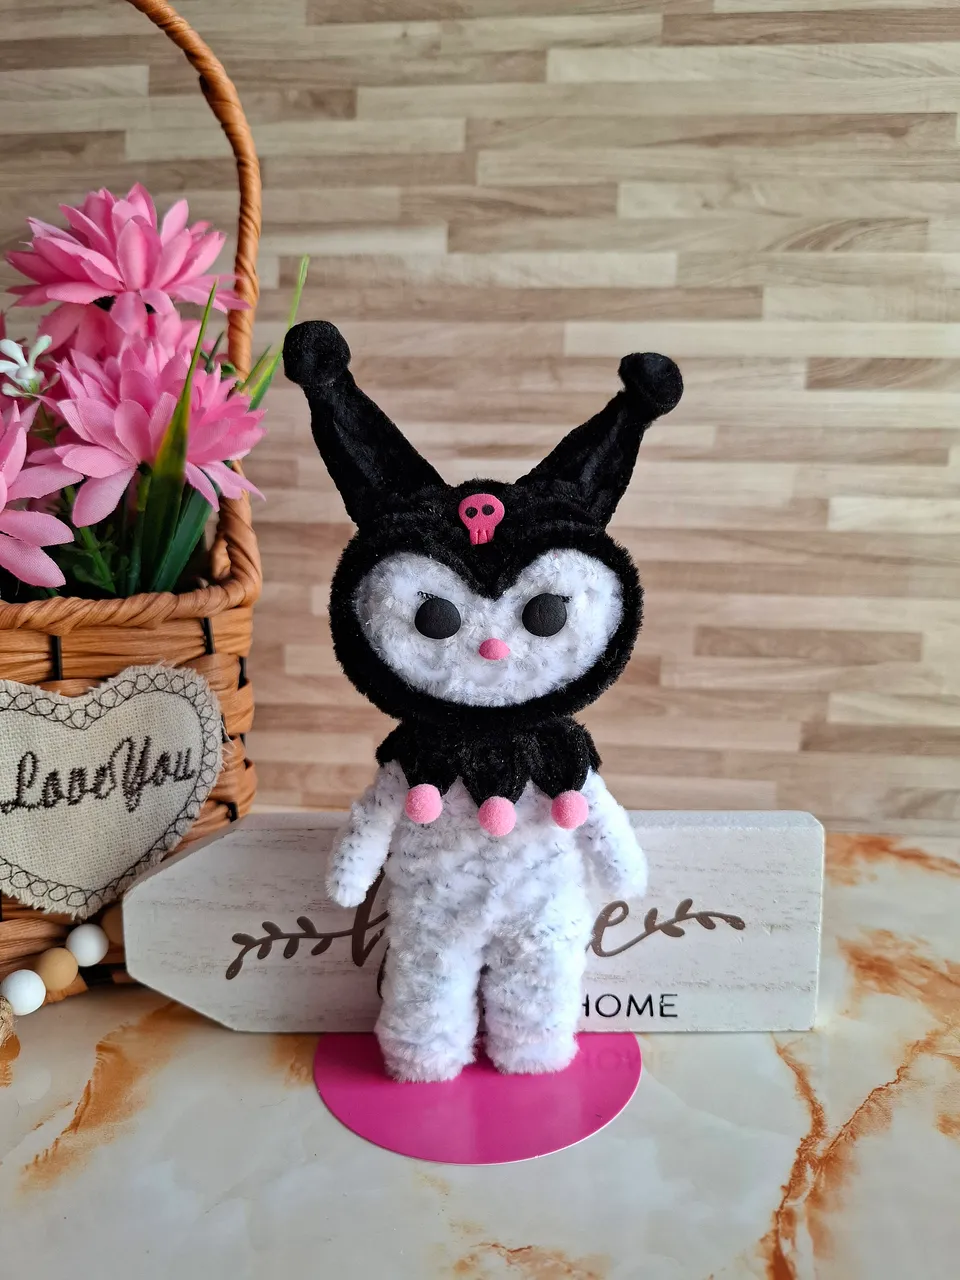
De esta forma terminé a Kuromi, espero les haya gustado el resultado, muchas gracias por visitar mi publicación nos vemos en una próxima oportunidad con más ideas creativas.
This is how I finished Kuromi. I hope you liked the result. Thank you very much for visiting my post. I'll see you next time with more creative ideas.
Más del resultado final:
More of the final result: