Felíz lunes e inicio de semana querida comunidad Hive Diy, saludos a los miembros que hacen parte de esta maravillosa comunidad, cada día compartiendo parte de su talento, les cuento que desde que comencé a trabajar con los limpiapipas me he interesado mucho en realizar diferentes figuras decorativas, llaveros que incluso sirven para obsequio y vender.
Happy Monday and start of the week, dear Hive Diy community, greetings to the members who are part of this wonderful community, each day sharing part of their talent. I tell you that since I started working with pipe cleaners I have become very interested in making different decorative figures, keychains that even serve as gifts and for sale.
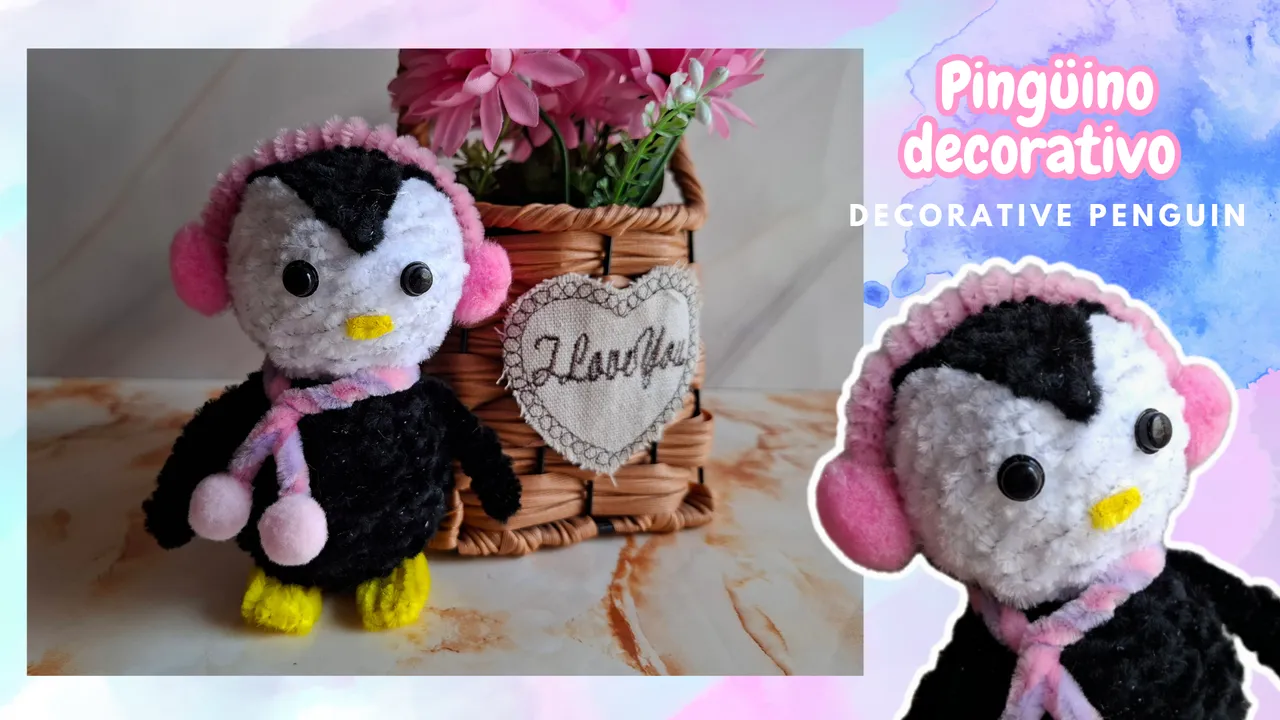
En esta ocasión realicé un pingüino decorativo con limpiapipas, y bolita de anime, me inspiré de uno tejido que busque en Pinterest Pingüino es fácil de realizar y queda super lindo, espero les guste, a continuación los materiales y el paso a paso.
This time I made a decorative penguin with pipe cleaners and an anime ball. I was inspired by a woven one that I found on Pinterest Penguin. It is easy to make and looks super cute. I hope you like it. Below are the materials and the step-by-step instructions.

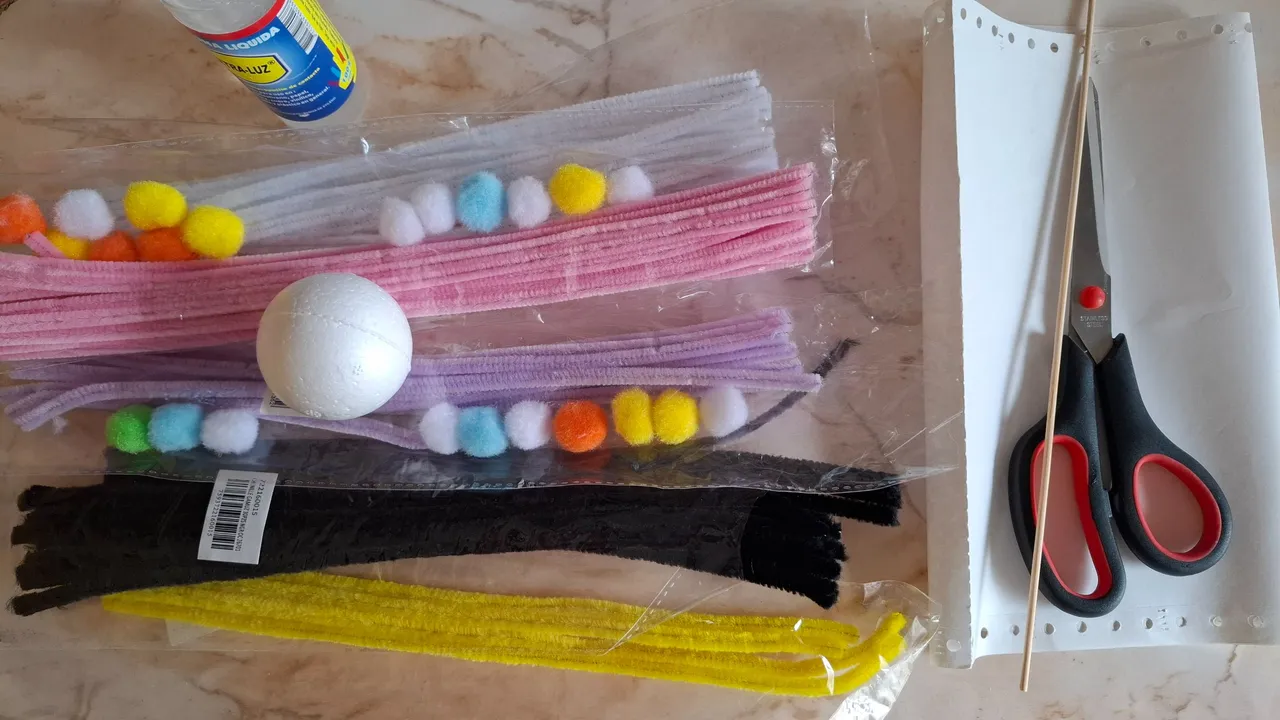
| Materiales | Materials |
|---|---|
| Limpiapipas negro | black pipe cleaner |
| Limpiapipas blanco | white pipe cleaner |
| Limpiapipas rosa y morado | Pink and purple pipe cleaners |
| Limpiapipas amarillo | yellow pipe cleaner |
| Pompones rosados | Pink pom poms |
| Tijera | Scissors |
| Silicón | Silicone |
| Palillo | Toothpick |
| Adhesivo transparente | Transparent adhesive |
| Esfera de anime # 5 | Anime Sphere #5 |
Paso a paso / Step by step
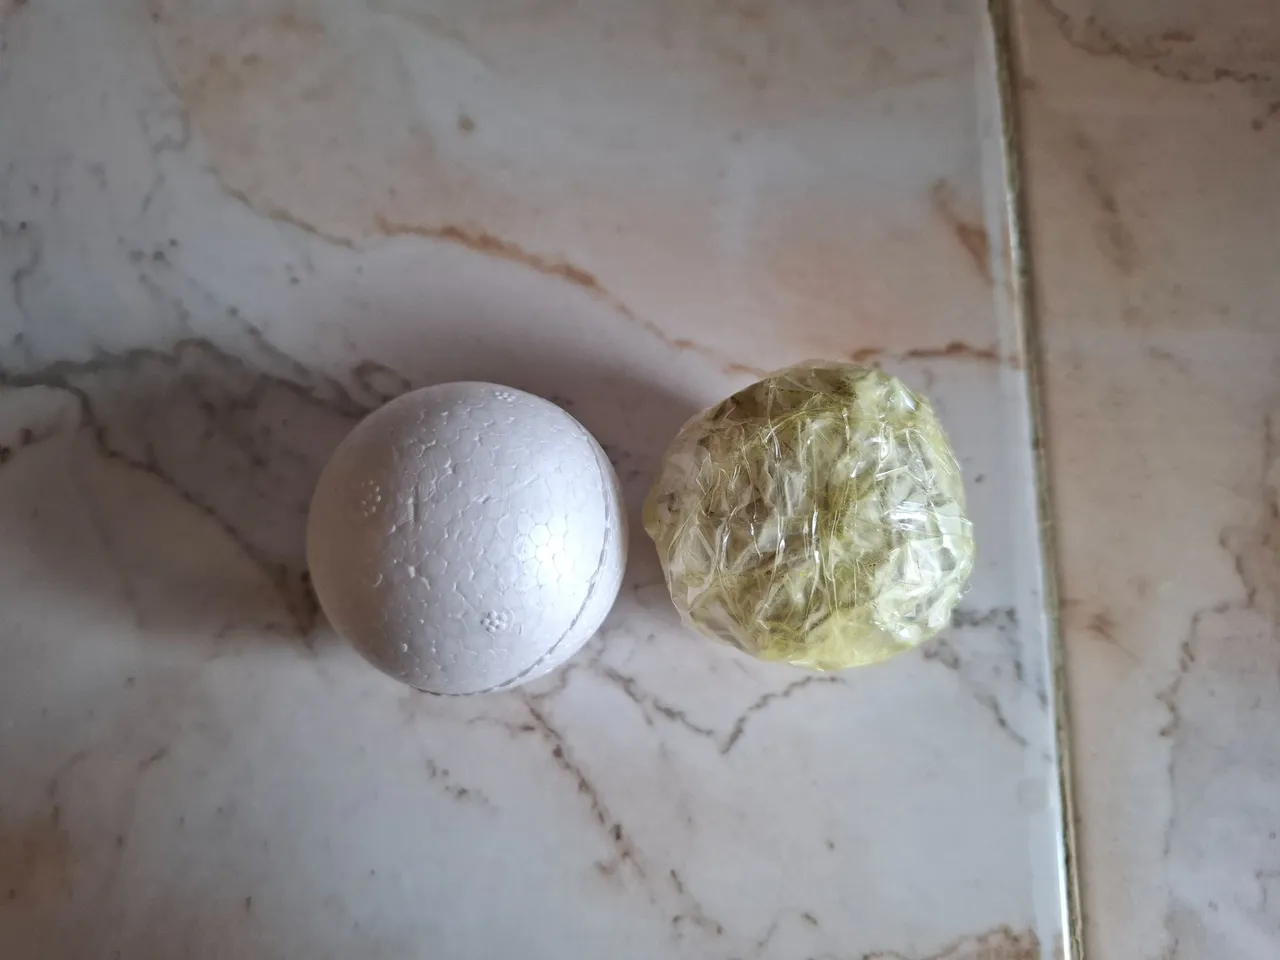
El primer paso se trata de formar una bolita con papel y adhesivo transparente del mismo tamaño de la bolita de anime, todos los limpiapipas que vamos a utilizar primero los vamos a enrollar en un palillo.
The first step is to form a ball with paper and transparent adhesive the same size as the anime ball. All the pipe cleaners we are going to use will first be rolled onto a toothpick.
 |  |
|---|
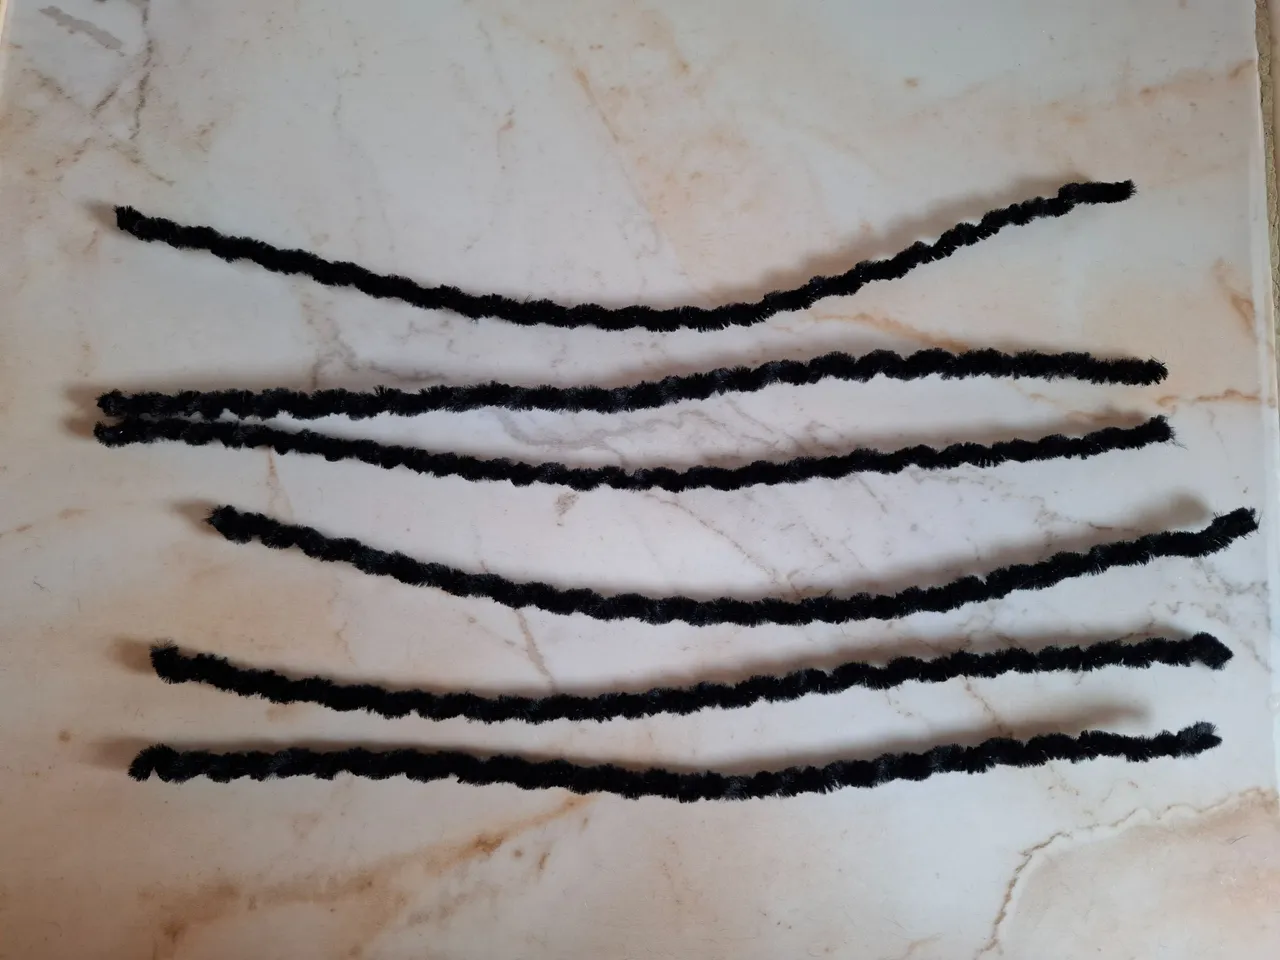
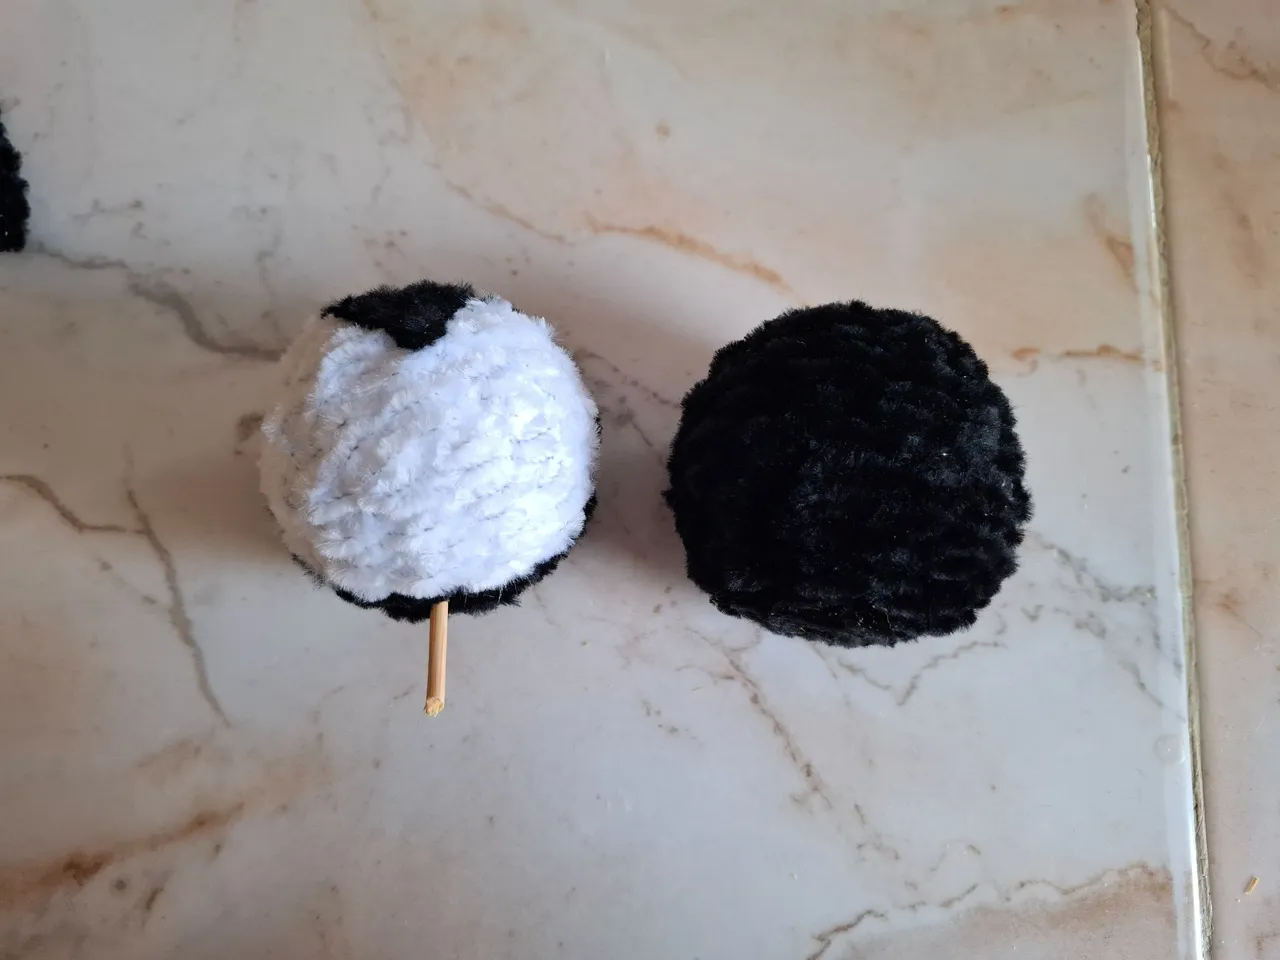
Para el cuerpo utilicé 10 limpiapipas negros, comencé pegando en foami círcular en la parte superior, luego vamos uniendo hasta cubrir por completo la bolita de papel.
For the body I used 10 black pipe cleaners, I started by gluing the circular foam on top, then we joined them until the paper ball was completely covered.
 |  |  |
|---|
 |  |
|---|
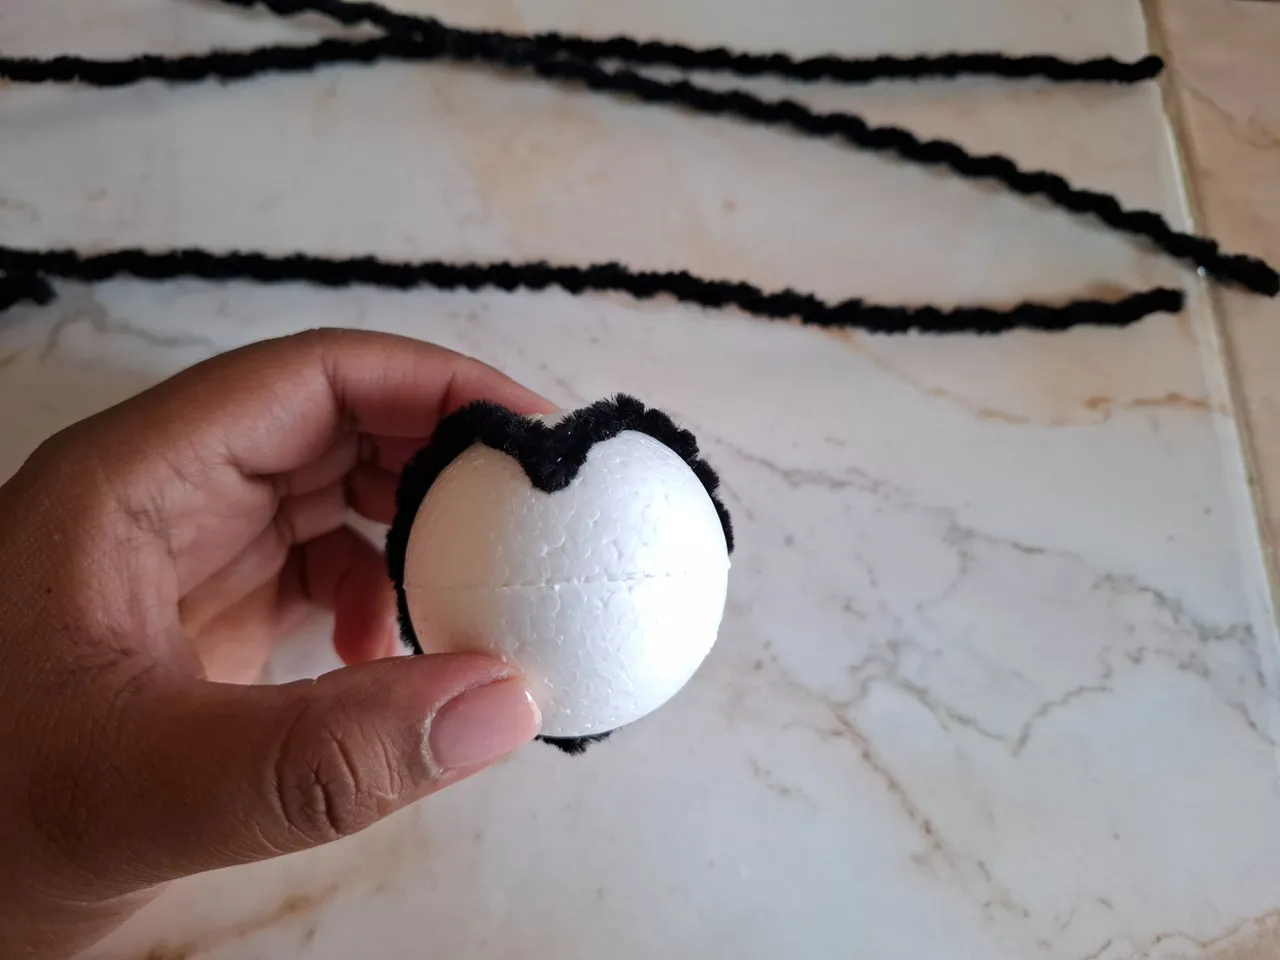
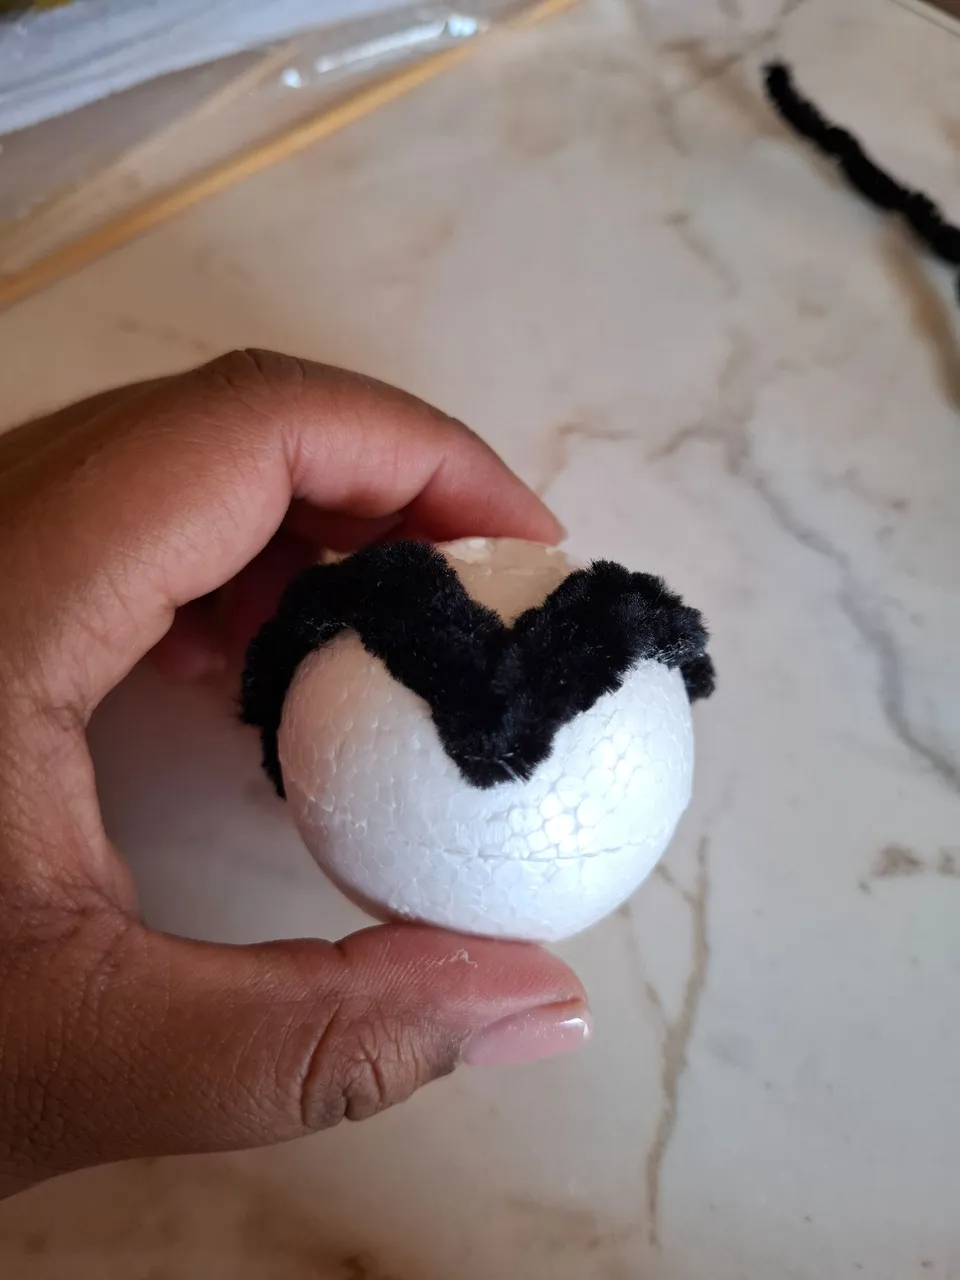
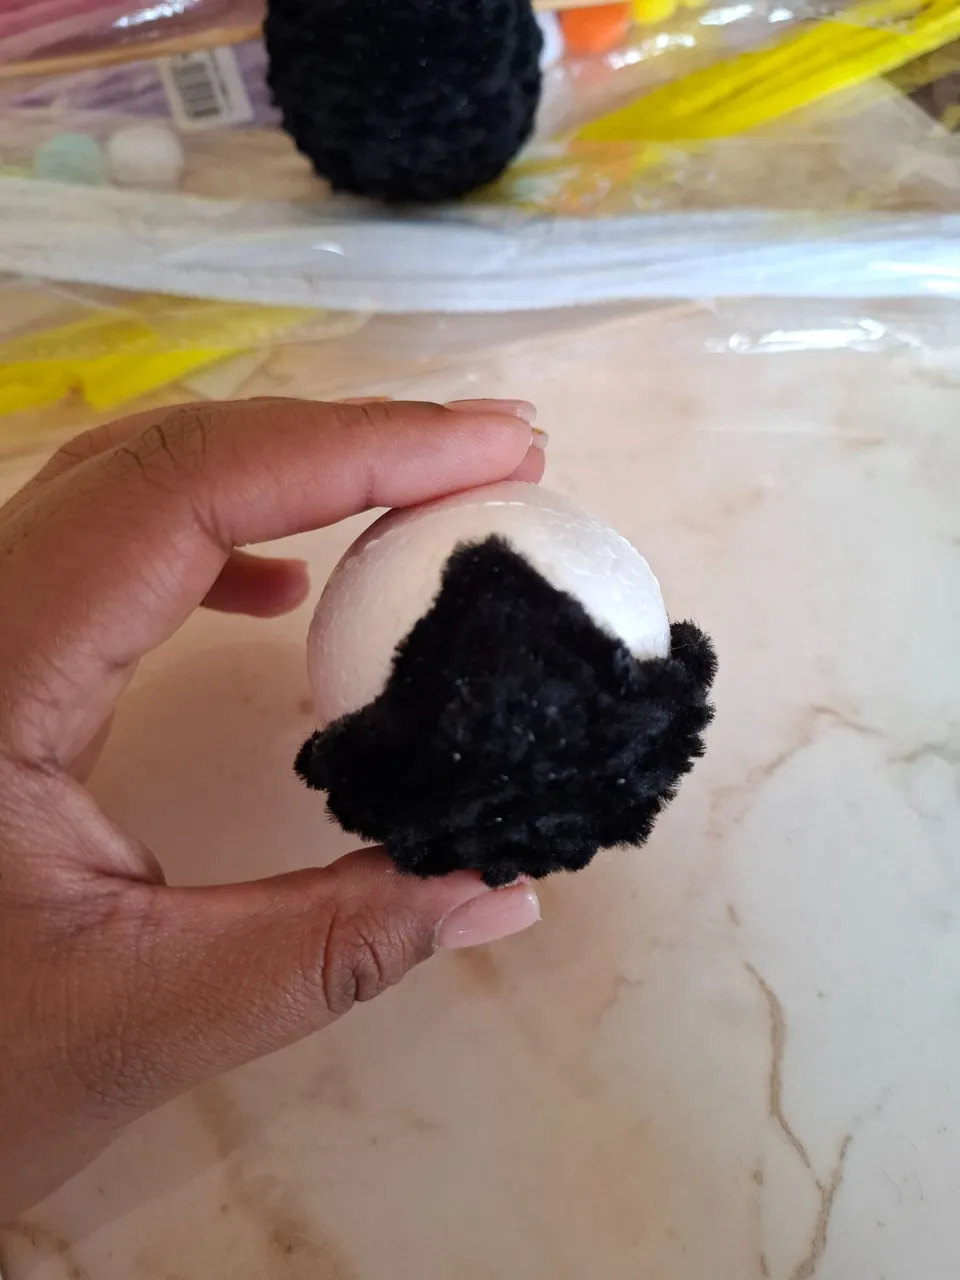
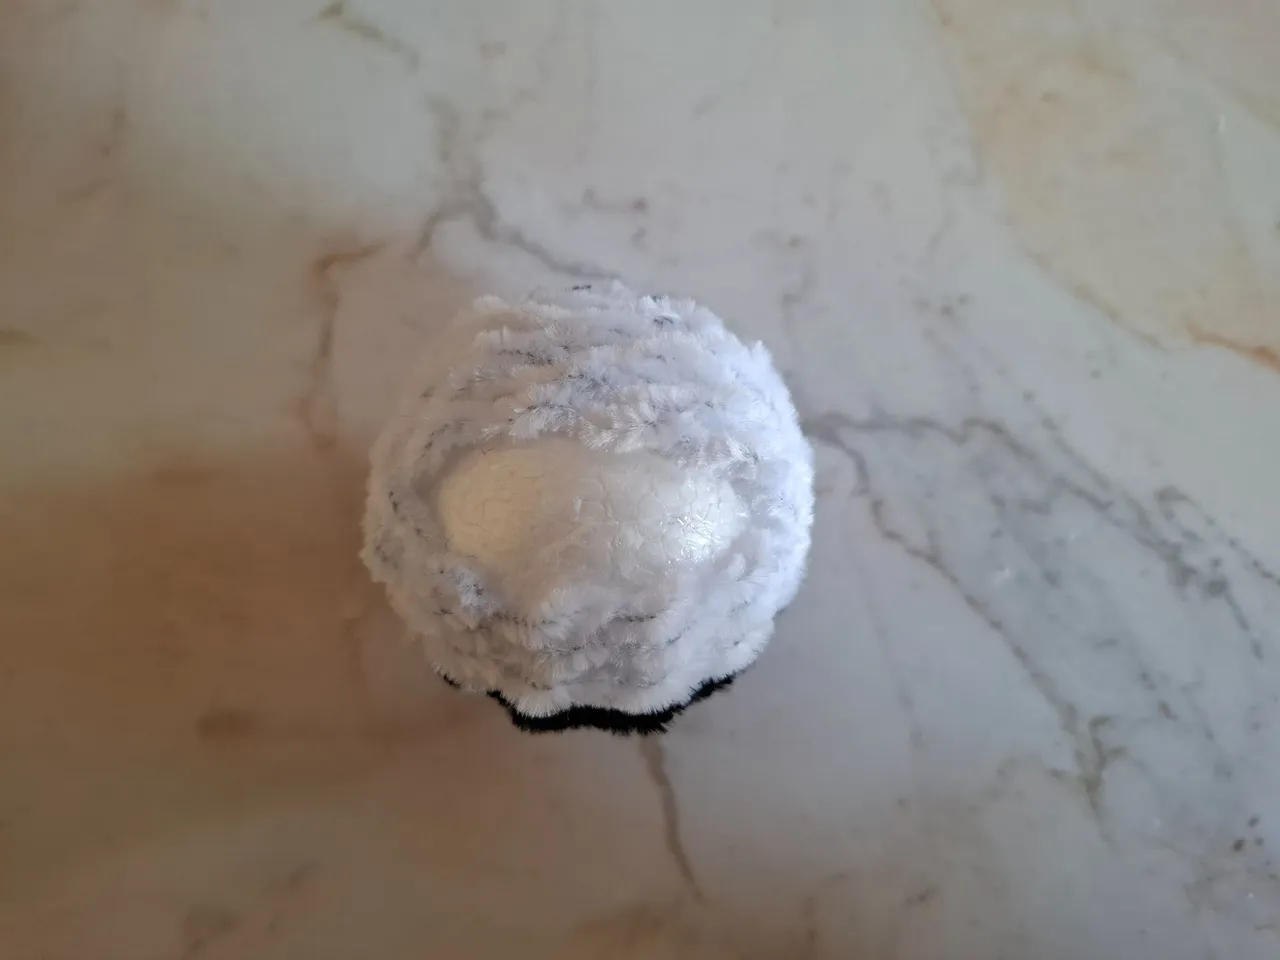
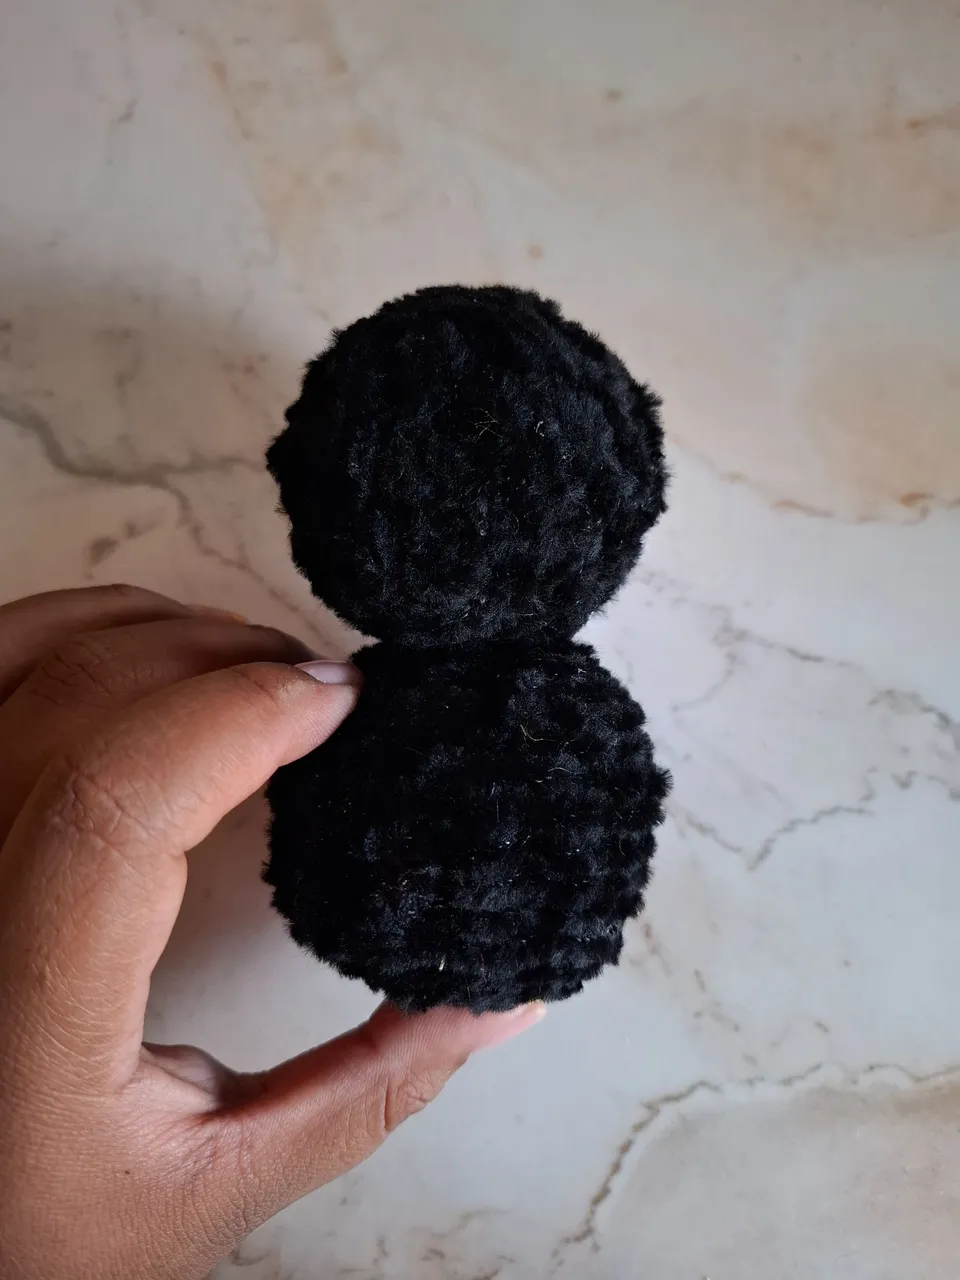
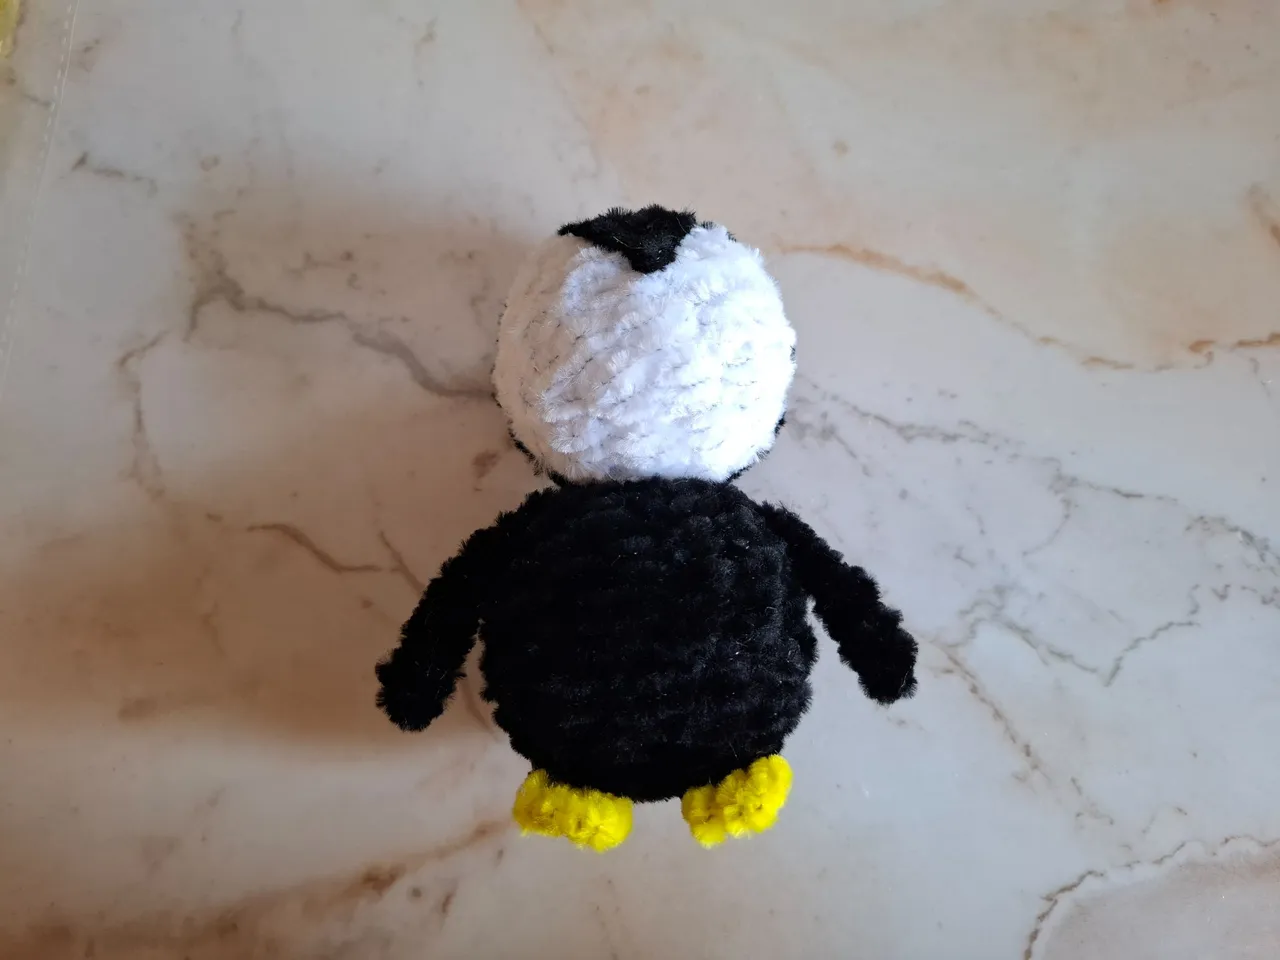
Para la cabeza voy a utilizar aproximadamente unos 8 limpiapipas negros y 6 limpiapipas blancos, para esto utilicé la bolita de anime, voy a comenzar pegando un limpiapipas en forma de V en el centro de la bolita, el sobrante lo vamos a pegar formando un círculo, luego con el resto de limpiapipas negros vamos a rellenar el espacio trasero de la cabeza.
For the head I'm going to use approximately 8 black pipe cleaners and 6 white pipe cleaners, for this I used the anime ball, I'm going to start by gluing a V-shaped pipe cleaner in the center of the ball, we're going to glue the excess in the shape of a circle, then with the rest of the black pipe cleaners we're going to fill the space at the back of the head.
 |  |  |
|---|
 |  |
|---|
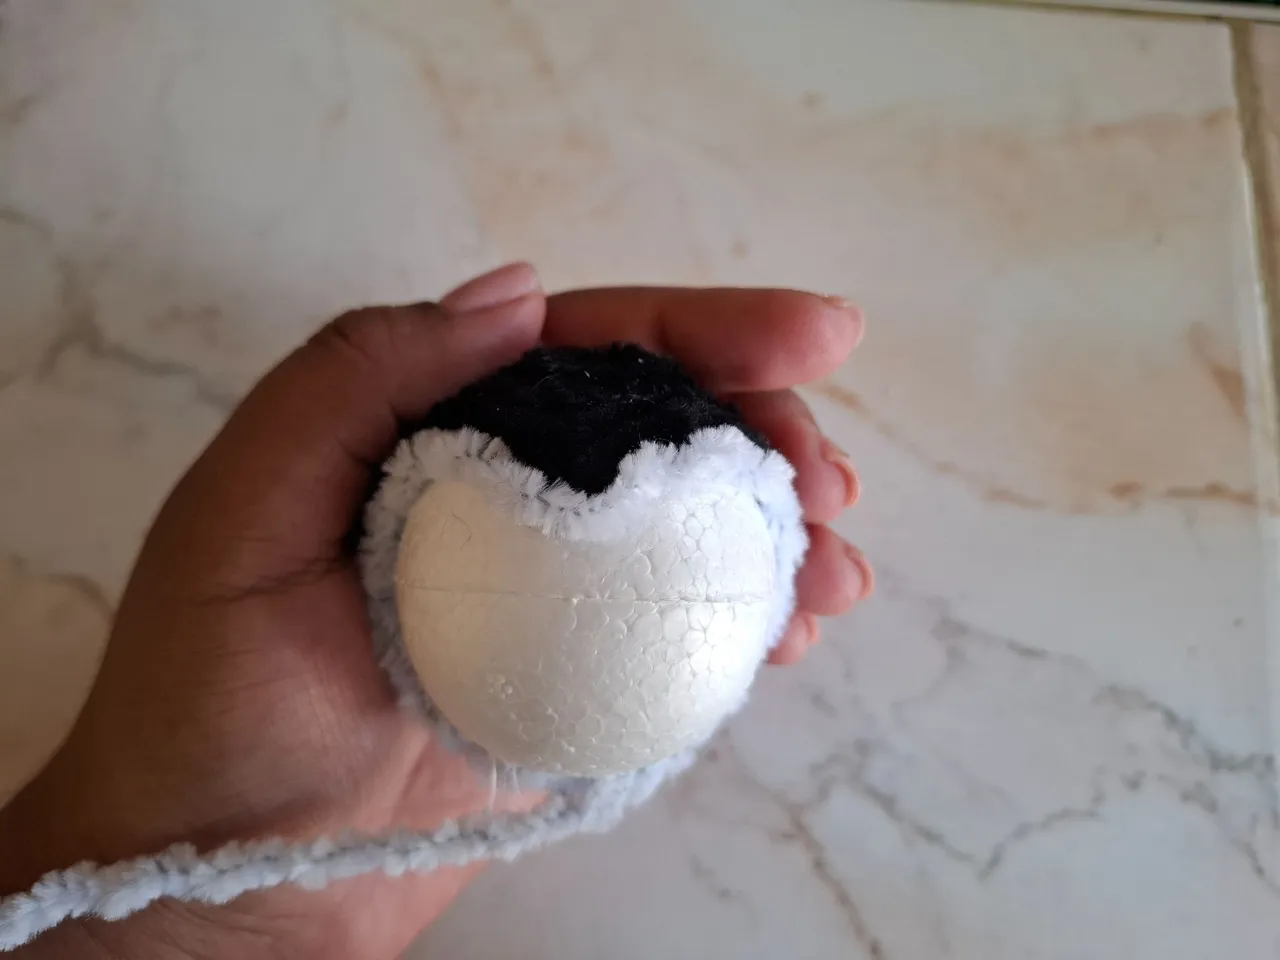
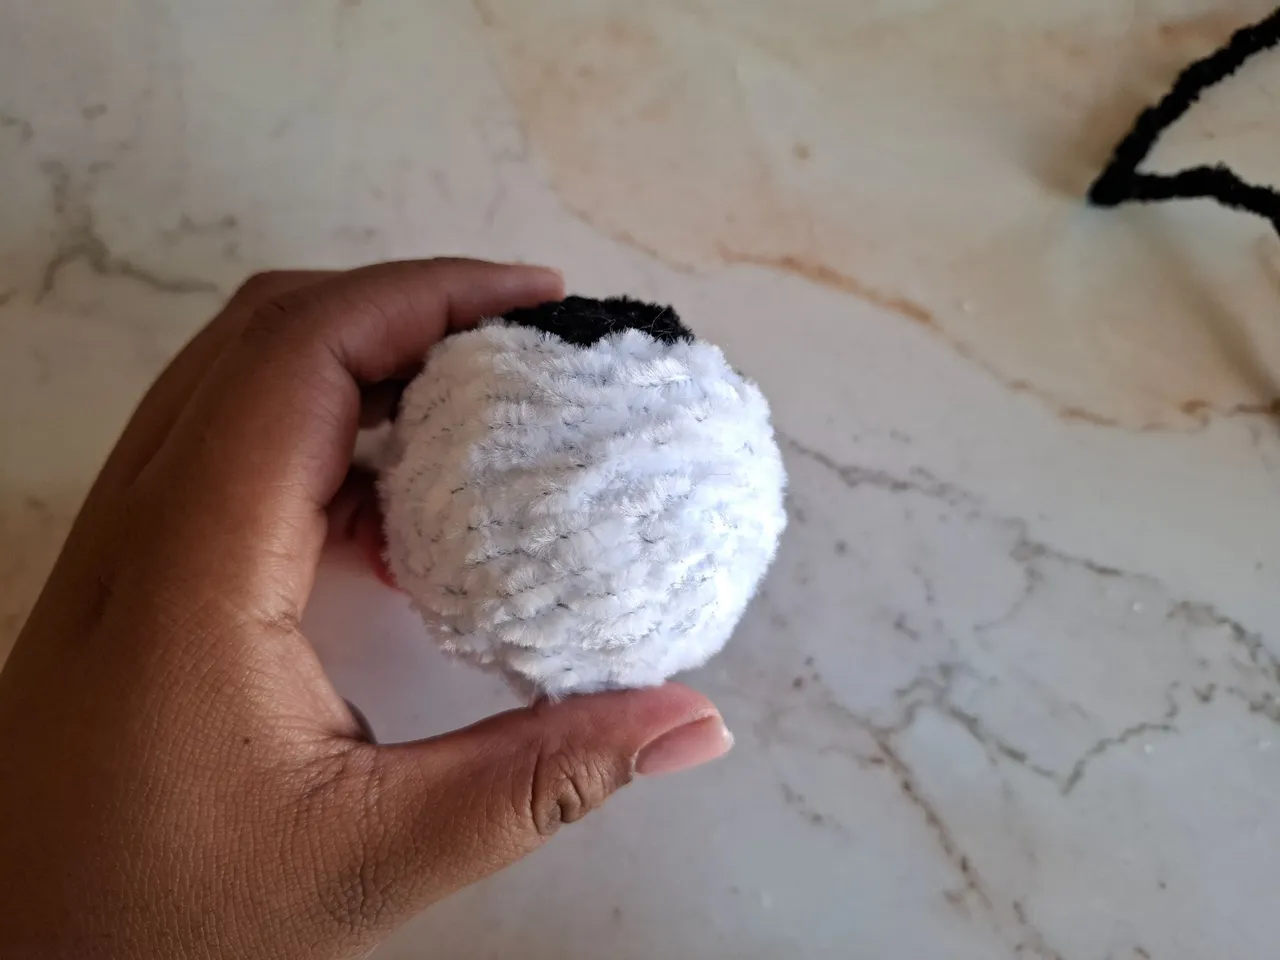
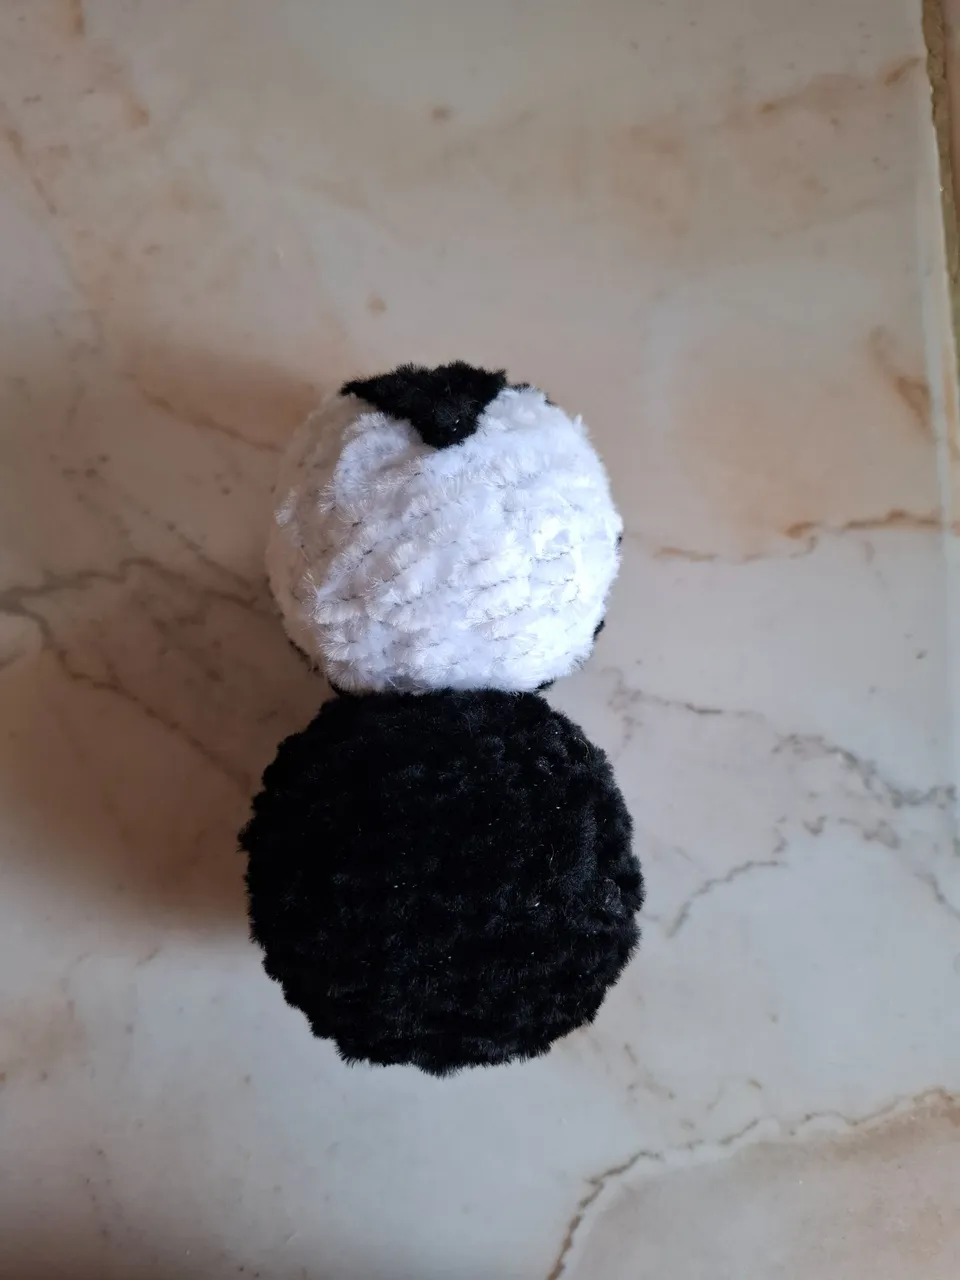
Para la parte frontal de la cabeza vamos a rellenar con limpiapipas blancos, puedes colocar un limpiapipas más en la separación en forma de V para que sea más alargada. Al tener la parte principal del cuerpo vamos a unir ambas con un palillo y silicón.
For the front of the head, we'll fill it with white pipe cleaners. You can place another pipe cleaner in the V-shaped gap to make it longer. Once we have the main body part, we'll join the two together with a toothpick and silicone glue.
 |  |
|---|
 |  |
|---|
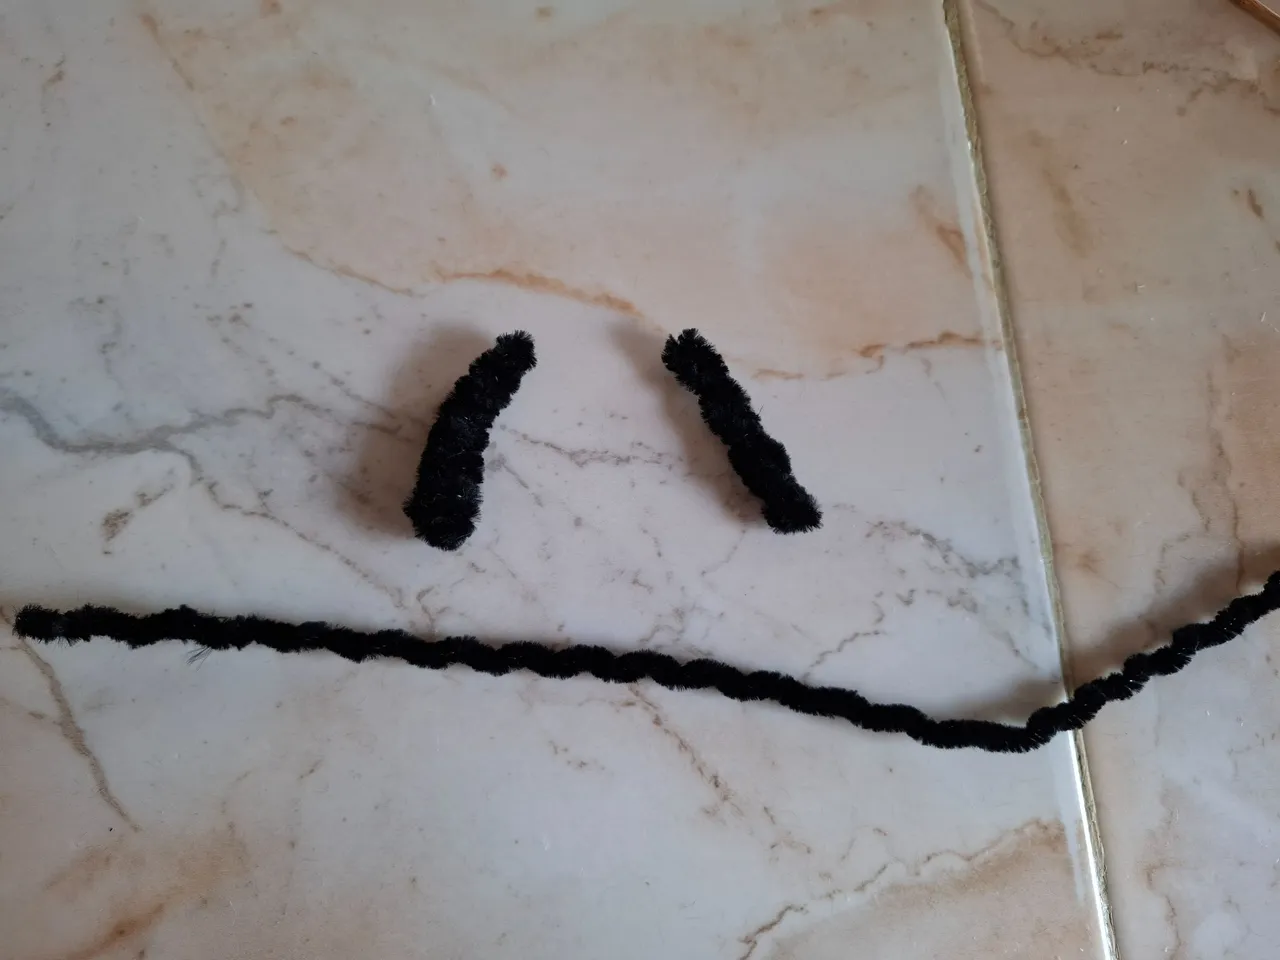
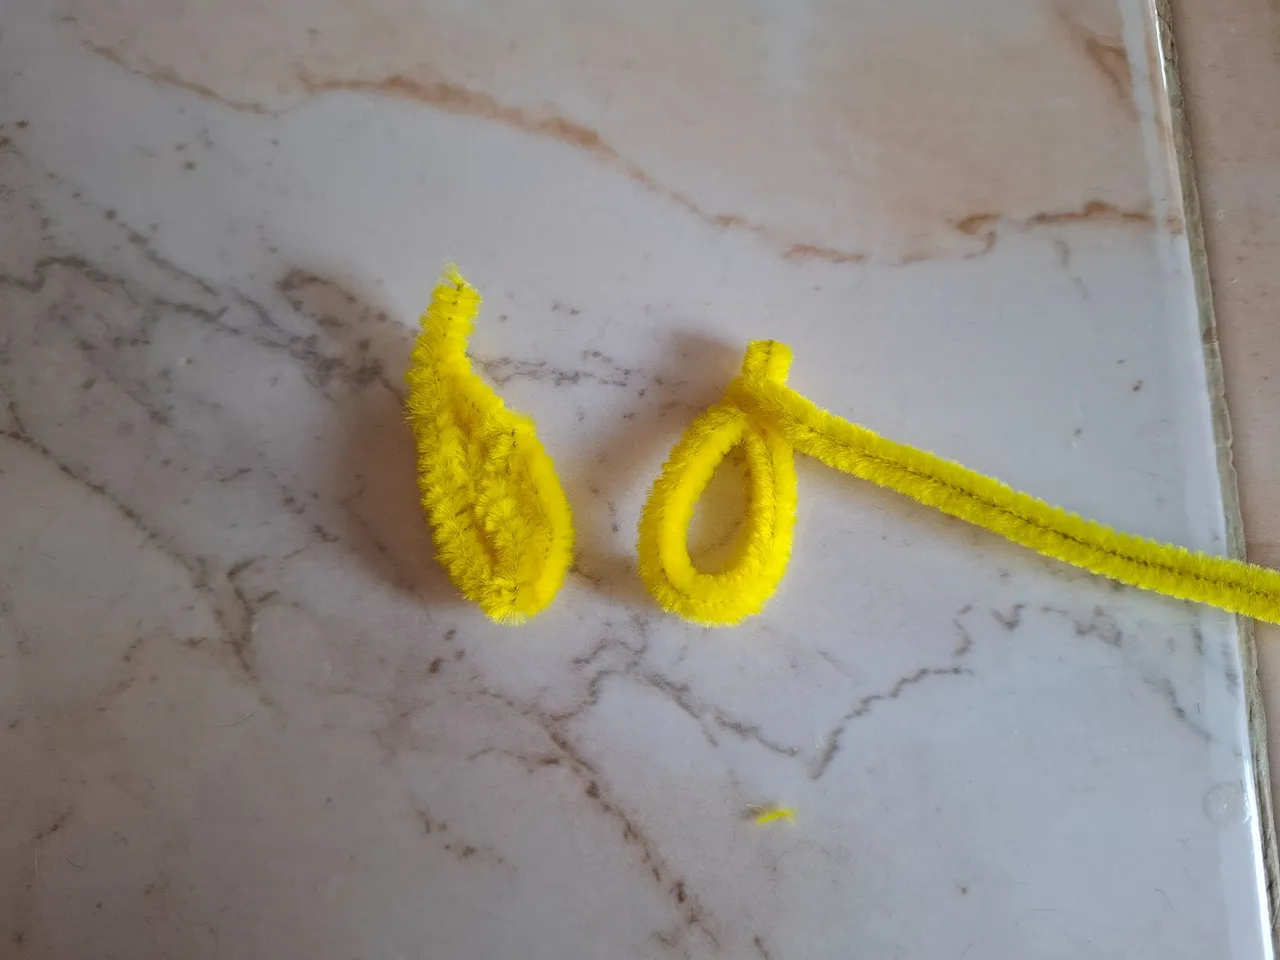
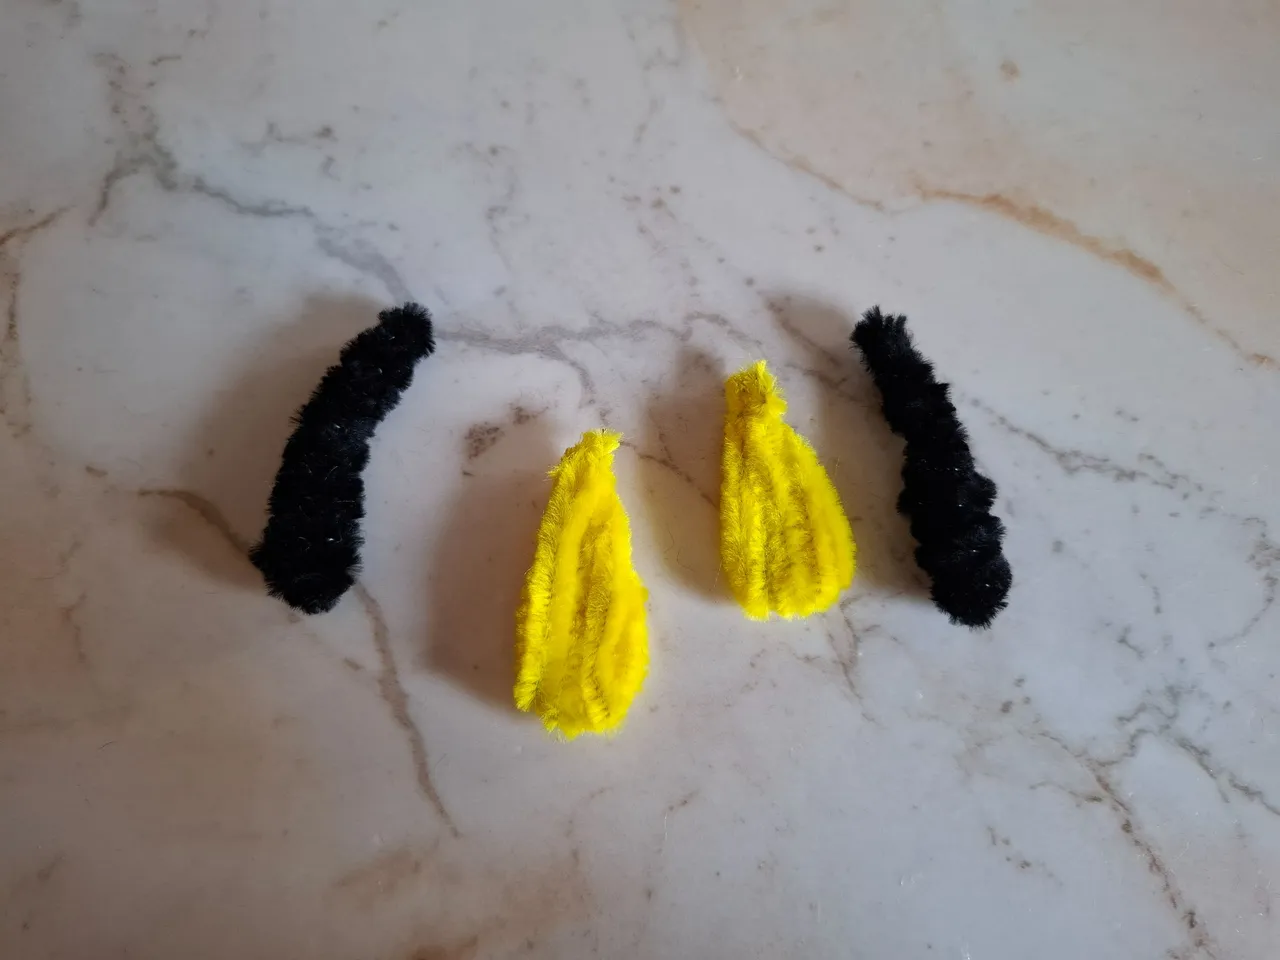
Para realizar los brazos vamos a doblar dos mitad de limpiapipas, y en cada uno voy a enrollar un limpiapipas, para las patitas voy a formar un círculo algo alargado cubrimos con el limpiapipas amarillo y cortamos el sobrante. Pegamos brazos y patitas con silicón caliente.
To make the arms, we'll fold two halves of pipe cleaners, and wrap a pipe cleaner around each one. For the legs, I'll form a slightly elongated circle. Cover with the yellow pipe cleaner and cut off the excess. Glue the arms and legs together with hot glue.
 |  |
|---|
 |  |
|---|
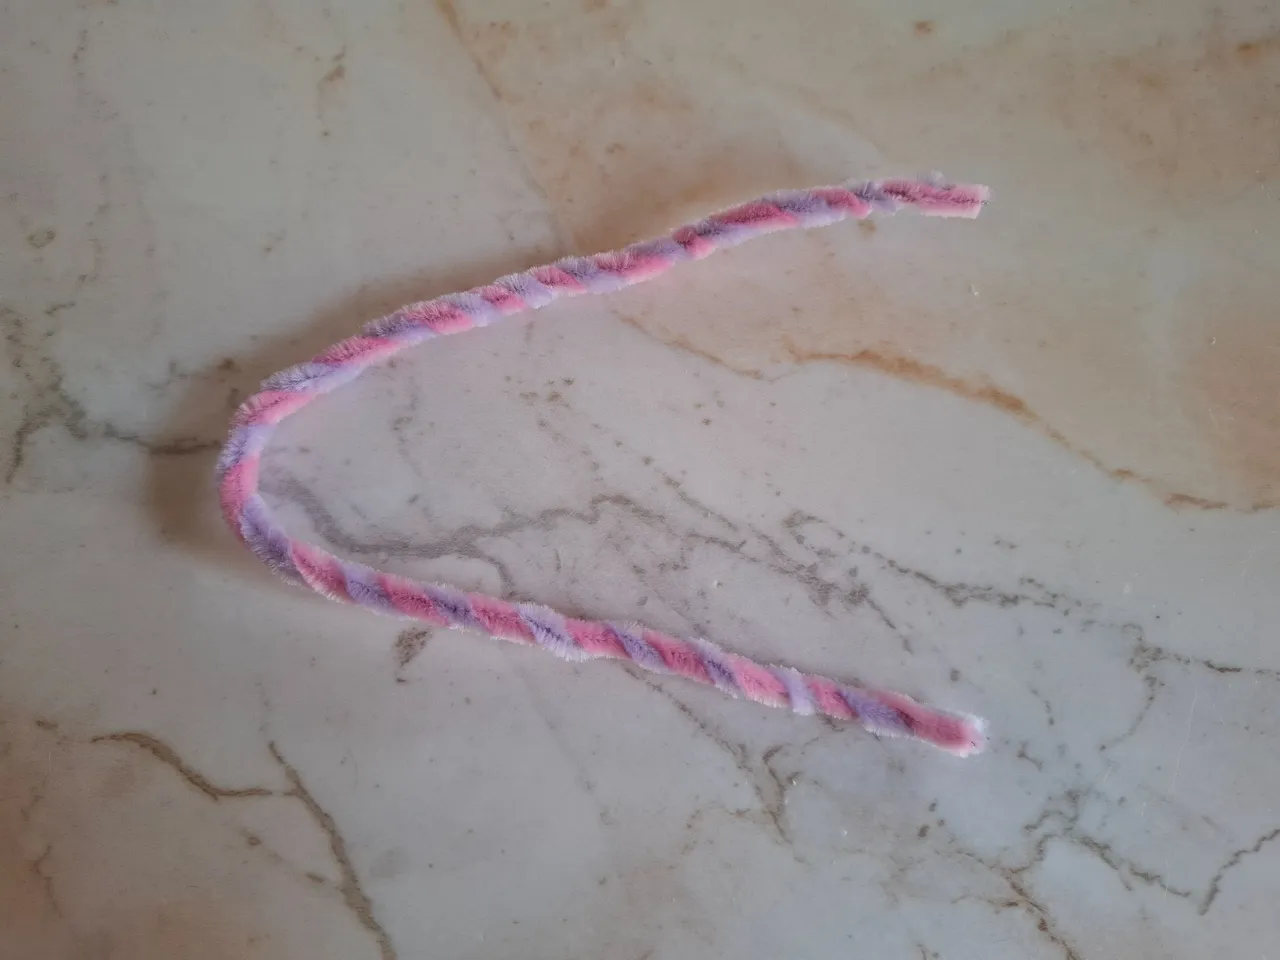
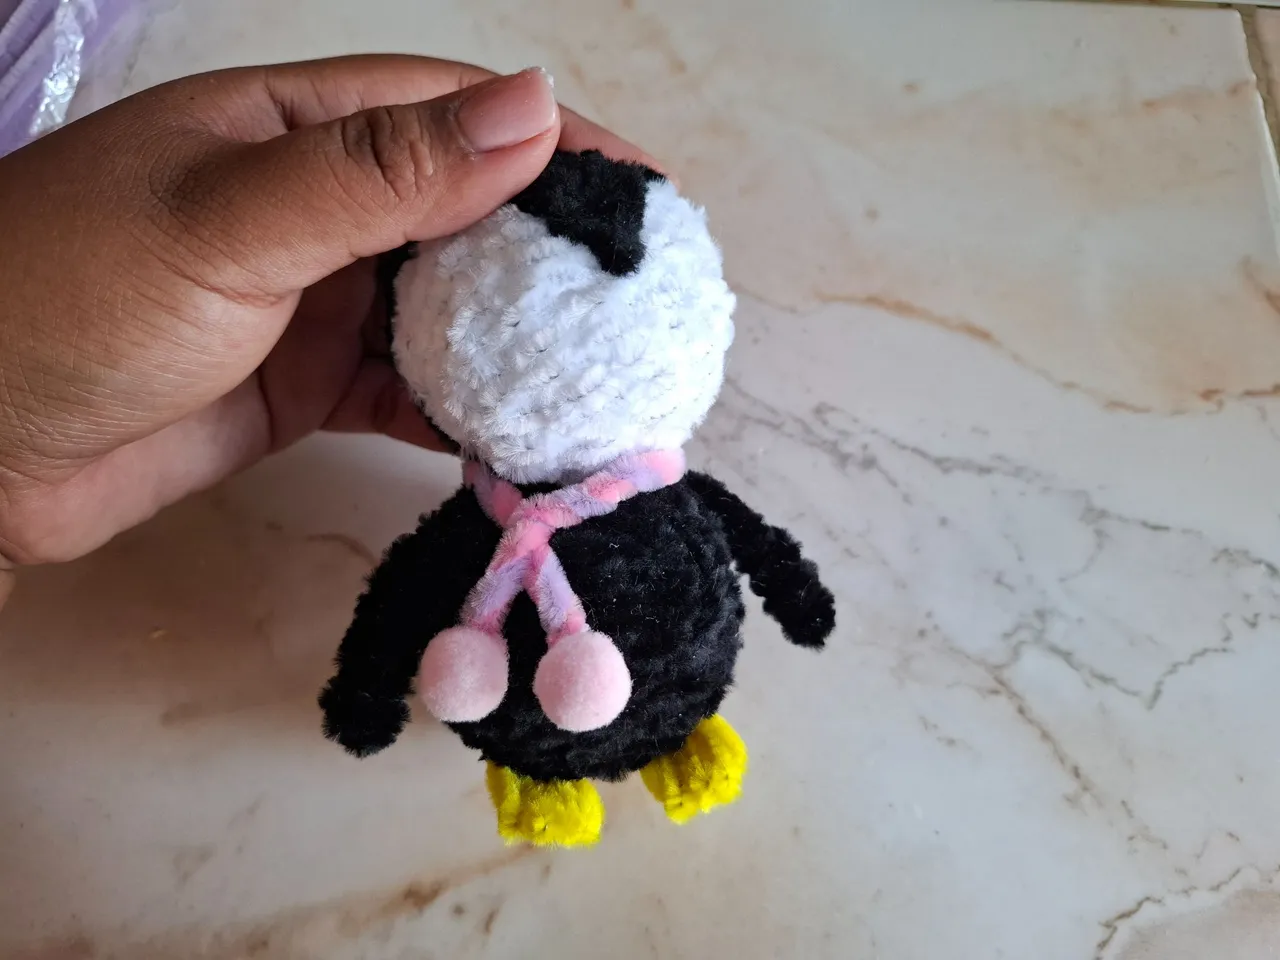
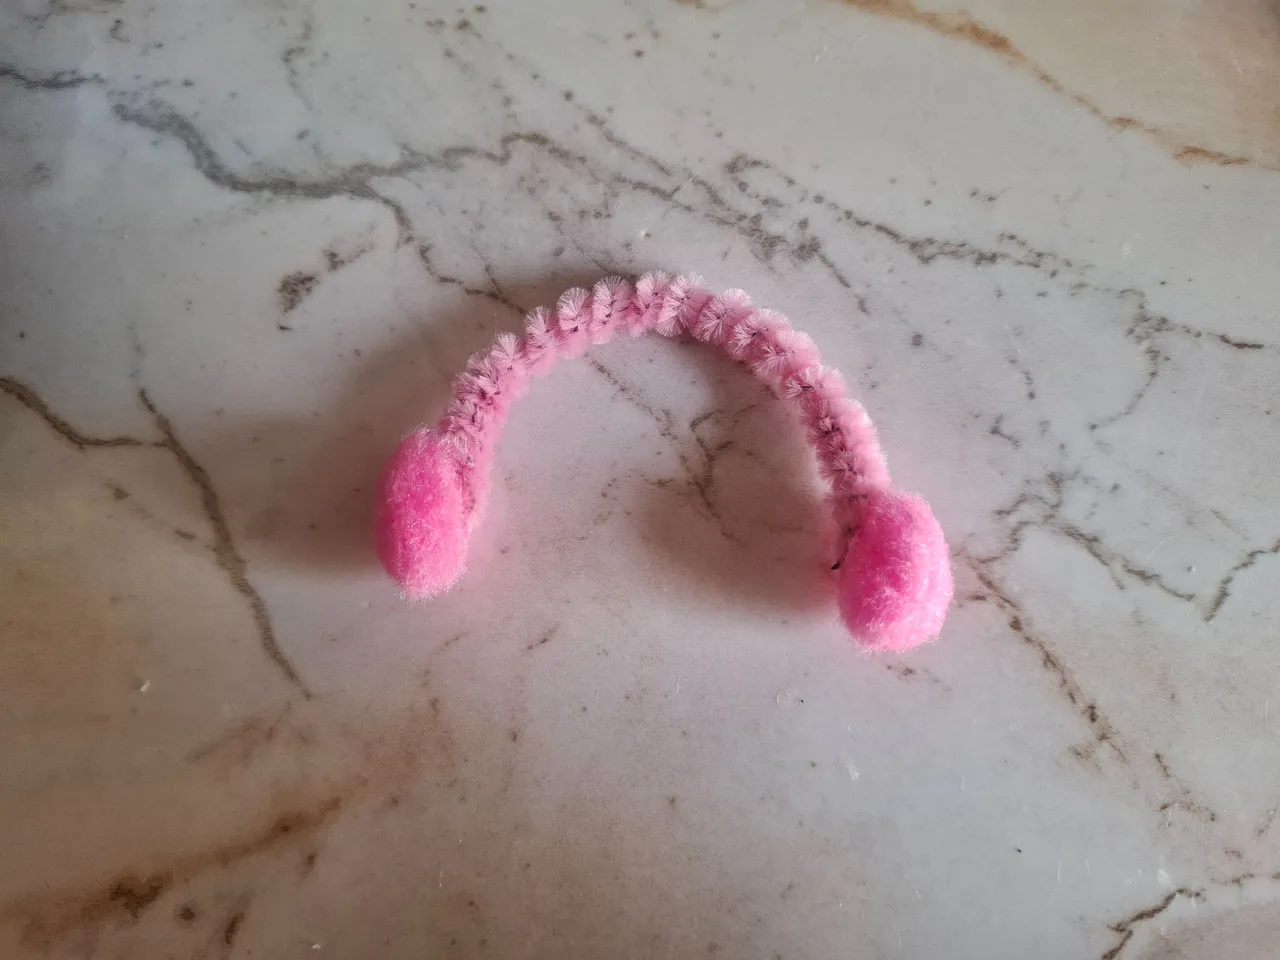
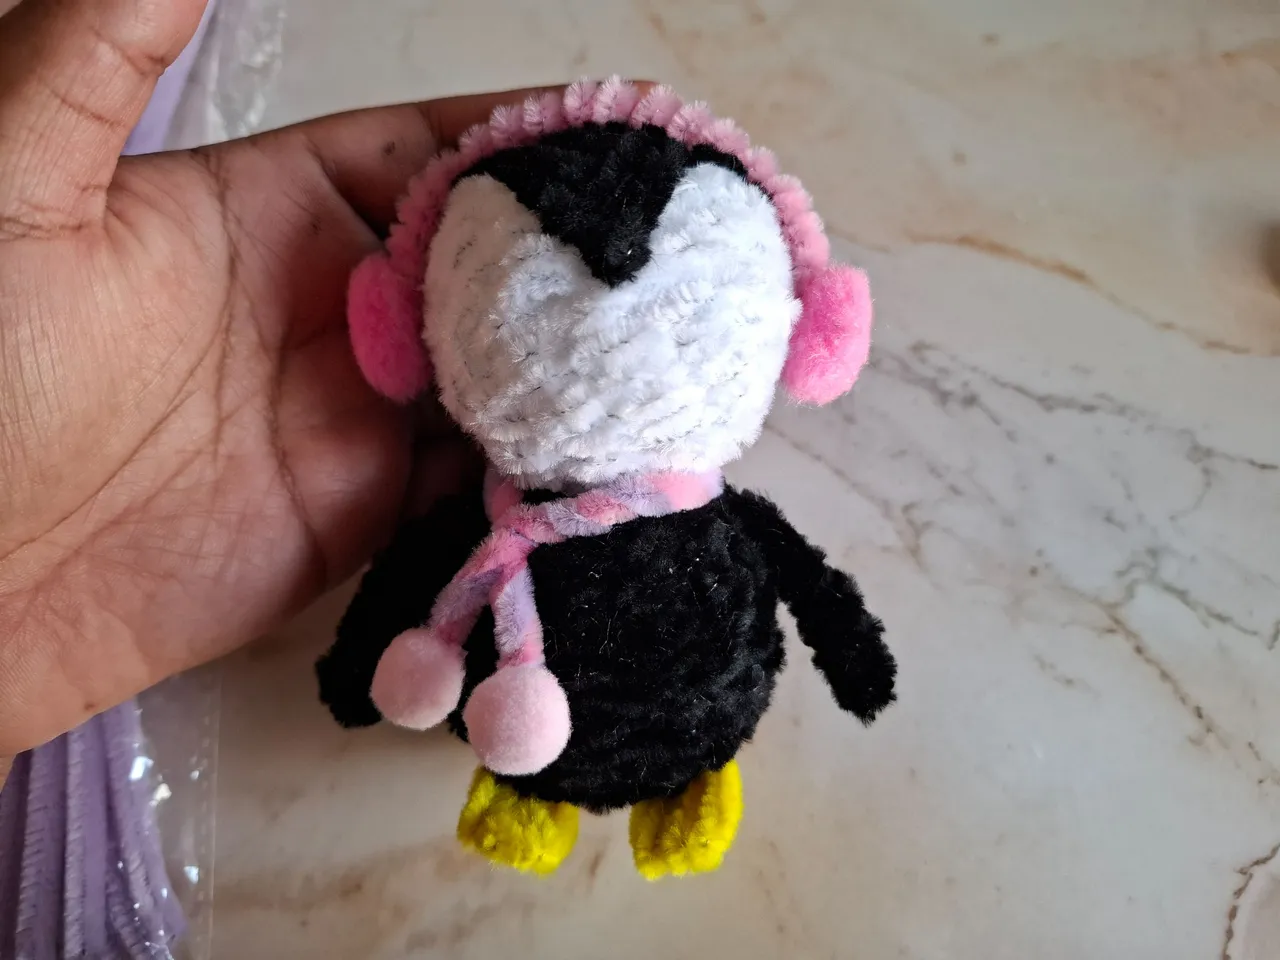
Para realizar la bufanda voy a unir dos limpiapipas uno rosa y uno morado, vamos lo vamos a enrollar en el cuello y cortamos el sobrante en las puntas voy a colocar un pompón rosado, para el accesorio de la cabeza voy a enrollar un limpiapipas en un palillo y sin estirarlo mucho lo colocamos sobre la cabeza y en cada punta un pompón mediano.
To make the scarf I'm going to join two pipe cleaners, one pink and one purple, we're going to wrap it around the neck and cut off the excess at the ends. I'm going to place a pink pompom. For the head accessory I'm going to wrap a pipe cleaner around a toothpick and without stretching it too much we place it on the head and at each end a medium pompom.
 |  |
|---|
 |  |
|---|
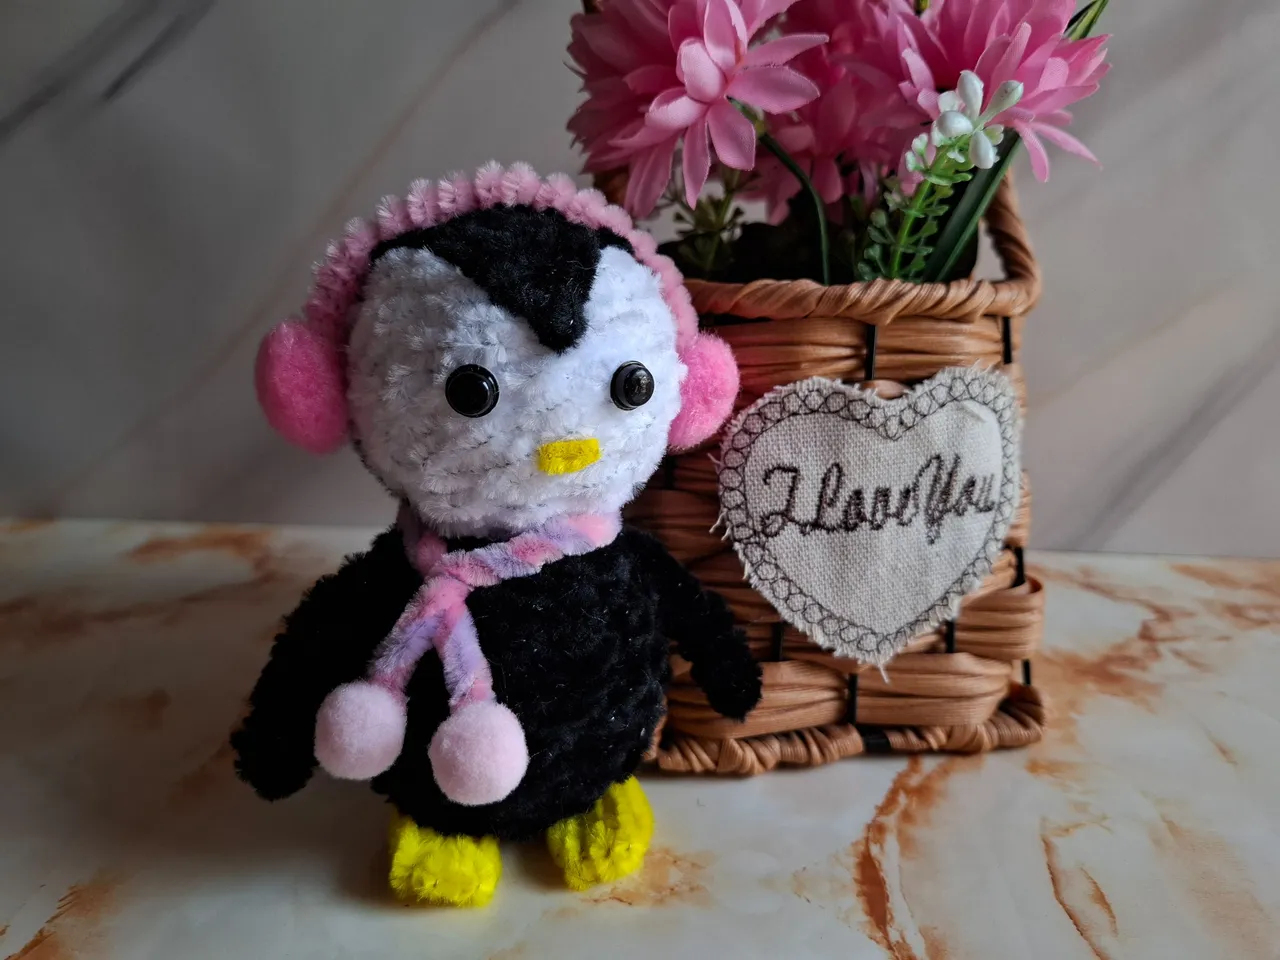
Por último pegamos los ojitos y con un pequeño retazo de limpiapipas colocamos el pico. Y de esta forma terminé este lindo pingüino decorativo o que también puedes realizar para regalar, espero les haya gustado el resultado tanto como a mi, gracias por visitar mi publicación, nos vemos en una próxima oportunidad con más ideas.
Finally, we glued on the eyes and used a small piece of pipe cleaner to attach the beak. And that's how I finished this cute decorative penguin, which you can also make as a gift. I hope you liked the result as much as I did. Thanks for visiting my post. See you next time with more ideas.


Contenido original. - original content.
Los separadores y banner fueron realizados en Canva. - The dividers and banner were made in Canva.
Fotografías tomadas con mi Samsung A55. - Photographs taken with my Samsung A55.
Gif creado desde Giphy / Gif created from Giphy
Traducción de: Google traductor - Translation of: Google translator.