¡Hola mis queridos amigos de Hive! Les cuento que estoy renovando mi mercancía para la venta y también con ello la forma de mostrarla por redes sociales, así que decidí hacer un bonito exhibidor de joyería para collares y zarcillos y que así todo se vea aún más profesional. Esta es una idea útil no solo para subir contenido sobre tus productos a las redes, sino también para emplearlo en tienda física, por lo que te invito a seguir leyendo y aprendas hoy cómo hacer tu propio exhibidor, fácil, económico, rápido y lo más importante, hermoso y elegante.
Hello my dear friends of Hive! I tell you that I am renewing my merchandise for sale and also with it the way to show it on social networks, so I decided to make a nice jewelry display for necklaces and earrings and so everything looks even more professional. This is a useful idea not only to upload content about your products to the networks, but also to use it in a physical store, so I invite you to keep reading and learn today how to make your own display, easy, economical, fast and most importantly, beautiful and elegant.
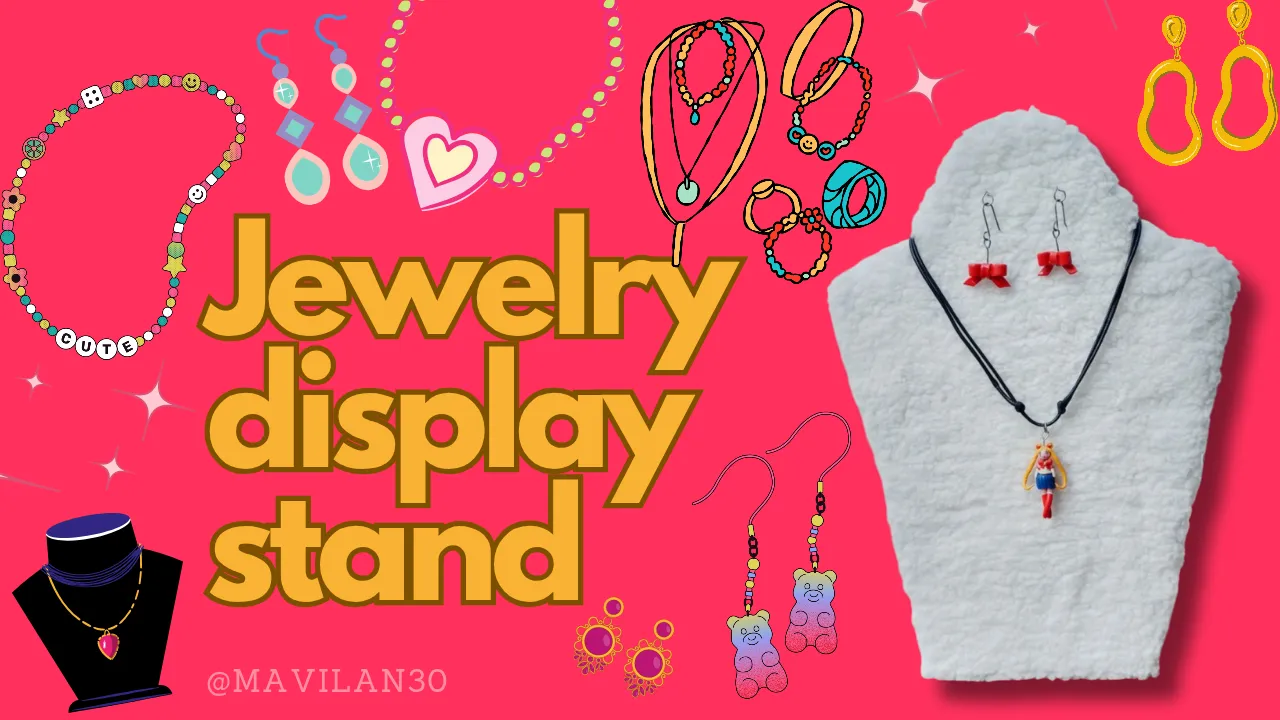
Imagen creada por mí en Canva / Image created by me in Canva
Materiales:
- Tela de peluche blanca
- Cartón
- Papel
- Silicón Caliente
- Alfileres de ojo
- Tijeras
- Cúter
- Lápiz/Marcador
Procedimiento:
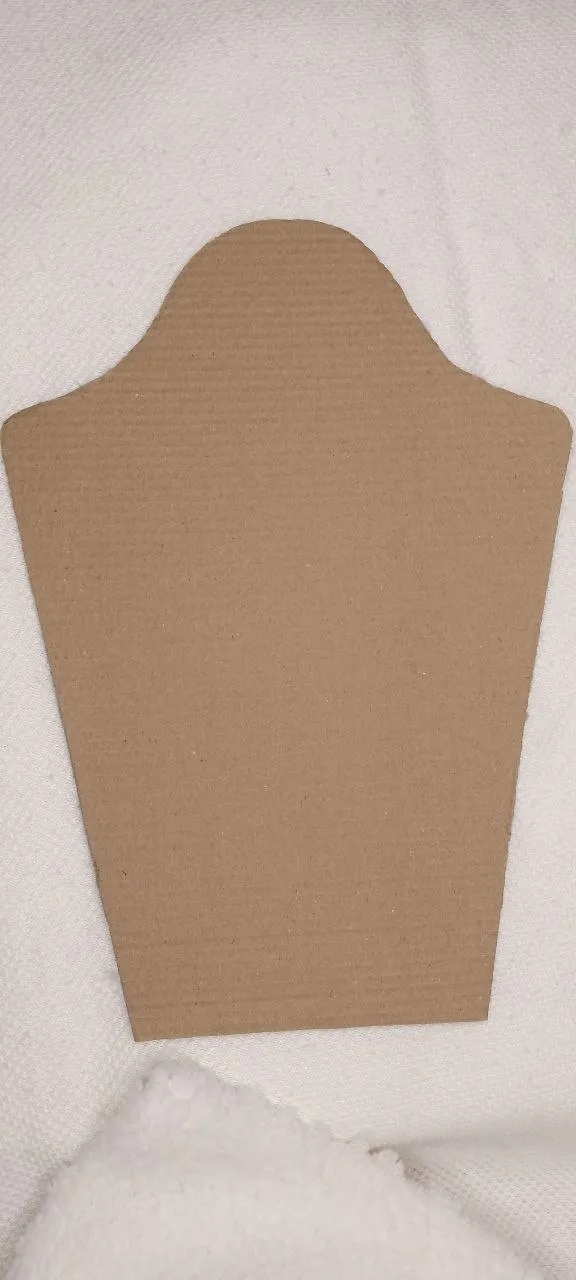
Iniciamos haciendo el patrón en papel, es bueno doblar la hoja a la mitad y dibujar un solo lado de la figura, para que al recortar quede totalmente simétrico. Usando el patrón, lo marcaremos en el cartón, yo he usado el de una caja, ya que debe ser un cartón rígido para que todo se sostenga. Recortamos el cartón con ayuda del cúter y de las tijeras.
Materials:
- White plush fabric
- Cardboard
- Paper
- Hot Silicone
- Eye pins
- Scissors
- Cutter
- Pencil/Marker
Procedure:
We start by making the pattern on paper, it is good to fold the sheet in half and draw only one side of the figure, so that when we cut it out it will be completely symmetrical. Using the pattern, we will mark it on the cardboard, I have used the cardboard of a box, since it must be a rigid cardboard so that everything is supported. Cut the cardboard with the help of the cutter and scissors.
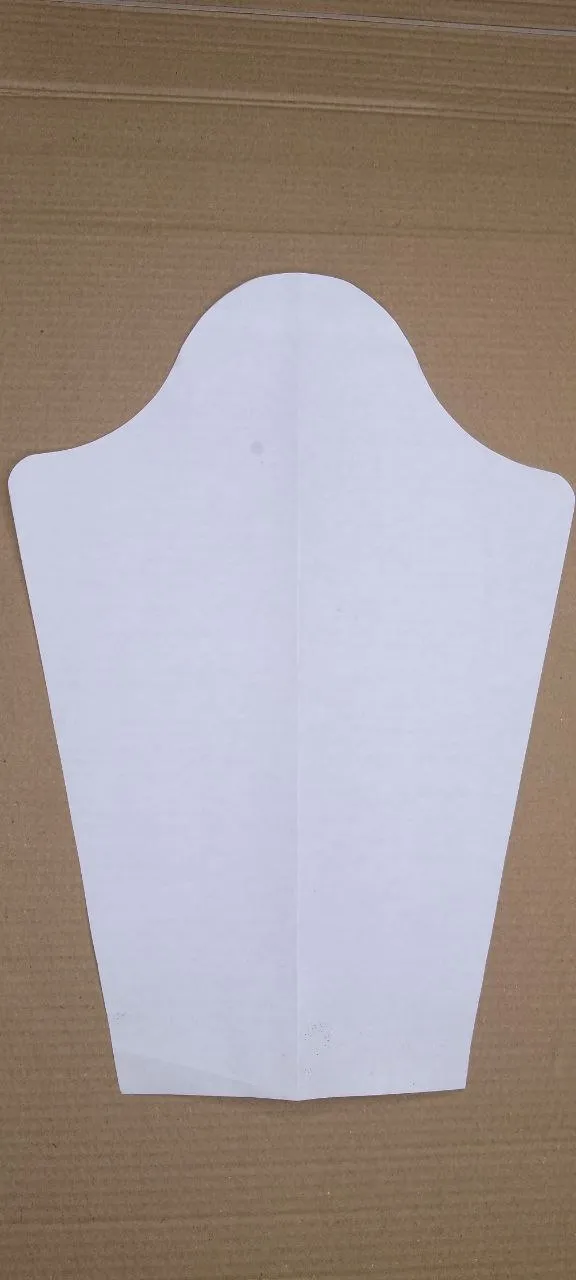
Patrón / Pattern
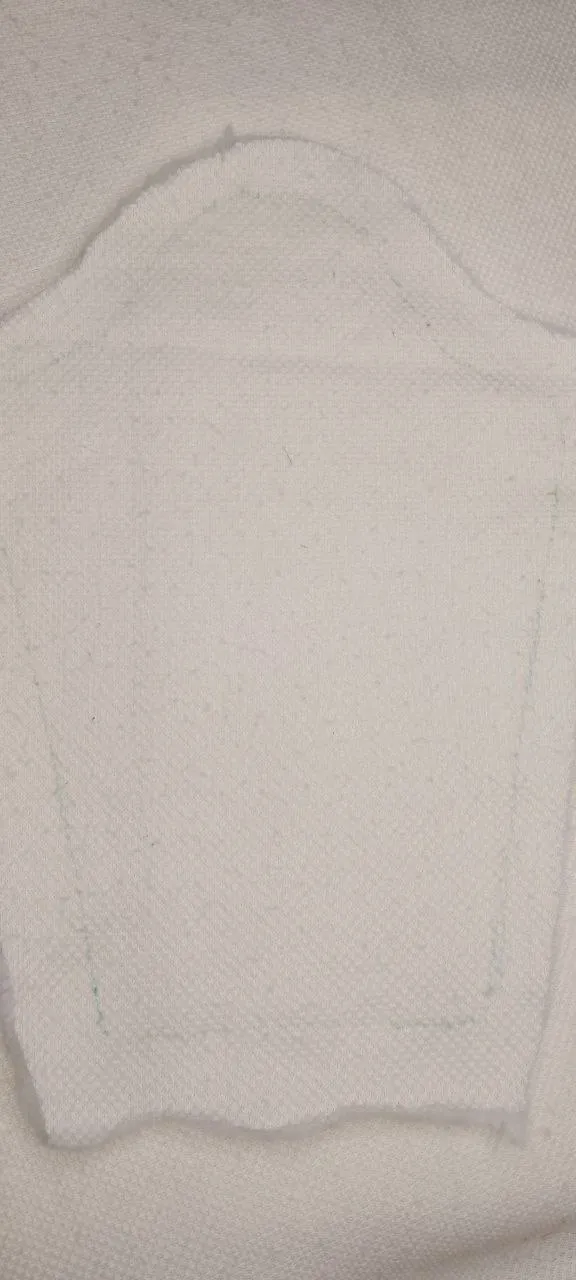
Con la figura ya lista en cartón, procedemos a trazar esta misma en la tela de peluche, para ello he empleado un marcador, así me es más fácil hacer el trazo. Debemos dibujar la figura dos veces y al momento de recortar, una la recortaremos justo en la línea que hemos marcado y a la otra le dejaremos un margen de un centímetro aproximadamente.
With the figure already ready in cardboard, we proceed to trace this same figure on the stuffed fabric, for this I have used a marker, so it is easier for me to make the line. We must draw the figure twice and at the moment of cutting, we will cut one of them right on the line we have marked and the other one we will leave a margin of about one centimeter.
 |  |
|---|
Figura en la tela / Figure on the fabric
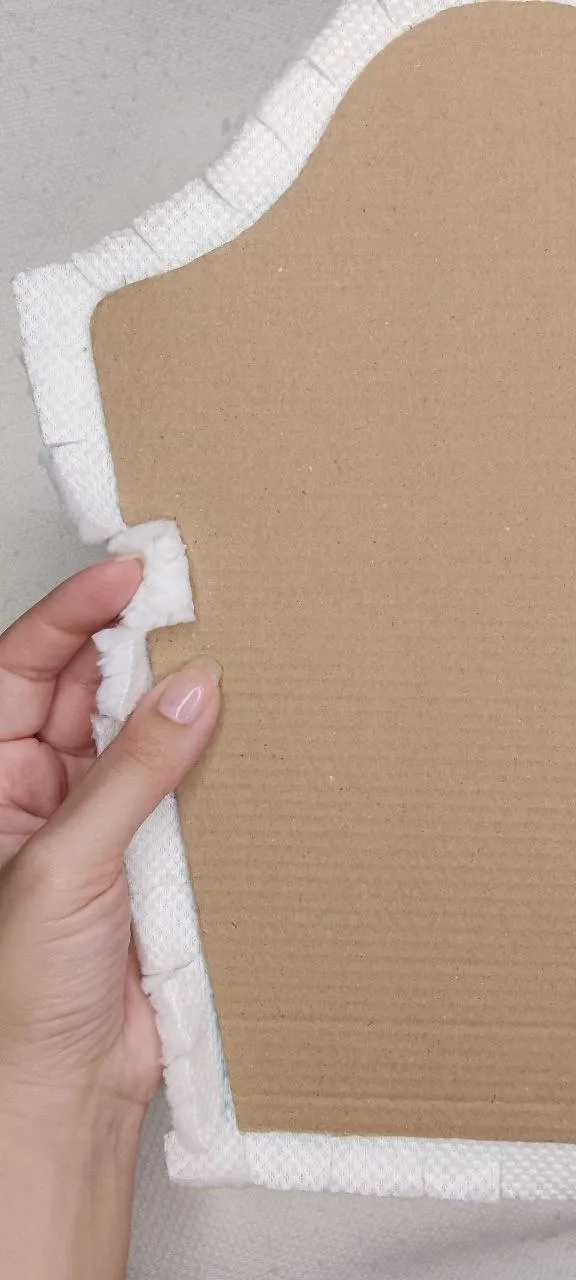
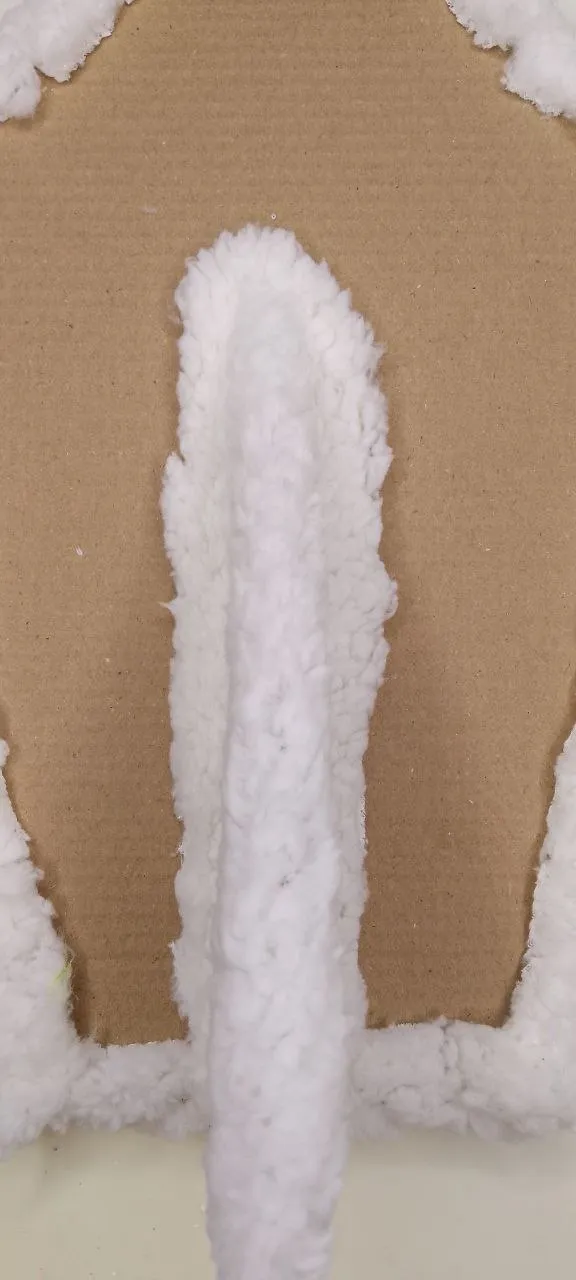
Empezaremos con la figura con el margen extra de un centímetro, pegaremos con el silicón caliente la tela a la figura de cartón, respetando el margen, una vez que está bien pegado, haremos cortes perpendiculares al cartón con la tijera en todo el margen sobrante, añadiremos un poco de silicón caliente e iremos adhiriendo las pestañas cuidadosamente para no quemarnos (dice la que se quemó un par de veces {risas}).
We will start with the figure with the extra margin of one centimeter, we will glue with the hot silicone the fabric to the cardboard figure, respecting the margin, once it is well glued, we will make perpendicular cuts to the cardboard with the scissors in all the excess margin, we will add a little hot silicone and we will adhere the tabs carefully so as not to burn ourselves (says the one who burned herself a couple of times {laughs}).
 |  |
|---|
Pegando la tela / Gluing the fabric
Es momento de hacer una pieza triangular, este será un triángulo rectángulo que irá en la parte trasera de nuestro exhibidor, el mismo se encargará de que este pueda mantenerse en pie. Para que pueda ser lo suficientemente sólido y estable, recortaremos dos piezas iguales para luego pegarlas entre ellas. La altura del triángulo debe ser aproximadamente tres cuartos de la altura total del exhibidor.
It is time to make a triangular piece, this will be a right triangle that will go on the back of our display, it will be responsible for this can stand. In order for it to be solid and stable enough, we will cut out two equal pieces and then glue them together. The height of the triangle should be approximately three quarters of the total height of the display.
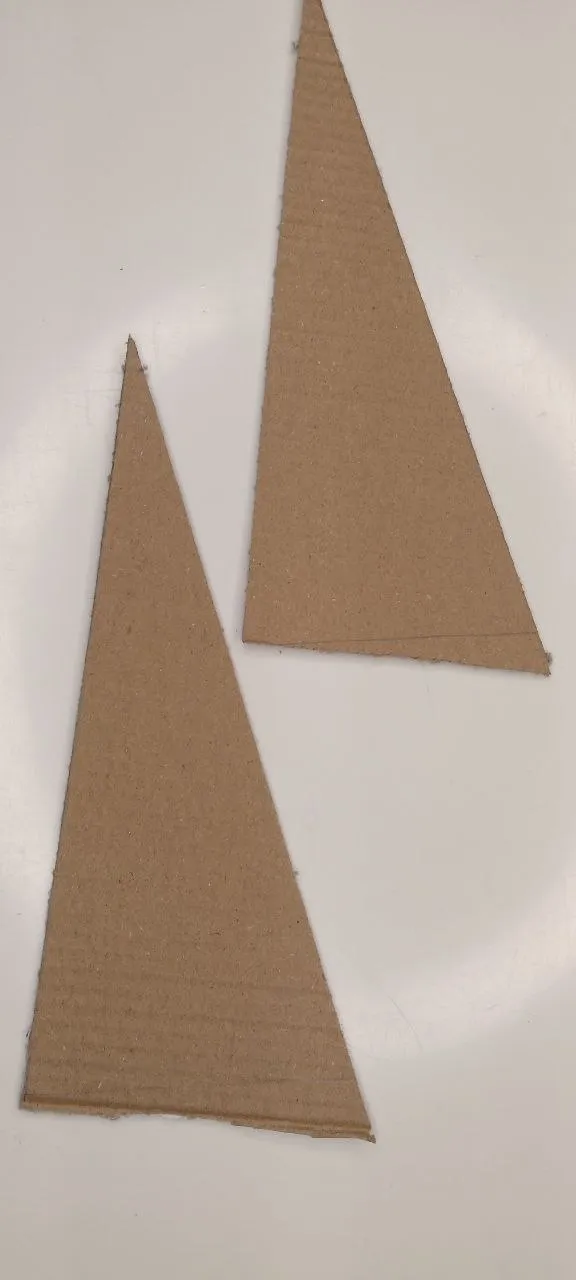
Pieza triangular / Triangular piece
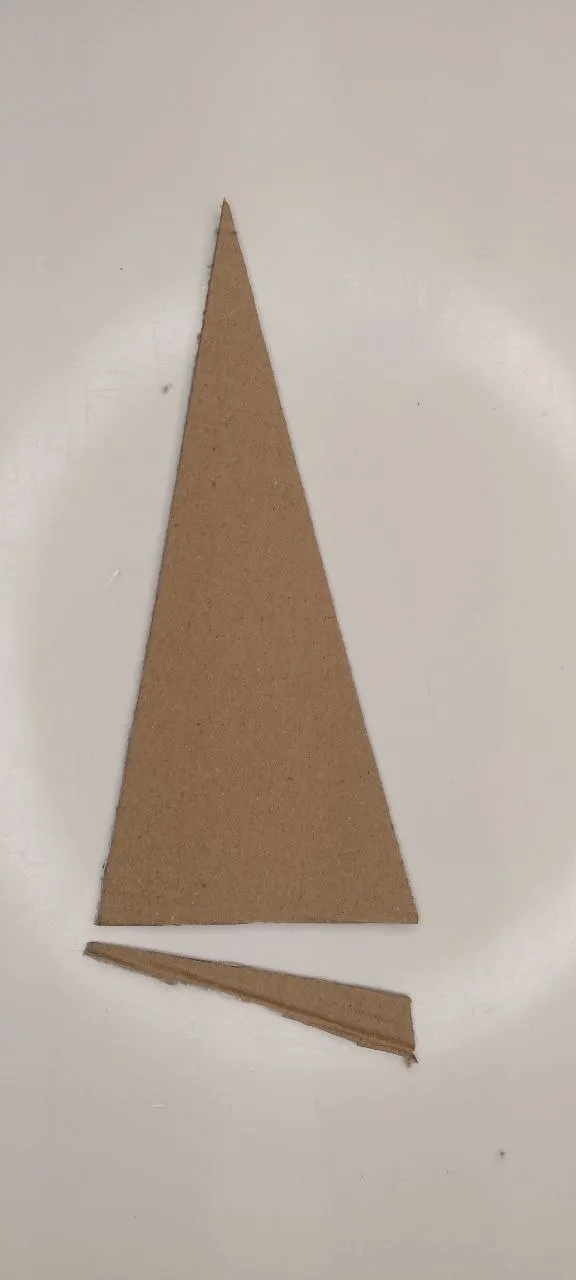
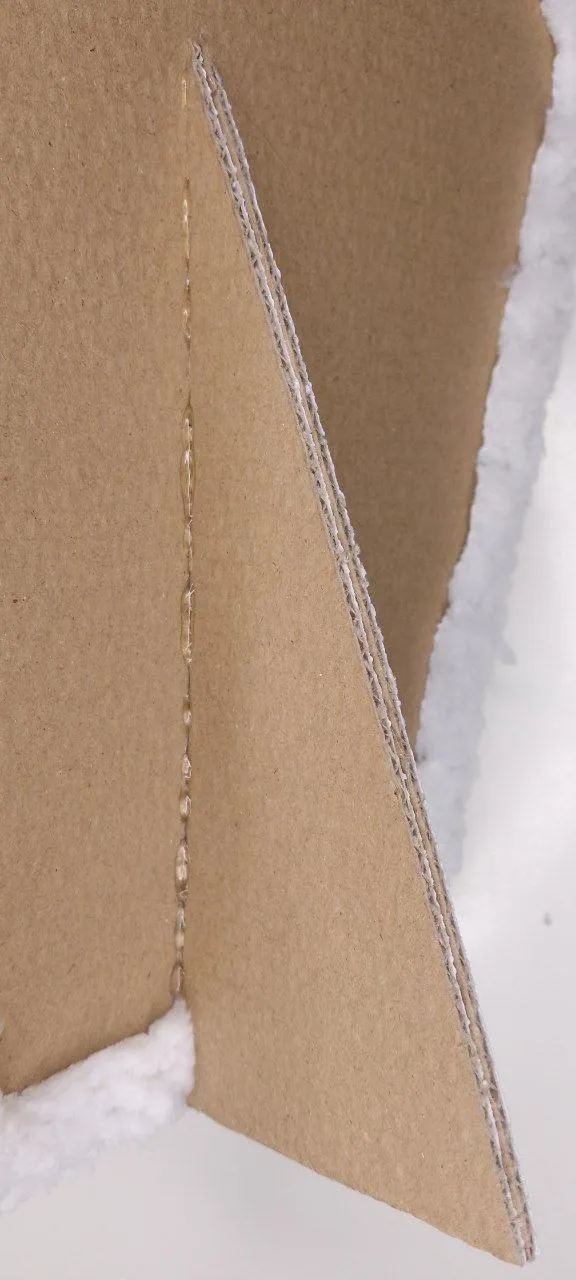
Es importante recortar de la parte inferior del triángulo una figura en forma de cuña con altura de un centímetro, para que así el exhibidor no quede a noventa grados sino con una ligera inclinación hacia atrás. Luego de hacer todos estos detalles en las dos piezas de triángulo, los pegamos con silicón y con el mismo silicón, lo adherimos a la pieza principal por su lado recto.
It is important to cut out a wedge-shaped figure with a height of one centimeter from the bottom of the triangle, so that the display will not be at ninety degrees but with a slight backward inclination. After making all these details on the two triangle pieces, we glue them with silicone and with the same silicone, we adhere it to the main piece on its straight side.
 |  |
|---|
Pegando la pieza triangular / Gluing the triangular piece
Envolveremos entonces la pieza triangular con la tela de peluche, para ello solo tomé un retazo de tela de buen tamaño y fui cubriendo el triángulo a medida que iba asegurando su posición con el silicón y luego, recorté los excedentes de la tela.
We will then wrap the triangular piece with the plush fabric, for this I just took a good sized piece of fabric and covered the triangle as I was securing its position with the silicone and then, I cut the excess fabric.
Forrando la pieza triangular / Lining the triangular piece
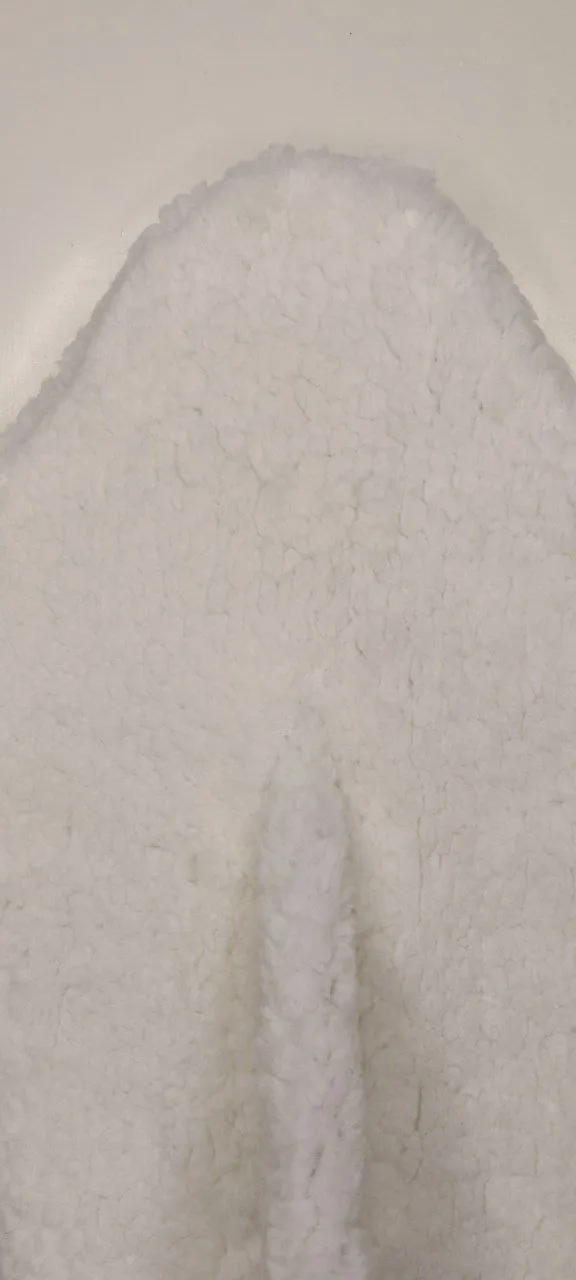
La pieza de tela sin margen que habíamos recortado antes, ahora le dibujaremos una línea centrada desde la parte inferior, esta tendrá la misma altura que el triángulo y la recortaremos con la tijera.
The piece of fabric without margin that we had cut out before, now we will draw a centered line from the bottom, this will have the same height as the triangle and we will cut it with the scissors.
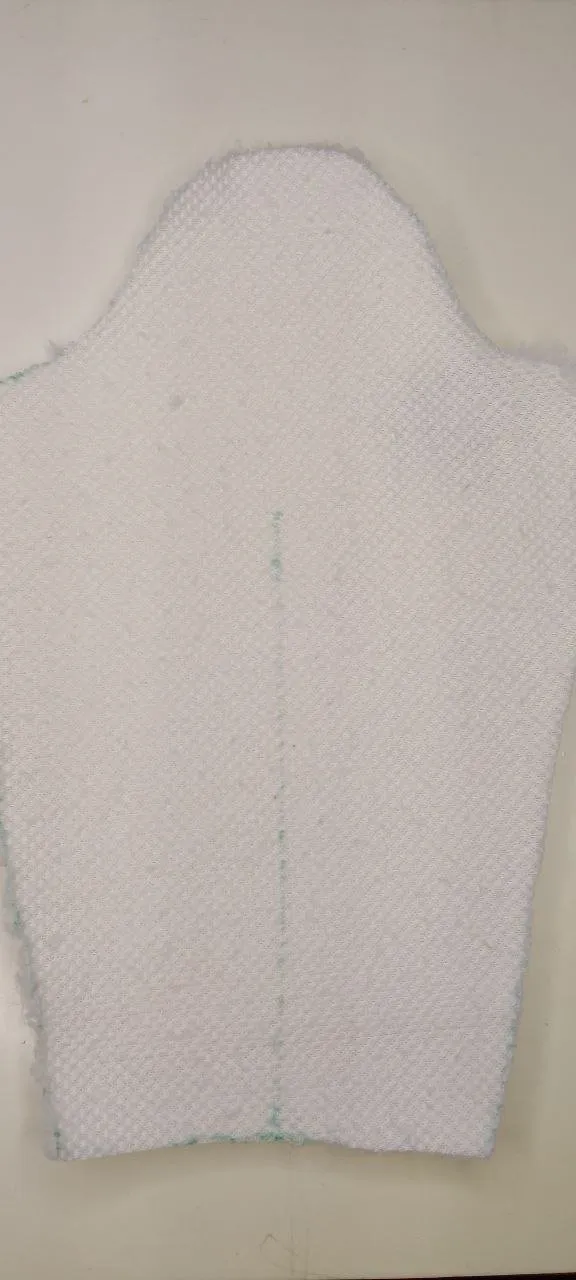
Línea centrada / Centered line
Ahora, con ayuda del silicón, la fijaremos por todos los bordes del cartón, incluyendo el alrededor del triángulo, pero dejando libre la parte superior de la pieza principal.
Now, with the help of the silicone, we will fix it on all the edges of the cardboard, including the one around the triangle, but leaving the upper part of the main piece free.
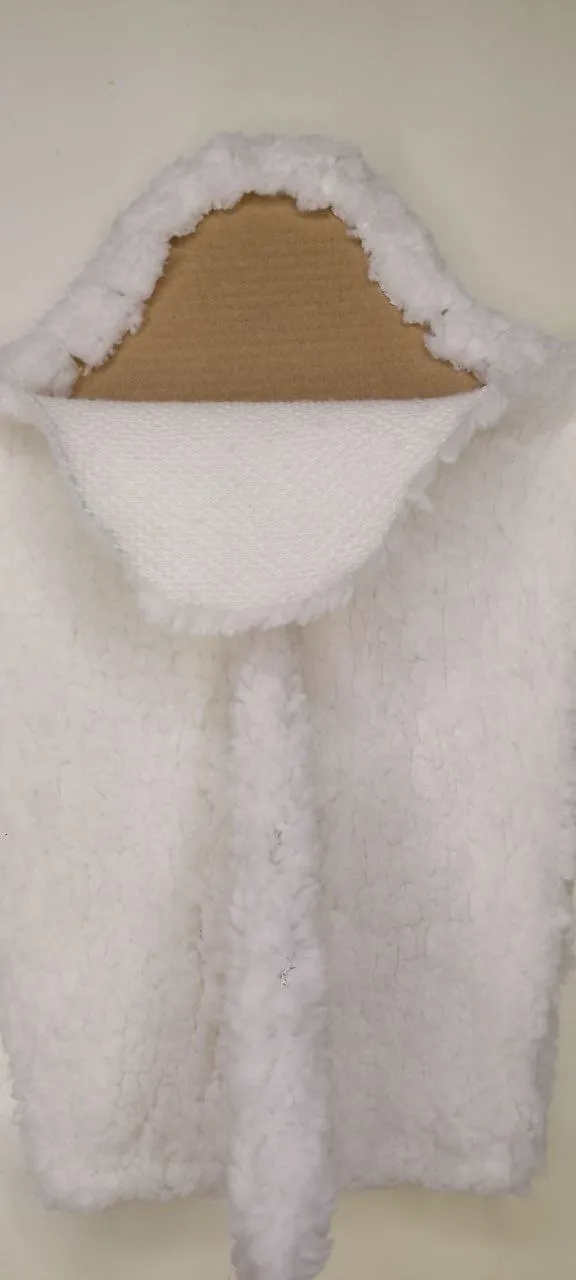
Fijando la parte posterior / Fastening the back
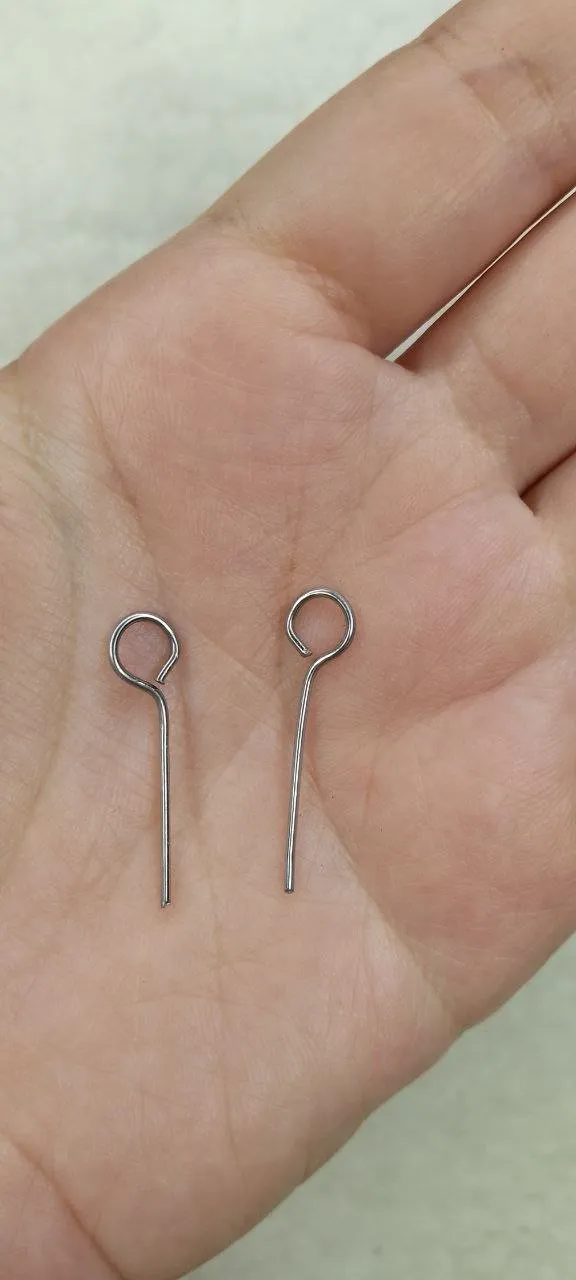
Como también quiero exhibir zarcillos, entonces usaré alfileres de ojo, a estos los doblaré, el ojal hacia abajo y en el extremo contrario una pequeña porción hacia arriba.
As I also want to display tendrils, then I will use eye pins, these I will bend, buttonhole down and at the opposite end a small portion up.
 | 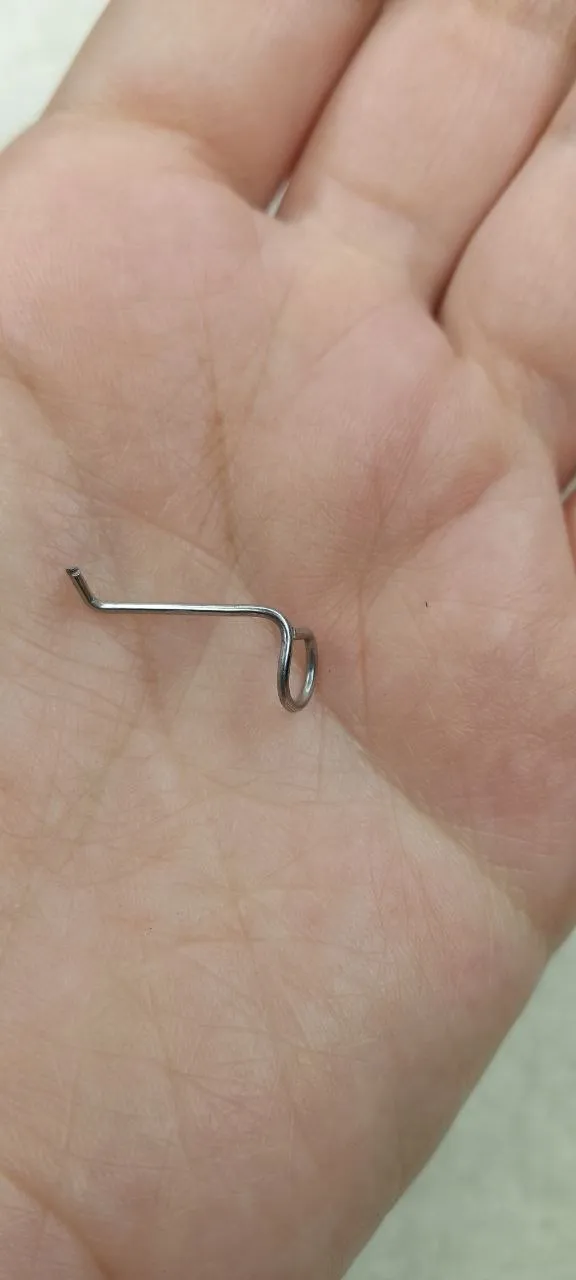 |
|---|
Alfileres de ojo / Eye pins
Los introduciré atravesando el cartón de la parte frontal hacia la trasera y en esa parte posterior los aseguraré con silicón, la idea es encapsular con el silicón estos extremos para que no se vaya a dañar la tela enganchándose o algo similar, y ahora sí podemos terminar de fijar la tela con el silicón.
I will introduce them through the cardboard from the front to the back and in the back I will secure them with silicone, the idea is to encapsulate these ends with the silicone so that the fabric will not be damaged by snagging or something similar, and now we can finish fixing the fabric with the silicone.
 |  |
|---|
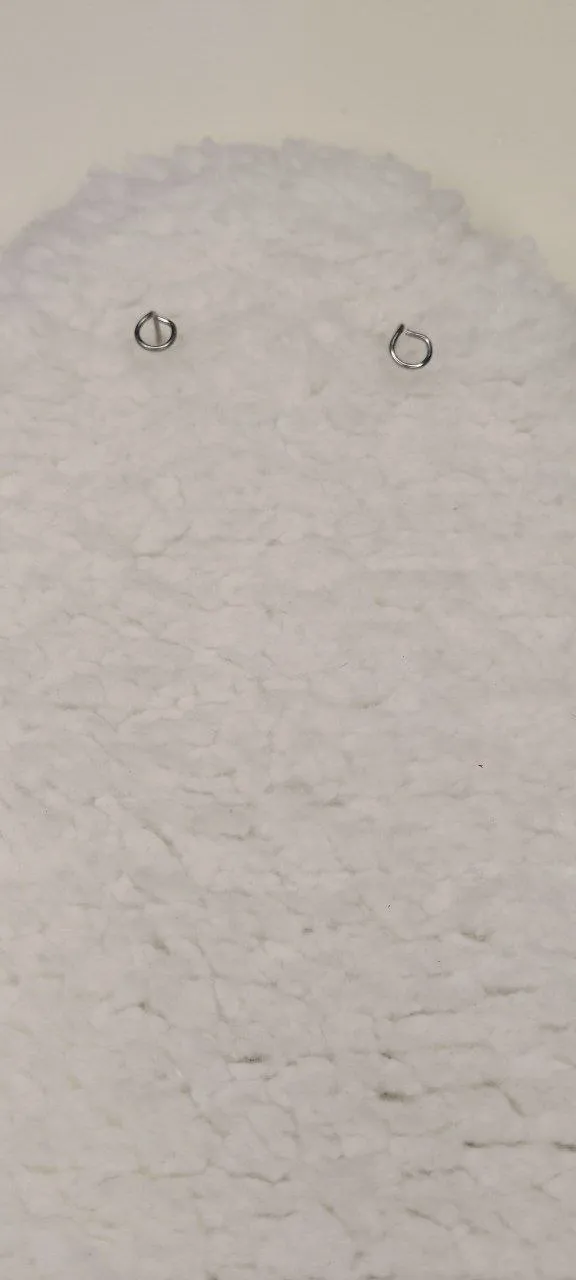
Encapsulado en silicón / Silicone encapsulation
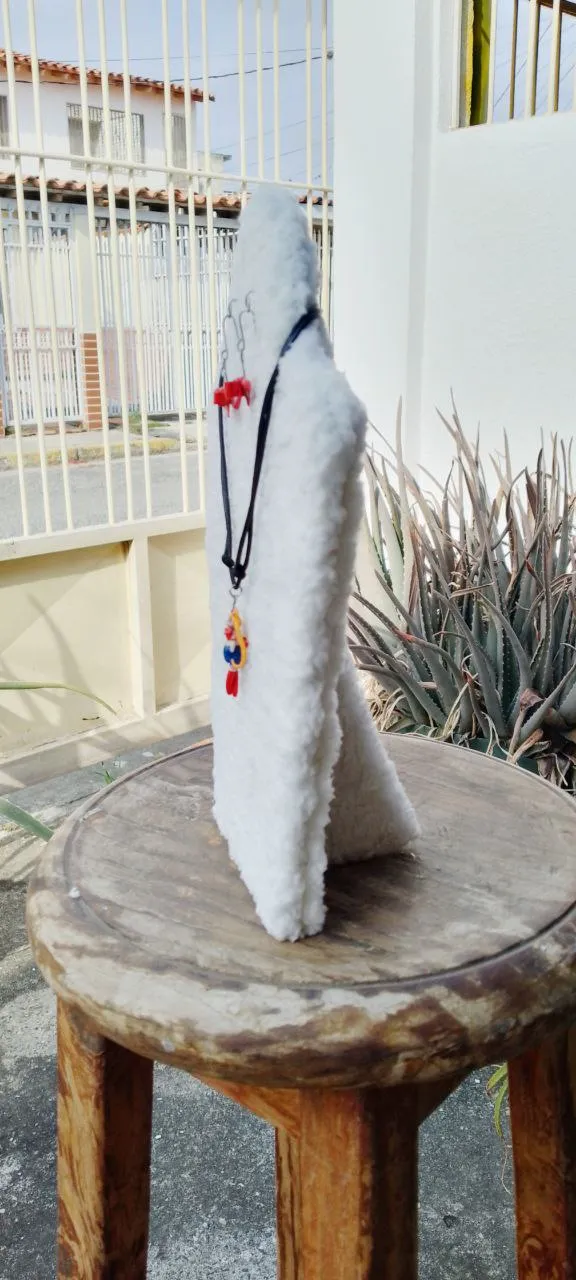
Y acá les muestro el resultado final, usé un set que hice de Sailor Moon porque me encanta cómo se ve (risas), en verdad este es de mis diseños favoritos y creo que el exhibidor a quedado muy hermoso, así que espero que les haya gustado tanto como a mí y que les sea muy útil esta idea.
And here I show you the final result, I used a set I made of Sailor Moon because I love how it looks (laughs), this is really one of my favorite designs and I think the display has been very beautiful, so I hope you liked it as much as I did and that you find this idea very useful.
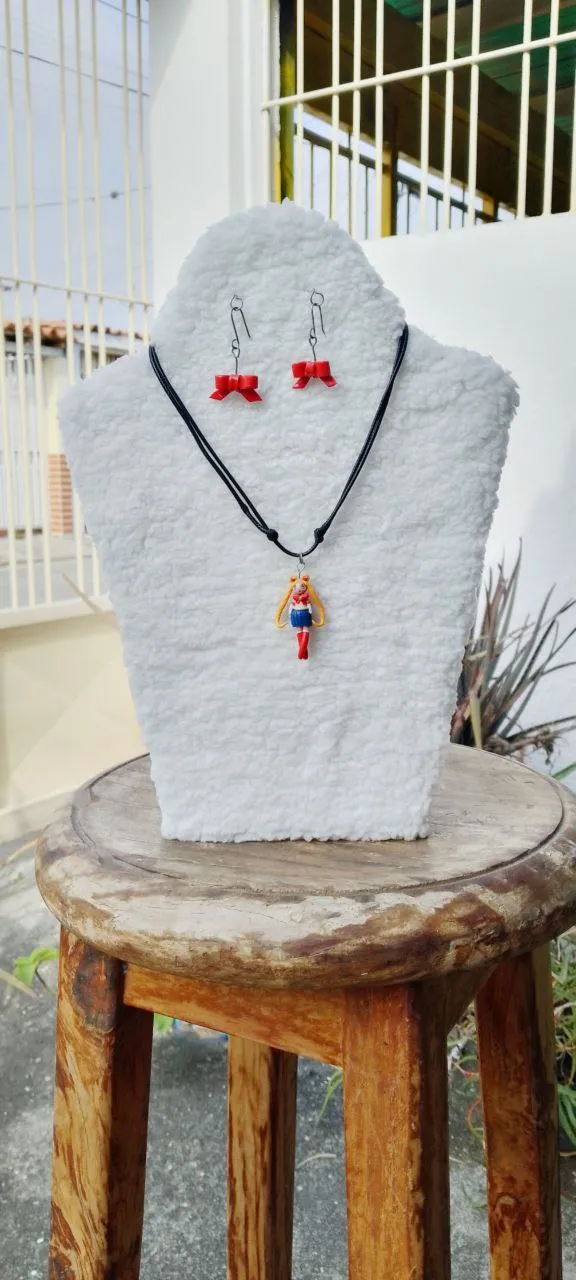 |  |
|---|
Resultado final / Final result
¡Muchas gracias por leerme!
Thank you so much for reading me!
Fotografías propias, tomadas con mi Tecno Spark 10C.
Traducido al inglés con DeepL.
Own photographs, taken with my Tecno Spark 10C.
Translated to English with DeepL.