¡Hola mis queridos hivers! Hoy venimos con vibras de elegancia, estilo y protagonismo * se bate el cabello como Patricia de “Betty la fea” * (risas). Tenía un largo rato con ganas de hacer unos preciosos maxi zarcillos y bueno queridos, ha llegado el momento, he encontrado mi inspiración y hoy te comparto un nuevo diseño en porcelana fría de unos maxi zarcillos marmoleados, además, te doy un súper truco para aprovechar los sobrantes de trabajos previos, así que sigue leyendo para que descubras todo lo que traído para ti.
Hello my dear hivers! Today we come with vibes of elegance, style and prominence *shakes her hair like Patricia from “Ugly Betty” * (laughs). I had a long time wanting to make some beautiful maxi tendrils and well my dears, the time has come, I have found my inspiration and today I share with you a new design in cold porcelain of some marbled maxi tendrils, plus, I give you a super trick to take advantage of leftovers from previous works, so read on to discover everything I brought for you.

Imagen creada por mí en Canva / Image created by me in Canva
Materiales:
- Porcelana fría de distintos colores
- Pegamento blanco
- Herramientas para porcelana fría
- Aros metálicos
- Anzuelos
- Alicates de bisutería
- Top Coat
- Lámpara UV LED
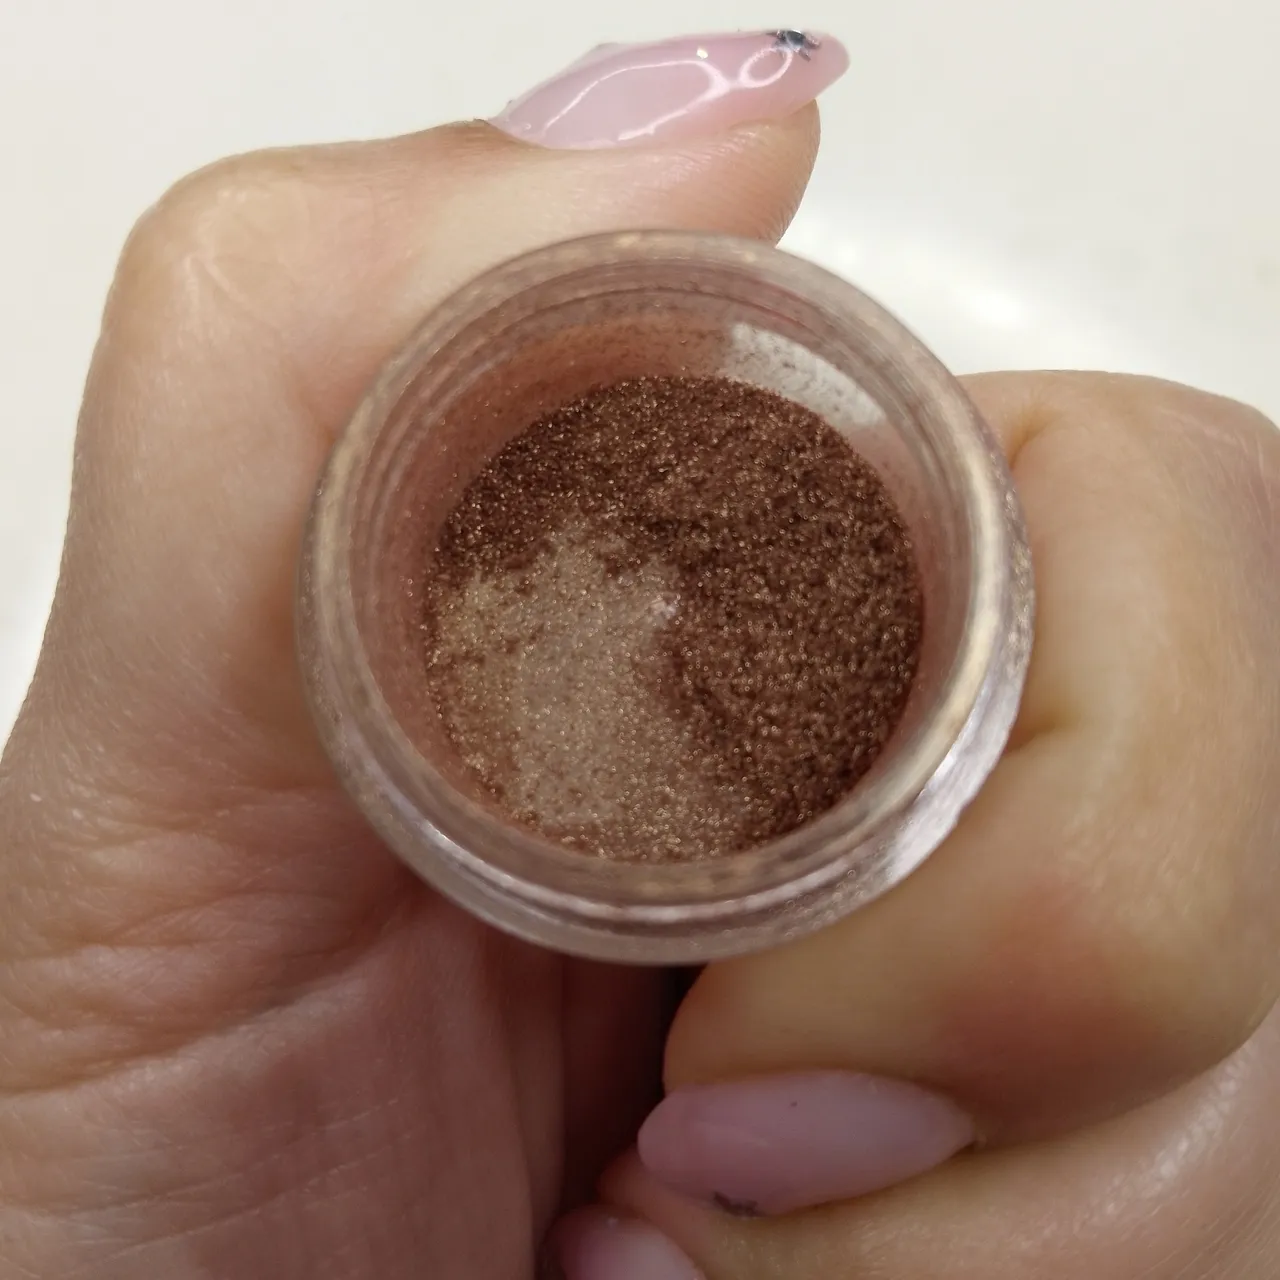
- Sombra de ojos dorada
- Dremel
Procedimiento:
Iniciamos con el truco y es que cuando trabajamos con porcelana fría, normalmente nos van quedando porciones pequeñas de colores que vamos utilizando y luego no sabemos qué hacer con ellas, una buena forma de aprovecharlas es haciendo un diseño marmoleado, así será un modelo único que jamás se repetirá, entonces, el primer paso sería juntar las porciones de colores que deseamos usar.
Materials:
- Cold porcelain of different colors
- White glue
- Cold porcelain tools
- Metal rings
- Hooks
- Jewelry pliers
- Top Coat
- UV LED lamp
- Gold eyeshadow
- Dremel
Procedure:
We start with the trick and when we work with cold porcelain, we usually have small portions of colors that we use and then we do not know what to do with them, a good way to take advantage of them is to make a marbled design, so it will be a unique model that will never be repeated, then, the first step would be to put together the portions of colors that we want to use.
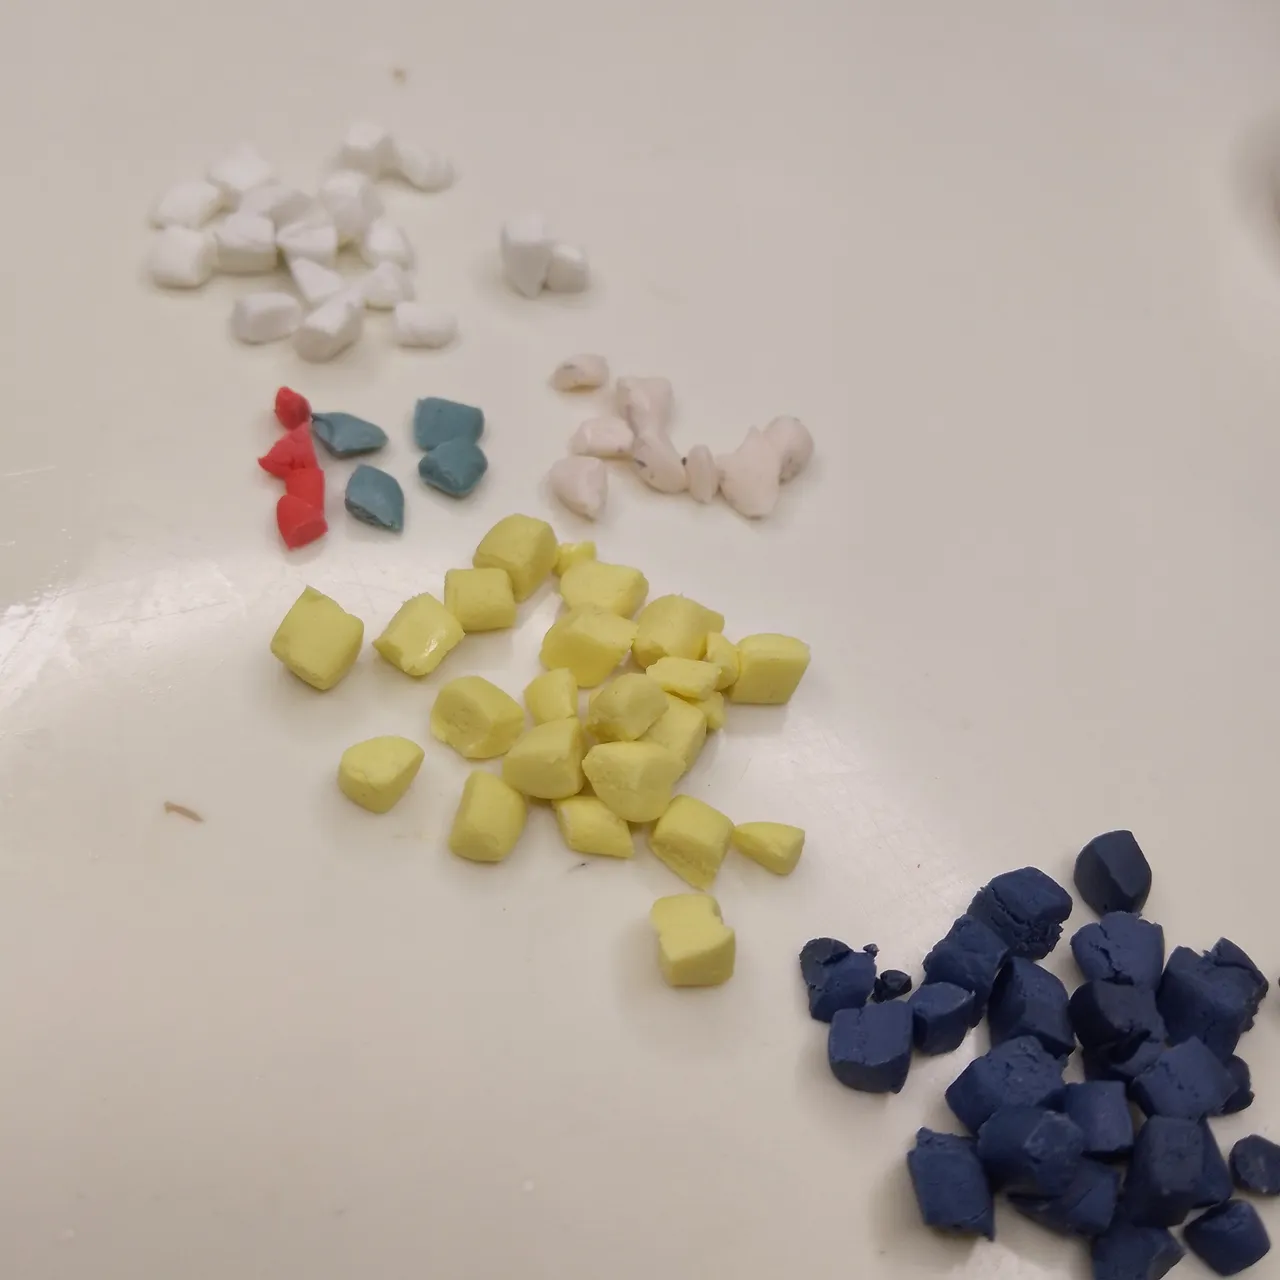
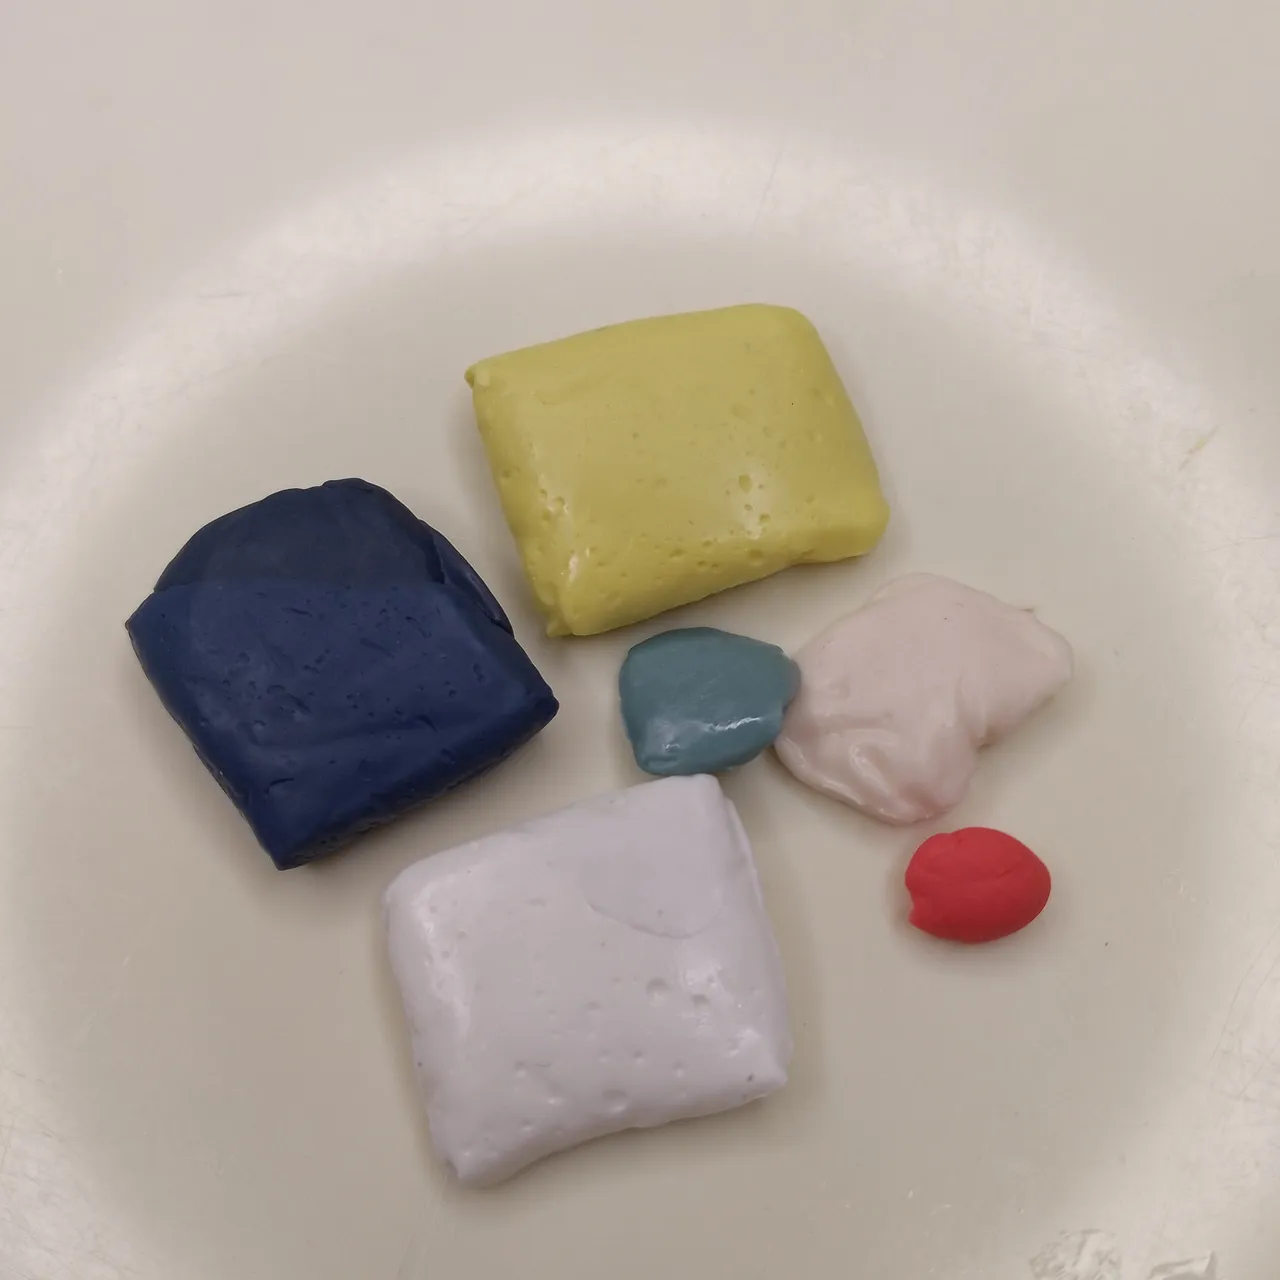 Porciones de colores / Color portions
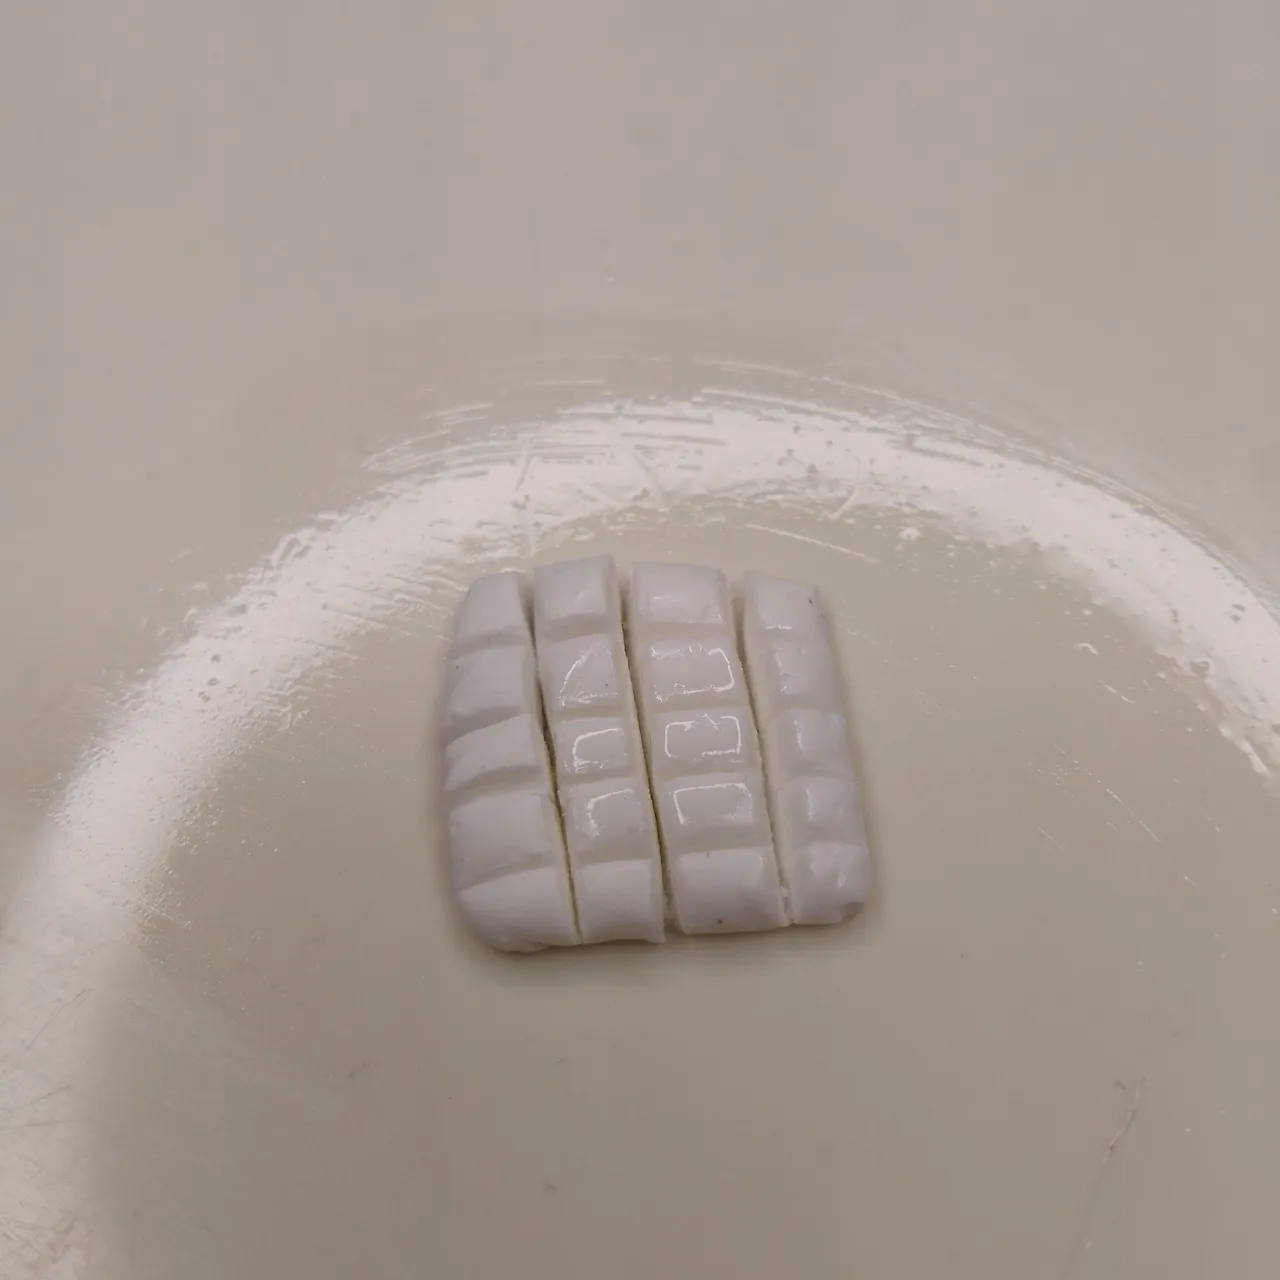
Acto seguido, cortamos cada color en cuadritos. Yo lo he hecho en cuadritos pequeños, pero ya es gusto de cada quien, no necesariamente deben ser cuadritos, también podrías ir tomando trocitos por ejemplo.
Then, cut each color into squares. I have done it in small squares, but it is up to each person's taste, they do not necessarily have to be squares, you could also take small pieces for example.
 |  |
|---|
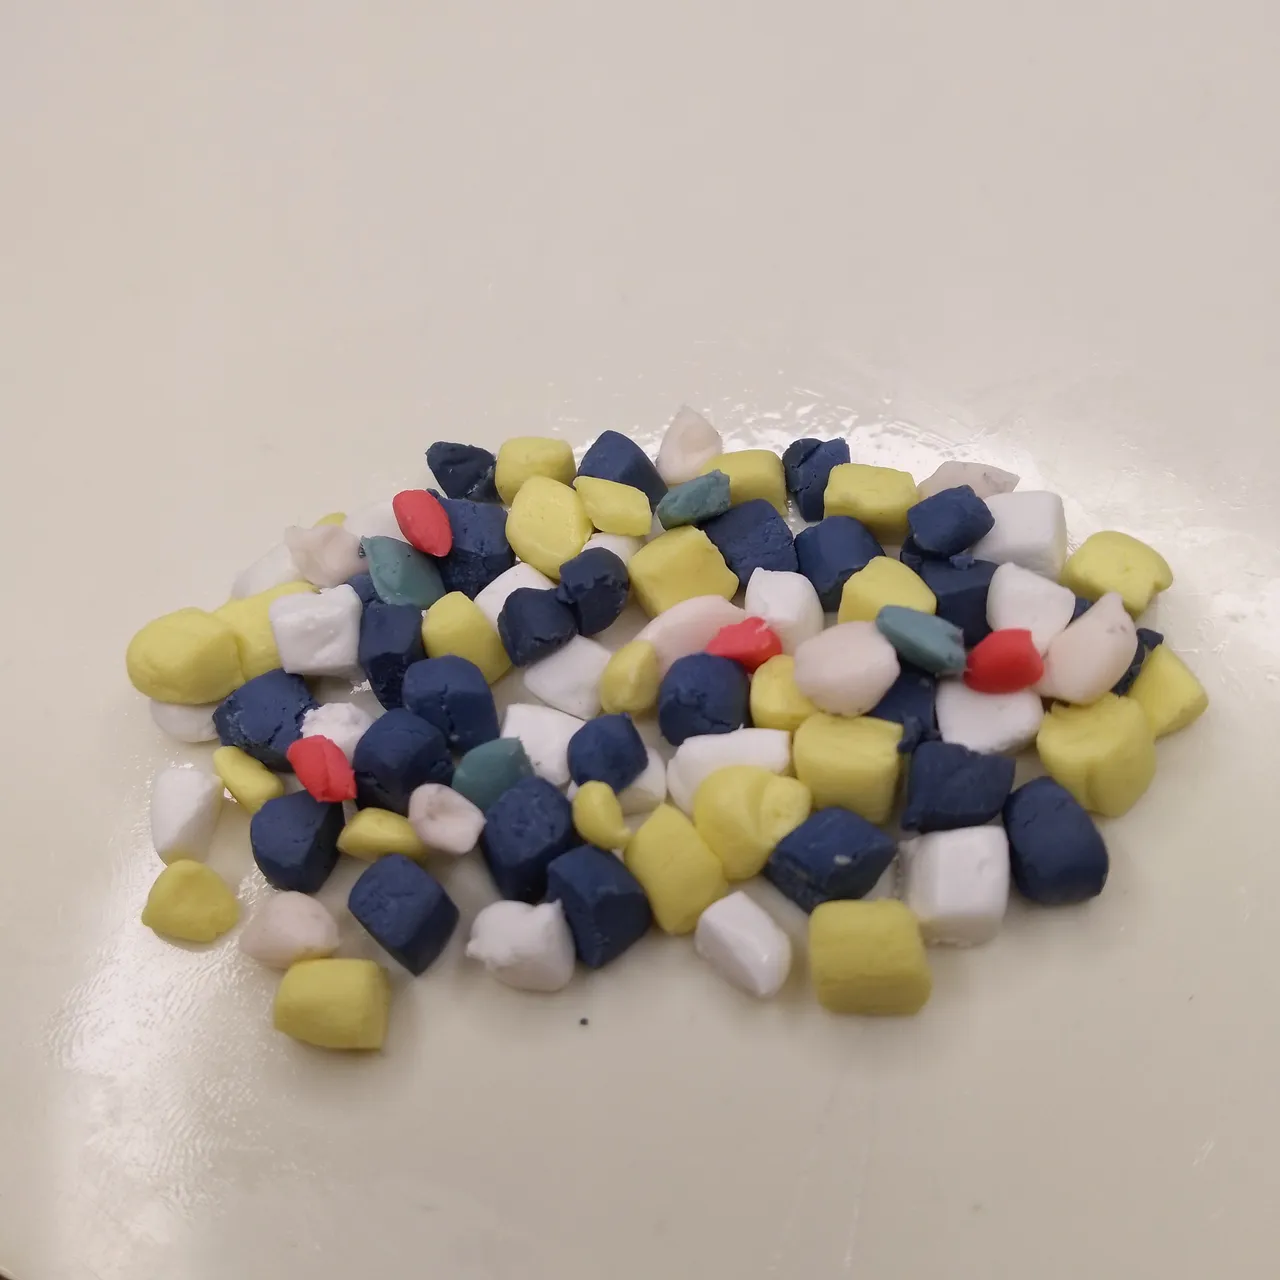
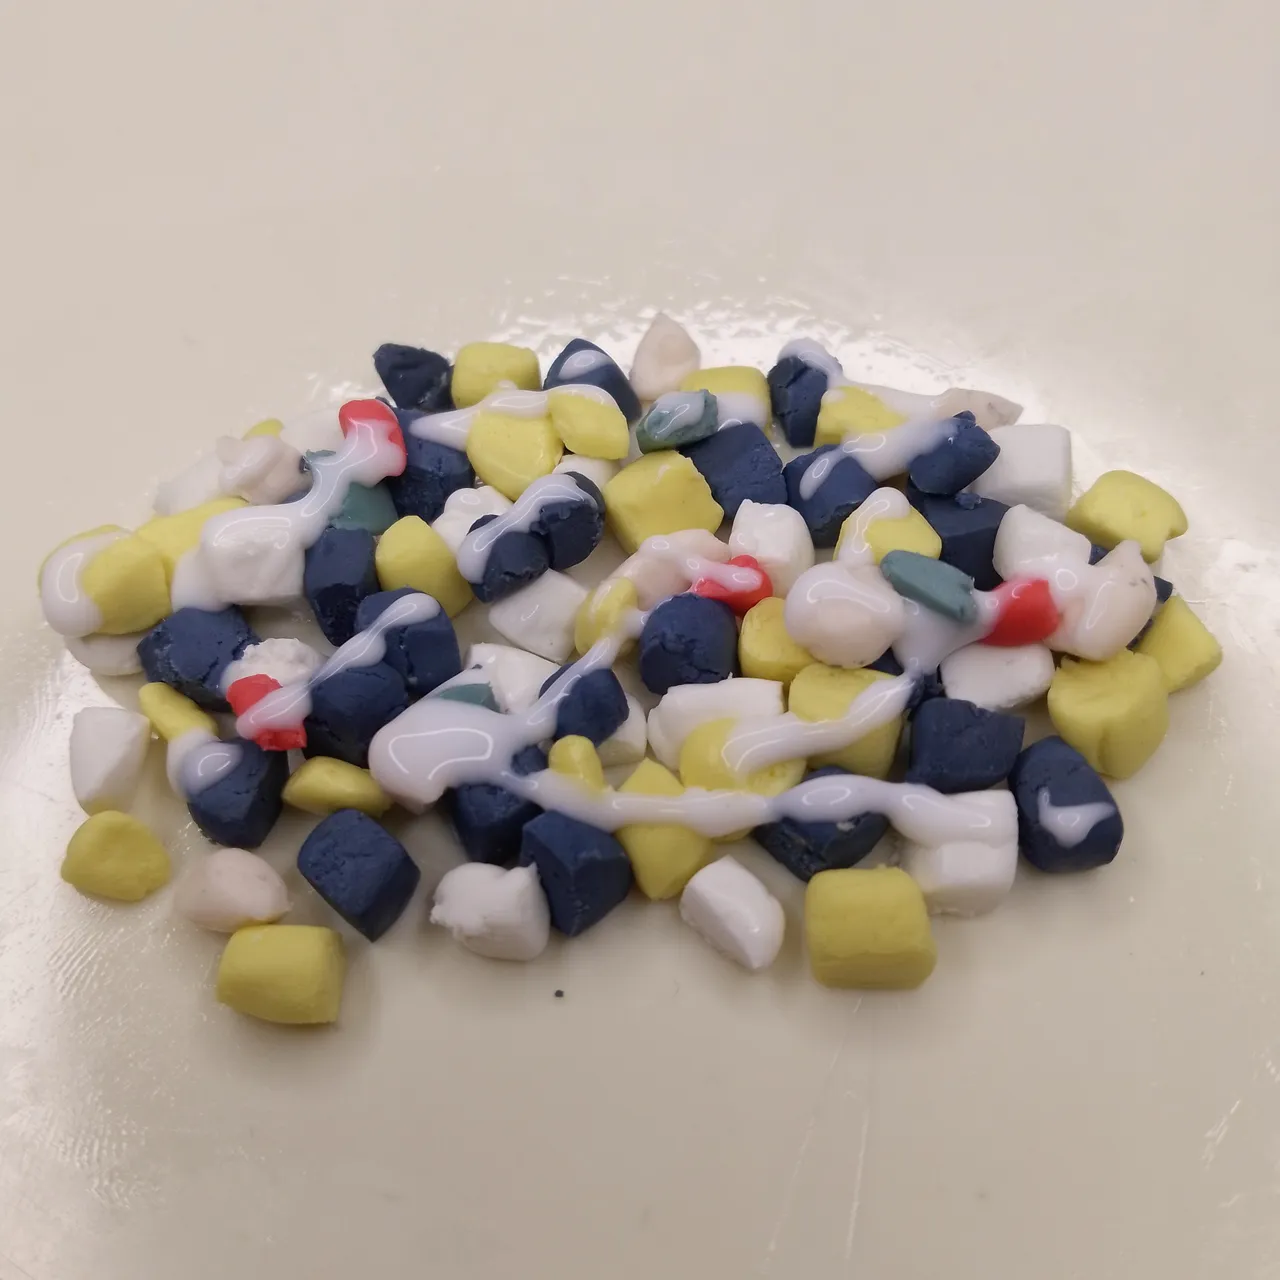
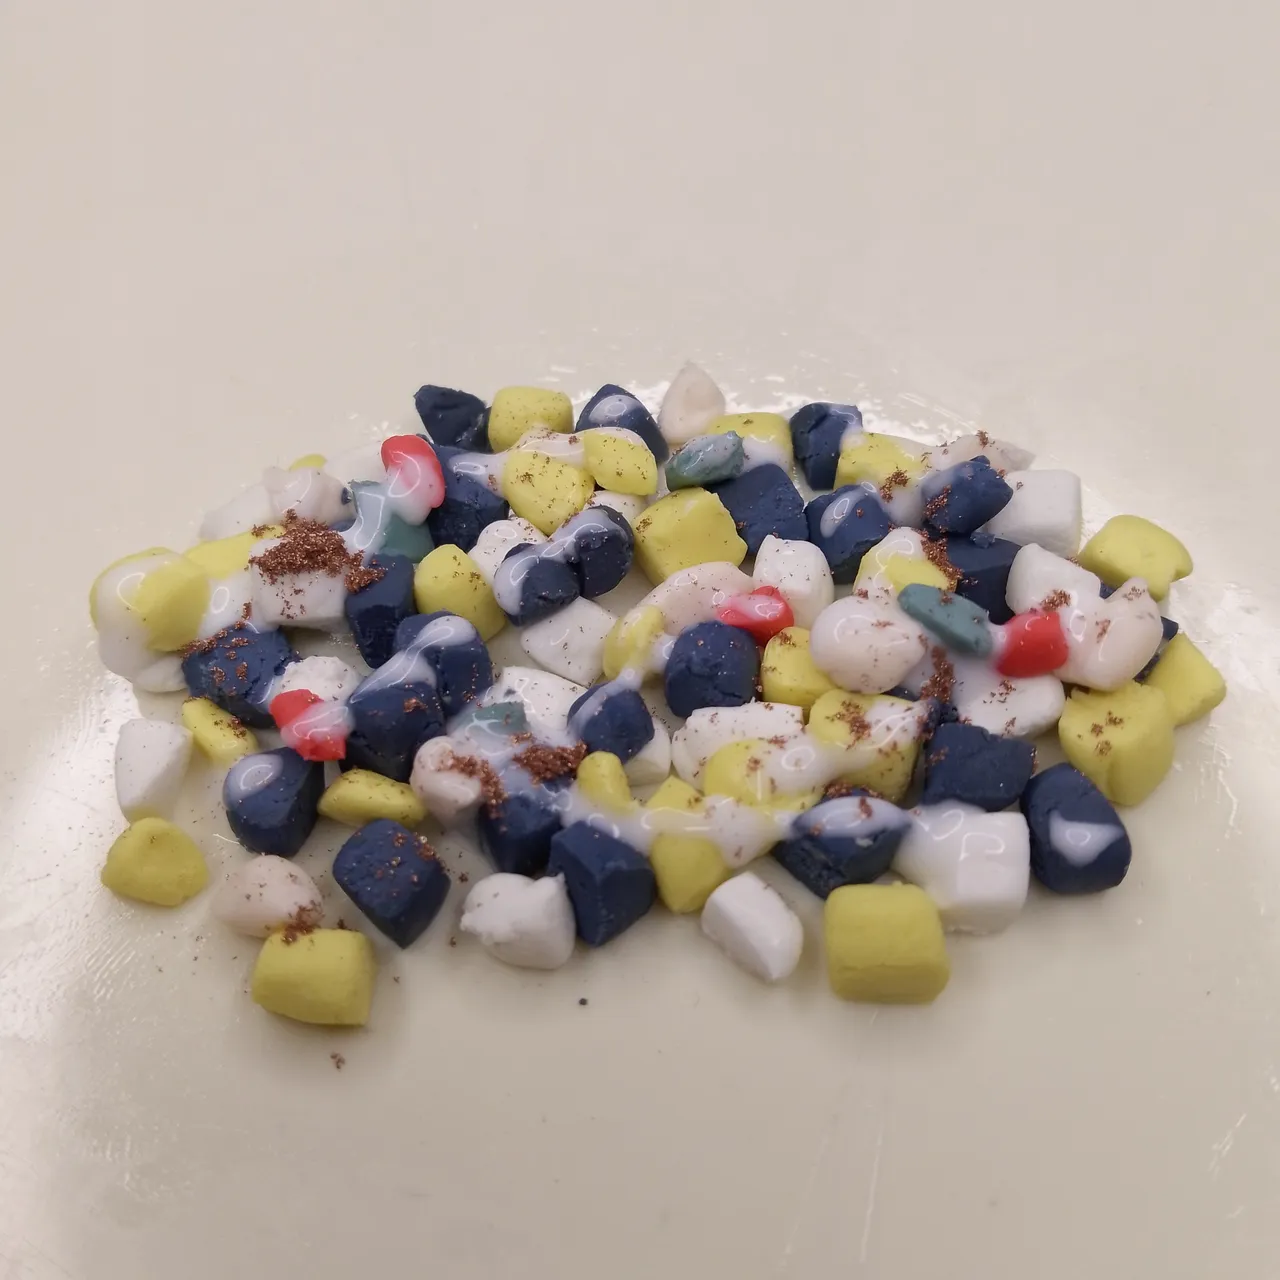
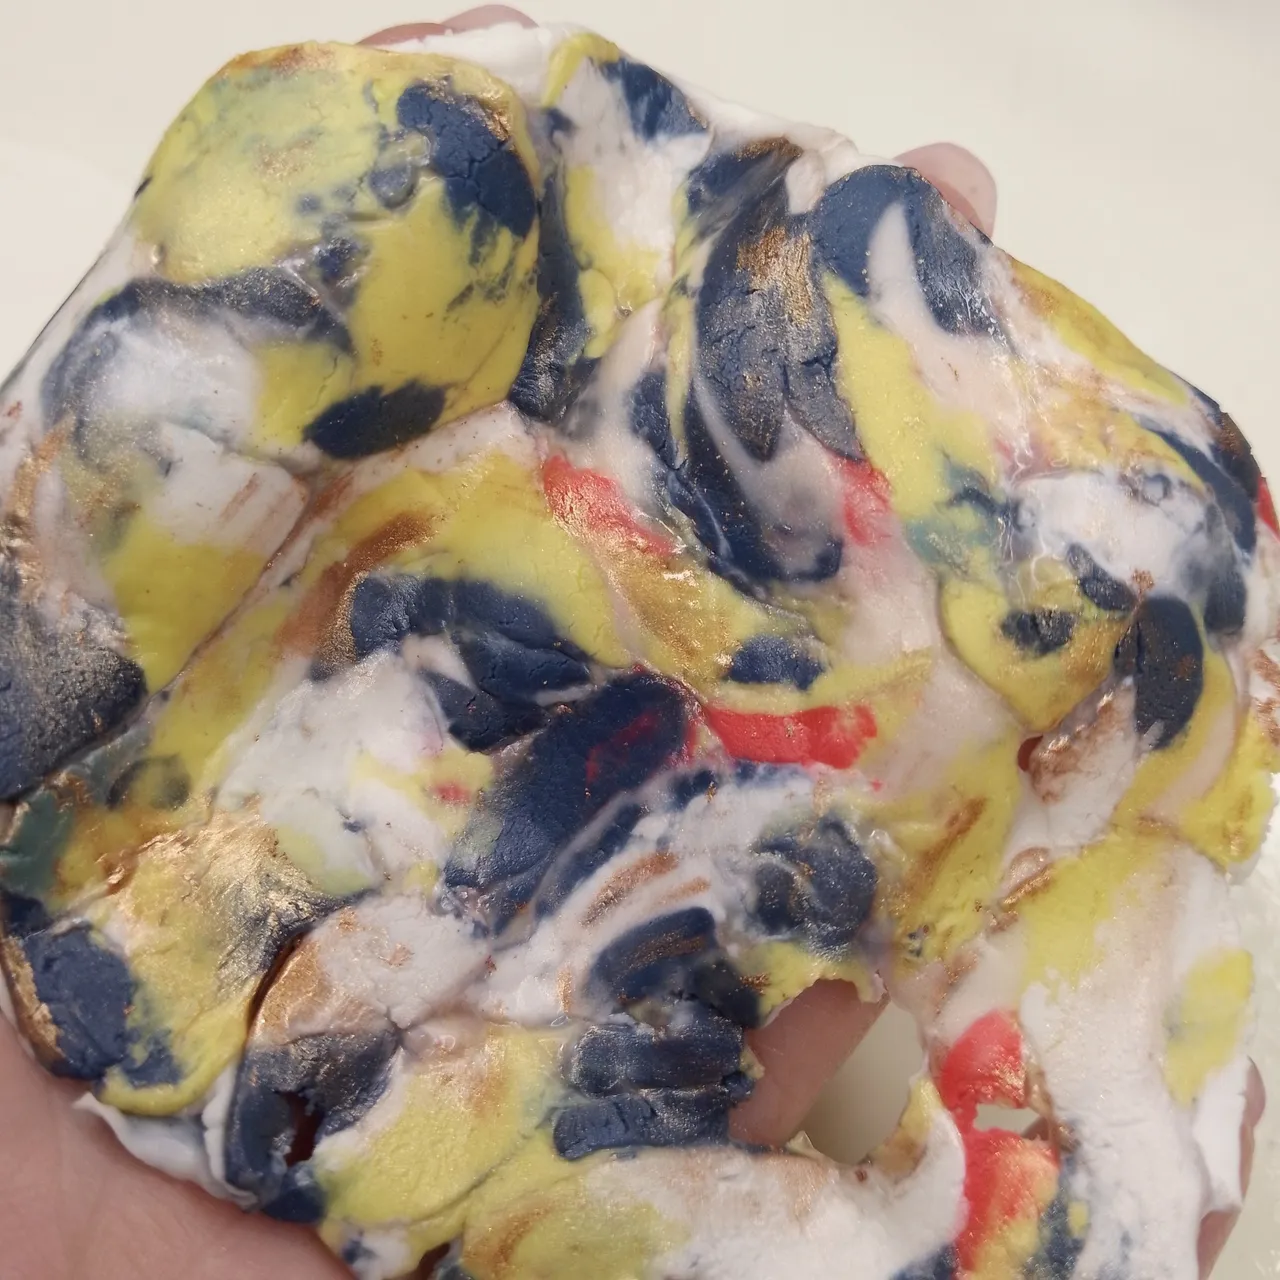
Luego colocaremos todos los trocitos juntos distribuyendo muy bien los colores para que así el marmoleado final quede bien variado. Le colocaremos un poco de pegamento blanco para facilitar la adherencia entre ellos y también, de manera opcional, podemos añadir un poco de sombra de ojos dorada. Amasamos y aplanamos, así sucesivamente para que todo se mezcle y se una correctamente.
Then we will place all the pieces together distributing the colors very well so that the final marbling will be very varied. We will put a little white glue to facilitate the adherence between them and also, optionally, we can add a little golden eyeshadow. We knead and flatten, and so on, so that everything is mixed and united correctly.
 |  |
|---|
 |  |
|---|
 Mezclando / Mixing
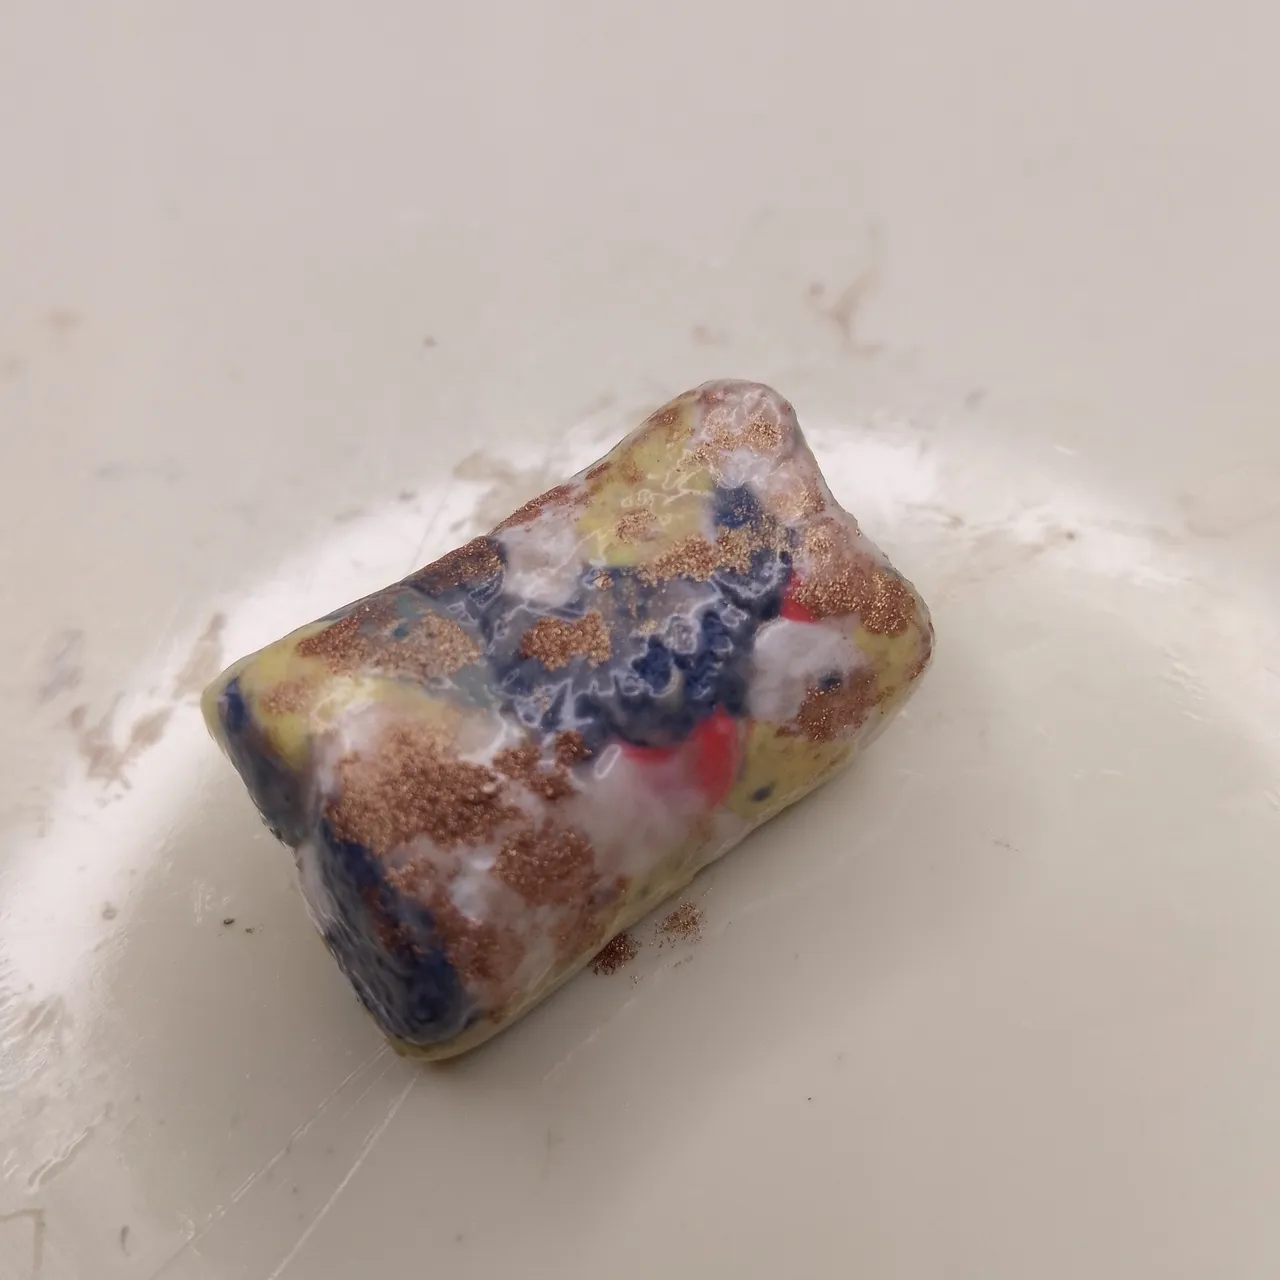
Es momento de formar un cilindro, este lo recubriremos con una capa delgada de pegamento y le daremos un toque más de dorado con la sombra para ojos.
It is time to form a cylinder, cover it with a thin layer of glue and give it a touch more gold with eye shadow.
 Formando el cilindro / Forming the cylinder
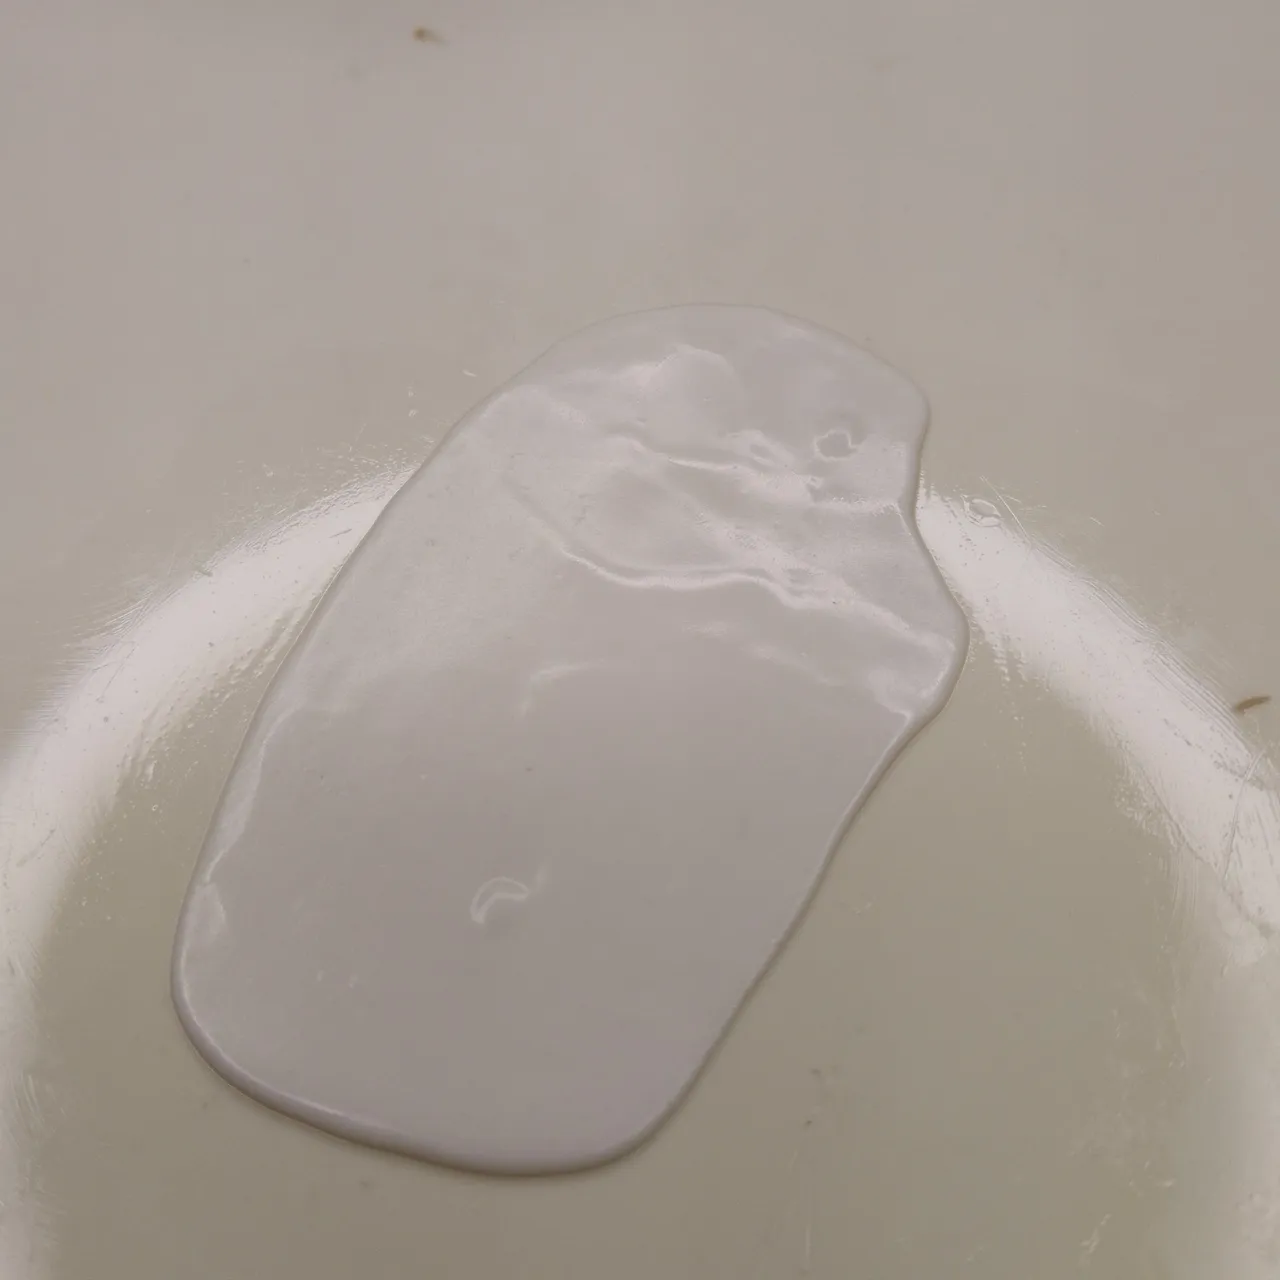
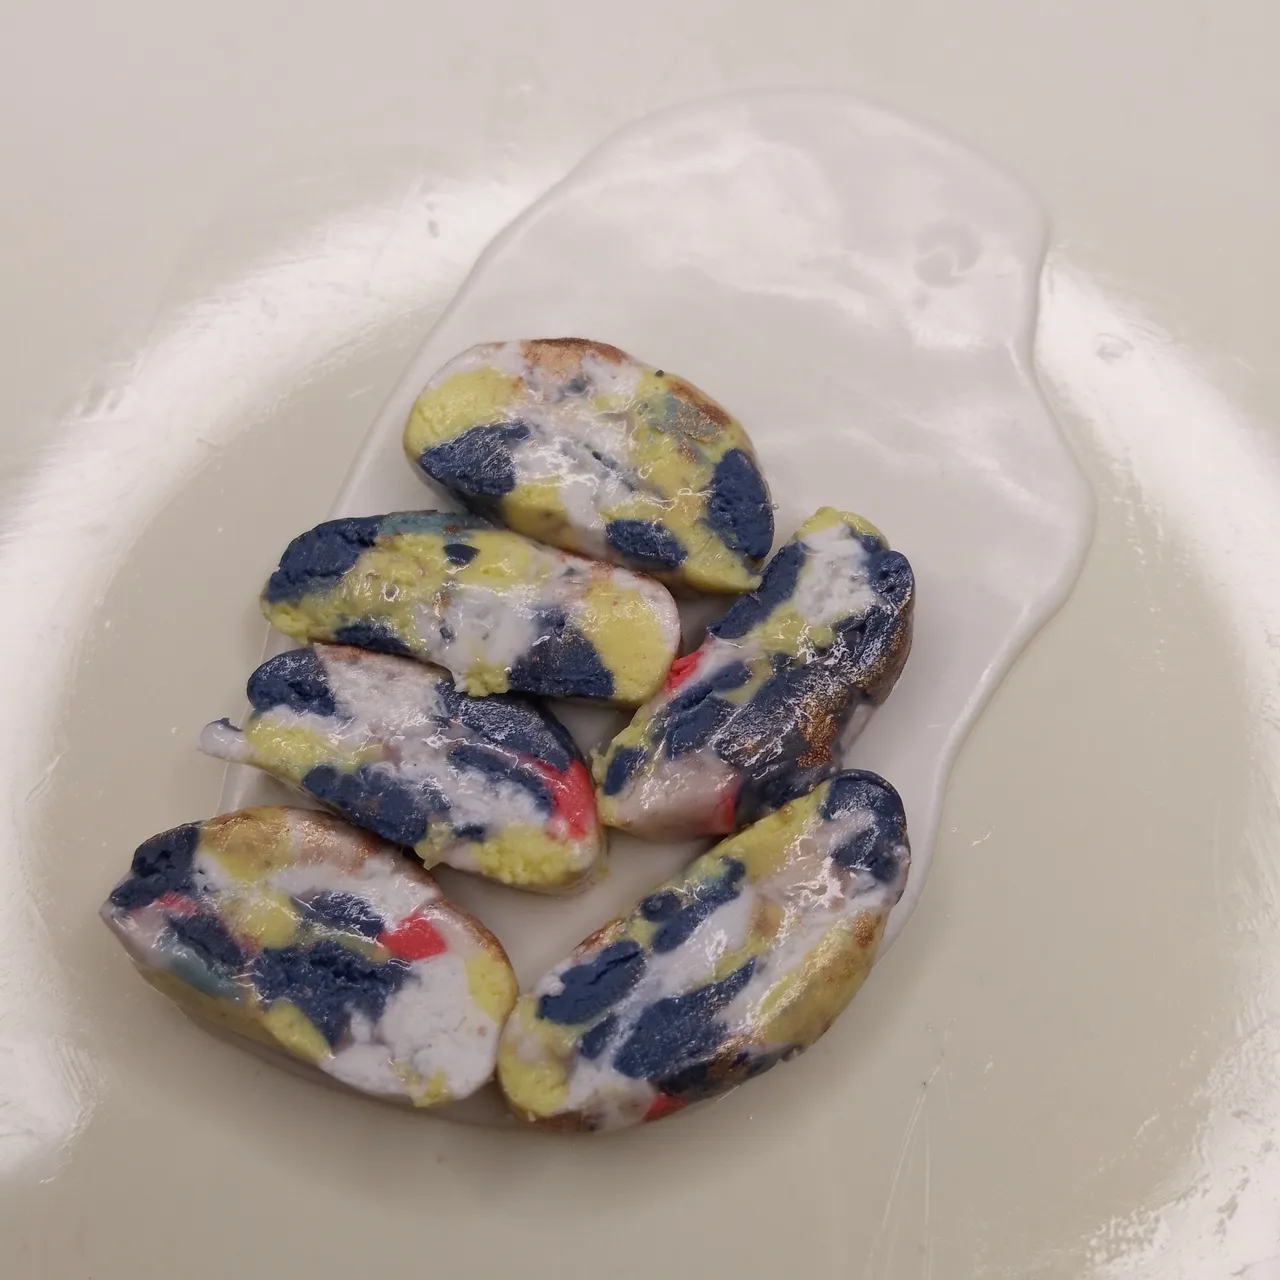
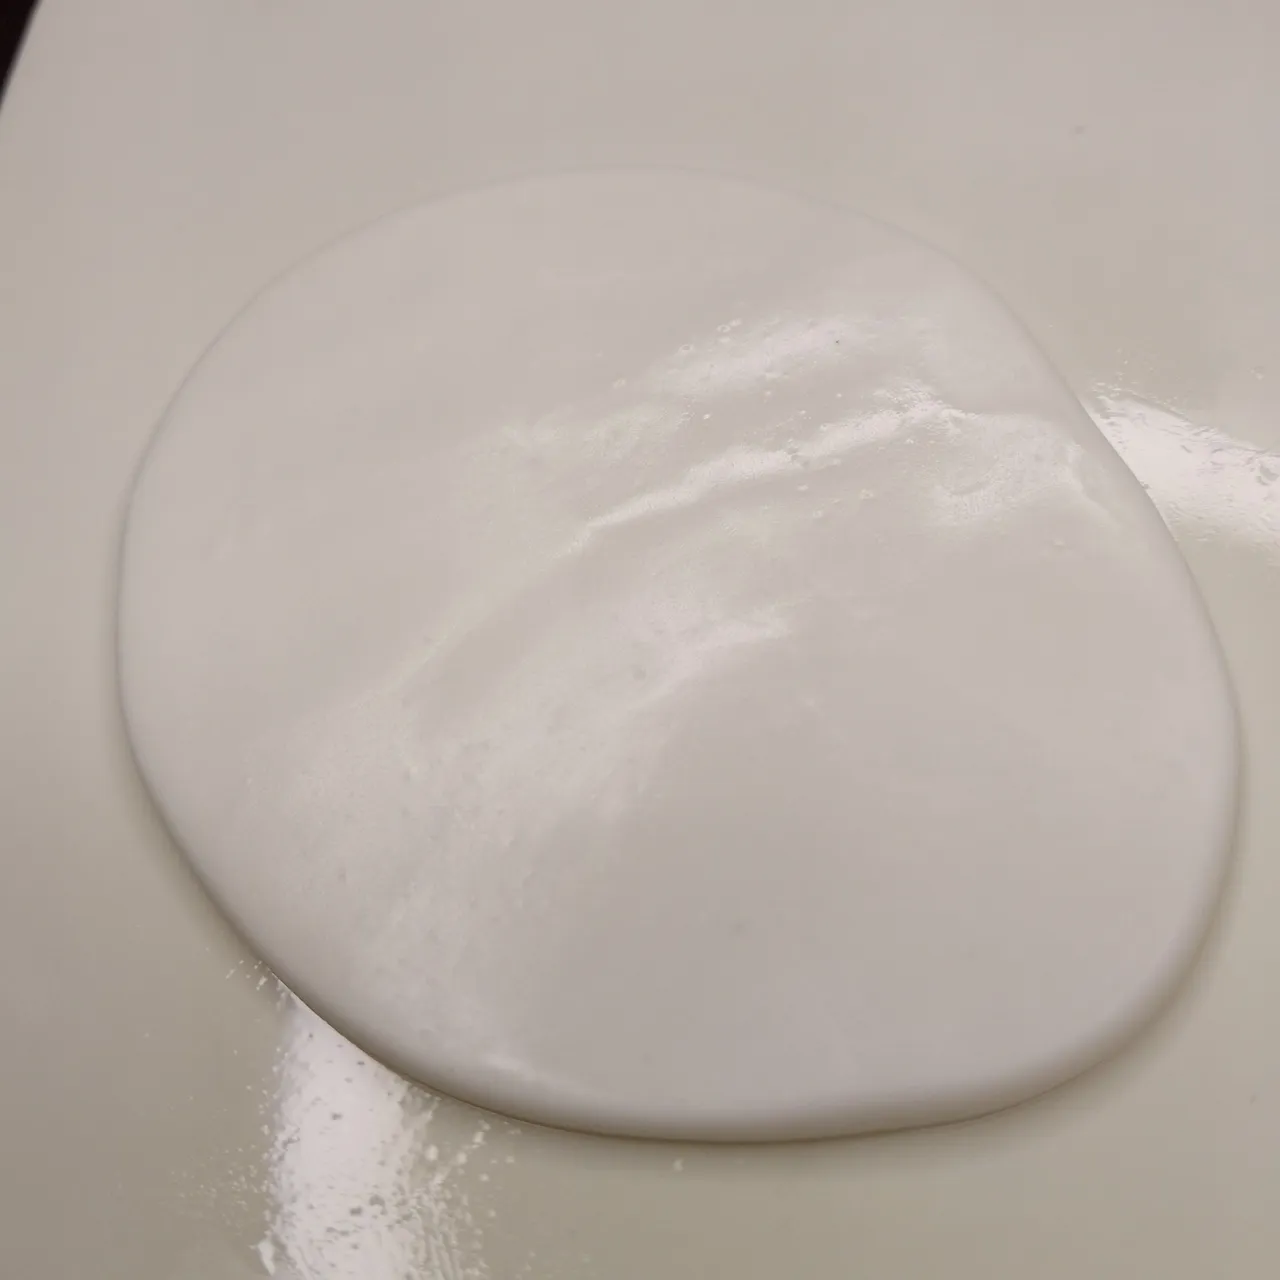
Ahora, aplanaremos una porción de porcelana fría color blanco que nos servirá de base, cortaremos el cilindro en porciones iguales (como en rebanadas) y las posicionaremos sobre la masa blanca aplanada.
Now, we will flatten a portion of cold white porcelain that will serve as a base, cut the cylinder into equal portions (as in slices) and place them on the flattened white dough.
 |  |
|---|
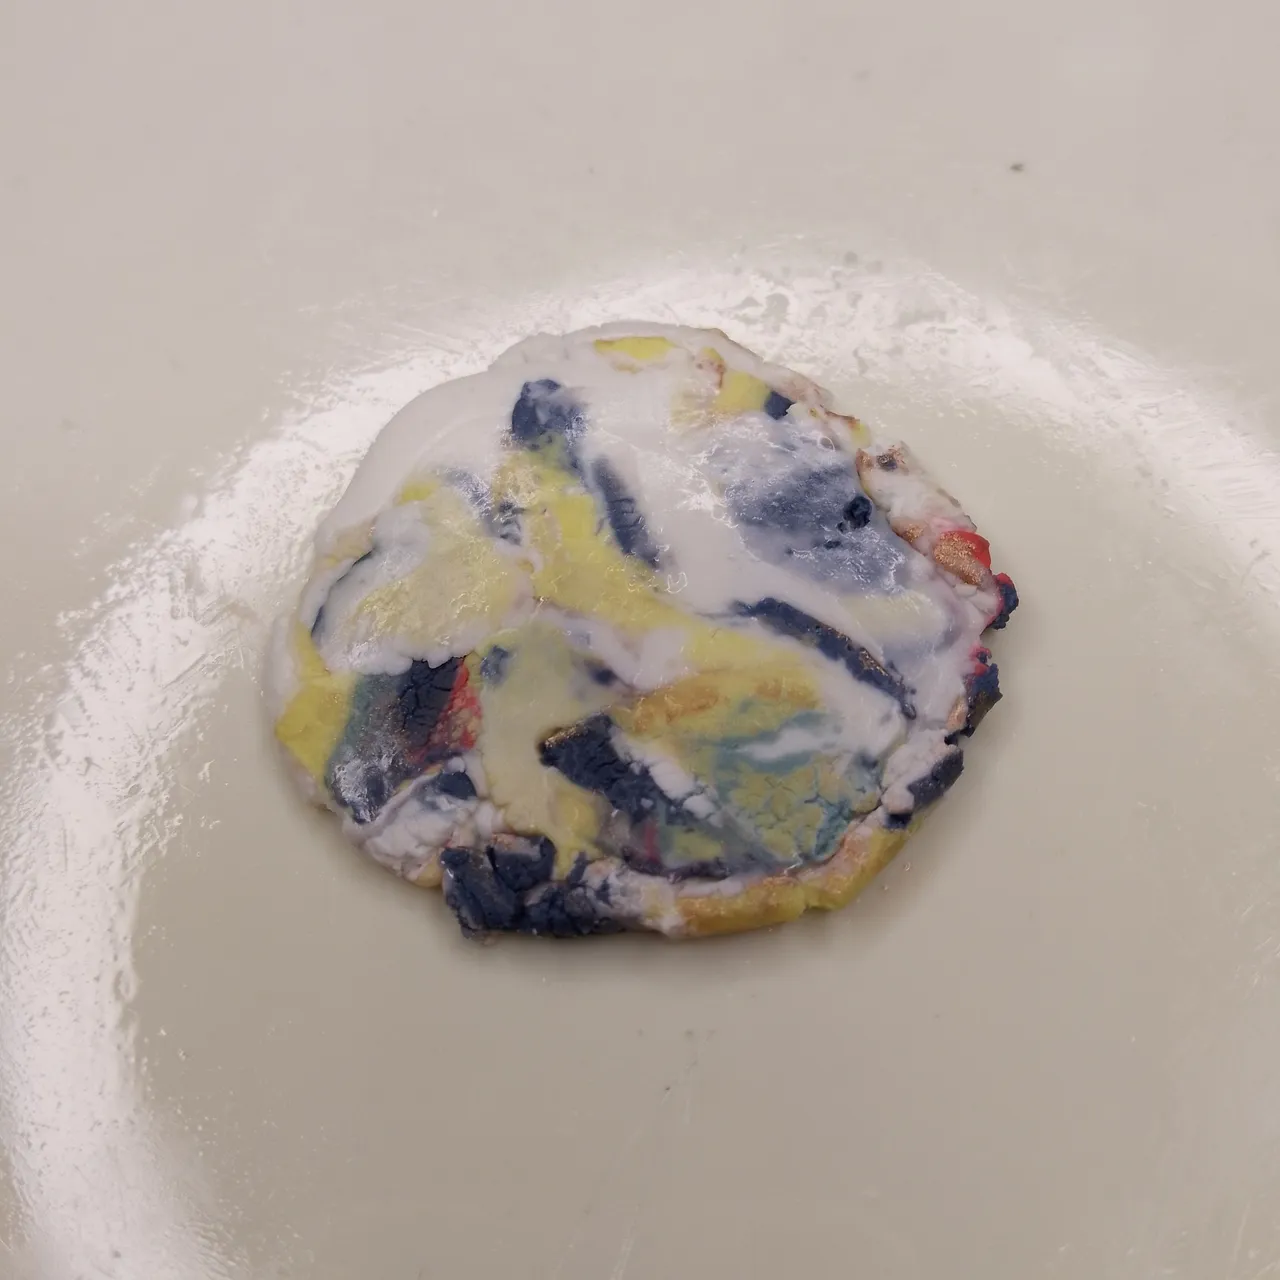
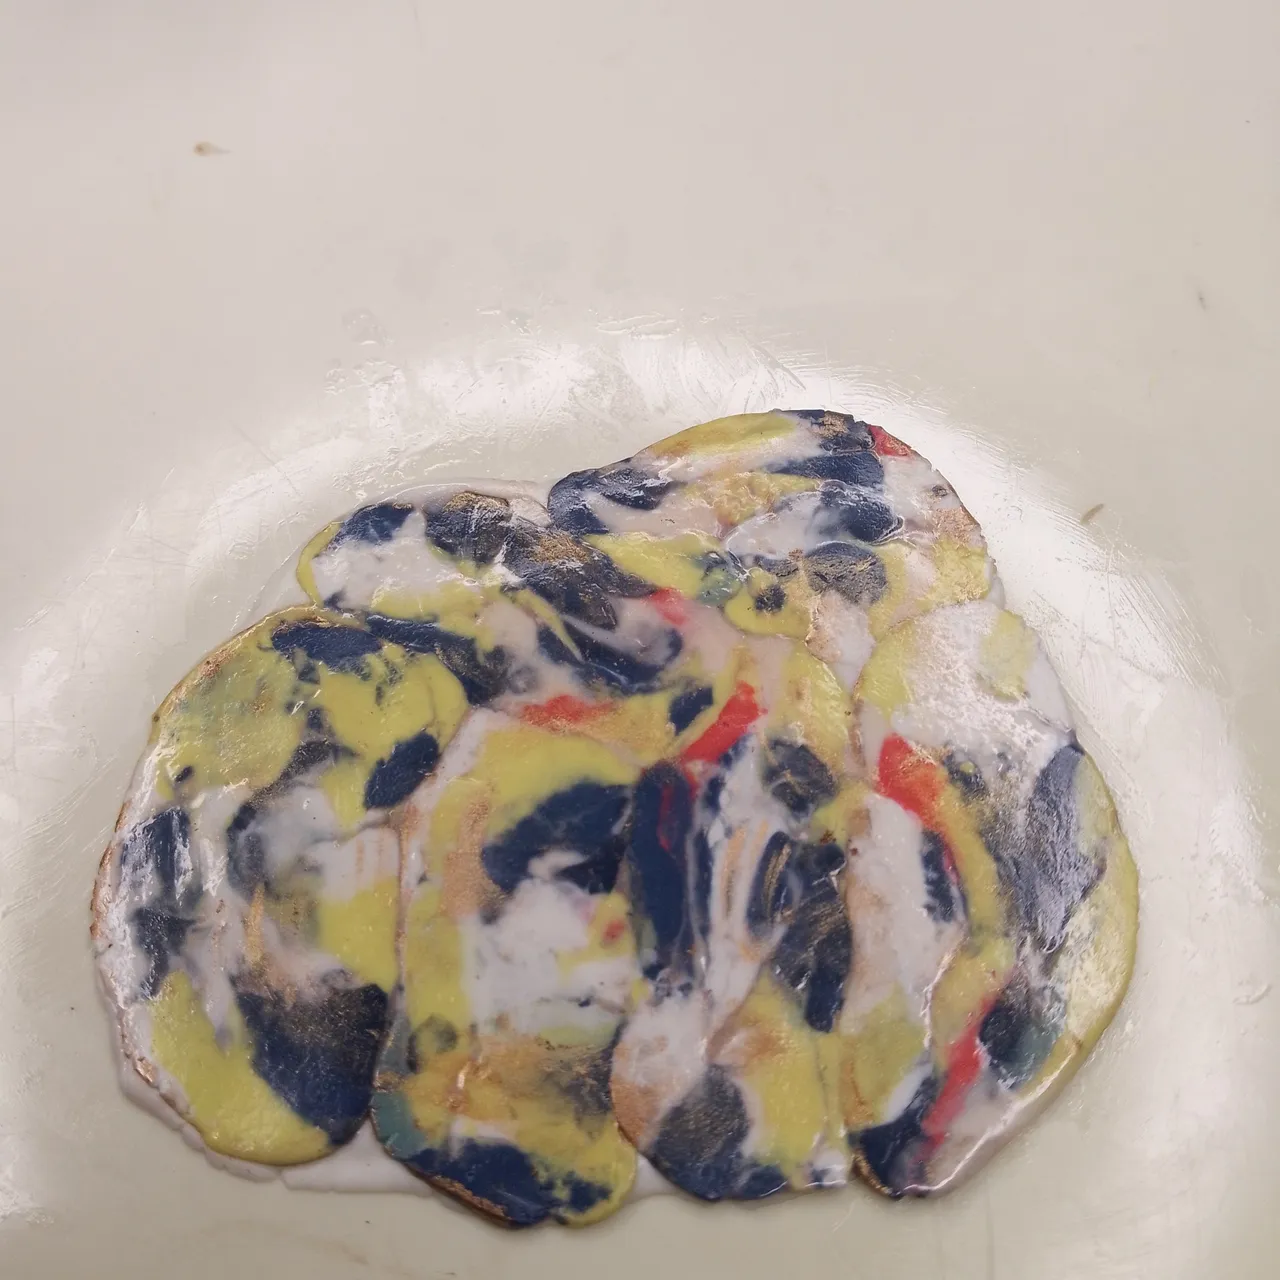
Esto lo aplanaremos con un rodillo hasta que se vea completamente unido.
We will flatten it with a rolling pin until it looks completely united.
 |  |
|---|
Como en este proceso la masa flexible marmoleada puede quedar bastante delgada, de nuevo aplanaremos una porción de blanco dejándole un grosor suficiente para que la pieza final tenga proporciones adecuadas.
As in this process the flexible marbled dough can be quite thin, we will again flatten a portion of white leaving it thick enough for the final piece to have adequate proportions.
 Masa blanca aplanada / Flattened white dough
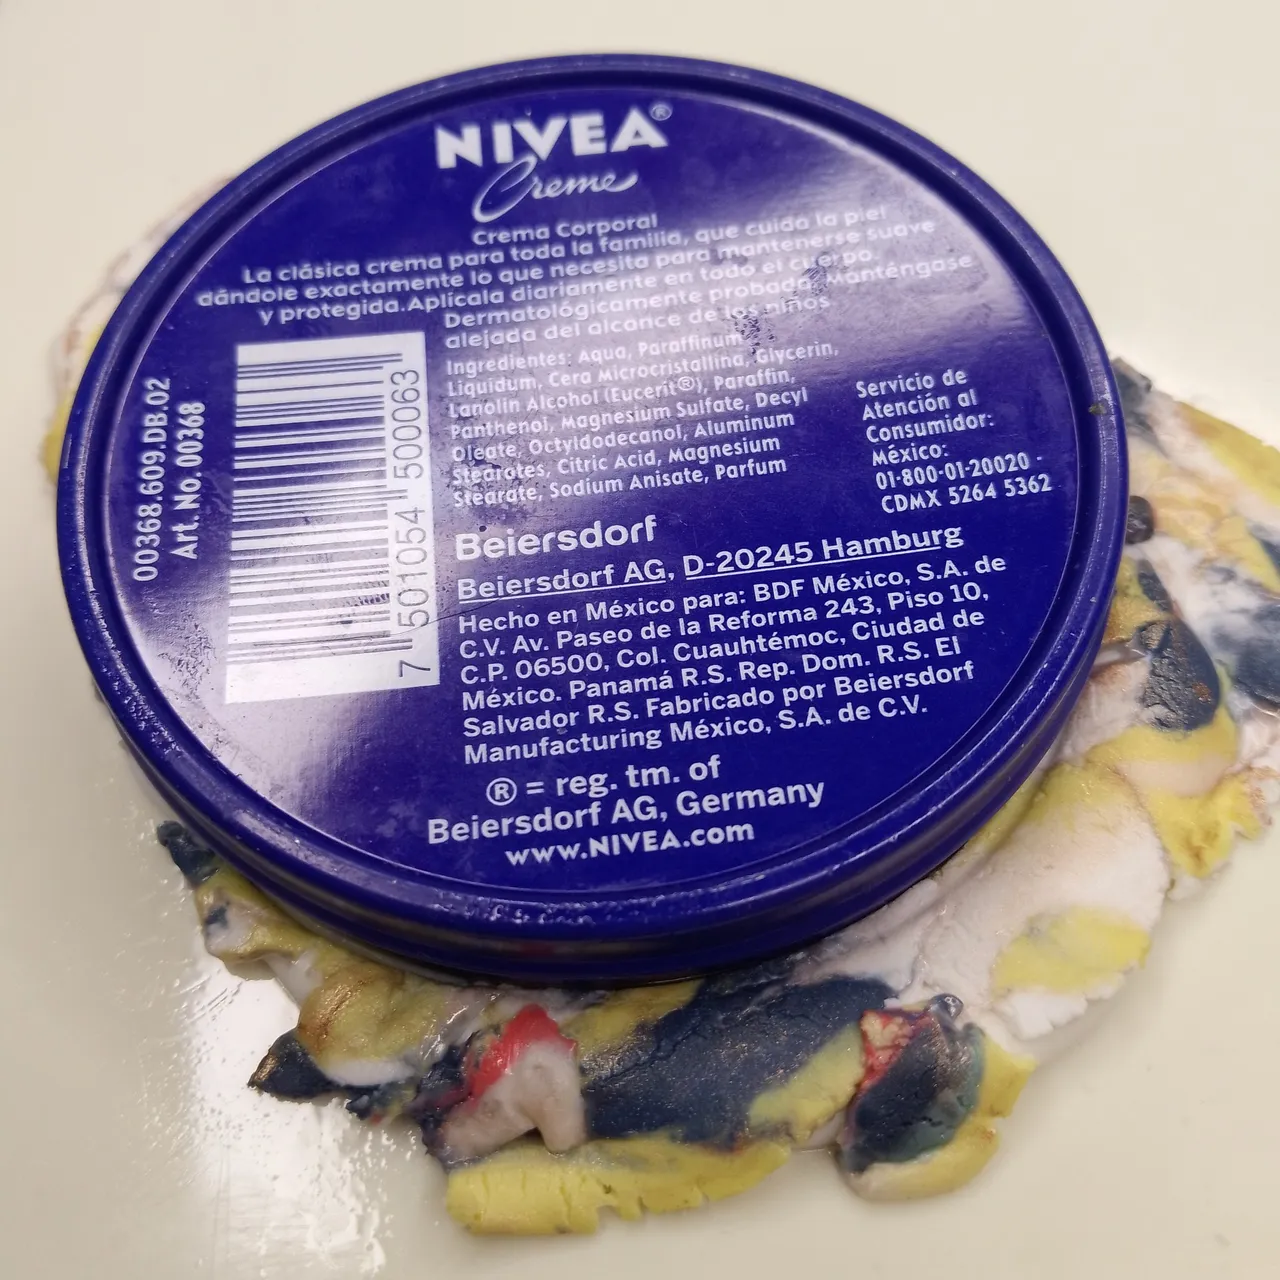
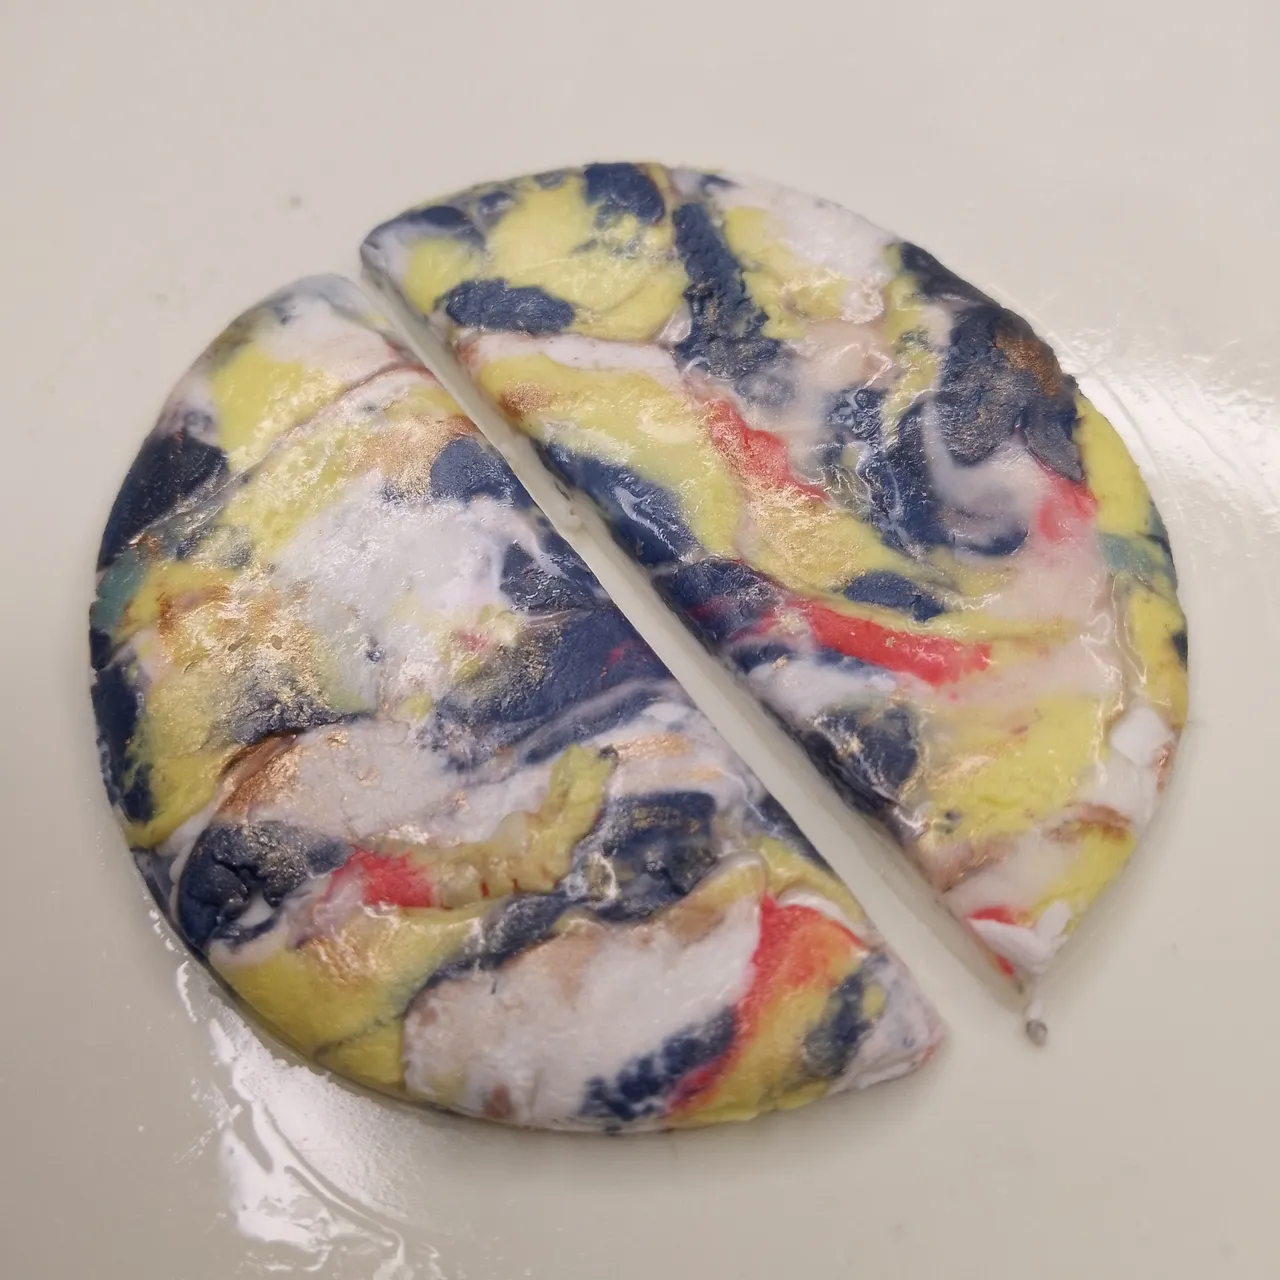
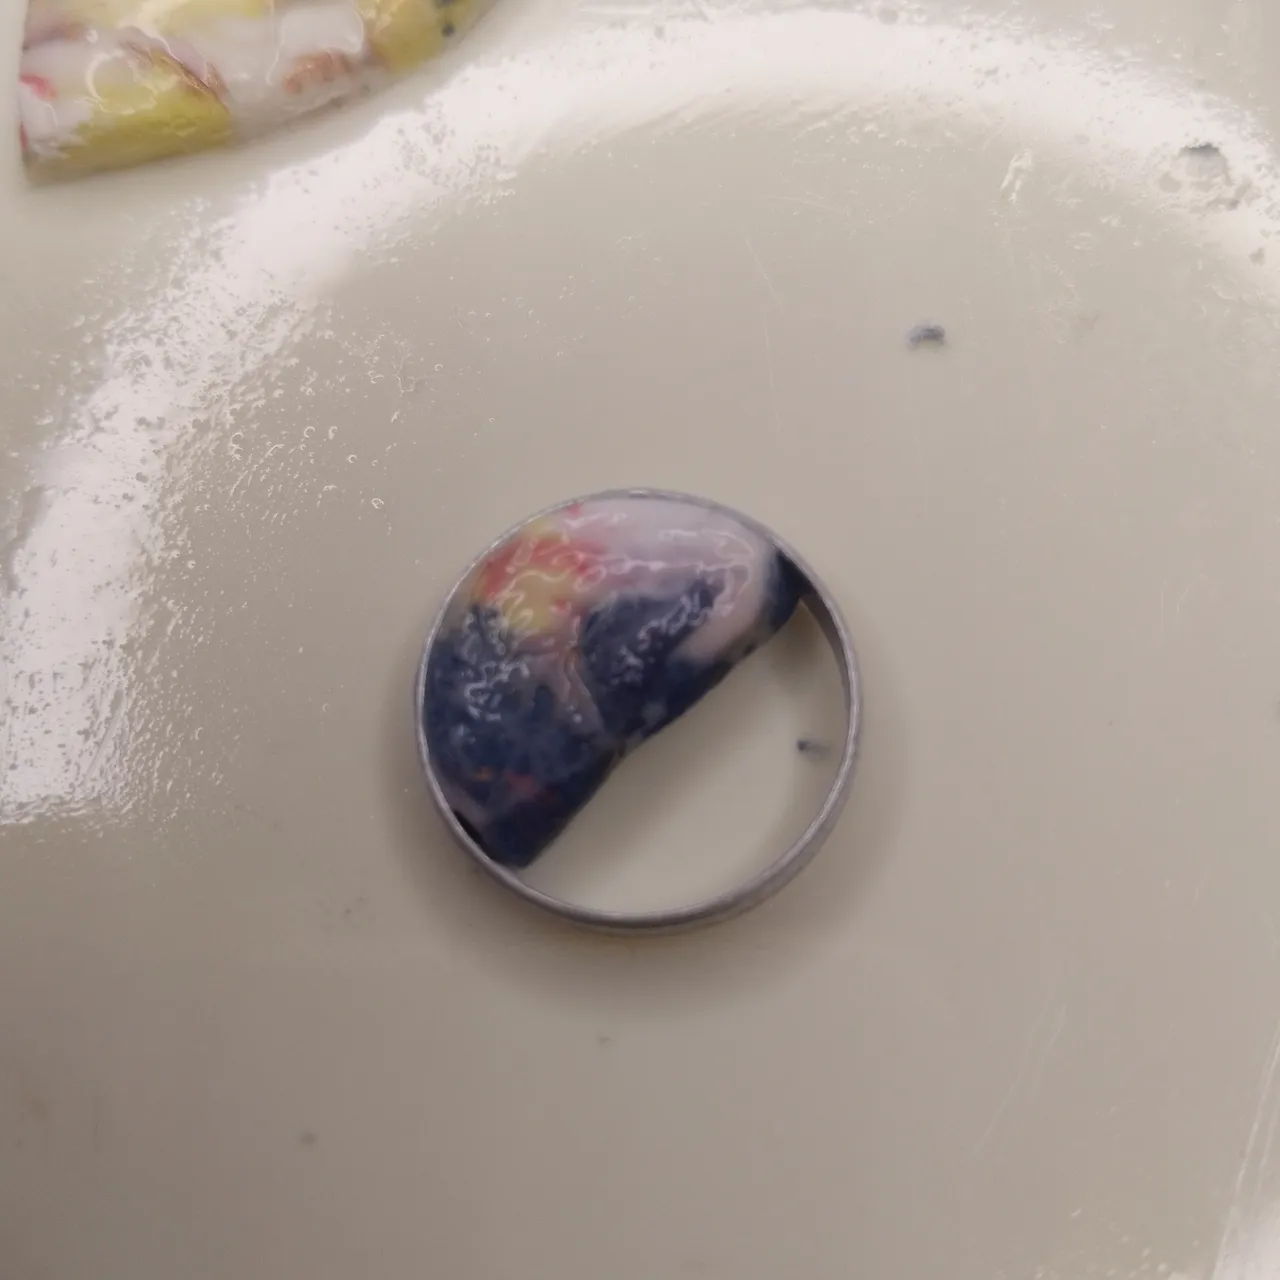
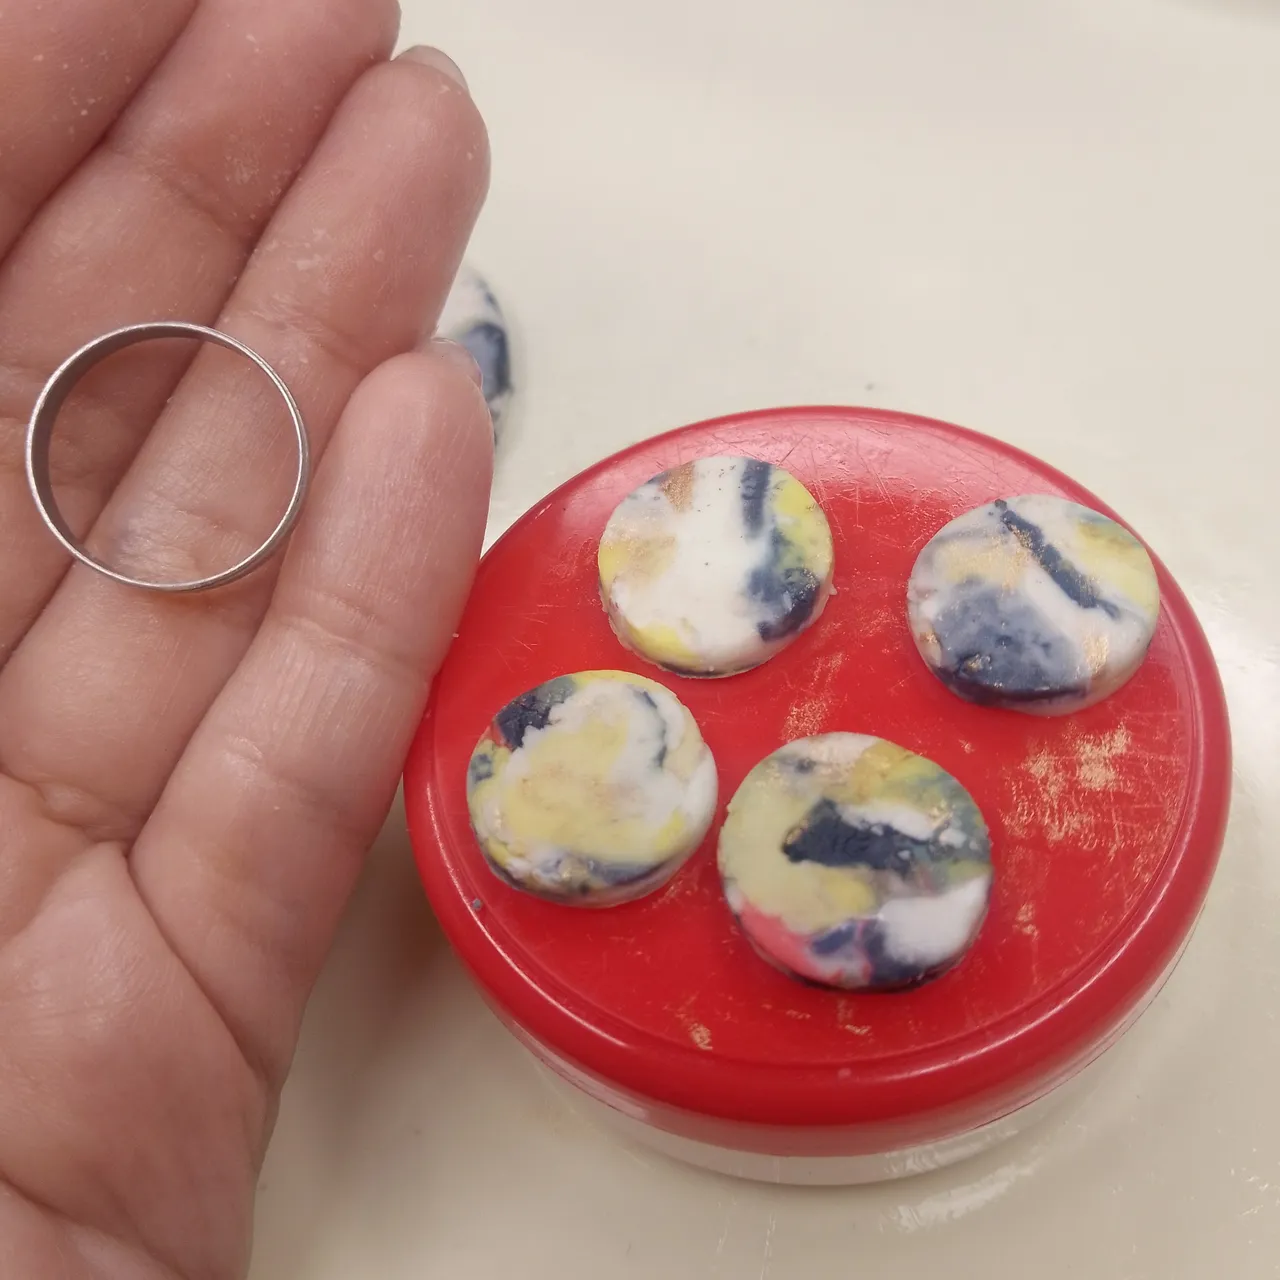
Cubrimos la porción aplanada de blanco por la masa marmoleada y con un cortador cortamos la forma deseada, sí, ya se que mi cortador es una lata de crema Nivea pero lo importante es que resolví (risas). A este círculo le haremos un corte recto en la mitad para así obtener las dos piezas principales de estos maxi zarcillos y como lo que deseaba era que tuvieran forma de arco, extraje un medio círculo del centro de estos con un anillo, pero tu puedes hacerlo con cortadores reales si los tienes. Con el sobrante de la masa, volví a masar un poco para unificar, luego aplané y con el anillo corté más círculos.
We cover the flattened portion of white by the marbled dough and with a cutter we cut the desired shape, yes, I know that my cutter is a can of Nivea cream but the important thing is that I solved (laughs). To this circle we will make a straight cut in the middle to obtain the two main pieces of these maxi tendrils and as I wanted them to have an arc shape, I extracted a half circle from the center of these with a ring, but you can do it with real cutters if you have them. With the leftover dough, I put some dough back to unify, then flattened and with the ring I cut more circles.
 |  |
|---|
 |  |
|---|
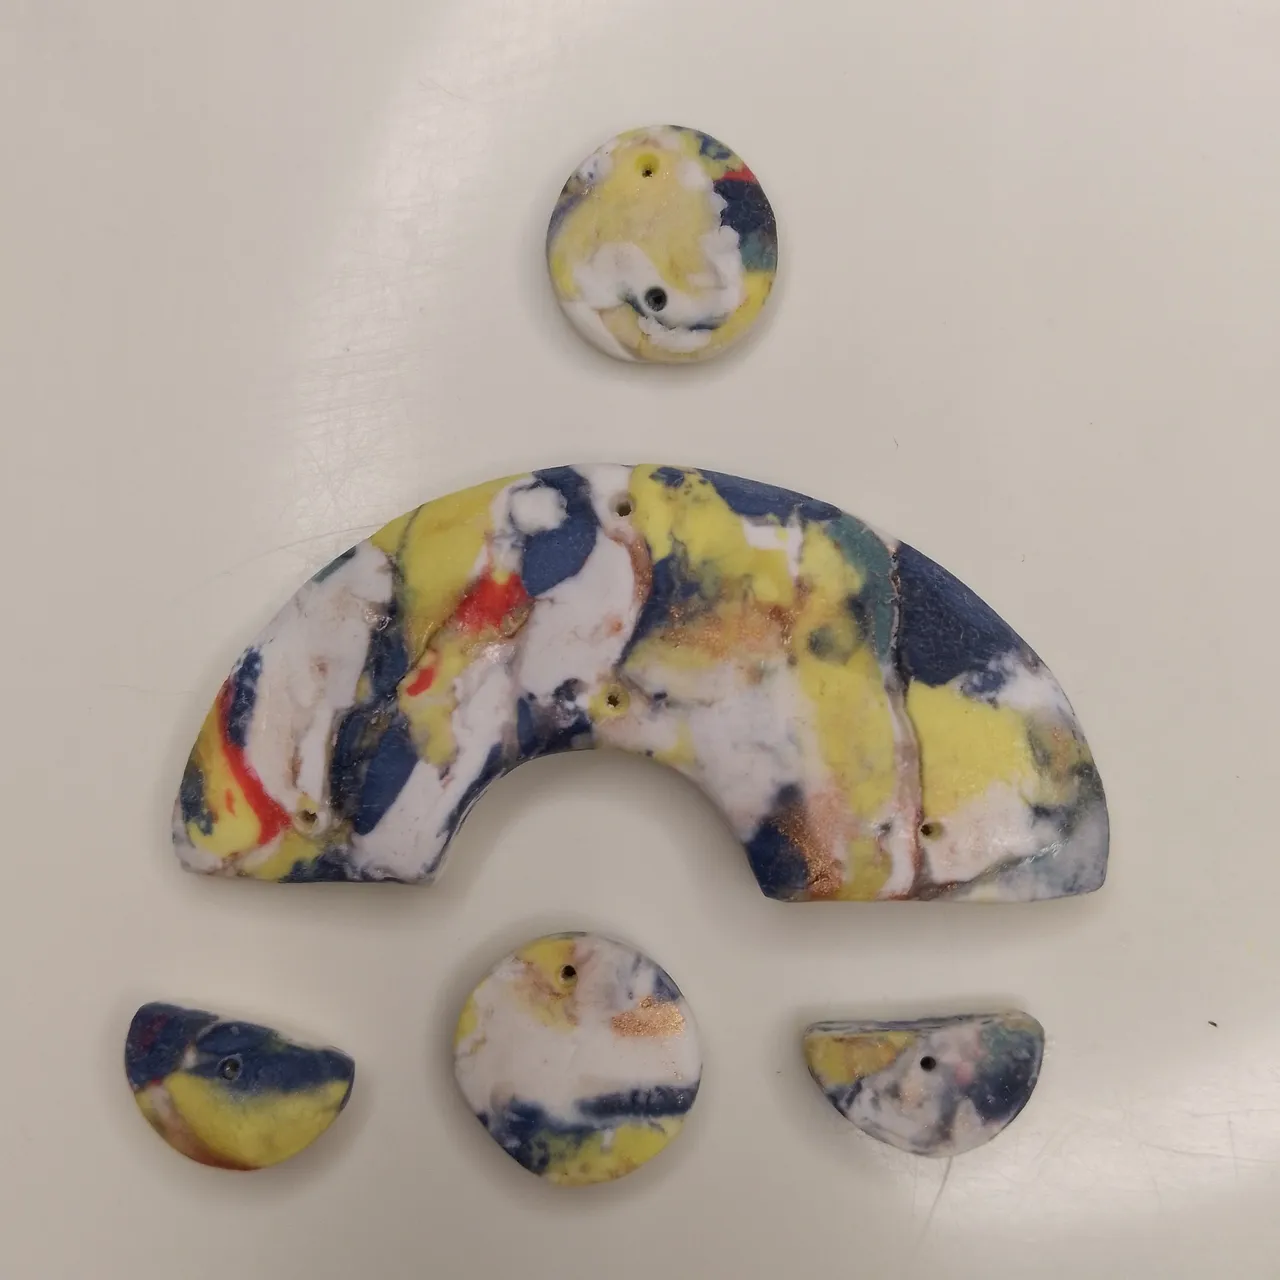
Ahora les damos una capa de pegamento blanco para reforzar un poco la cohesión del marmoleado. Al secar la capa de pegamento, no olviden hacer los agujeros necesarios para el ensamble de las piezas.
Now we give them a coat of white glue to reinforce a little the cohesion of the marbling. When the layer of glue dries, don't forget to make the necessary holes for the assembly of the pieces.
 Capa de pegamento / Glue coat
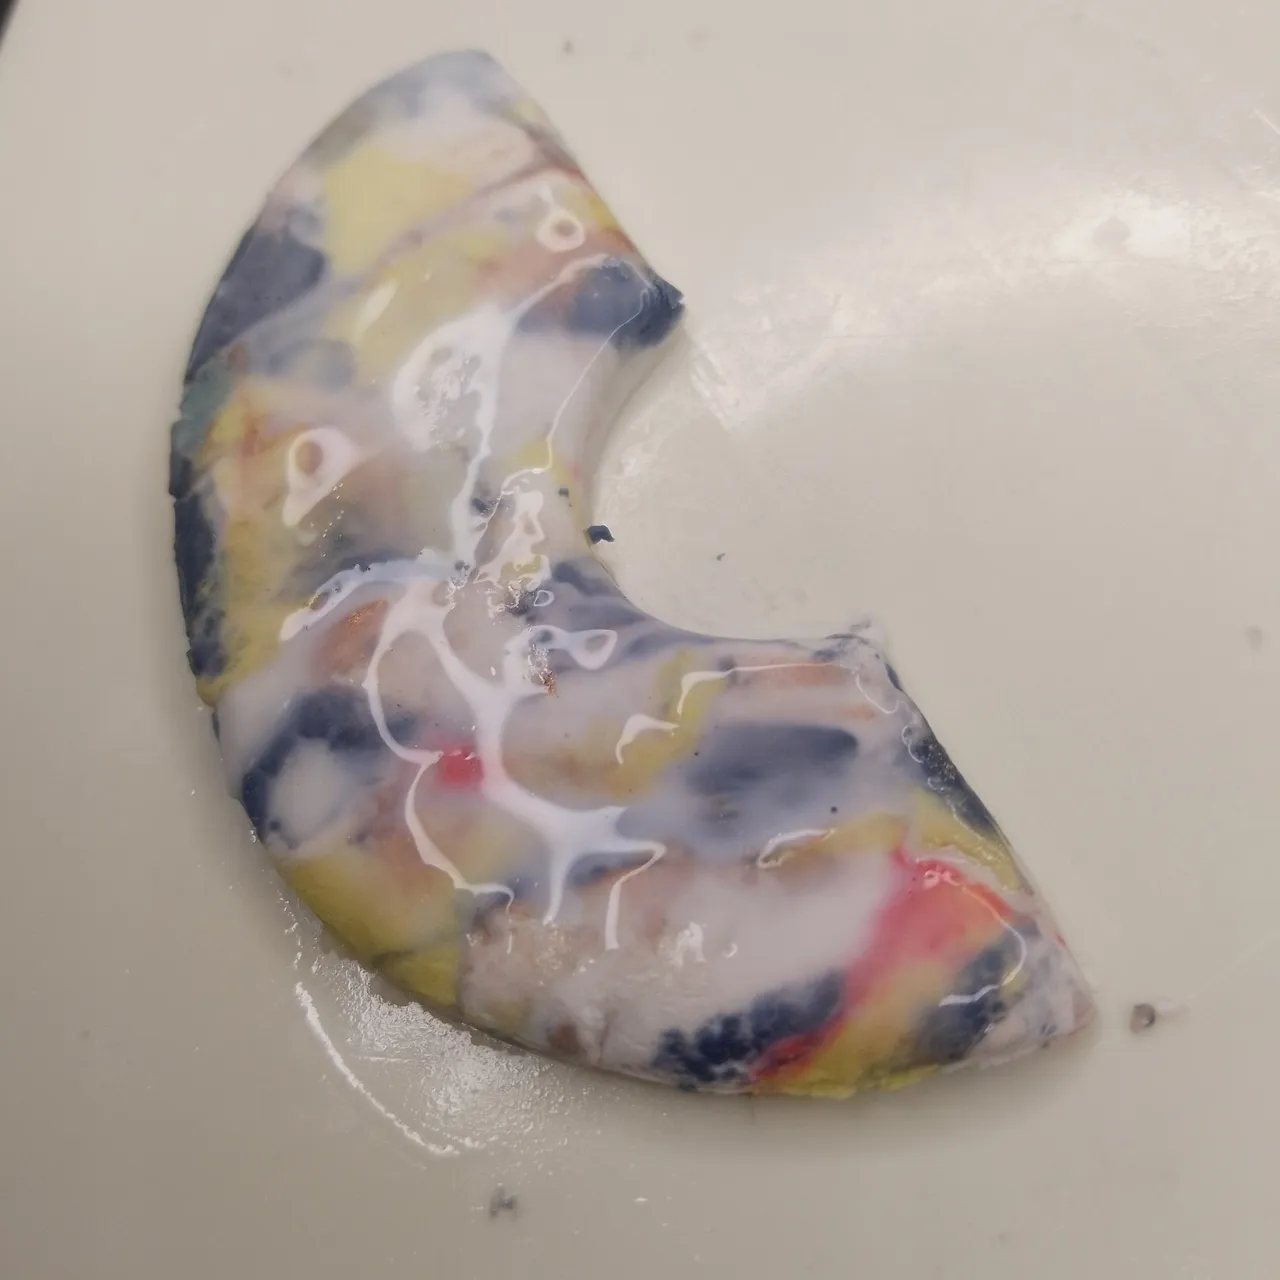
Cuando ya ha secado completamente la porcelana fría se verá algo como la siguiente imagen, ya sé que se ve desprolijo pero confíen en el proceso.
When the cold porcelain has dried completely, it will look something like the following image, I know it looks messy but trust the process.
 Pieza secando / Piece drying
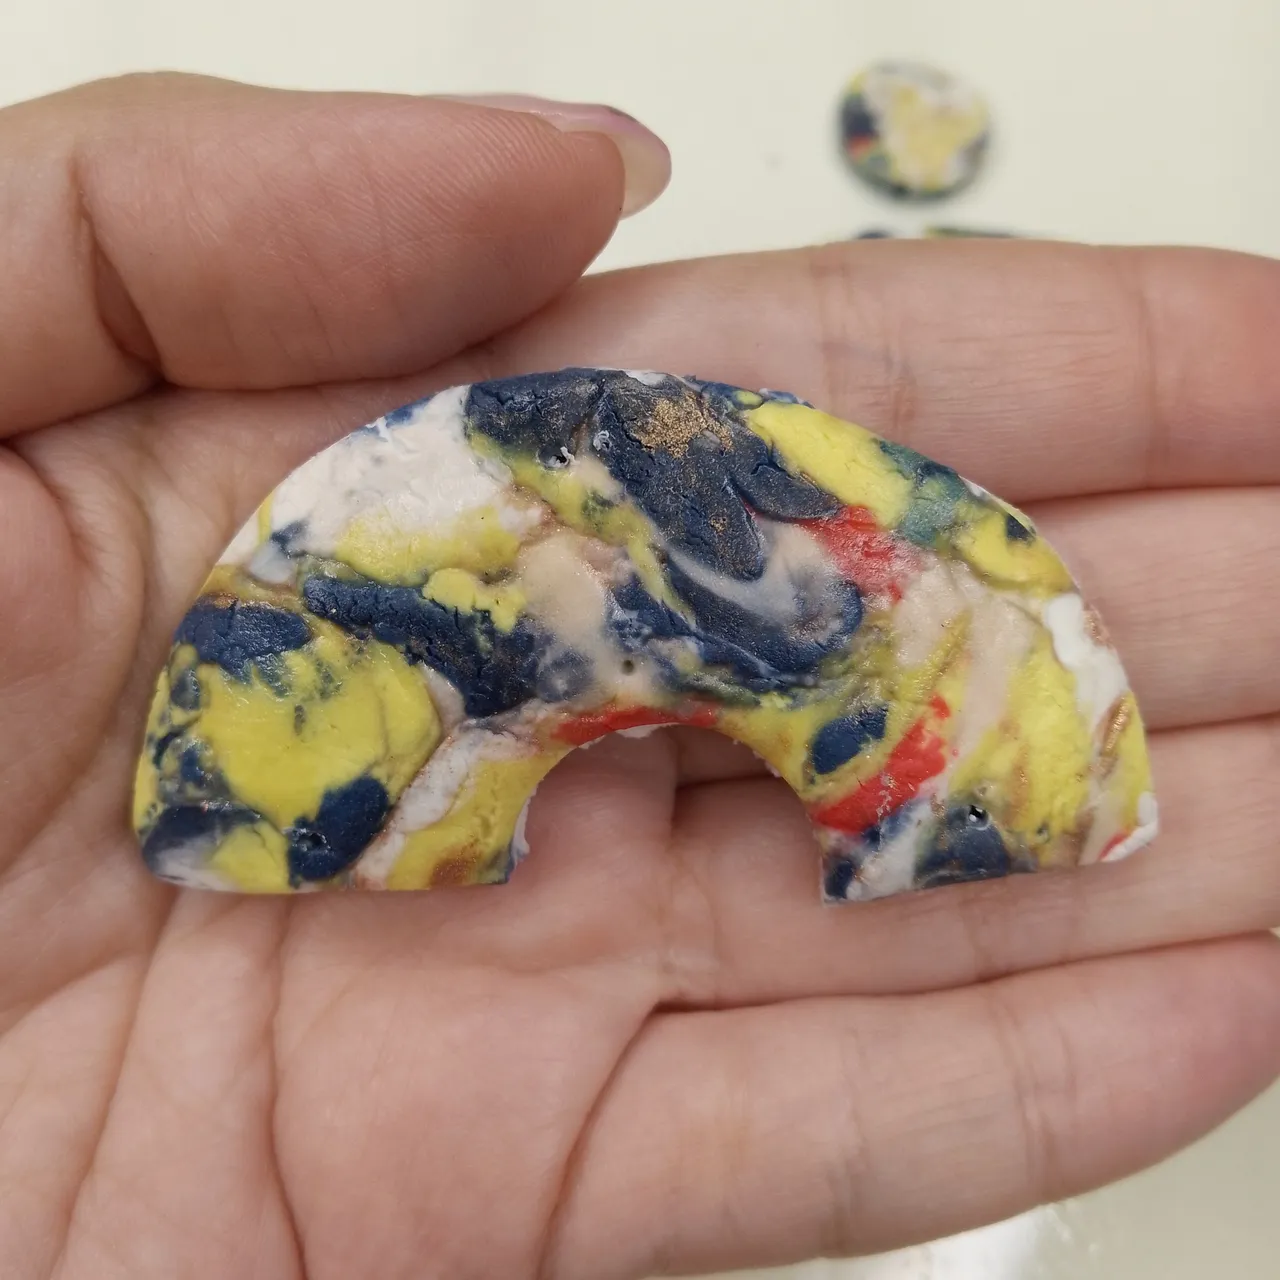
Limpiamos los bordes tanto externos como las paredes internas de los agujeros con el dremel, además de cualquier imperfección que consideremos que debemos corregir en la superficie general y así se estarían viendo las piezas ahora:
We cleaned up the outer edges as well as the inner walls of the holes with the dremel, plus any imperfections we felt we needed to correct on the overall surface and this is what the parts would be looking like now:
Corrigiendo imperfecciones / Correcting imperfections
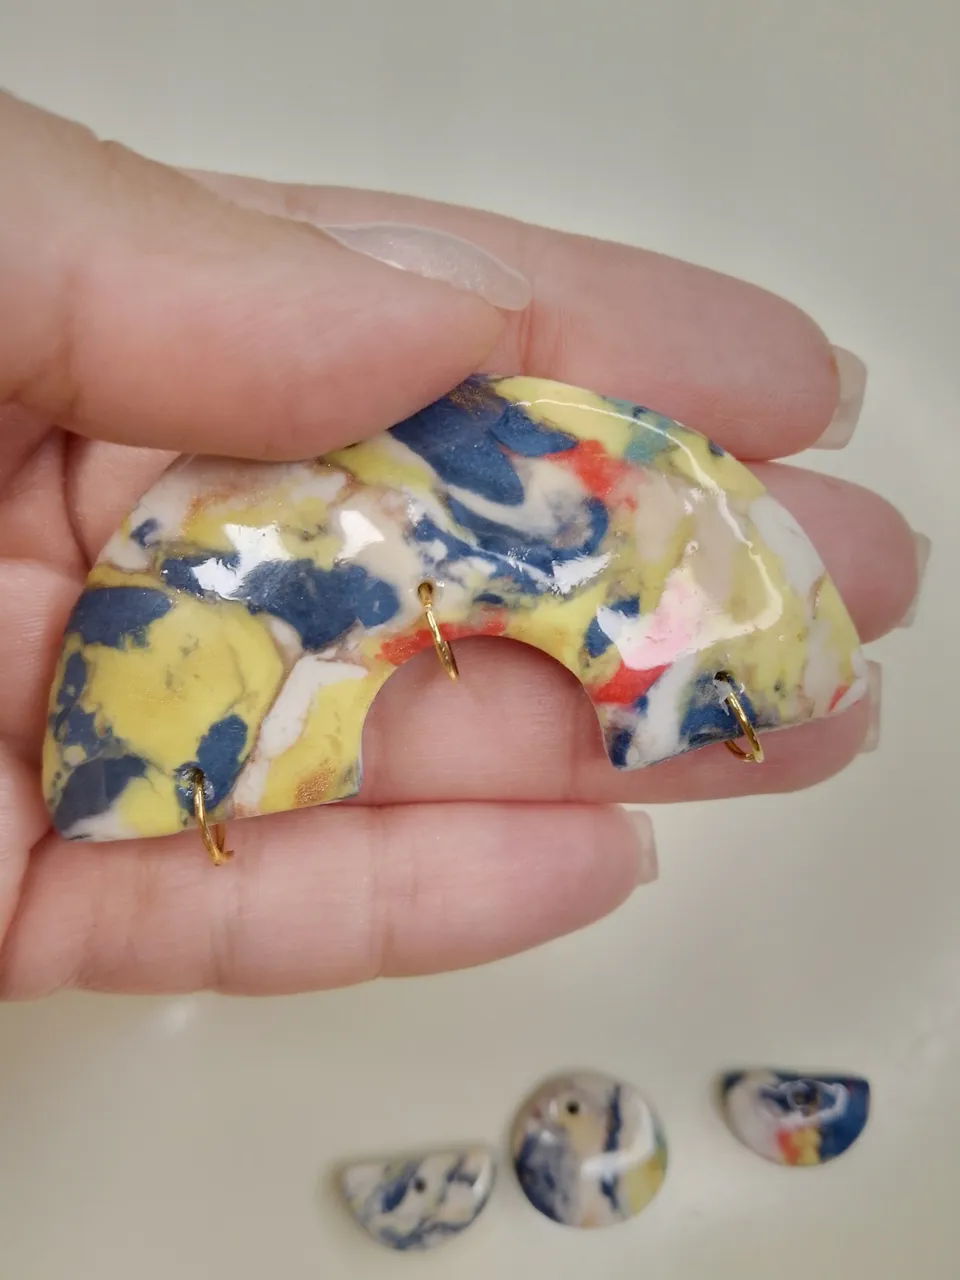
Es momento de cubrir con el Top Coat para dar ese efecto brillante súper bonito y brindar una capa de protección extra al ser curado en la lámpara UV LED. Para ensamblar estaremos empleando aros dorados en dos tamaños, unos más grandes que irán en cada uno de los agujeros de las piezas y los aros más pequeños para unir una pieza con otra y también con su anzuelo respectivo.
It is time to cover with the Top Coat to give that super nice shiny effect and provide an extra layer of protection when cured in the UV LED lamp. To assemble we will be using gold rings in two sizes, larger ones that will go in each of the holes of the pieces and smaller rings to join one piece to another and also with their respective hook.
 |  |
|---|
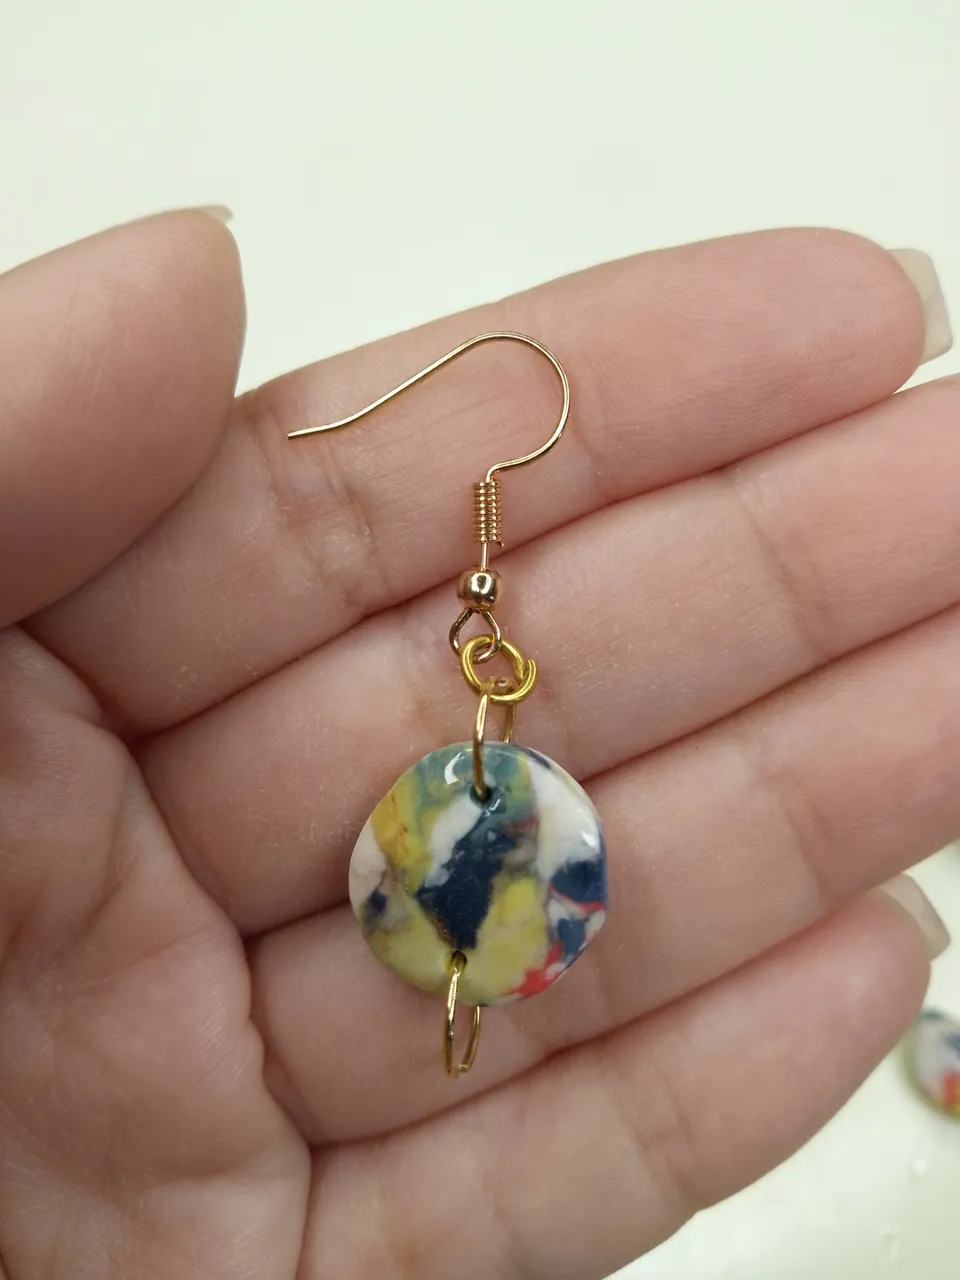
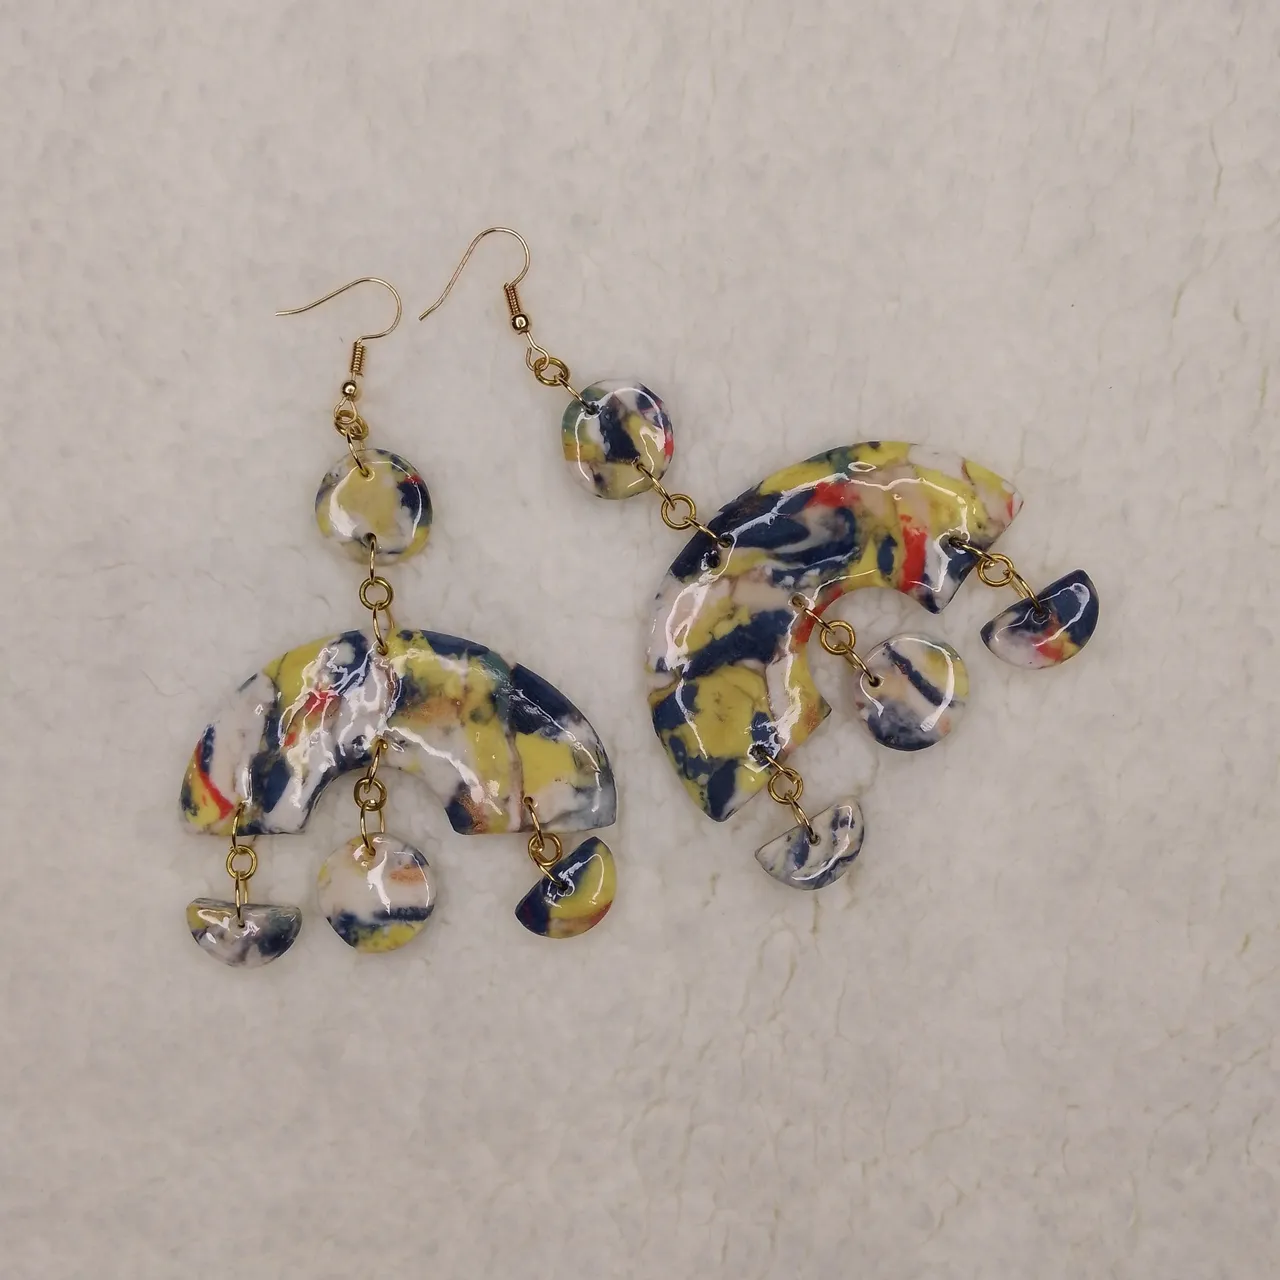
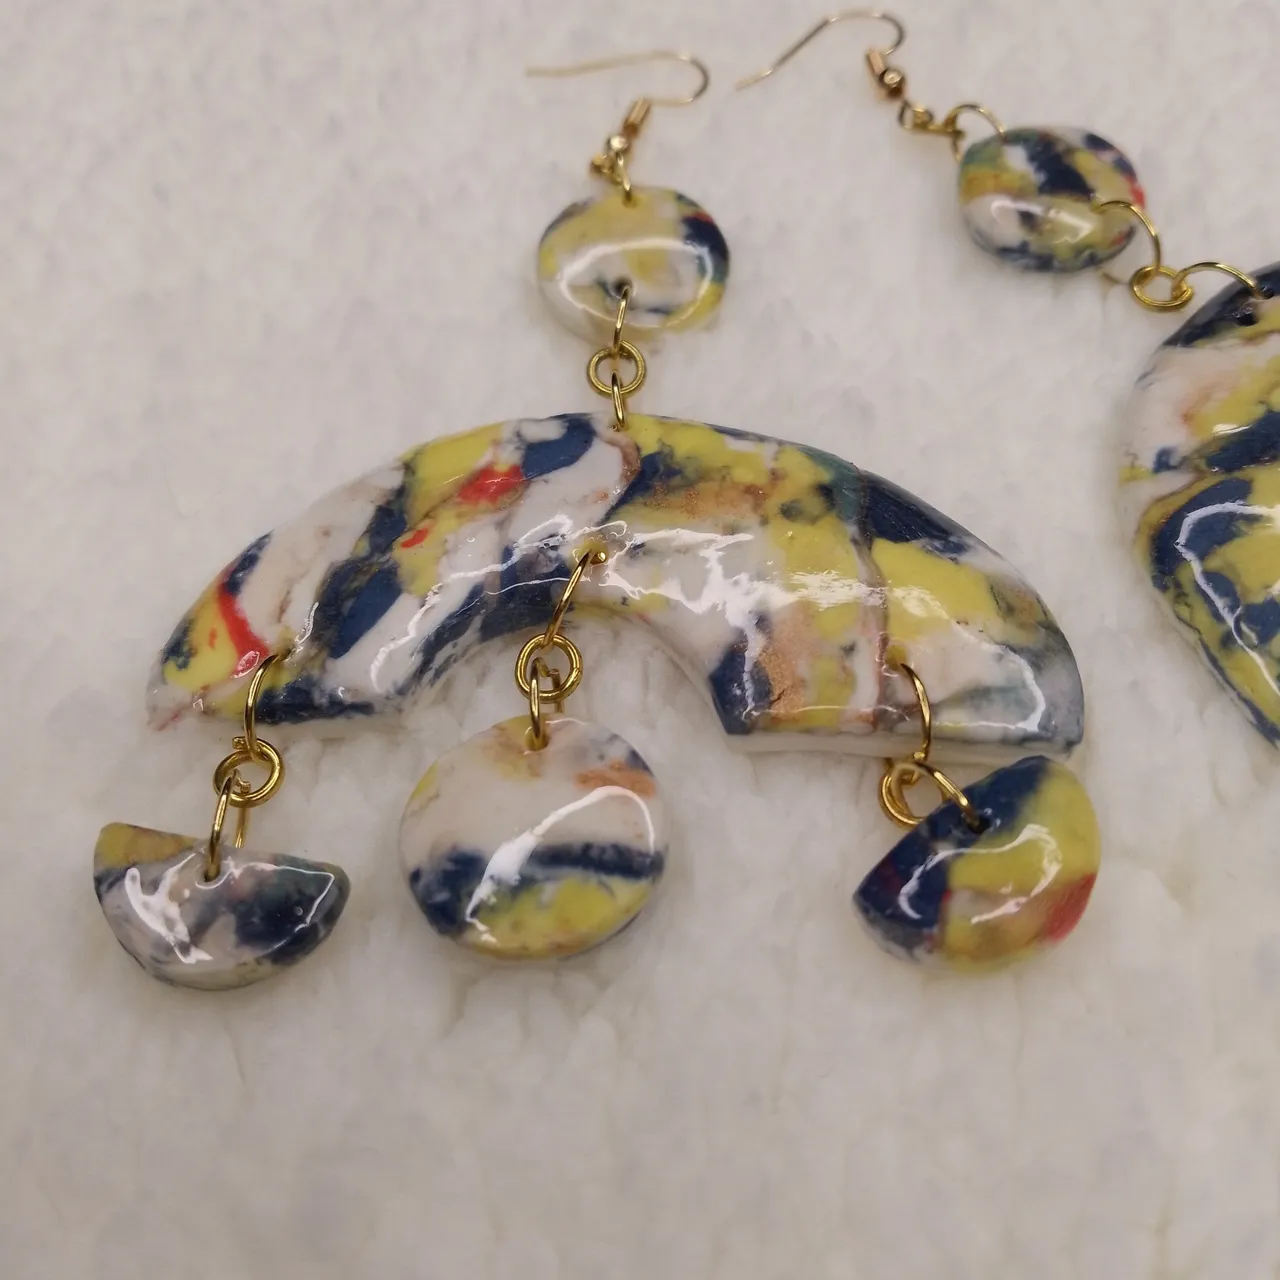
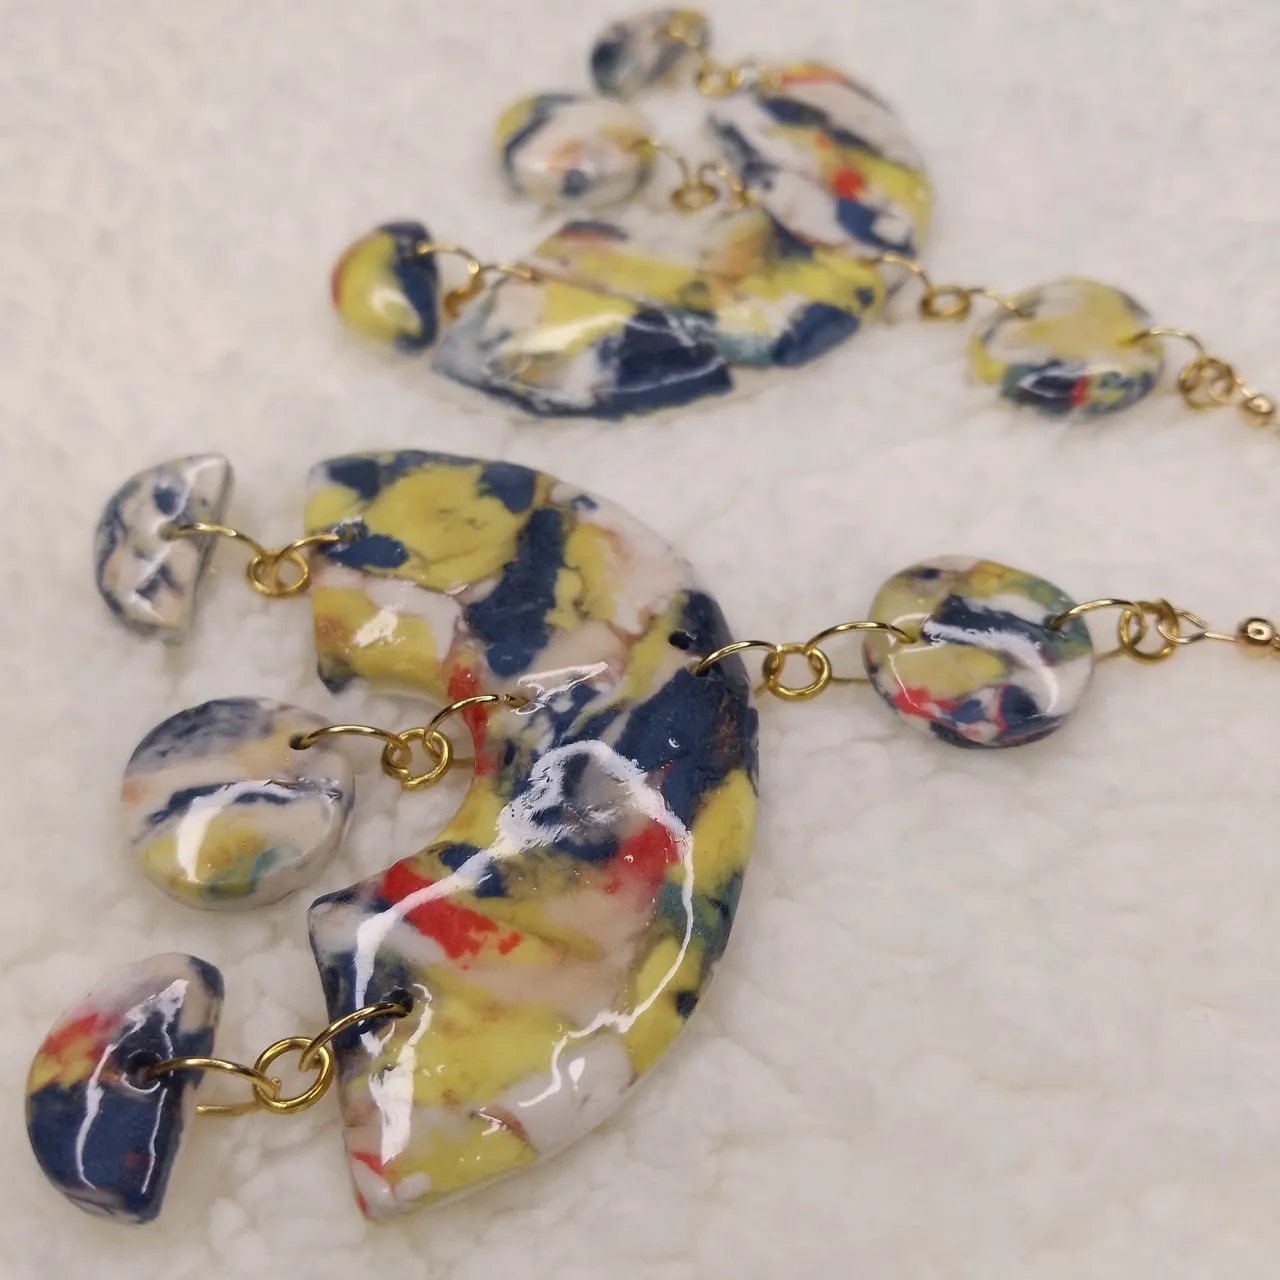
Y este sería el glamoroso resultado final ¡yo lo amo! Y sé que ustedes también lo están amando tanto como yo (risas).
And this would be the glamorous end result - I love it! And I know you guys are loving it as much as I am (laughs).
 |  |
|---|
¡Muchas gracias por leerme!
Thank you so much for reading me!
Fotografías propias, tomadas con mi Tecno Spark 10C.
Traducido al inglés con DeepL.
Own photographs, taken with my Tecno Spark 10C.
Translated to English with DeepL.