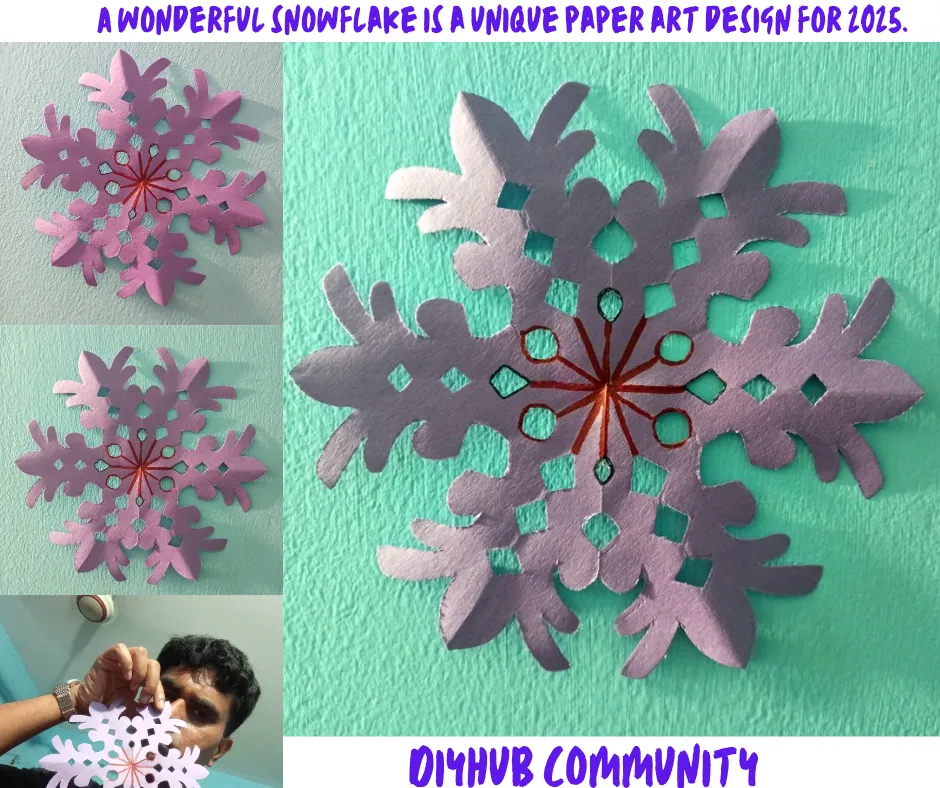
Let's complete today's tutorial by arranging each step in a smooth manner.
First I took orchid colored paper. But the color of the walls in my room was sky colored. So I took orchid colored paper with great feeling.
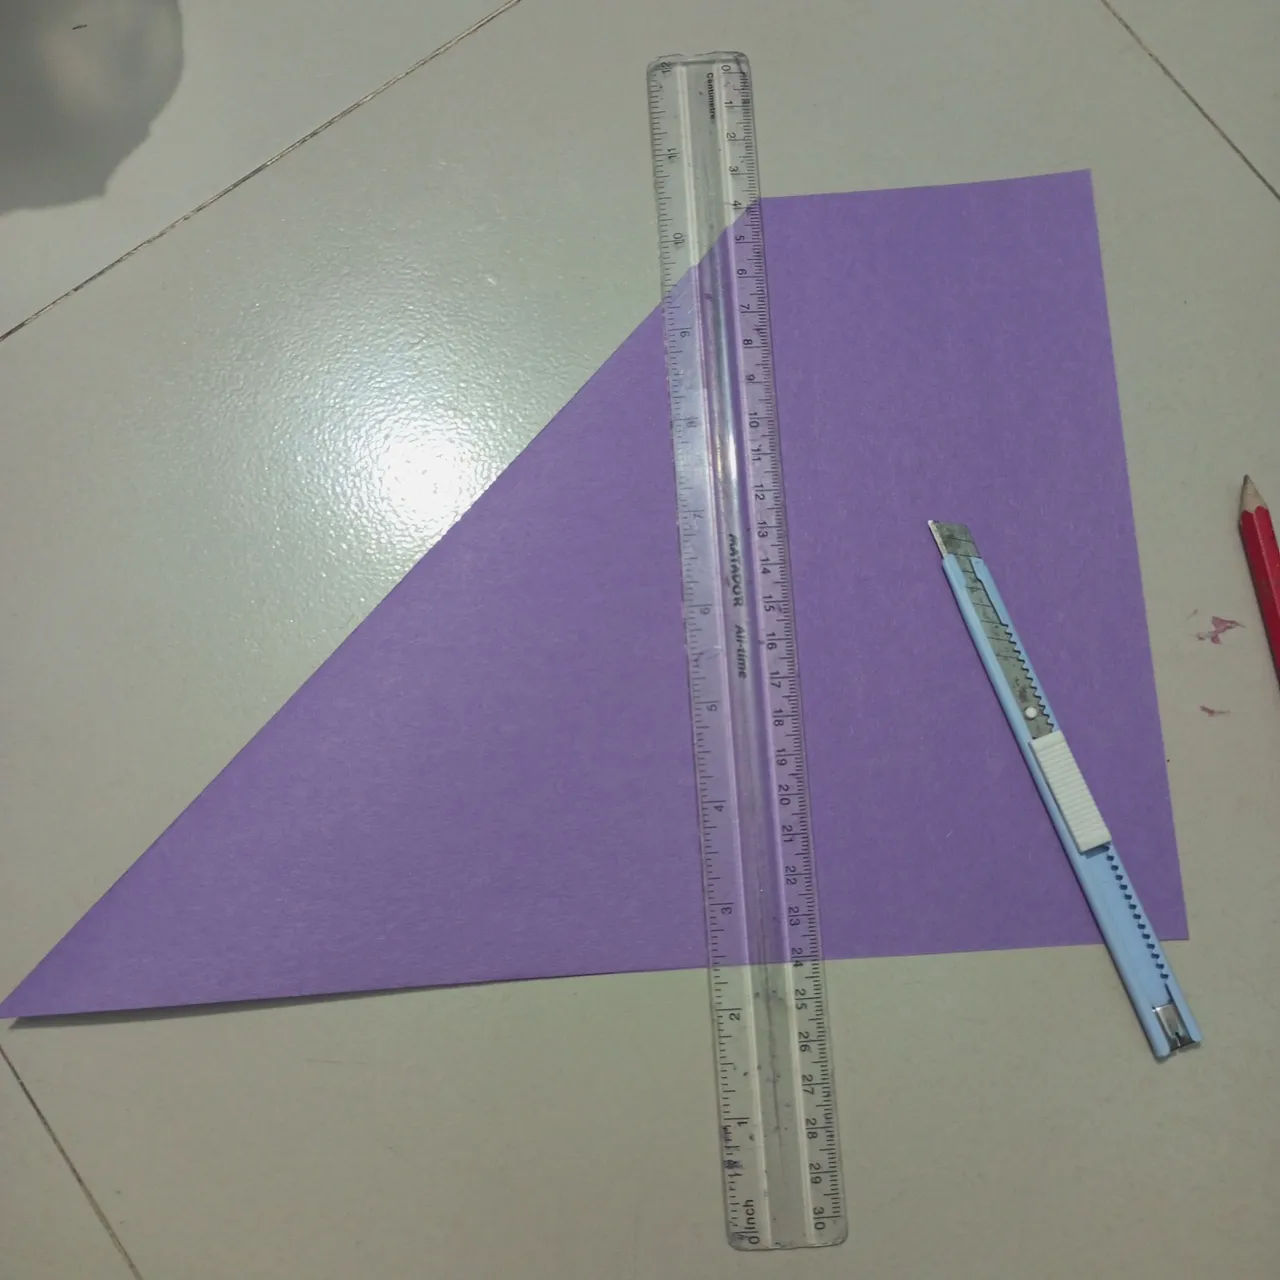
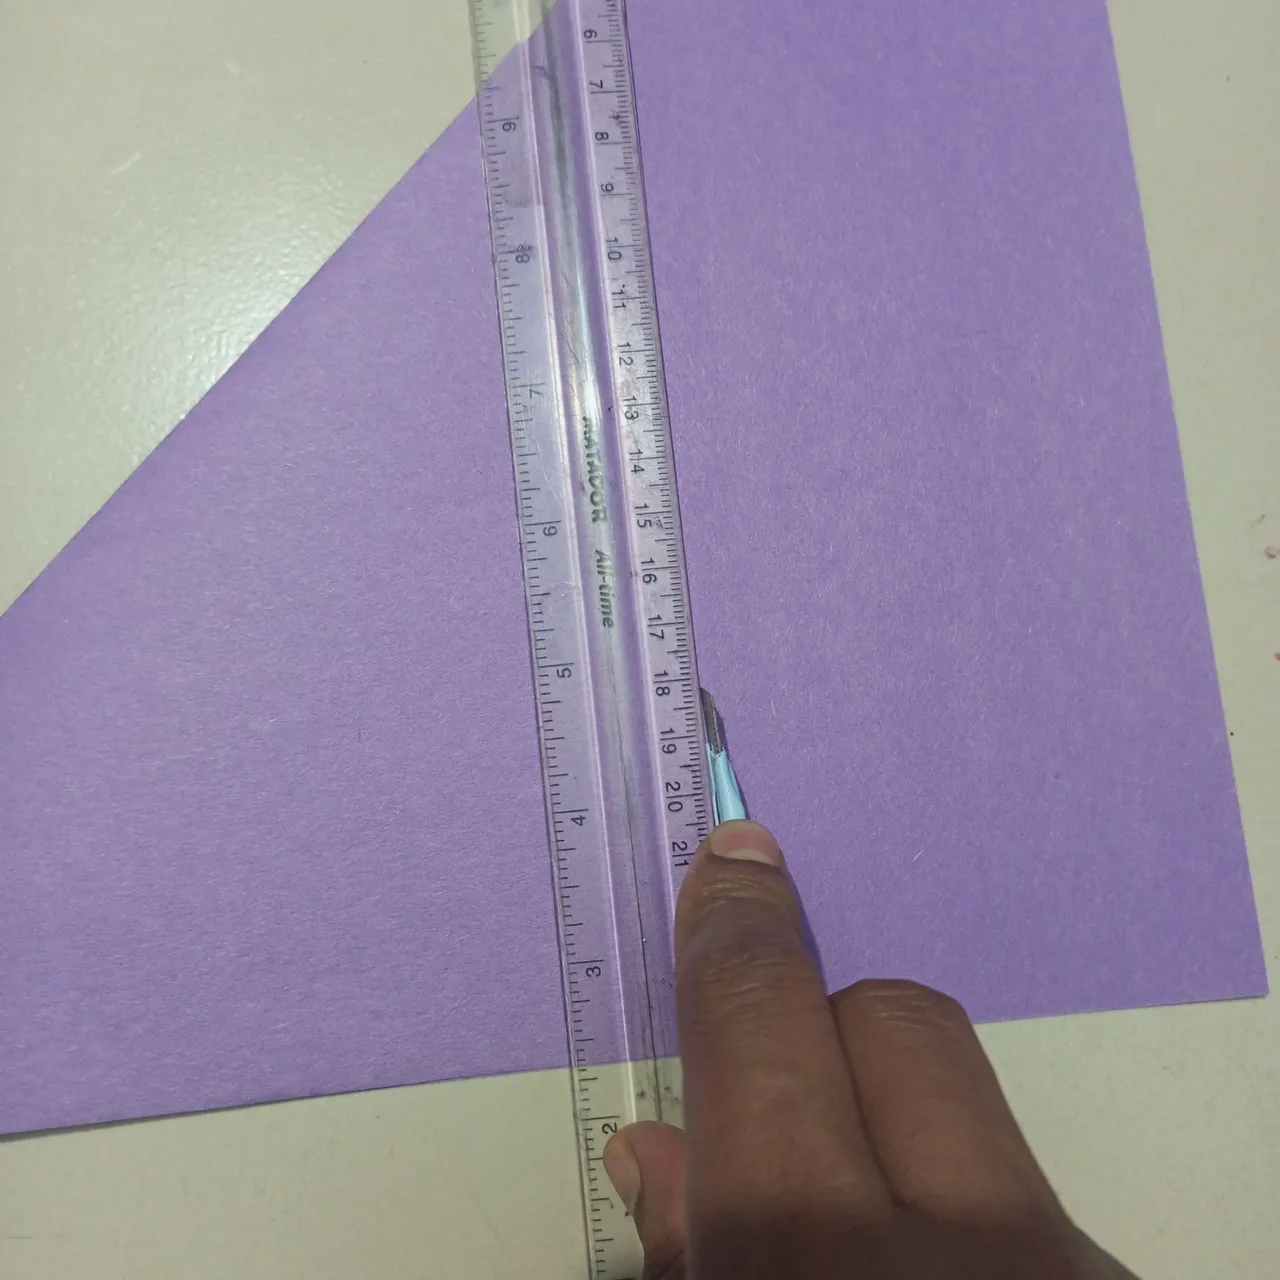
Here, first I made a fold with colored paper. Then, with great feeling, I cut off the excess part according to the medium used by using an anti-cutter.
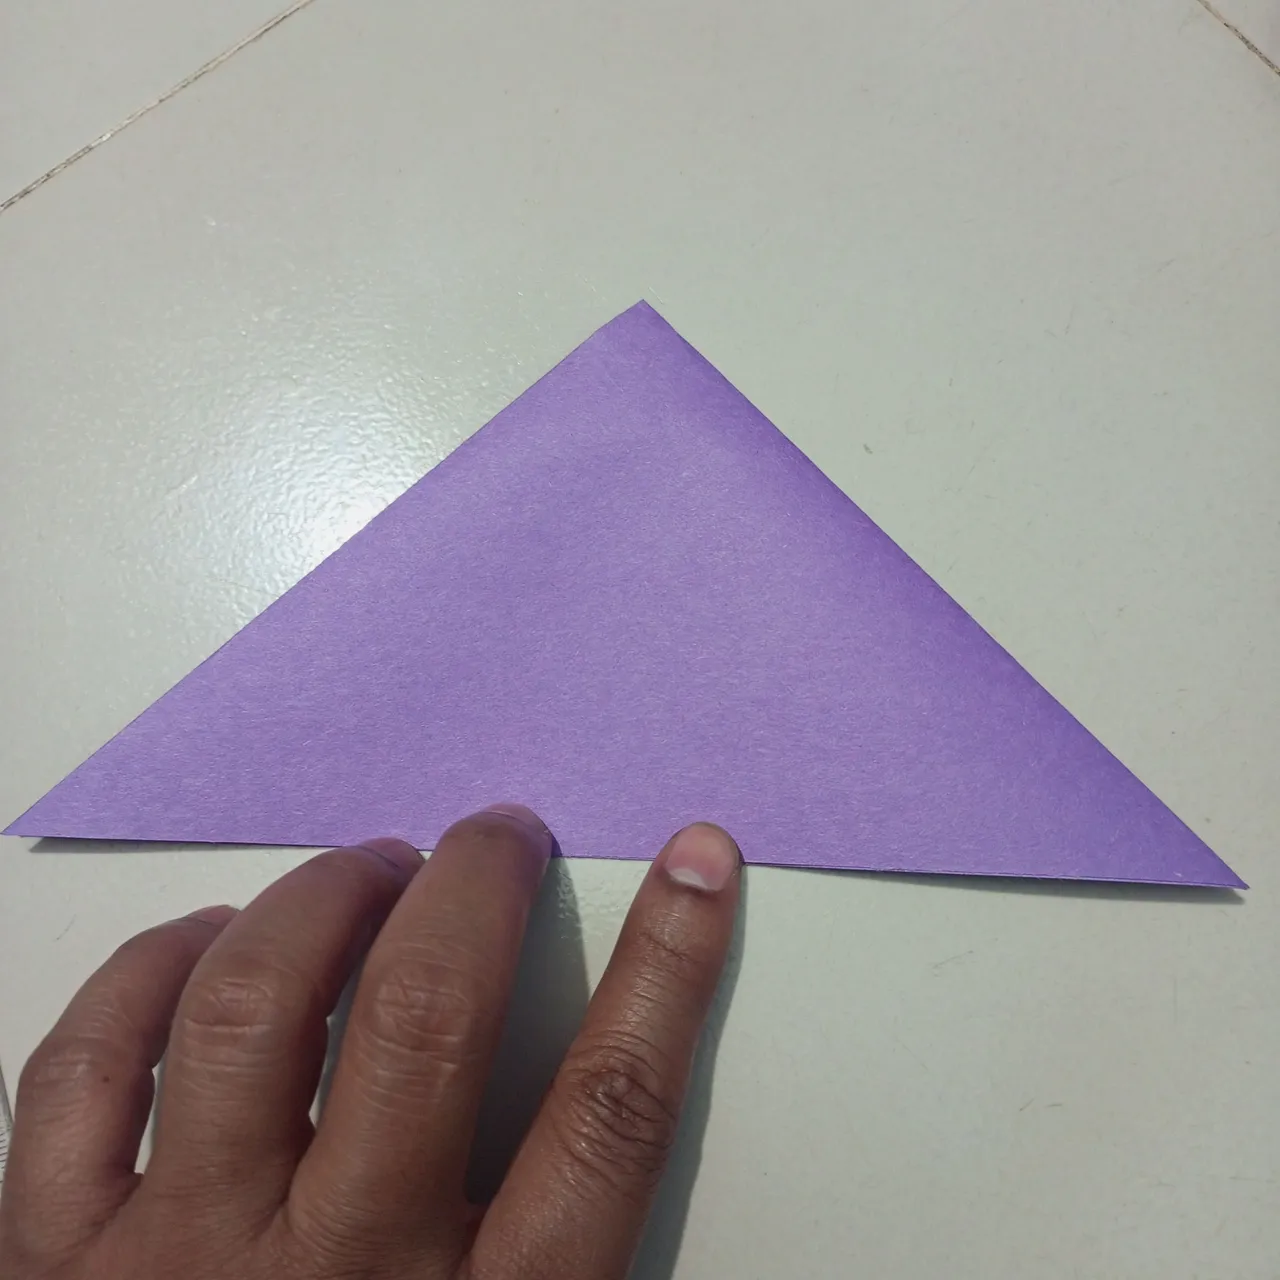
Here I have made another fold with great feeling, flattening the paper all around in a nice and elegant way.
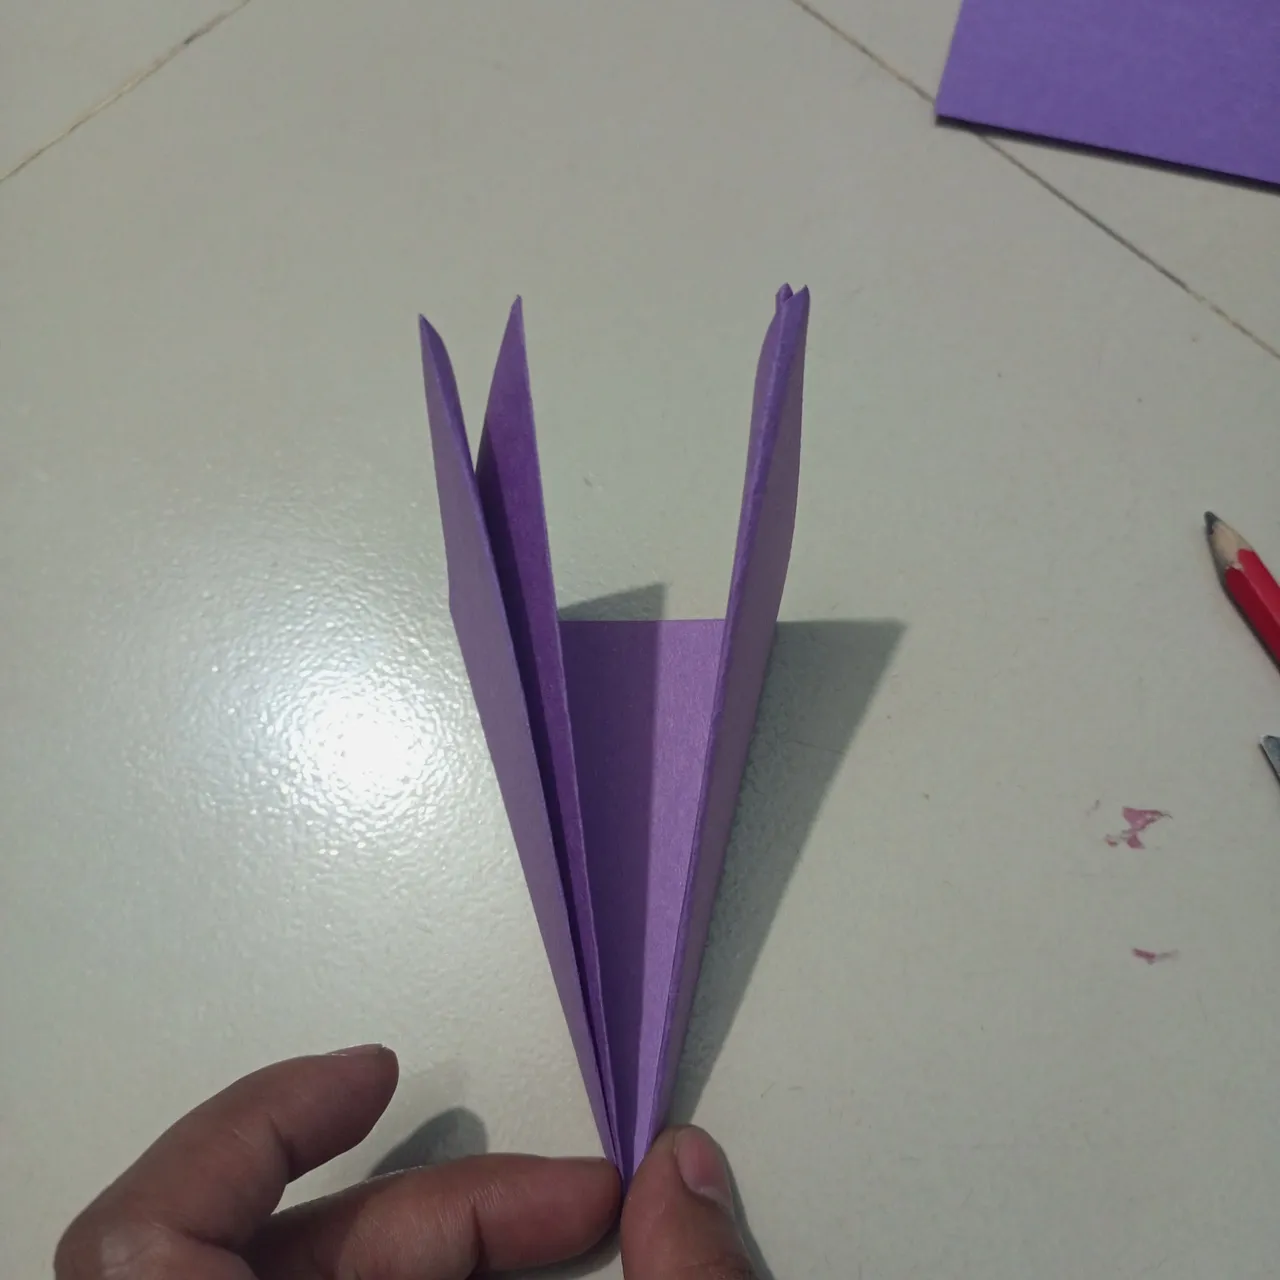
Later, with great emotion, I folded it two more times and prepared a beautiful airplane shape.

Here you can see this amazing airplane-shaped design being presented, which is all done by folding paper.

Here I have created a wonderful drawing or snowflake design by rotating the pencil using a 2B pencil with extraordinary feeling. You can see the beautiful drawing on the first side and up to the second side.
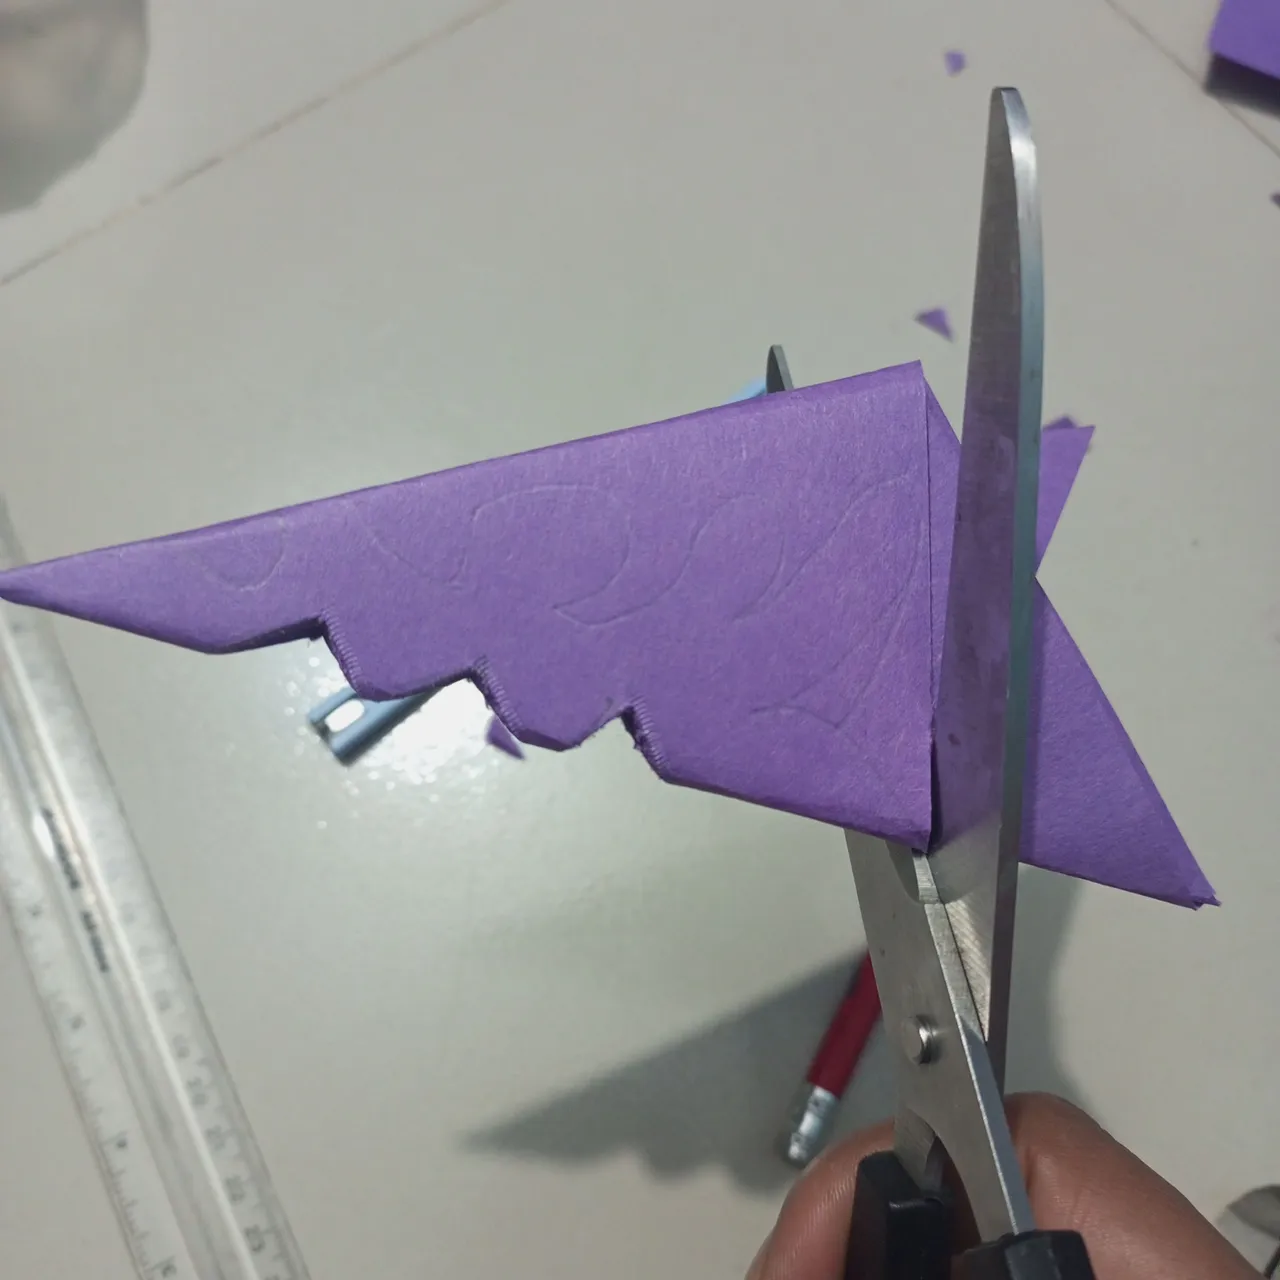
Then I cut the front part in three places with scissors. Then I trimmed the excess part of the design from the colored paper.
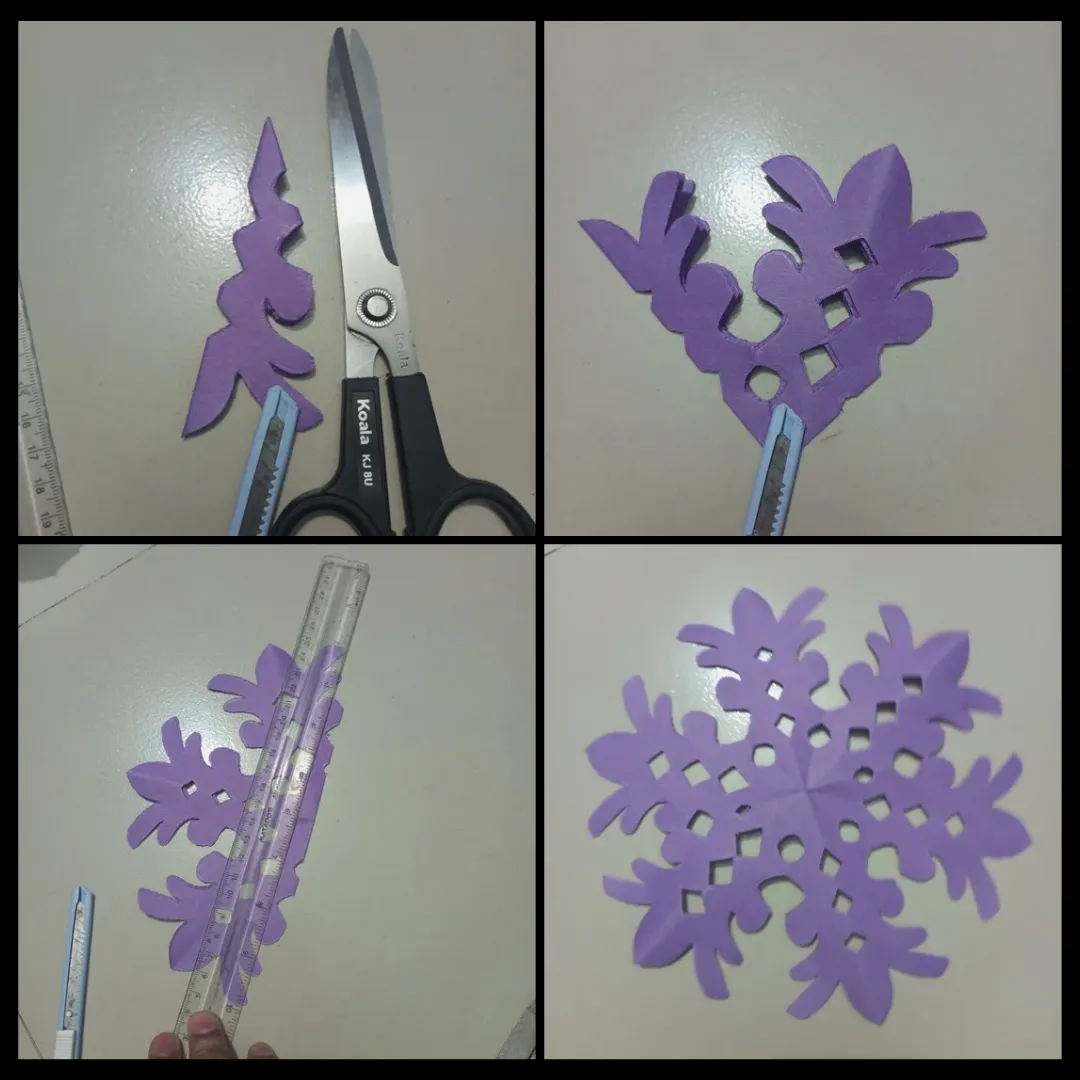
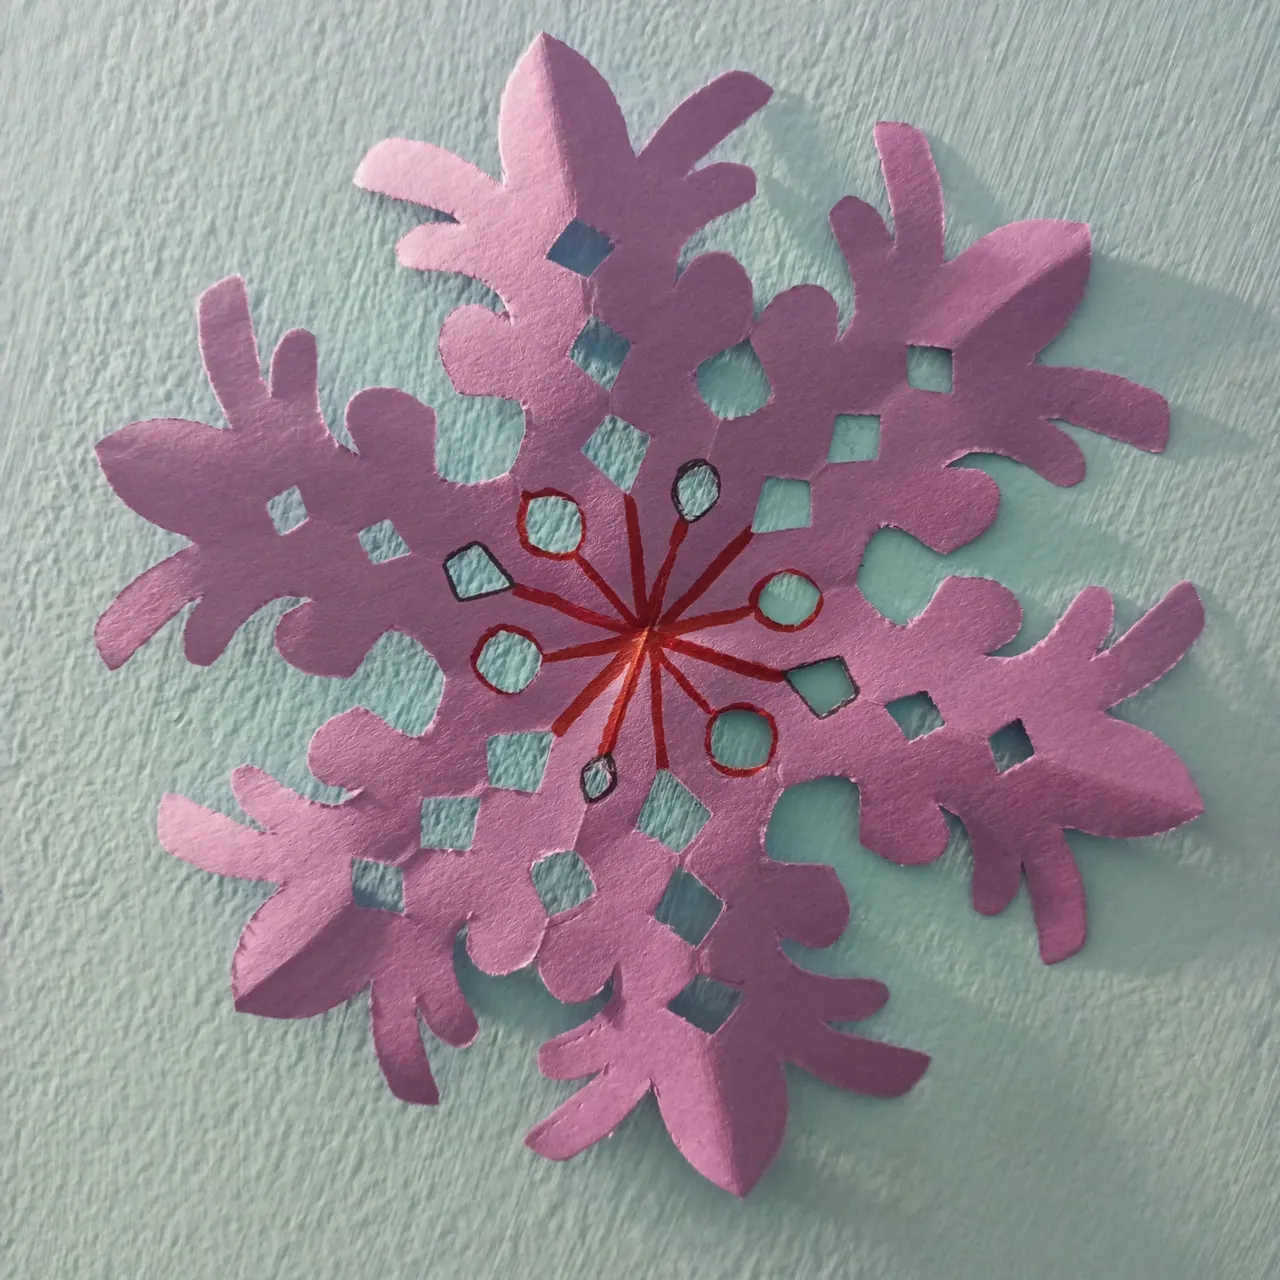
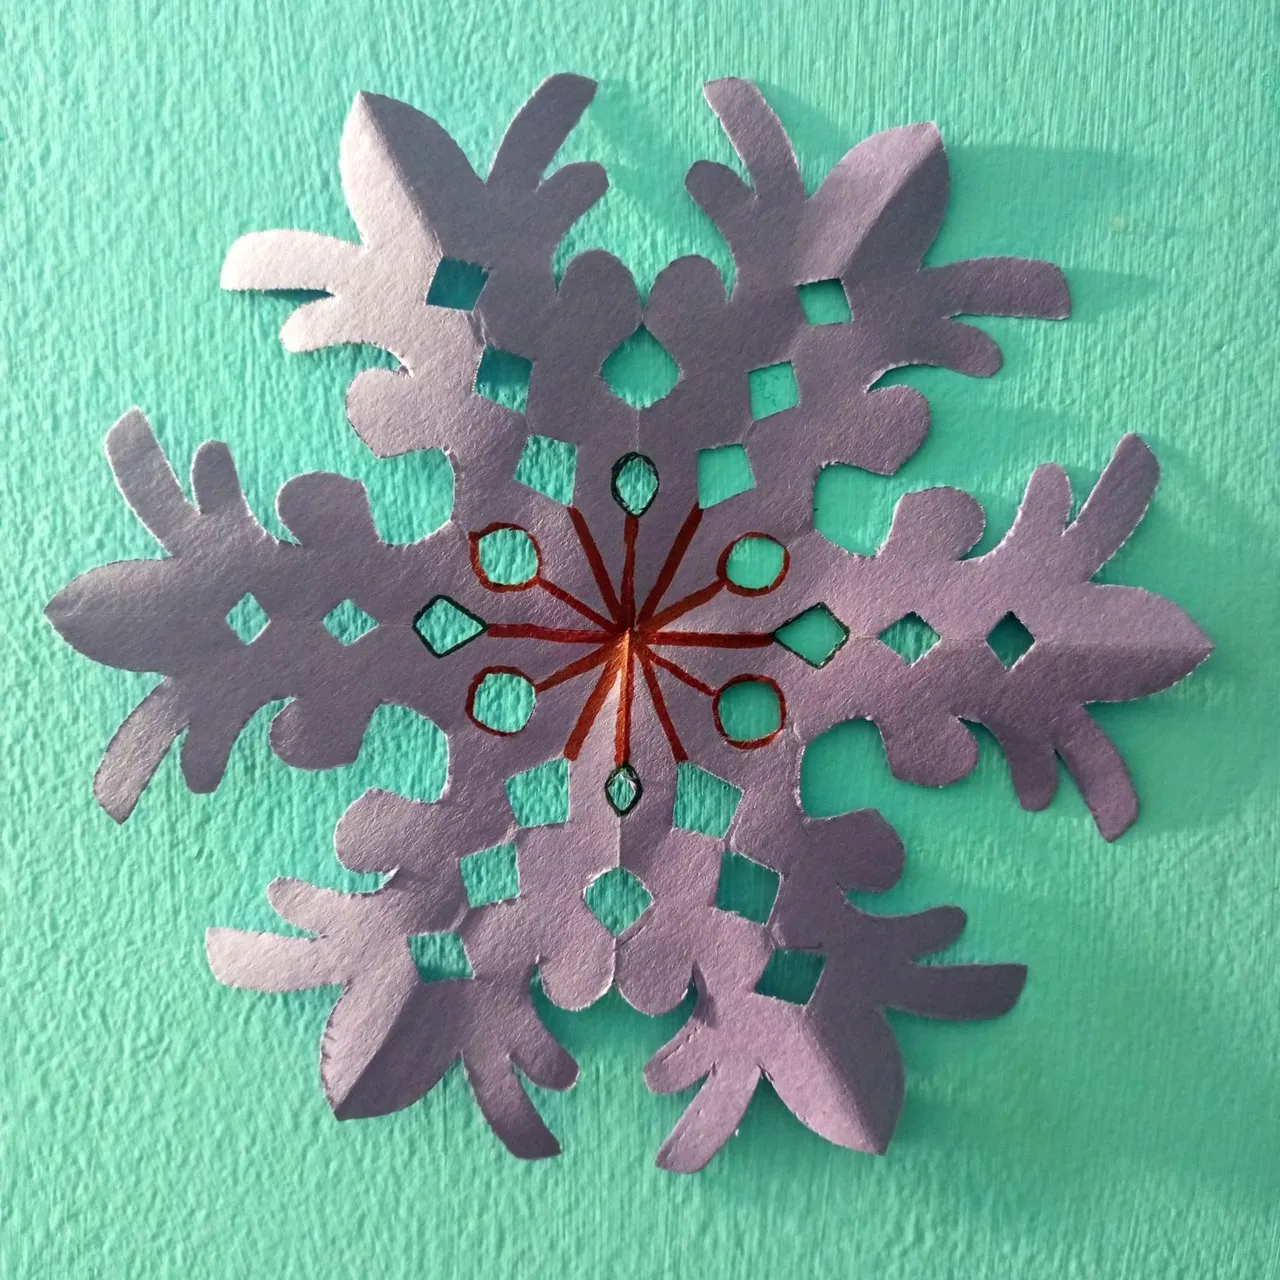
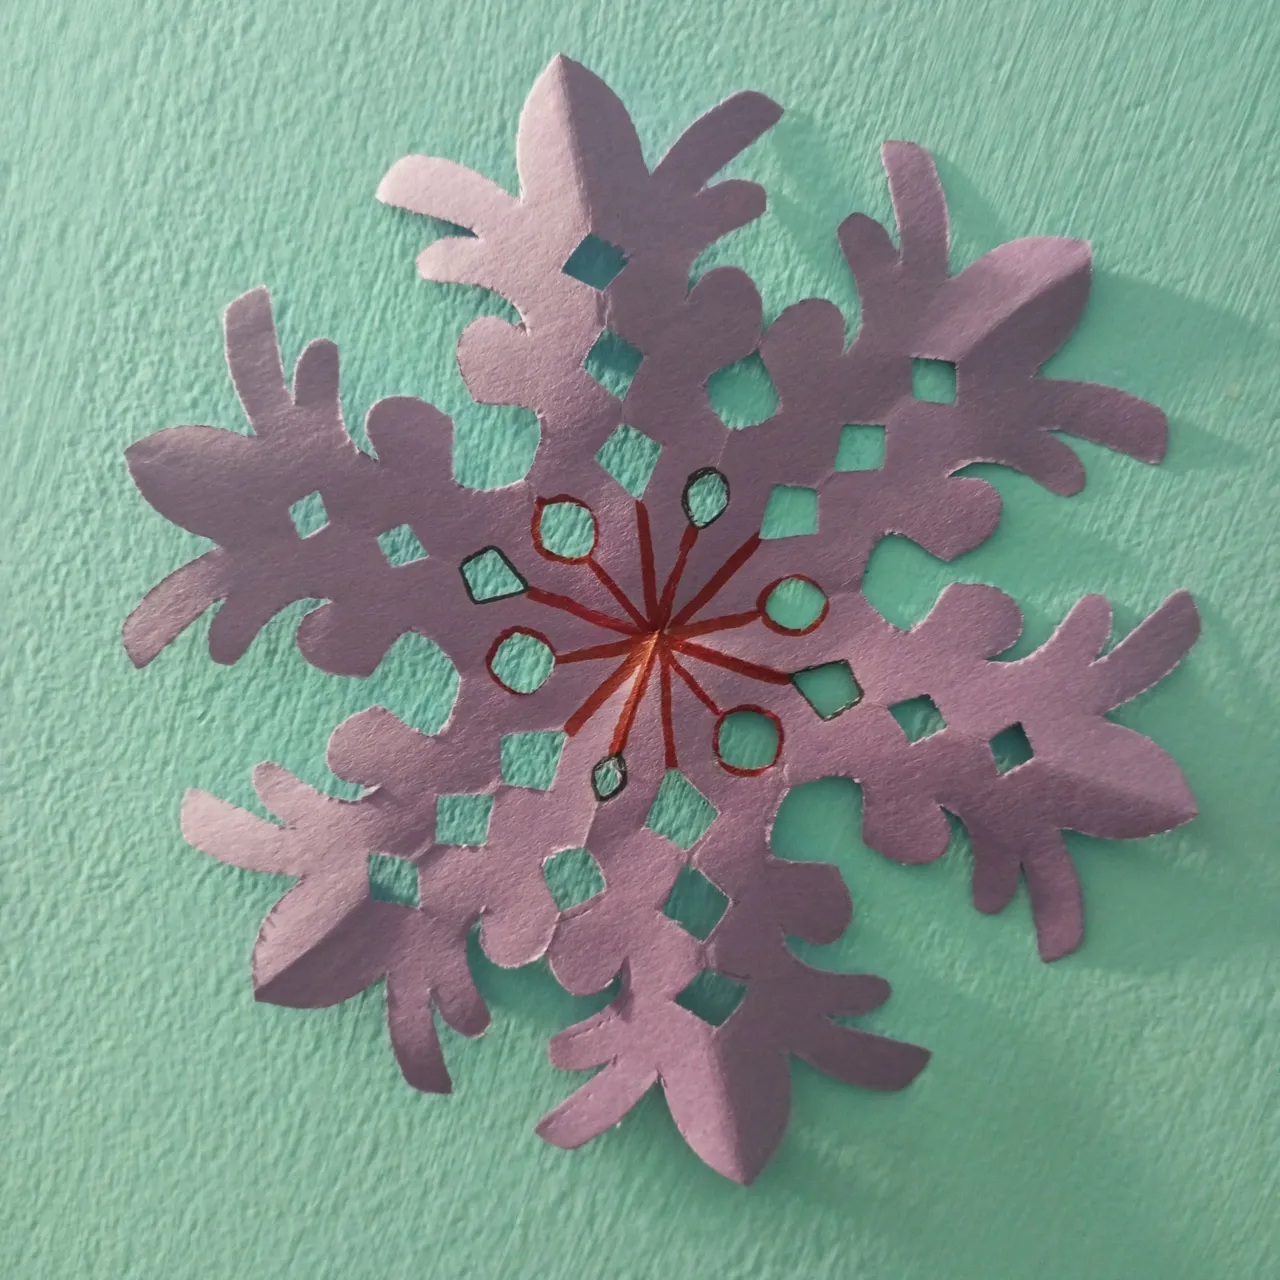
Then I present to you all the wonderful light design by cutting it with scissors. Then first I opened a fold and straightened all the designs with a scale. Then I opened another fold which shows half the shape. Then I prepared a snowflake in the final step with extraordinary feeling.
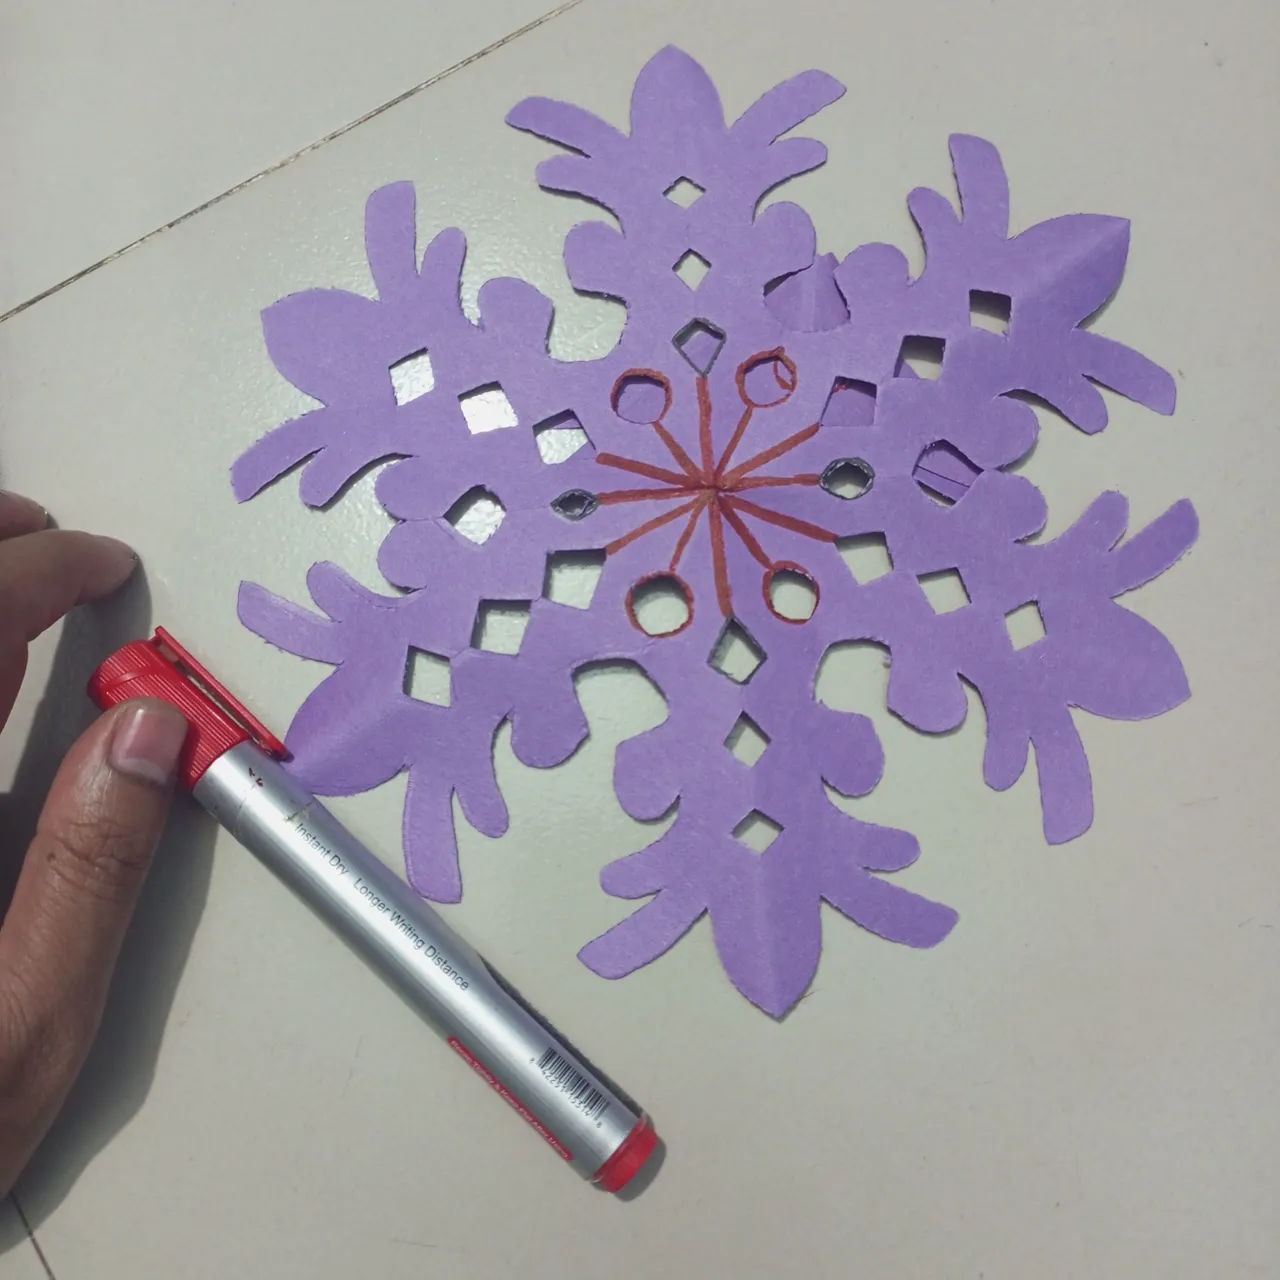
Here I have created a beautiful design using black and white marker pens with a unique feel.

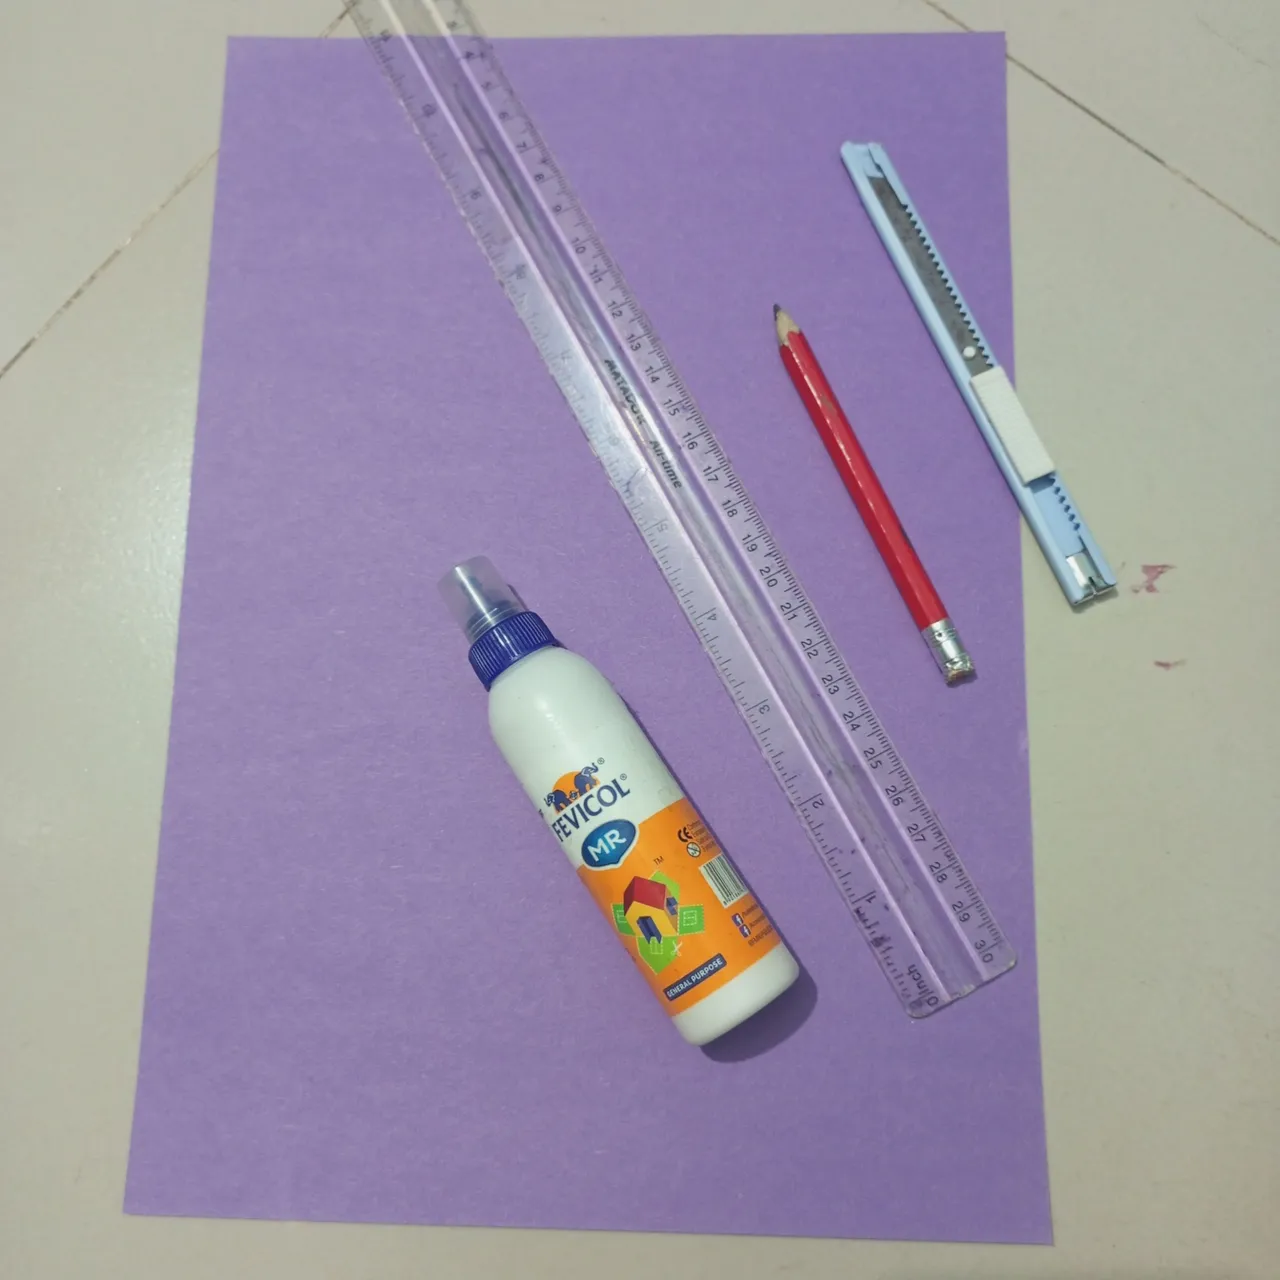
Here I am displaying pictures with all the materials and names with great feeling.
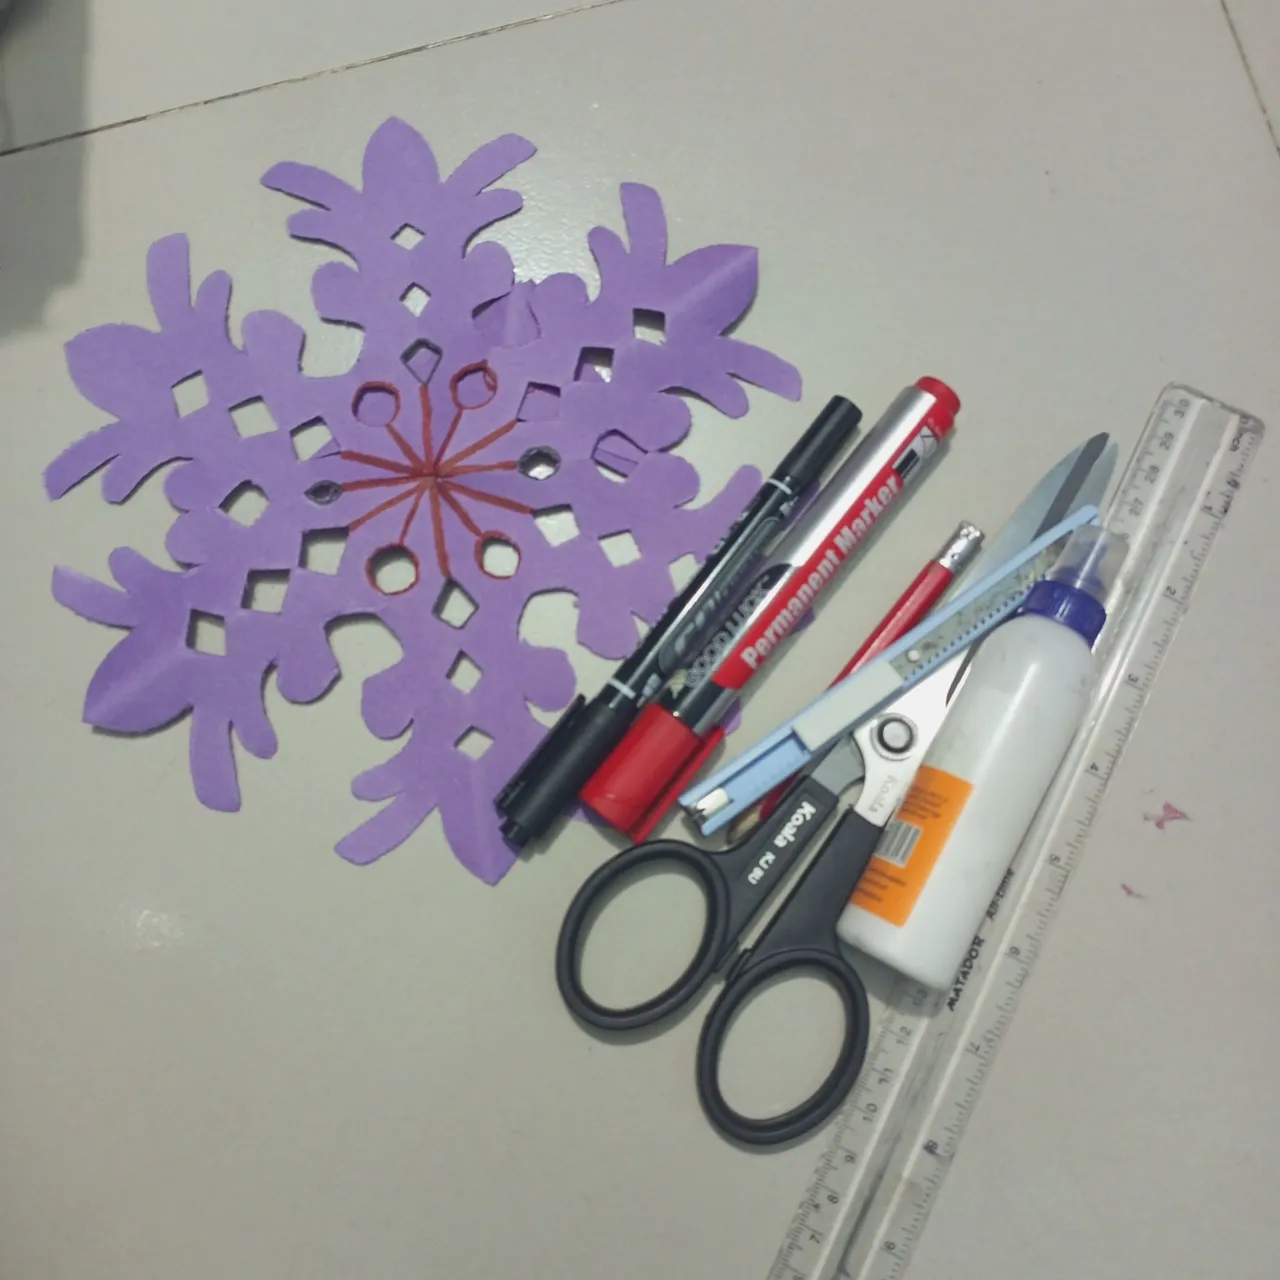
🔵scale
🔵scissors
🔵Fevicol glue
🔵colour paper
🔵anti cutter
🔵2 Marker pen
🔵2B pencil dark

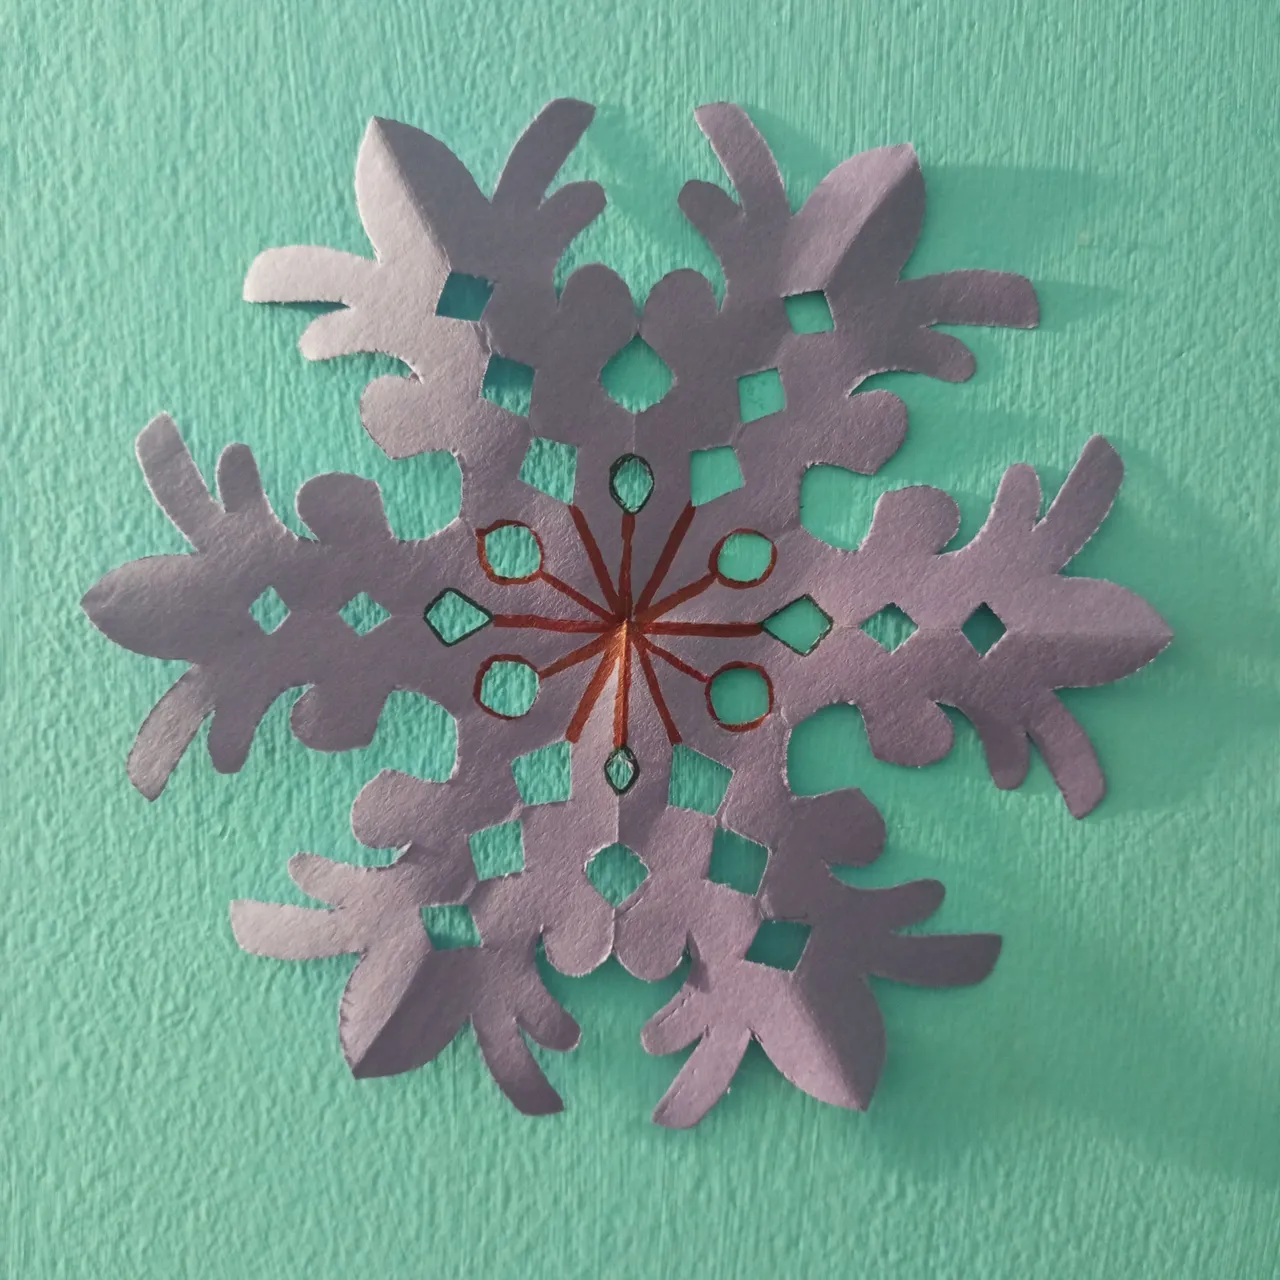
Showing a selfie with this amazing Snowflake art piece, uniquely designed for 2025.
