Hello Alien Art community, today while reviewing past work, I came across this entry in a contest where we were required to describe Hive in an artistic manner. As a result, I focused on the statue and the corrections I would make if I were to do it today. As I describe in each of my posts, practice and refinement are important because by honing techniques, we can take the next step out of our comfort zone and express ourselves more freely.
Hola comunidad de Alien Art, hoy revisando trabajos realizados, me encontré con esta participación en un concurso donde requería describir a modo artístico cómo vemos Hive. A raíz de eso, me enfoqué en la estatua y en la corrección que haría actualmente si la realizara hoy en día. Como describo en cada uno de mis posts, la práctica y el perfeccionamiento son importantes porque al pulir técnicas, podemos dar un paso adelante y salir de la zona de confort para expresarnos de manera más libre.
DATE: 18/08/23

DESIGN
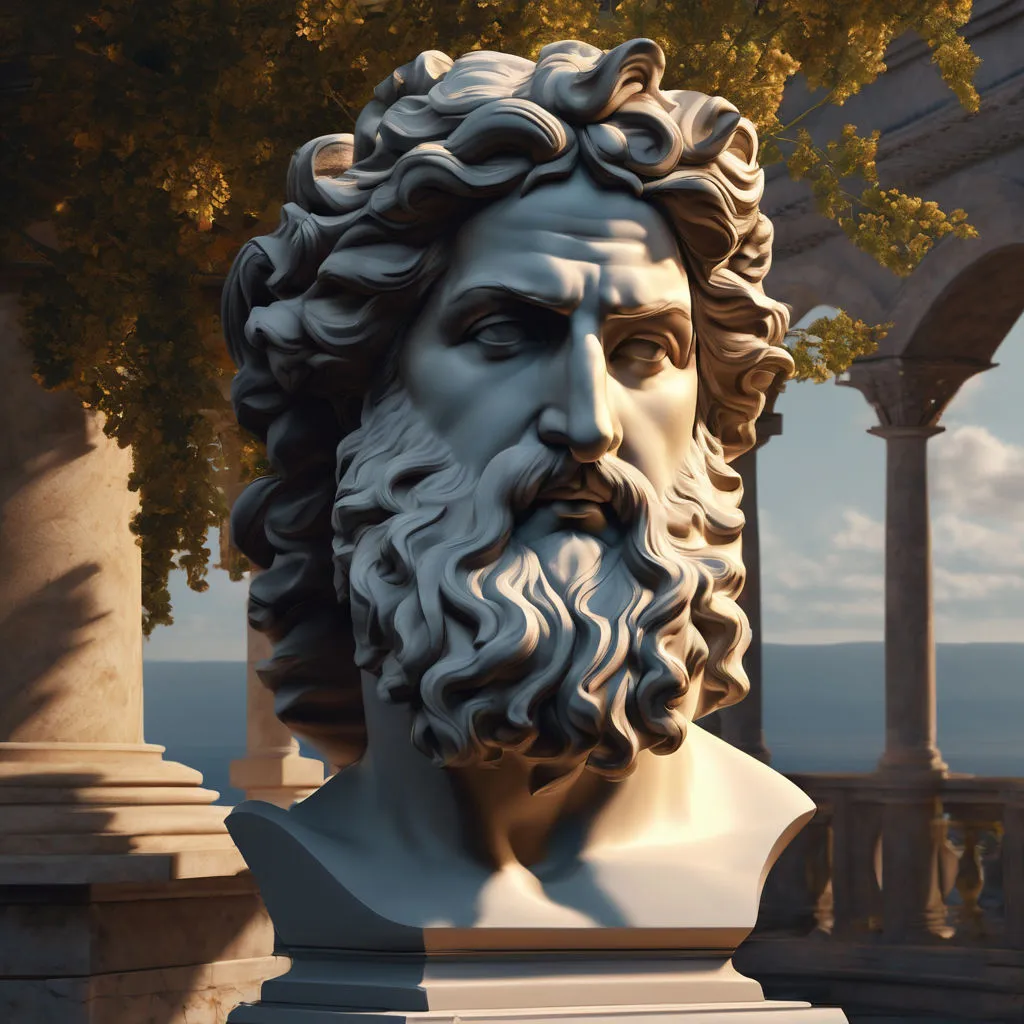
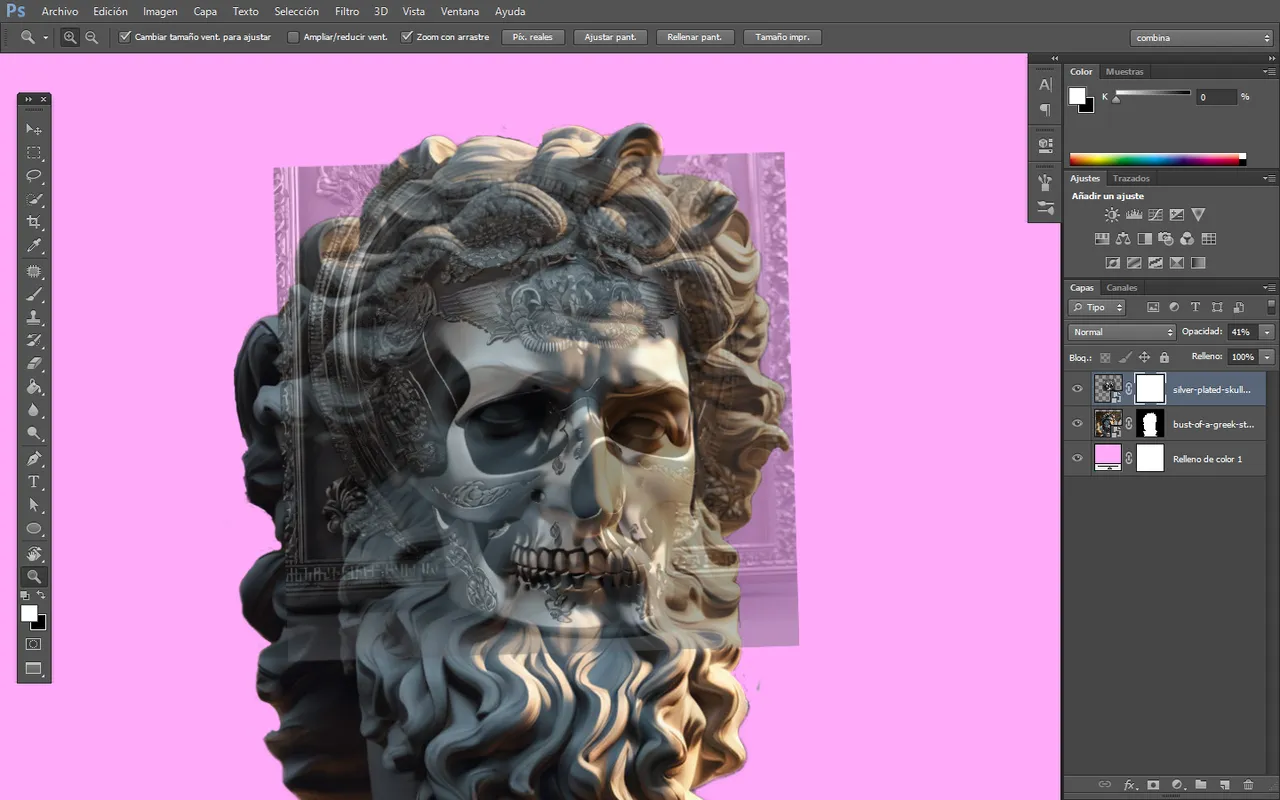
Starting from the generated image, I proceed to remove the background and place the silver skull with low opacity to get an idea of which part of the face could start reflecting it. An important point to highlight is that previously, in the description of the contest image, there were no layer masks, which nowadays is a fundamental tool for me. Before, I would completely delete pixels without being able to recover them.
Partiendo de la imagen generada, procedo a eliminar el fondo y ubicar el cráneo plateado con baja opacidad para tener una idea de qué parte del rostro podría empezar a reflejarlo. Un punto a destacar es que anteriormente, en la descripción de la imagen del concurso, no había máscaras de capa, lo cual hoy en día es una herramienta fundamental para mí. Antes, eliminaba por completo píxeles sin poder recuperarlos.
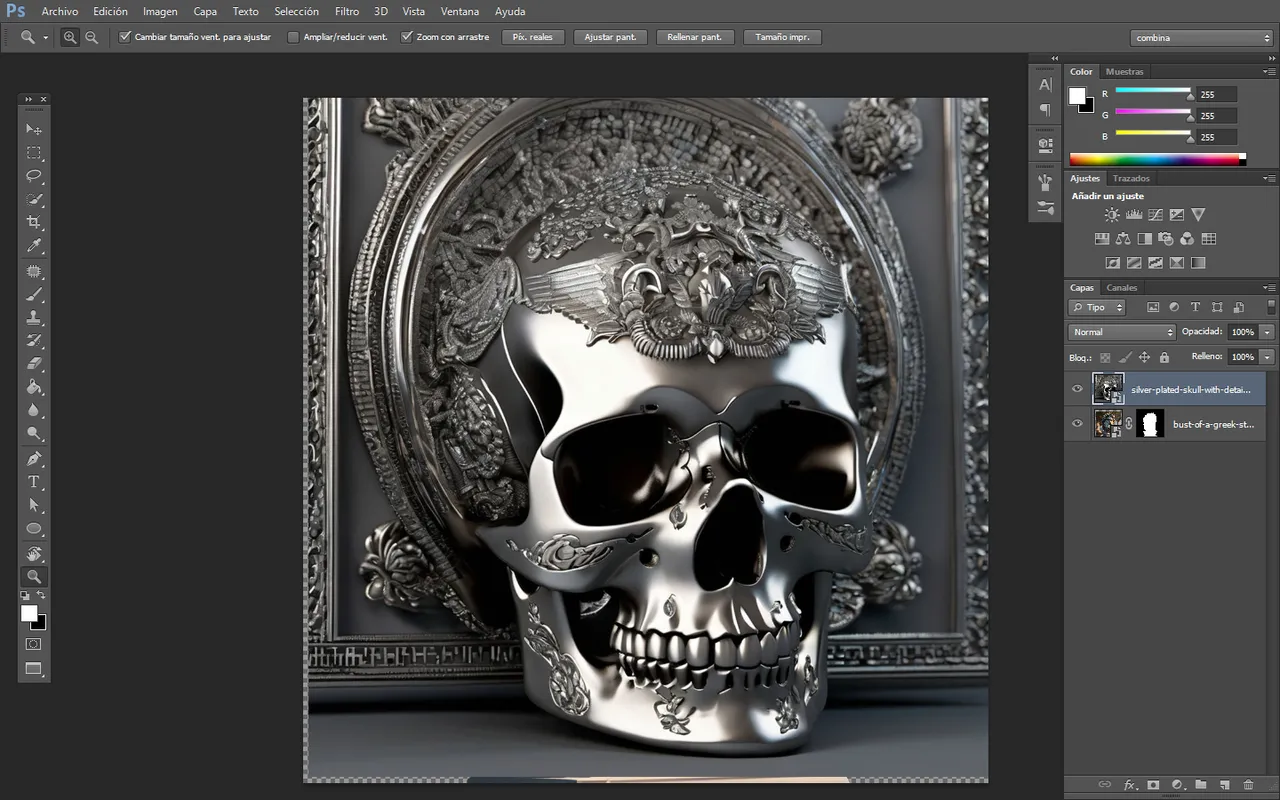
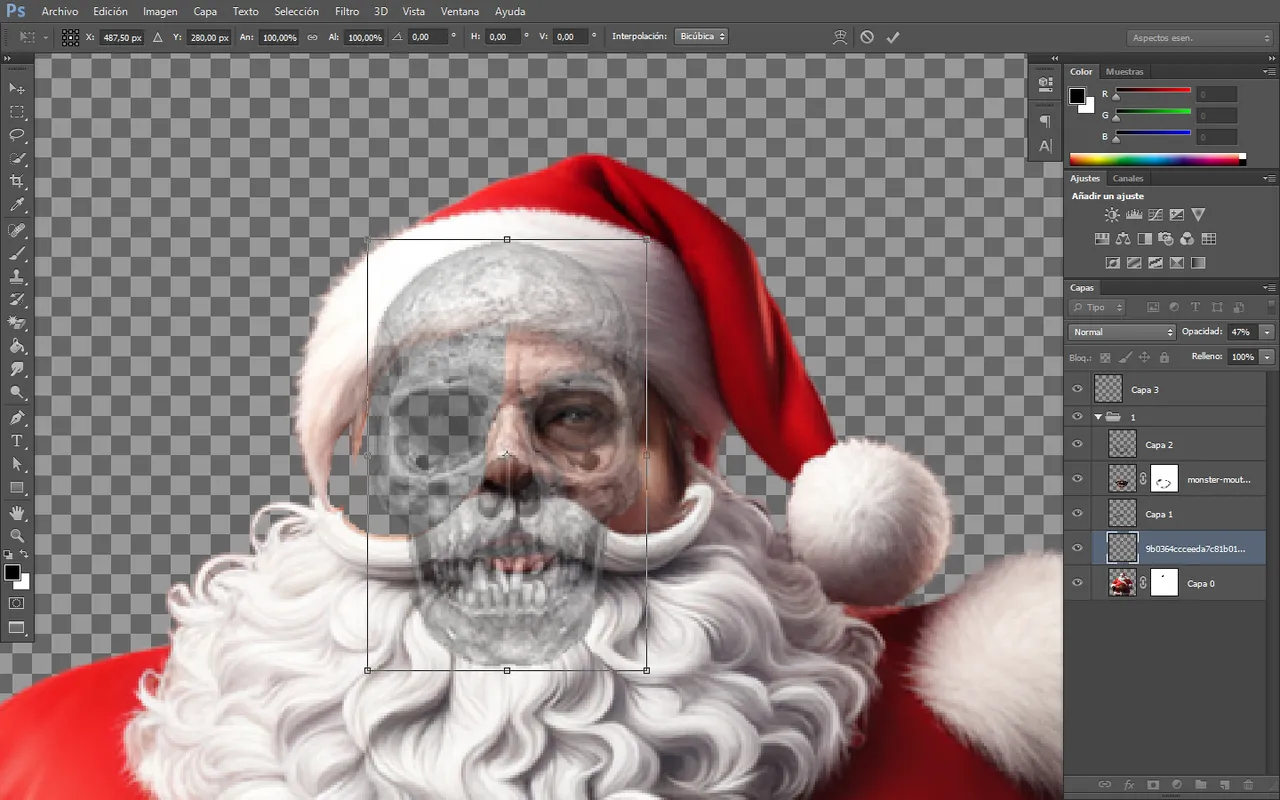
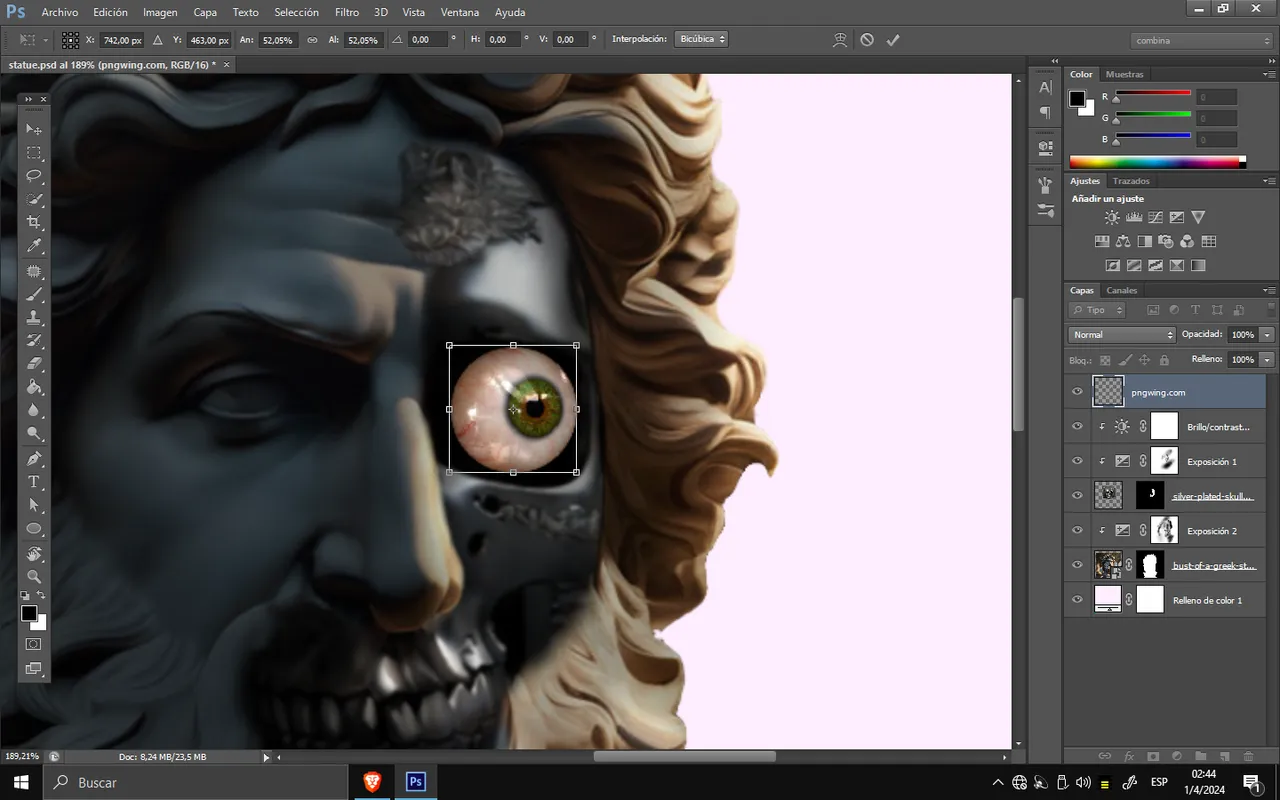
We move on to another detail in improved aspects, which is the use of layer masks or face fusion. In the image you will see below this description, I completely removed the face, and I placed a skull on top instead of following the steps of today, using the mask to eliminate pixels and form the other half of the face. The use of exposure to highlight lights and shadows was also fundamental in continuing to learn to use them, as you can see in a large part of the face and the additional eye that would be placed inside.
Pasamos a otro detalle en aspectos mejorados, el uso de máscaras de capa o fusión de rostros. En la imagen que verán a continuación de esta descripción, eliminé por completo el rostro y coloqué una calavera encima en lugar de seguir los pasos actuales, que consisten en usar la máscara de capa para eliminar píxeles y formar la otra mitad del rostro. El uso de la exposición para resaltar luces y sombras también fue fundamental para seguir aprendiendo a utilizarlas, como pueden ver en gran parte del rostro y el ojo adicional que se colocaría en el interior.


NEON
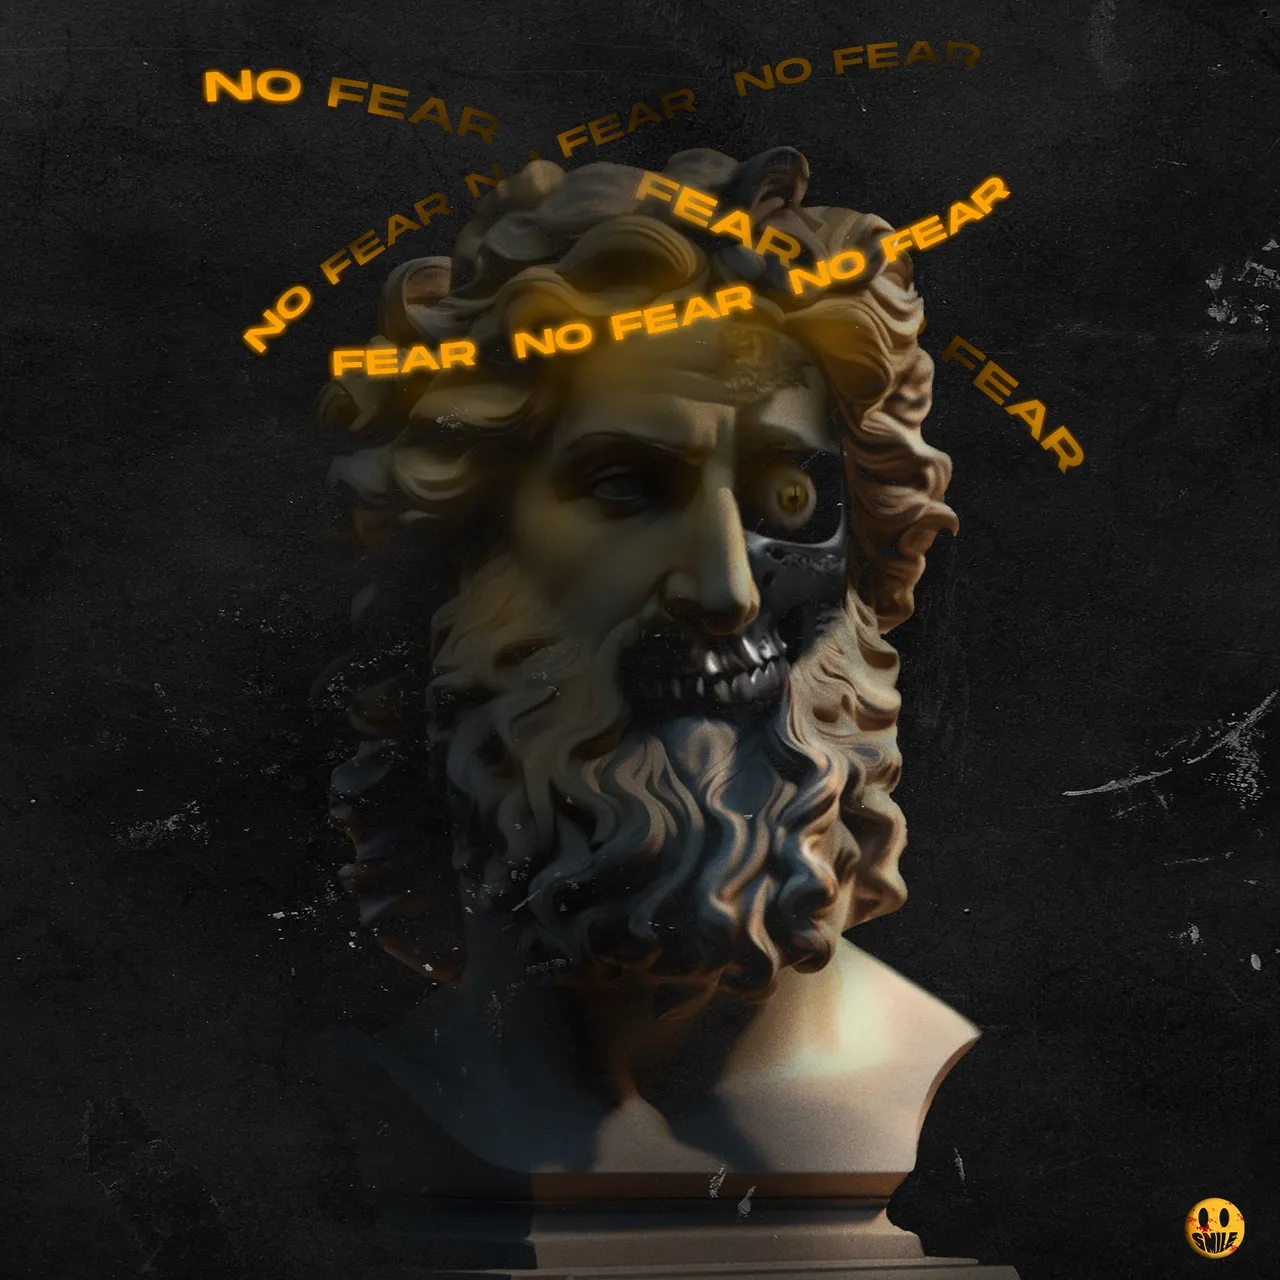
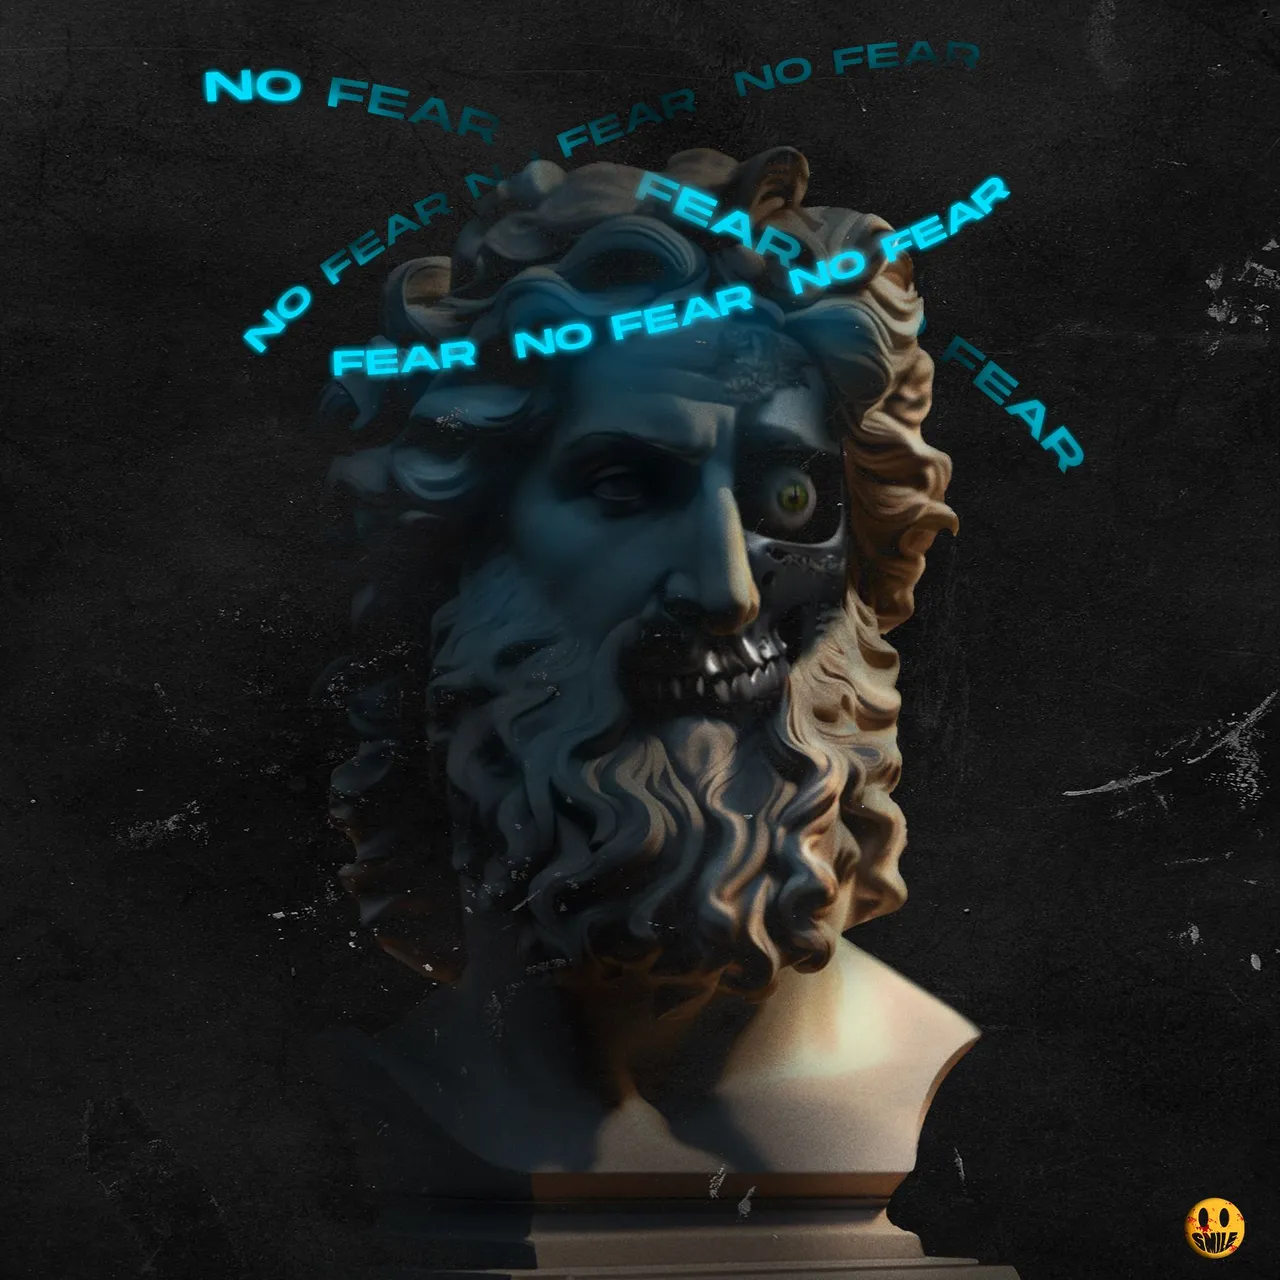
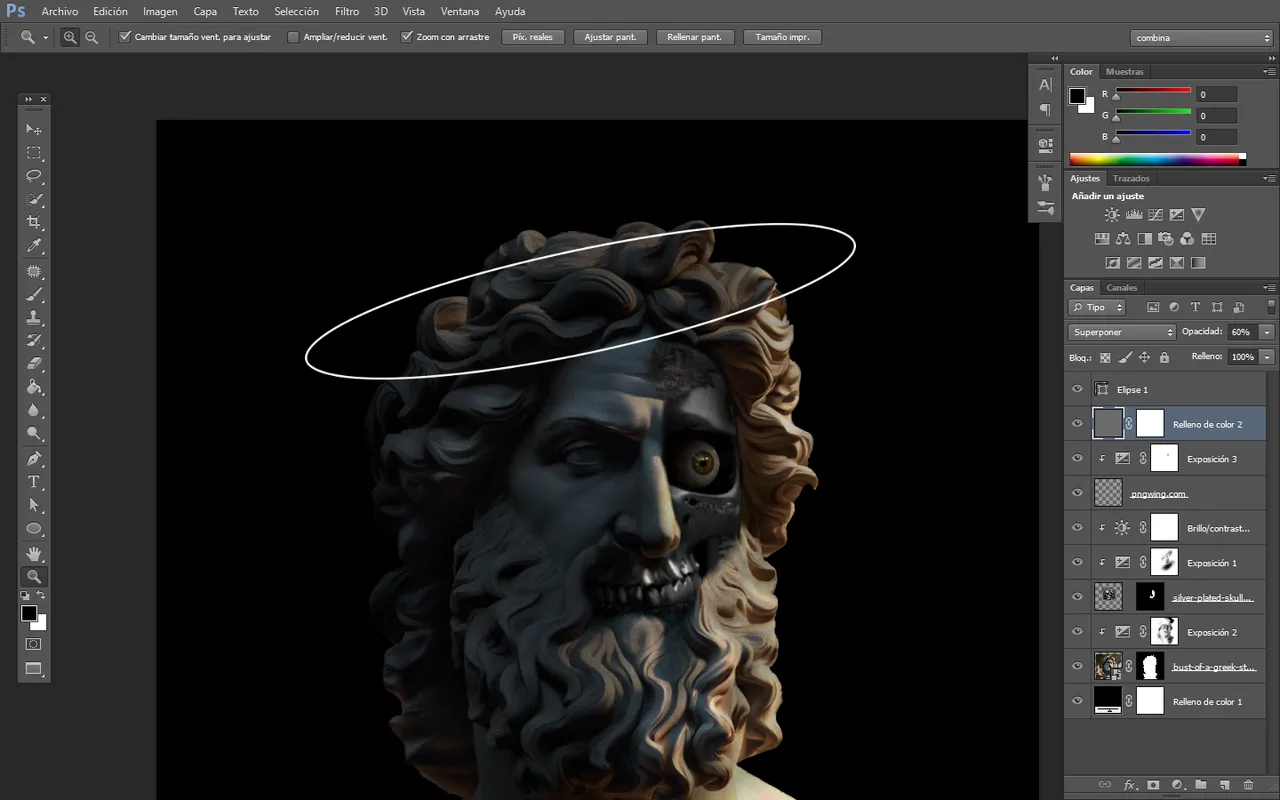
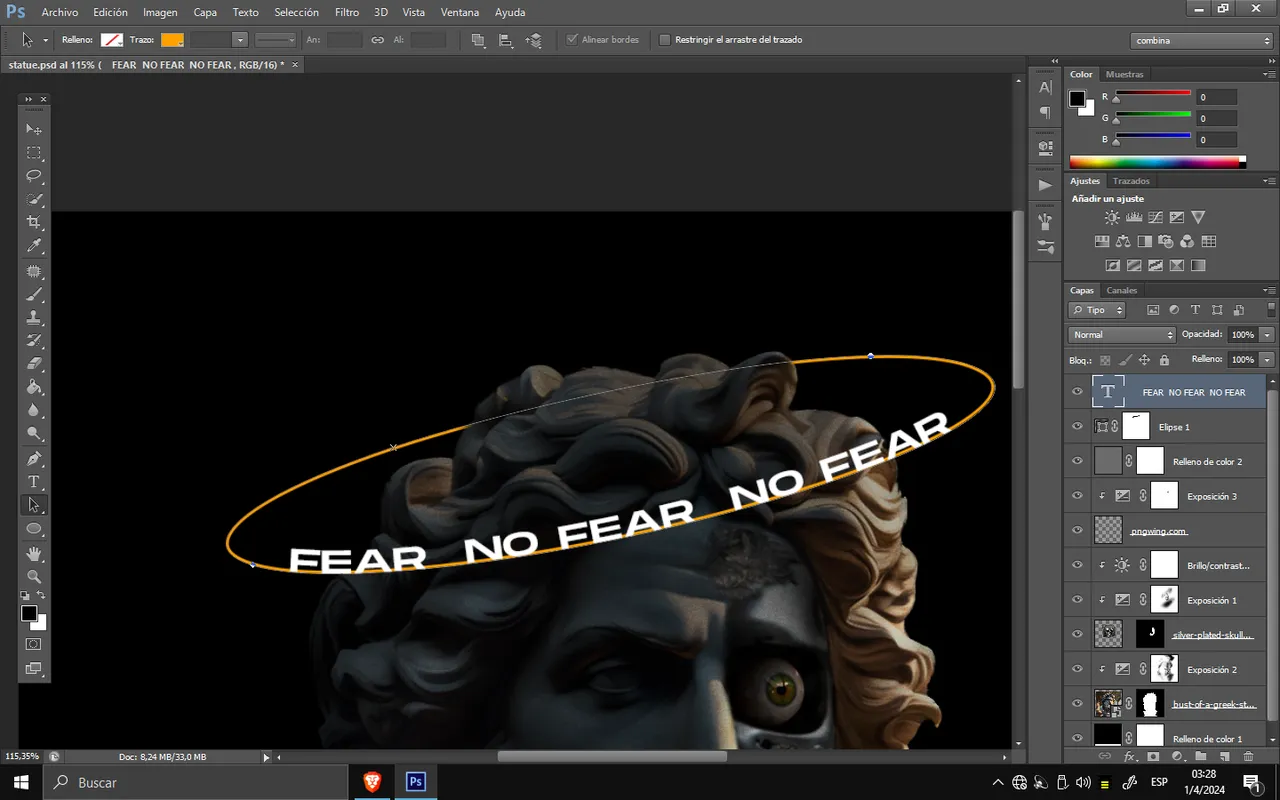
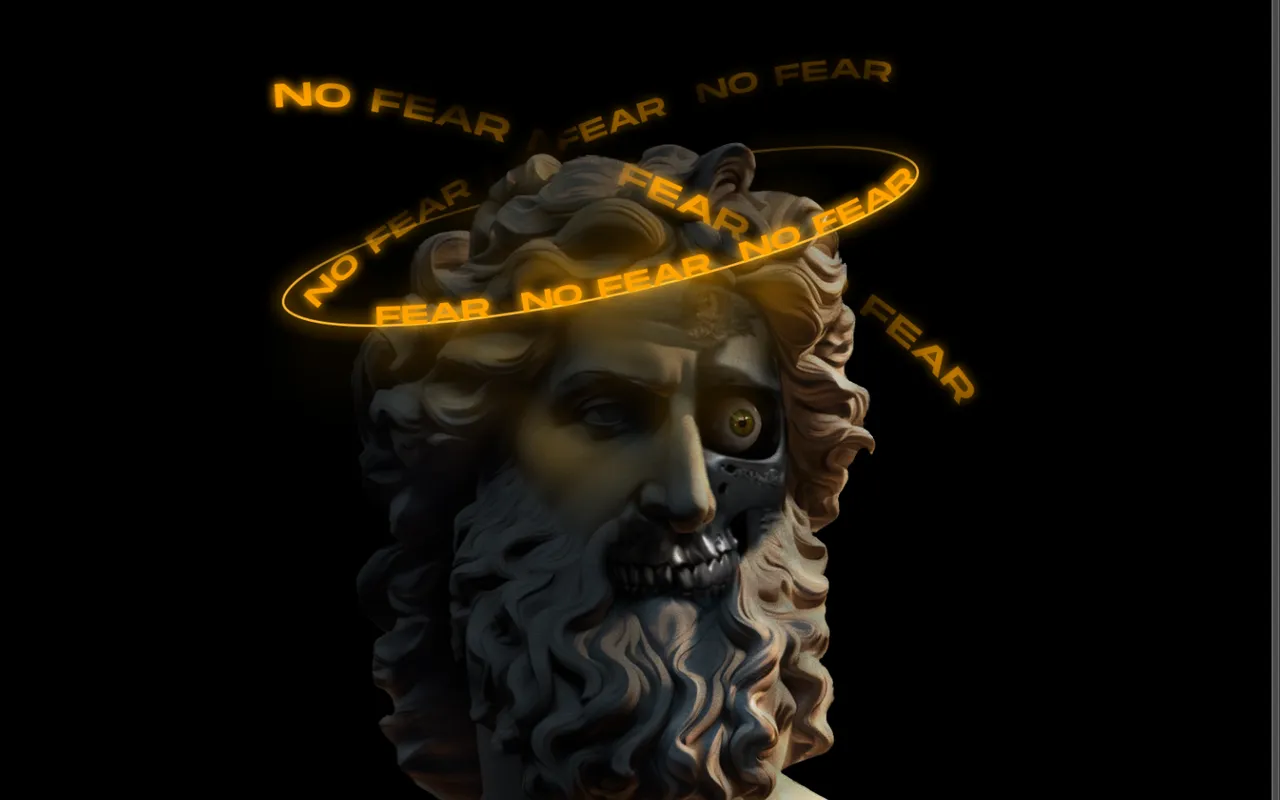
For this section, I created an oval similar to the one made for the contest statue and proceeded to place a text "NO FEAR" that introduces the concept of not being afraid to make mistakes and taking a leap of faith into new specialties, continuing to improve, and understanding that everyone has their learning pace. Continuing with the style, I placed a text above the figure and gave it the desired color, which in my case was playing with a palette of complementary colors between blues and oranges. As a final result, I took the orange color and added highlights, copied the same figure from the text, and created several with some blurring to fade their light behind the statue.
Para esta sección, creé un óvalo similar al de la estatua hecha para el concurso y procedí a colocar un texto "NO FEAR" que introduce el concepto de no tener miedo a cometer errores y dar un salto de fe hacia nuevas especialidades, continuar mejorando y entender que cada uno tiene su ritmo de aprendizaje. Siguiendo con el estilo, coloqué un texto encima de la figura y le di el color deseado, que en mi caso era jugar con una paleta de colores complementarios entre azules y naranjas. Como resultado final, tomé el color anaranjado y añadí resplandores, copié la misma figura del texto y creé varios con algunas difuminaciones para desvanecer su luz detrás de la estatua.
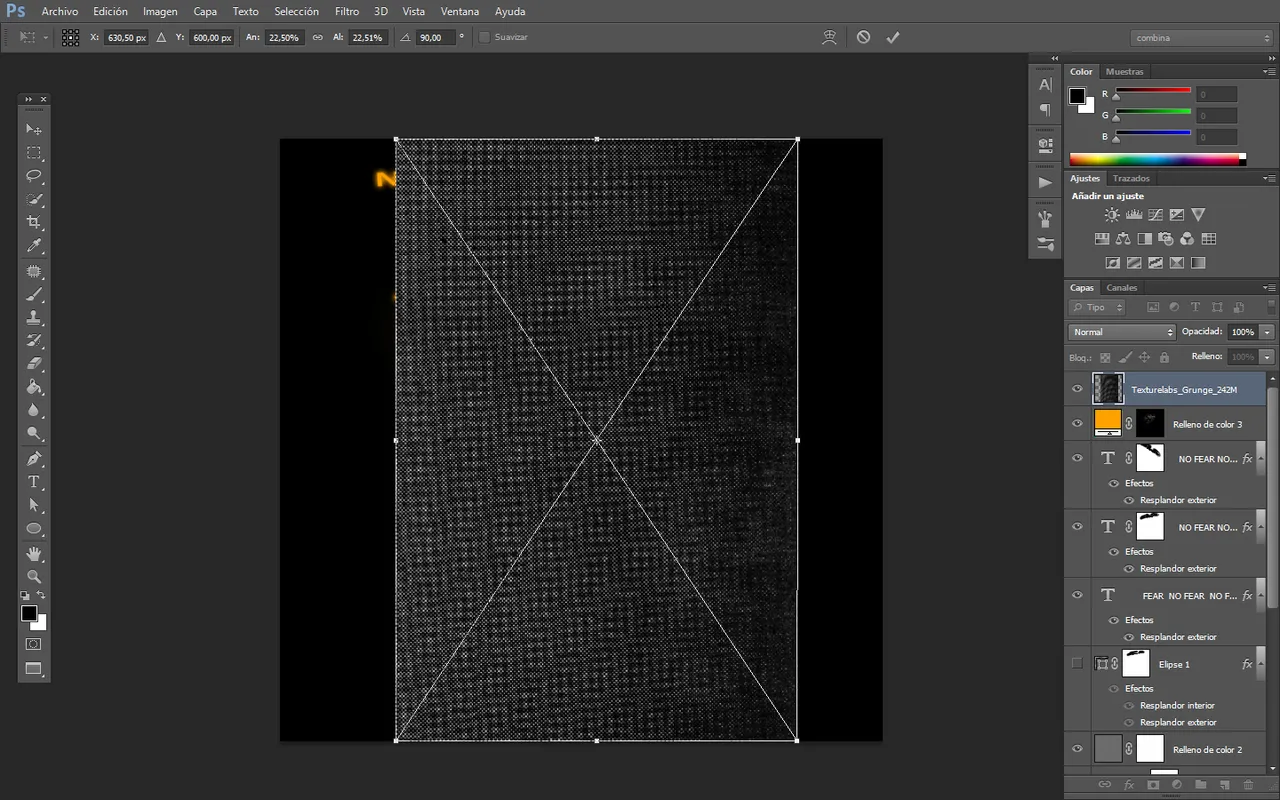
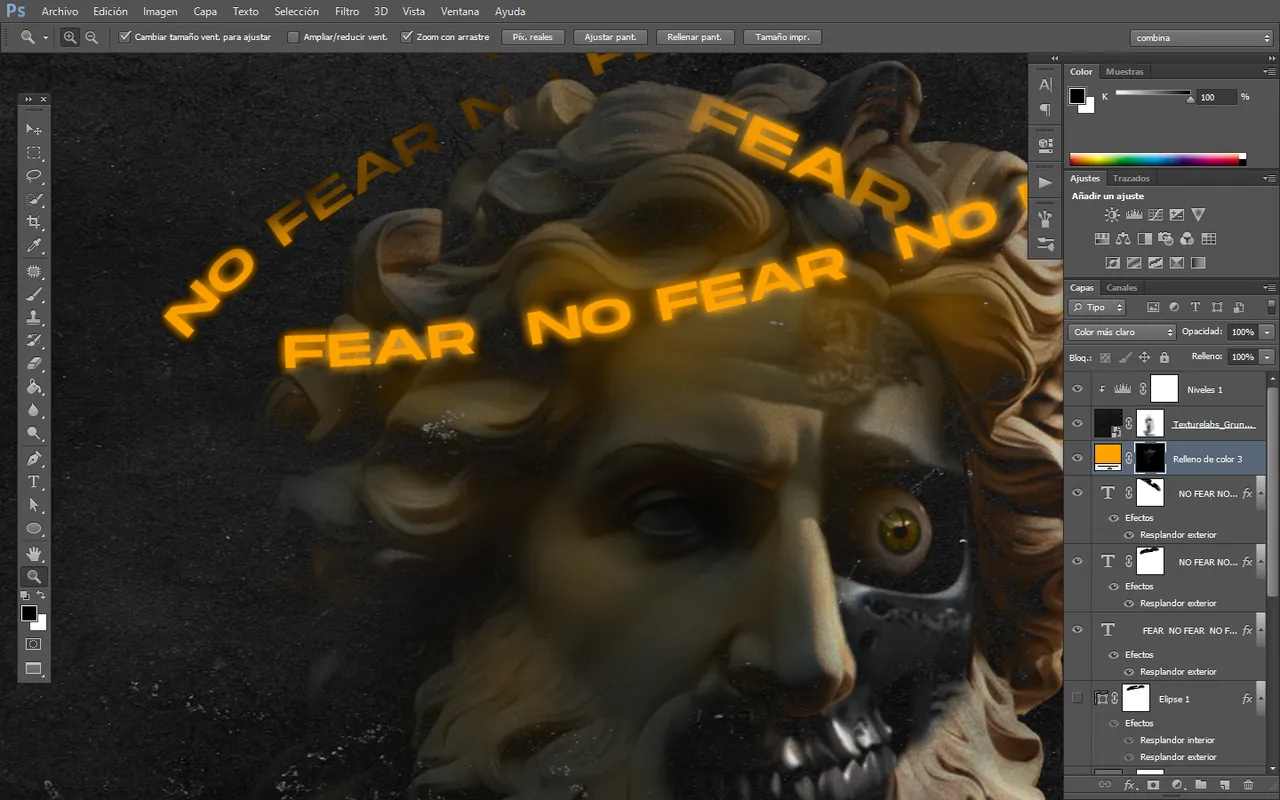
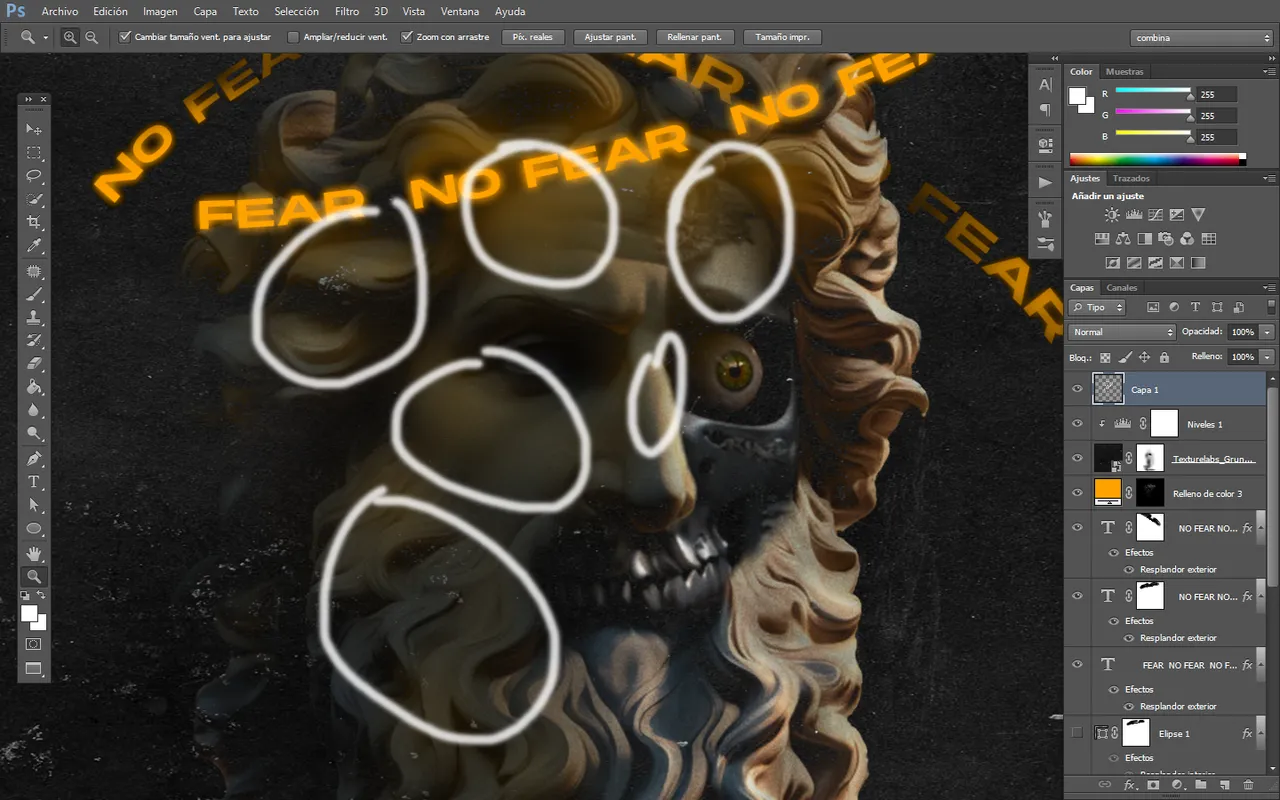
To conclude, in the areas of the face that are marked, I proceeded to illuminate where the neon halos would reflect light, thus returning to the initial image from the past contest. We can observe how the red color is marked in all parts without respecting the absence of light since there was no exposure either, and it illuminates even in the right shoulder area where it shouldn't. Going back to the main statue, I did respect the areas of higher illumination. Finally, I added a texture and after adjusting with the levels layer, I considered it finished and satisfactory with this improvement. Thank you for reaching this point, and we will see you in a future post.
Para finalizar, en las áreas de la cara que están marcadas, procedí a iluminar donde reflejaría la luz de las aureolas de neón, volviendo así a la imagen inicial del concurso pasado. Podemos observar cómo el color rojo está marcado en todas partes sin respetar la ausencia de luz, ya que tampoco había exposición y se ilumina incluso en la parte del hombro derecho donde no debería. Volviendo a la estatua principal, sí respeté las zonas de mayor iluminación. Finalmente, agregué una textura y después de ajustar con la capa de niveles, lo consideré finalizado y satisfactorio con esta mejora. Gracias por llegar hasta aquí, nos vemos en una publicación futura.
Photoshop
WACOM CTL 472
Font AI Style Cinematic