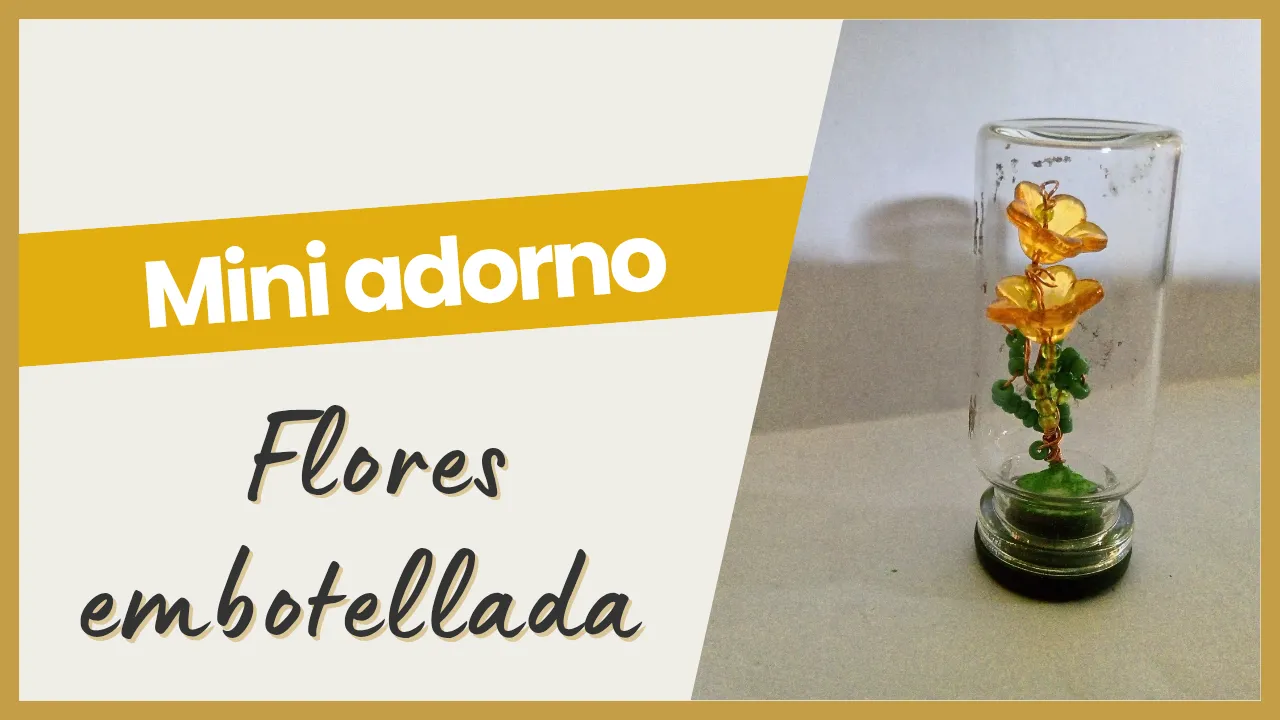

Hello, hello DIYHub friends! I hope you're having a great day. Today I want to share a little craft I made: a desktop decoration. It's a flower decoration inside a small bottle. I decided to make it because I like these types of accessories and decorations, and if they're mini, even better! I love this type of decoration; if it were up to me, I'd have a lot of mini decorations. Well, for this decoration, I used some materials I already had. Basically, you need a small glass bottle, and the rest is up to your imagination.

(Materiales a usar:)(Materials to use:)
- Alambre de cobre
- Pinzas
- Cuentas en forma de flores
- Mostacillas verdes
- Un pedacito de esponja
- Una botellita de vidrio
- Tijeras
- Pega blanca
- Virutas de color verde
- Copper wire
- Tweezers
- Flower-shaped beads
- Green seed beads
- A small piece of sponge
- A small glass bottle
- Scissors
- White glue
- Green shavings
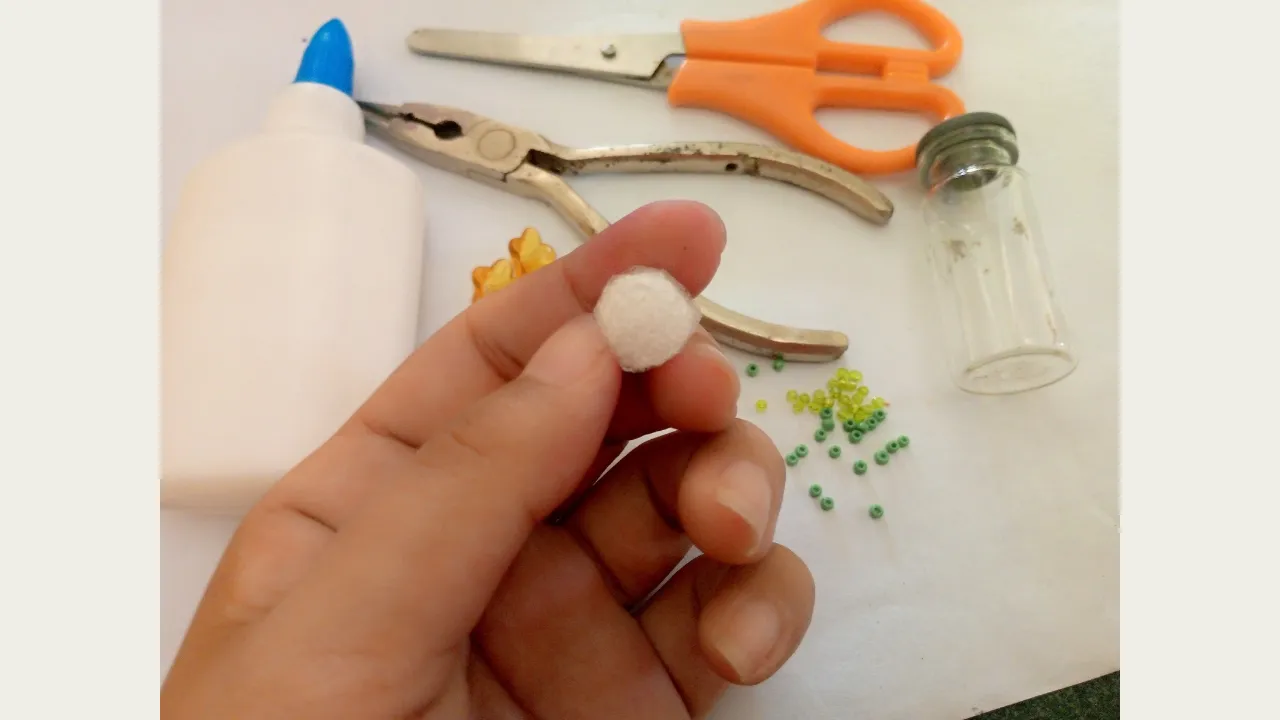
As you can see, these are the materials I'm going to use; they're recycled materials. The flower-shaped beads were from a damaged bracelet. The copper wire can be found in the cords of some household appliances. I got a piece of copper from a damaged phone charger. As for the piece of sponge, I have some stuffing from a purse, but you can also use a dish sponge. I got the little glass bottle from a medicine cabinet; what I did was wash the container well so I could reuse it. Now that you know what materials I used and how I got them, let's go over the steps and get to work!
(Procedimiento:)(Procedure:)
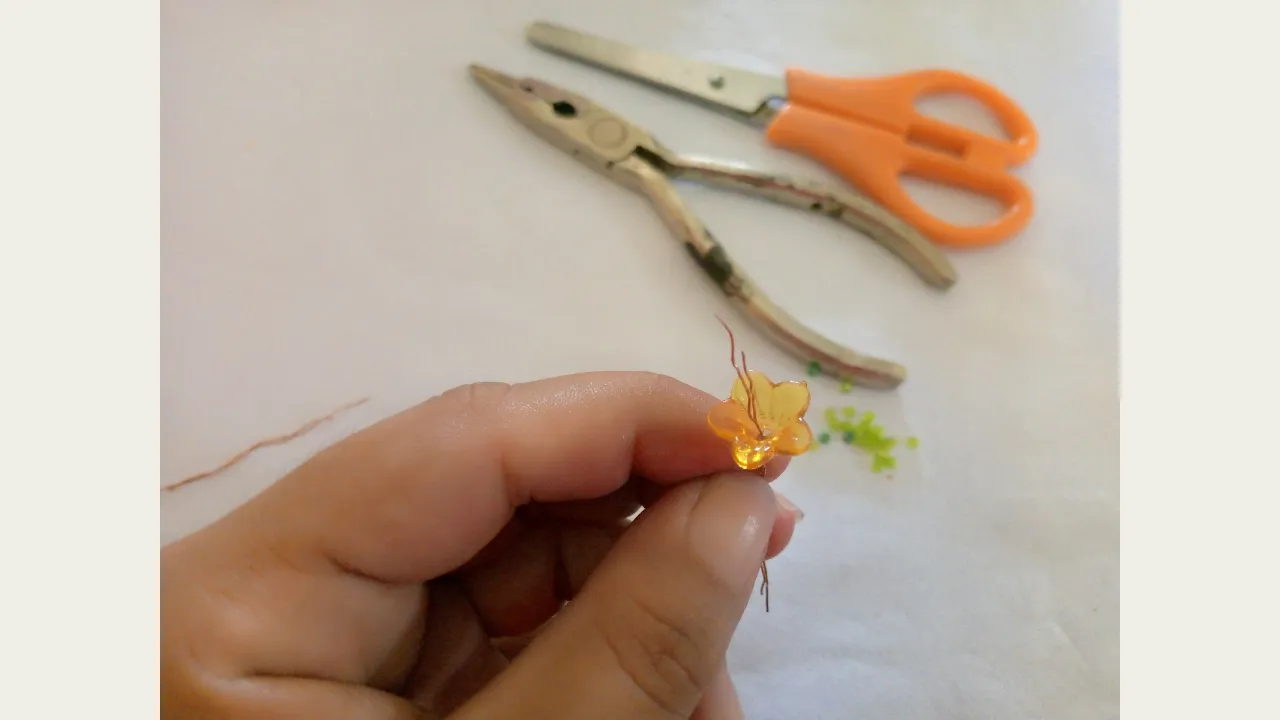
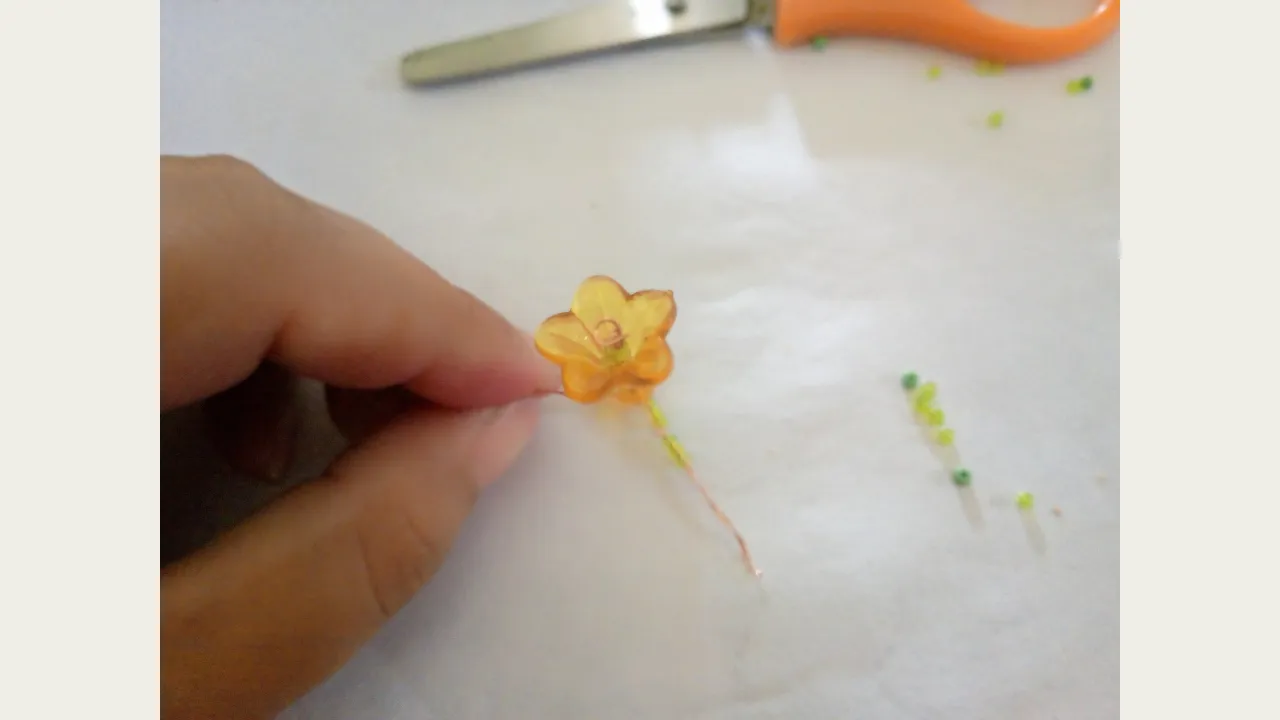
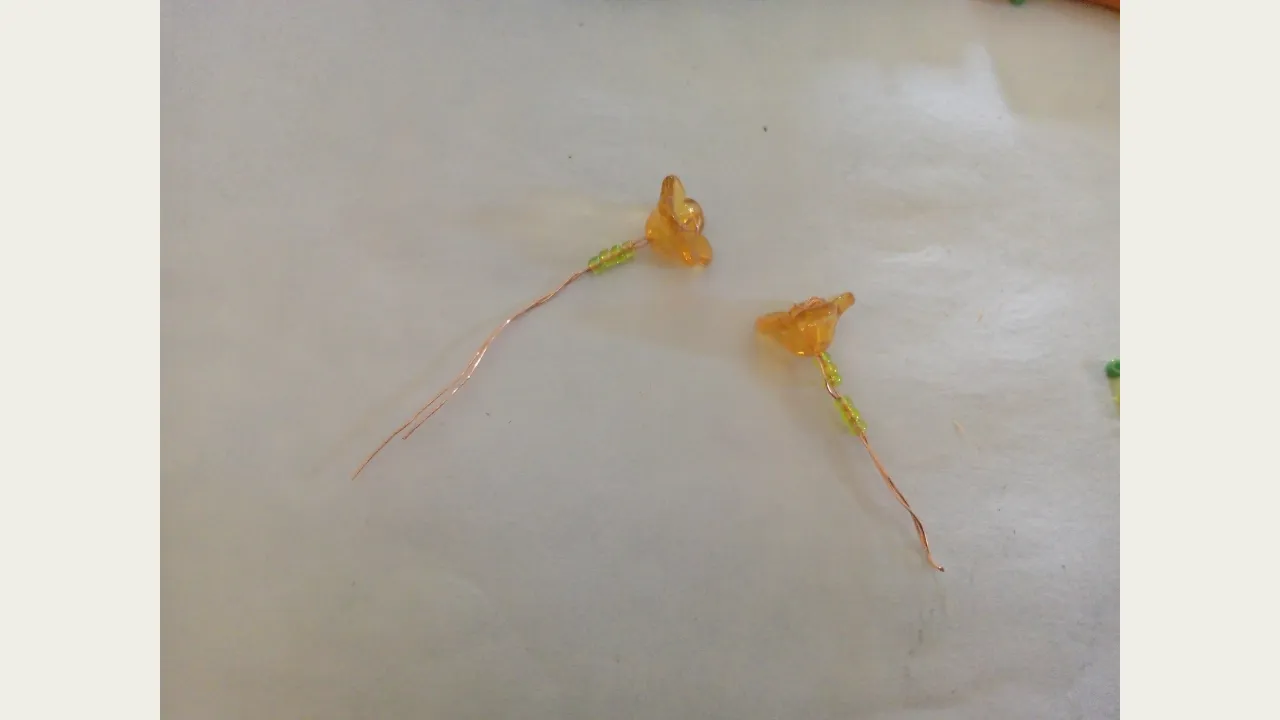
Paso nro 1
Paso nro 1
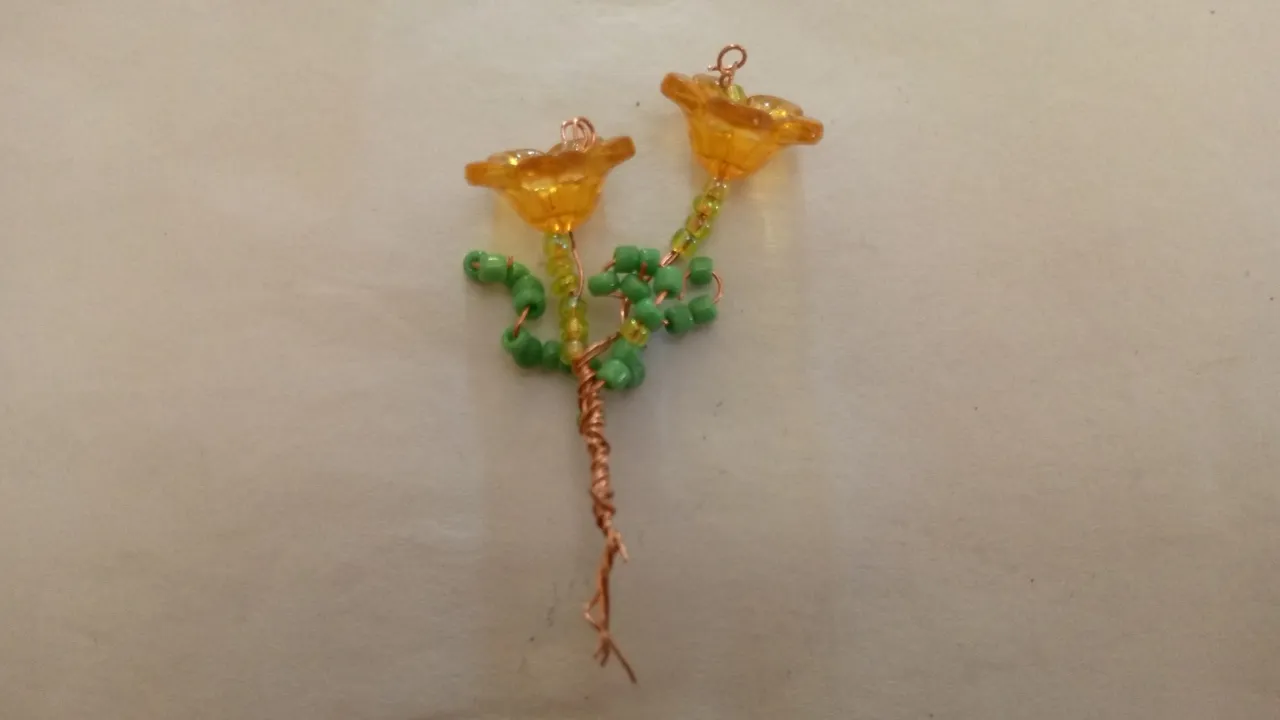
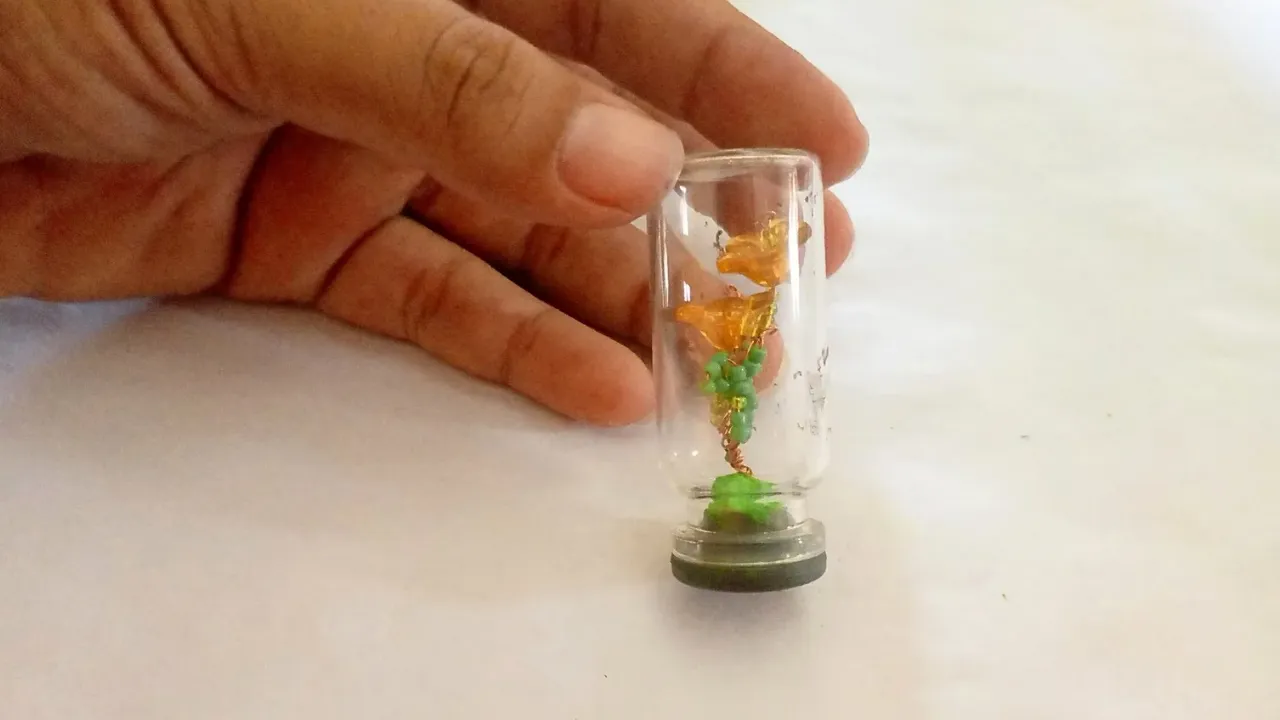
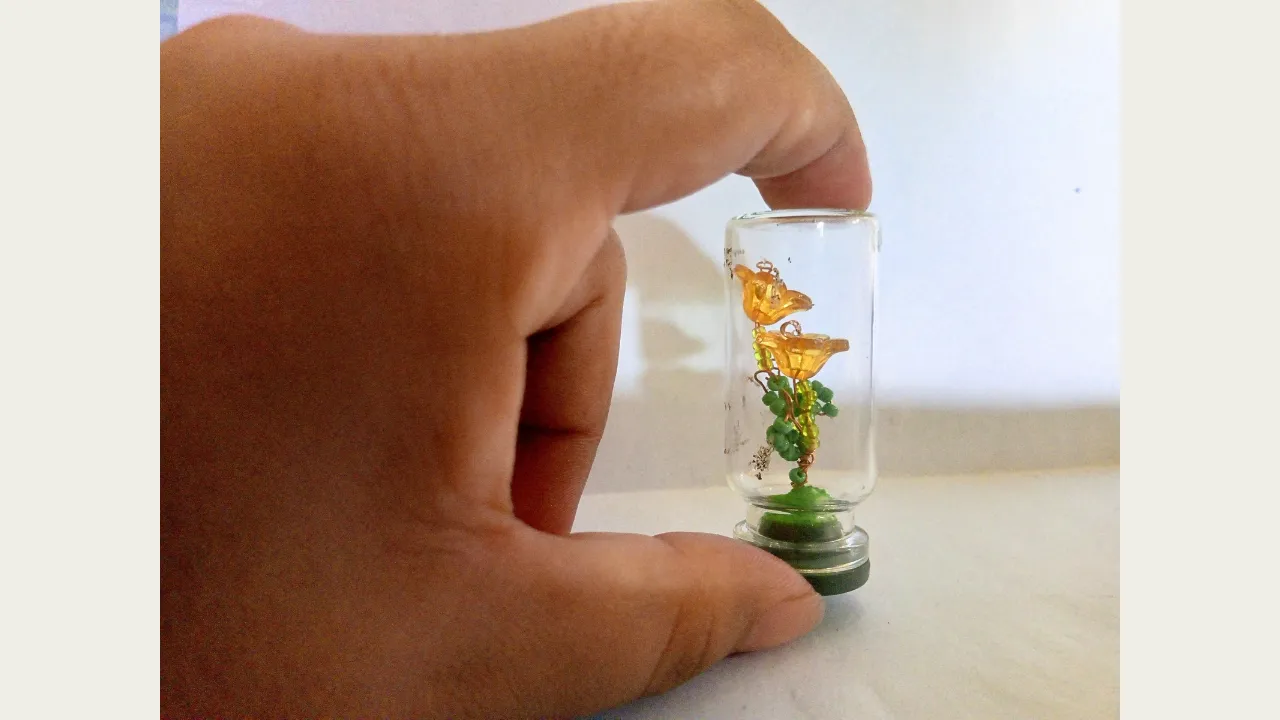
First, I'm going to assemble the flowers. I'll place the flower bead, which is yellow, and secure the wire on the top side. I did this with the help of pliers. On the other side, I placed a few green beads. I did the same with the other flower. Then, I joined the two flowers by twisting the wire so they remained together like a bunch. Separately, on another piece of wire, I placed only green beads to make the leaves. I also joined these leaves together with the flowers, twisting the wire.

Paso nro 2
Paso nro 2
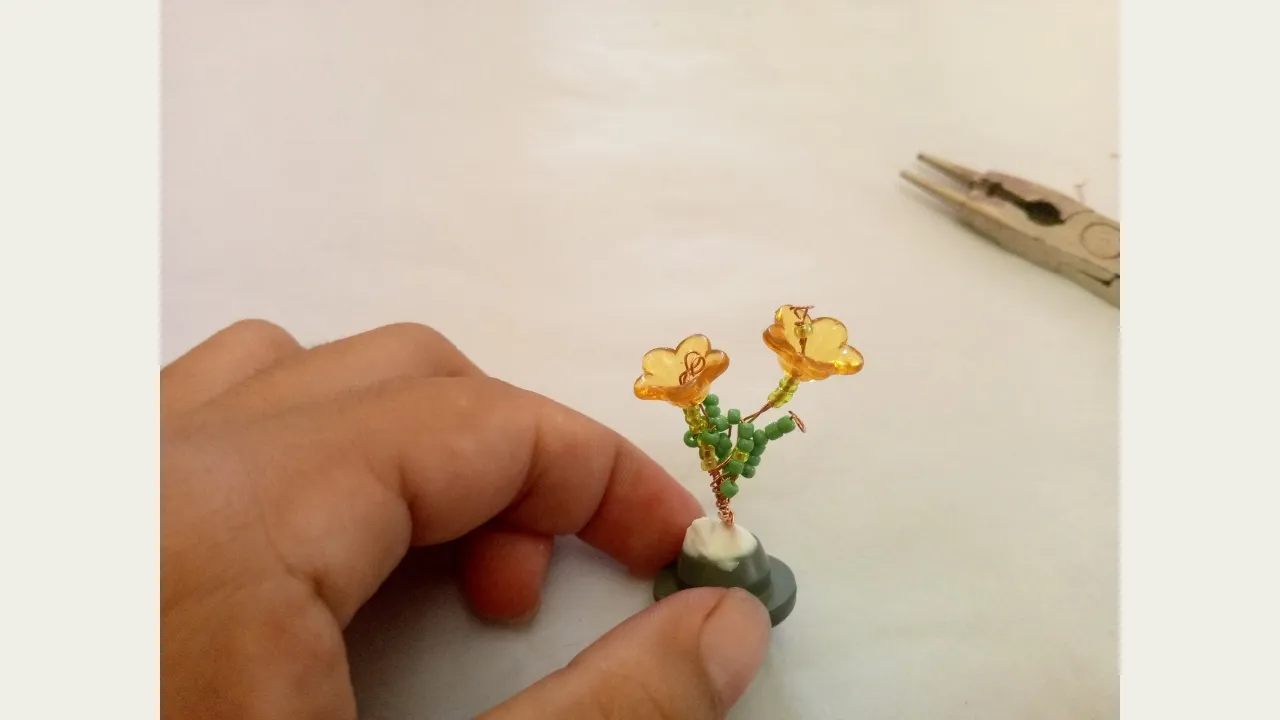
Now, I'm going to place a small piece of sponge on the bottle cap so that when I place the flowers in, they stay in place. I secured the sponge with white glue and let it dry well, since sponge is like plastic and takes a while to dry.
Paso nro 3
Paso nro 3
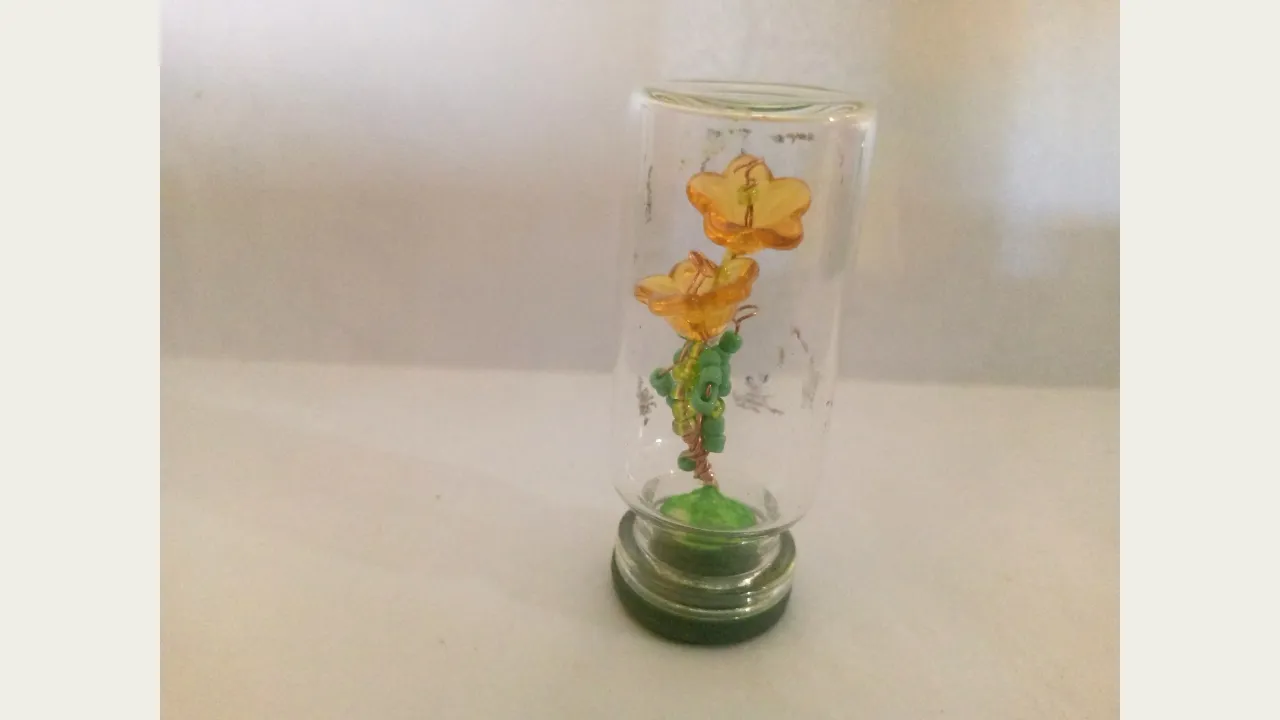
Once it's dry, I'm going to add a little more glue because now I'm going to add the green shavings, which are like a powder. I liked this part because it looks like grass and looks really nice. I also let it dry thoroughly before finishing placing the bottle, trying to do it carefully, as the flowers could get damaged.
(Resultado final:)(Bottom line:)
I hope you enjoyed this craft and that you'll be inspired to create your own recycled flower ornament. Remember, the most important thing is to let your imagination run wild and enjoy the process. Thanks for joining me on this project! See you next time!

The photos on this blog are my property | The images are edited in Canva | Photos taken on my Infinix Smart 7 cell phone | The content is translated in Firefox Translate.