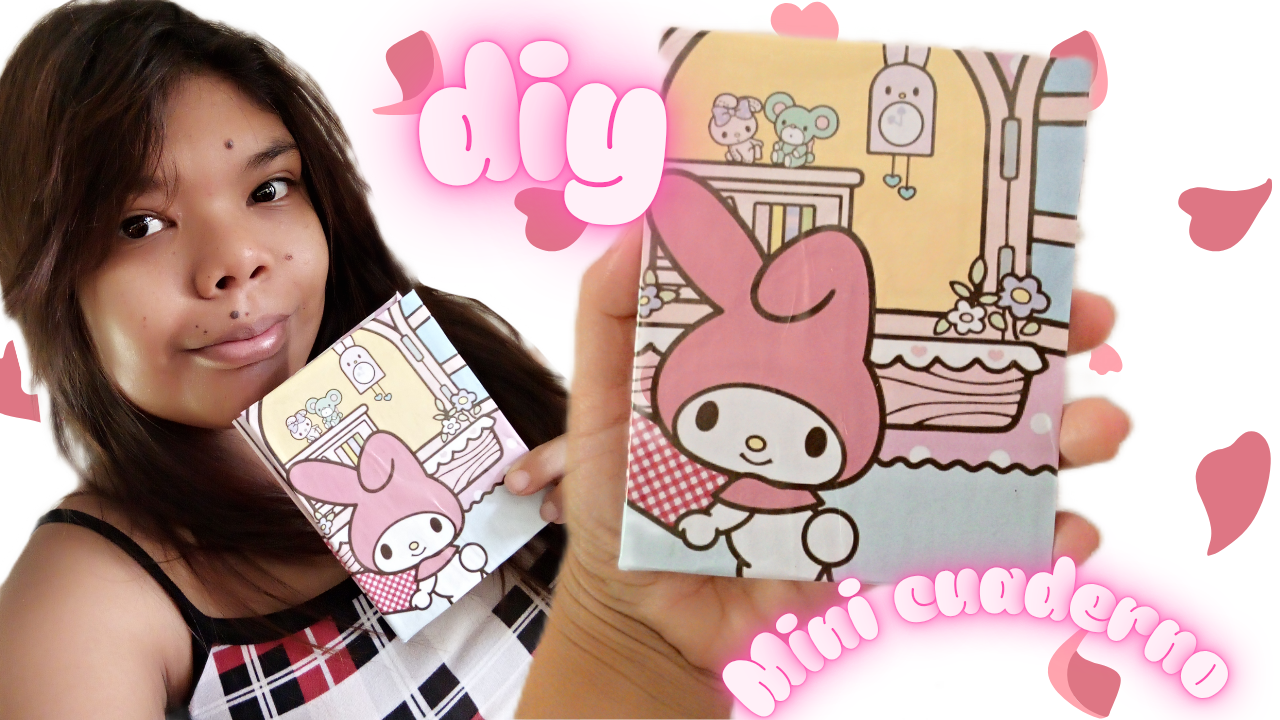
Hello, hello DIYHub friends. I hope you're having a wonderful day. This time, I invite you to join me in this latest mini notebook creation. Feel welcome to this blog and get ready to follow the step-by-step instructions for this cute little notebook.
A little background: I've been really into these kinds of crafts lately. Being able to continue learning how to make crafts with your own hands, things like your own notebook or just anything else, makes it seem like a lot of fun and also becomes a new learning experience. A few days ago, I made a notebook and learned a different way to make it. Now, this mini notebook is similar in how it's made, but it has some differences. The first difference is that it's mini, and this time I wanted to make one like that because it's easier to carry a mini notebook if we have a small bag. So, this mini notebook can be carried more easily, and we'll be ready to write down something important. If you're someone who likes these kinds of crafts, you'll surely like this tutorial. I hope it helps.
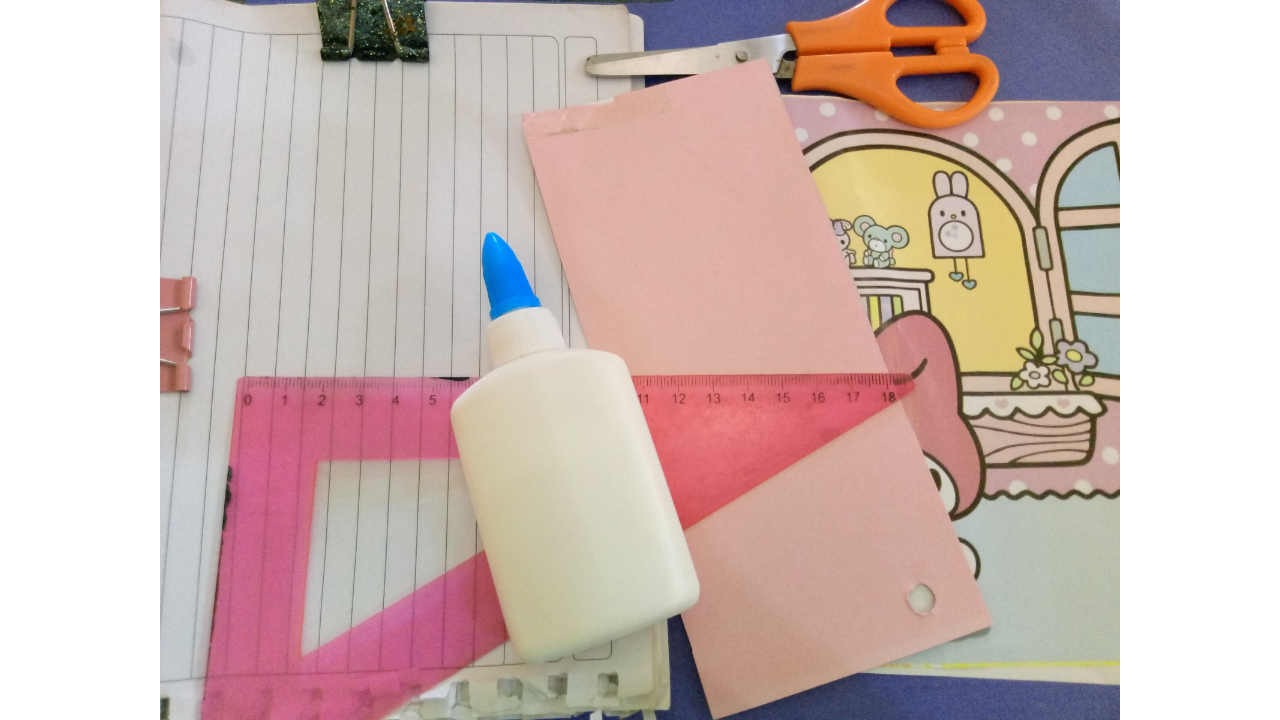
(Materiales a usar:)(Materials to use:)
- Cartón
- Tijeras
- Papel de decoración
- Cartulina rosada y amarilla
- Pega blanca
- Regla
- Clip
- Hojas
- Cardboard
- Scissors
- Decorative paper
- Pink and yellow cardstock
- White glue
- Ruler
- Paperclip
- Sheets
(Procedimiento:)(Procedure:)
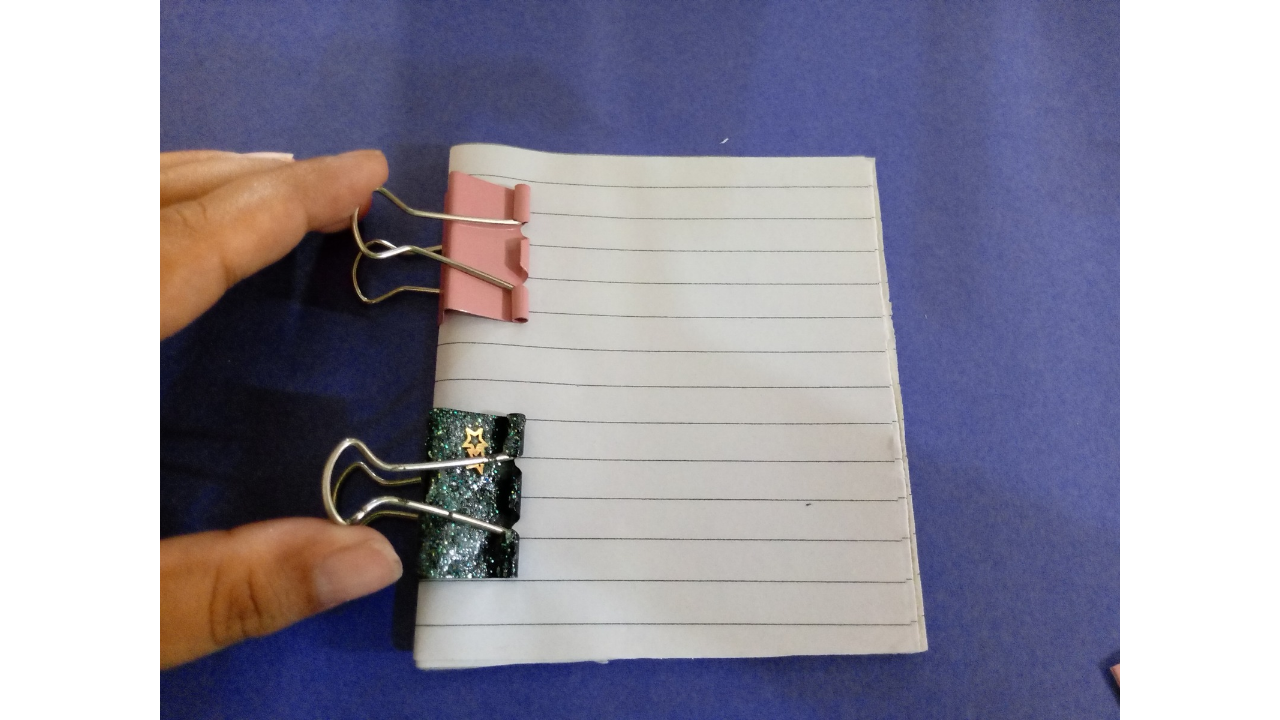
Paso nro 1
Paso nro 1
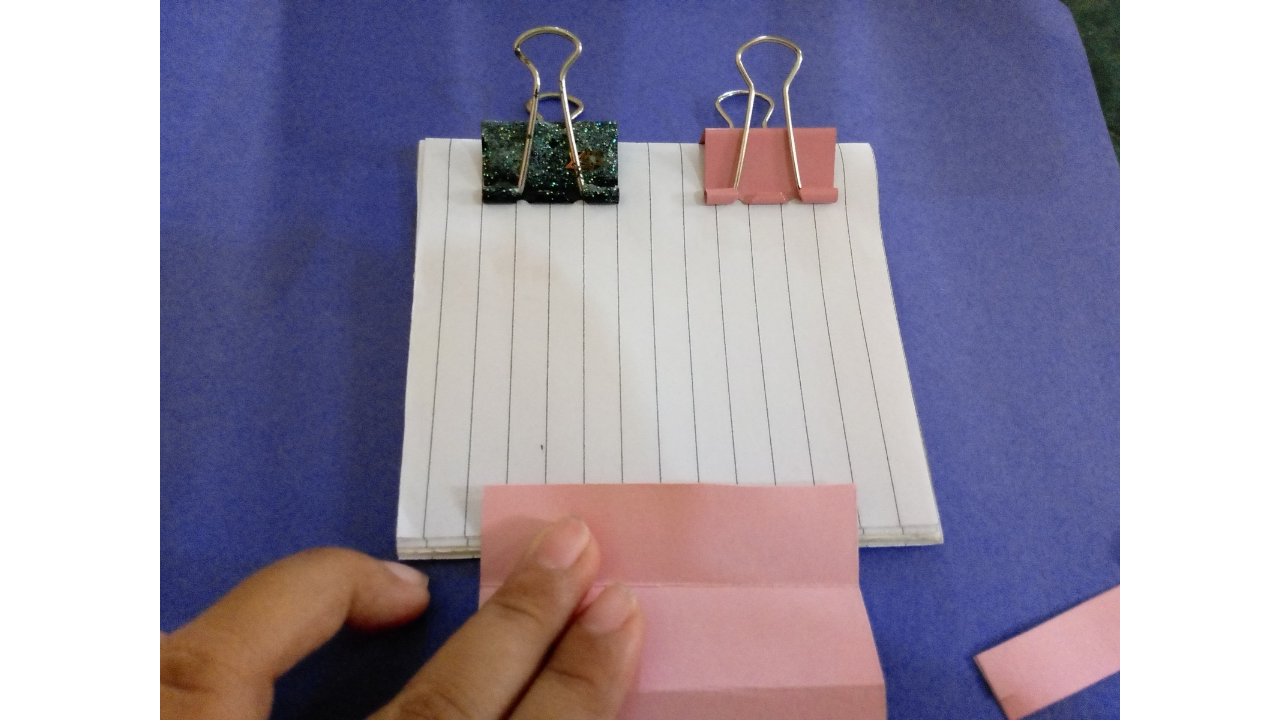
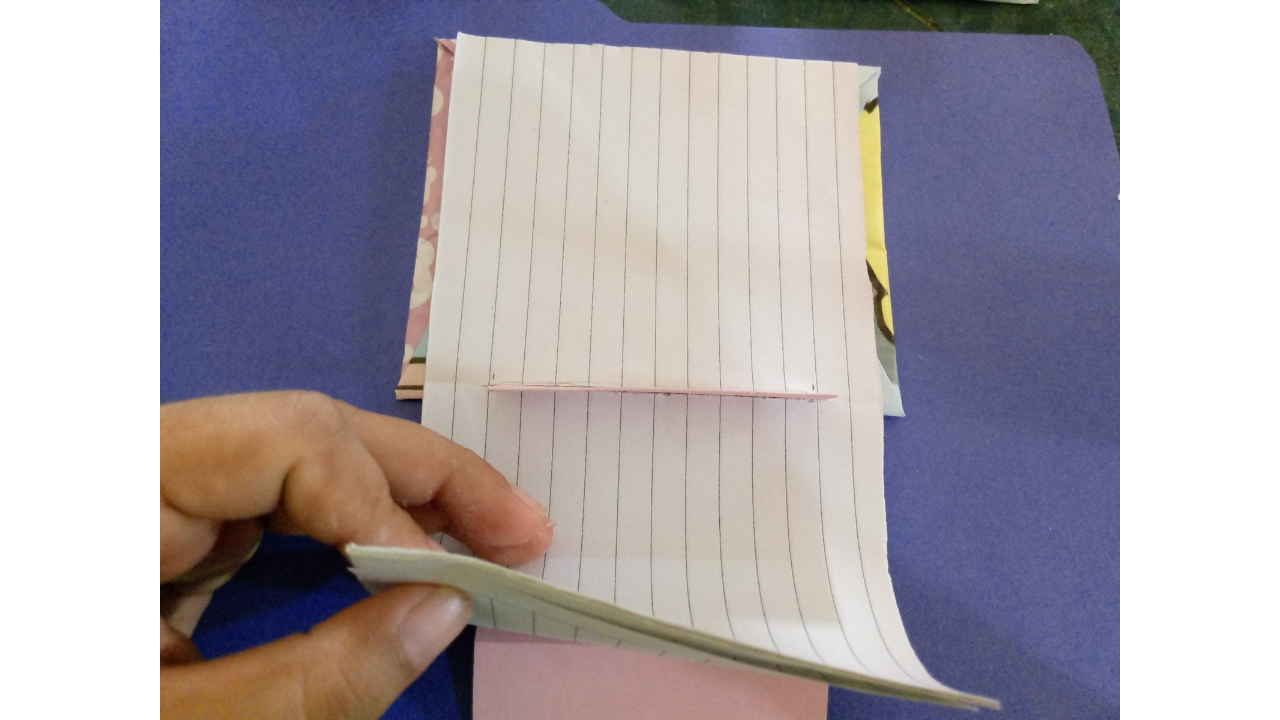
To start, I'm going to measure and cut the paper for the mini notebook. I used paper from a notebook I already had in use and had some pages left. So, to measure the paper, I'm just going to cut the pages in half, leaving two sections that I fold in half. I cut the edges along the edge of the paper. When I was doing this, I used two paper clips because the pages moved when I cut them, making them uneven.
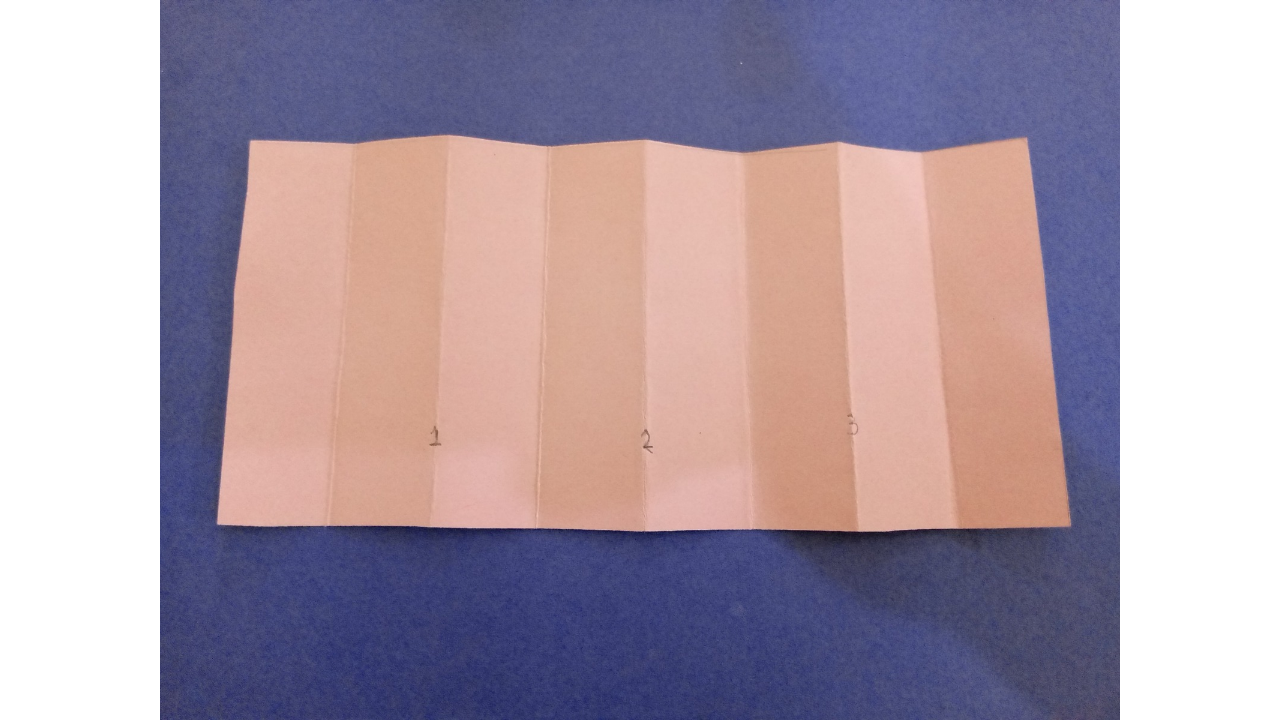
Paso nro 2
Paso nro 2
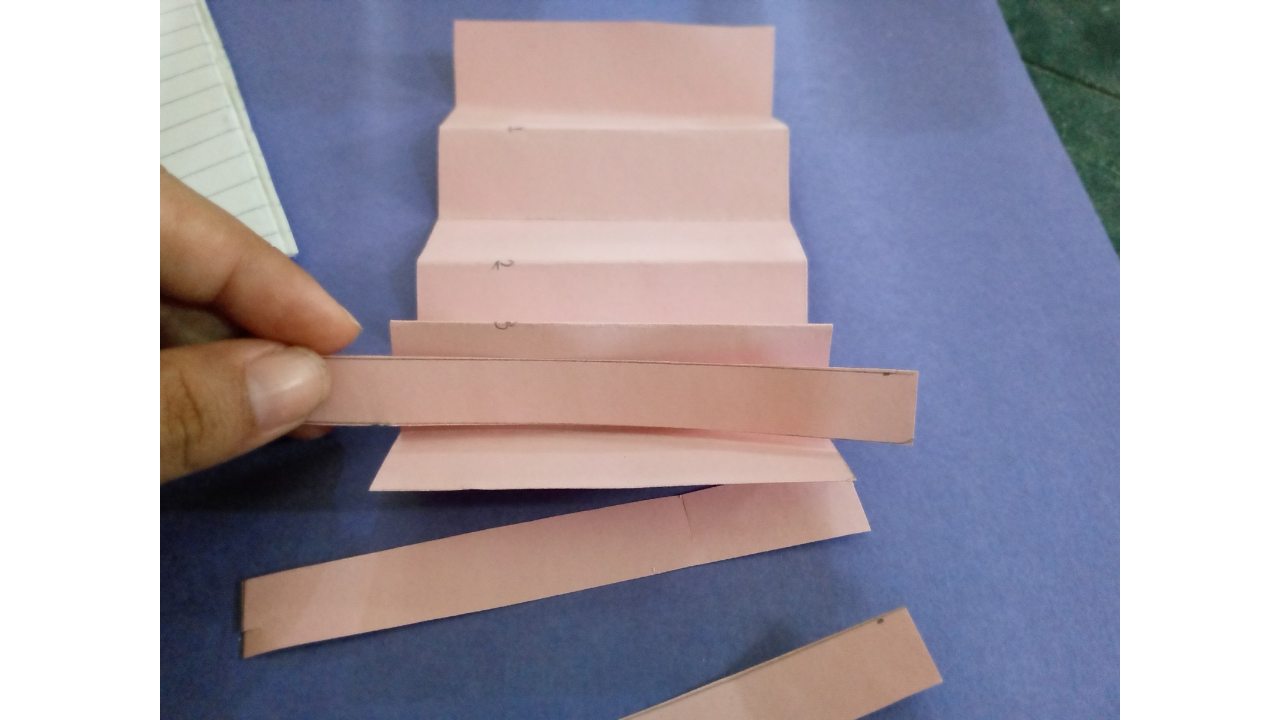
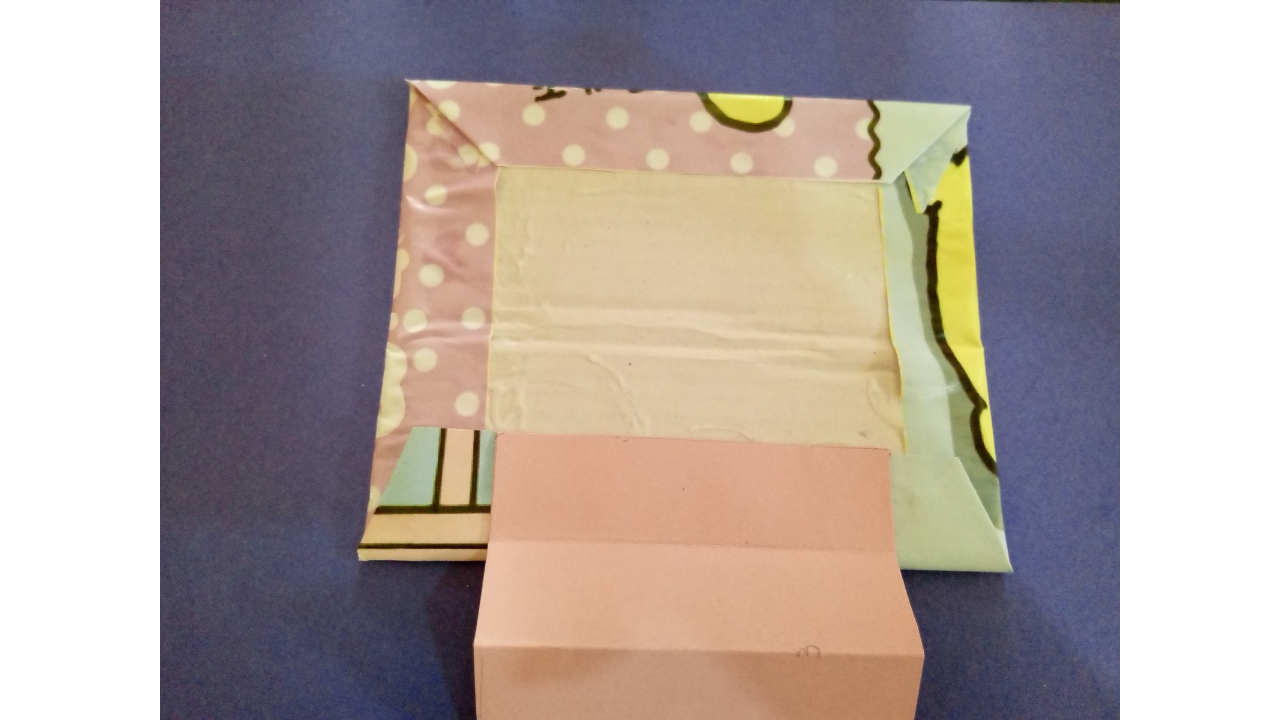
Next, I made the accordion out of a piece of pink cardstock, but this time it only has three folds, as my plan is to fit more sheets of paper on each row. This notebook will have three rows, but I'll fit five sheets of paper on each one. I also cut three strips of the same cardstock. These three strips need to be slightly longer than the width of the accordion.
Paso nro 3
Paso nro 3
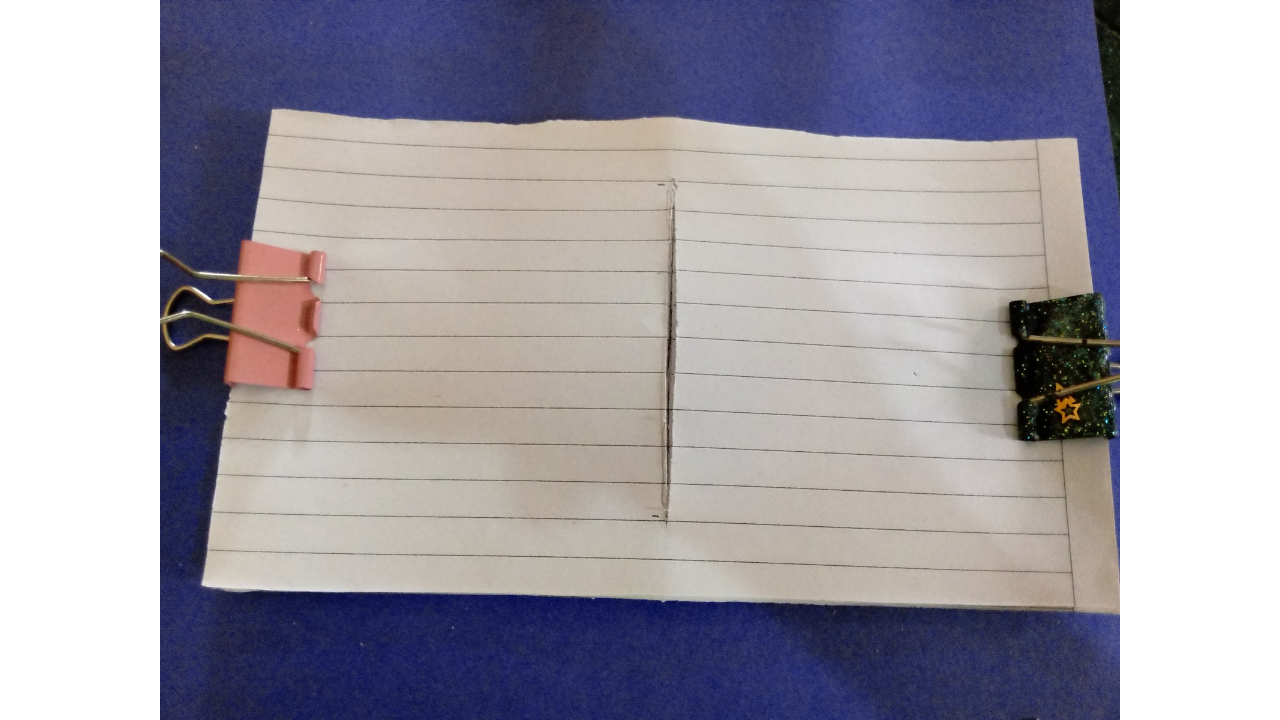
Next, I moved on to making a line that runs down the middle of the sheets. I measured the width of the accordion for this, and carefully cut it, avoiding damaging the sheet.
Paso nro 4
Paso nro 4
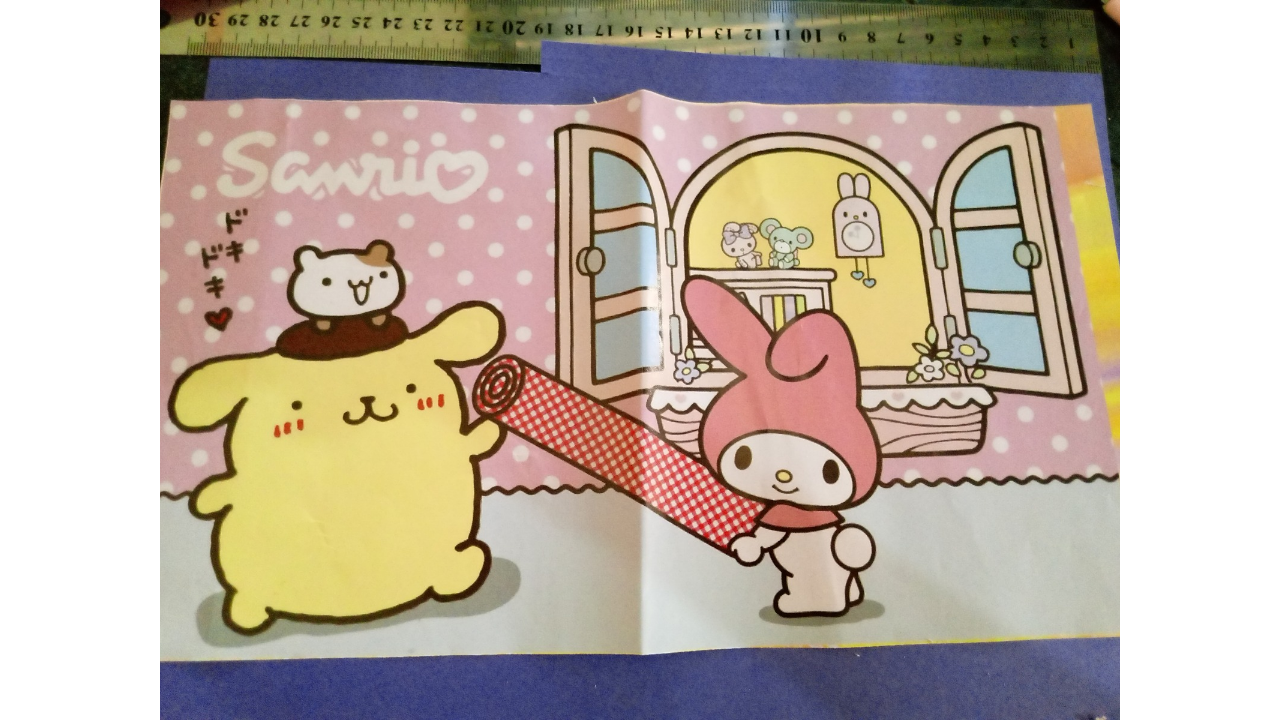
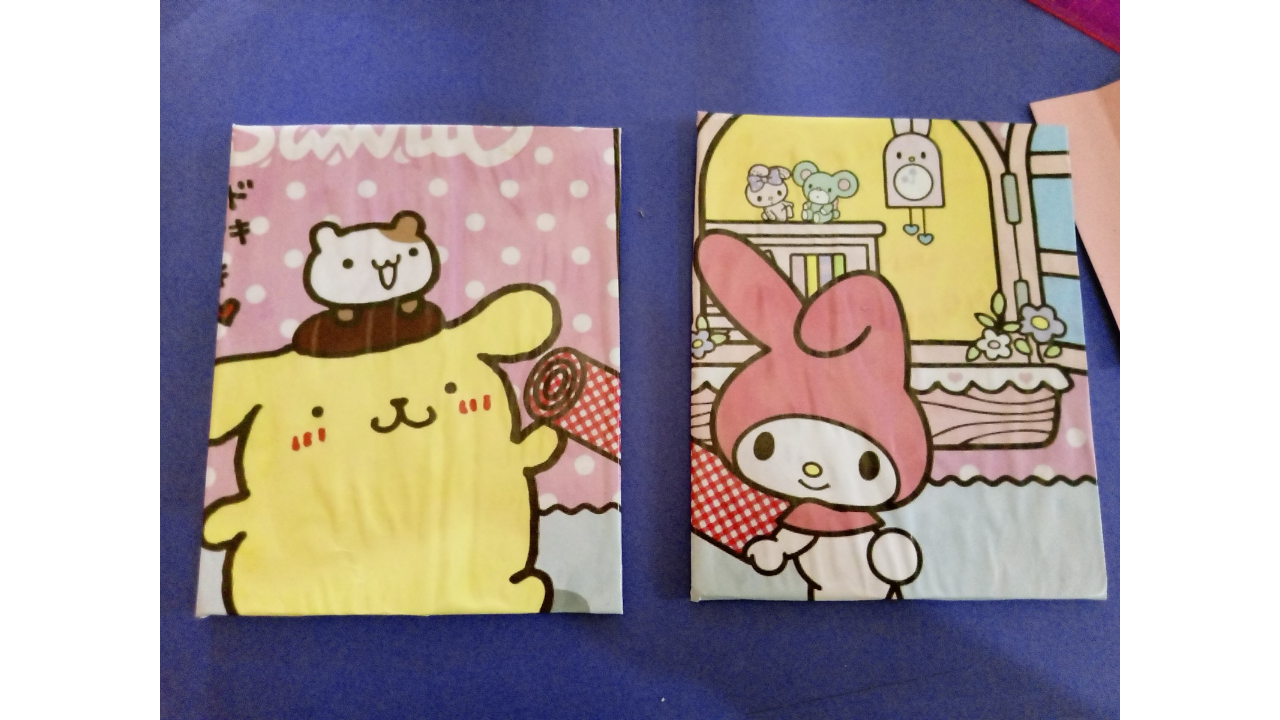
Now, with the decorative paper, which by the way is from Ranrío, I took one of the sections of paper that looked prettier. I also cut the cardboard to the same size as the leaves, but not exactly the right size; I left it a little bigger than the leaves. Then, I cut the cardboard in half and covered it with the decorative paper. Afterwards, I let it dry well.
Paso nro 5
Paso nro 5
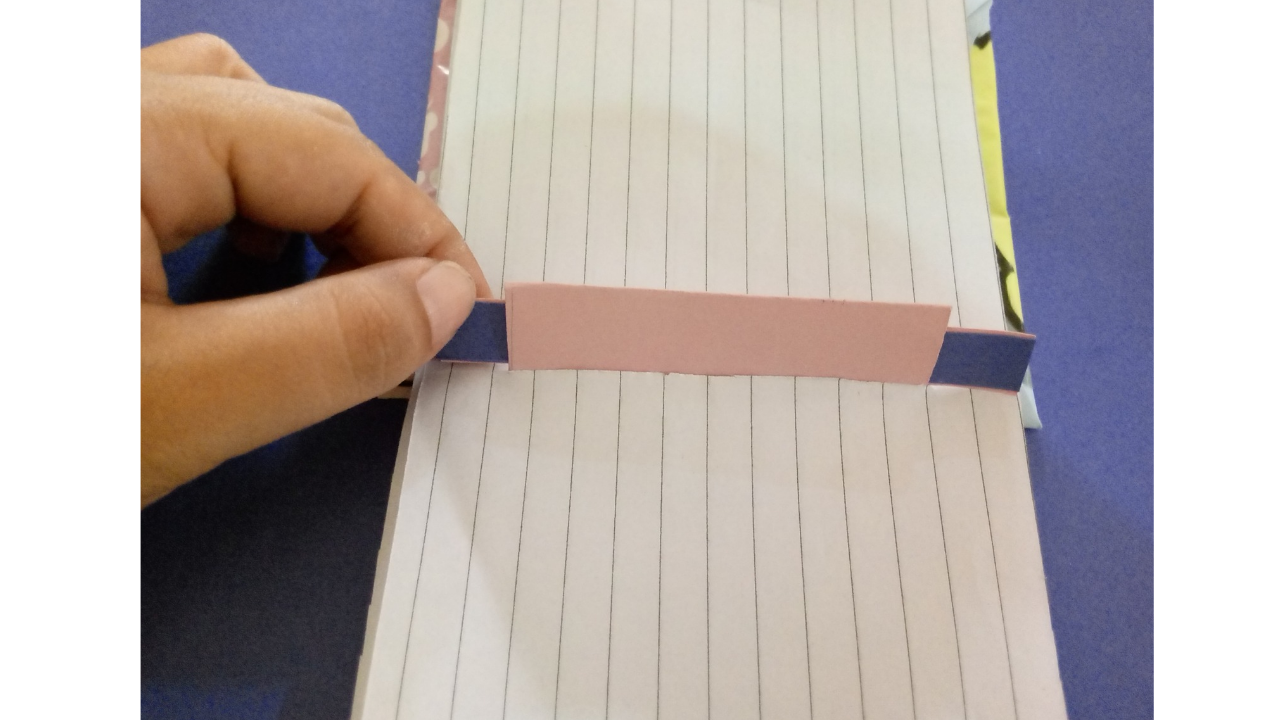
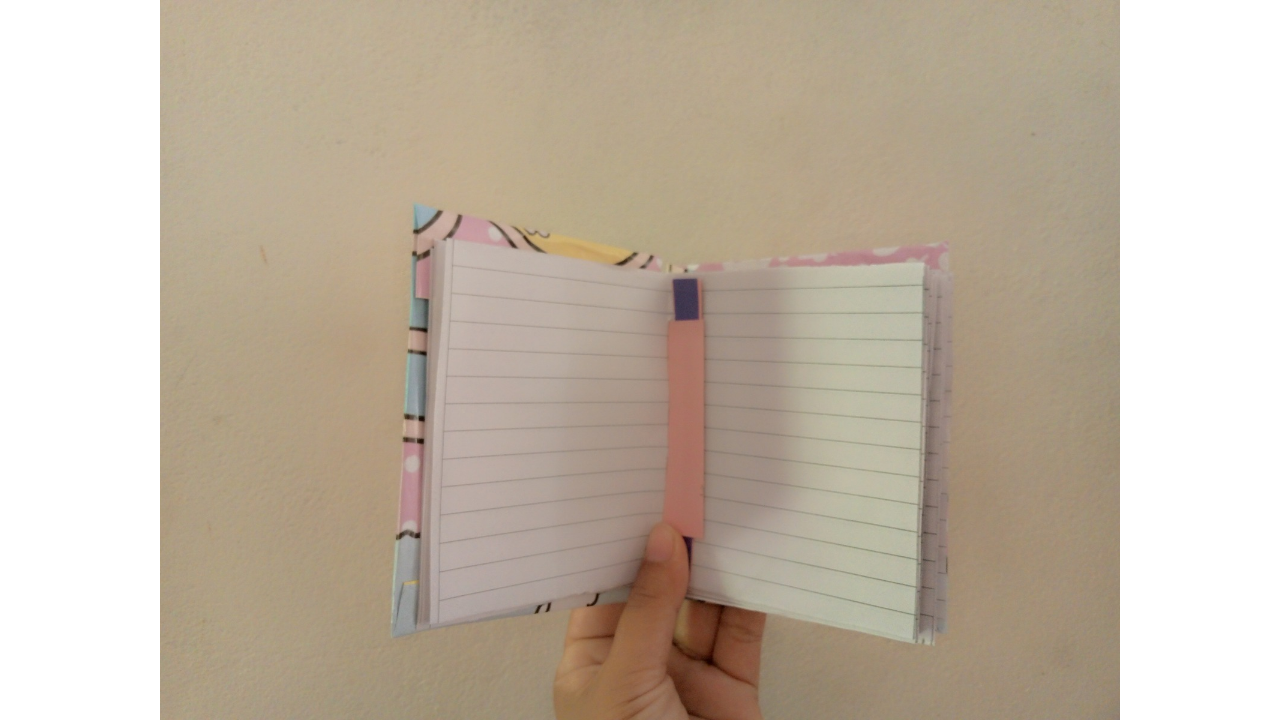
After I let the notebook covers dry thoroughly, I moved on to assembling it. I started by gluing one end of the accordion to the back cover, and I also added a yellow cardstock cover to hide the accordion and the cardboard that was visible from the cover. Now, I moved on to placing the pages on each line of the accordion, and to secure the pages so they wouldn't come loose, I placed strips in the middle of the accordion lines. Finally, I placed the main cover of the notebook on the other end of the accordion and also added yellow cardstock, and the mini notebook was complete.
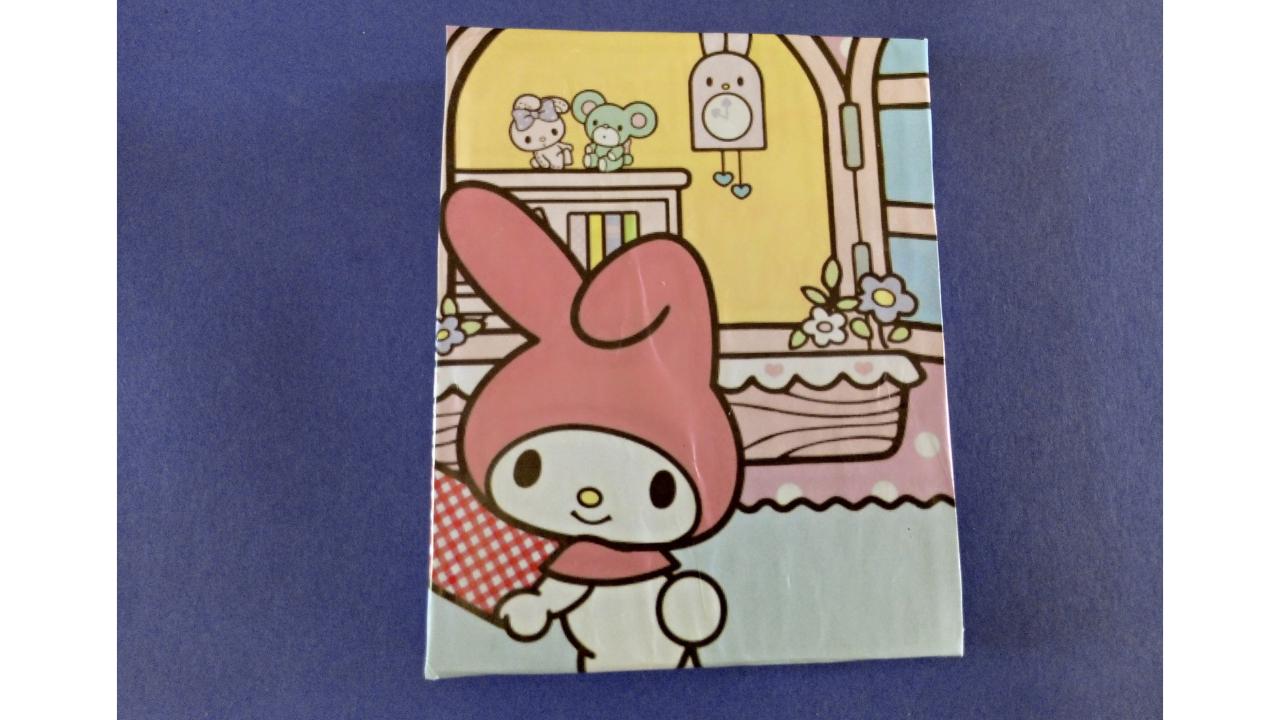
(Resultado final:)(Bottom line:)
The mini notebook I made is a beautiful combination of functionality and creativity. With its colorful design, it's perfect for carrying in any bag. The pages are securely fastened, allowing for comfortable and practical writing. Plus, the decorative cover gives it a cheerful and personalized touch. I hope this tutorial has inspired you to create your own mini notebook. Crafting is not only a form of artistic expression, but also a great way to learn and enjoy the creative process. Thank you for joining me on this crafting adventure!


Las fotos de este blog son de mi propiedad|Las imágenes son editadas en canva|Fotografías tomadas en mi celular infinix Smart 7|El contenido está traducido en el traductor de Firefox.