
Hello everyone, welcome to my blog.
This time, after not being able to sew for a while because I don't have my own sewing machine, the sewing machine belongs to my mom 🤭😅. It was finally my turn to sew, and I hope to have my own sewing machine soon, too. Sewing is one of my passions in this world of artisans, and I don't do it all the time, but when I feel like it, I do it in a simple yet beautiful way, and at the same time, something useful. That's why, this time, I want to show you how I made a mini bag to store my headphones. With just a piece of used jeans, I'm going to make something new and very useful. If I'm not mistaken, headphones, because they have cables, can get tangled and damaged. I use them when I go to college and always keep them in my backpack; sometimes they get tangled with other things. I used jeans because it's tough, and it will provide more durability, but you can also use other types of fabric. Now let's begin this tutorial.

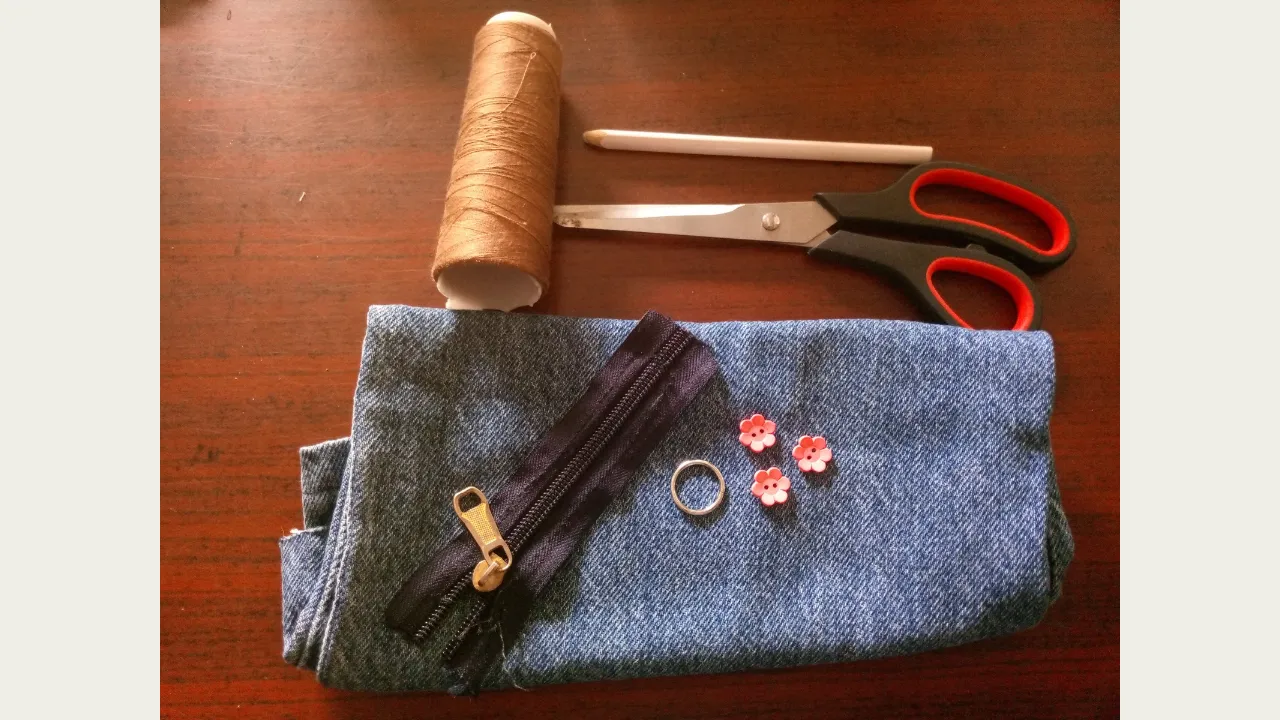
(Materiales a usar:)(Materials to use:)
- Tela de jeans usados
- Botones en forma de flor color rosado
- Cremallera
- Tijeras
- Hilo
- Una argolla
- Un pedazo de cinta o cuerdita
- Un vaso y un lápiz
- Used jeans
- Pink flower-shaped buttons
- Zipper
- Scissors
- Thread
- A ring
- A piece of ribbon or string
- A glass and a pencil
(Procedimiento:)(Procedure:)
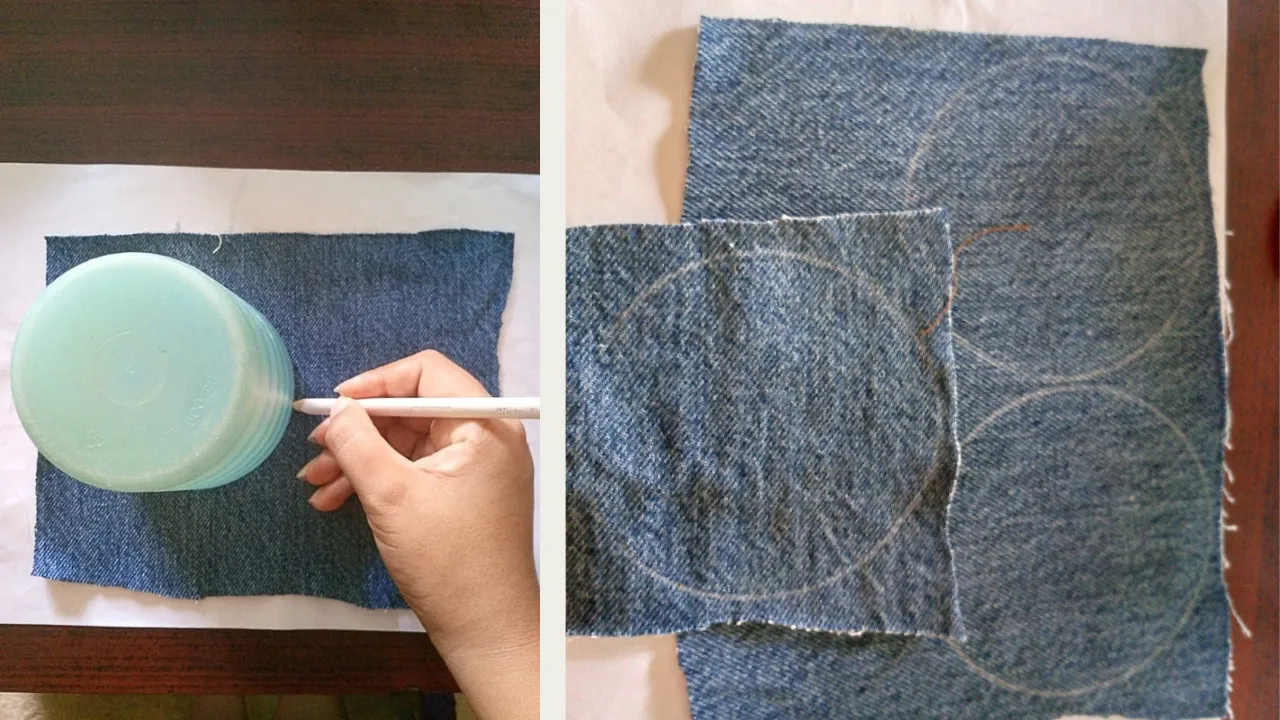
Paso nro 1
Paso nro 1
Let's begin the explanation. To obtain the circular shape of the bag, I'm going to use a glass for this, and I began marking with a white marker, since white helps me see better on the denim. After marking the circles—in this case, there are three circles to be used—I marked and cut.
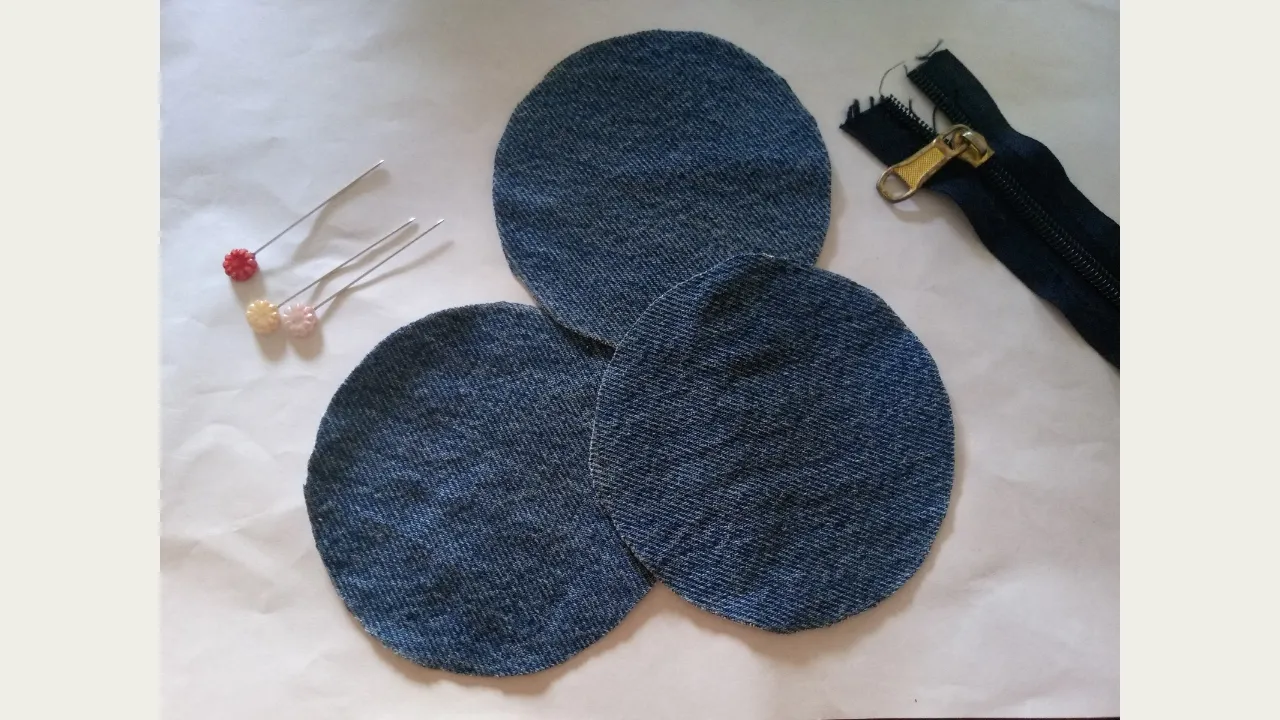
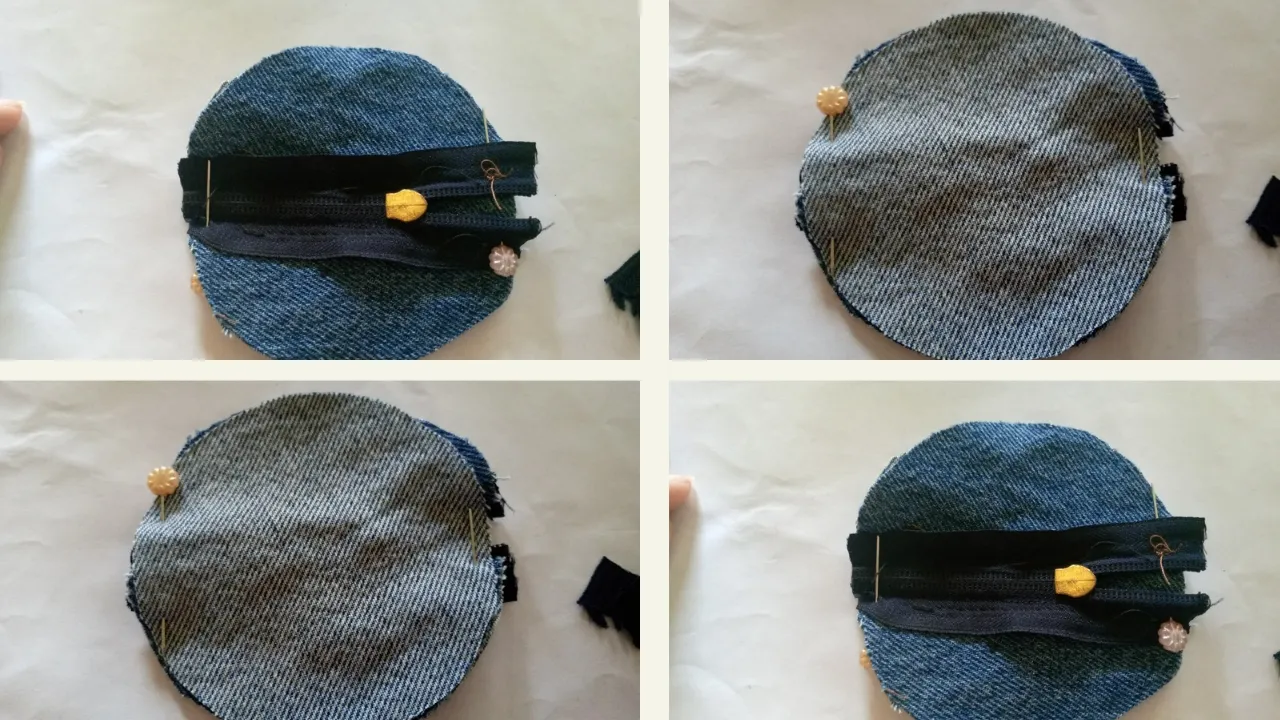
Paso nro 2
Paso nro 2
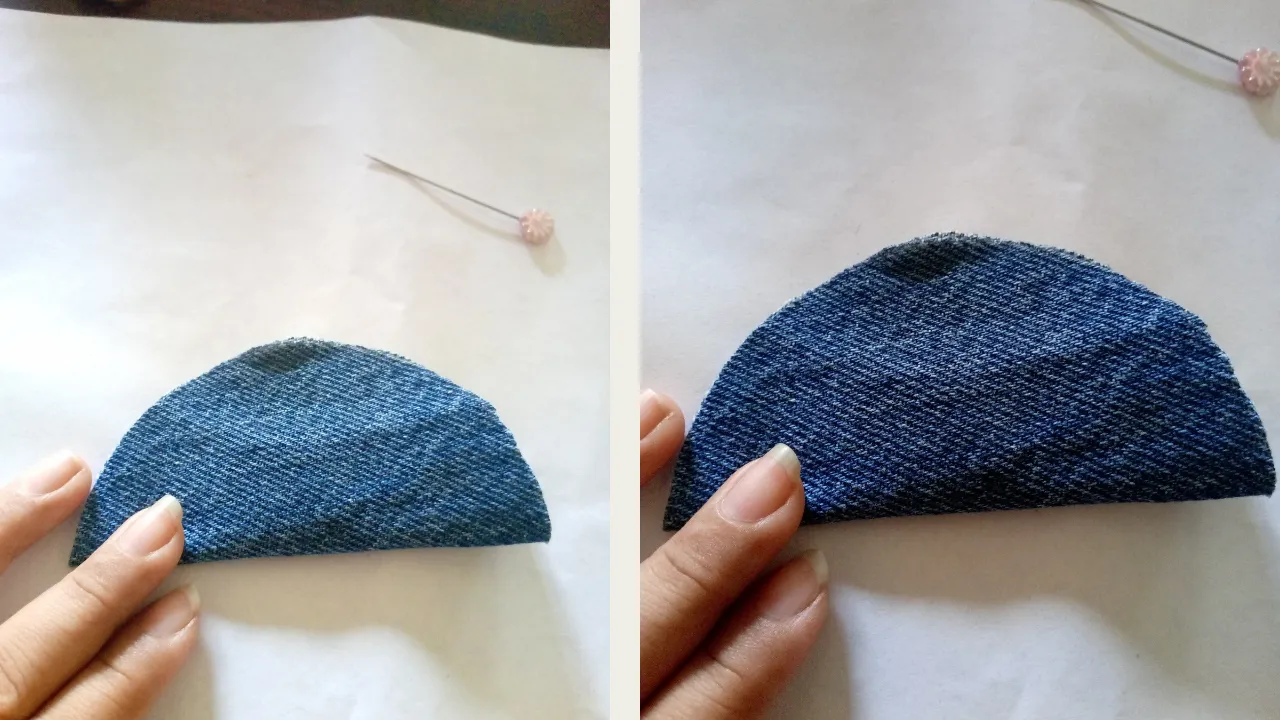
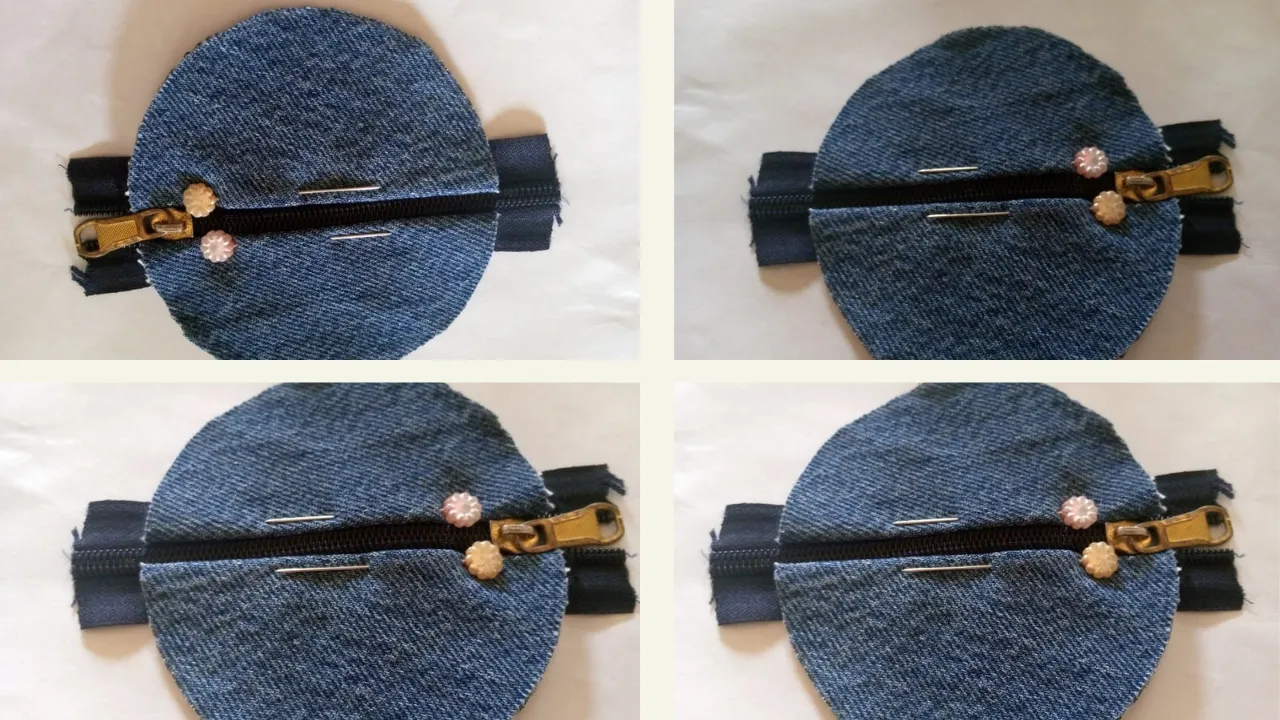
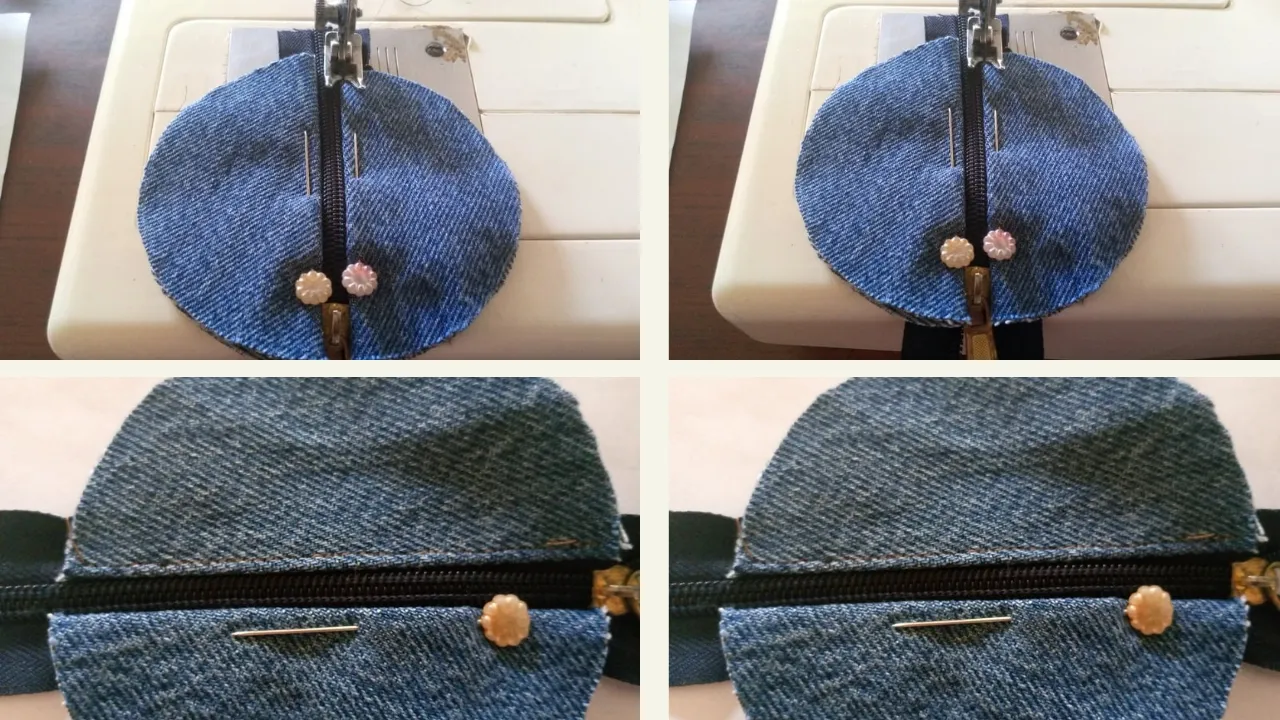
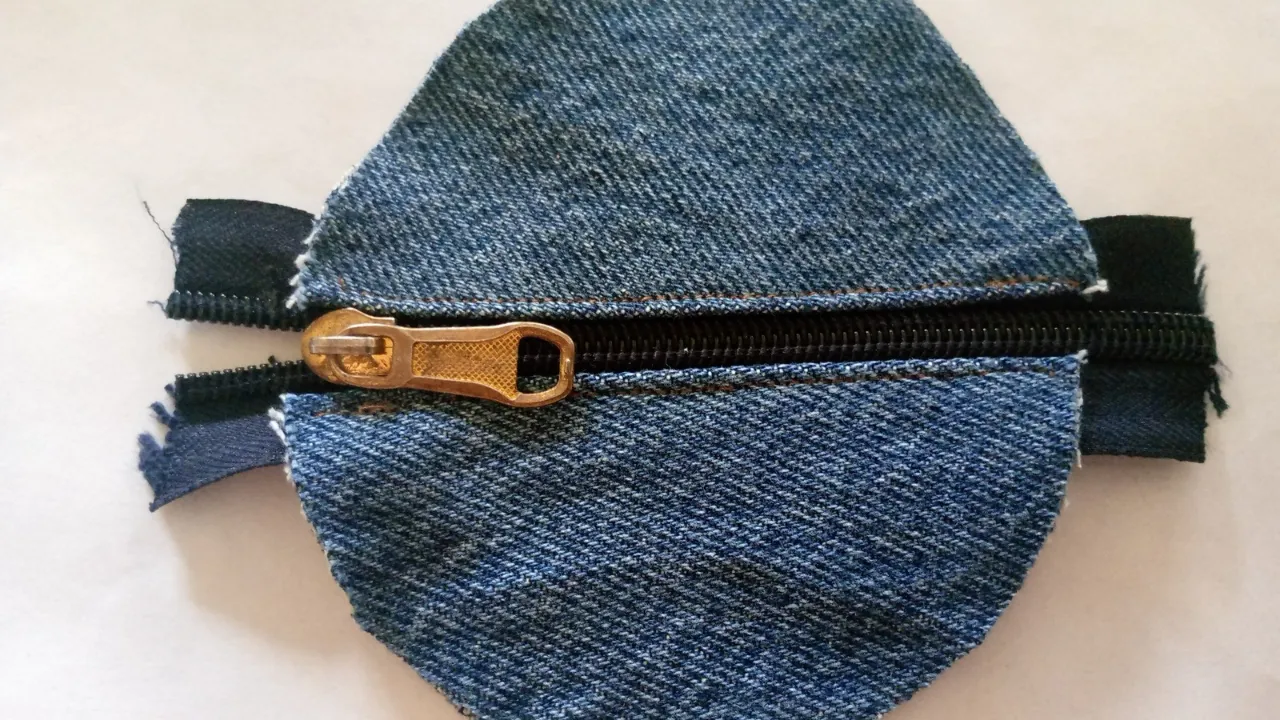
Now that I have the three circles cut, I'm going to start sewing. First, the front of the bag; in this case, I'm going to use two circles and the zipper. The circles need to be folded like a half-moon, and I pinned them together with the zipper, each circle folded in the direction facing the front, joined at the top with the zipper. Once I have this part secured with pins, I'll sew in a straight line, as straight as possible, and along the edge.
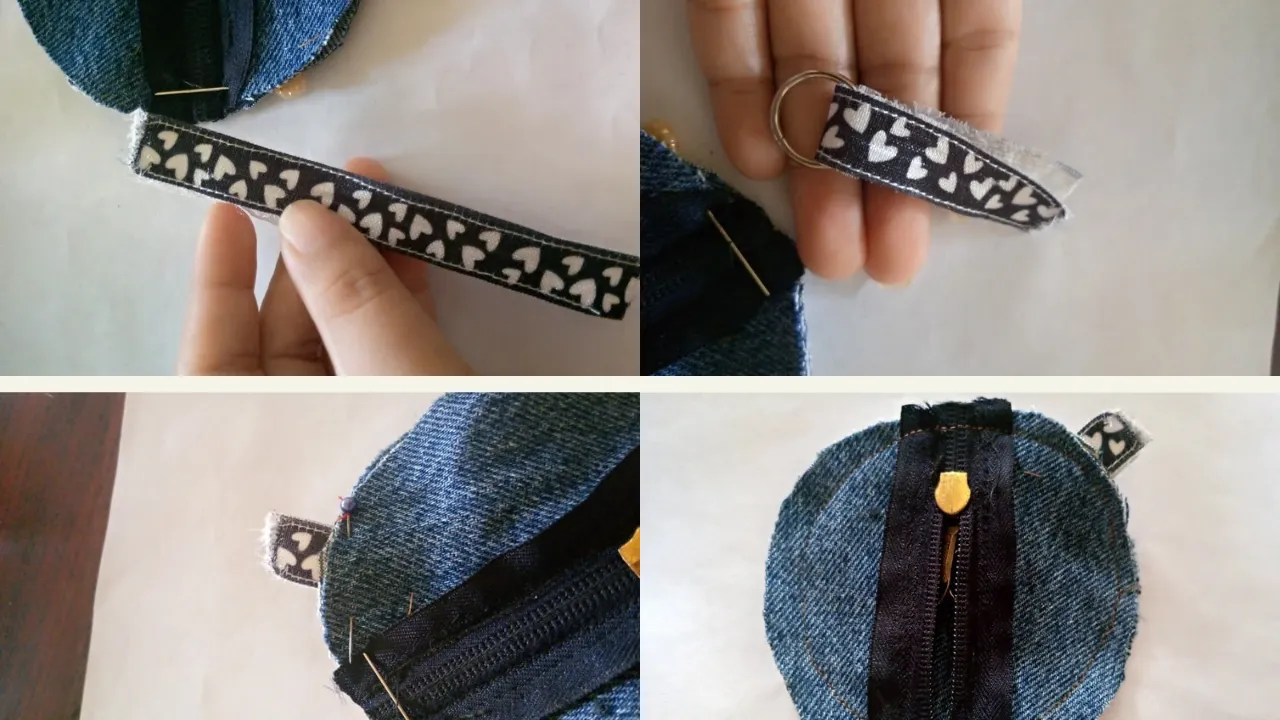

Paso nro 3
Paso nro 3
After sewing the front of the bag, let's sew the rest. For this, we need the missing third circle. I'm also going to sew the string and the ring. This part is optional, as I want to use the bag as a keychain, so I'll add a ring to hang it. To do this, I threaded the ribbon through the ring and placed it on the inside of the bag. This is important because I'm going to sew the two flaps of the bag together. To secure everything in place while I sew, I used pins to help me keep the pieces together.
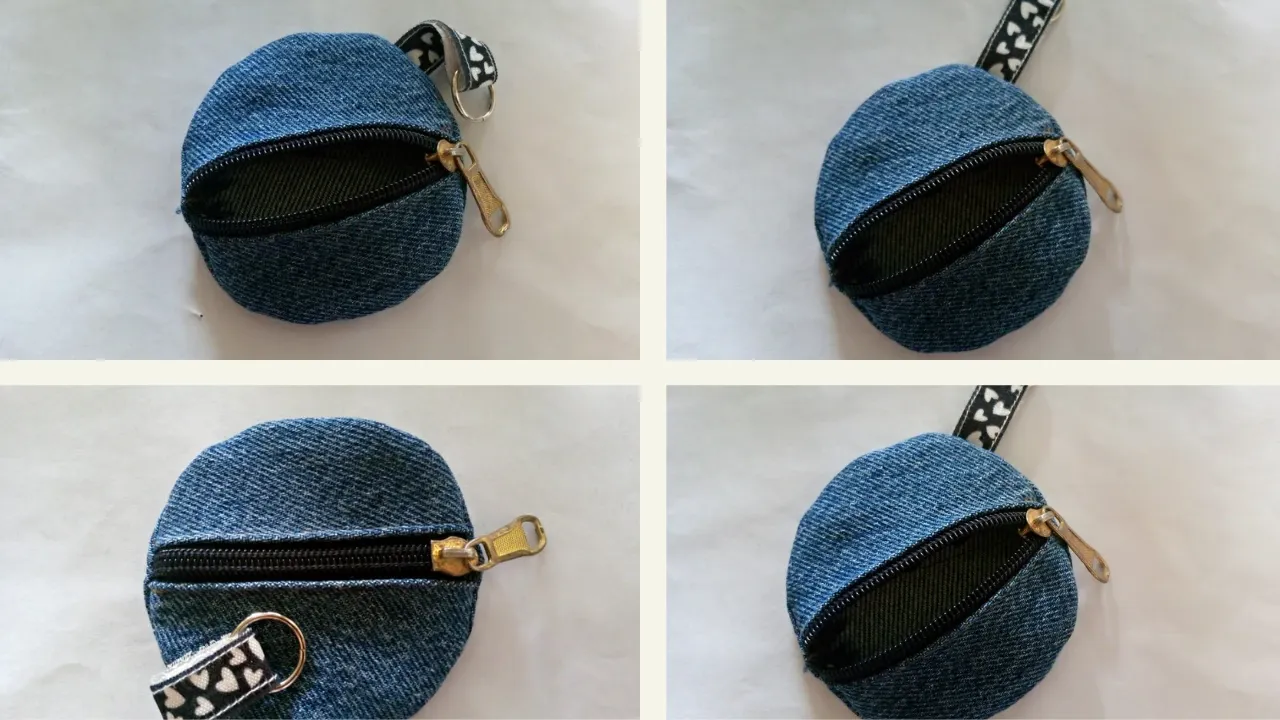
Paso nro 4
Paso nro 4
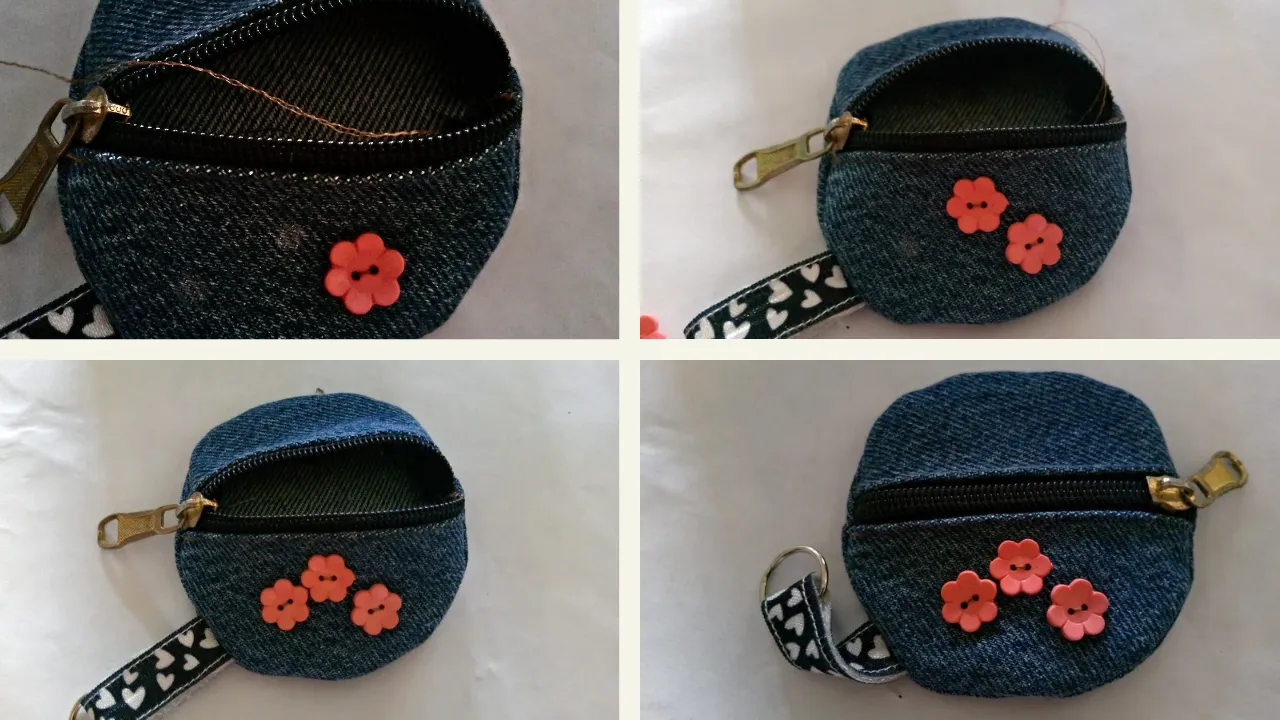
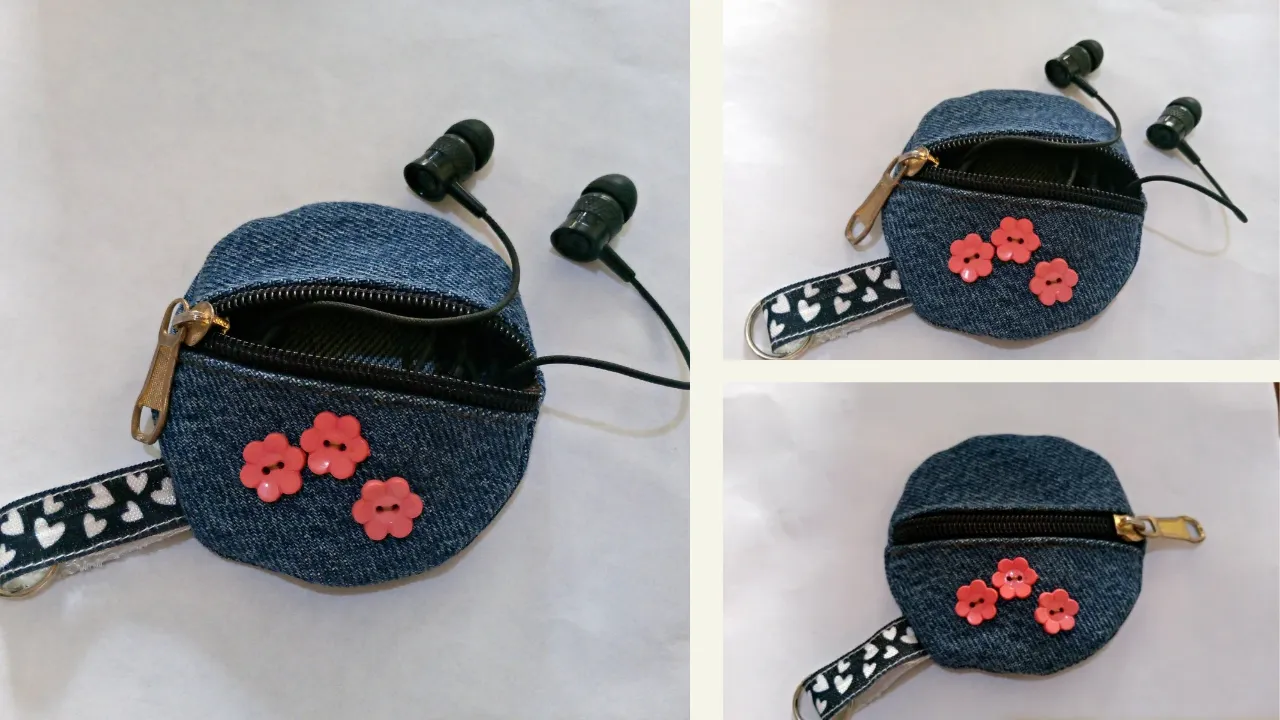
Once I sewed the bag, I turned it inside out. If you're up for making one, remember to leave an opening for when you need to turn it inside out 🤭. Well, that's how the bag works; at least it looks good as it is, but it still needs work. I'm going to add some cute flower-shaped buttons; I'm only going to add three. I'm going to sew this carefully by hand.
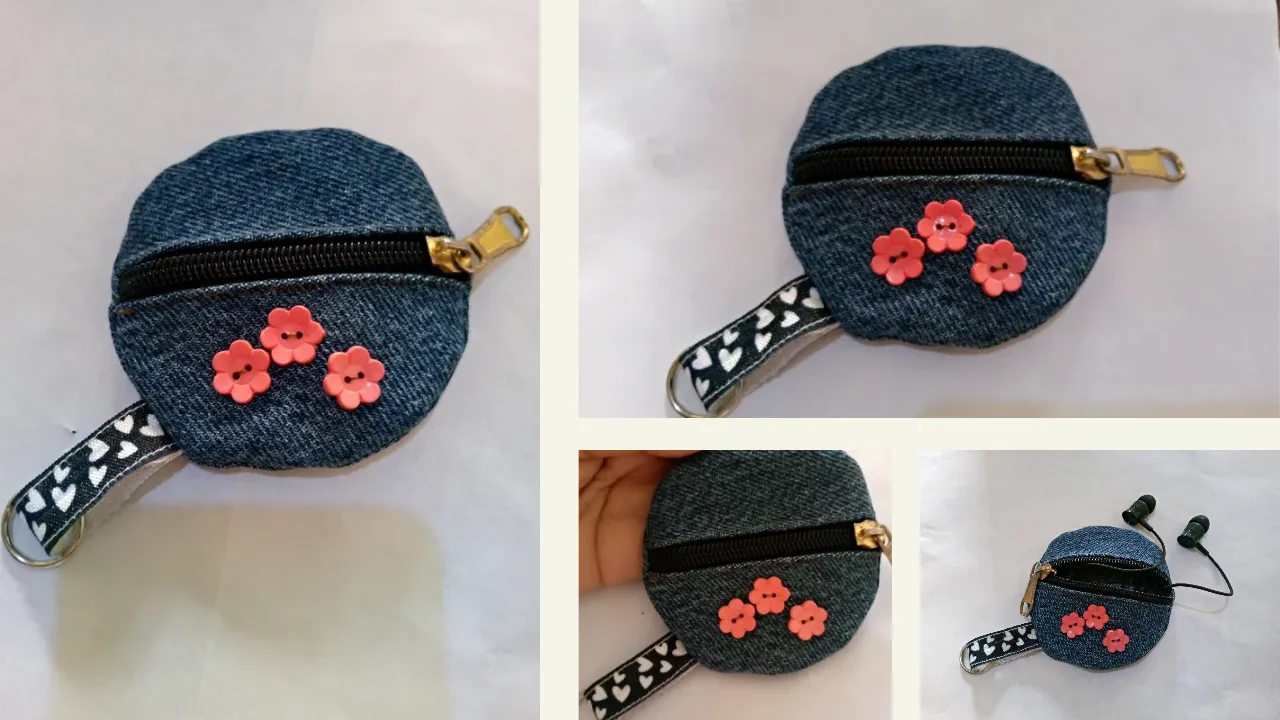
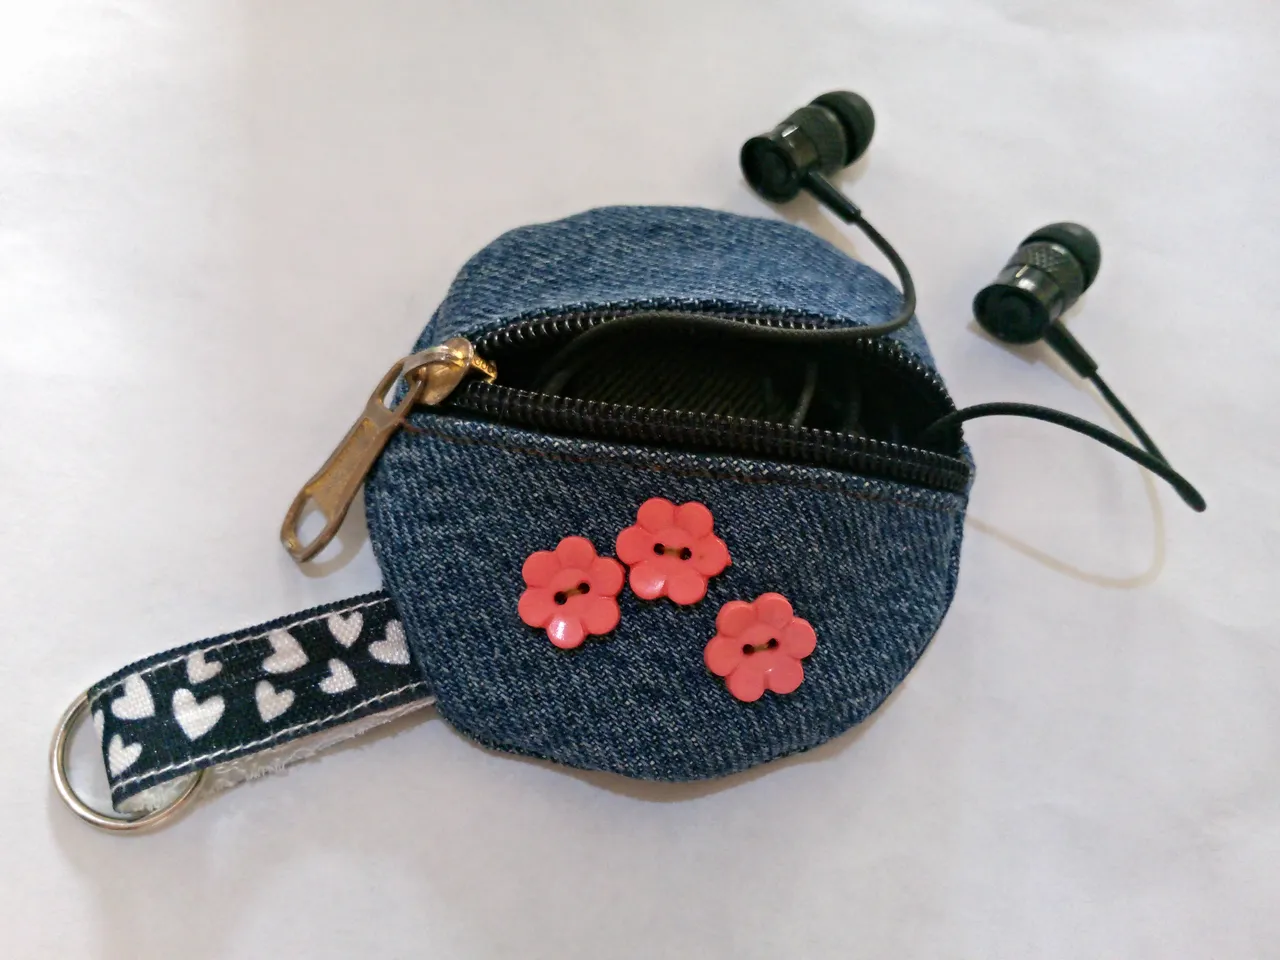
(Resultado final:)(Bottom line:)
Now I can see how cute the little bag I made turned out. I liked it because it's small, perfect for storing my headphones. Even though it was my first time sewing a little bag, it didn't turn out too bad 🙈. I hope you enjoyed this tutorial. I'll be waiting for your comments; as always, I really appreciate hearing what you thought. Thanks for following along!
Las fotos de este blog son de mi propiedad|Las imágenes son editadas en canva|Fotografías tomadas en mi celular infinix Smart 7|El contenido está traducido en el traductor de Firefox.