Hello, friends of crafts and handmade art!
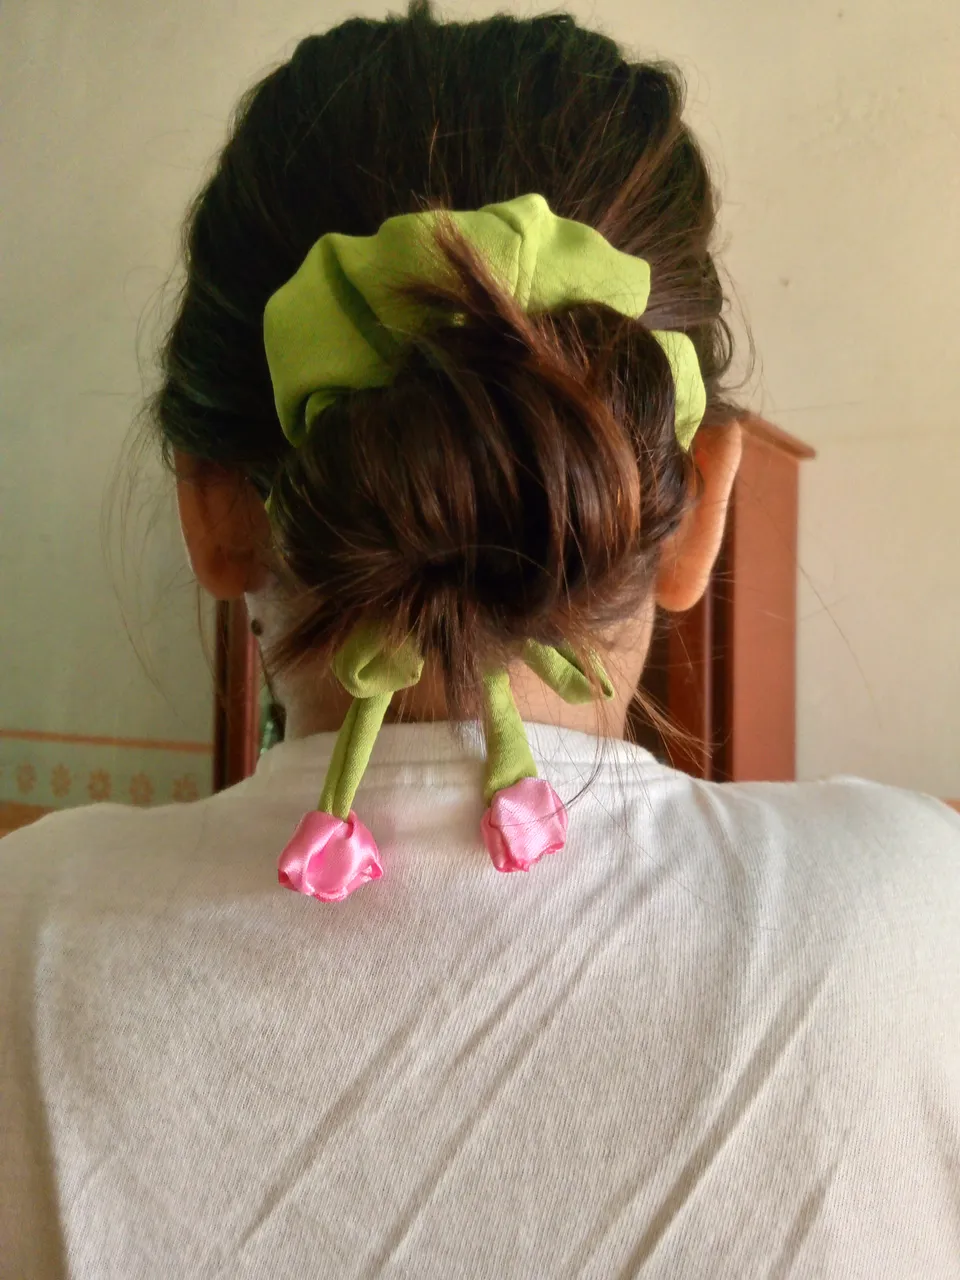
Today I'm very excited to share with you a project I've been wanting to make for a while: how to make a tulip scrunchie. Ever since I saw this style of scrunchie, I knew I had to try it. However, lack of time had prevented me from doing so before. But today, I finally decided to dedicate myself to this beautiful craft. The tulip scrunchie is a unique and eye-catching accessory that can add a special touch to any hairstyle. Unlike traditional scrunchies, this one has a design reminiscent of tulip flowers, which makes it even more attractive. Plus, it's perfect for any occasion, whether for a casual look or something more elegant.
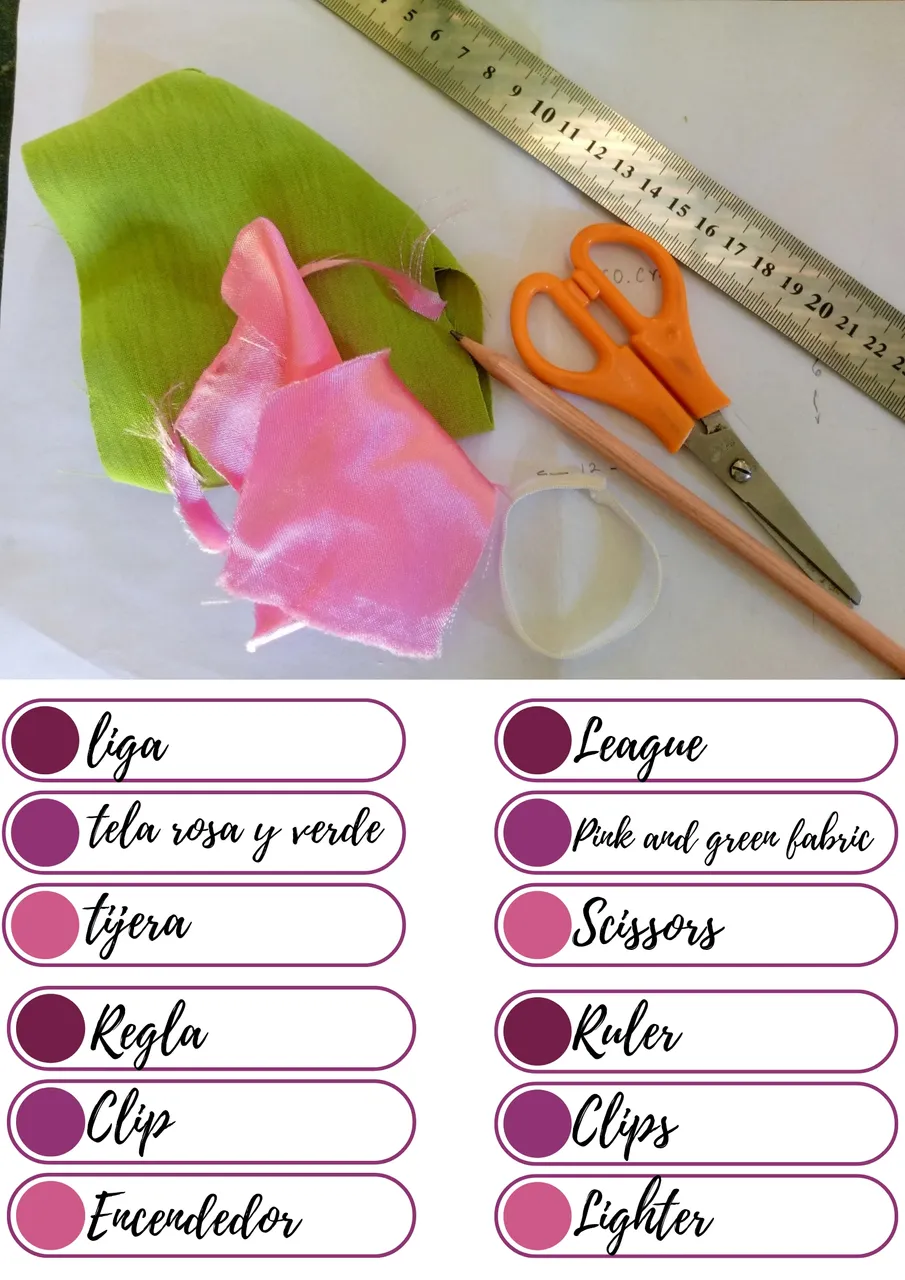
(Materiales a usar:)(Materials to use:)
(Procedimiento:)(Procedure:)

Paso nro 1
Paso nro 1
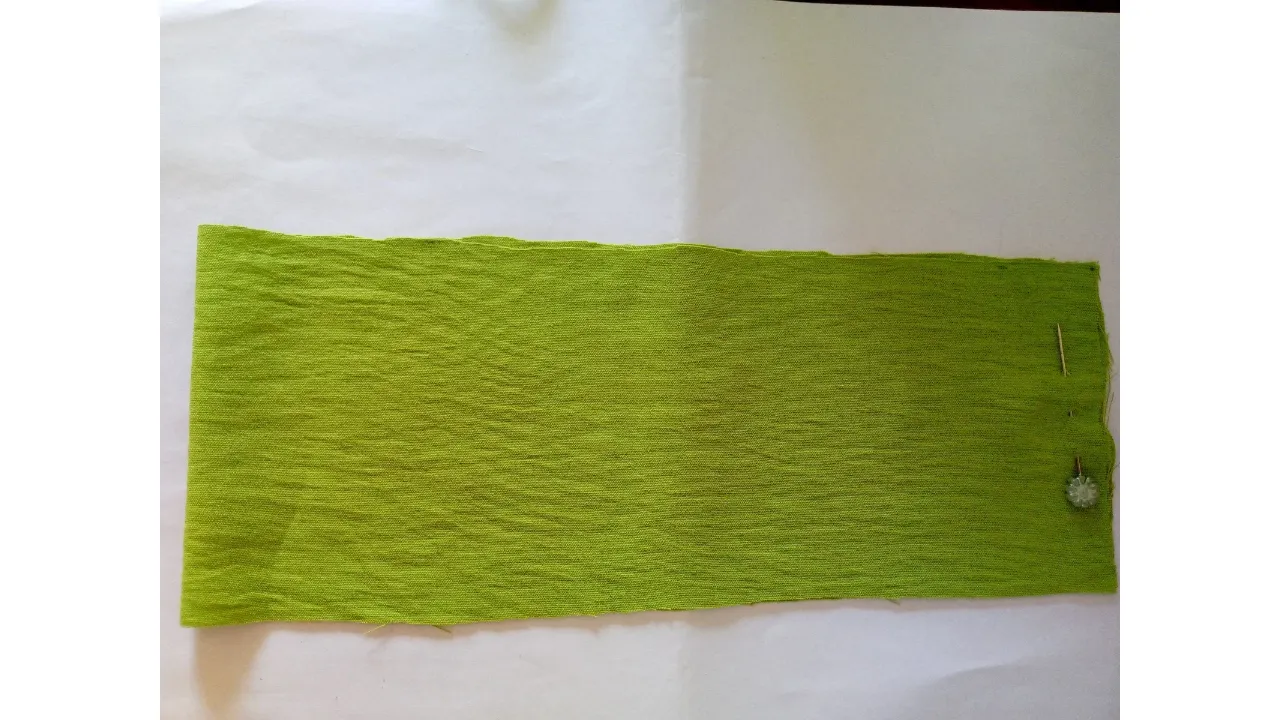
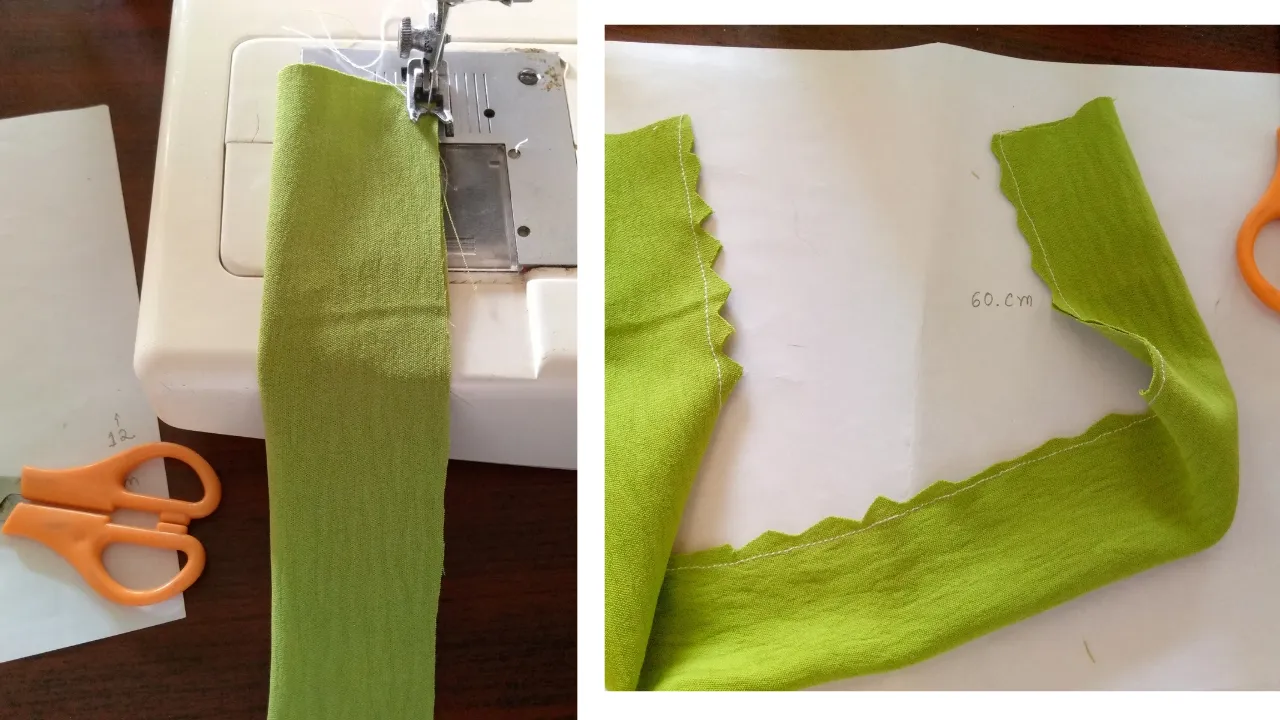
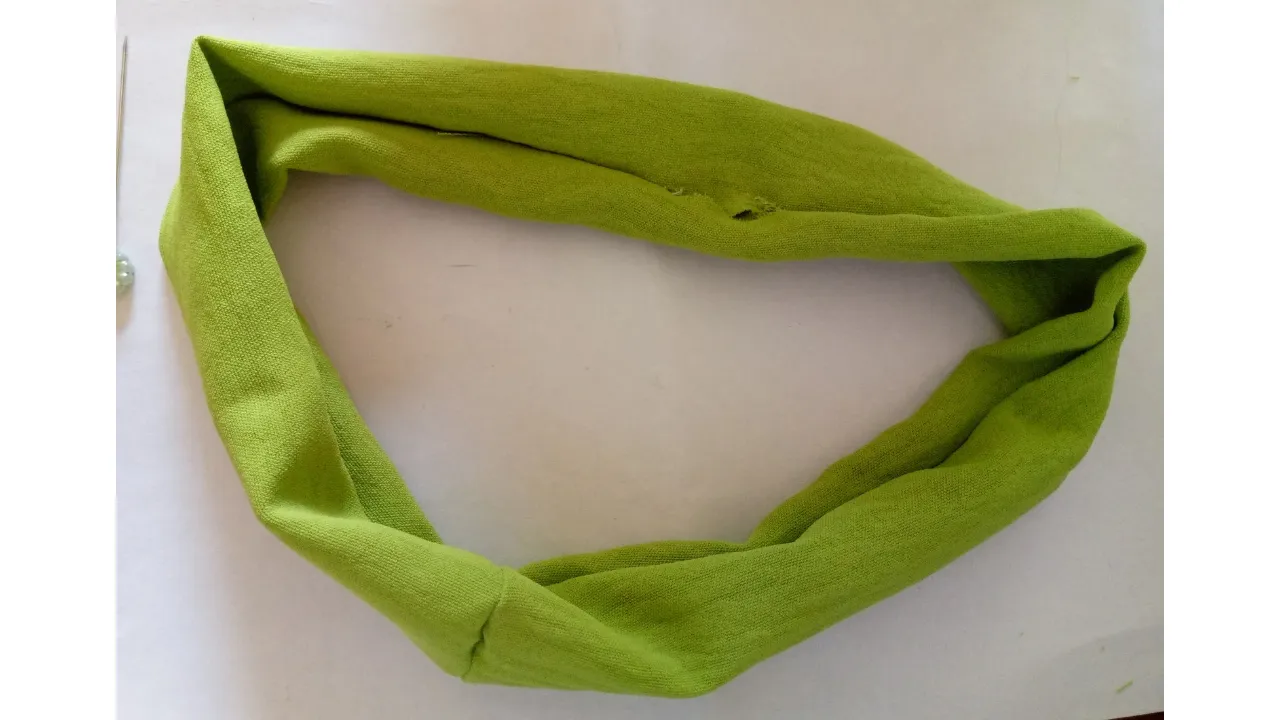
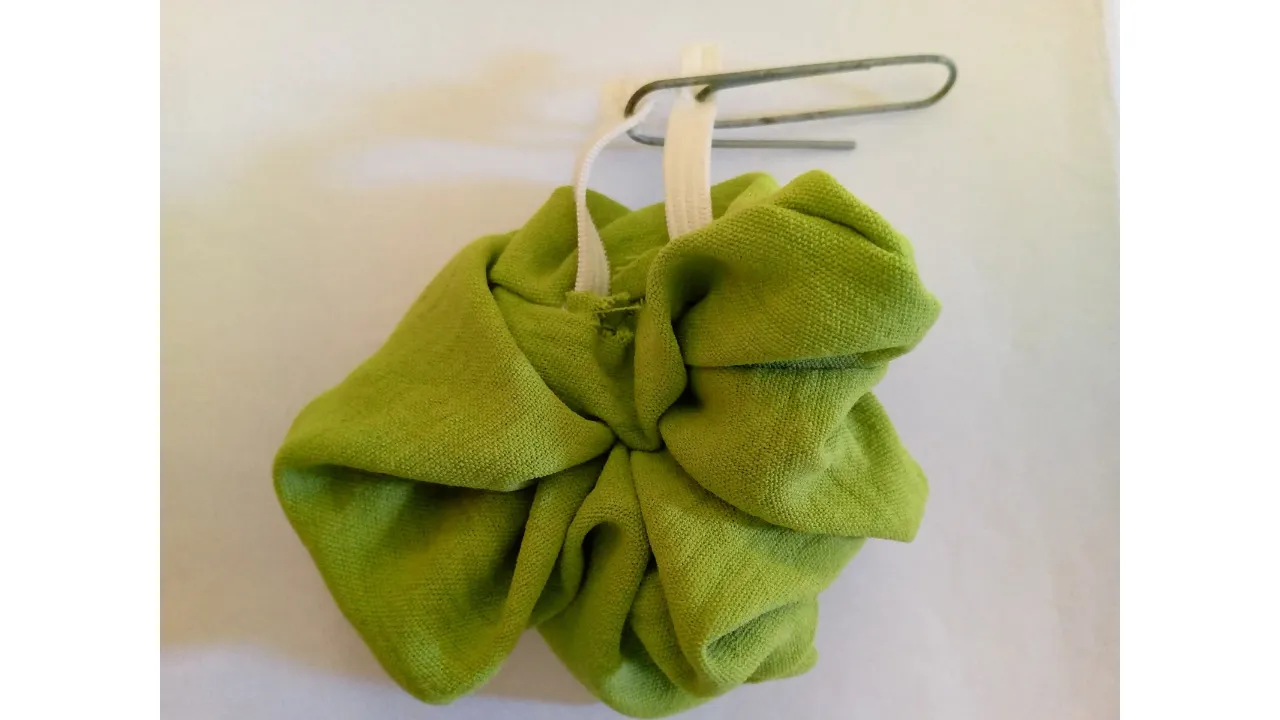
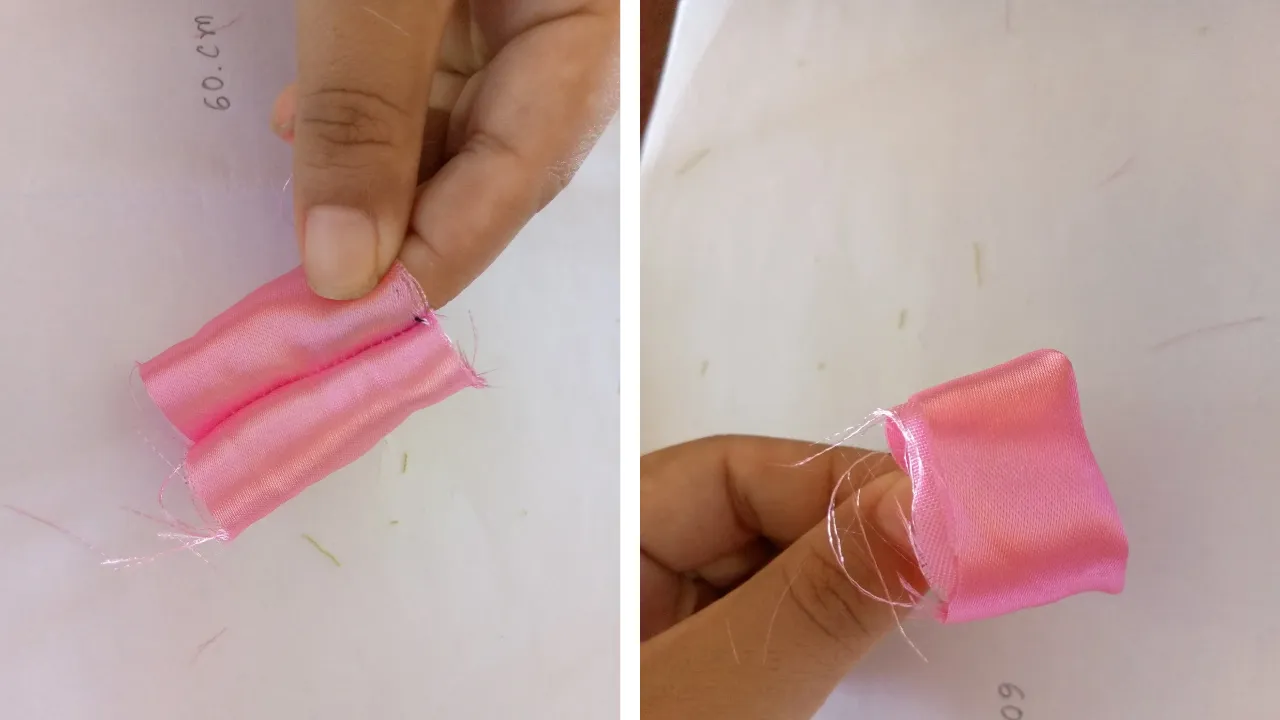
To begin, I'm going to cut a rectangle measuring 60 cm long and 12 cm wide. Using a ruler, I'll make sure the cut is straight and precise. Once I have the rectangle cut, I'll sew it lengthwise. It's important to leave an opening at one end, as this will make it easier to insert the elastic band and flip the scrunchie later. After sewing the rectangle, I'll pass the strip inward, making sure the seam is on the opposite side. This way, I'll get a clean finish. Then, I'll sew the ends on each side to seal them well. When I finish this part, I'll have a hoop formed from the fabric. Now it's time to attach the elastic band. To make this step easier, I'll use a paper clip and thread it through the entire fabric. This trick is very useful and makes the process much simpler. Once the elastic is in place, I'll tie a knot to secure it and also sew over the knot, just in case, to prevent it from coming loose. Finally, I'll close the opening I left at the beginning. To do this, I'll do it by hand, making sure it's tightly closed and that the scrunchie holds its shape.
Paso nro 2
Paso nro 2
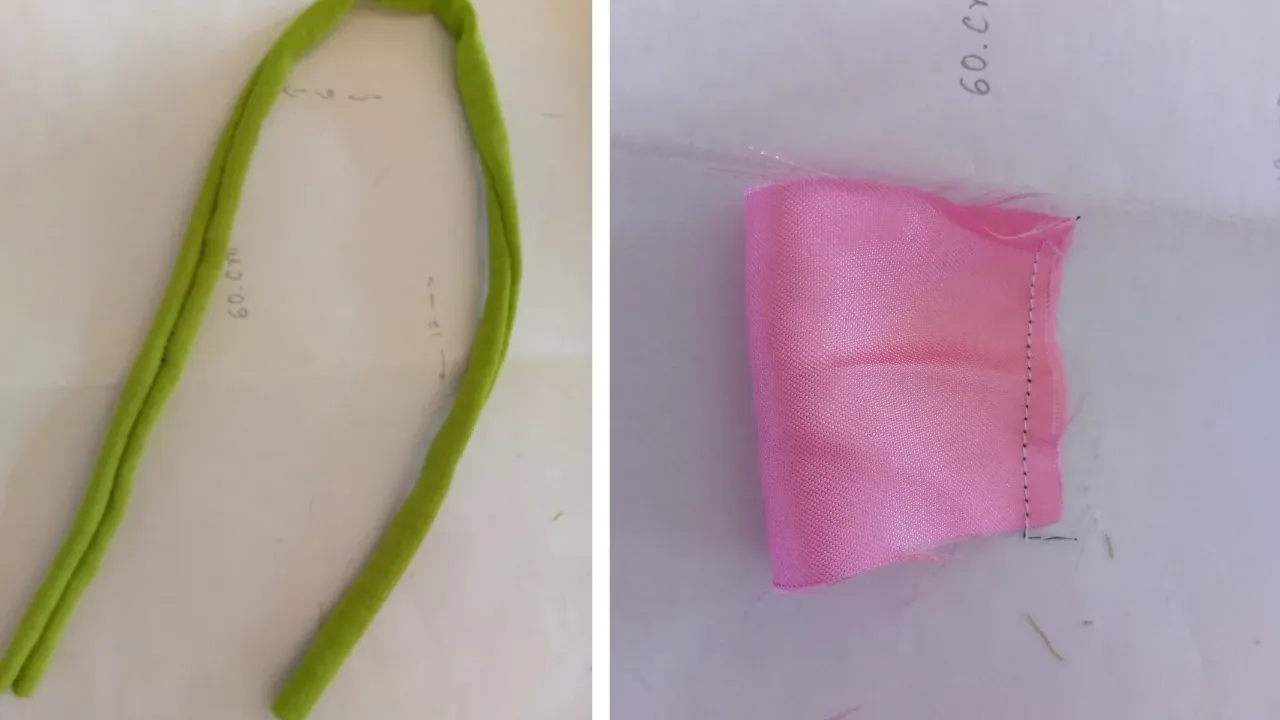
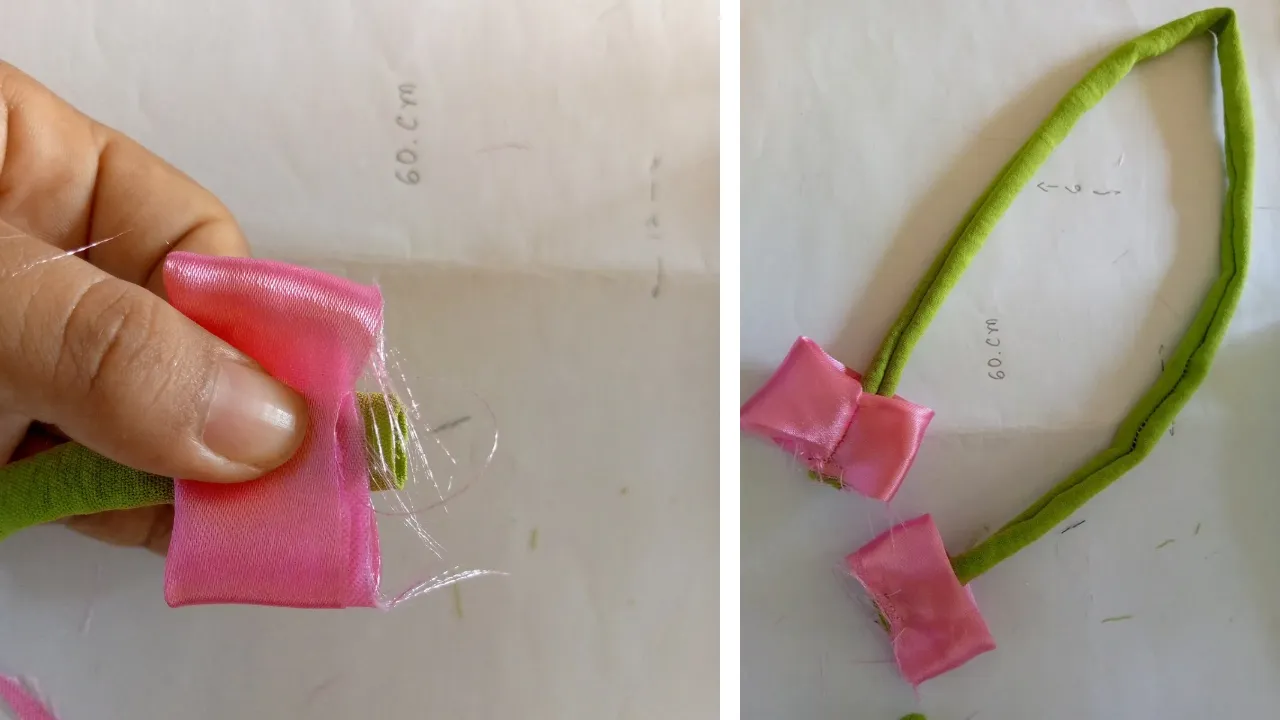
Now I'm going to start making the tulip part. To do this, I cut a piece of green fabric, creating a very thin strip measuring 3 cm wide and 30 cm long. After cutting it, I sewed it lengthwise and then turned it inside out for a neat finish. I also cut and sewed two pieces of pink fabric, each measuring 12 cm long and 6 cm wide. For these, I only sewed the edges, making sure they were well sealed. That way, I have the parts that will make up the tulips ready.
Paso nro 3
Paso nro 3
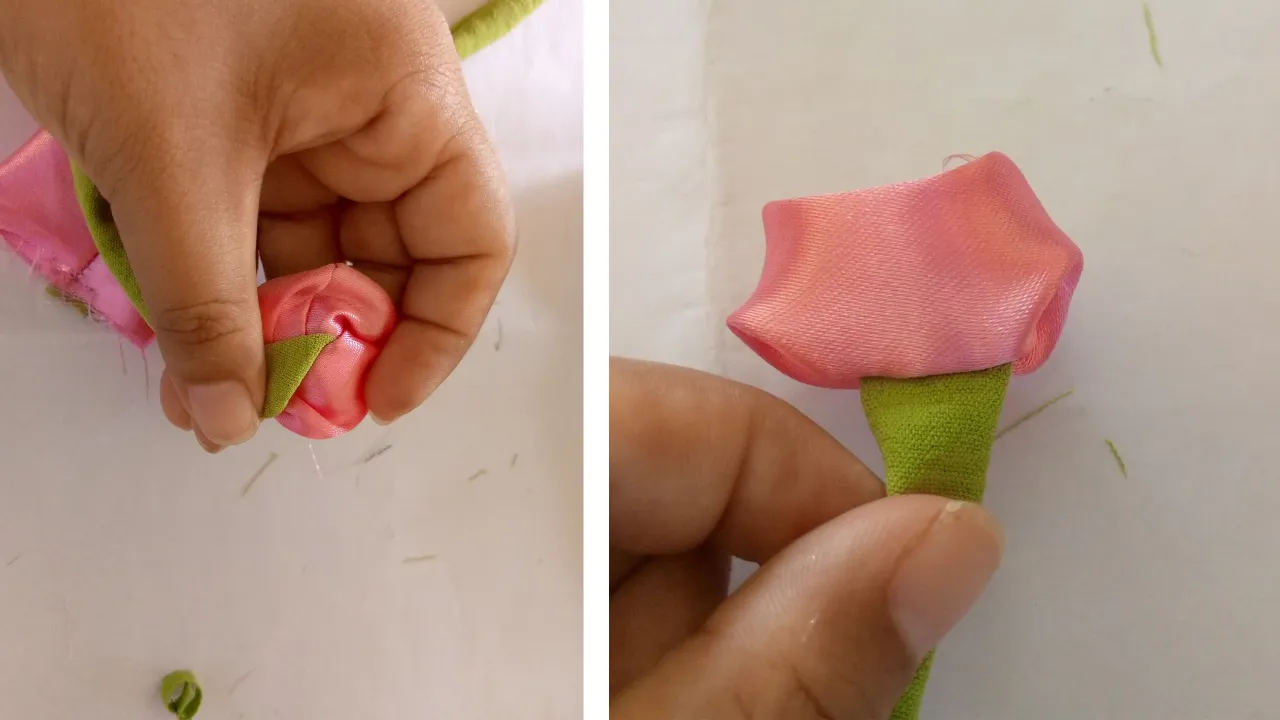
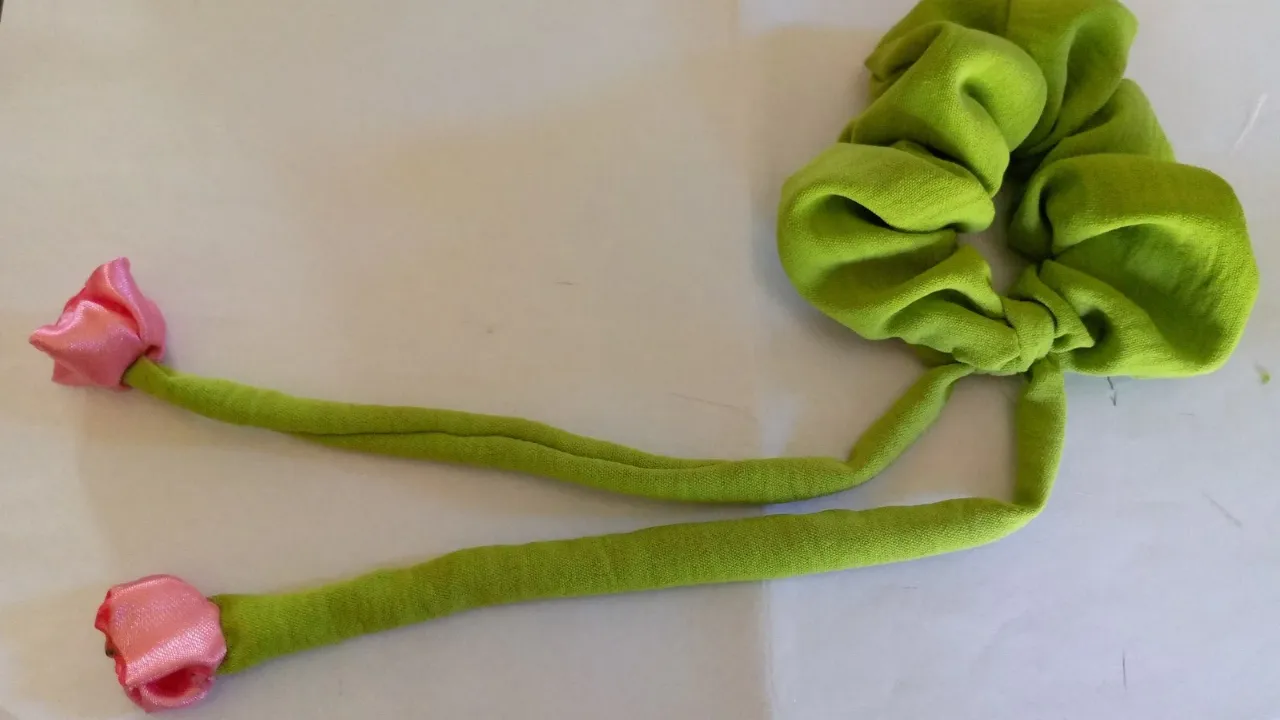
To form the tulip flower bud, I'll take the piece of pink fabric and fold it inward. Then, I'll place the end of the green strip I cut earlier and sew it to the tulip. Making sure both ends are aligned, I'll do the same with both ends of the pink fabric for a uniform finish.
Paso nro 4
Paso nro 4
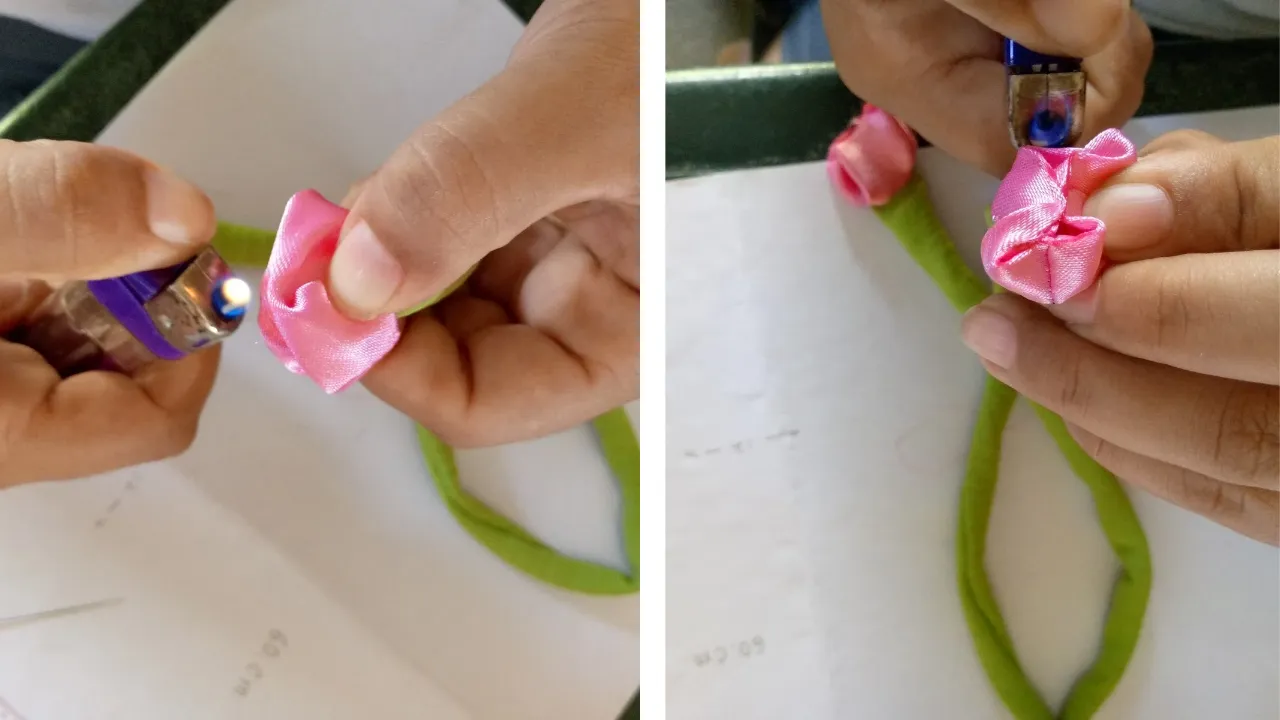
Now I'm going to finish making some finishing touches to the tulip. To secure the fabric, I'll hand-stitch, paying attention to the details. Then, with the help of a lighter, I'll lightly burn the edges of the bud, trying to give it shape. I do this step very carefully to avoid damaging the fabric and ensure a perfect finish.
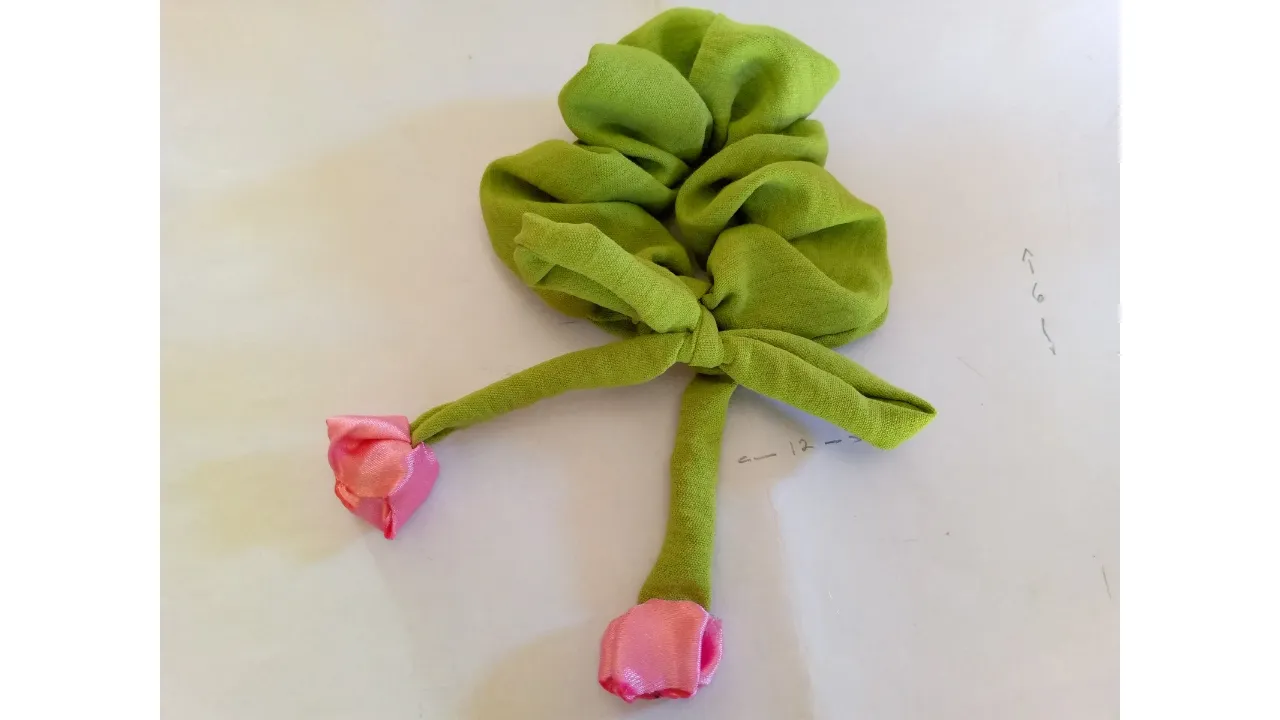
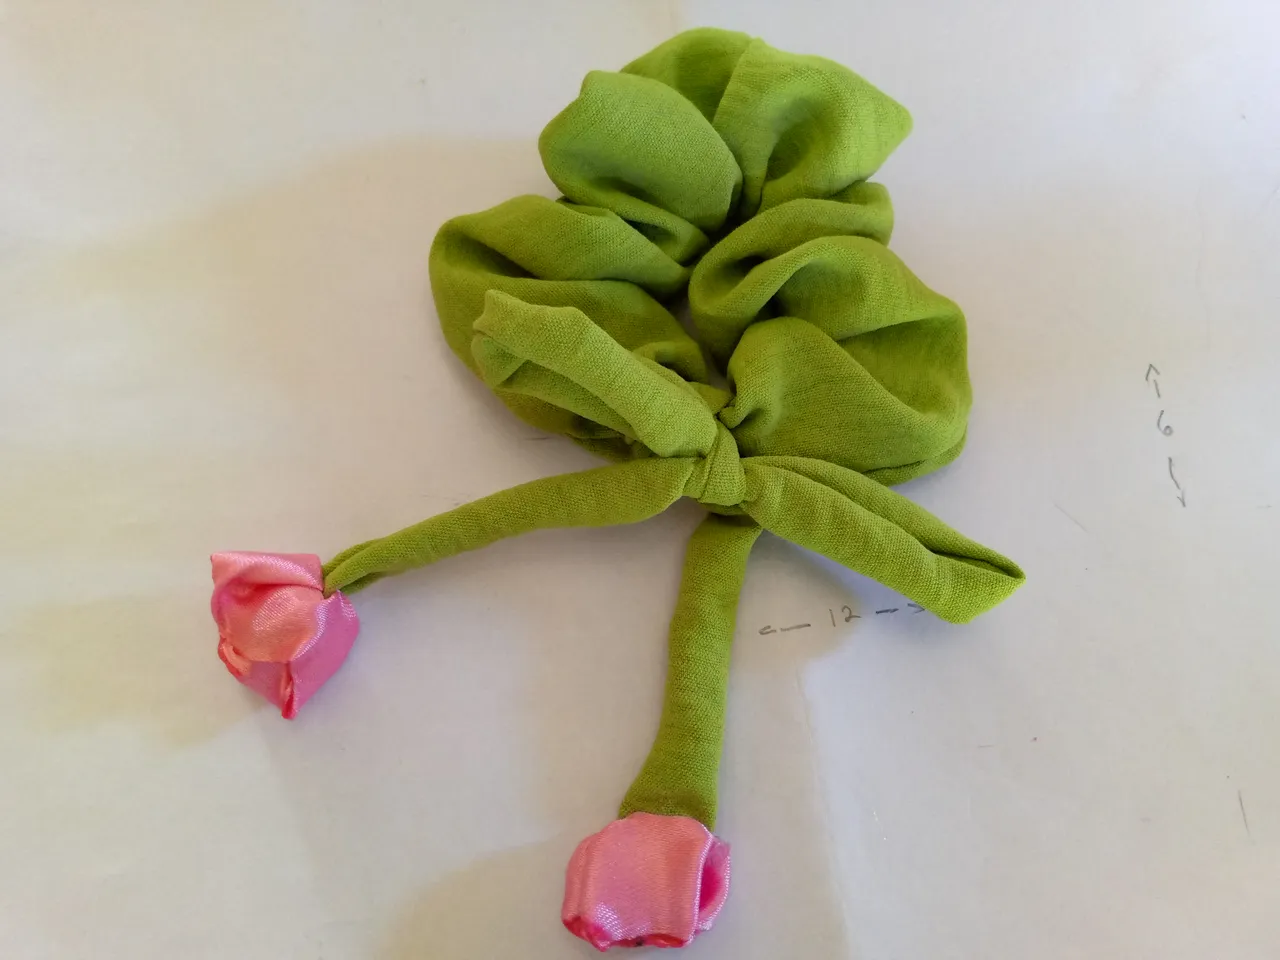
(Resultado final:)(Bottom line:)
And so concludes my tulip project. It's been a rewarding and fun experience, and I'm excited to share it with all of you. I hope you enjoyed the process as much as I did. Thank you for joining me on this creative journey. See you next time, and keep creating beautiful things!

Las fotos de este blog son de mi propiedad|Las imágenes son editadas en canva|Fotografías tomadas en mi celular infinix Smart 7|El contenido está traducido en el traductor de Firefox.