✦ Sometimes things that are difficult in the beginning have an easier ending! - Collage & Edition in FotoJet, photos by @Tesmoforia ✦

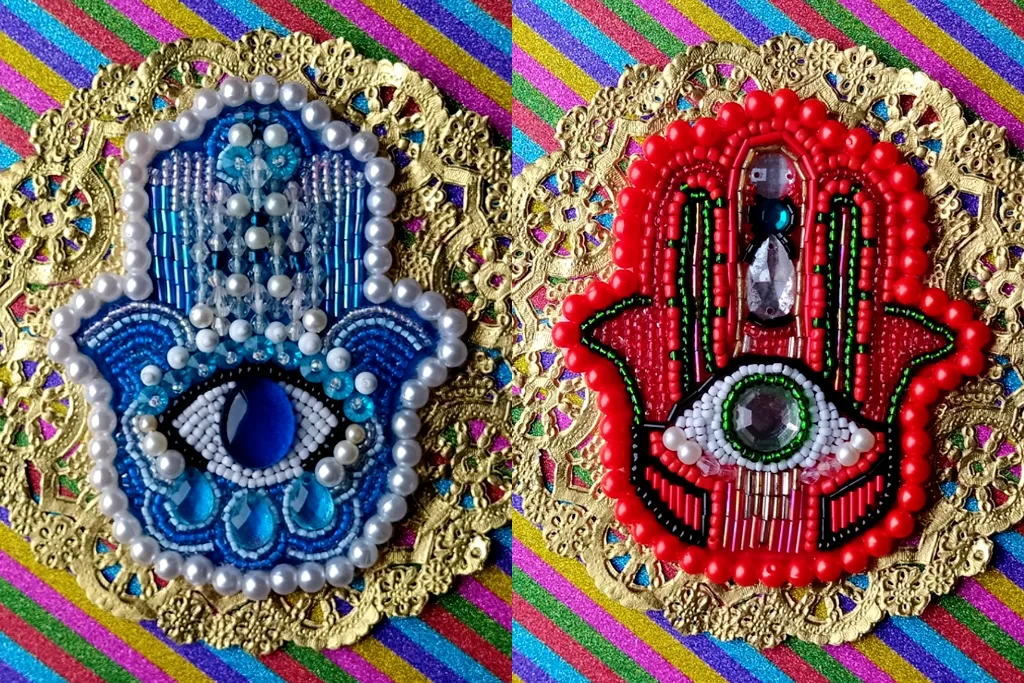
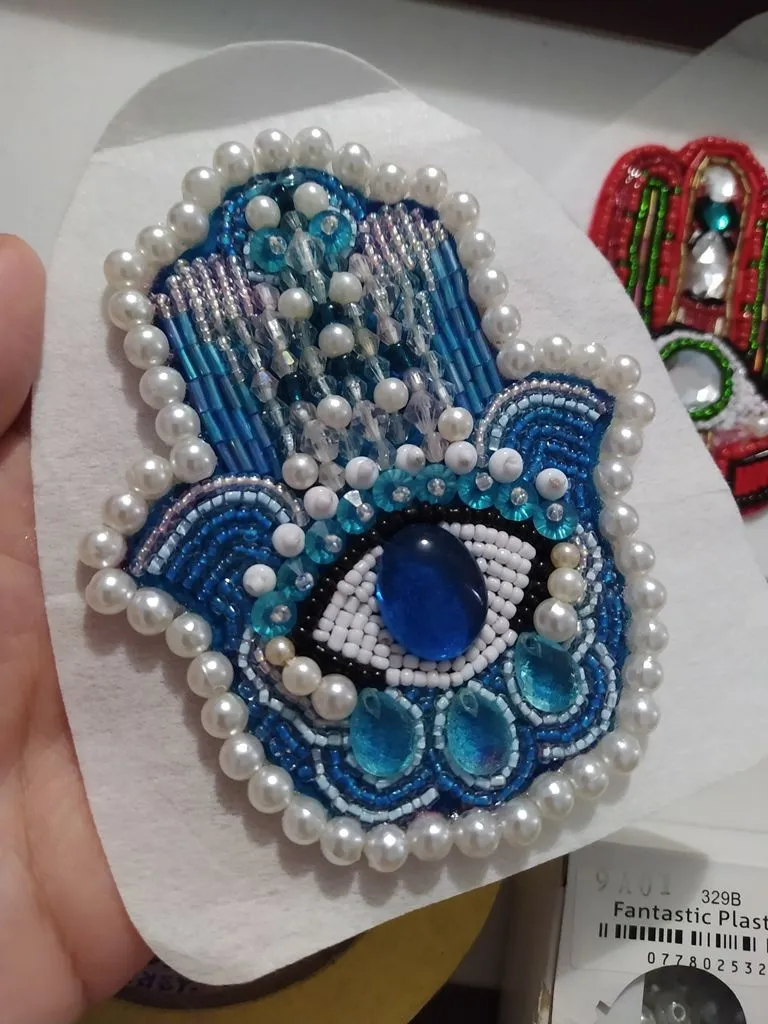
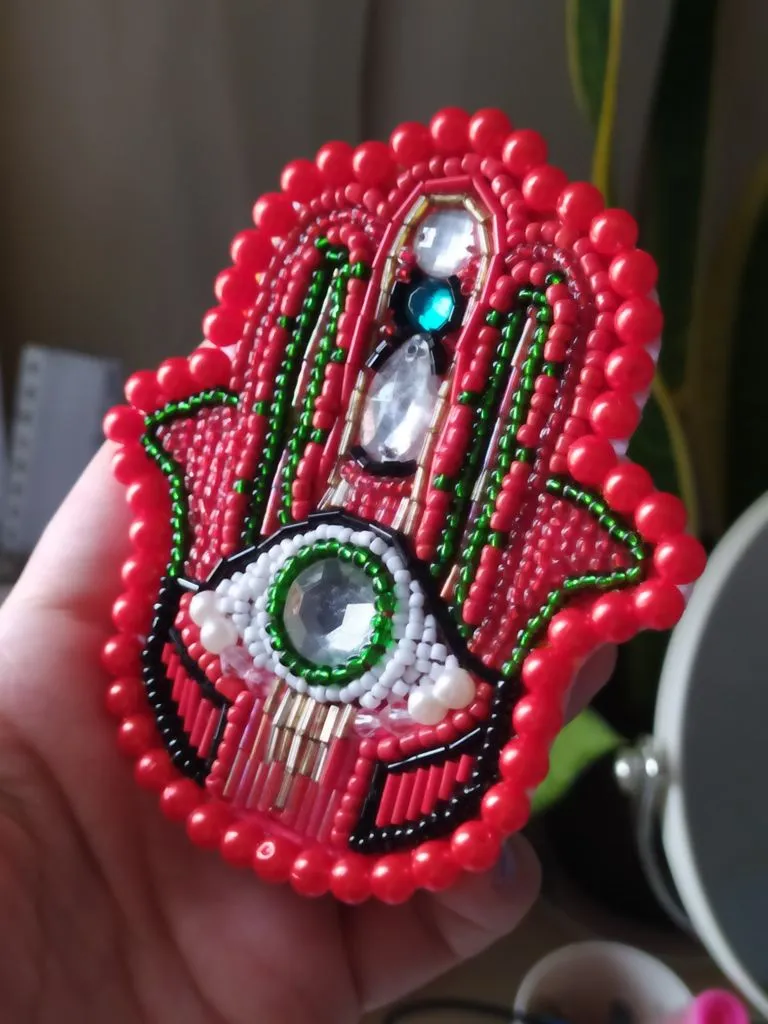
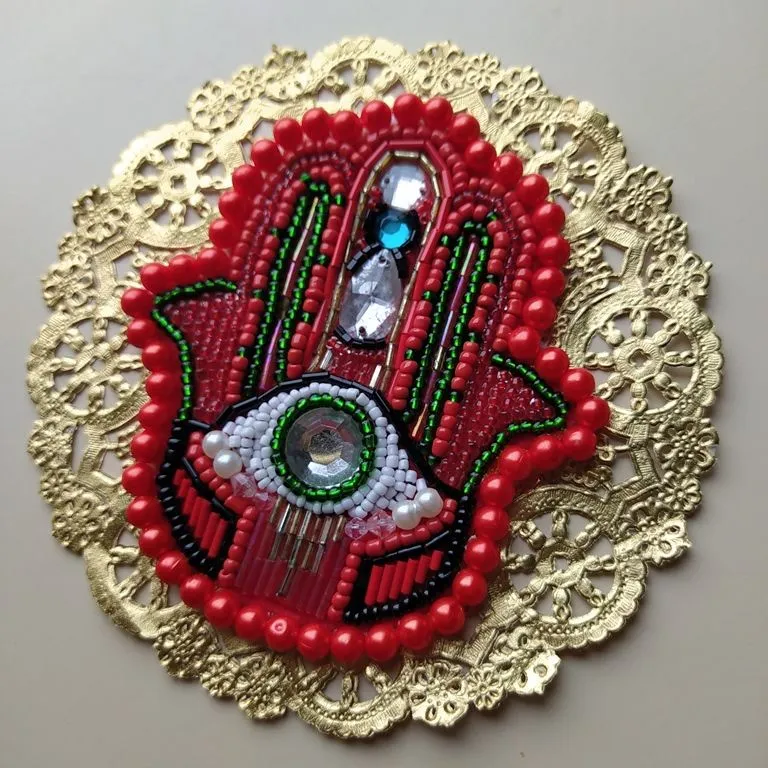
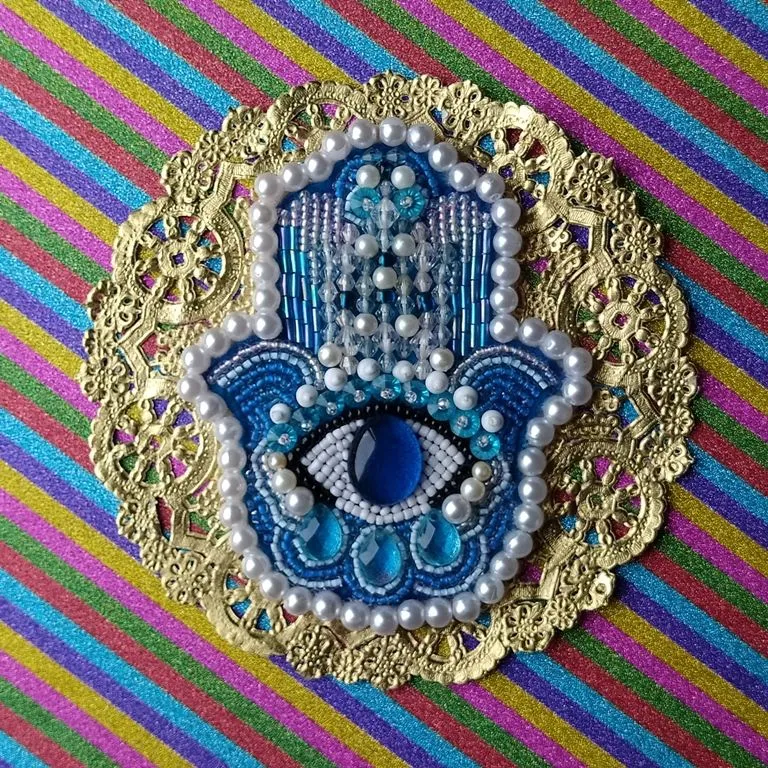
🇪🇸 ~ Hace unos años empece una colección de bordados de "Hamsas" en diferentes colores.
Mi forma favorita de "cerrar" estos diseños es con un borde de cuentas transparentes con "puntada ladrillo".
Hoy quiero compartir una alternativa efectiva que no necesita hilo y aguja para terminar esta clase de trabajos 👌 ✨
🇺🇸 ~ A few years ago I started a collection of embroidered “Hamsas” in different colors.
My favorite way to “close” these designs is with a “brick stitch” border of clear beads.
Today I want to share an effective alternative that doesn't need thread and needle to finish this kind of work 👌 ✨

✦ Maybe we should go back to spiritual crafts publications? ✦
⏳ Tiempo: ⭐⭐/ 5.
🚀 Dificultad: ⭐⭐/ 5.
🪙 Costo aproximado: ⭐⭐/ 5.
⏳ Time: ⭐⭐/ 5.
🚀 Difficulty: ⭐⭐/ 5.
🪙 Approximate cost: ⭐⭐/ 5.

« 𝕋 𝕆 𝕆 𝕃 𝕊 • 𝔸 ℕ 𝔻 • 𝕄 𝔸 𝕋 𝔼 ℝ 𝕀 𝔸 𝕃 𝕊 »
 |
|---|
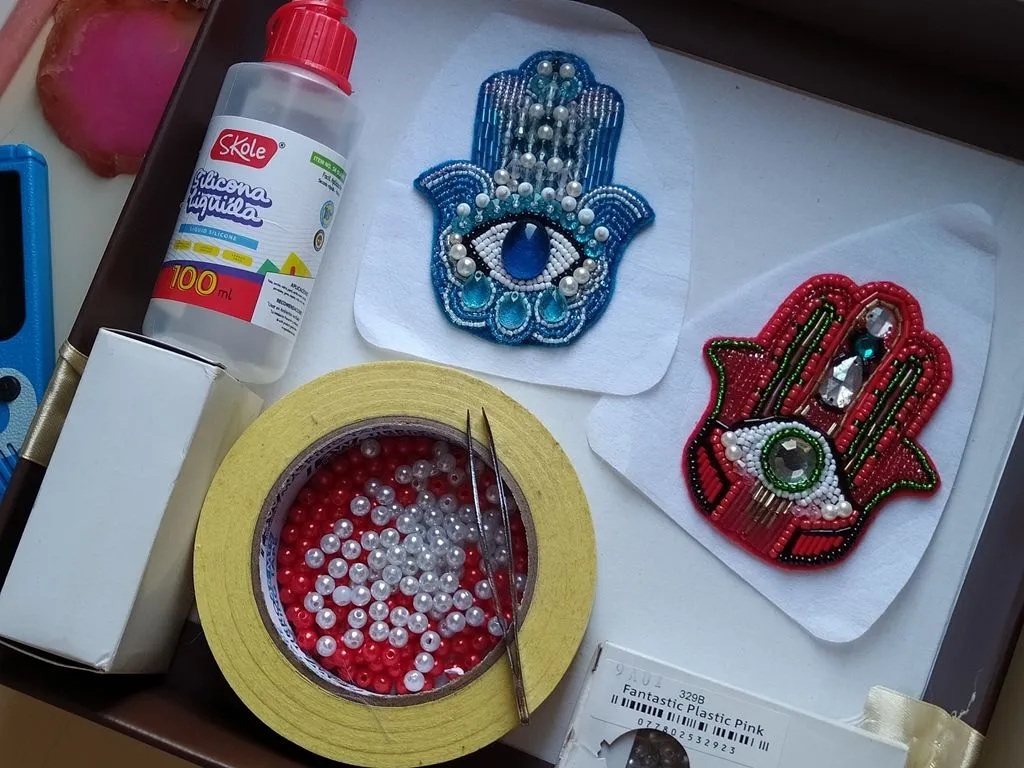
| 🇪🇸 ✦ Las herramientas y materiales que necesitas para elaborar este proyecto son: Pinza pequeña, cuentas plásticas de 0.5 cm, pegamento silicón liquido, tijeras. |
| 🇺🇸 ✦ The tools and materials you need to make this project are: Small tweezers, 0.5 cm plastic beads, liquid silicone glue, scissors. |
• Amateur-friendly •
« With glue and care we will finish a beaded embroidery »

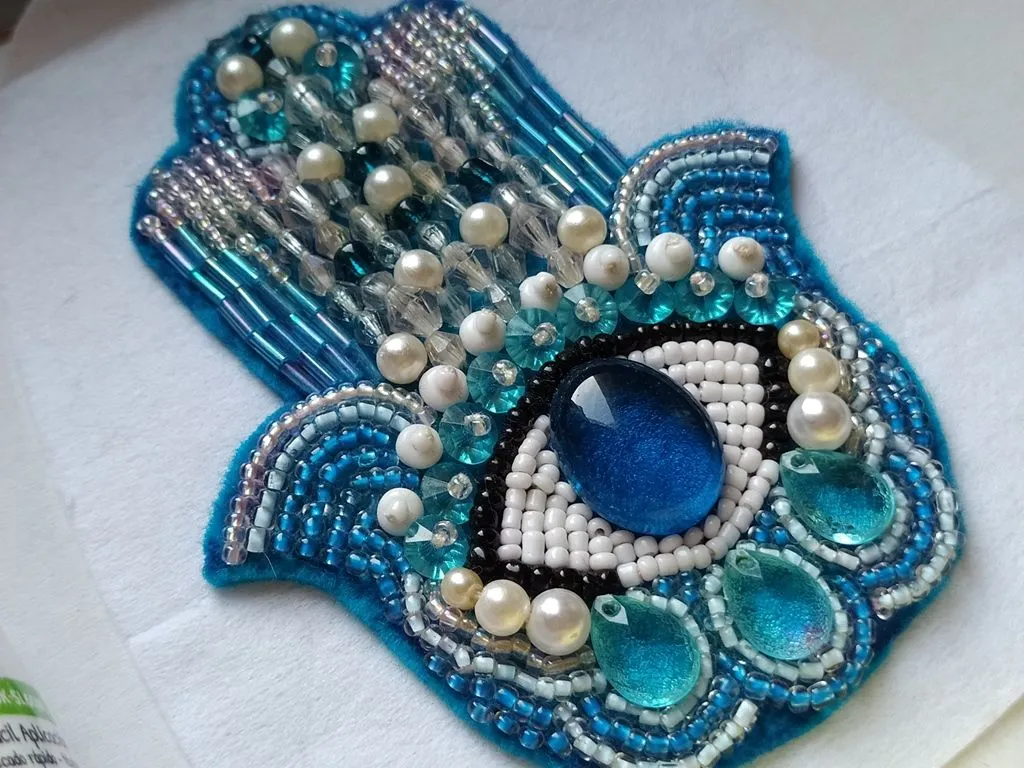

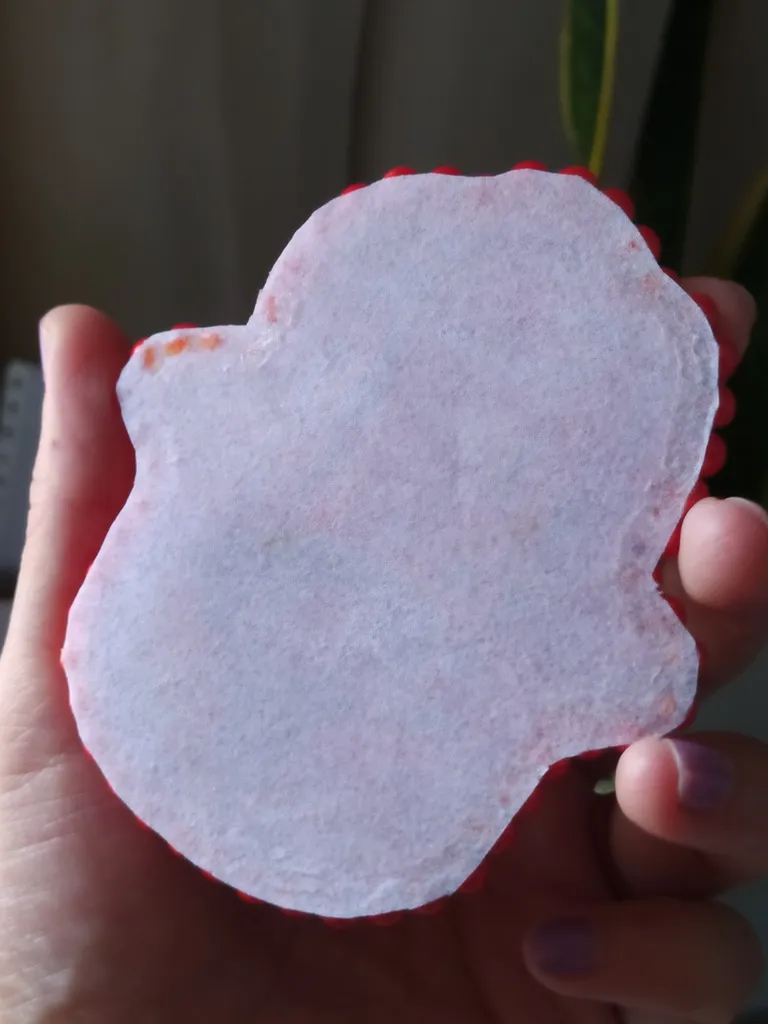
【 PASO 1 】 El primer paso es retirar cualquier hilo suelto, pelusa o suciedad de toda la superficie de ambos bordados. Tambien verificar que la tela base donde están fijados tenga suficiente margen exterior.
【 STEP 1 】 The first step is to remove any loose threads, lint or dirt from the entire surface of both embroideries. Also check that the base fabric on which they are attached has sufficient outside seam allowance.
 |  |
|---|
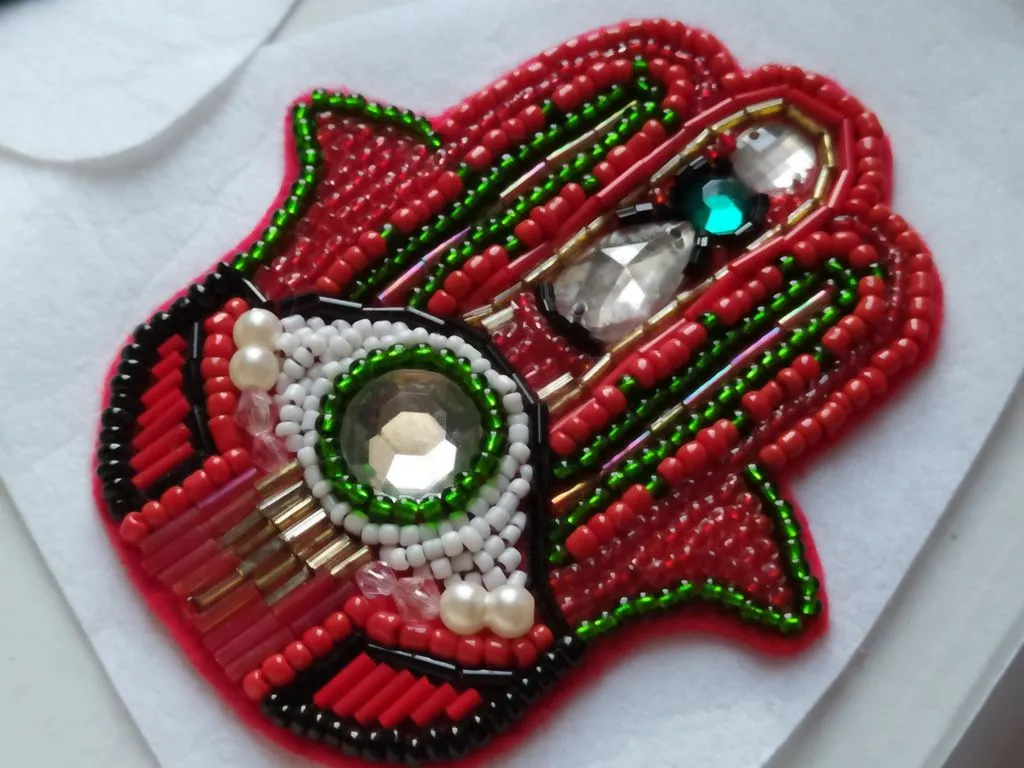
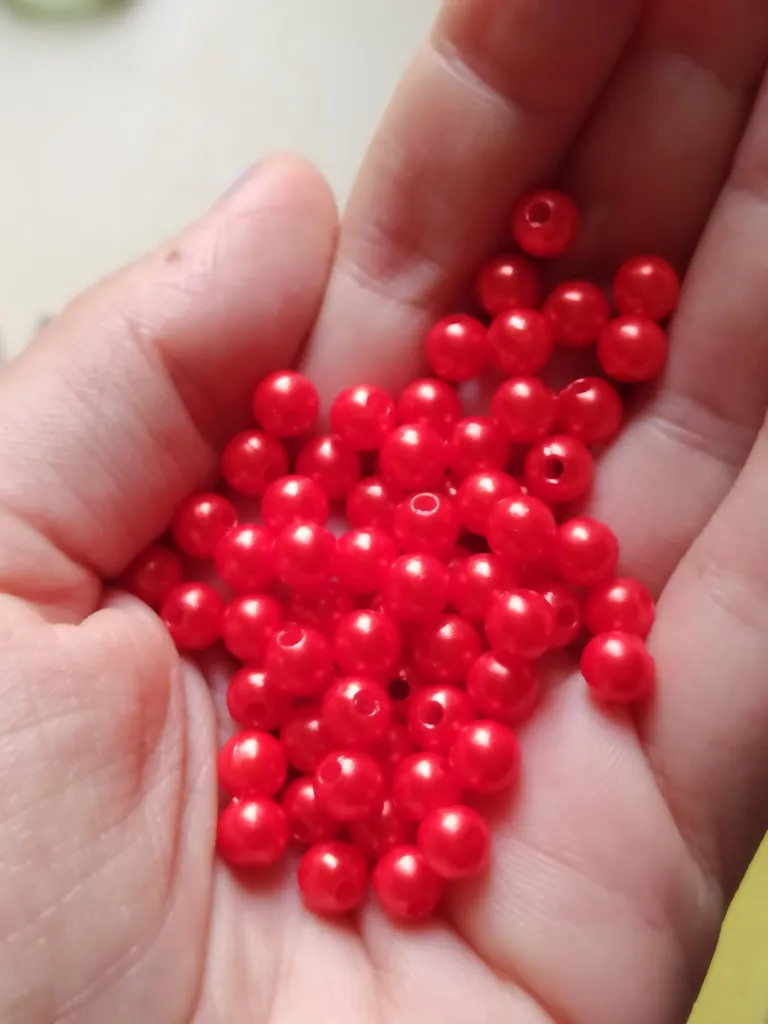
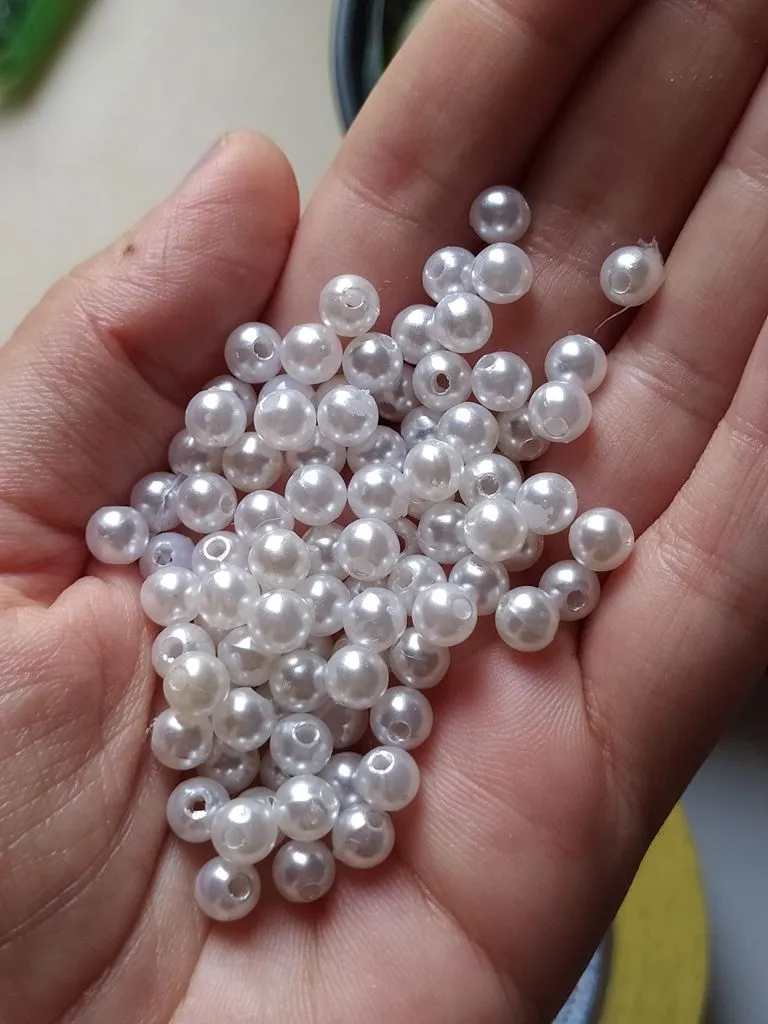
【 PASO 2 】 Selecciona las cuentas de plástico que quieres fijar en todo el borde de los broches, y verifica que todas estén en buen estado.
【 STEP 2 】 Select the plastic beads that you want to attach all around the edge of the brooches, and check that they are all in good condition.
 |  |
|---|
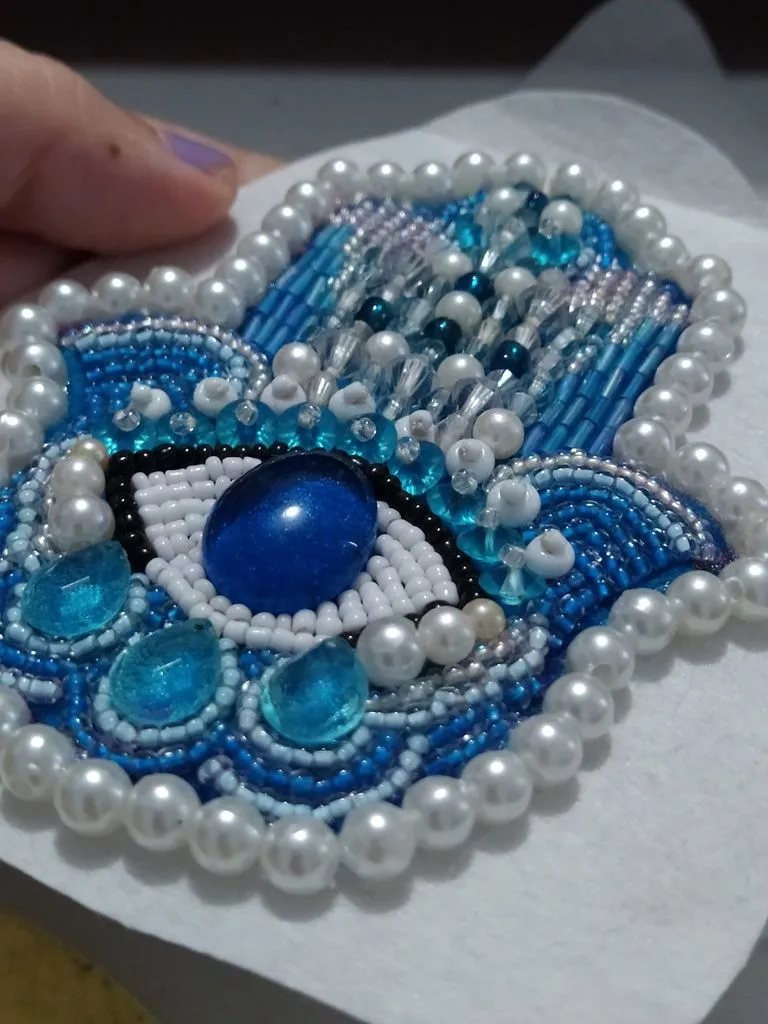
【 PASO 3 】 Agrega una franja de pegamento silicón liquido en todo el borde de la primera Hamsa, una cantidad generosa pero sin exagerar, espera 1 minuto, y despues comienza a colocar las cuentas de plástico 1 a 1 con ayuda de las pinzas.
【 STEP 3 】 Add a strip of liquid silicone glue all around the edge of the first Hamsa, a generous but not exaggerated amount, wait 1 minute, and then start placing the plastic beads 1 by 1 with the help of the tweezers.
 |  |
|---|
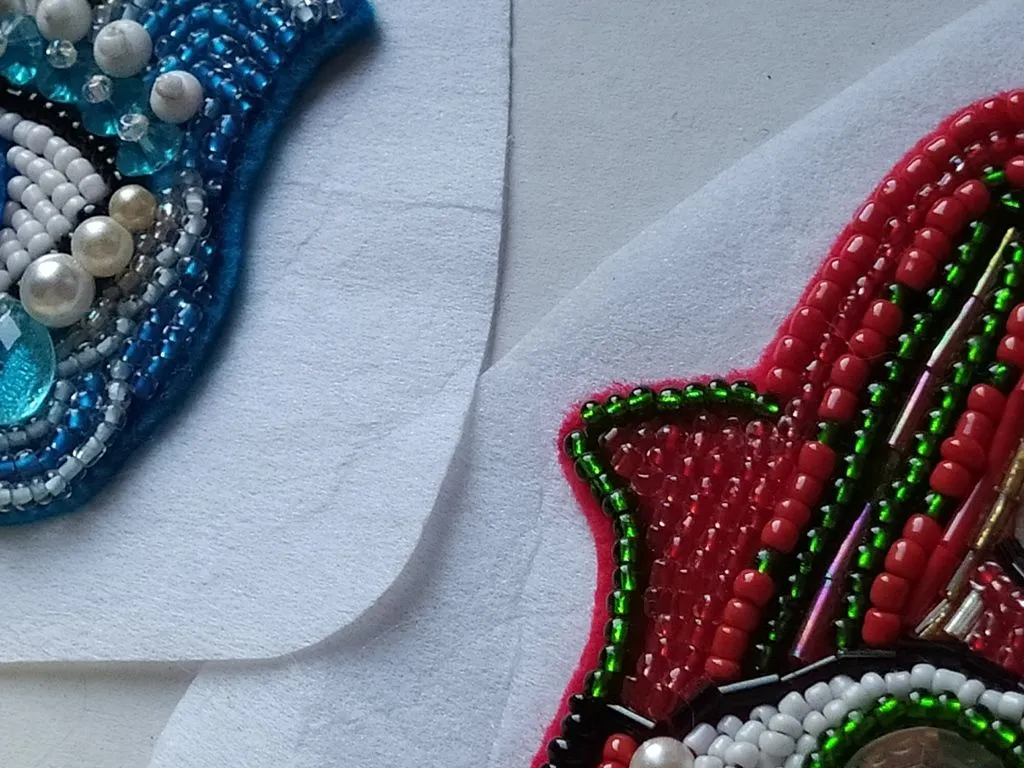
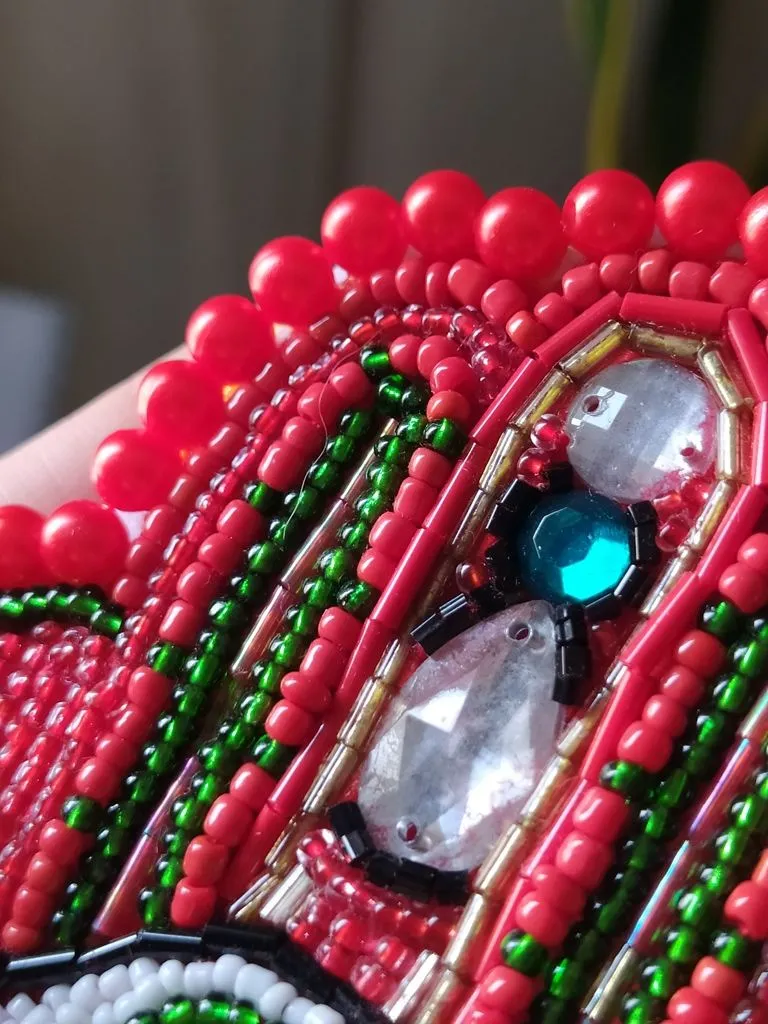
【 PASO 4 】 Repite el proceso en la segunda Hamsa, deja descansar ambos piezas 30 min, y después recorta con mucho cuidado el excedente de la tela base.
【 STEP 4 】 Repeat the process on the second Hamsa, let both pieces rest for 30 min, and then carefully trim the excess from the base fabric.
 |  |
|---|
【 PASO 5 】 Repite el paso con la segunda Hamsa, y no te preocupes por recortar todo el excedente de tela en un solo corte. Tomate tu tiempo y retira poco a poco la tela sobrante, ayúdate con la punta de la tijera y recortando desde diferentes angulos.
【 STEP 5 】 Repeat the step with the second Hamsa, and don't worry about trimming off all the excess fabric in one cut. Take your time and remove the excess fabric little by little, using the tip of the scissors and trimming from different angles.
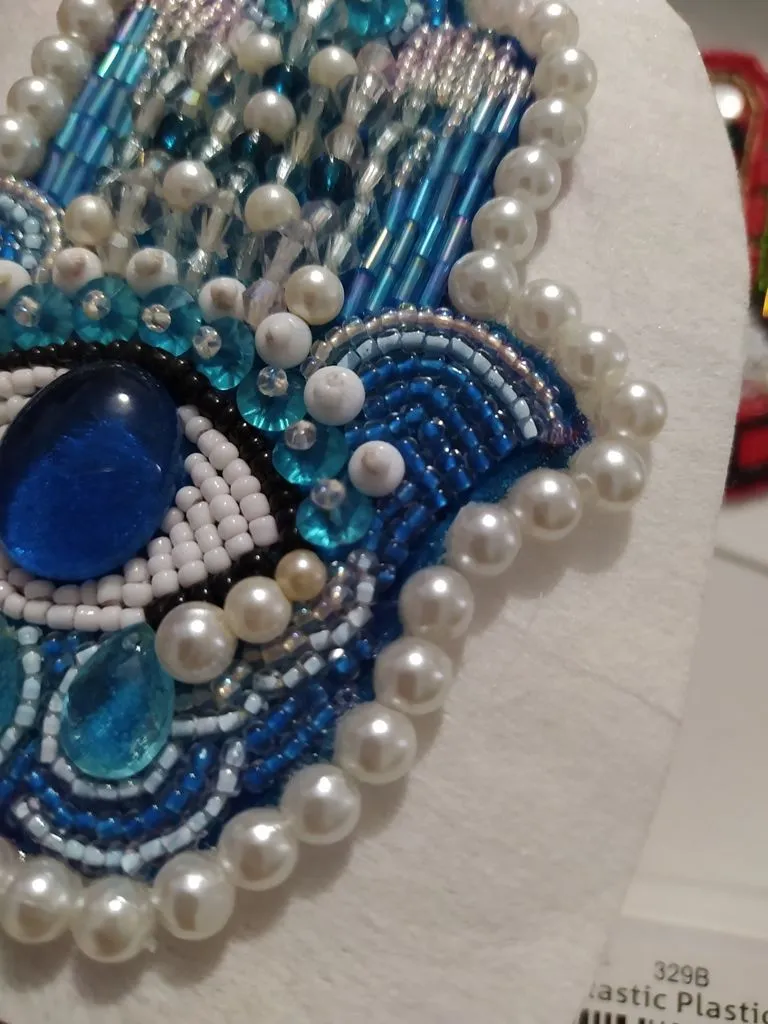
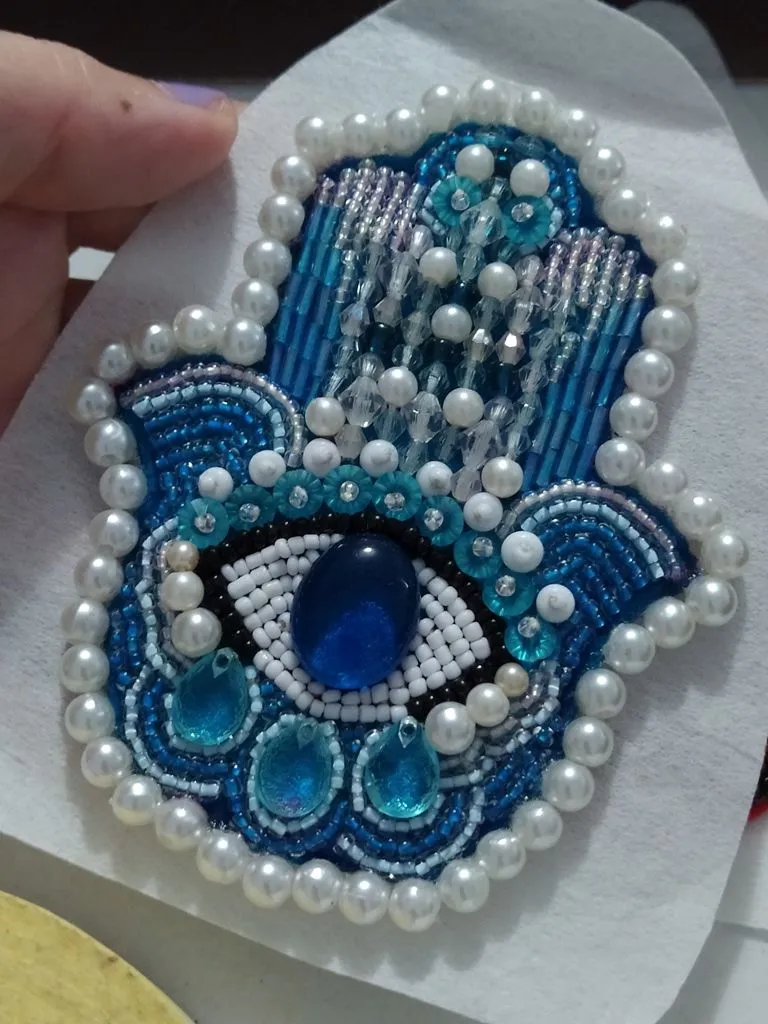
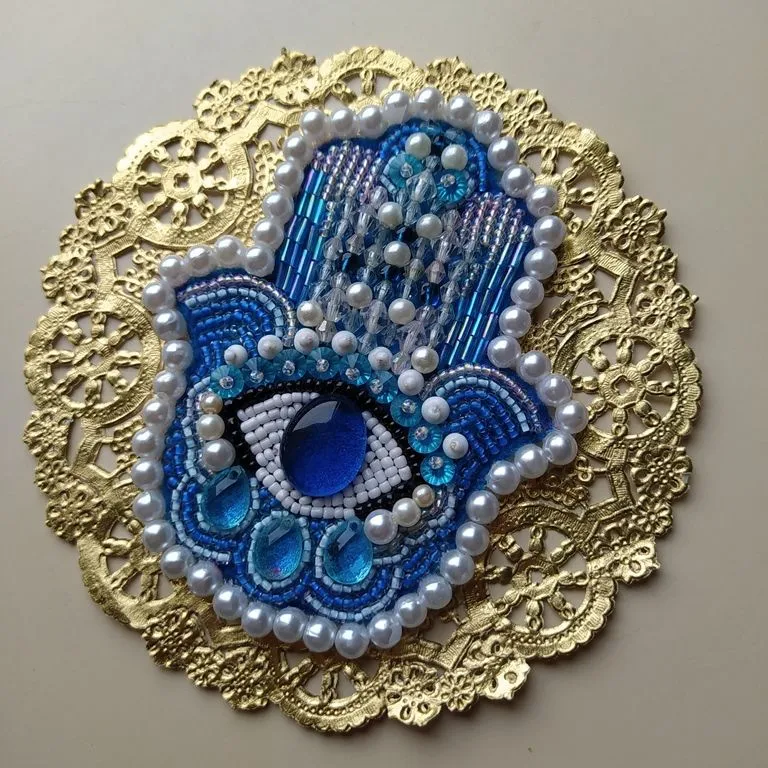
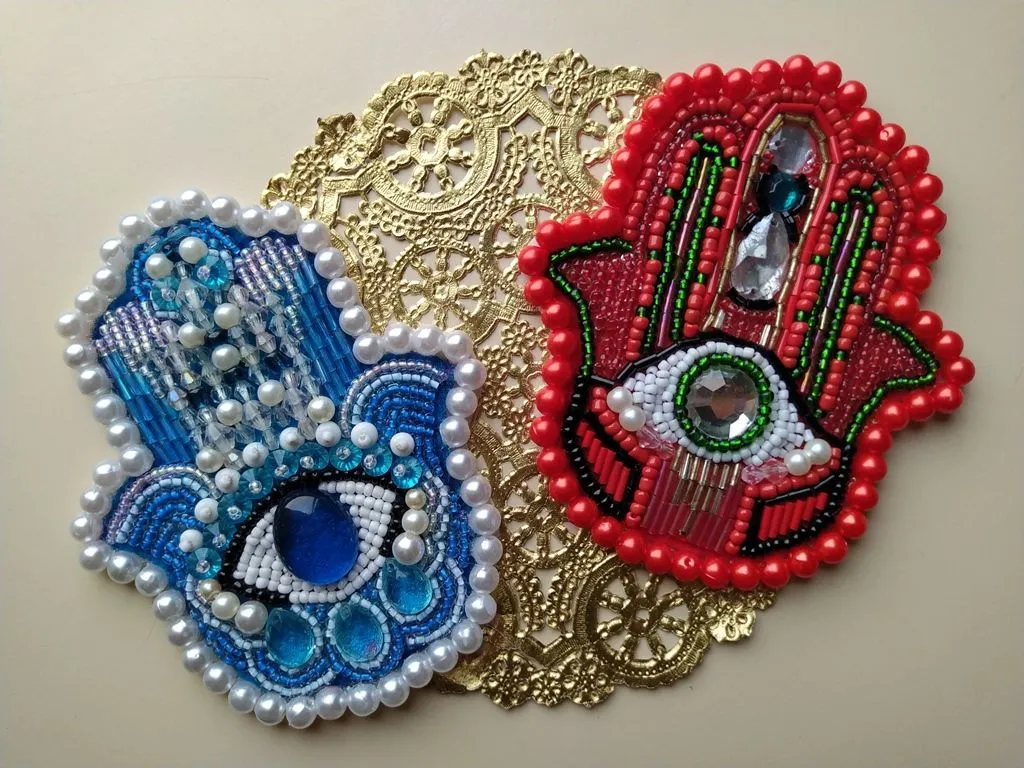
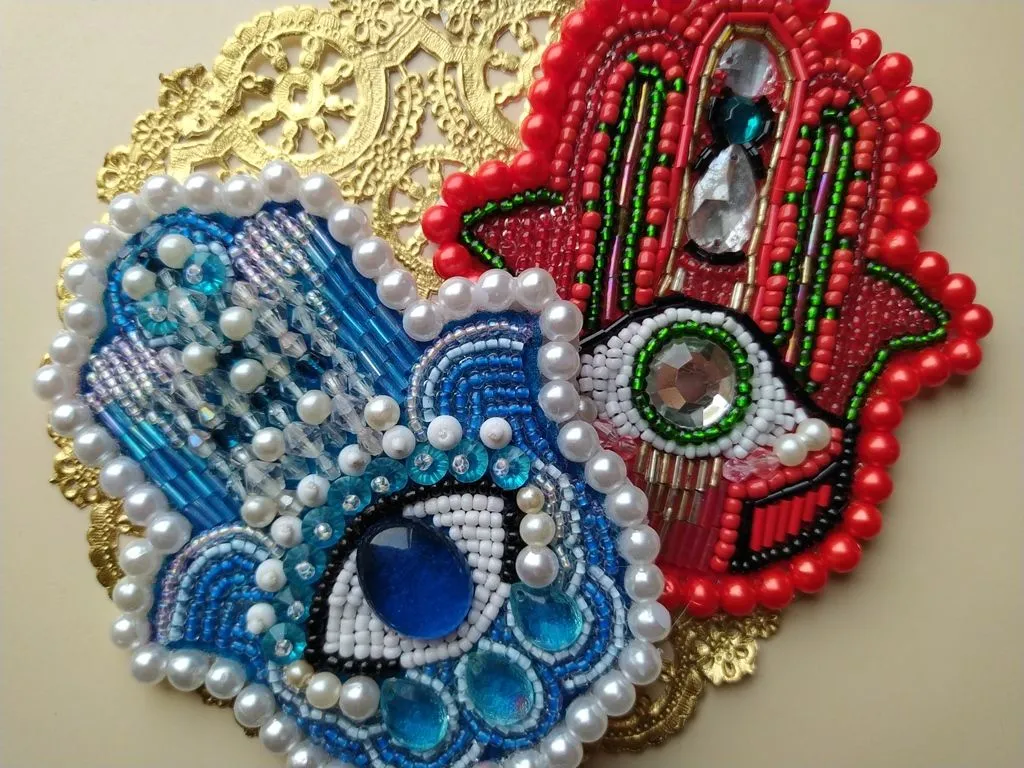
« Finished beaded brooches, no stitching, and great results. »
 |  |
|---|
| 『 Recomendaciones Finales 』 🇪🇸 | 『 Final Tips 』🇺🇸 |
|---|---|
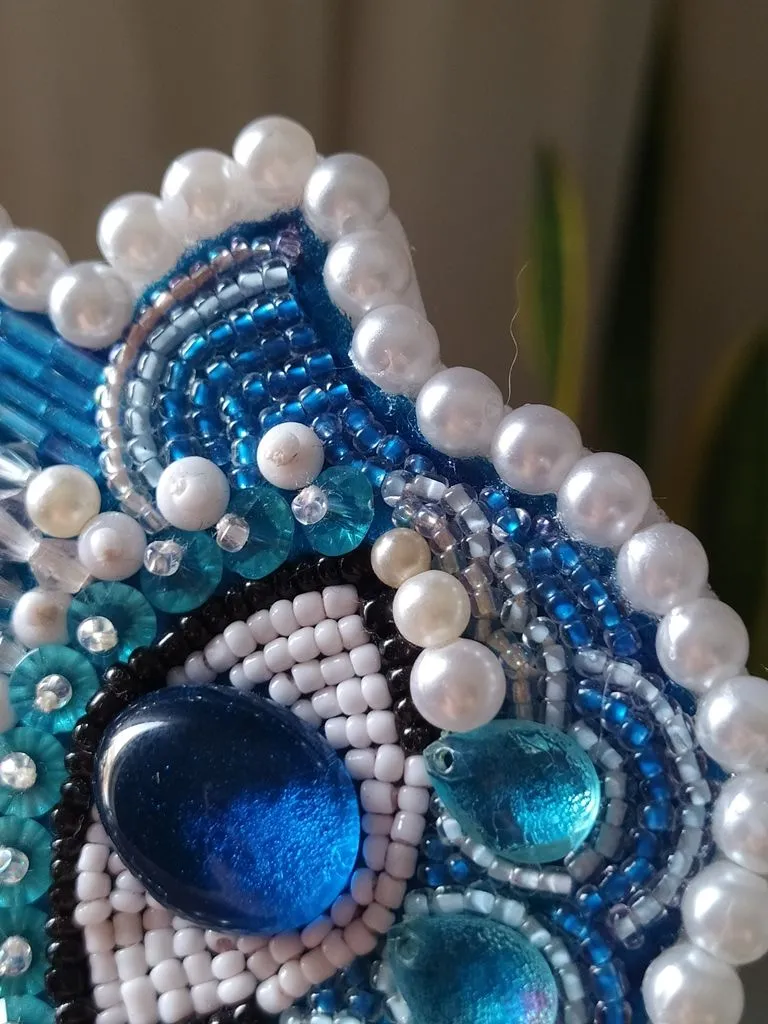
| 📌 Cuando pegues las cuentas asegúrate que los orificios por donde se supone pasa el hilo queden fuera de la vista. | 📌 When gluing the beads make sure that the holes through which the thread is supposed to pass are out of sight. |
| 📌 Si por accidente manchas con silicón frío alguna sección del bordado, puedes humedeces con poca acetona la punta de un hisopo y gentilmente frotar el pegamento hasta desmanchar. | 📌 If you accidentally smear cold silicone on any section of the embroidery, you can moisten the tip of a cotton swab with a small amount of acetone and gently rub the glue until you remove the stain. |
| 📌 Puedes agregar una capa de esmalte para uñas transparente sobre las cuentas de plástico del borde para evitar que se descascaren con el tiempo. | 📌 You can add a coat of clear nail polish over the plastic beads on the edge to prevent them from flaking over time. |

✦ My best wishes to all of you for a magical start to the month! ✦


 |  |  |  |  |  |  |  |  |
|---|
✨ 🍓 All texts and images by @Tesmoforia 🍓 ✨
📸 Tools: Smartphone 📲 Snow 🎬 Remini 🌓 FotoJet 📐
🚨 ¡Please do not take, edit or republish my material without my permission! 🚨
💌 ¿Do you wish to contact me? Discord #tesmoforia 💌
🌙 Banner, signature and separators by Keili Lares - InstaLog