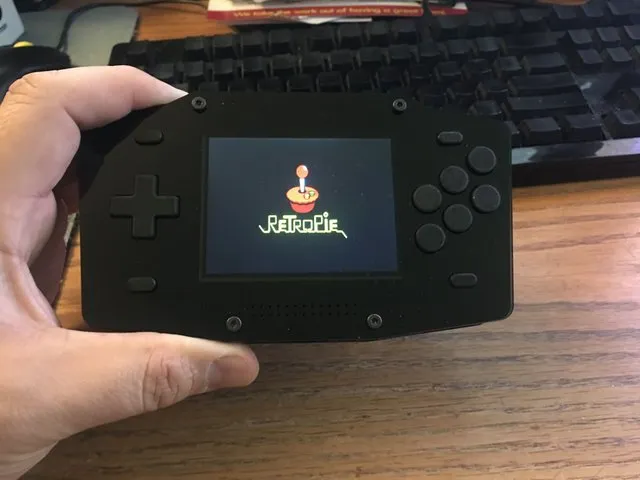
One of the most interesting projects I have done with a Raspberry Pi was to create a portable console for our trip to Florida. This was a couple years ago but came out fantastic.
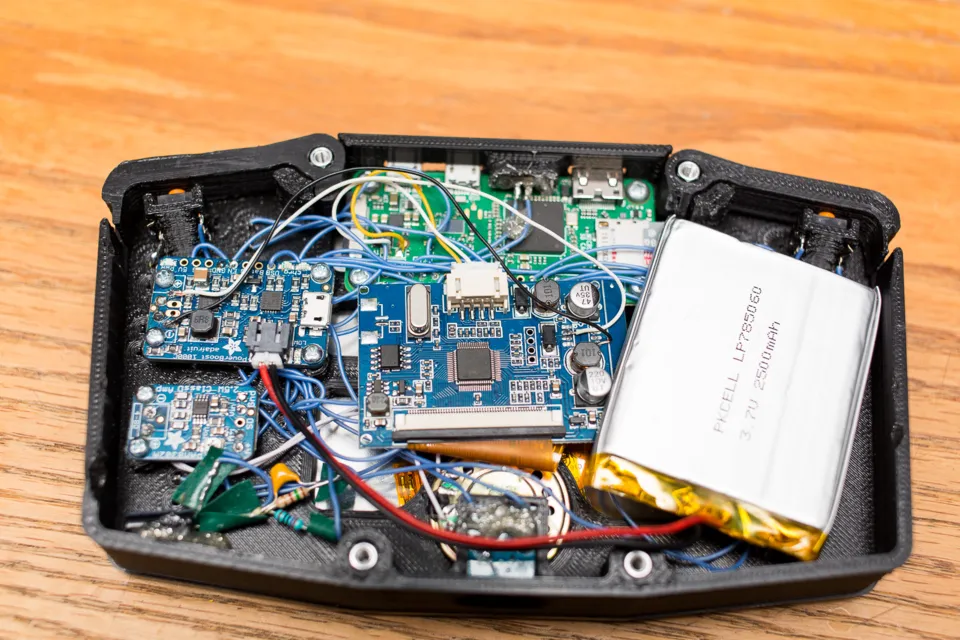
The build consists of a Raspberry Pi, 32GB SD card, 16 switches, Amplifier, Car Backup Screen, Lithium Battery, and a power charging board to assist in charging the battery.
I have over 8,000 games on this device ranging from Gameboy, Gameboy Color, Atari 2600, Commodore 64, Amiga, Super Nintendo, Nintendo 64, Genesis, and about 45 other consoles.
While I would do this project again, there are much easier designs for a portable gaming console. What I'm going to show you is how to create one for your TV.
I'm not going to get super in depth, just give you an overview so you know what to expect if you want to build one yourself.
If you want to build one, you will need to stock up on some parts. While you could build everything separately, Canakit just released an update to their bundle which includes the only SD card I would recommend for a Raspberry Pi. This makes the kit very practical and better than sourcing the parts yourself.
The bundle I recommend includes the latest Raspberry Pi 3B+ and everything you will need outside of controllers. You can use an existing Raspberry Pi 2/3 but the best performance will come from the 3B+. The 3B will run most everything well and you will have a few problems with a Raspberry 2 but should be able to run most games.
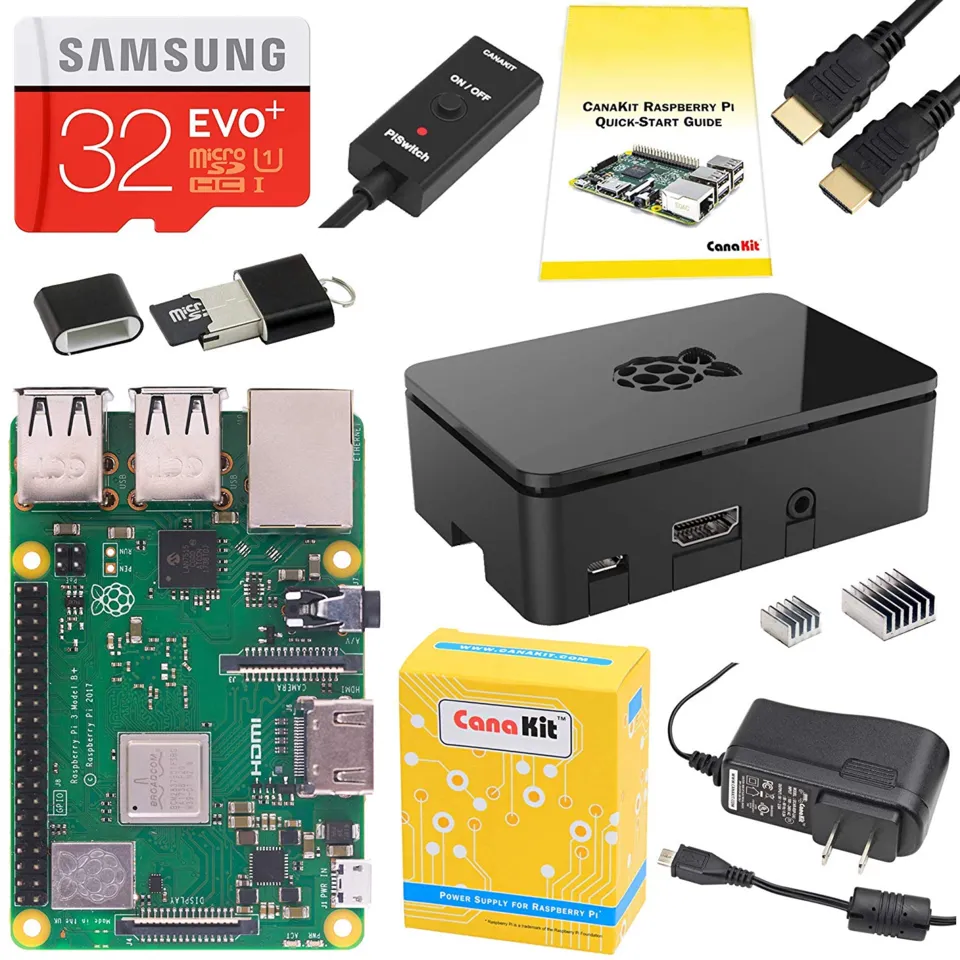
One of the other import components is a quality 2.5A power supply that is included in the kit. Many power supplies are not powerful enough and can cause some problems when attaching devices to the Raspberry Pi.
The kit will run you around $80 USD.
You will need one or more controllers, I currently use two PS3 controllers so my son and I can play.
Download RetroPie
RetroPie is the project that enables you to automatically manage 50+ emulators without any effort on your part and supports almost all consoles prior to 2000.
You can download it here.
Once you download it, you need to save it to an SD card on your computer.
Setup Controllers
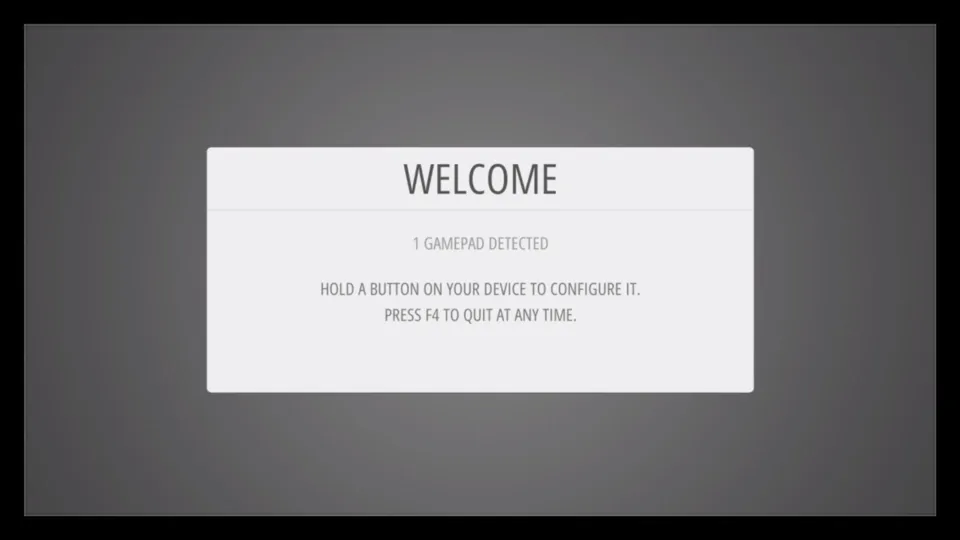
Initially, you will set up the controllers wired but you can enable Bluetooth and setup wireless. Some controllers like the Xbox 360 will require a receiver. The best controller right now is the Nintendo Wii U Pro if you can find them on clearance somewhere under $20. You can find them more frequently at around $40. They just work and you can use 4 of them without any dongles or drivers.
Wifi
Once you have gone through the setup for the controllers, you are going to want to configure the wifi. This is pretty easy and the software will walk you through doing it.
Install ROMS!
At this point, you can install roms on to a USB stick (FAT32/NTFS) under a folder called retropie.
You can also use SFTP to upload Roms once you have everything set up and that's the route I would recommend.
Enjoy!
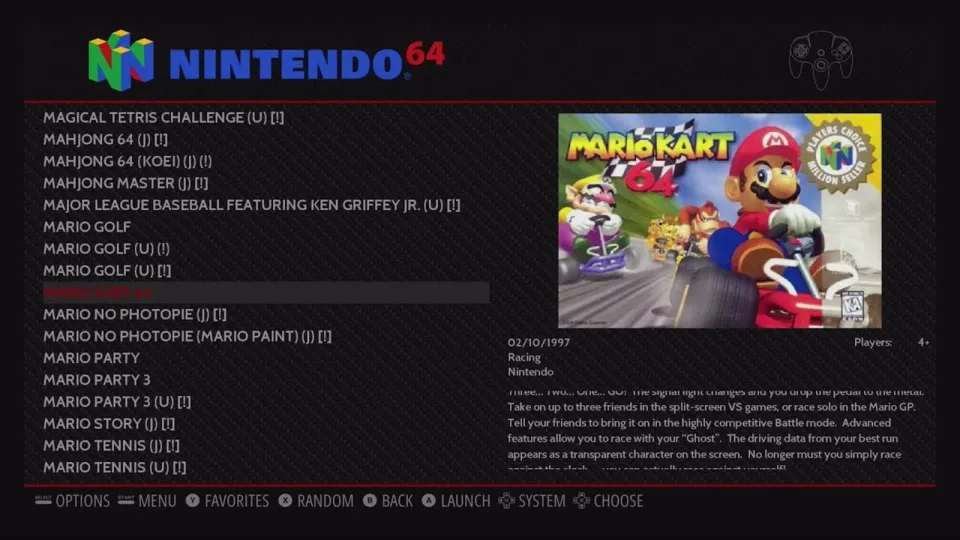
The menu is really nice and how it seamlessly allows you to select any console and just start playing. It will automatically select the correct emulator and optimal settings.