If you haven't heard of the Rick Simson Story I suggest you check it out. Rick Simpson is an amazing individual who, in his discovery of a natural cure for cancer, freely shared this cure and all information related to it with not only his neighbors, but the world! His compensation from the Canadian government was criminal prosecution and so much harassment he finally fled Canada for fear of his own personal safety. Was it rival drug dealers chasing him off their turf for giving free product away? Nah, it was the good ol' Canadian government keeping as all safe from the cure for cancer. It is in his honor that I propagate this information.
Please check out this documentary on the Rick Simpson Story called Run From The Cure, as well as his website which has tutorials and tons of info on dosing and healing methods.
Anyway, let's get to healing each other!
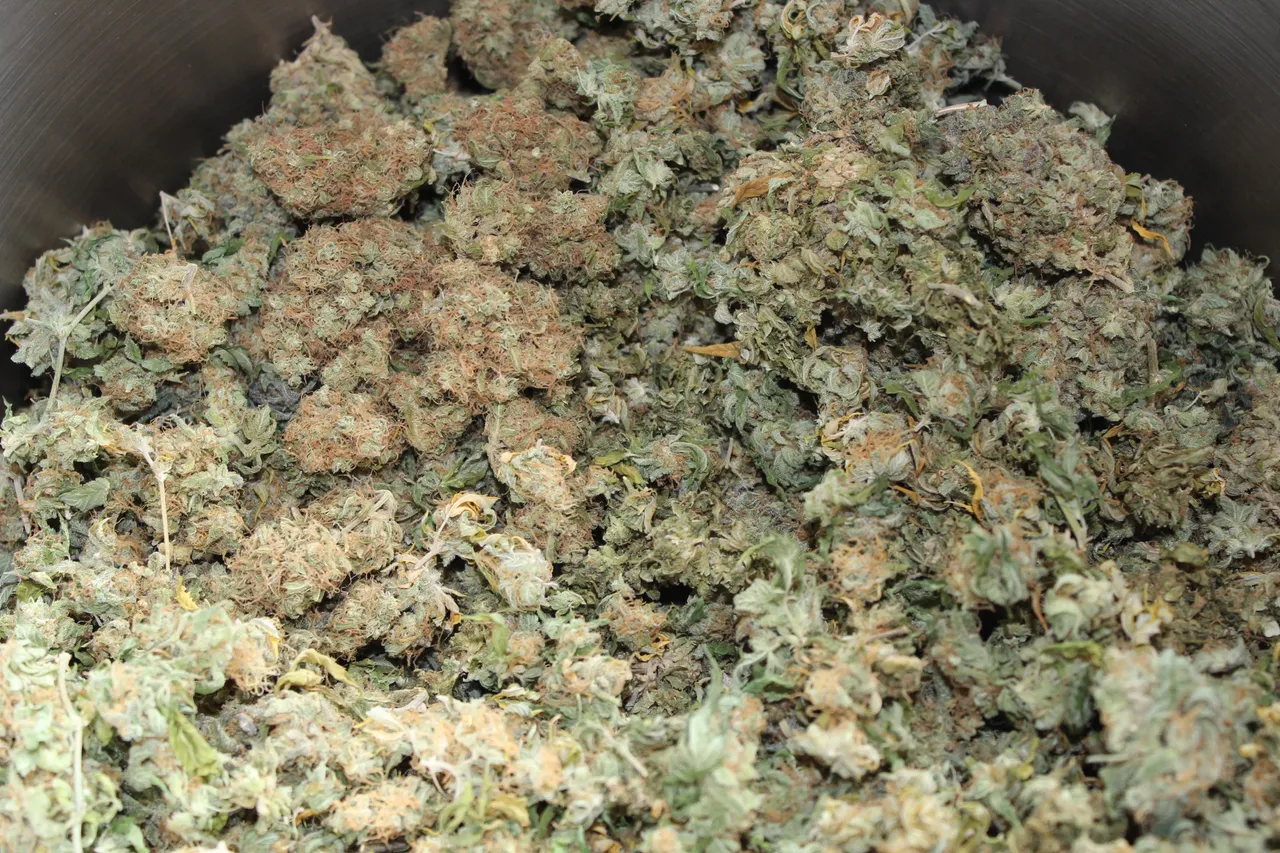
Photo: Jay Anarchon
What You'll Need
Although not very technical nor labor intensive to make, RSO does take time. I recommend making as much as you can in one batch to maximize the value of your efforts. This batch took me about 6 hours to make, with another hour "finishing".
Tools For The Job
- 2 feet and a heart-beat
It's a one man job, but it takes a while. Company can be good... depending. - Big stainless steel pot
A 5 gallon pail will work but stainless or glass is always best. - Something to stir with
Avoid wood or anything porous. - A couple big glass or steel bowls
To pour the alcohol through the primary filter into.- A mesh wire colander (strainer)
For primary filtration of large plant matter.- A glass or steel pitcher
Again, plastic will work in a pinch.- Coffee filters
I find high-quality coffee filters flow faster, but any will do- Funnels
Optional, I do not use them this time.- As many glass jars as you've got
Don't be afraid to get creative. If you have funnels your container options become wider.- A rice cooker
If you don't have a rice cooker a portable stove-top will work. Avoid open flame and always cook outside.- Splatter guard
This serves 2 purposes; it prevents foreign objects from entering and alcohol from splattering, allowing for an uncovered cook and fast evaporation of the solvent.- A silicone baking spatula
- A small stainless steel bowl or cup of sorts
This is for the final finishing stage- An oven for finishing
Ingredients For Extraction
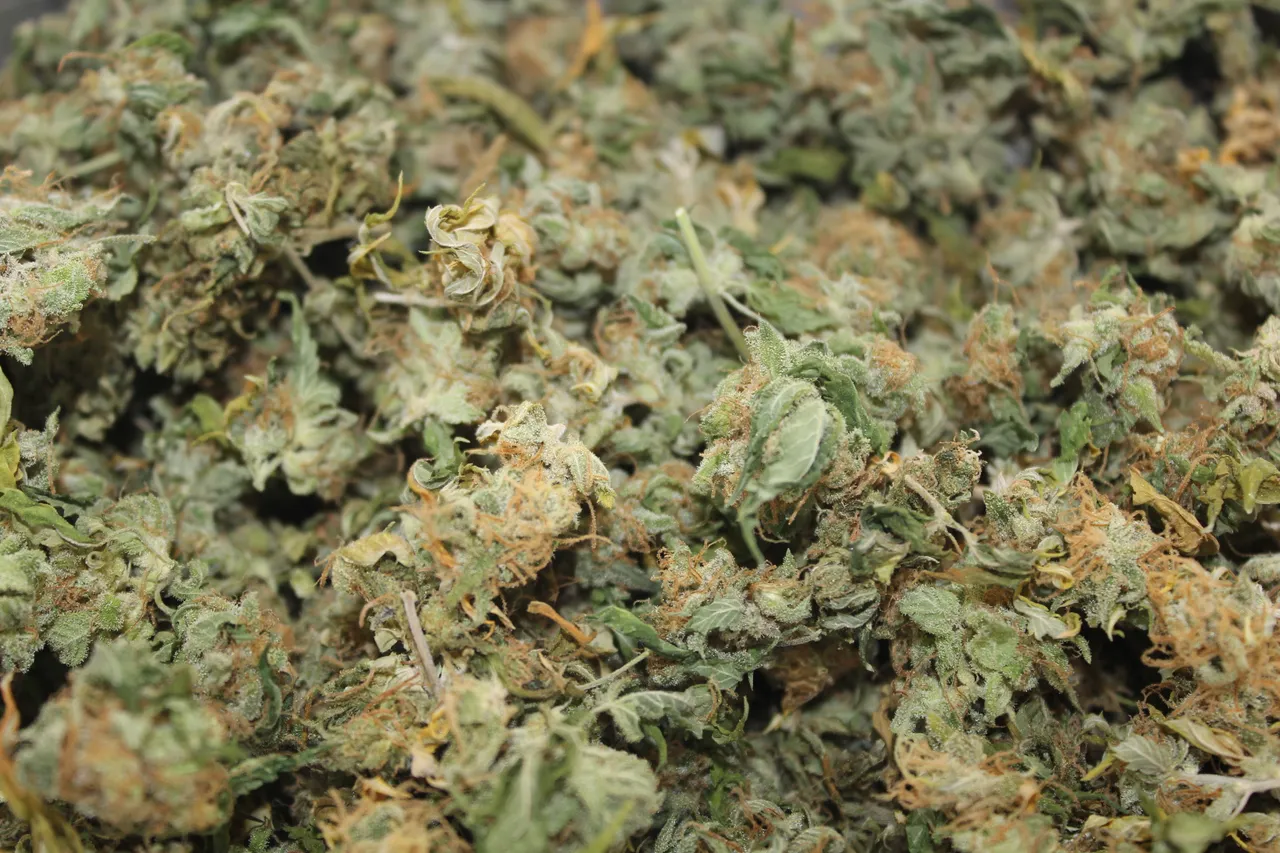
Photo: Jay Anarchon- 1/2 - 1 pound cannabis
I use all of the bottom "popcorn buds" from my plants as well as the buds I've ripped apart to harvest seeds. I don't throw fan leaves or big stems in, but sugar shake is all good! If you end up with some cannabis that is not as effective as you would like this is a great way to concentrate the medicines into a more potent form.- 6-10 liters Isopropyl Alcohol 99.999% Pure
You can use everclear as well. Rick Simpson recommends against it and I tend to go with proven results.- 5 - 10 drops of pure water
This will help towards the end by preventing your oil from burning and helping it finish nicely.Safety, Safety, Safety
You're working with highly flammable fumes here. It's not really dangerous - as long as you're smart and plan ahead, there isn't too much that can go wrong. The following is recommended to ensure you end up with some amazing medicine, not burns to treat.
- Perform the extraction in a well ventilated area or outside
- Keep children and pets away from your work area
- Do not smoke or ignite anything in direct vicinity of extraction, filtering or cooking stages
- NEVER COOK OVER OPEN FLAME
- Have blankets or a suitable fire extinguisher near by
Step 1: Extraction
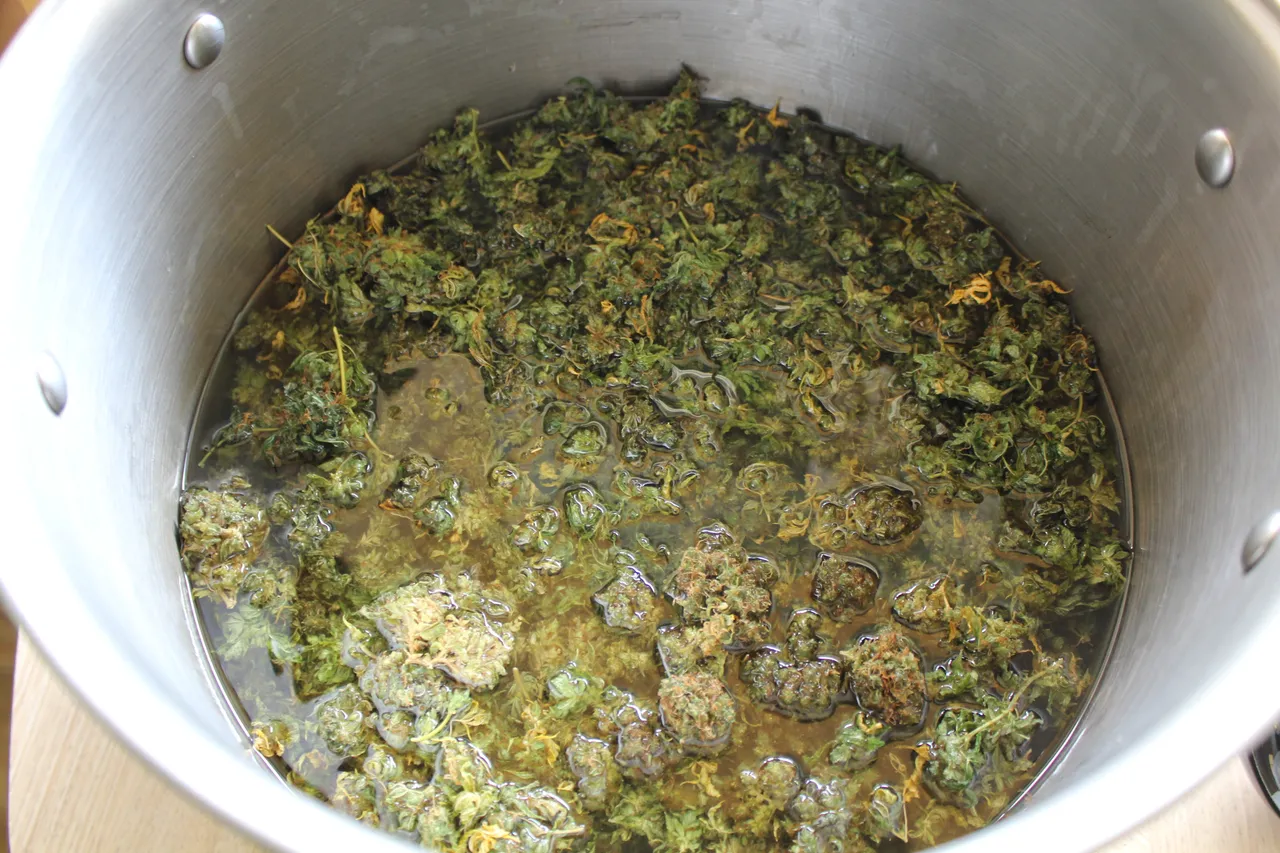 Photo: Jay Anarchon
This isn't rocket science, just basic high-school chemistry, or ancient alchemy, depends how you look at it. Anyway... the process is very basic so let's burn through it!
- Place cannabis in your large container. Pour alcohol to cover cannabis.
- Stir for 3 minutes, crushing buds and working the solvent through the flowers.
- Place colander over bowl and pour alcohol through the colander into the bowl, leaving the cannabis in the pot.
- Repeat steps 1-3 with 1/2 as much alcohol, or skip this step for extremely potent oil.
- After performing a second rinse, pour the solvent through the colander into the bowl, this time allowing the cannabis to fall into the colander and fully drain if desired.
Step 2: Filtration

Photo: Jay AnarchonPrimary filtration is performed in step 1, I figured I would break this into a separate section. Filtration is very important to end up with a high-quality finished product. Be sure your coffee filters do not have holes in them and watch for wear throughout the filtration progress. Although the simplest step, this step is the longest.
- Pour the saturated solvent into your pitcher.
- Place all your filters into your funnels or containers etc. I just place mine right on top of my jars. Set up as many of these as you can to reduce filter time. I used 9 this time.
- Pour the solvent mixture into the coffee filters allowing it to drip into your collection containers. If not using funnels you can fill slightly past the top of where the filter meets your container, but don't push it. If using funnels don't fill over the top of the filter even if the funnel is bigger.
- Continuously top up the filters as they drain to maximize the gravity pressure feeding the filters. Do this until all the solvent has been filtered.
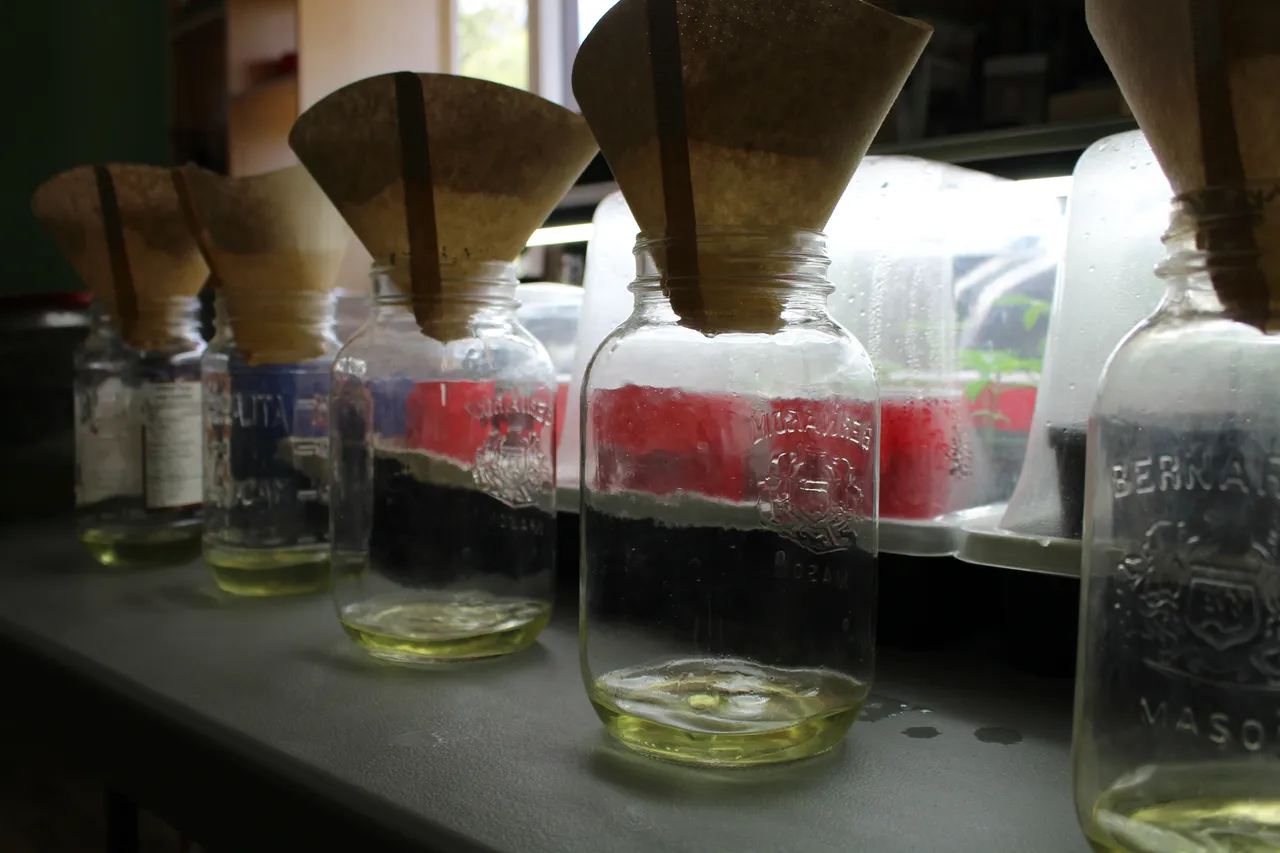
Photo: Jay AnarchonIf you've done everything right you should have something similar in appearance to gasoline. Second rinses are always a little greener due to containing more chlorophyll.
Step 3: Cooking Off The Solvent
The alcohol used to extract the essential oils of the cannabis will cook off at a lower temperature than the oils themselves, allowing us to simmer all of the alcohol away while leaving the oil behind - if you do it right. Rice cookers are suggested as they turn themselves off when the liquid evaporates. I still find that attention to detail will provide you with premium oil while leaving it to chance is not advisable. My rice cooker runs a little hot and I always end up shutting it off before all the alcohol is evaporated. I then swirl it around until it's ready for finishing.
- Pour your solvent mixture into your cooker or pot. Only fill 2/3 full.
- Cover with splatter guard.
- Turn your rice cooker on. (If using a stove-top you'll have to feather the temperature just right to get a light rolling simmer)
- For safety's sake, as well as topping up the cooker, constantly monitor the cooking process.
- If you have remaining solvent mixture, top up cooker as the solvent cooks down below 2/3. Do not fill over 2/3 full.
- When you are near the end, but there is still alcohol, pour a few drops of water in to prevent burning. Constantly swirl the oil to assist in evaporation of the last remaining alcohol and to prevent burning.
- When the bubble begins to thicken remove from heat. You may notice a small amount of thicker vapor. This is you wasting medicine. Get the oil into your finishing container.
- Use a silicone baking spatula to get as much of the oil into your finishing container as you can. Do this wile the cooker is still hot.
Step 4: Finishing
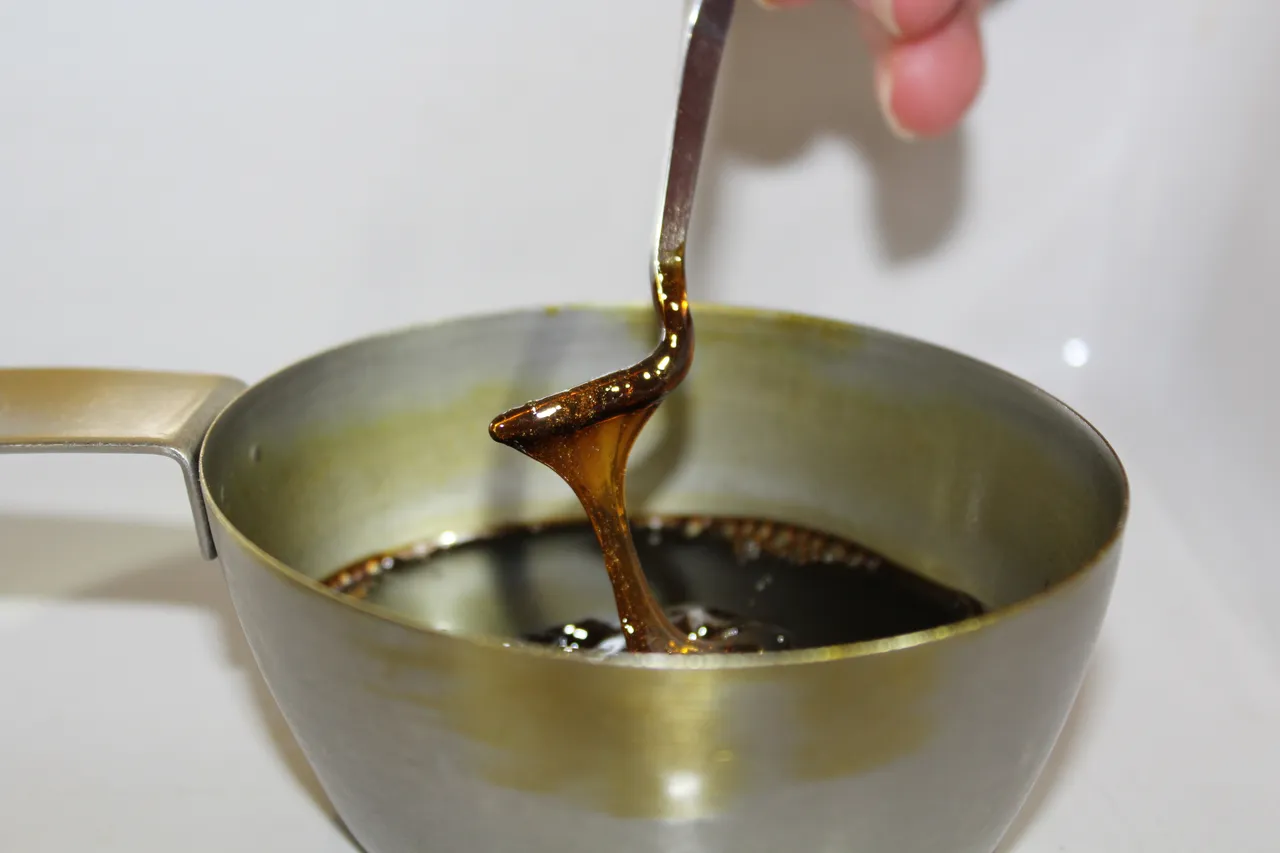
Photo: Jay AnarchonIf any of you have ever had poorly made RSO you will know how important this step is. A friend of mine, named Ben made this mistake and to this day if we see poorly finished oil we laughingly call it Benzoil (pronounced like Penzoil). This final step is described as "finishing" your oil. Basically what happens is; to get your oil out of the cooker without burning it there is a slight residue of the solvent used for the extraction. If you are inexperienced this may be more then slight. Finishing your oil in the oven allows you to evaporate this residual solvent at a temperature lower than the cannabis extract will evaporate. This also "decarbs" the oil, making it fully bio and psycho-active.
- Preheat your oven to 210 F.
- Place the oil in the finishing container into the oven. I usually place the container on a baking sheet.
- Set your timer for 15 minute intervals and check your oil regularly.
- It will begin to bubble, when the bubbling stops all of the solvent is gone and your medicine is ready to be put into containers and for consumption.
Hot Tips
- Freeze your cannabis and alcohol to reduce chlorophyll extraction (so it is said)
- Set everything up before hand. Assembly line style gets it done quick
- If the coffee filters seem clogged, replace
- Keep extra unused alcohol for clean-up
- Put into containers while warm. Don't be afraid to throw it back in the oven at 165 F to reheat it for ease of handling
- Have tools and containers just for this purpose
- Use cannabis oil in cooking and baking
In Closing
I hope you have all found this in-depth tutorial informative and helpful. Don't forget to check out the Rick Simpson Story and stand up for your right to heal yourself and be healthy! Of course any who read this are responsible for their own actions and I am in no way liable for your stupid decisions.
Thanks for reading my post. I hope this information will benefit you and the community around you. Feel free to check out my blog @jayanarchon for many more freedom, health and cannabis related posts!
Peace Everyone
- 6-10 liters Isopropyl Alcohol 99.999% Pure
- A mesh wire colander (strainer)