On we go to the second half of the back room... Disclaimer: I never said I was a carpenter! :)
I will start with before and after photos, then get into the nitty gritty of how it happened...
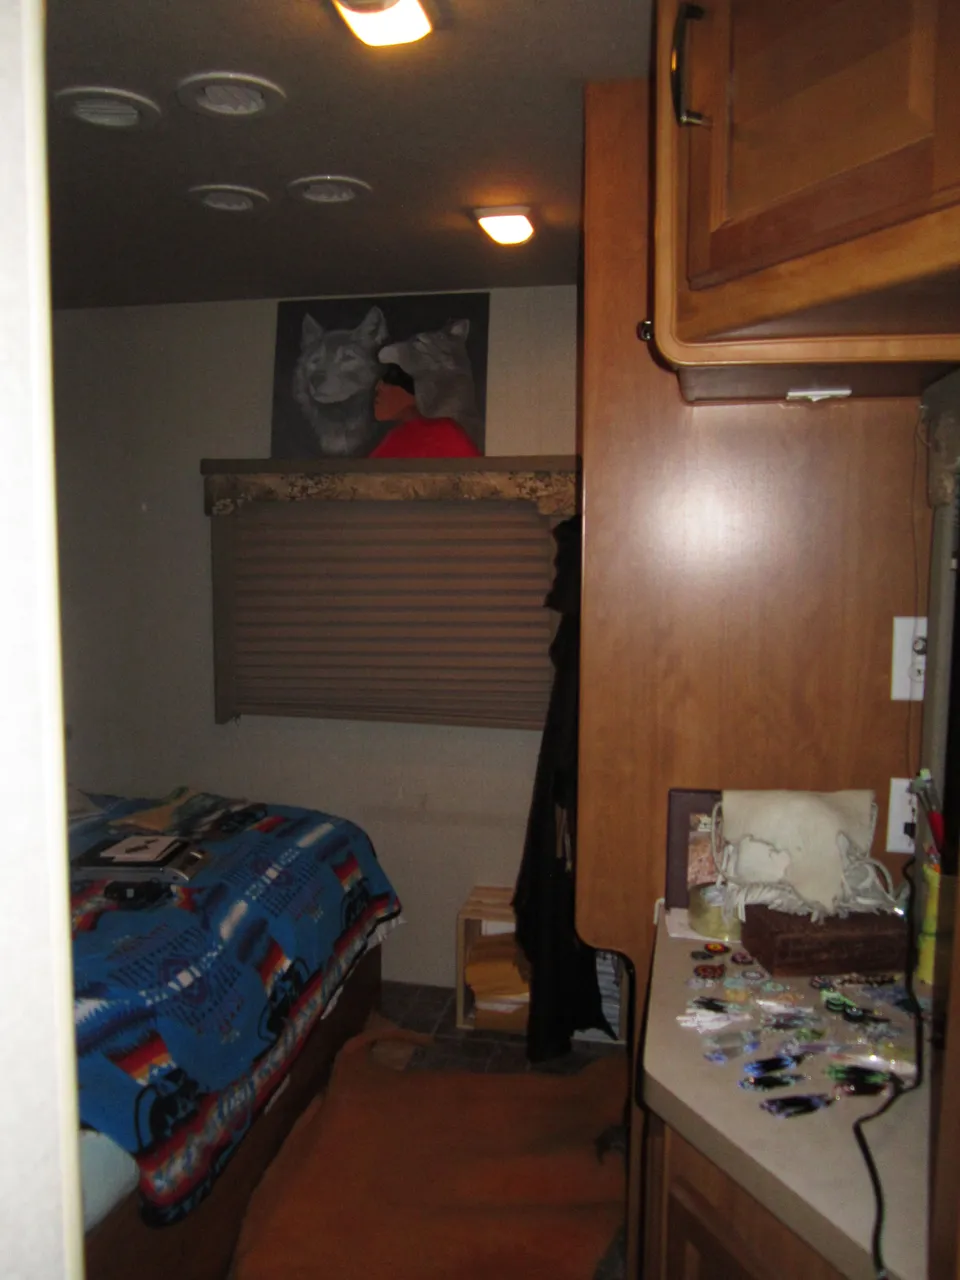
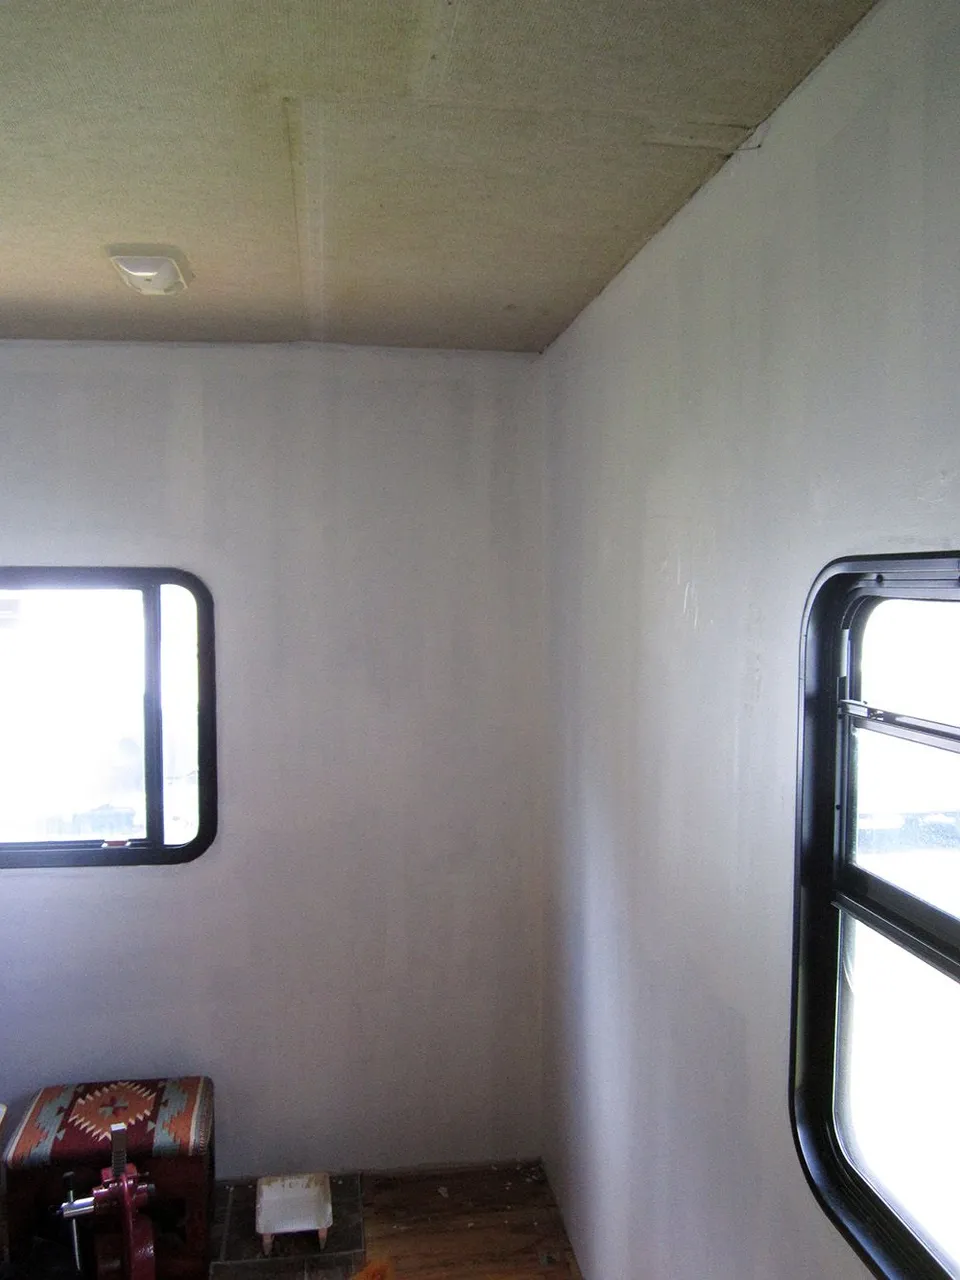
It was just borderline depressing, the thought of working in this dark confined space day after day...Sooo, out it ALL came...
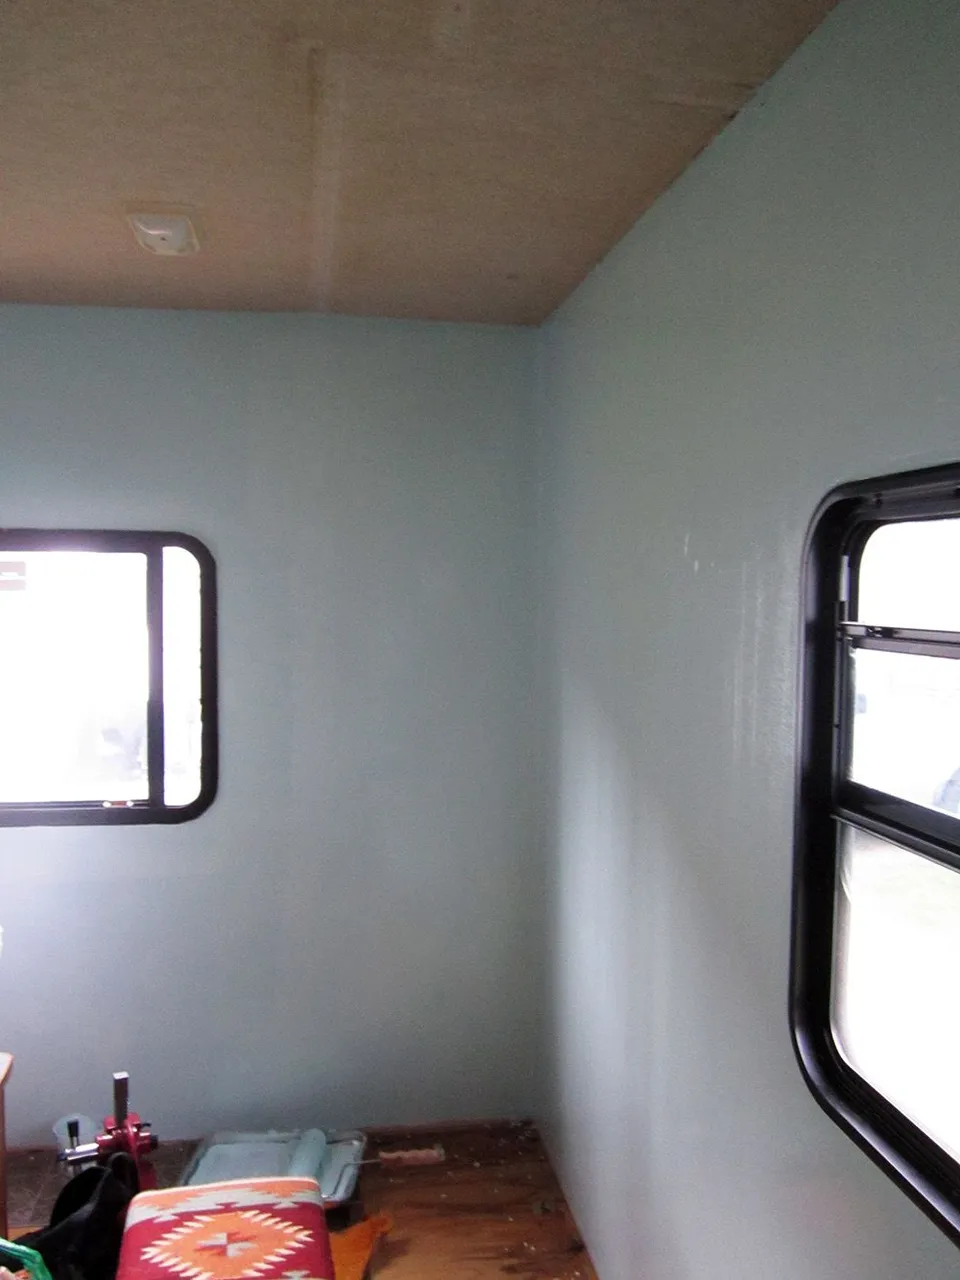
It is amazing what a bit of paint and an extra foot of floor space will do! Not to mention those window coverings gone...
First we prepped, and primed...
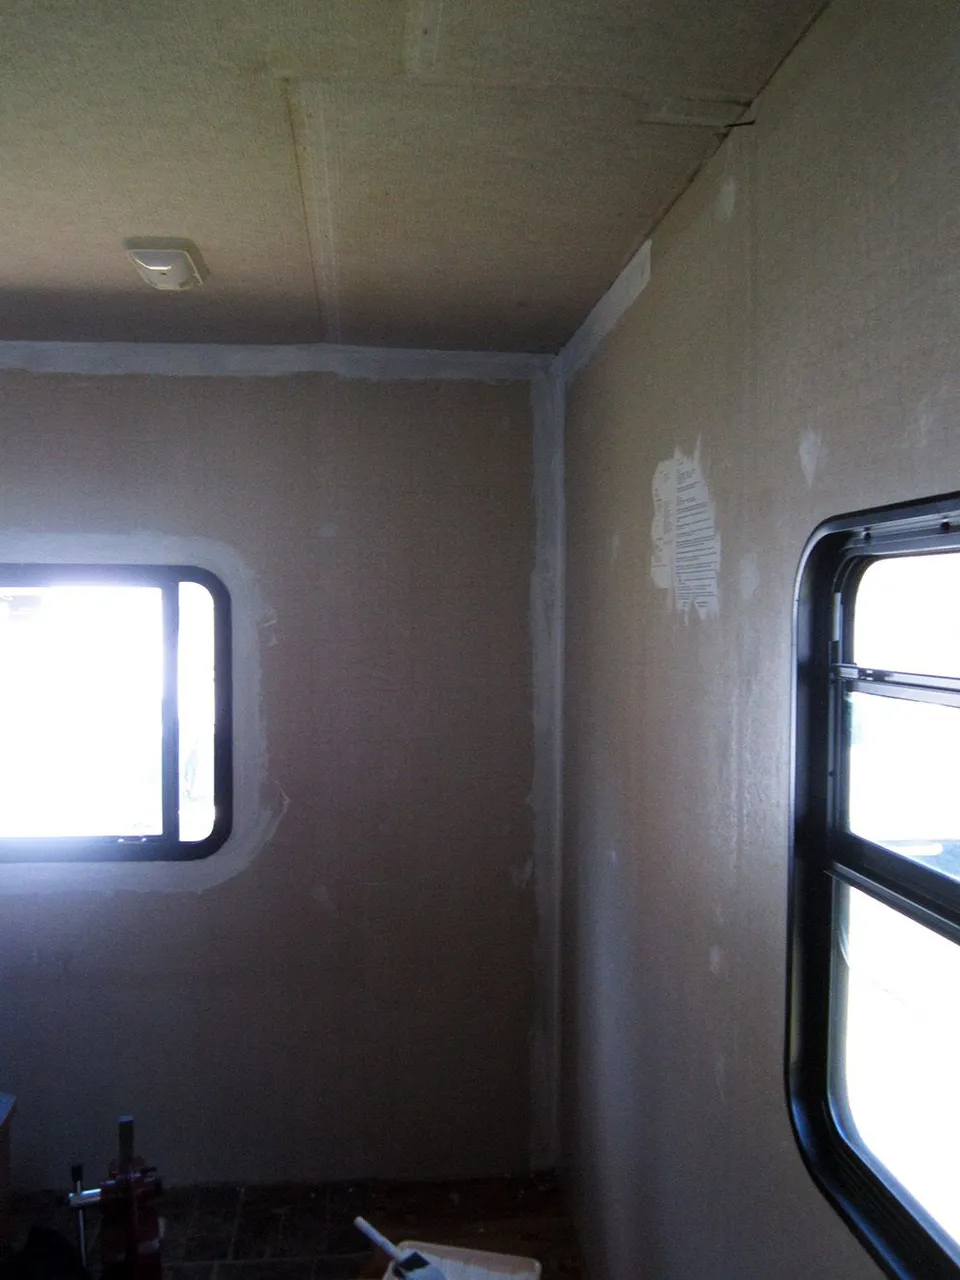
...and painted...
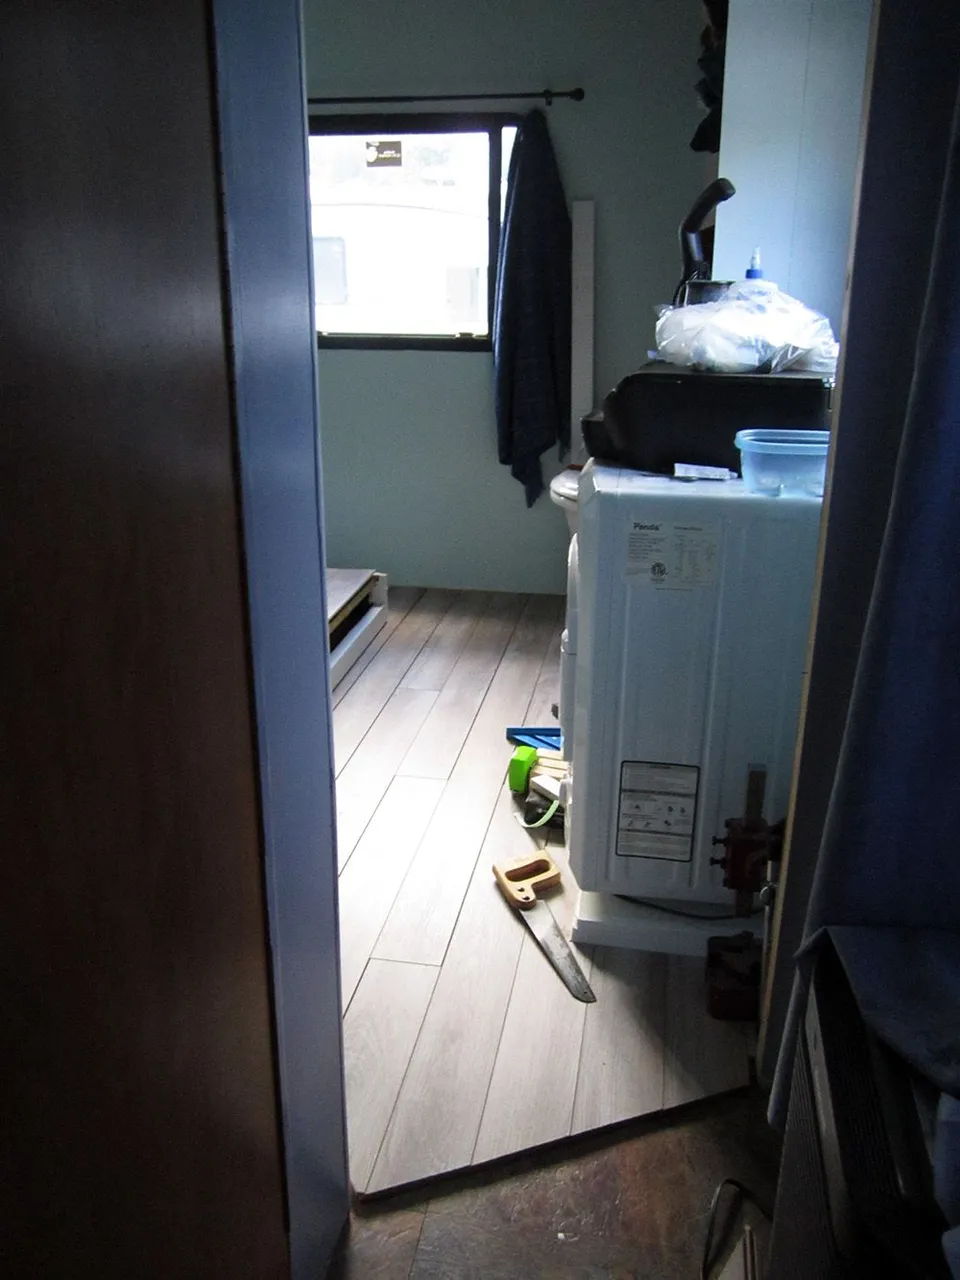
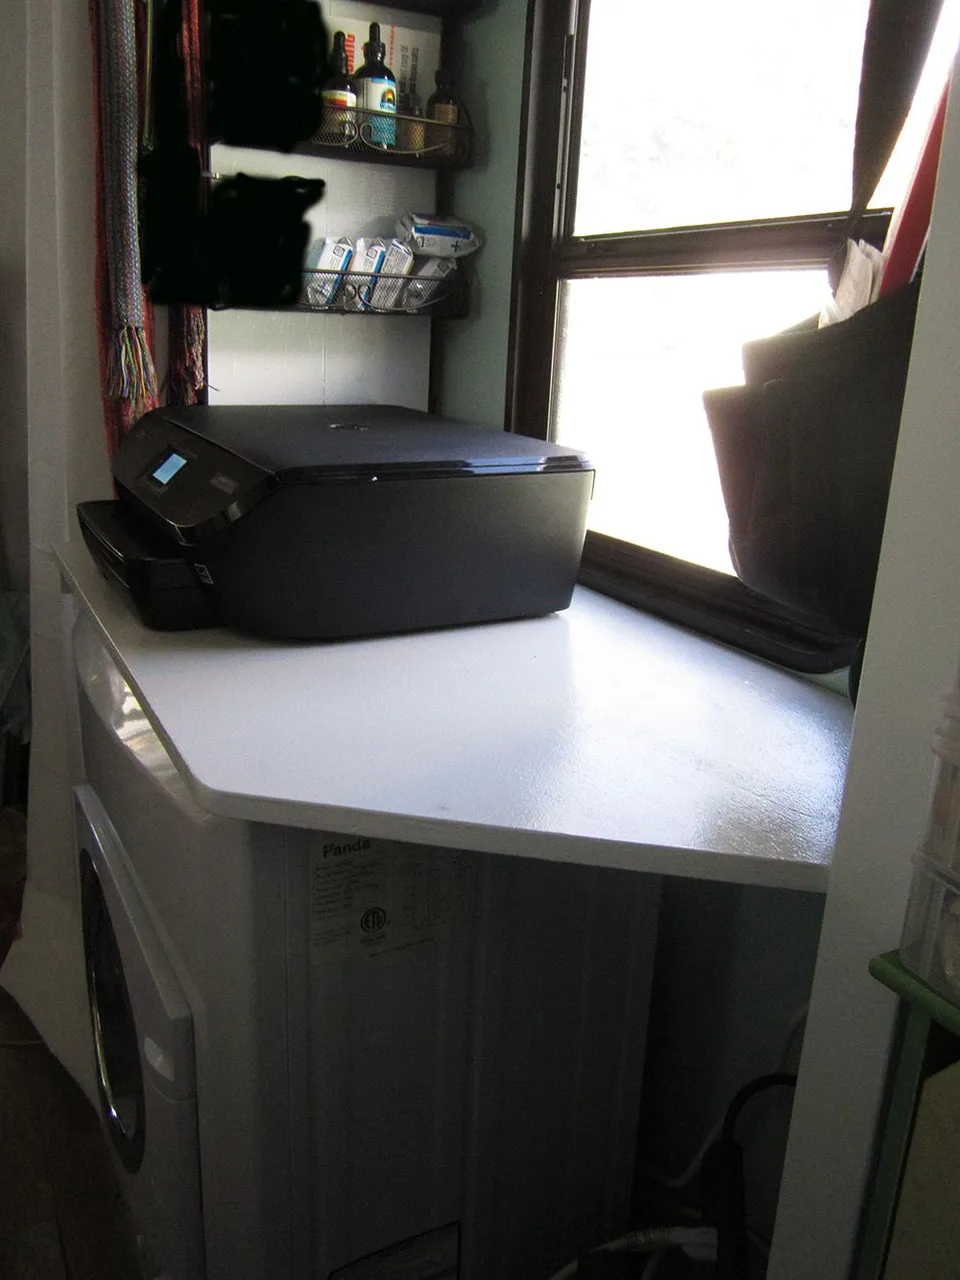
Next I needed to create a functional space for all of my craft things. I wanted a tiny broom closet, and we needed to fit in our little Panda dryer (I was done with laundry mats and hand washing by the third child. I can pick it up again if SHTF someday, but for now I would rather spend my time creating and save my hands!)
So I got to work...Everything in a tiny home or RV must be carefully considered and measured to the fraction of an inch...really. The broom closet space is measured to double as my storage for bubble mailers, and main storage is made to fit two 9 square cubbies, so I now have 18 cubbies to hold finished items and items in progress, as well as my clothes...The printer fits on top of the dryer (which now has a shelf above that the printer sits on), and all of that left Exactly enough space for my leather press to nestle on the floor beside the dryer while I am not using it. Measure everything twice, cut once...
On to the work part...the storage space...
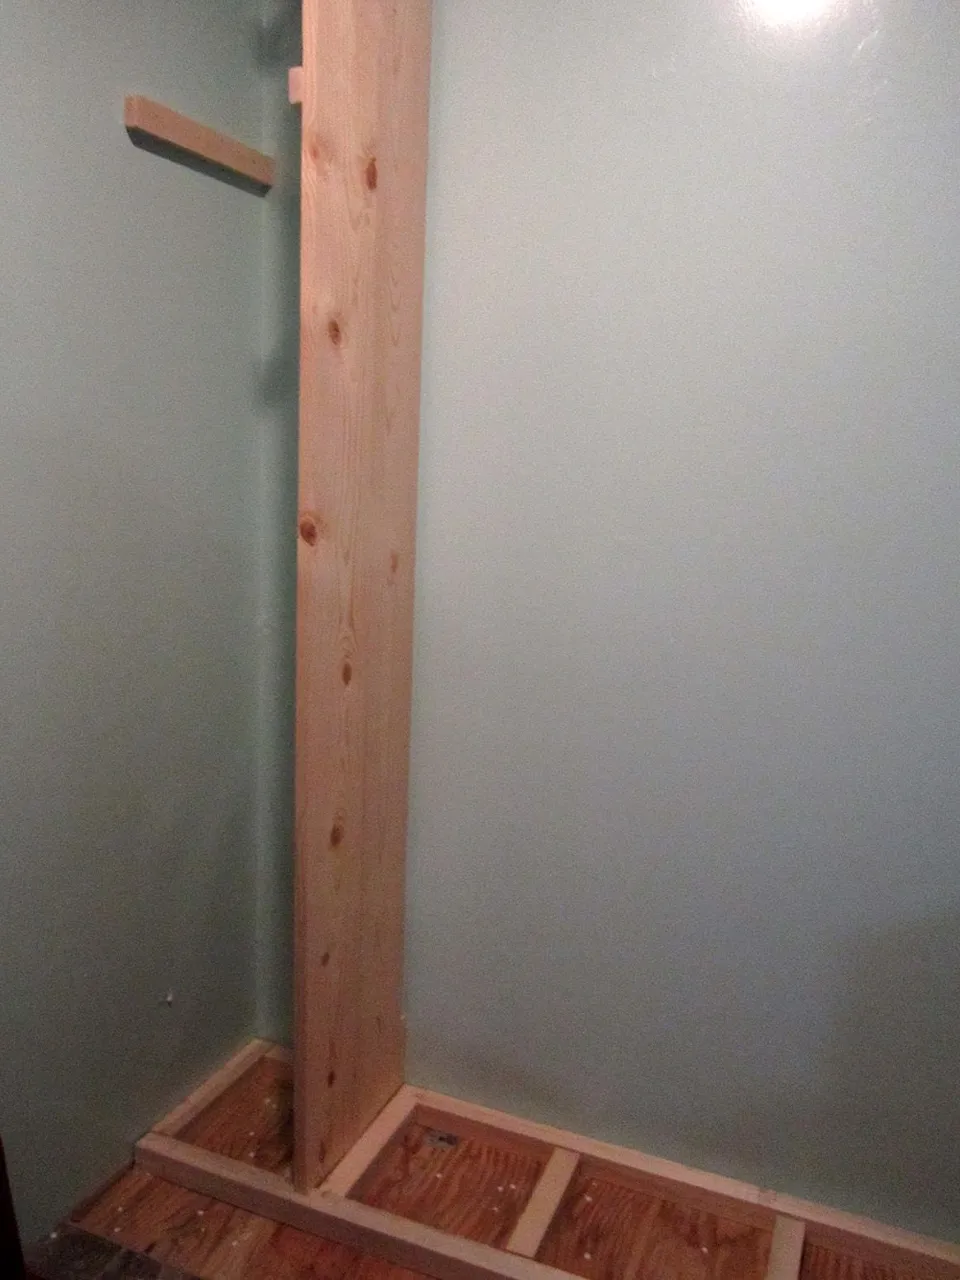
Remember the condensation issue in the winter? The base of this storage space will have painted plywood floor boards, not screwed down. If we are not paying attention and the condensation gets bad in the winter, I can empty out the space, pick up the floor board and bleach and dry the actual floor. It is Very important to avoid mold in an RV. There is also a 1/2 inch gap between the divider boards and the wall, to allow some air circulation...
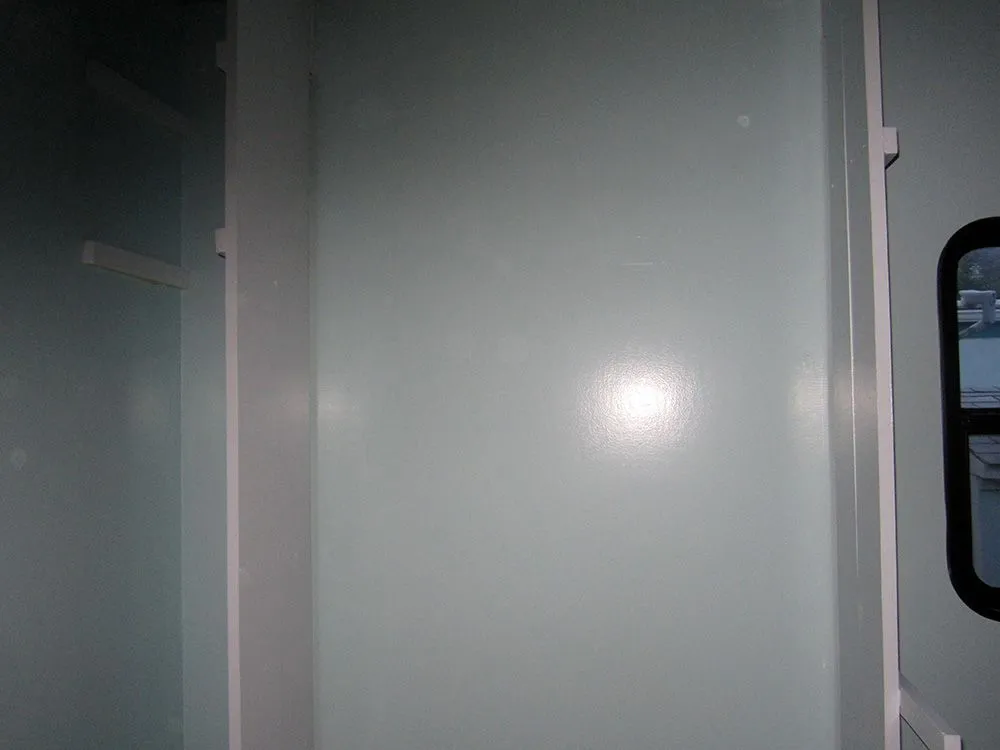
Painted...Sorry I was not able to get full photos, the room is too small to back up enough...
We had to search far and wide, but I finally found a 3" dryer vent :D Only at Home Depot Online, they don't sell them in store...

and the shelf for the printer...which now also has a ficus living on it...
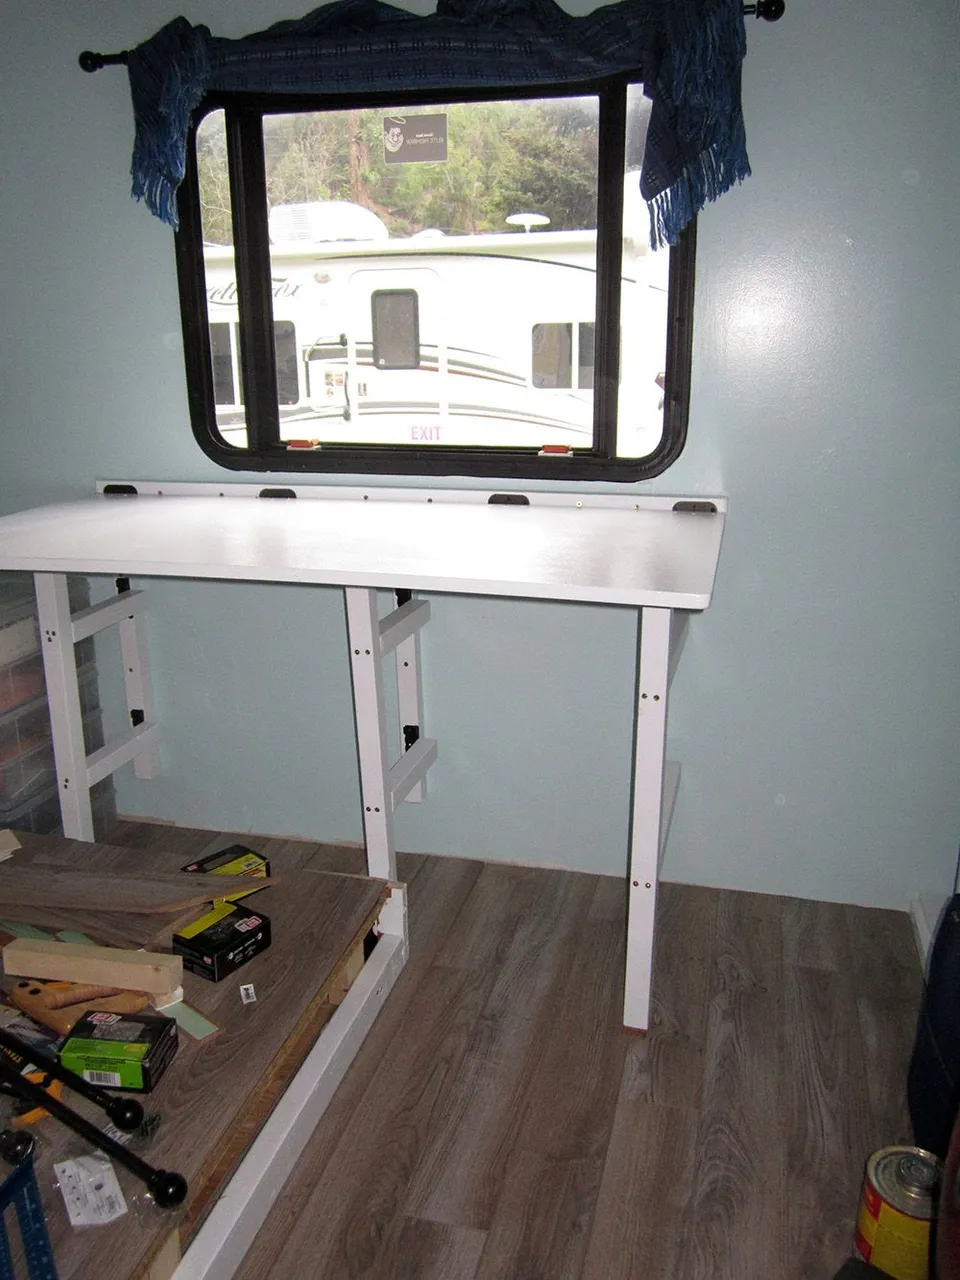
I also needed a work table...I really wanted to put it under the back window so I could have the daylight, but then how to build it so it would not be in the way of the slide? Well, we had 4 inches between the wall, and slide. So now I have a quite large work table that folds down against the wall with 1 1/2 inch clearance for the slide, or when we want the extra floor space. I's also great for putting the computer on if we really feel the need to watch a movie...
Remember the disclaimer, haha! It is nice and solid though, and functional...
Almost finished, view from the nook couch...I added a curtain over the storage, because I don't want to feel cluttered. I will iron it someday...please disregard the clutter on the table, I hadn't put it away yet.

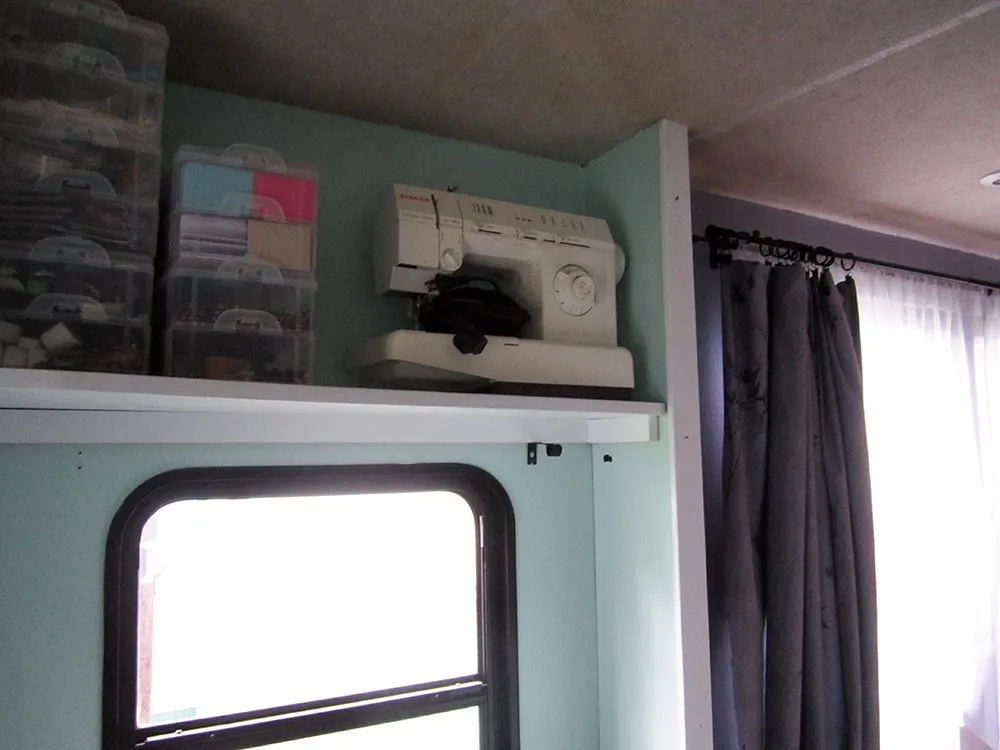
A little top shelf over the dryer for my sewing things...they fit perfectly :)
Which brings me to the hallway...I don't have progress photos, so will just show the before and after. Remember the tea, on top of the windows when I get to the kitchen.
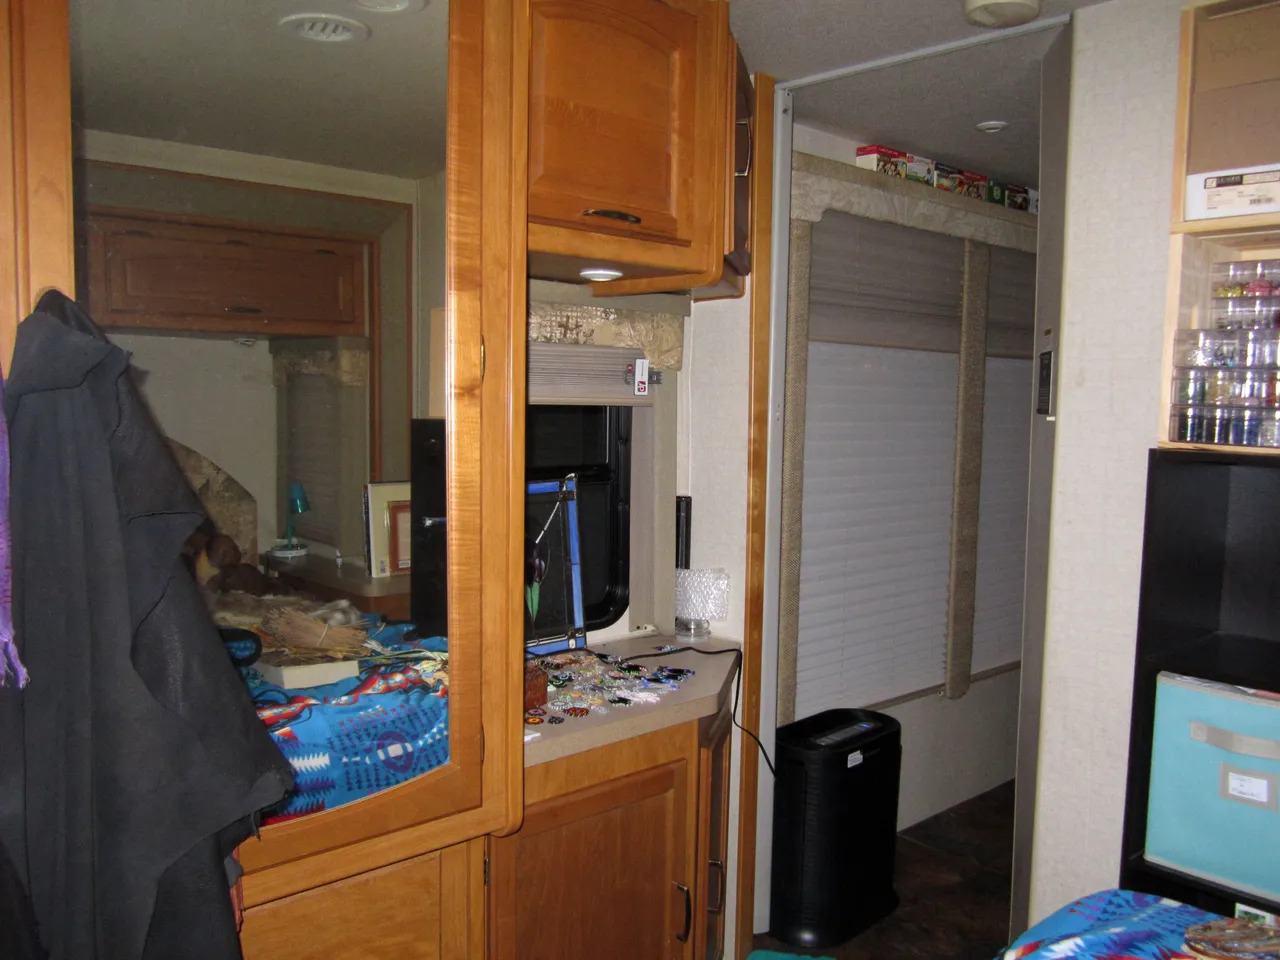
After...Eventually we will be replacing the carpet someone thought was a good idea to put on the ceiling. Hopefully with a white washable insulated something.
One of the main questions we get is, "Don't you think revamping the inside will lower the value if you want to sell it in the future?" Well...just No. I feel it is Far more important to create the space you would really Love to live in. If we did decide to sell it down the road, we would just need to find the person who prefers a light and airy space...
Next...will be the kitchen, or main room...