Here is my entry for the weekly Splinterlands Art contest found HERE
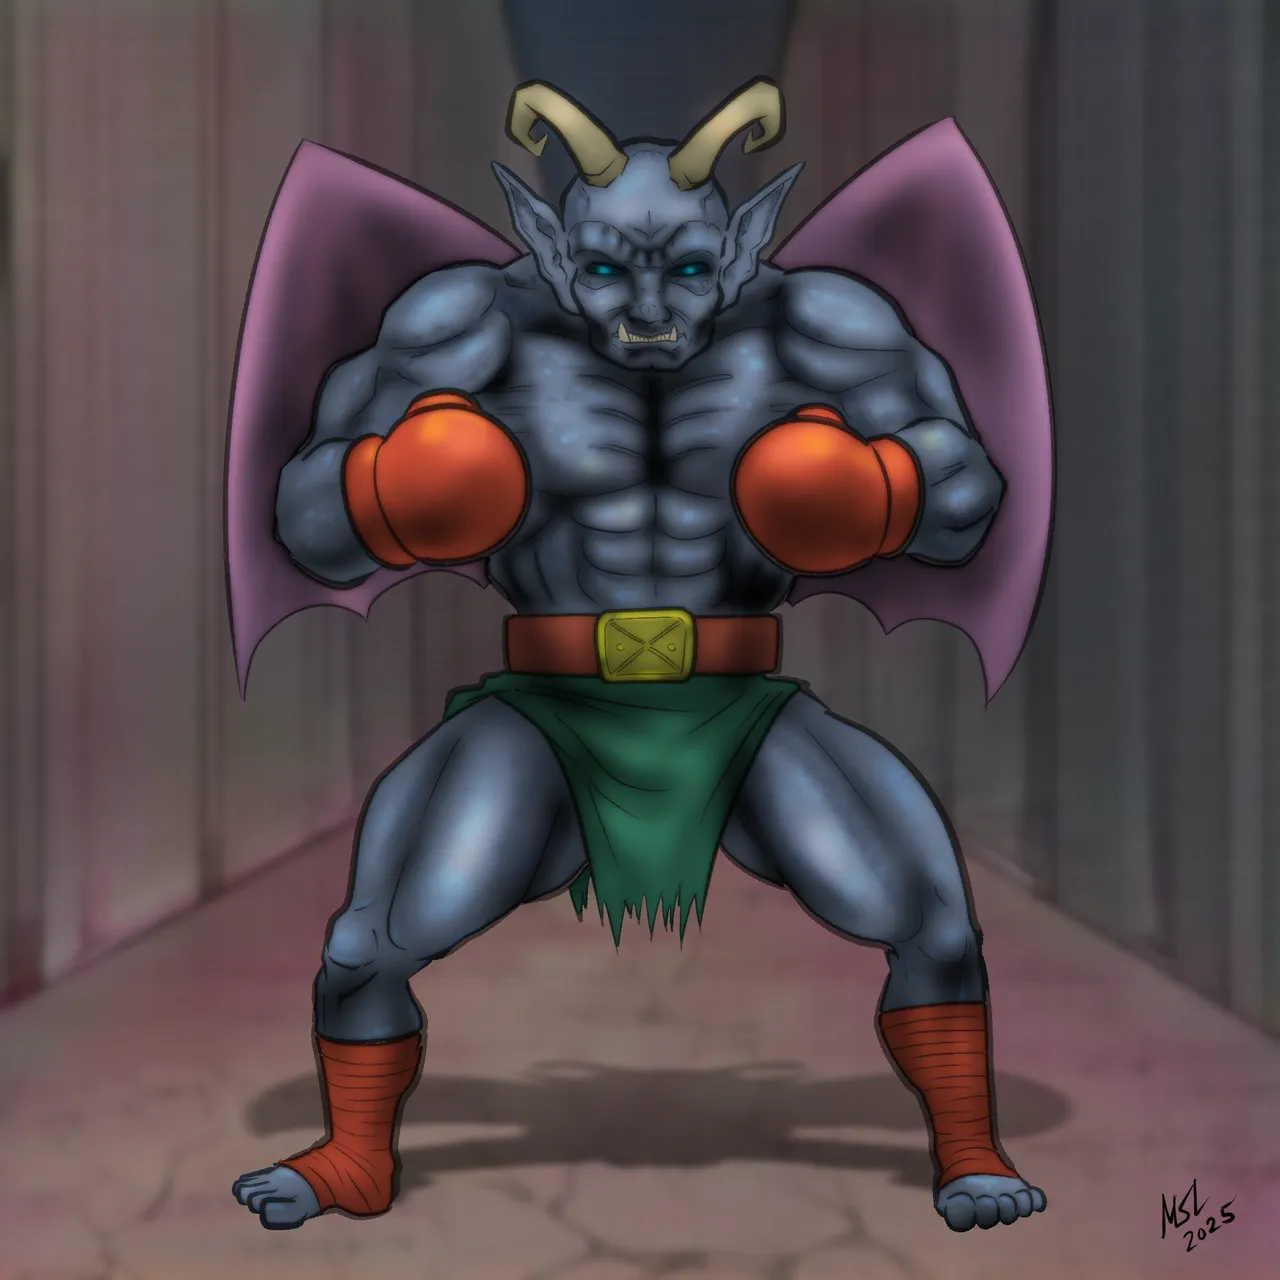
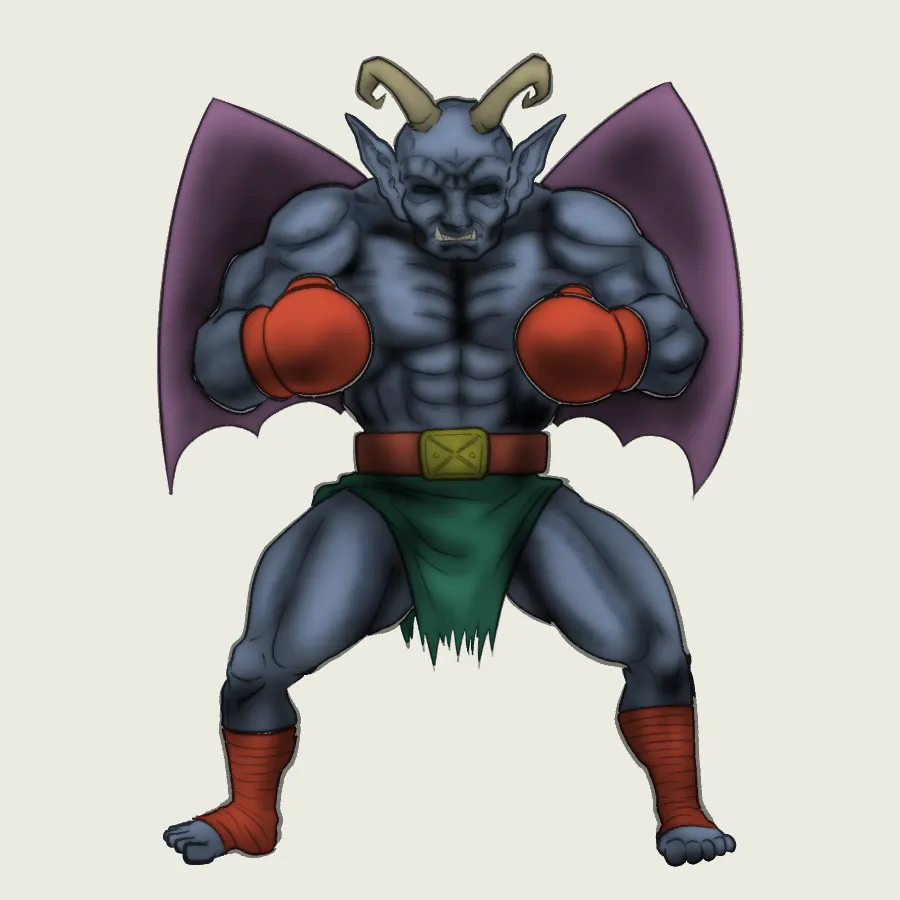
His pose is a little bit static. He looks like he was created in a build-a-monster kid's play set. Oh well. Meet the Gargoya Scrapper!
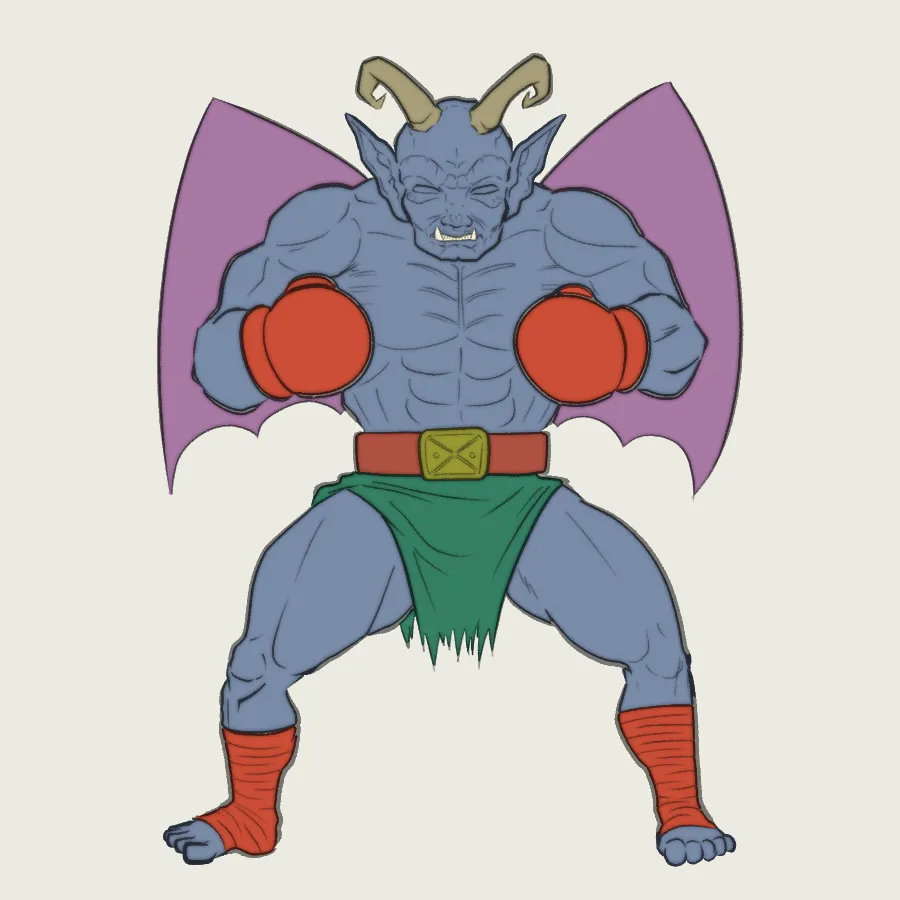
Original card art:
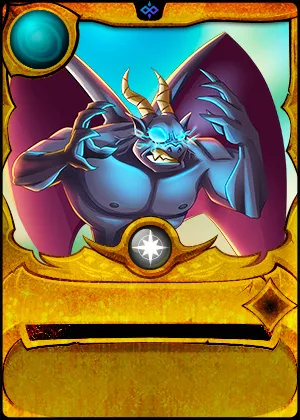
From the Splinterlands Wiki:
When the Chaos Legion entered the Splinterlands through the rift in Mount Praetorius and laid to ruin the great castle of the Gargoya, many of the stone gargoyles fled across the sea and scattered to other continents. However, some remained in the rubble, searching for a way to rebuild their kingdom. These became known as Scrappers.
Scrappers despise the Chaos Legion for destroying their home. Now, they seek the knowledge to create more of their kind and, using what they learn, build more Gargoya. Across the Splinterlands, they have established workstations to grow their numbers and advance their culture, creating Gargoyas of countless sizes and varieties.
Their ultimate goal is to avenge their fallen brethren, rebuild their home, and see to the defeat of the Chaos Legion.
So I went with a basic buff-looking Gargoyle, but since he's a scrapper, I decided to give him some boxing gloves and Muay Thai foot wraps. Nothing is scarier than a kick boxer with wings.
Here's the process for this dude:
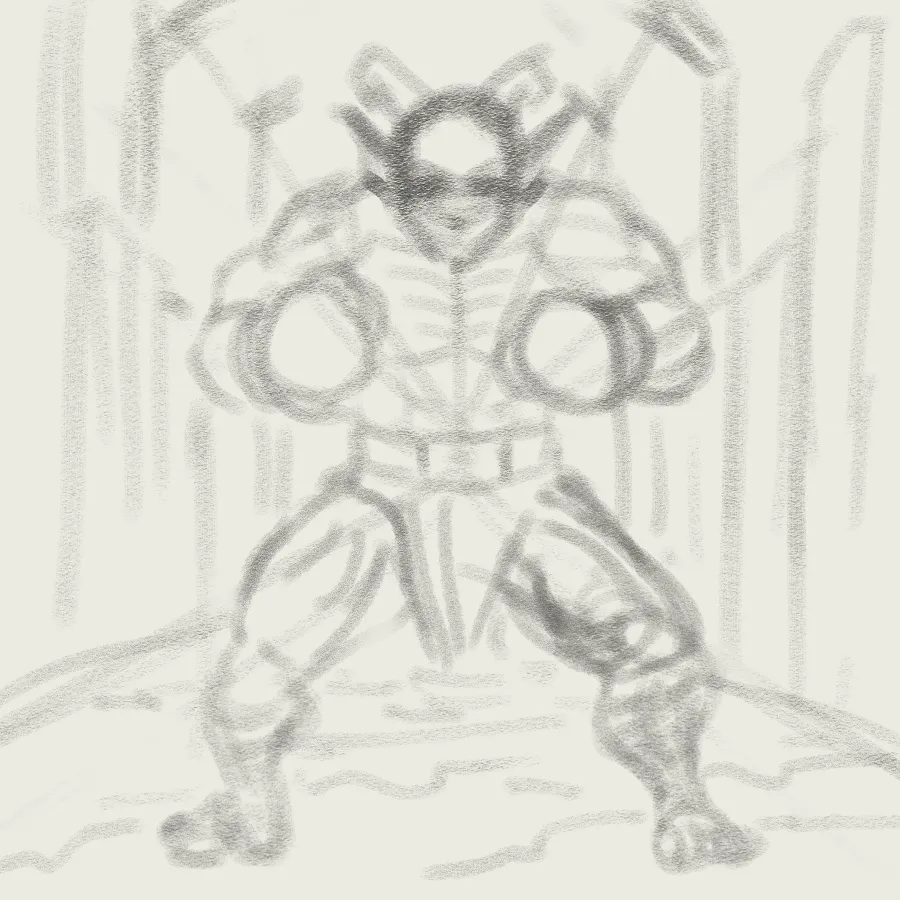
1.Rough sketch. I use black pastel and just roughly lay out the figure.
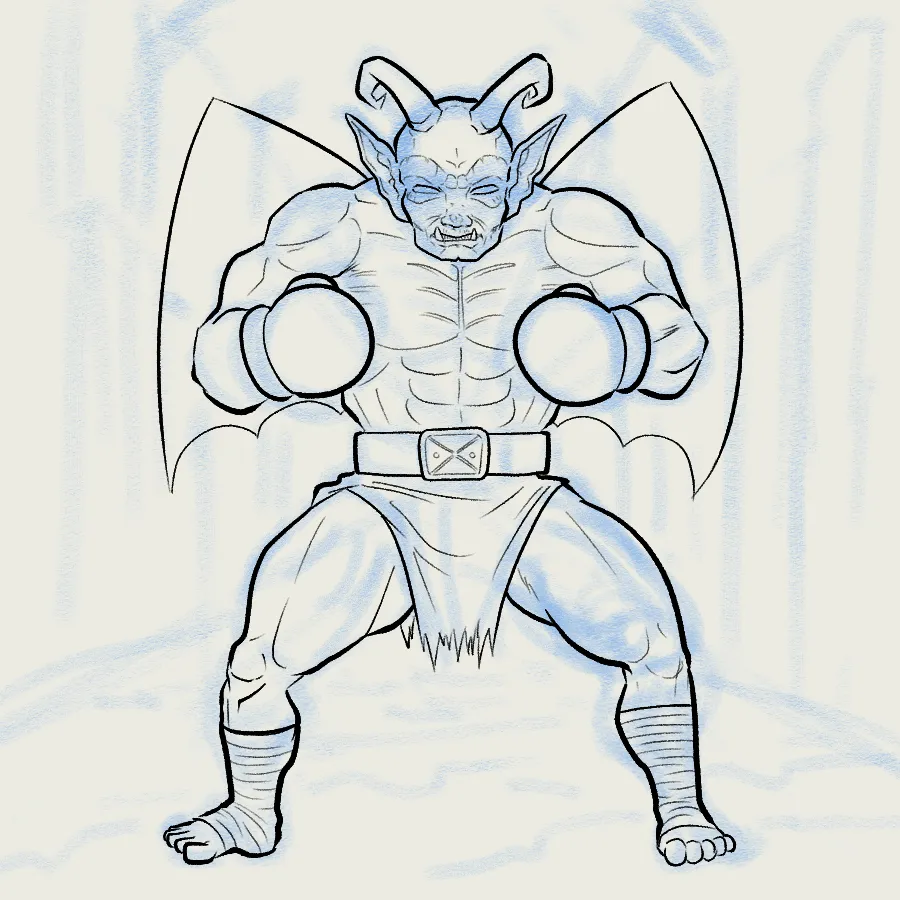
2.Line art. I convert the rough layer to blue so it's easier to trace over the image. I used the basic G-Pen tool and drew him comic-style. Thicker lines for the silhouette and thinner lines for the interior of the body.
3.Flat colors. Used the fill tool mostly to color it in, like one of those paint by number apps. I kept the colors roughly the same as the original, blue skin, purple wings. A bit bright right now, but after shading that should tone down the flamoyancy.
4.Shading. There we go. I did something that the pros say not to do, I just did all the shading with the airbrush tool. I can see why, it does look a little bit sloppy compared to most finished art.
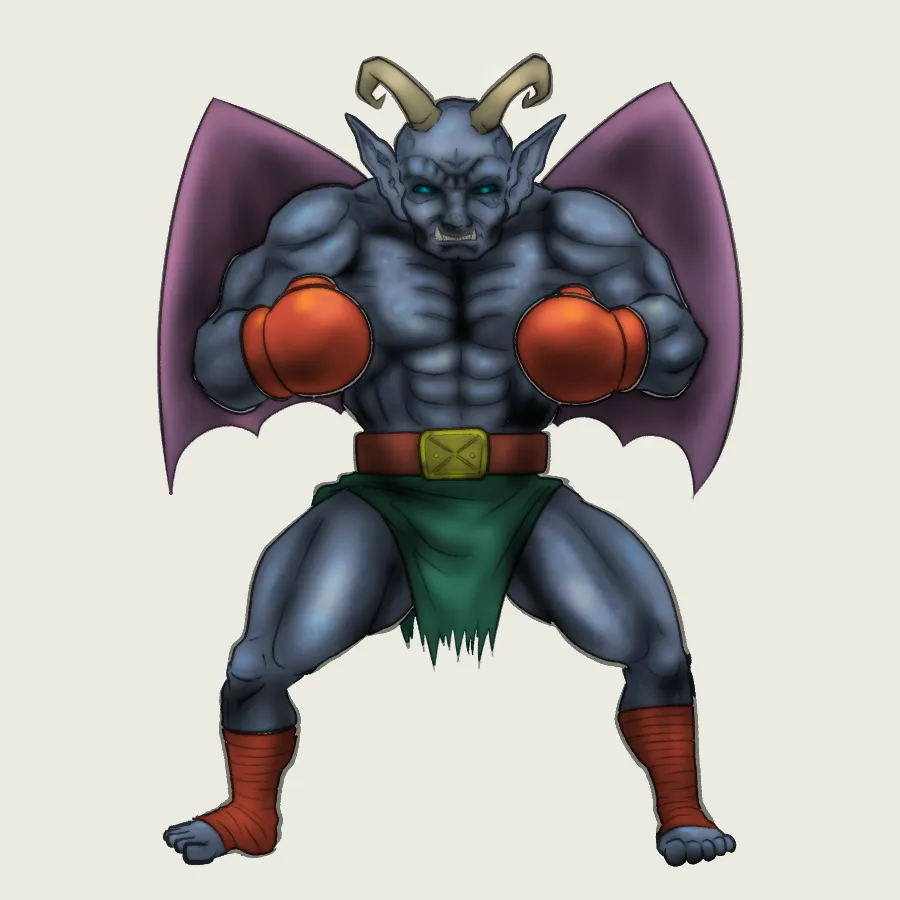
- Highlights and textures. Created a new overlay layer to add in some reflected light and also pale, glowing eyes. I also tried out a few different texture brushes to try to make the skin look more stony. Doesn't really pop that well, I think...
6.Background. At some point I must have accidentally merged the background line-art layer to the color layer, so I can't show you what this looked like before adding a rough color layer. I used the perspective ruler tool to create a vanishing point right about where his belt buckle is and did a 1-point perspective interior that looks vaguely look the inside of a cathedral. Used a "cracks" brush to make the floor look cracked, but later I blurred the background, so it looks more like a marble floor instead.
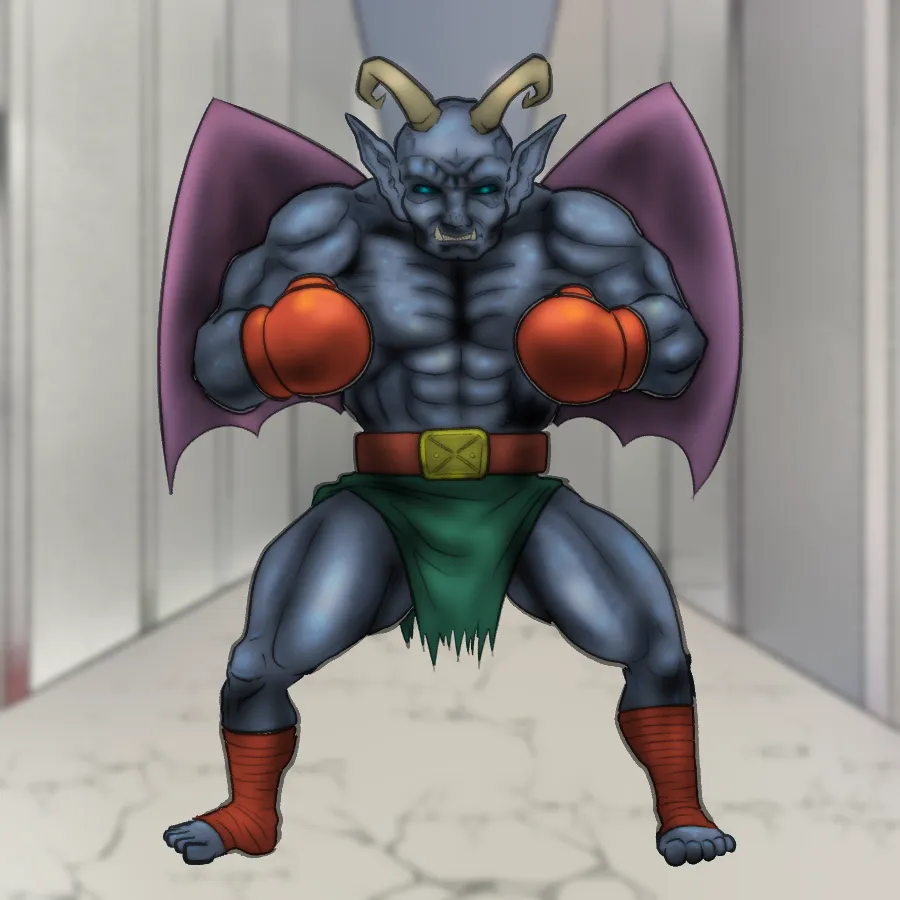
7.More background. Added in an additional layer of color because the background looked too vanilla.
8.Shadow. This is an easy tricks. Just duplicate the flat color layer, move it to a layer beneath the figure. Then paint the entire thing black. Use the free transform tool to adjust the perspective. Then reduce the opacity of the shadow layer to about 50%. Then give it a rough swipe with a transparent air brush tool, to make the shadow a little bit fainter the further it is from his body (the head and wings). Also, sign my initials in the bottom right corner.
That's it.
Create in Clip Studio Paint Pro on my Microsoft Surface Pro 7+. Here is the timelapse video (click on the link, not the image):
https://rumble.com/v6x1zty-gargoya-scrapper.html?mref=18dagn&mc=d3obe
