Unfortunately, the steemit platform is not a great GUI . To non-programming users, there are few tools by default that makes formatting a post easy. But for anyone with HTML or CSS knowledge, some lines of code could make the whole difference on the appearance of a post. Let me show you those few lines of code.
Text Aligments
In word processing, there are basically three types of text alighnment. There are: Left, Center and Right. Left Alignment: By default, steemit aligns text to the left. That is why the left side of your writeup looks neat and straight, but the right side looks unarranged. That is what left alignment does. Check the image below, the paragraph was aligned left:
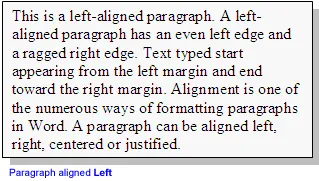
Image source
There is no need to use code to align text to the left because, that is the default setting in steemit.
Right Alignment: In right alignment, the right side of your writeup appears straight and neat while the left side looks unarranged.
Justify Alignment: In this type of alignment, the left and right edges of the text is lined up in a straight line. The computer does this by automatically adding extra spaces to the texts in each line to make them have equal width. This is the type of formating used in magazines and newspapers as it makes the texts appear neat and tidy.
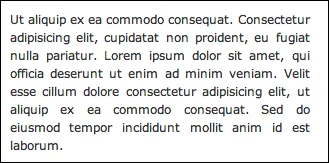
You must have realized that I used this type of alignment for this post and you probably loved it. So let me show you the piece of code that does the magic.
How to set text to Justify Alignment
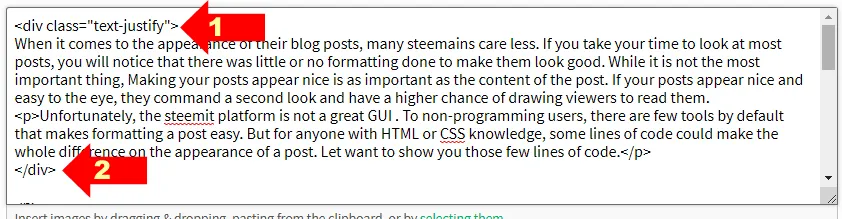
Explaination: The opening of the code is the arrow labelled 1. Type everything as it appears there. The arrow labelled 2 is the closing of the code. Everything written in-between the opening and closing of the code will have "Justify" alignment. Easy. Simple.
How to center texts
You will also notice that my heading texts are aligned center like the one above this line. To center texts and make them bold, see the image below:
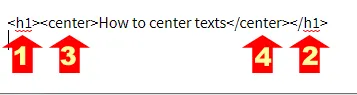
Explanation: In the picture above, using the two codes labelled 3 and 4 will make any texts written in-between to have center alignment. Adding 1 and 2 will make it a heading text with a center alignment. The center tags (labelled 1 and 2 above) can be used for texts, images or videos
Extending it
In newspapers and magazines, some pictures are aligned left and text is written on the right side of the same column or vice versa like this illustration below:
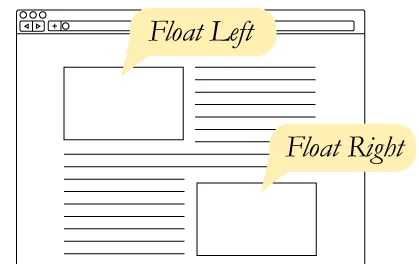
image source

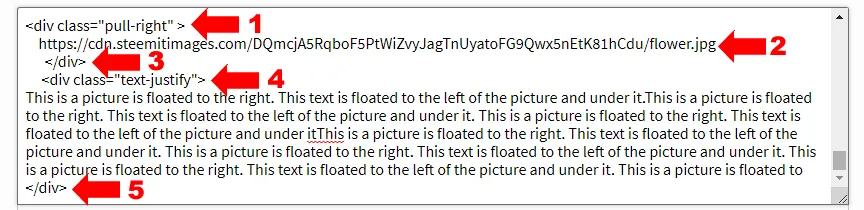
Explanation: Lets explain the function of each line of code labelled 1 - 5 above.
This opens the container for the image and pulls it to the right. It simply means that any image or text inserted into this container will take the right side of the column. Note: If you delete "right" and write "left", the image or text takes the left position.
This is the image that will be pulled to the right.
This is the closing of the image container
This opens another conatiner where the text will be placed. It will place the text to the right or left depending on the position of the image (If the image takes left, the text takes right and vice versa). However, the text alignment is "justify".
This is the closing of the container for the text.
Conclusion
I hope you understood the lesson. And I hope your next post will look neat and tidy. Just take your time to learn it and you will be glad you did.
If you have any questions, drop them as a comment. If this post was useful, resteem it to help others learn.