Hello Everyone!
Today I would like to make a simple tutorial on how to create a blog divider using Canva App.
I used the pro version Canva App. There are 30 days of free trials for the pro version.
I made this tutorial to fulfill a request from my favorite curator @minismallholding 😎
STEP 1

- Click Create a design menu
STEP 2
- Click Custom size menu
STEP 3
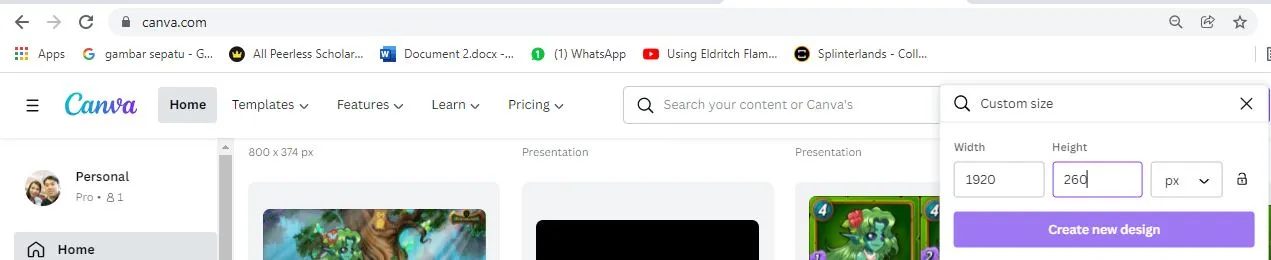
- I usually set 1920 for the width and 260 for height. After that click Create new design.
STEP 4

- Click Uploads menu in the left side then click Upload media. Select the image from your computer.
STEP 5
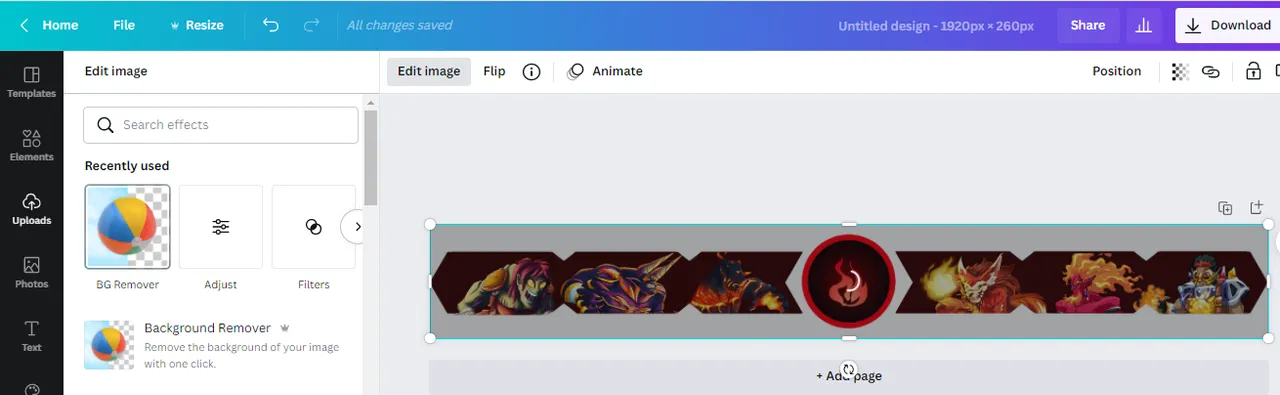
- Click the uploaded image first and click Edit image then click BG Remover to remove the background on your image ( if needed ). This feature is only available for the pro version.
STEP 6

- Adjust the position of the image as desired. There are cross lines to help position the image in the center.
STEP 7
- Click Elements menu then click Lines & Shapes. You can select the shapes that you like.
STEP 8


Place the selected shape on the left and right sides.
Position the shapes in the center ( follow the guidelines ).
STEP 9

- Add another shape to create different shape styles.


- Make sure the position of the additional shapes is the same.
STEP 10
- Click the Color menu and change the color of the additional shapes into white color.
STEP 11

- Upload images that you want to put in the divider. You can put text, logos, etc as well. Adjust the image and fit it to the divider.
STEP 12
- Click Download menu and select PNG on the File type menu then click Download.
STEP 13
- After that, you need to upload the downloaded image to the canvas again.
- Click Edit Image menu and click BG Remover.
STEP 14
- Click Download menu and tick the Transparent background then click Download.
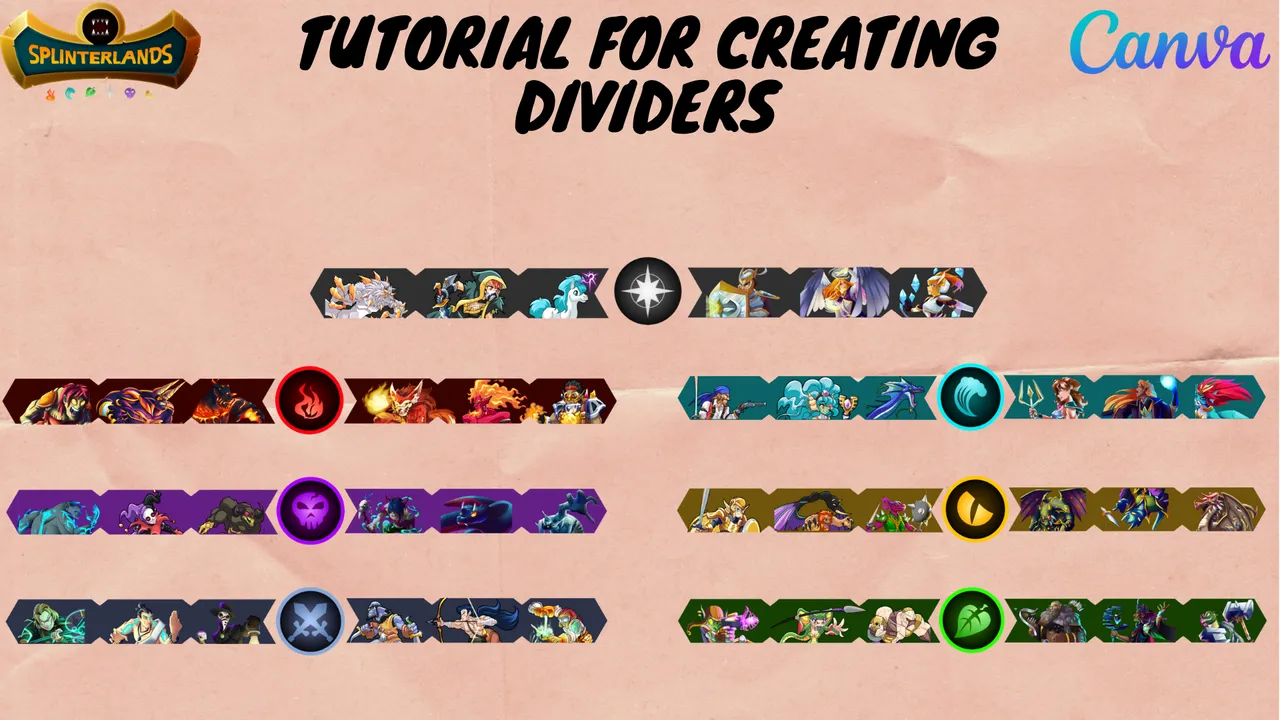
RESULT

FYI, some of the features used to create the divider are only available in the pro version, namely the background remover, transparent background, resize, specific shapes, etc.
I hope this tutorial can help you guys a bit to make a blog divider.
CREDIT
Thumbnail is made using Canva App