How To Trace Image In Adobe Illustrator | Tutorial | Step By Step
Hi Guys, Most of you may know about Adobe Illustrator, if not it is a software that is currently best for illustrations or drawing. It has various options that can give your illustrations a perfect look. This is also the software most of big graphic designers use.
To start off you first need to learn how to trace, This is first step after some efforts and training you can draw your on illustrations.
Today I'm going to show you a simple way in which you trace images.
Tracing
Step 1:
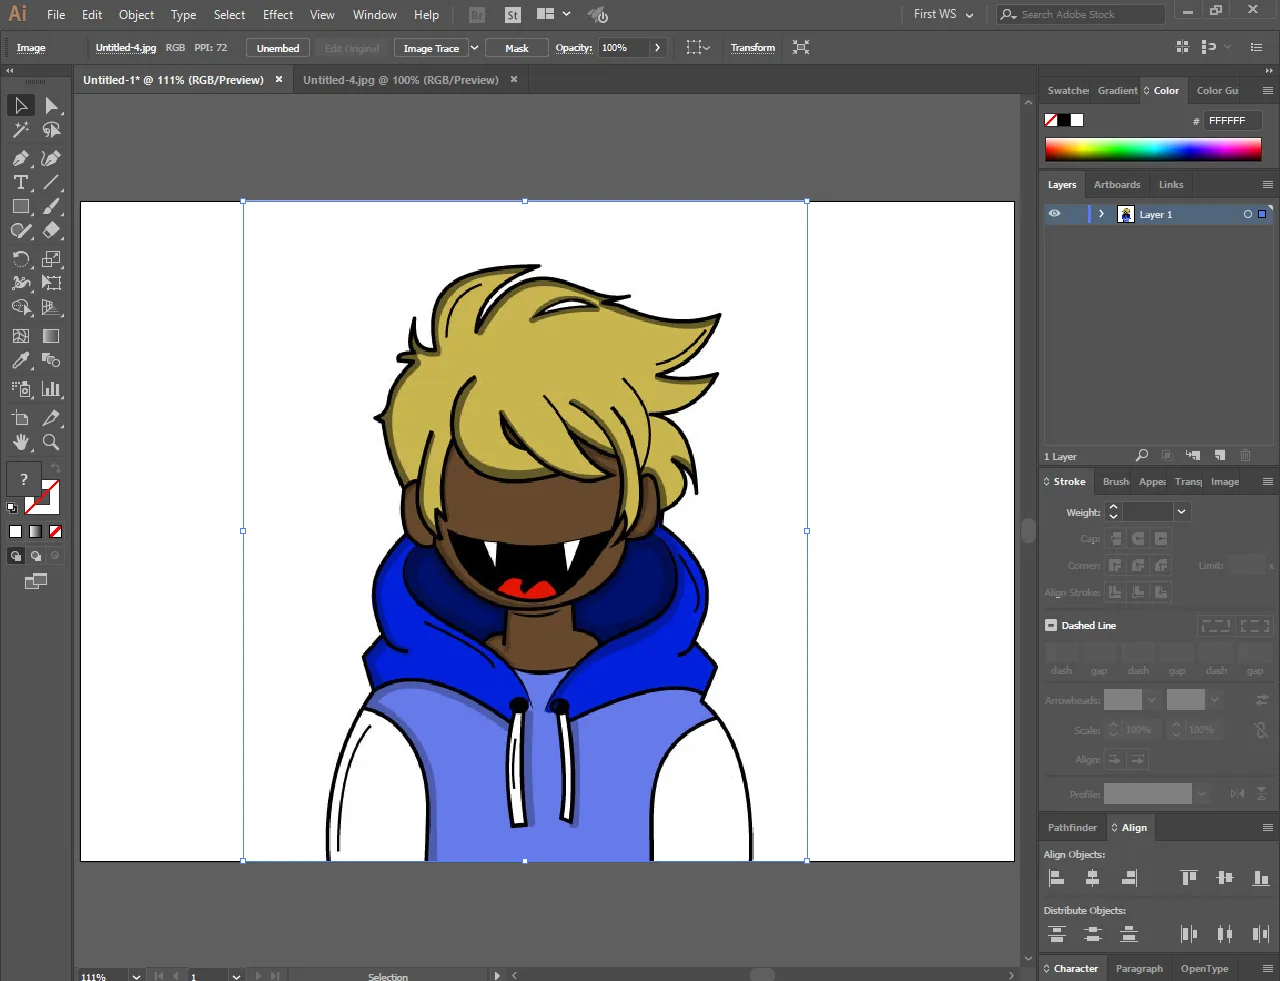
First you will need Adobe Illustrator and a image that you want to use, I'm using Adobe CC 2017 and My own profile picture for tracing.
Step 2:
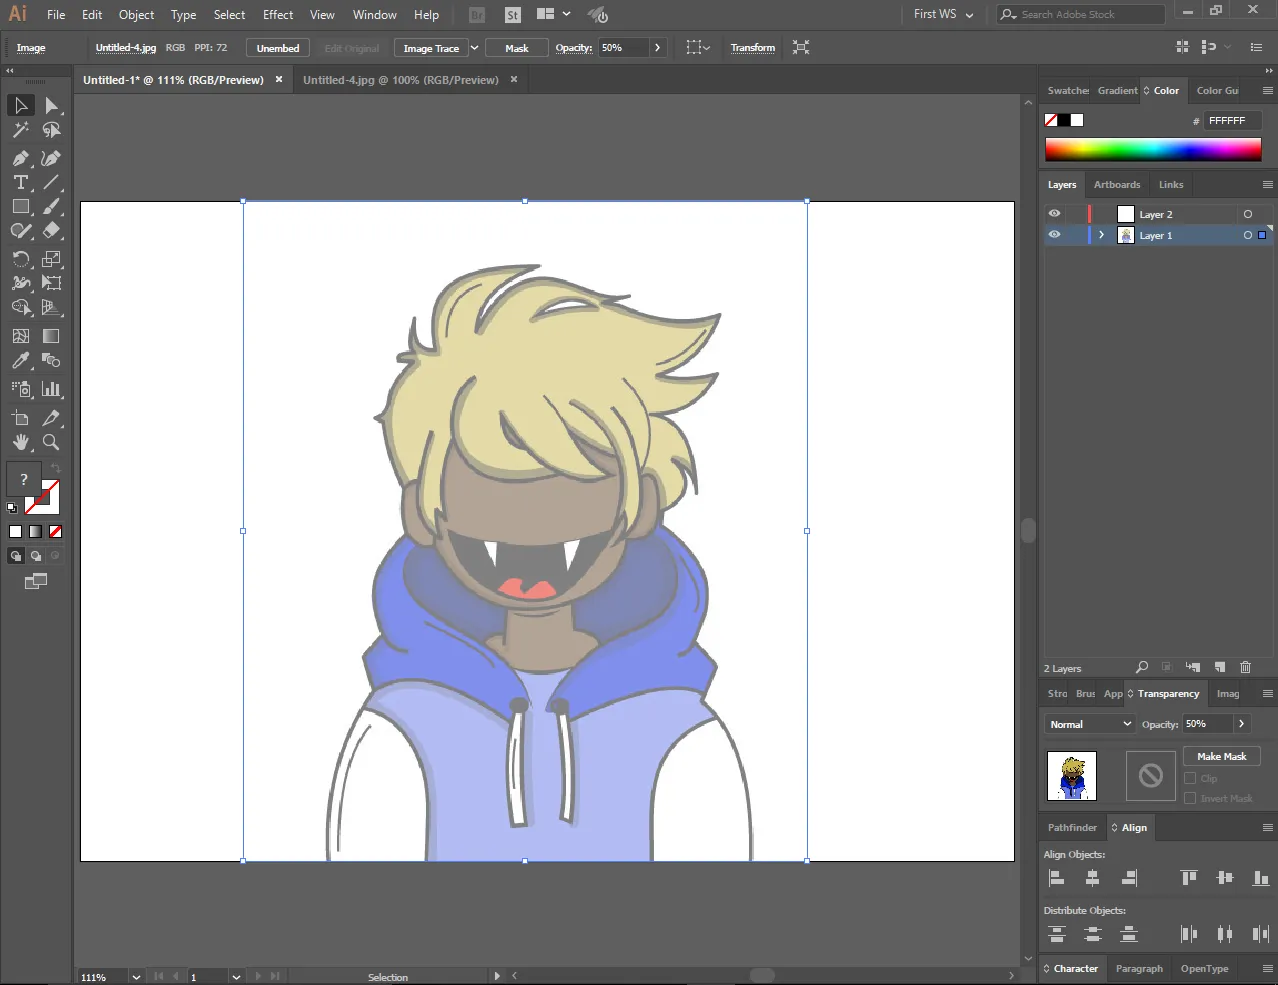
After placing image set it's transparency to 50% or whatever suits you. You can change transparency from transparency tab if you don't have it just press ctrl + shift and F10.
Step 3:
Then create new layer and lock the layer with image.
Step 4:
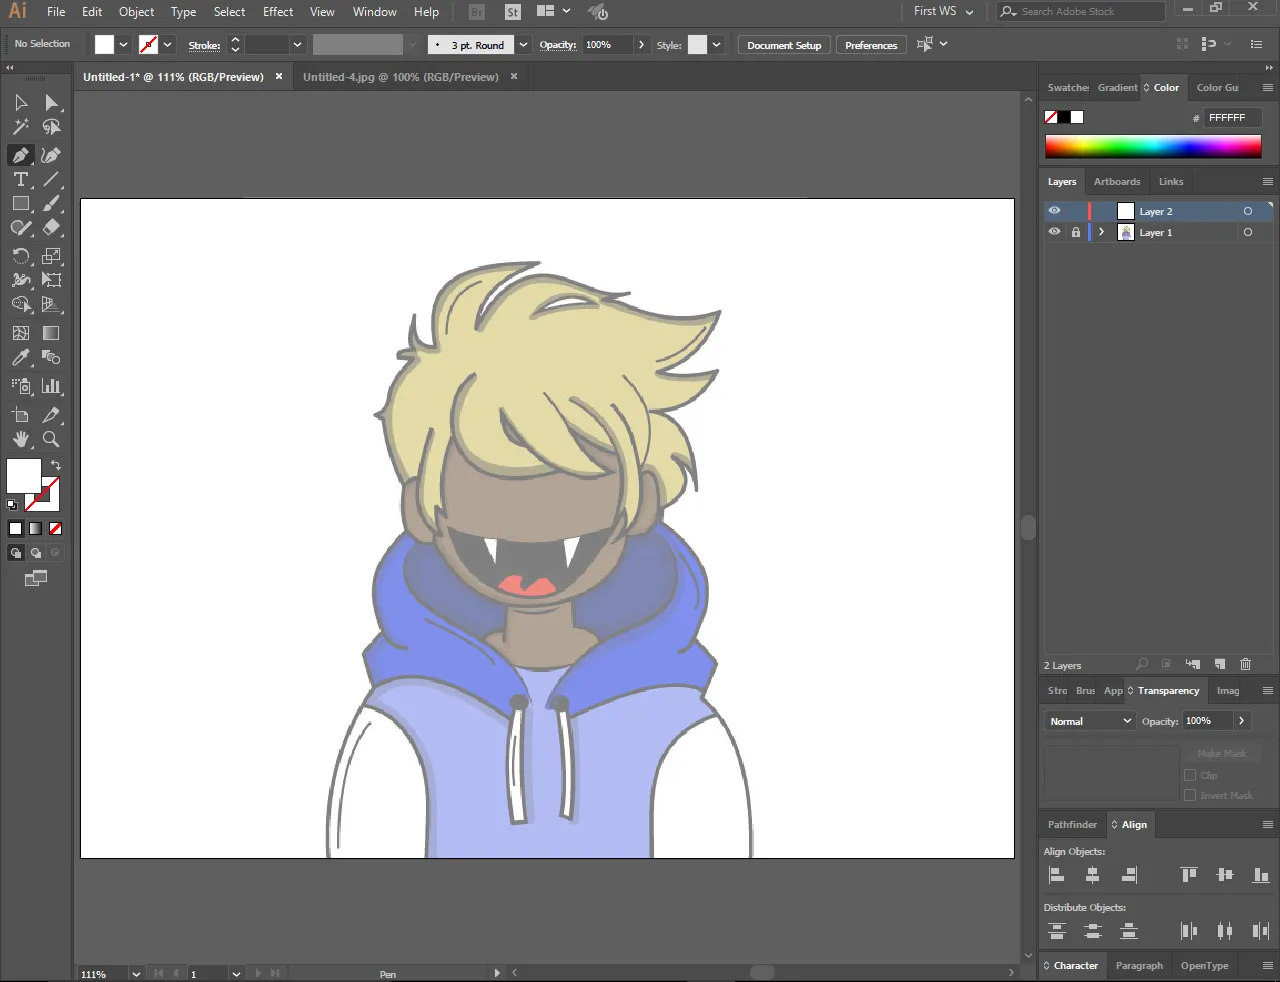
After going to new layer that you created, select pen tool. It is what I use for drawing. Also set your stroke weight to any amount that suits you, I most of the time set stroke weight to 3 because it looks cool and makes coloring easy. Make line after setting everything up!
Step 5:
When you have made first line, select anchor point tool which you can select by pressing shift + c. With this tool you can add curves so go ahead curve the line.
Step 6:
Add lines and then curves, like that first make all of the outlines.
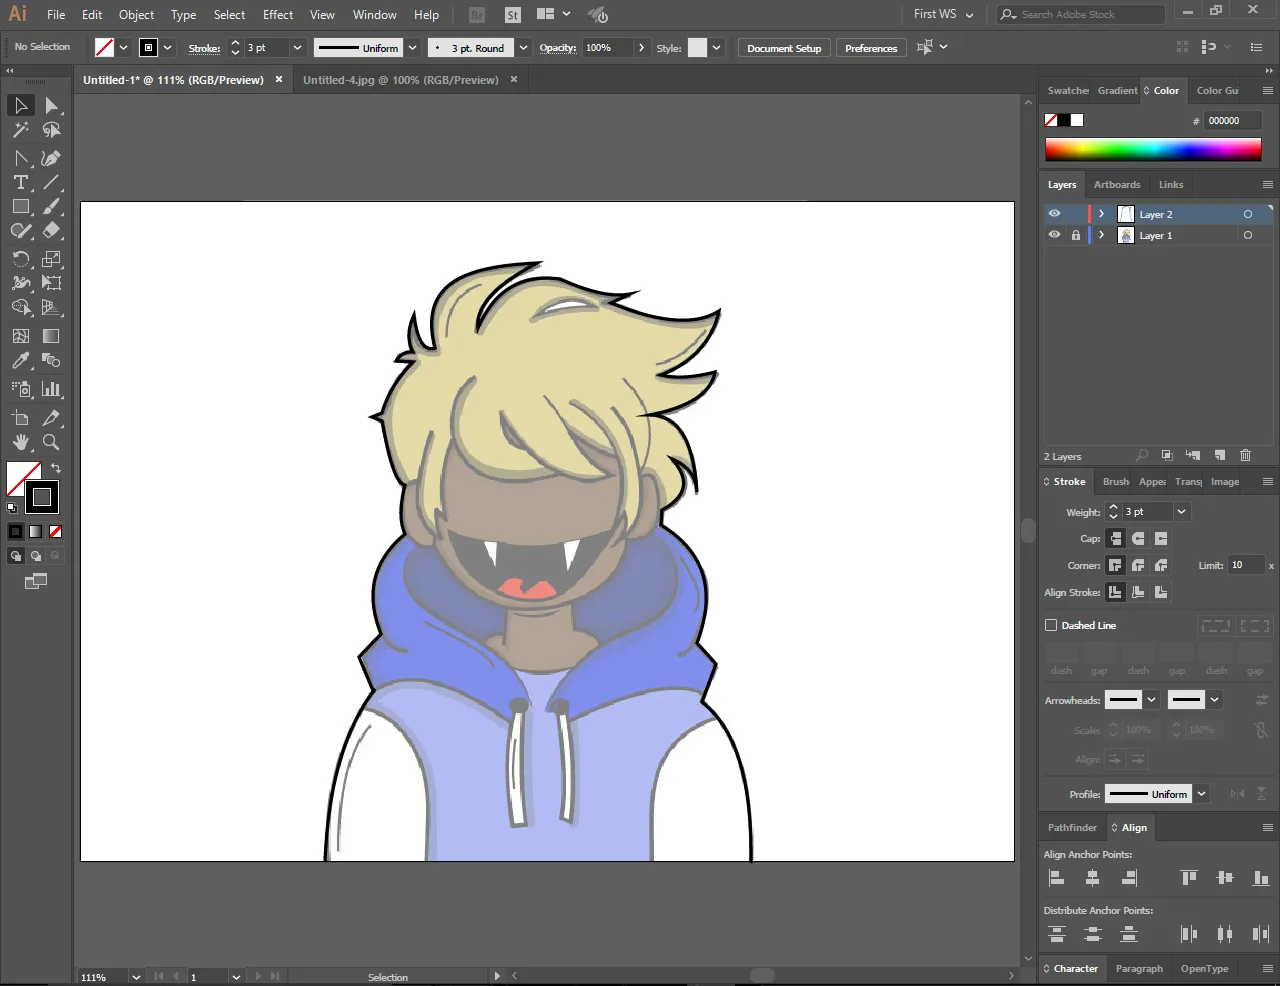
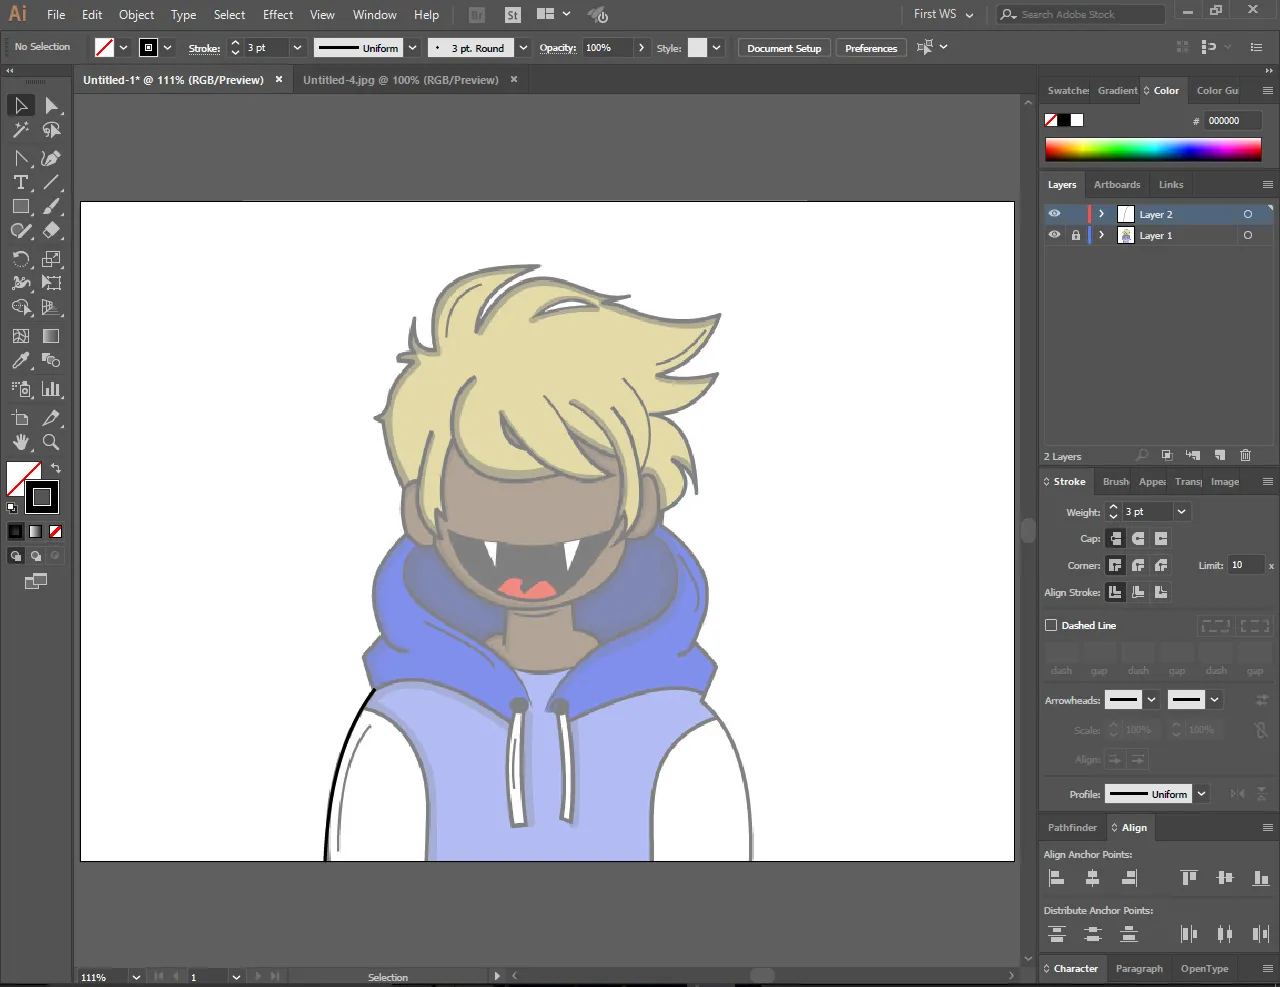
Step 7:
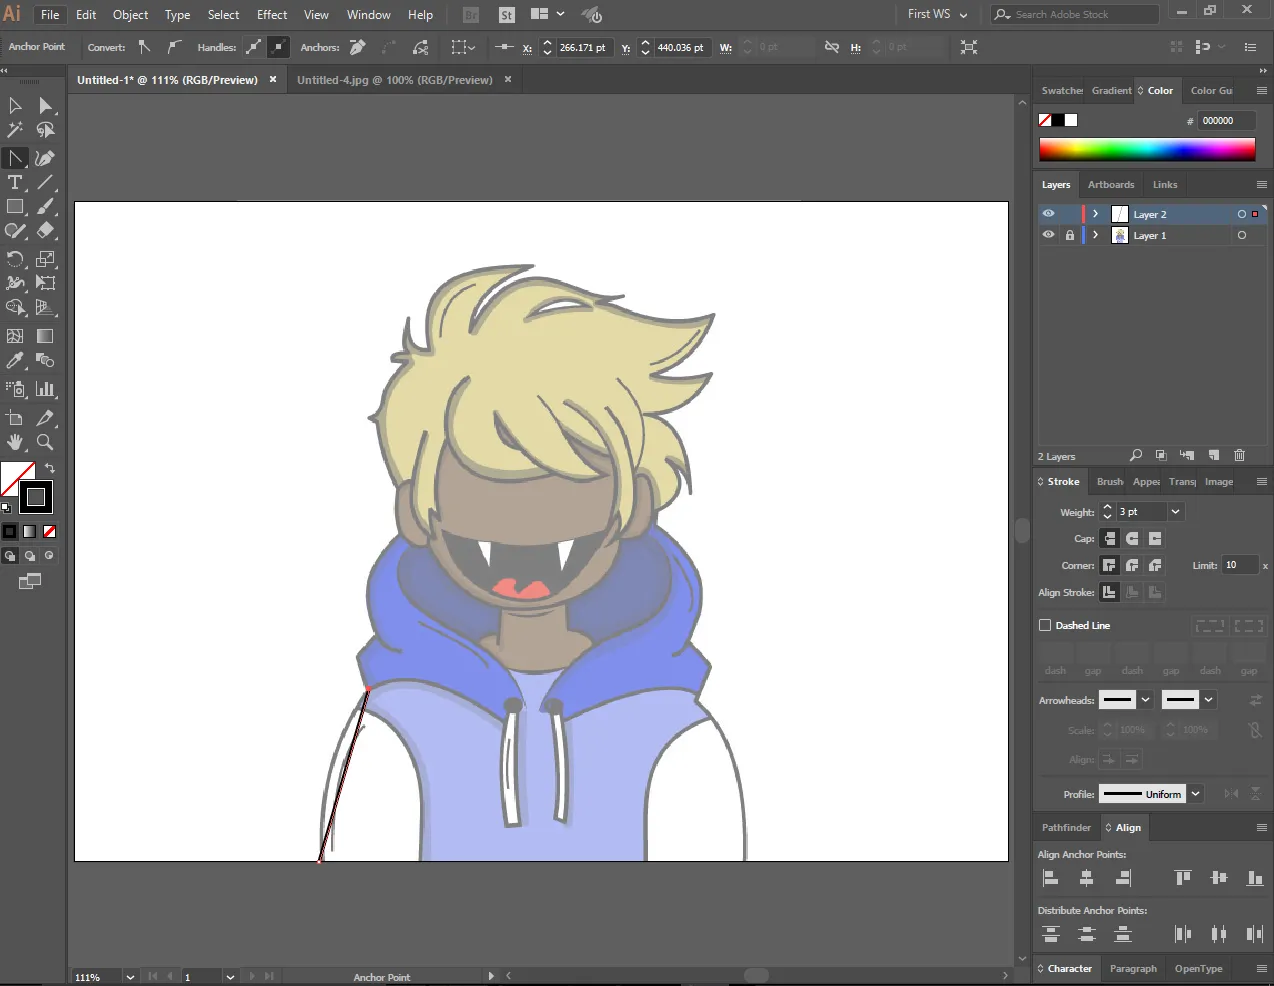
After you have done outlines, eventually go in and do inside part. Do coloring after you have made drawing, I'm gonna make a whole another tutorial on coloring so follow me for upcoming tutorials! This is gonna be final product.