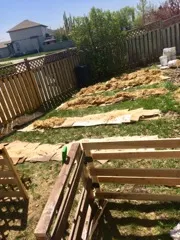
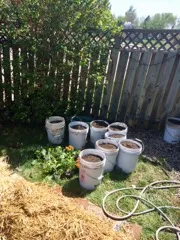
A moment if you will, for what was my first garden patch. In full growth, in it's second and final season with me 💖
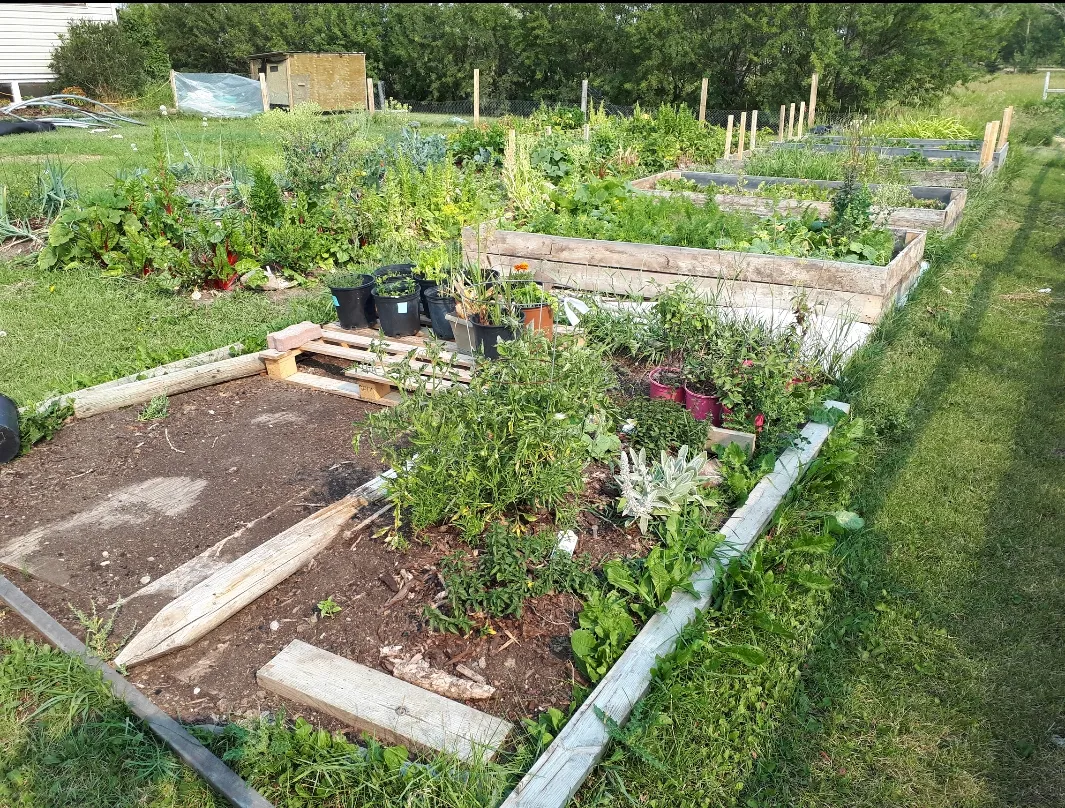
This garden patch was started out with no experience! And, basic research into permaculture principles. I was very inspired by the #growfoodnotlawn movement. Against my research my ex- husband & his friend at the time, 'HAD' to rent and use a tiller to create the foundation. So, they started it that way. And, we cardboarded the entire plot. Collected very well aged soil from the floor of a very old barn. I think it was composted horse manure. And, purchased one truck load of garden mix soil from a local nursury. We took to filling wheel barrel upon wheel barrel of the dirt and made huge plots. We grew in these plots. And, used wood bark mulch in between the plots. It worked really well. Was very labour intensive. Lots of weeds grew but they were very easy to remove. I made the plots too wide. It was difficult to reach the whole area easily. The second season, we added more plots. Purchased another truck load of garden mix, and were able to add the raised bed boxes in the pic. We got the dirt and boxes from a friend who was leaving the country. Again, lots of labour to set it up! I found the boxes to dry out too quickly in our climate. They're very water intensive which is very tricky when water is not easily available. Again, the boxes were too wide to reach easily into the middle. Lots of lessons learned. Thank-you sweet garden for all of your teachings 🙏💖💜💙💚💛❤
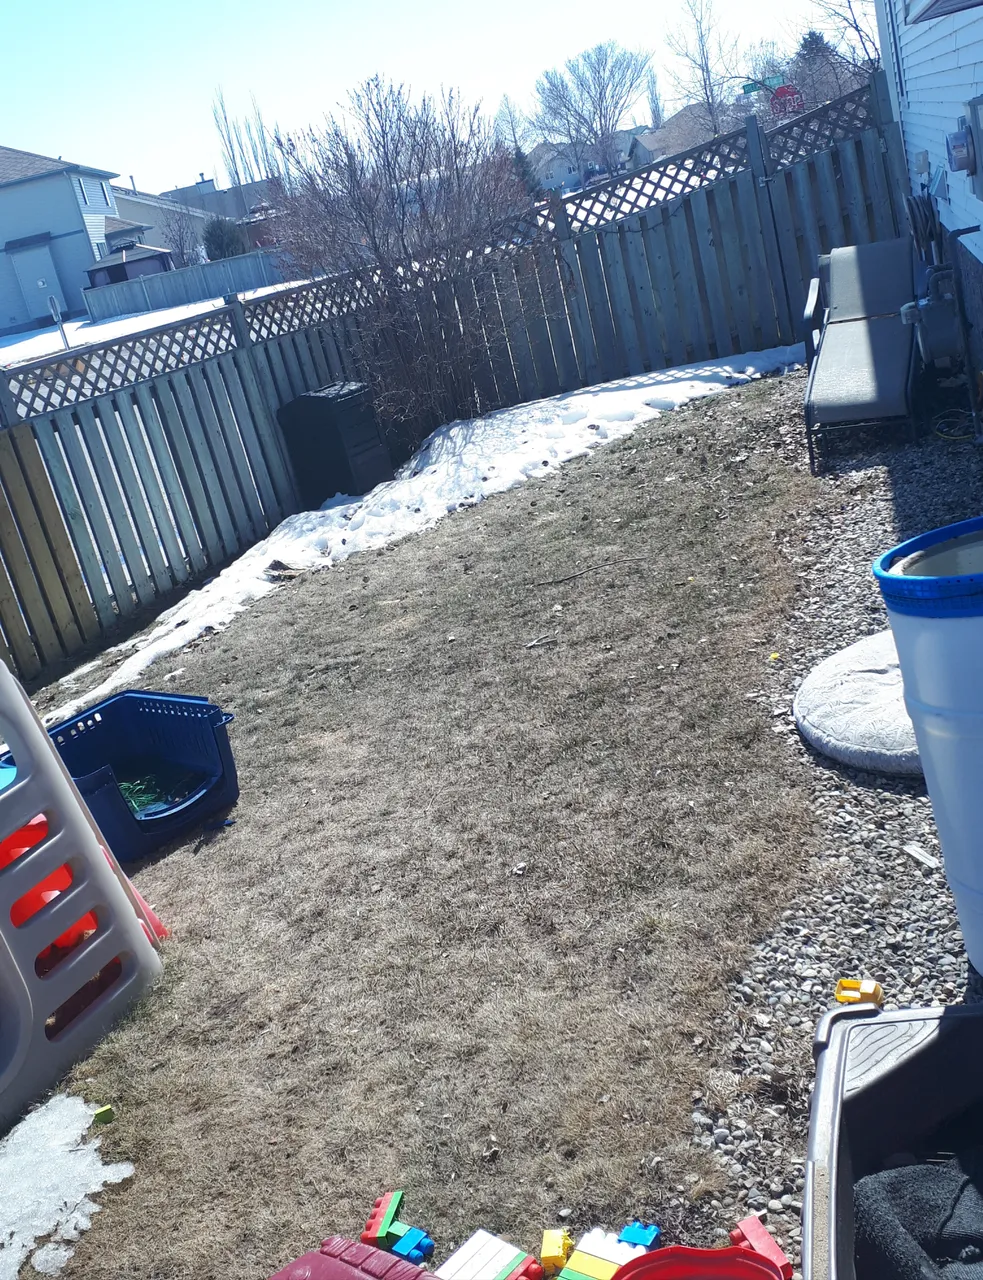
The idea for the new garden was inspired by this sweet garden. My sister saw that it worked! She was impressed and inspired. She wanted to #growfoodnotlawn too! The ideas started to percolate!! This is the garden area April 4th, 2018 earlier this season. It almost seemed gardening would not even be possible with the deep snow and extreme cold at the time!

I happened upon a great video by Geoff Lawton. It was about 'the simplest way to build a garden'. I was totally inspired! Shared the idea with my sister.
The idea was:
Step 1: toss compost on the ground
Step 2: toss manure on the ground
Step 3: layer cardboard
Step 4: pile up mulch of any type 6" thick
Step 5: create little nests in the mulch.
Step 5: scoop a handful of dirt into the nest
Step 6: plant in the dirt
It seemed simple. Logical and relatively less labour intensive then my previous garden. Now, to wait! For the ice & snow to melt! We had a good pile of kitchen scraps collected over the winter. We just needed manure, cardboard, mulch, soil some seeds & bedding plants.
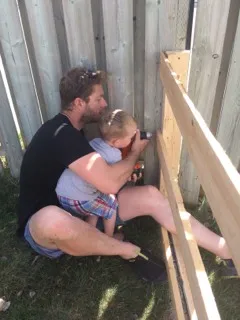
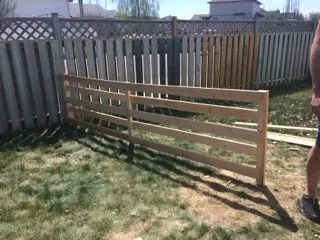
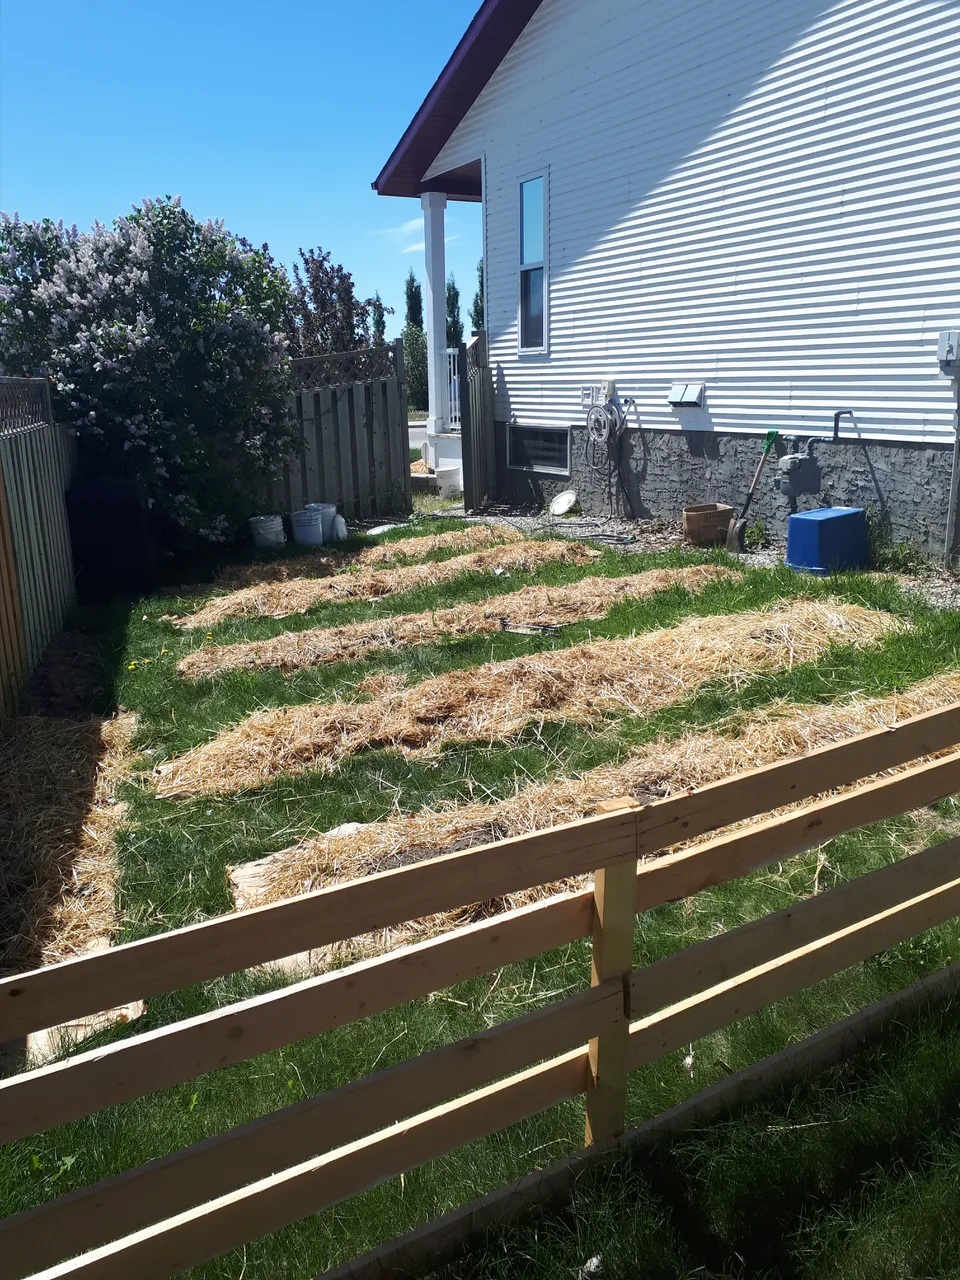
The snow began to melt!! We also needed a fence. To keep the dogs out of the garden patch.
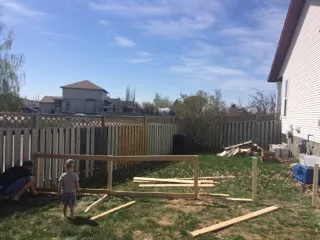
Up went the fence!
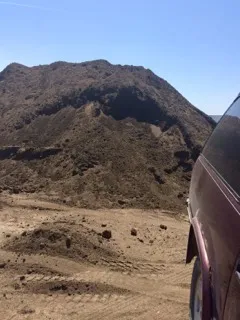
We collected oodles of cardboard from the local recycling facility. It was my nephews favourite part of the day to visit the dump! Haha We chose straw for mulch, and you can also see the boxes of manure we got by contacting a friend with horses.
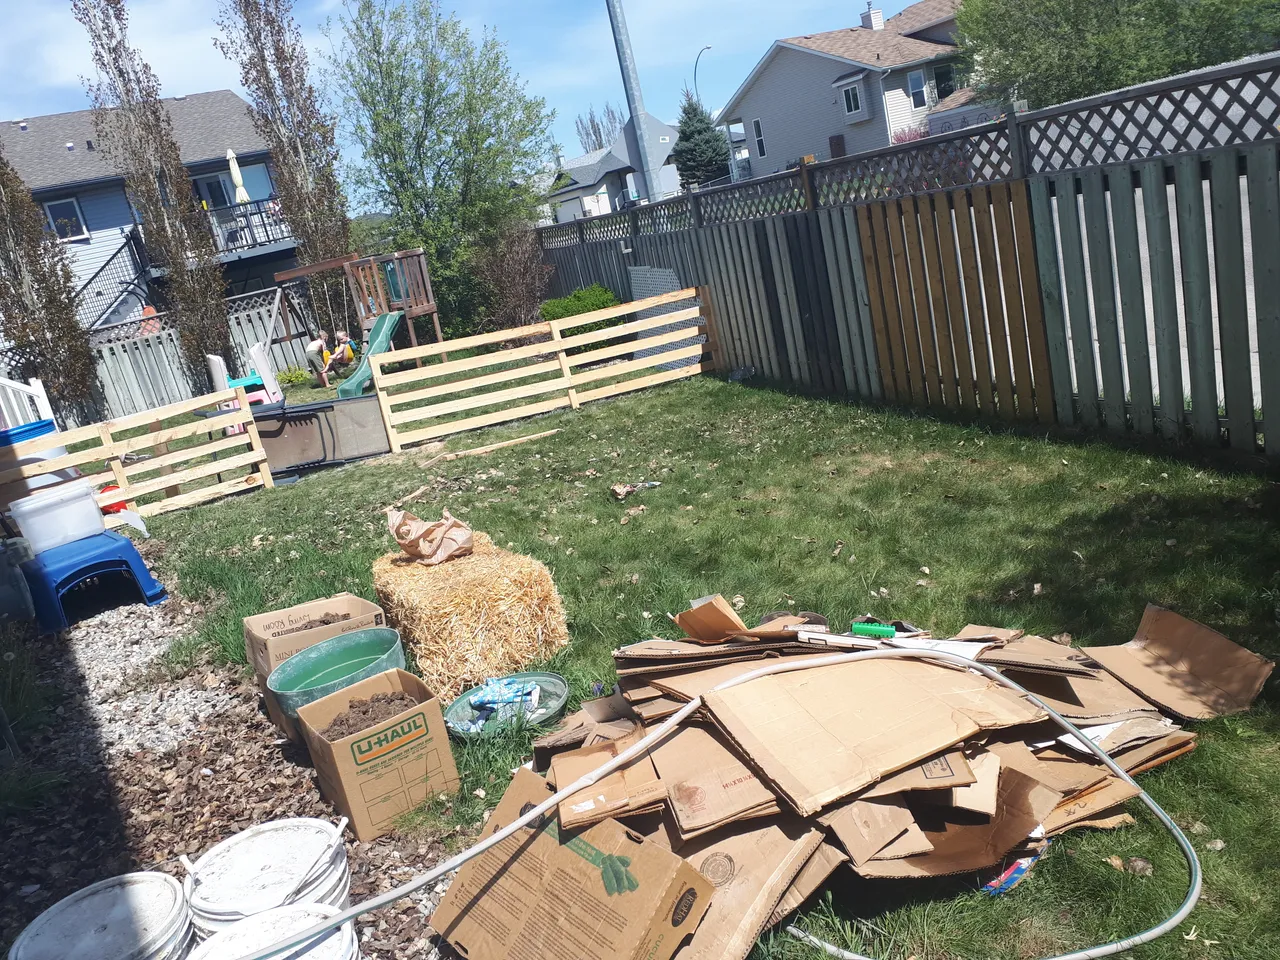
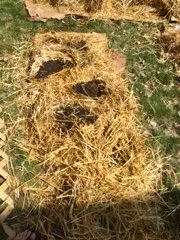
We plopped the compost and manure right on the grass!

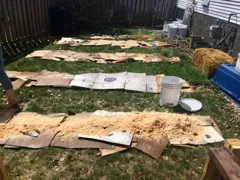
Put down the cardboard, many layers!

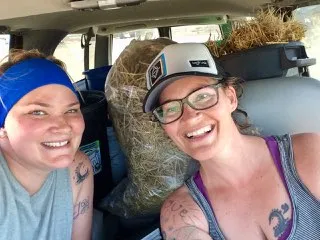
Being sure to keep the rows fairly narrow. Then, we added the straw. This was all quite light work. We laughed so much! And, had so much fun!!!! It was really awesome 😁

Next came the dirt!
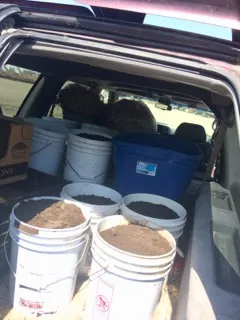
Buckets of dirt! This part was way more tiring! LOL But a helluvalott (sharp t) funnier 😂🤣😂
After we rested, we got to making the nests in the straw and added our handfuls of dirt.
I was AMAZED at how little dirt we actually needed to use. In some areas we made troughs in the straw, then added the dirt. We planted potatoes, onions, garlic, carrots, peas, beans, and bedding plants of squash.
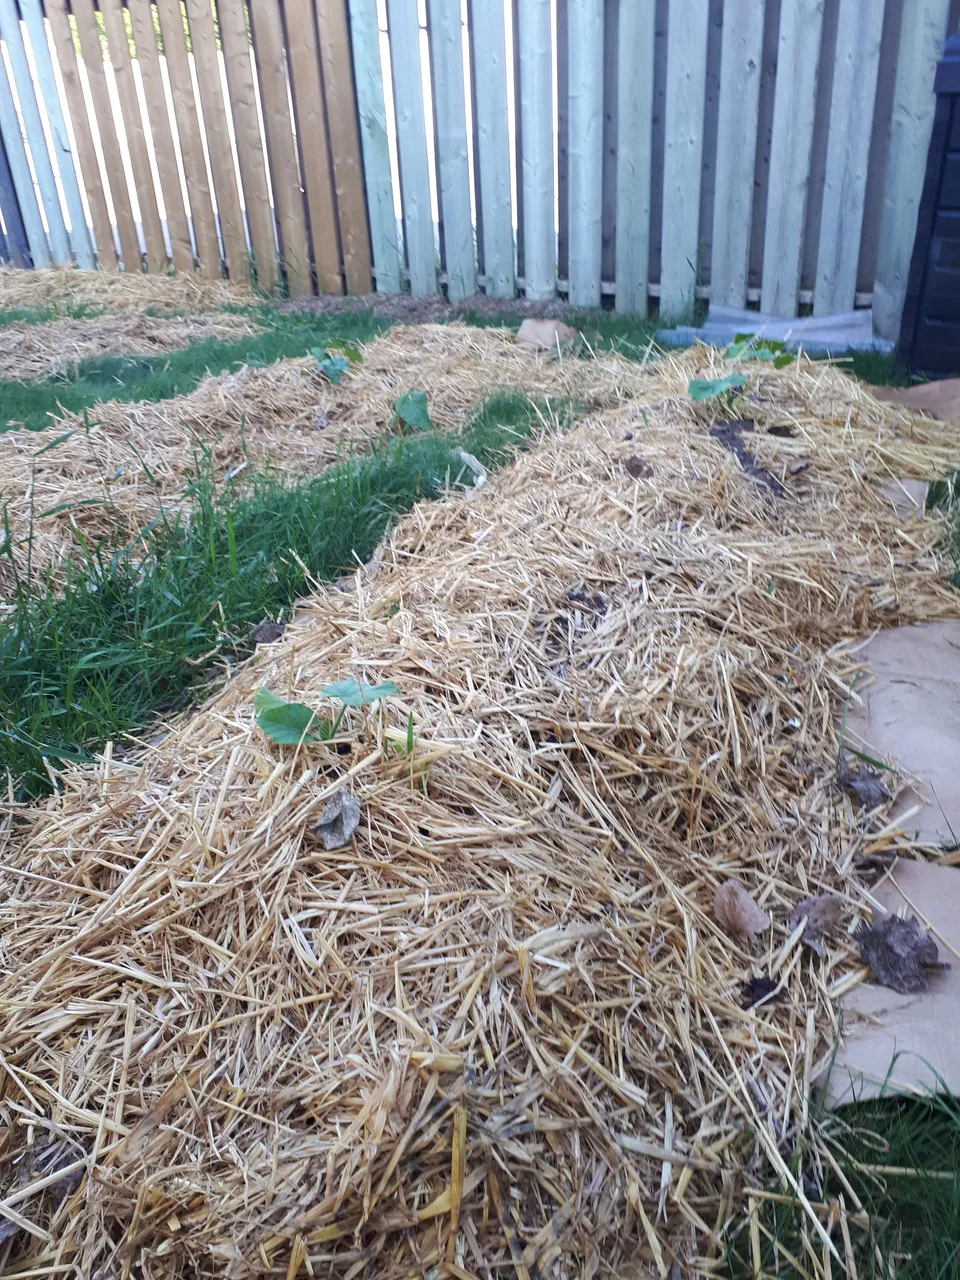
I am amazed too by the water retention. The plants all seem to be sprouting up!! So far so good 💚💚💚
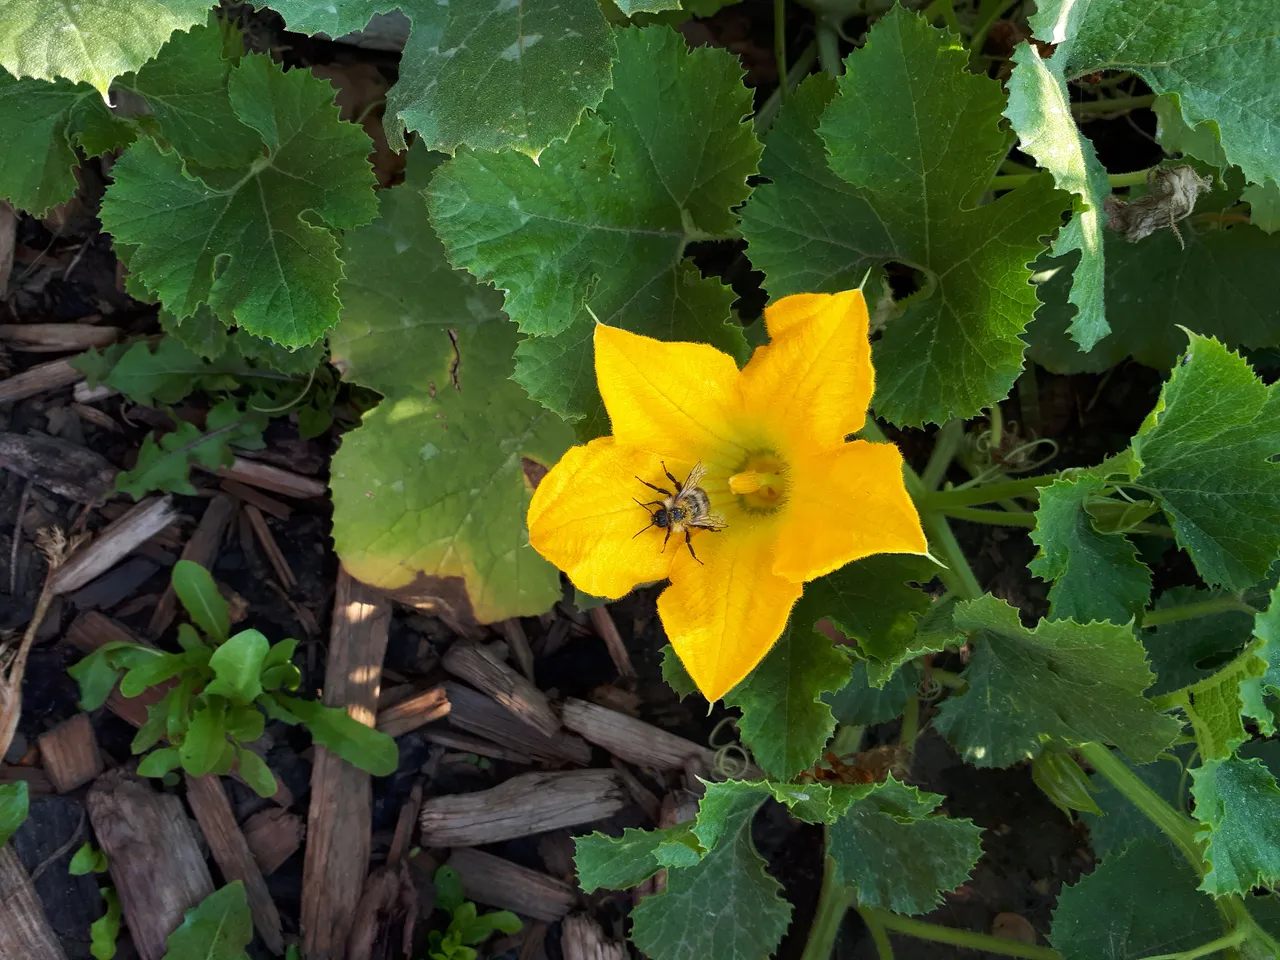
Here's our garden today!

My whole exploding heart ❤ ⬇️⬇️⬇️⬇️⬇️
Grow Garden Grow!!


@asapers banner by @shai-hulud
Virtue Circle & Stewards of Terra Mater banners by @harvardhomestead
All other photos and banner are by me. 🌹
Join in on the Ulog Movement!! Learn more about it here 💜💜💜