Repository
Using the ProgressBar.js Library on an Application in GitHub
What Will I Learn?
- You will learn creating an application using
ProgressBar.js. - With the ProgressBar you will learn how to create
lineandcircle. - With
javascriptyou will learn the process of finding the current date in the desired format. - You will learn to find the difference between two dates with JavaScript.
- You will learn
localStorageoperations.
Requirements
Difficulty
- Basic
Tutorial Contents
In this article, I will show you how to use the Progressbar.js library with an application.
I will create an application that takes a specific time and a limited number of applications, and show the remaining time and the remaining application dynamically to the end user using Progressbar.js.
So we'll show a very stylish warning instead of showing a warning to the end user text. This will show your system better to the end user.
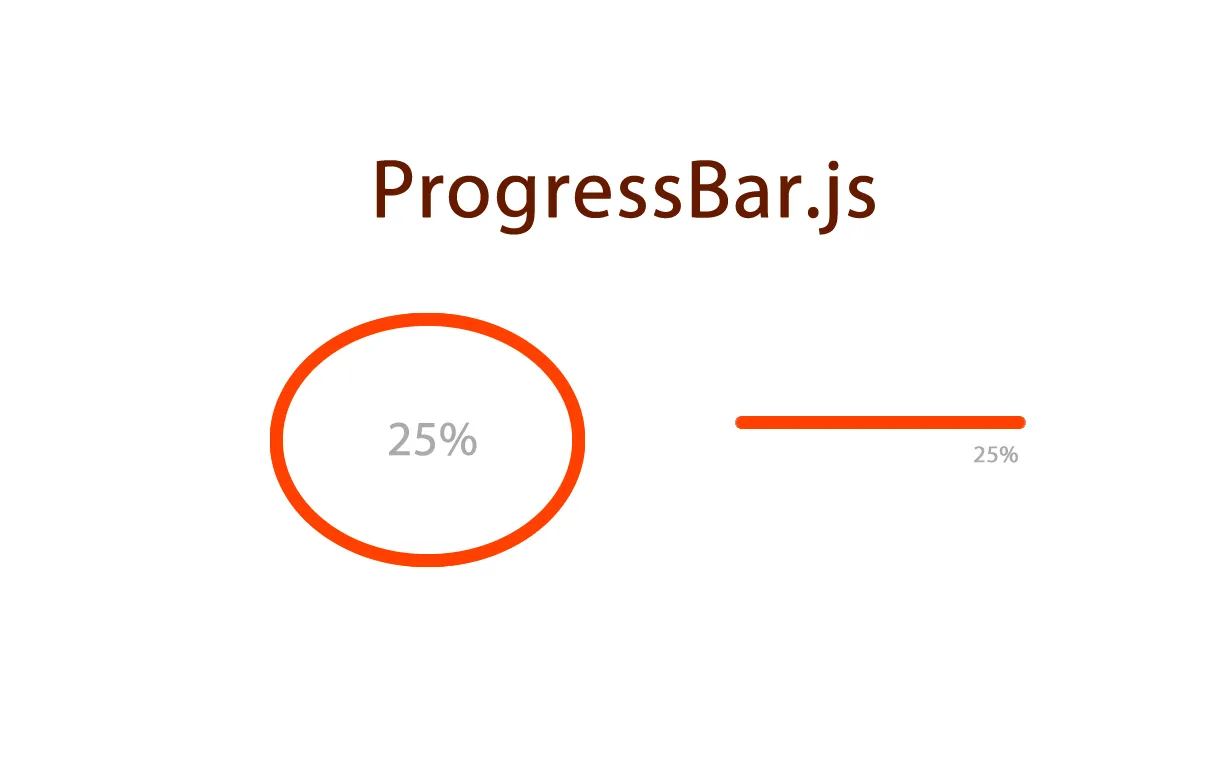
Let's first talk about what we can do with progressbar.js.
With ProgressBar.js we can build very stylish progress bars, which can be line, circle, semi circle and custom structures.
You will learn how to make the highest level of line and circle application in this article.
Let's start building the application.
The first step we'll make is to create our application's global template. We need to determine what to do with this template and build application build phases.
The first step, we must design our page. We have to create one jumbotron class and we have to show the elapsed time with the line progress bar here.
Then we should create a form field to accept the applications and show the occupancy rate of the quota with the circle parogressbar.
Using npm, let's start building our application by downloading the folder where Progressbar.js files are located.
npm install progressbar.js.
So the node_modules folder is created.
Besides, you can download it in your Jquery files.
npm install jquery
I include it to the index.html page in the Jquery and progressbar.js files along with the bootstrap cdn for the design.
<head>
    <meta charset="UTF-8">
    <meta name="viewport" content="width=device-width, initial-scale=1.0">
    <meta http-equiv="X-UA-Compatible" content="ie=edge">
    <link href="https://stackpath.bootstrapcdn.com/bootstrap/4.1.2/css/bootstrap.min.css" rel="stylesheet"
    integrity="sha384-Smlep5jCw/wG7hdkwQ/Z5nLIefveQRIY9nfy6xoR1uRYBtpZgI6339F5dgvm/e9B" crossorigin="anonymous">
    <script src="./node_modules/jquery/dist/jquery.min.js"></script>
    <script src="./node_modules/progressbar.js/dist/progressbar.min.js"></script>
    <script src="script.js"></script>
    <link rel="stylesheet" href="style.css">
    <title>Progressbar</title>
</head>
I also included custom script file and style file.
Design Page
name, surname and e-mail address, I will request 3 fields from the end user.
I will list these submissions on the page and show the occupancy rate of the quota on the screen with circle progressbar.
<body>
    <div class="container">
        <div class="jumbotron">
            <div class="row">
                <div class="col-md-4">
                    <p id="pTime">Elapsed Time:</p>
                    <div id="containerLine"></div>
                </div>
            </div>
        </div>
        <div class="row">
            <div class="col-md-4">
                <p>Application Form</p>
                <form>

                        <div class="form-group">
                                <label>Name</label>
                                <input type="text" class="form-control" id="inputName">
                        </div>
                        <div class="form-group">
                                <label>Surname</label>
                                <input type="text" class="form-control" id="inputSurname">
                        </div>
                        <div class="form-group">
                                <label>E-mail</label>
                                <input type="email" class="form-control" id="inputEmail">
                        </div>

                        <button type="button" class="btn btn-primary" id="btnSubmit">Submit</button>
                </form>
            </div>
            <div class="col-md-4">
                    <p>Applicants' List</p>
                    <ul class="list-group" id="ulList">

                    </ul>
            </div>
            <div class="col-md-4">
                <p>Quota</p>
                <div id="containerCircle"></div>
            </div>
        </div>
    </div>

</body>
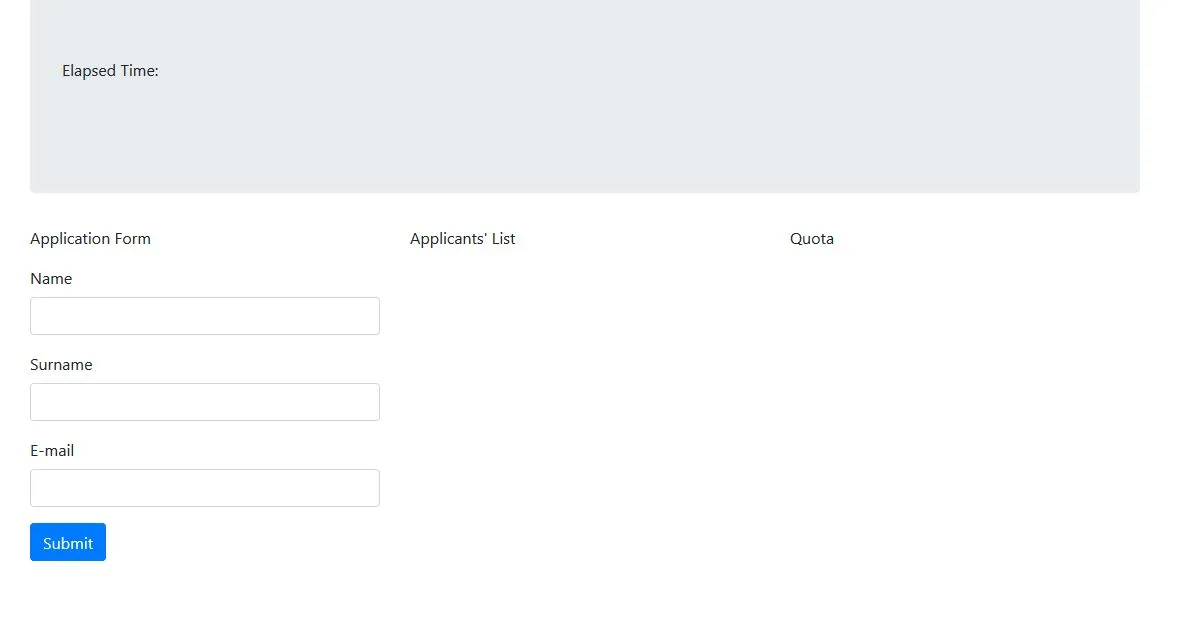
I will use the containerLine field for the line progress bar and the containerCircle field for the circle progress bar. I can access these fields with id.
Screenshot 1
Elapsed Time Operations
In JavaScript, there is no function that returns today's date in year, month and day.
We need to access today's date in the form we want by writing a separate function because we need to figure out how many days are past.
Let's write the function that returns the date of today as yyyy-mm-dd.
In script.js
  function today() {//we bring in today's history
        var time = new Date();
        var months = new Array('01','02','03','04','05','06','07','08','09','10','11','12');//list of months
        var date = ((time.getDate()<10) ? "0" : "")+ time.getDate();
        function convert(number) {//year translation
          return (number < 1000) ? number + 1900 : number;
        }
        var today = (convert(time.getYear()))+"-"+ months[time.getMonth()] + "-" +date ;//typing using hyphen
        return today;
      }
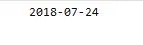
Let's run this function and print the current date on the console screen.
Screenshot 2
We can now set a time limit and find out how many days have passed.
function timeCalculation(){
        var totalTime=50;//total time

        var day = 1000*60*60*24;//how many seconds in a day
        date1 = new Date(today());
        date2 = new Date("2018-08-25");//the last day
        var diff = (date2.getTime()- date1.getTime())/day;//we find the difference as the day
        return diff/totalTime;//Number from 0.0 to 1.0
    }
With the timeCalculation() function we can find the difference.
We can now create a line progressbar using the ProgressBar.Line() function.
The first parameter of the progressBar.Line() function determines the area to work on. The second parameter specifies the properties.
var barLine = new ProgressBar.Line(containerLine, {
        strokeWidth: 4,
        easing: 'easeInOut',
        duration: 1400,//time
        color: '#FFEA82',
        trailColor: '#eee',
        trailWidth: 1,
        svgStyle: {width: '100%', height: '100%'},
        text: {
          style: {
            // Text color.
            // Default: same as stroke color (options.color)
            color: '#999',
            position: 'absolute',
            right: '0',
            top: '30px',
            padding: 0,
            margin: 0,
            transform: null
          },
          autoStyleContainer: false
        },
        from: {color: '#FFEA82'},//color starter
        to: {color: '#ED6A5A'},//color finisher
        step: (state, bar) => {
            bar.path.setAttribute('stroke', state.color);
            bar.setText(Math.round(bar.value() * 100) + ' %');
        }
      });
- LineWidth adjustable with
strokeWidth. - With
easing, the line speed is determined. durationis set to start and end times.coloris determined by line color.TrailColordetermines the color of the line trace.- trail width adjustable with
trailWidth. - Set text properties to be written on line with
text. - The color from which the color change starts can be adjusted with
from. - The color at which the color change ends with
tocan be set. stepis used to set the text and color change animation to be overwritten.
We need to use the animate() function to run the line progressbar. The animate() function takes a number from 0 to 1. We subtract 1 to find the elapsed time.
barLine.animate(1-timeCalculation()); // Number from 0.0 to 1.0
Screenshot 3

Adding and Listing Applications
When I click on button, I will transfer the name, surname and e-mail address to one object and I will save this object in array and localStorage. Storage in localStorage helps prevent data loss.
I do need to add to the list after the data is added, so I'll do this with addAppToList() and I'll reload the page after each insert.
var appArray=[];

      $('#btnSubmit').click(function(){
        appArray = localStorage.getItem('app') ? JSON.parse(localStorage.getItem('app')) : []//localstorage control

        //assigning applications to an object
        var app={
            name:$('#inputName').val(),
            surname:$('#inputSurname').val(),
            mail:$('#inputEmail').val()
        }

        appArray.push(app);

        localStorage.setItem('app',JSON.stringify(appArray));

        addAppToList();
        location.reload();//refresh the page
      })
- addAppToList()
function addAppToList(){
var appArray=JSON.parse(localStorage.getItem('app'));//json parsing localStorage data
$( "#ulList" ).empty();//clear
tag
appArray.forEach(element => {
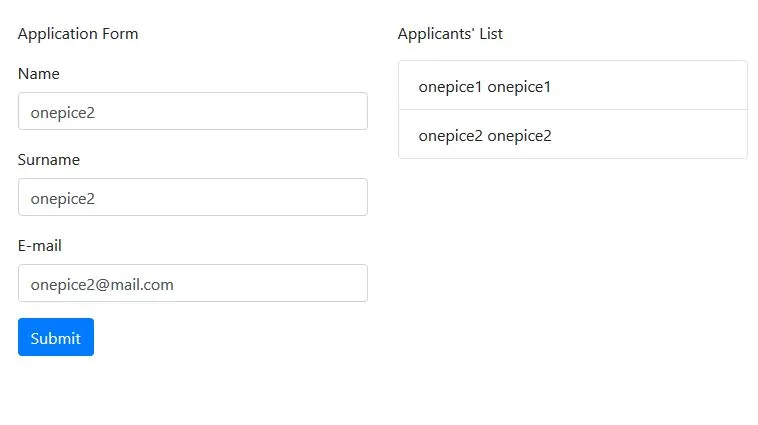
$('#ulList').append(''+element.name+' '+element.surname+'')//Write the data to the tag
});
}
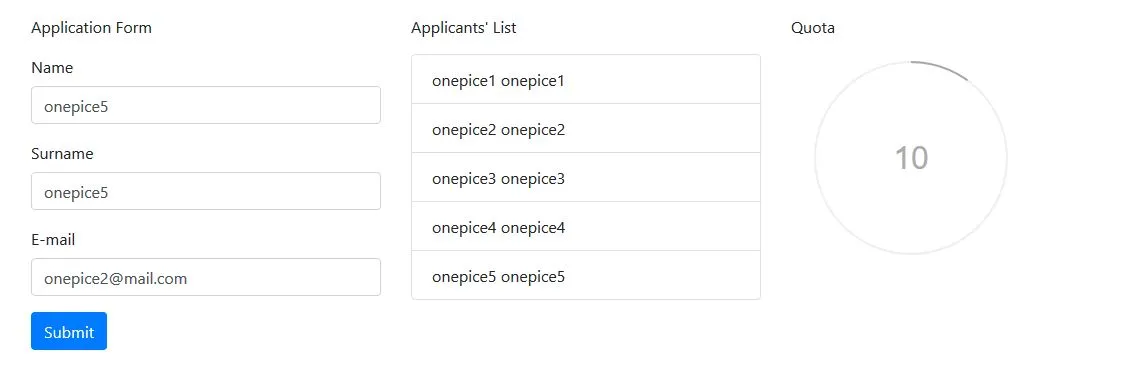
Screenshot 4
Fill Rate Adjustment and Circle Progressbar
Let's calculate the quota with the help of a function.
function solidityRatio(){
var quota=50;
appArray = localStorage.getItem('app') ? JSON.parse(localStorage.getItem('app')) : []
var number=appArray.length;//find number of applications
return number/quota;//find the application rate by quotac
}
The length of the array in localStorage is found and divided by the number that should be. so that the required number of circles was obtained.
The ProgressBar.Circle() function sets the ProgressBar circle.
The setting properties are the same as the ProgressBar.Line() function and are drawn on the screen with the animate() function.
var barCircle = new ProgressBar.Circle(containerCircle, {
color: '#aaa',
// This has to be the same size as the maximum width to
// prevent clipping
strokeWidth: 4,
trailWidth: 1,
easing: 'easeInOut',
duration: 1400,
text: {
autoStyleContainer: false
},
from: { color: '#aaa', width: 1 },
to: { color: '#333', width: 4 },
// Set default step function for all animate calls
step: function(state, circle) {
circle.path.setAttribute('stroke', state.color);
circle.path.setAttribute('stroke-width', state.width);
var value = Math.round(circle.value() * 100);
if (value === 0) {
circle.setText('');
} else {
circle.setText(value);
}
}
});
barCircle.text.style.fontFamily = '"Raleway", Helvetica, sans-serif';//font family
barCircle.text.style.fontSize = '2rem';//font size
barCircle.animate(solidityRatio()); // Number from 0.0 to 1.0
Screenshot 5
Proof of Work Done
https://github.com/onepicesteem/using-the-progresbar.js-library-on-an-application