Hello everyone!
This is my fourth electronic project tutorial on how to create a simple light sensor using the FRITZING software. By the end of this topic, you will be able to learn how to use LDR in controlling the output of certain electronic device. In this topic, we will use LED to be controlled by the LDR. At the end part of this session, I will give the importance of light sensor in our technology today.
Before we begin, let me introduce you the topic
What is a sensor?
It is an electronic device that detects or measure environmental parameters or physical properties, records, indicates or otherwise responds to it.
Materials needed in this tutorial
♦ Arduino Uno
♦ LDR ( Light Dependent Resistor)
♦ resistor
♦ LED
♦ breadboard
Software
♦ Fritzing
Short description for the materials
Arduino Uno --is an open source computer hardware and software company, project, and user community that designs and manufactures single-board microcontrollers and microcontroller kits for building digital devices and interactive objects that can sense and control objects in the physical world.
Light Dependent Resistor –an electronic component that has a variable resistance that changes with the light intensity it detects
Resistor --opposes the flow of current
LED --Light Emitting Diode is a two lead semiconductor light source.
Breadboard --an electronic tool used in constructing a circuit or in prototyping a project
Circuit construction using FRITZING
Open the fritzing
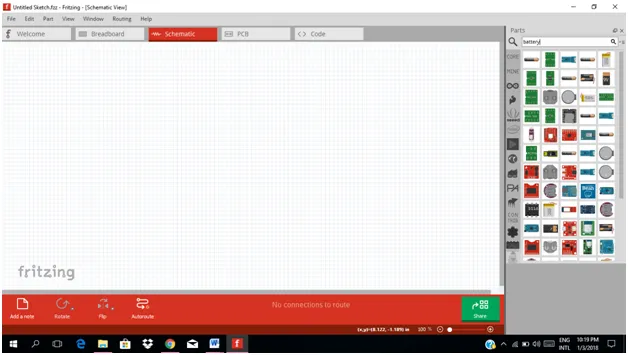
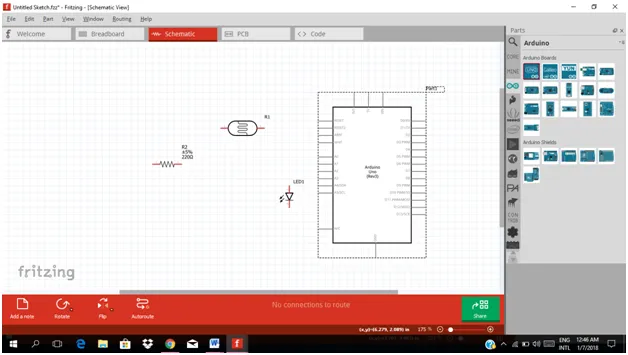
Select all the necessary components needed
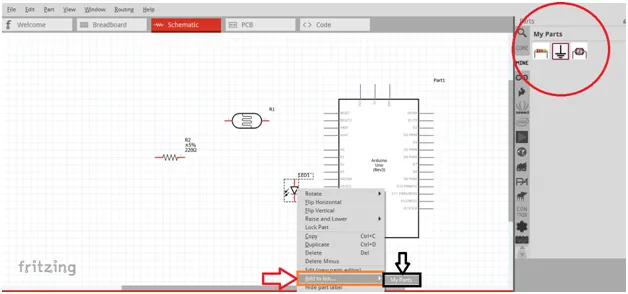
Once you selected all the components, right click each and click add to bin then click My parts. So that all the components will be stored in the my parts
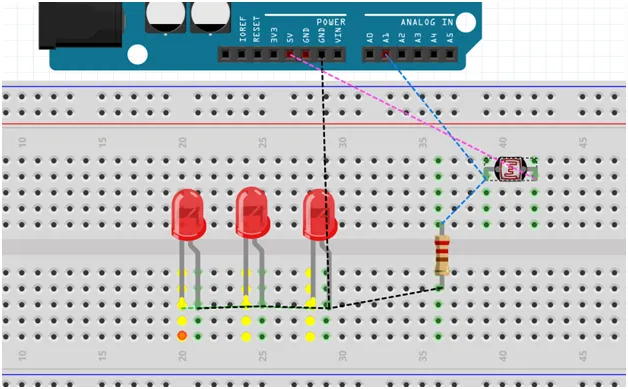
Construct the circuit diagram
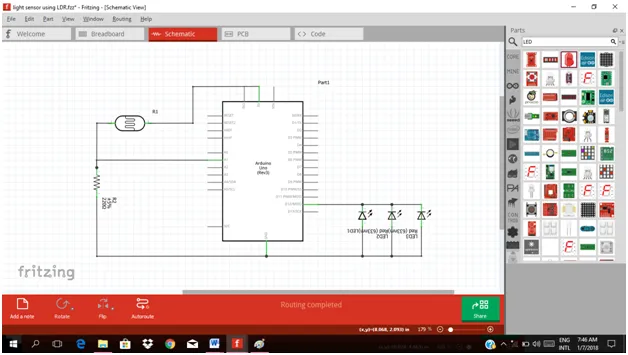
Circuit explanation of how LDR works and how it controls the blinking of the LED lights

As you can see in the figure, the moment the LDR detect lights, its resistance varies with the intensity of light, if there is low light intensity, it behaves with high resistance, allowing a small current to flow, if the light with high intensity, it gives low resistance allowing large amount of current flows and triggers the analog pin A1 of the Arduino Uno.
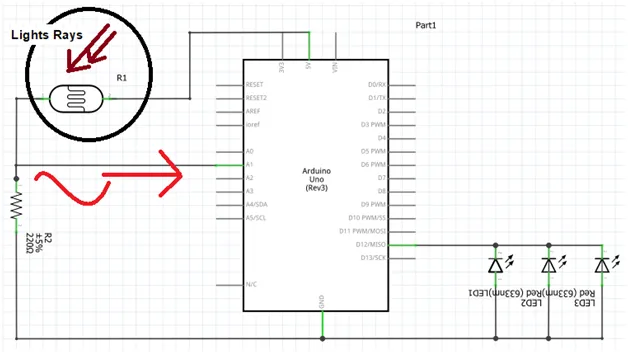
This signal will now trigger the arduino uno to have an output signal at digital pin. no.12 where the LED lights are connected.
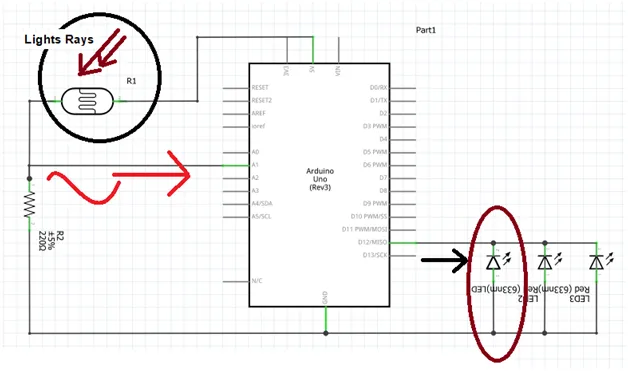
The output of the pin 12 will trigger the LED to blink or to produce lights.
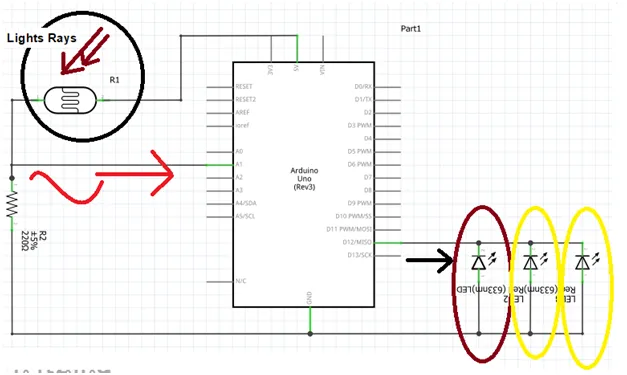
We can put many LED lights at the output side as long as it is connected in parallel. Here I only use three LED lights.
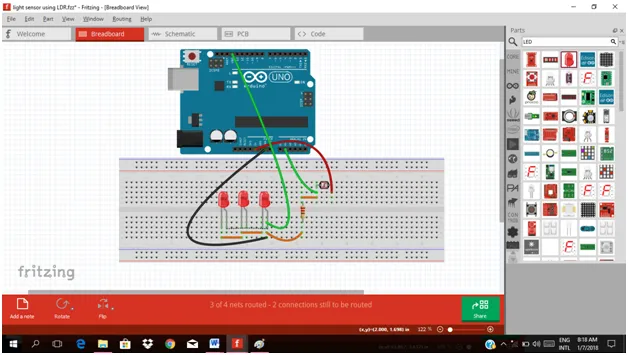
Construction of circuit in the FRITZING breadboard
- Click on breadboard

- Then arrange the components on the breadboard
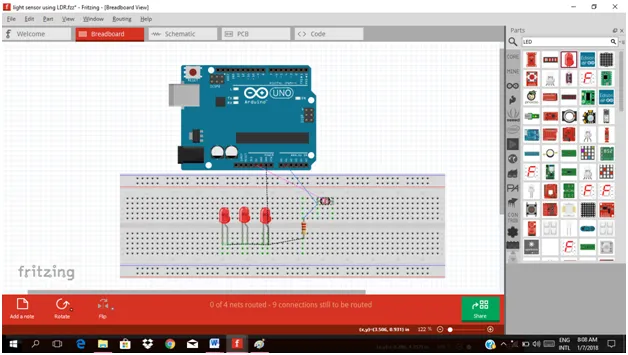
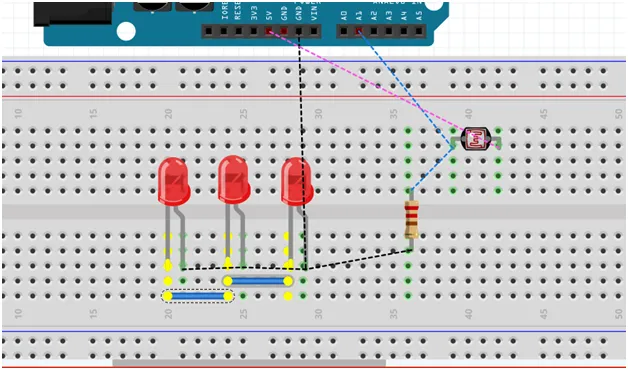
In connecting the pins in the breadboard, just click and hold the base of pin (or the hole in the breadboard where the pin was placed) then drag to where it must be connected. Like in the figure below.
The moment you will click and hold the hole, it will automatically notify which it must be connected (see yellow color) based from your schematic diagram.
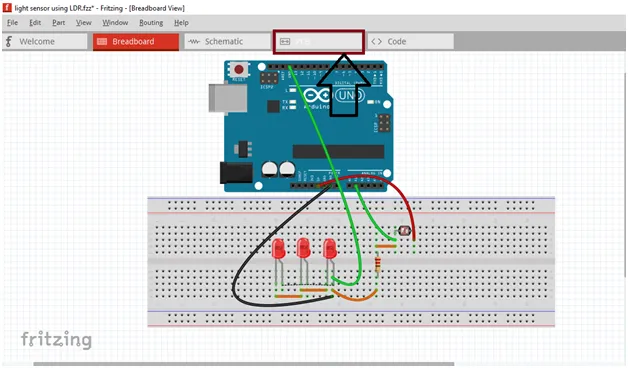
Now we can start connecting each pins.
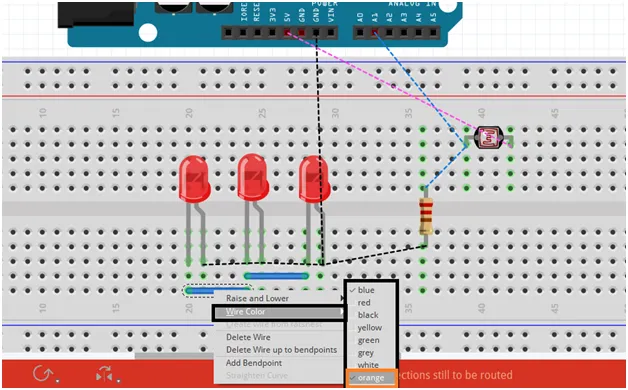
Same process in changing the wire color as previous tutorial.
Then if you want to bend this wire, just press ctrl+ click & hold the wire then bend it wherever you want.Like in the figure below.
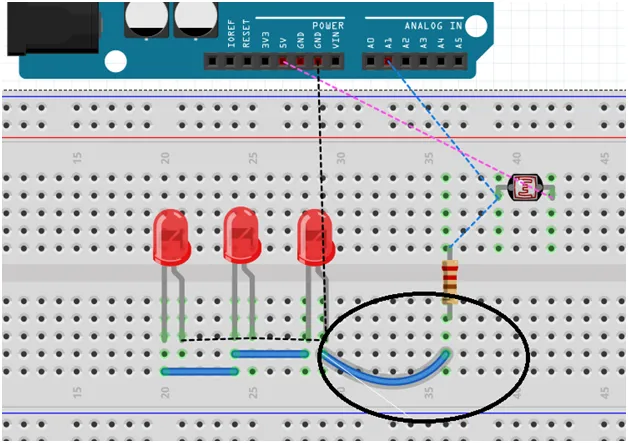
After doing this to all the connection, the circuit in the breadboard will look like this below.
In making PCB layout, click on PCB
Arrange each component according to your design
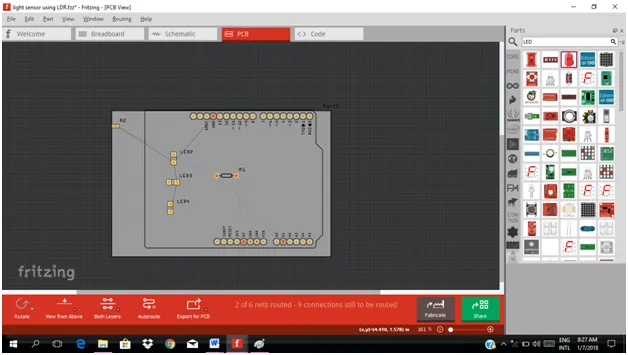
Then click AutoRoute to automatically connect each pin
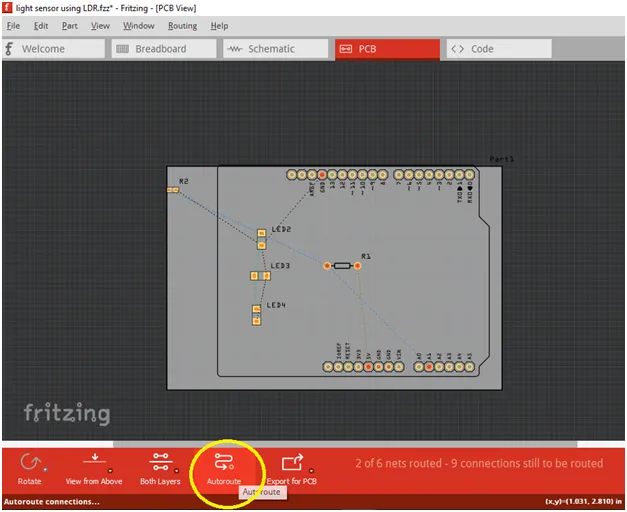
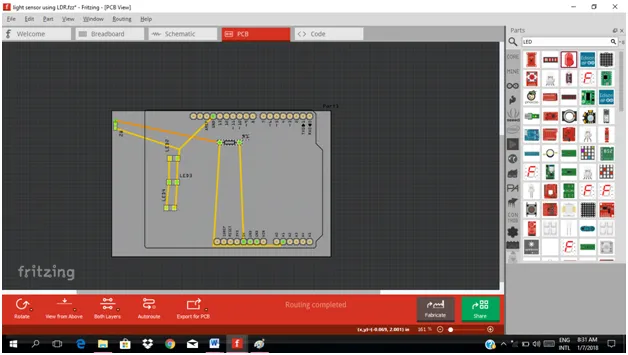
So in PCB designing, it depends on how you design the circuit to make it simpler to implement.
Application of this project
Light sensor is now widely use basically in automation, where the output is automatically controlled when there is light. One example of this is the automatic closing and opening of a gate in a mall in which there is a light sensor.
You can design a project using this sensor in which there is a light source not necessarily the lights from the sun, but another lights source like laser.
I hope you learn how to create a basic light sensor.
Thanks for your time. Have a good day everyone.
Yours Truly,
@rfece143
Posted on Utopian.io - Rewarding Open Source Contributors