As a software developer by trade, exploring the Steem blockchain was something that peaked my interested as soon as I joined Steem. I'lll go over how I made my first simple application onto of the Steem blockchain, and how you can get started, too! No programming experience is needed, I'll explain the concepts as we go.
The app I'll be building is simple - just a web page that displays a user's followers. Similar to what the "followers" tab on steemworld does. The final result will look like this:

Preparation
If you are following along, the first thing you will need to do is install the required software. I'll be using Ruby on Rails, a web framework written in the Ruby programming languages. Many of your favorite applications such as Airbnb, Hulu and Twitter (in the early days) are built with Rails. You can install it by following the step by step instructions on Install Rails.
Creating the application
Now we are ready to start hacking. I'll generate a new Rails project running rails new steemit-app in the terminal. A bunch of stuff prints out as the application is created. You can type cd steemit-app to navigate inside the folder. Inside steemit-app, there should be bunch more folders, like app for the application, db for the database, and some others.
Now we need to add one more thing - Steemit's Ruby library, or gem as well call them in the Ruby world, the the project. The Steemit developer documents recommends Radiator, which lets you access the Steem blockchain directly, created by the awesome @inertia, one of the (the main?) contributor to ChainBB. It even lets you sign transactions - this will let us expand the app in the future to allow for things like automatic voting, posting and realtime notifications.
To install radiator, inside of the steemit-app folder, edit the file called Gemfile and add the following line:
gem 'radiator', '~> 0.3.15 '.
Now we simply run bundle from the command line, to install our newly added radiator gem.
Now, run rails server to start the website server. If everything went well, you should be able to navigate to localhost:3000 in your web browser, and be greeted with:
Great! Time to write some code.
Creating the controller
This is the last step. We will create a controller - basically, a route on the website that returns some data. For example, https://steemit.com/@xenetics returns a page with my profile, and some data. There is a controller listening for requests - when I make a request to that URL, the server responds with my profile. In our case, we want to response with a list of followers.
Creating a new controller is easy in Rails. Run rails generate controller static_pages home. This will create a controller called static_pages, with a route called home. This means if we visit localhost:3000/static_pages/home, the server will respond with whatever data we tell it to. If everything went well, you should be able to visit that URL now, and see:
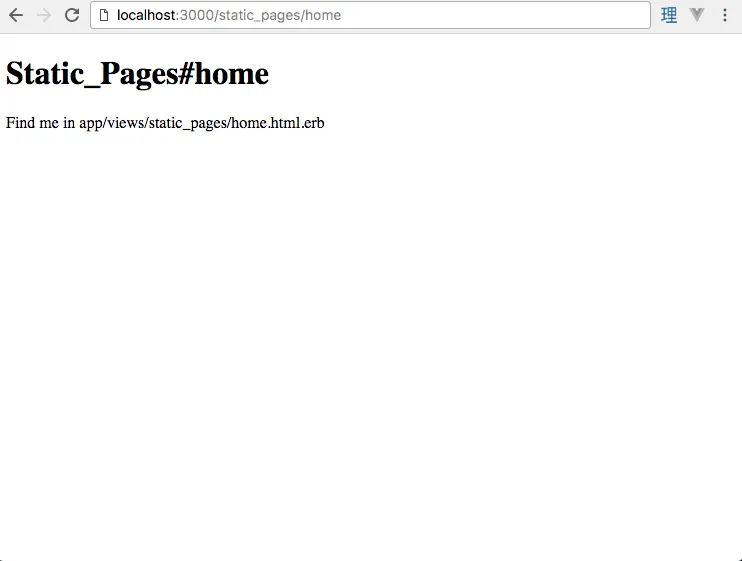
Showing the followers
Here comes the exciting part. Inside of app/controllers/static_pages you should see:
class StaticPagesController < ApplicationController
  def home
  end
end
To show the users, we need to require radiator, and then its Radiator::FollowApi method, which you can find in the documentation. The complete code looks like this:
require 'radiator'

class StaticPagesController < ApplicationController
  def home
    @user = 'xenetics'
    api = Radiator::FollowApi.new
    api.get_followers(@user, 0, 'blog', 100) do |followers|
      @followers = followers.map(&:follower)
    end
  end
end
I declare a @user variable, create a new api instance, and then assign all the followers (top 100, actually) to a @followers variable.
The last thing we need to do is actually show this data in the view. Open /app/views/static_pages/home.html.erb, and add the following code:
<h1>Followers for <%= @user %></h1>

<% @followers.each do |follower| %>
  <div>
    <%= follower %>
  </div>
<% end %>
We iterate over each user and print their name out. That's it! If you typed everything correctly, you should be able to refresh the page and see:
Great! Your first Steem blockchain app. I uploaded the final code here for reference.
I'll be improving the app in the future, so please let me know in the comments for features you'd like to learn about implementing, or anything else related.
Posted on Utopian.io - Rewarding Open Source Contributors