Minecraft and other games make the cubic style voxels popular. Once you use Unity at some point the idea of just using the Primitive for the Cube and simply placing it may come to your mind.
This can work, but has performance issues. Some games you may consider using this method. The bigger the map and the more blocks you plan to display the worse it will be. I decided I'd throw one of these projects together so you could see for yourself. It is super simple, but it does give a chance to consider some problems.
I thought it was a good idea to show you what happens when you use the method that seems the most obvious when you've messed with Unity a bit.
The Demo
How nice the cubes look on screen really depends upon how much work you put into making interesting textures and perhaps softening the edges some. In this case all I used was the standard Unity Cube Primitive. I have quite a few textures that I made 1 material for each texture and built a corresponding prefab for each material.
I am not going to spend a lot of time explaining how this was done. It is not the best approach. I did want to show the obvious method though.
Here is the Setup
This quick how NOT to do voxels in Unity assumes you know the basics of setting things up in Unity. If you do not I do have some older tutorials that might be useful to you.
[1] -The basics - An Intro to Unity - Layout, Non-Coder, Coder
[2] - Coding Education Speed Boost - Coding Lesson 1 - also my naming conventions
Here are the unity screens to show how this project is setup.
First the two objects other than the Main Camera, and Directional Light are simply Empty Game Objects at 0,0,0 that I have given the labels VoxelLevelGenerator, and Map. Map is simply an object to parent the instantiated cubes to so they do not clutter up the hierarchy. VoxelLevelGenerator is the object we attach our script to that does everything. This also has the standard Character asset imported that Unity provides for quick access to the First Person Controller.
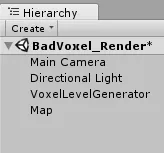
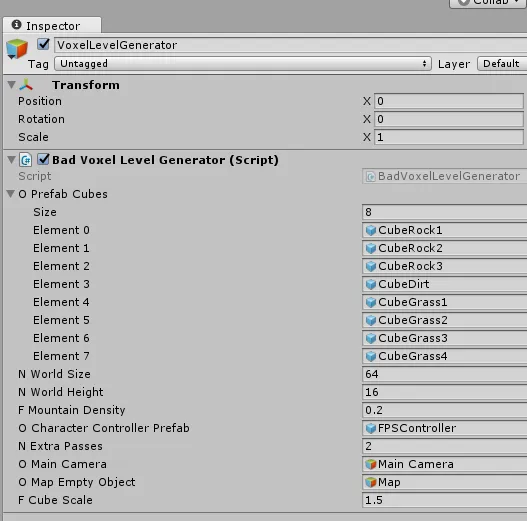
The next screen shows how the script is populated. You can see a lot of these are prefabs that have been dragged into slots. Other than the FPSController which is a standard Unity Asset the prefabs are all the different cubes with different materials for textures.
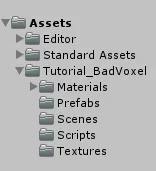
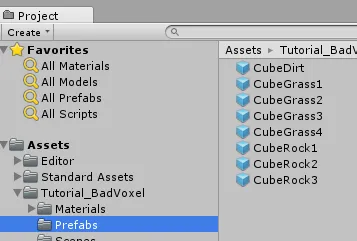
This is what the folder layout for the assets looks like for this project.
Here are the cube prefabs. They are all standard cube primitives at 0,0,0 with one per material.
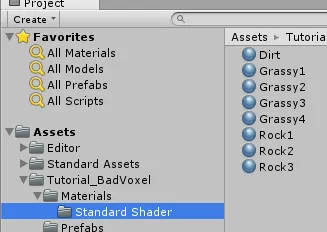
Here are the materials used by the prefabs.
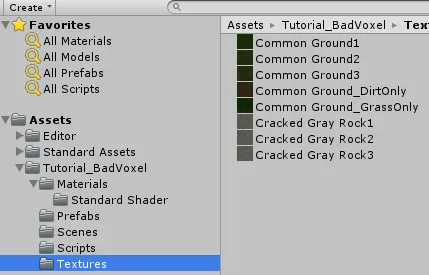
Here are the textures used by the prefabs, and larger versions will be available that you can download and USE if you want near the end of this tutorial.
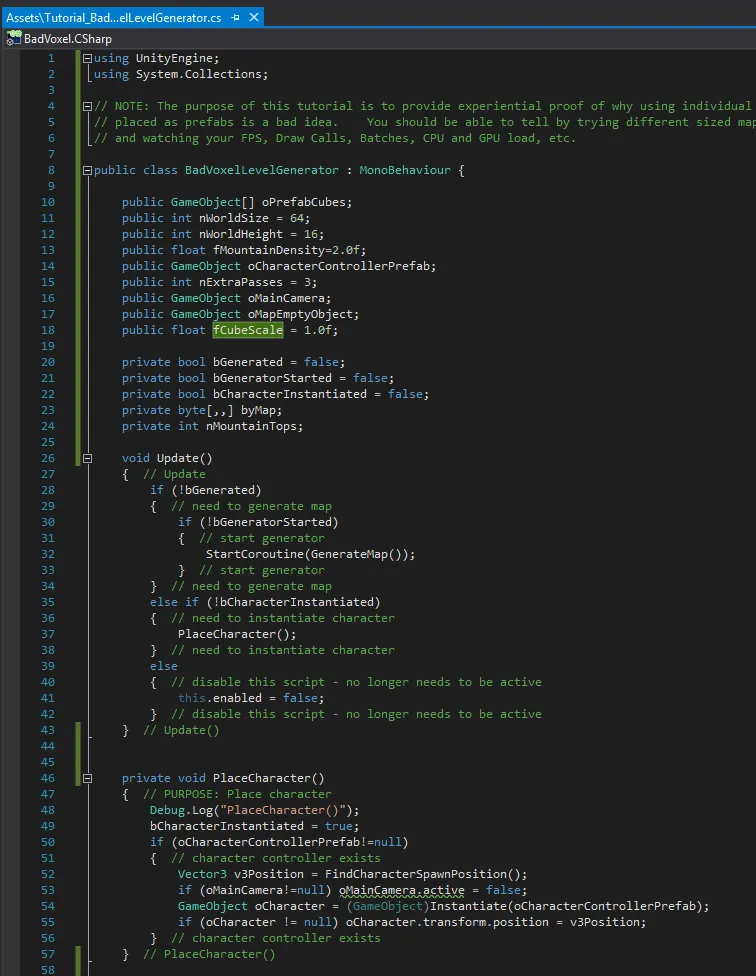
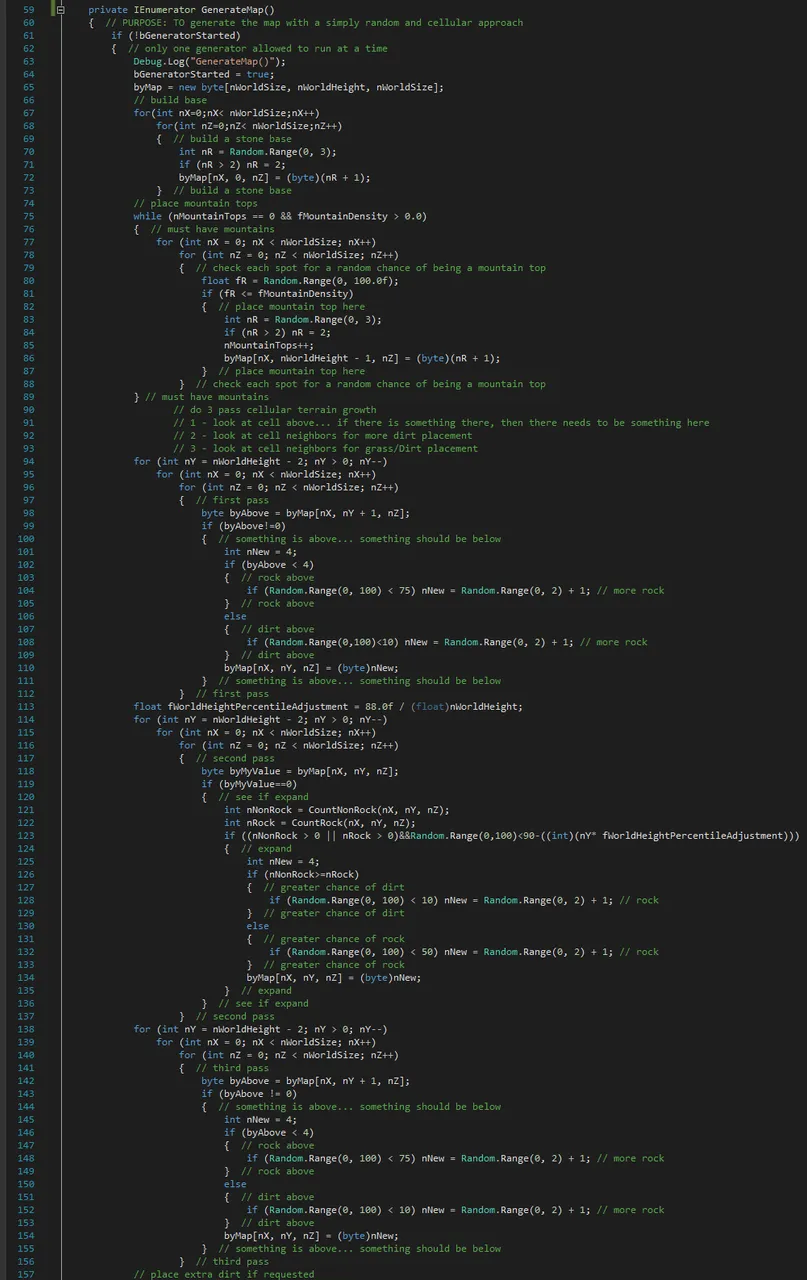
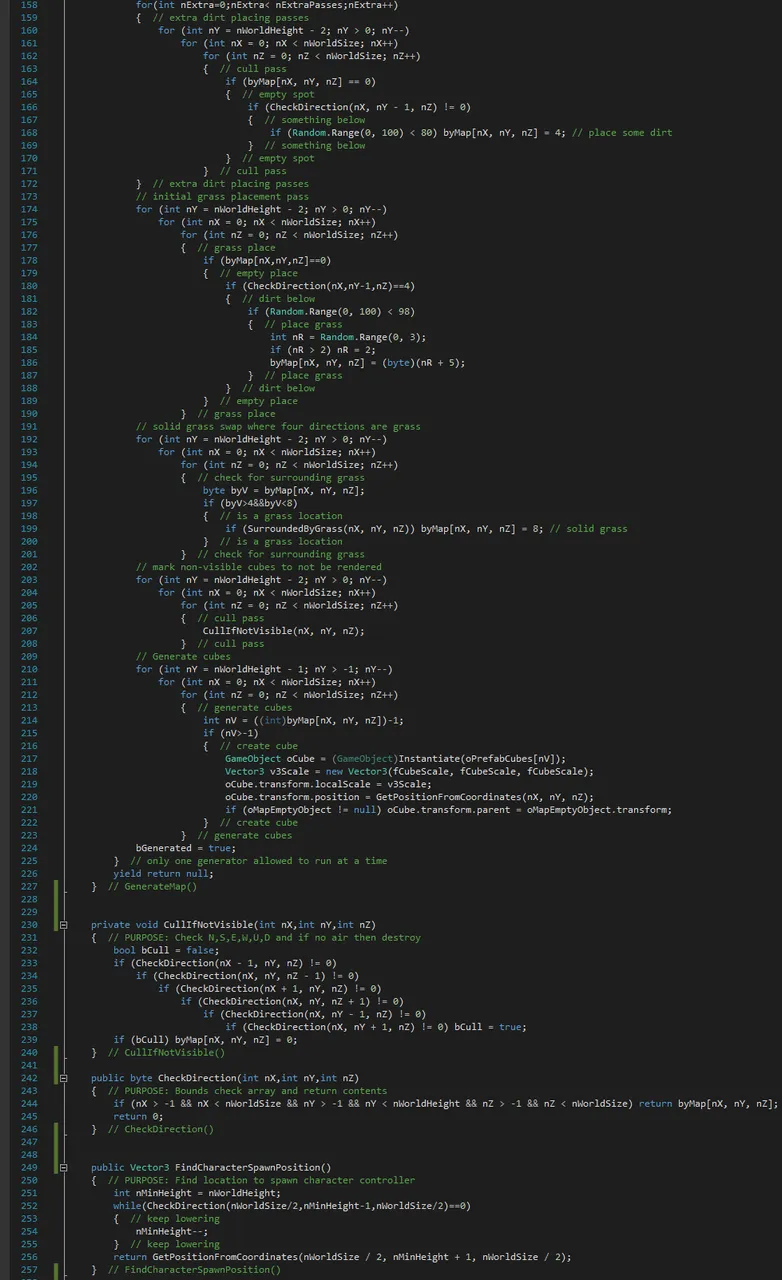
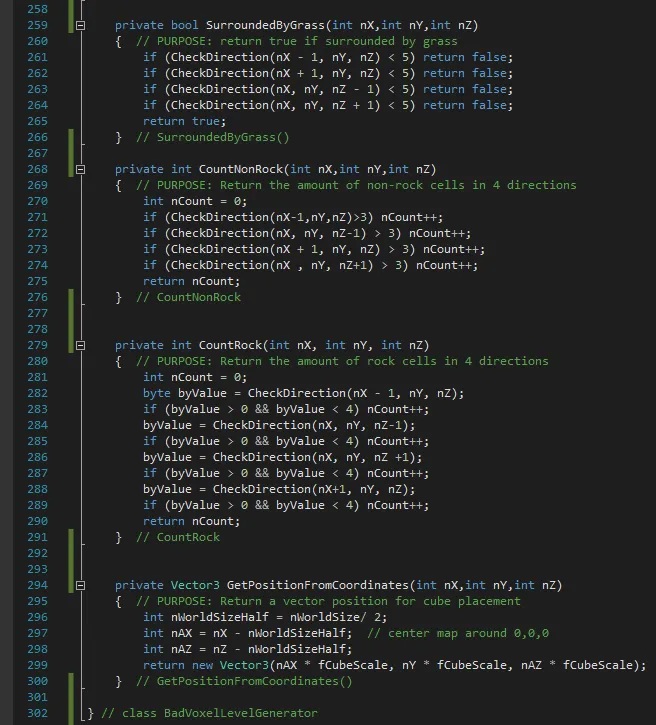
Here is the code... ALL OF IT. It does not use perlin noise. I used more of a cellular and controlled approach. My purpose with this demo was to get a certain amount of cubes on the screen ins some semi-interesting appearance so performance can be tested.
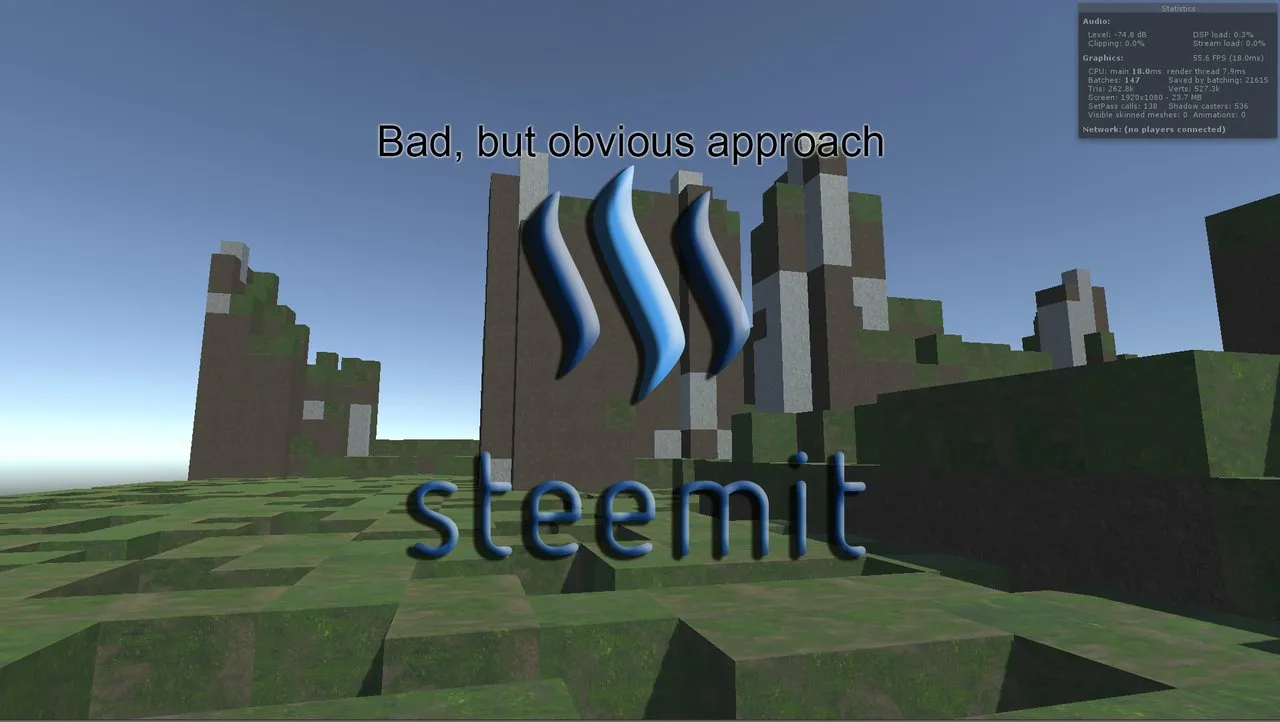
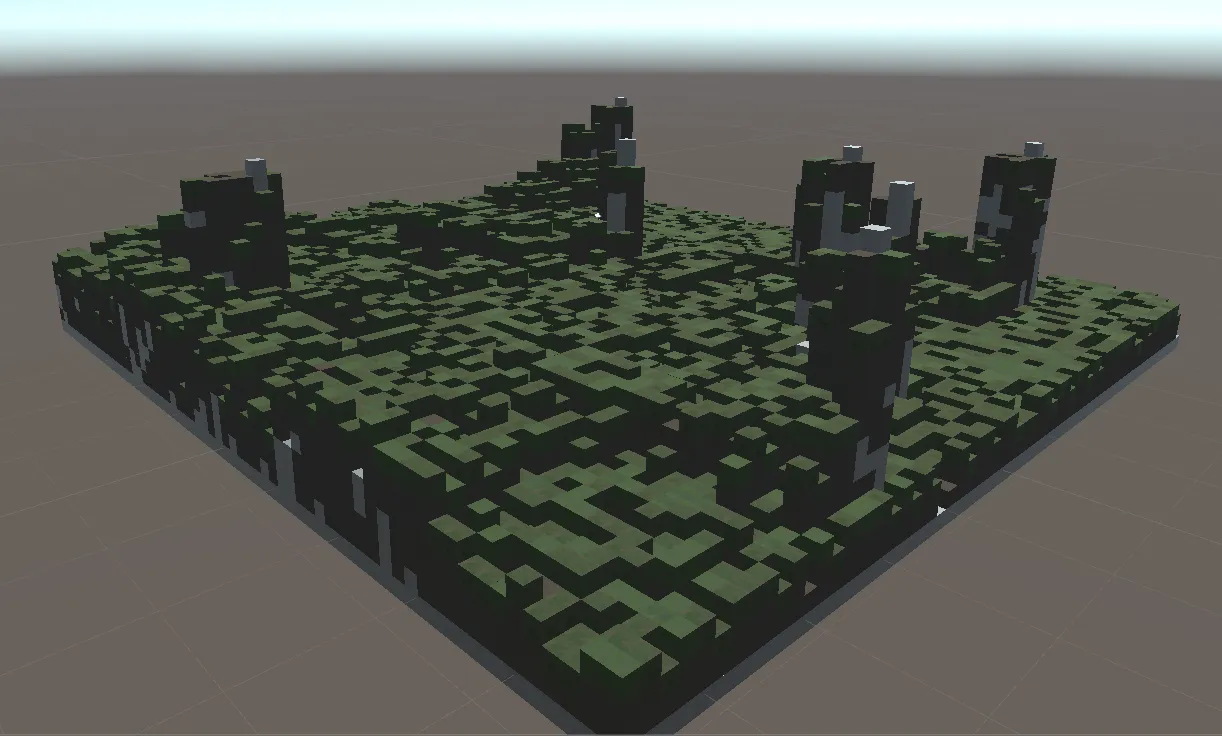
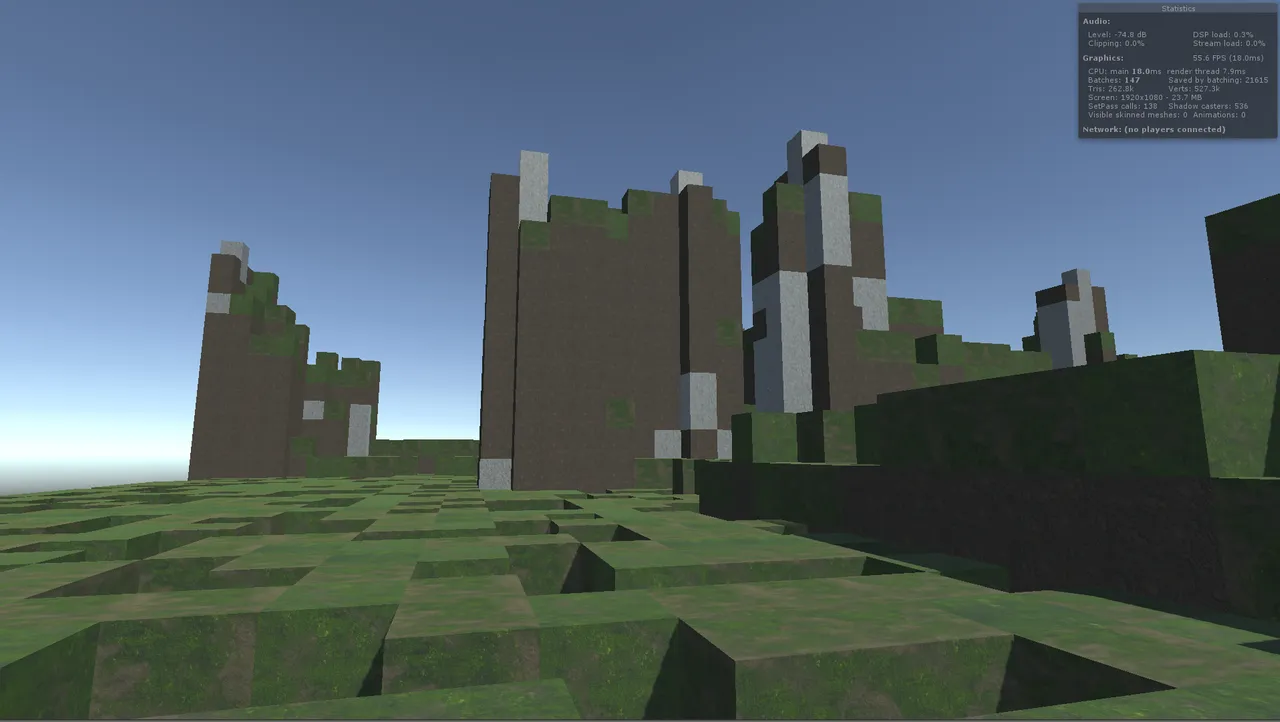
Here is a generated scene using the above code, and prefabs. This is only a 64x64x16 area. So it is really small in terms of Minecraft style scenes. I am running it on a machine with 16GB RAM, Nvidia GTX 960, and an i5-4670K CPU @ 3.4 Ghz, Windows 10, Unity 5.4.1f1 Personal Edition. Given this information the performance is bad. I don't have frames set to vsync so my frames per second is uncapped an a normal empty screen runs somewhere around 2200 FPS!!! So as you can see the FPS are quite low with this scene.
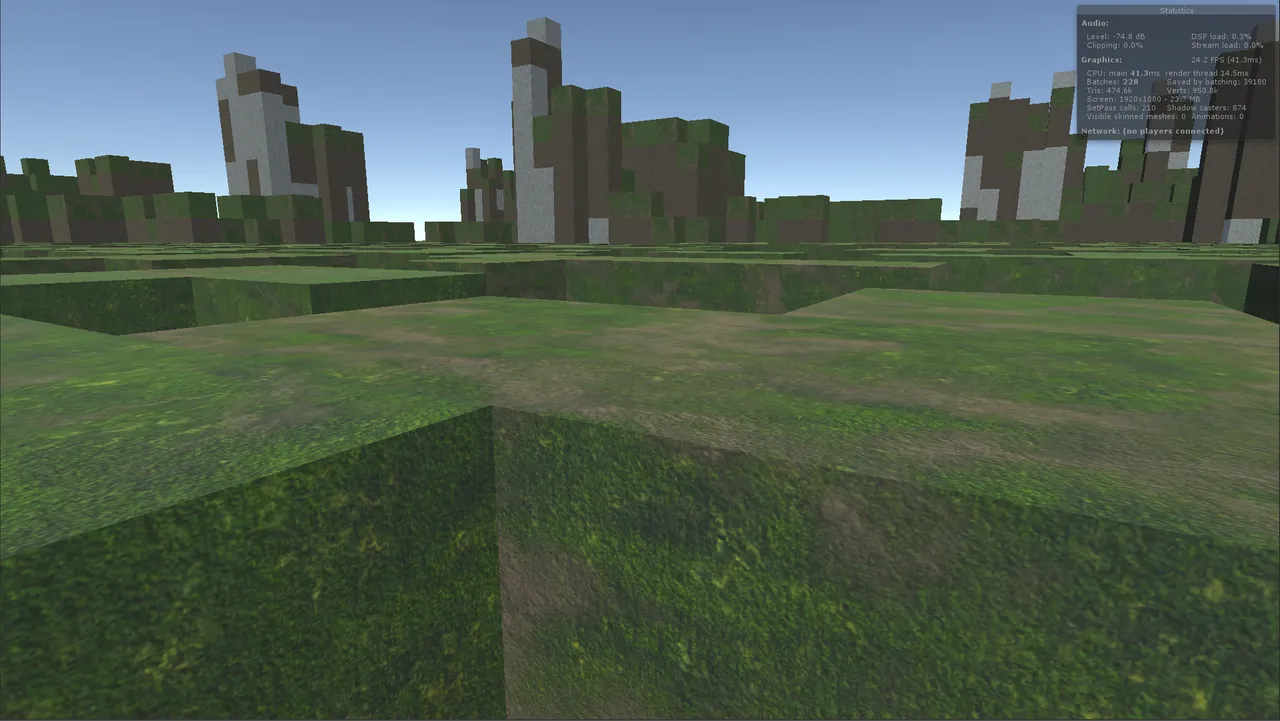
Here is a similar experiment but 128x128x16 sized map area. The FPS are less than half what they were on the 64x64x16 display. This is not very far and pulling off minecraft distance and complexity would not be very doable with this.
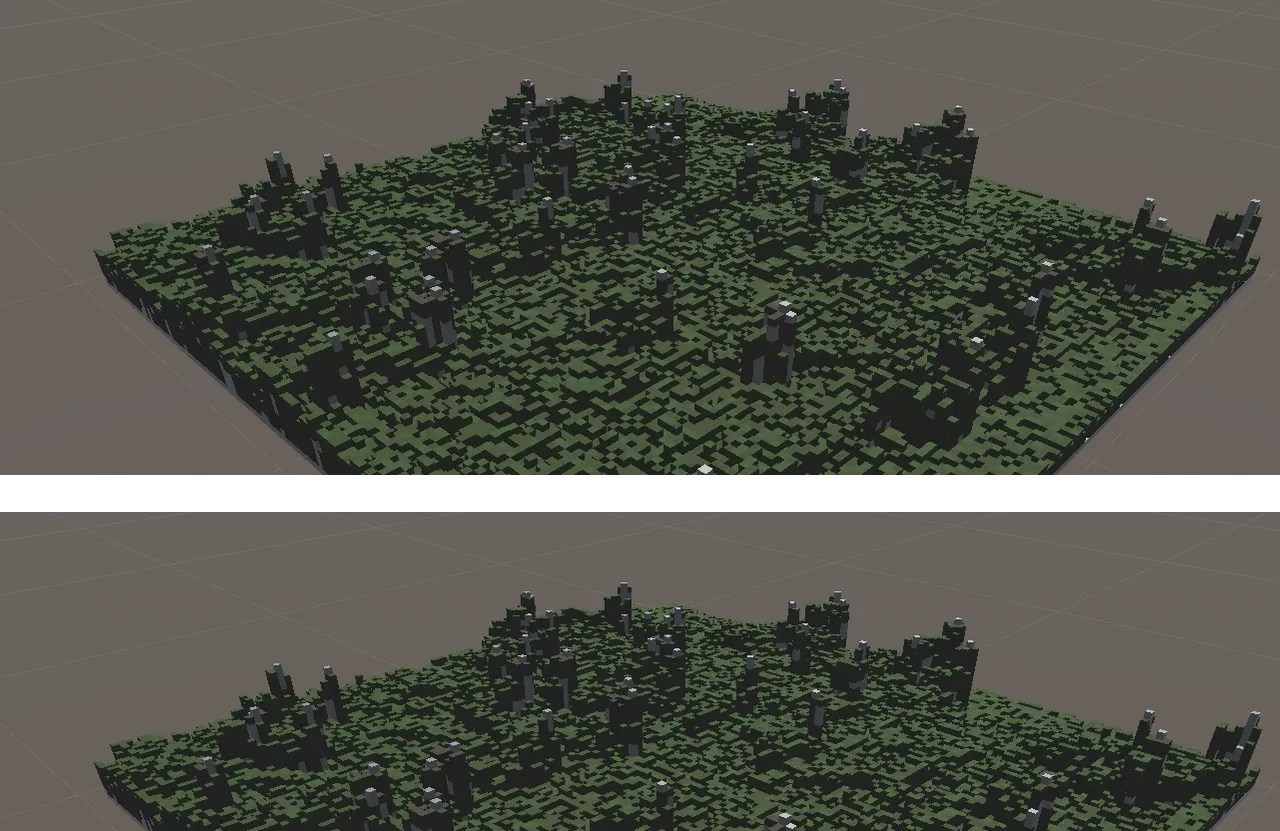
I personally know that colliders can cause a pretty big performance hit, so I'm going to do one last experiment also at 128x128x16 where I have removed the colliders from all of the prefabs. I did not bother with screenshots on this one as they look similar to the last and the FPS was at 26, so in this case colliders made no difference.
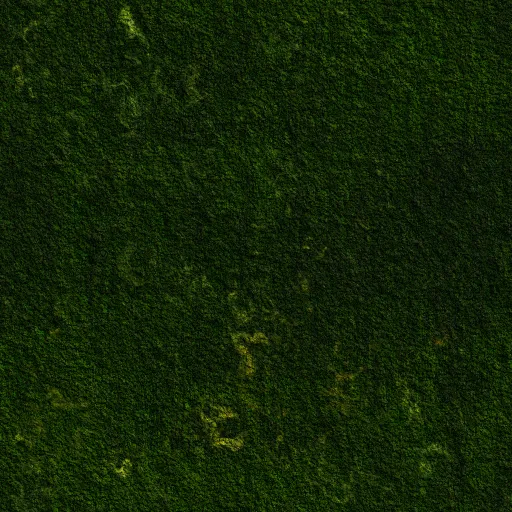
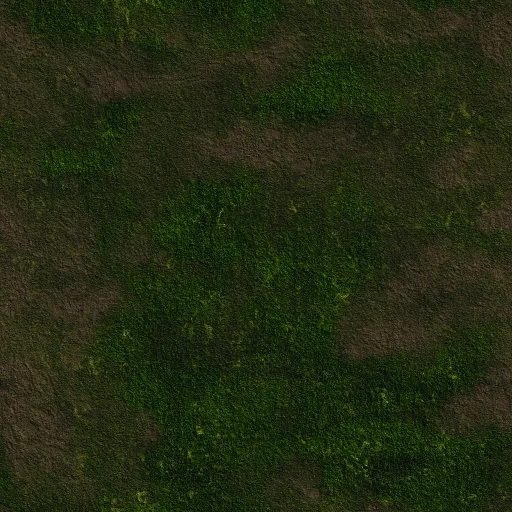
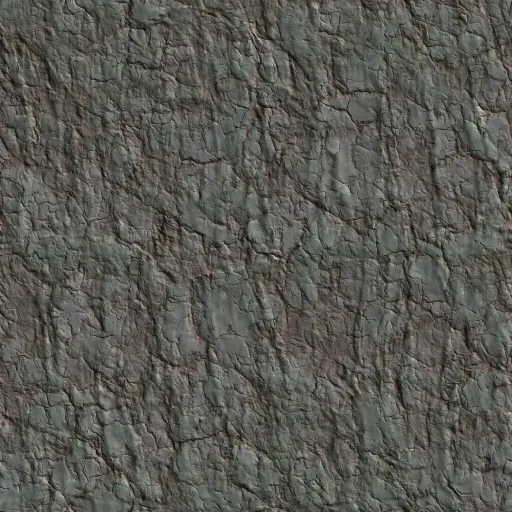
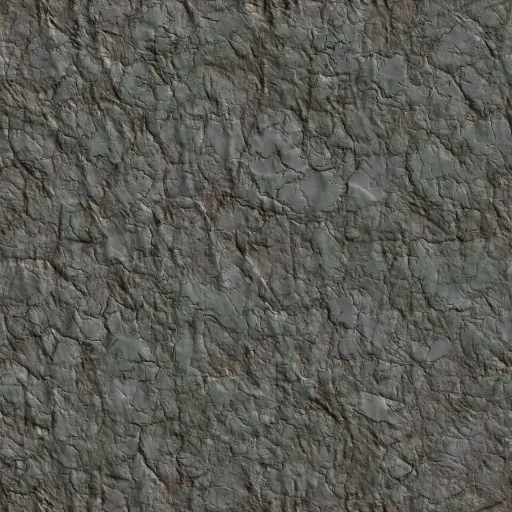
Textures
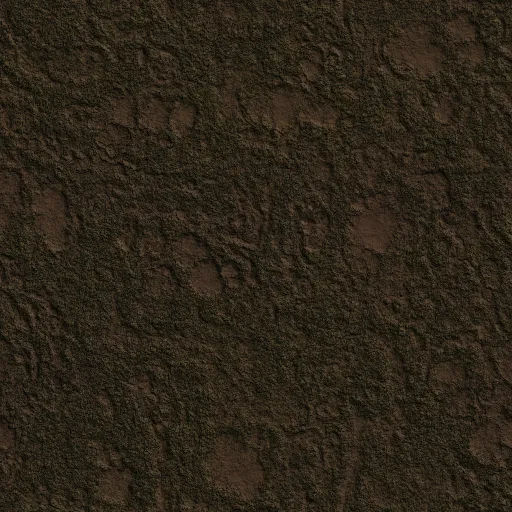
Here are the textures I used for this demo. These textures are intentionally simple dirt, grass, and rock. I used variations on the same textures as if I was concerned about art fatigue, but in this example it was only so I'd have a lot of different textures to more closely simulate how a minecraft style level would likely perform when you have a lot of textures. So even though I used similar textures imagine if each one of these was a unique texture and no variations. You would get a similar performance in such a case.


Conclusion
This is obviously not how you want to approach something like this using Unity. It does however, naturally pop into the mind as something to try. It popped into mine years ago. So I hopefully saved you some time heading down this wrong path by showing you the results.
The correct path is to build chunks of multiple cubes on the fly as one big mesh, and not render invisible sides. If you are interested in my pursuing such a project and in detail showing you how it is done, please consider up voting this post. It takes a lot of time to put together these tutorial posts. If you are not interested then don't vote and I will concentrate on other types of blog posts.
Steem on!