
That time of the year
I don't know about you but whenever it's that time of the year again that Christmas decoration shows up everywhere, and Christmas trees are being decorated, I start to crave for gingerbread cookies. I already thought about this year's gingerbread house as well. I will probably make it during the weekend together with my daughter as obviously has to help me with the decoration.
I have to warn you about the content in this post, it may be hard for children to see. I started the project with the best intentions, until I remembered how much I suck at piping. I just can't get that stuff right if it's about detailed decorations. Ugh. Instead of showing you a great step by step tutorial on how to decorate gingerbread cookies, it turned out to be a gingerbread cookie graveyard!!!! But I figured I should turn a smile on your face as the weekend is around the corner and it doesn't hurt to make people laugh, does it? I will sacrifice my dignity today and share this failed Christmas spirit project.
Have fun!

Tools needed
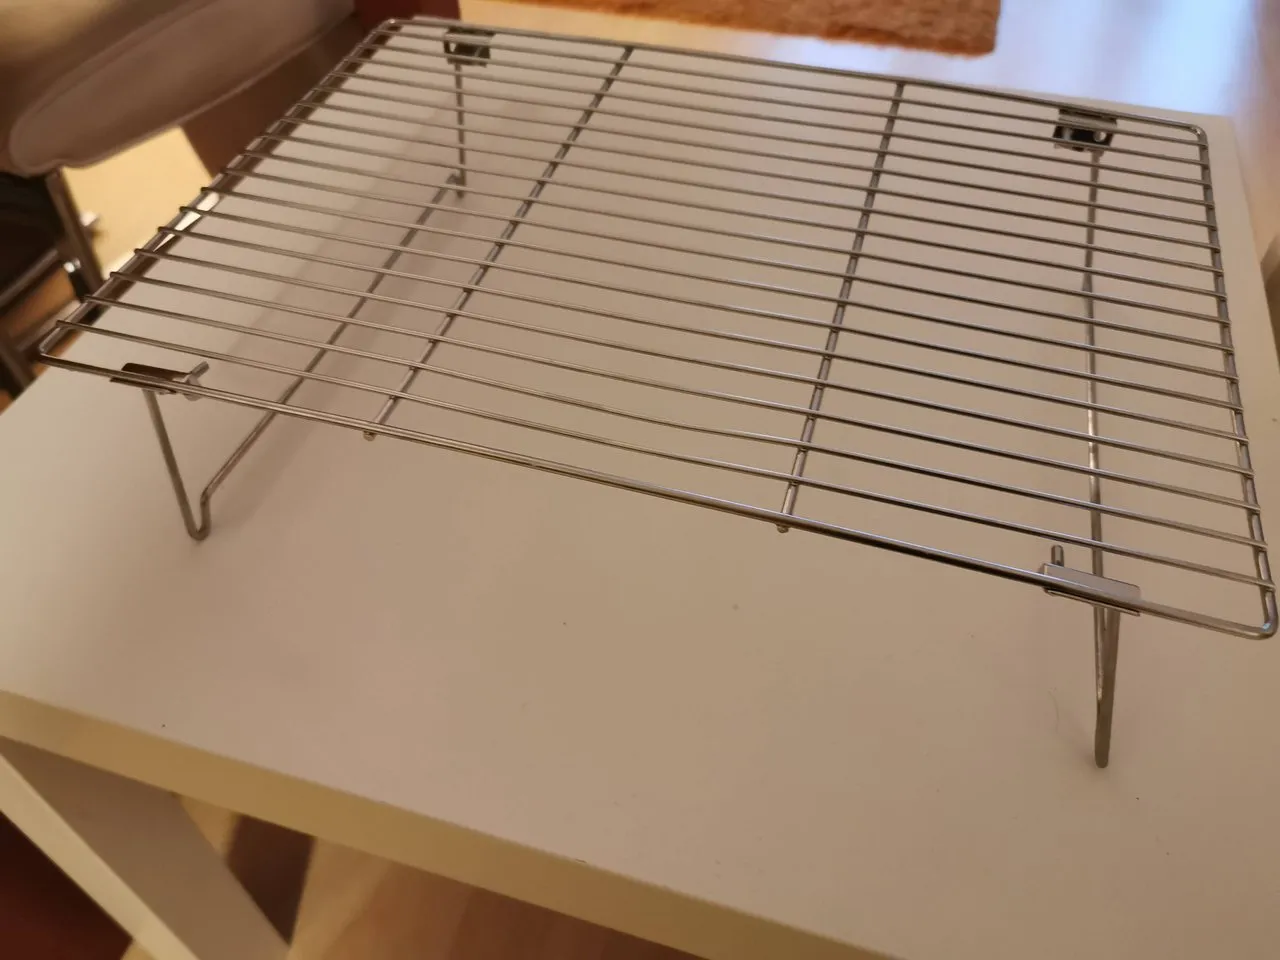
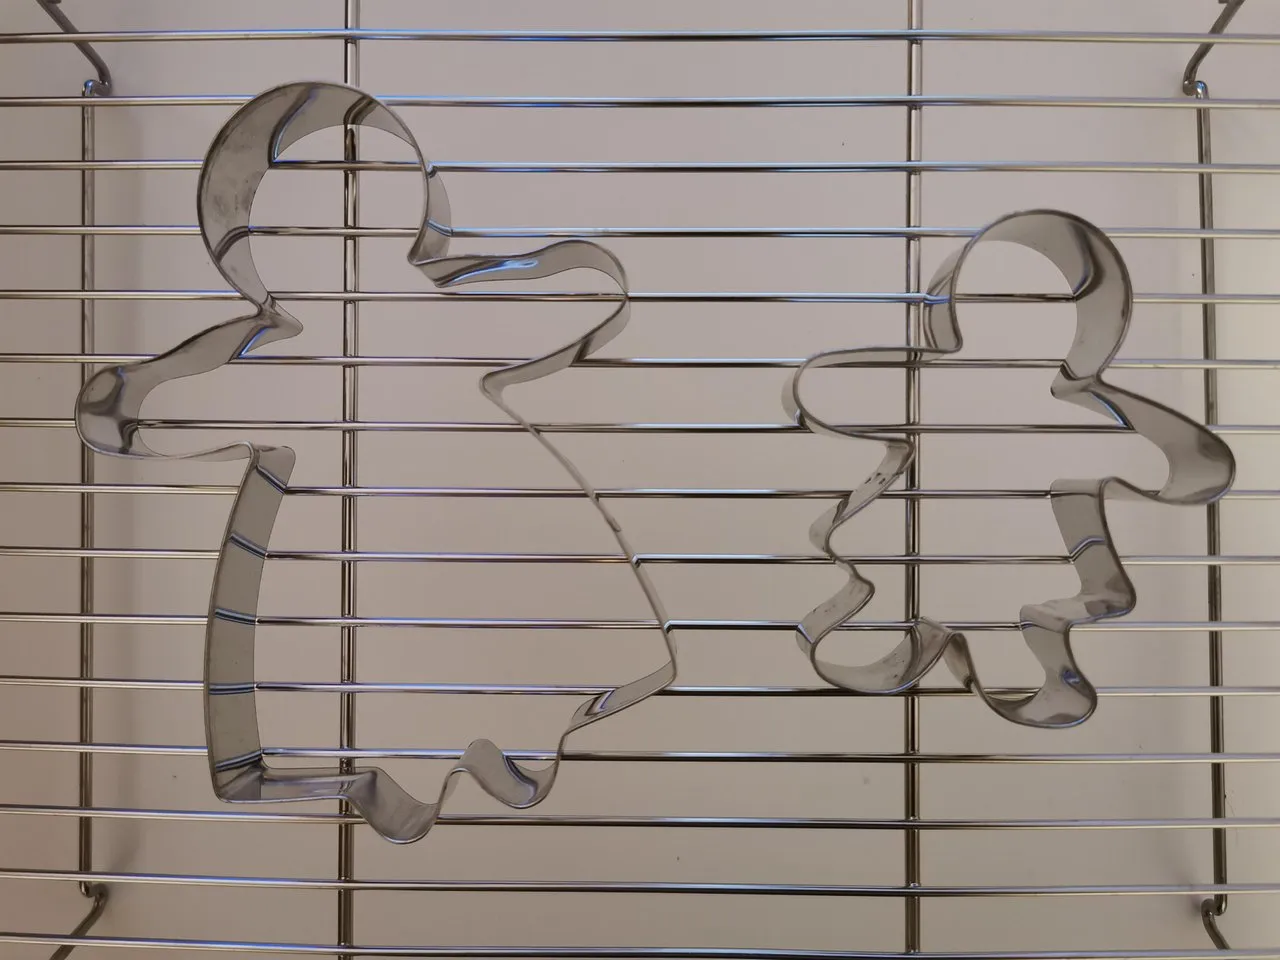
Make sure you have these tools on hand when you start the fun!
- baking tray
- piping bag(s)
- baking paper
- cooling rack
- rolling pin

- cookie cutters
Gingerbread dough recipe
Last year I've shared how I made a gingerbread house from scratch. The recipe is included in this post. So in case you need the recipe, please click on the link above. There are many recipes out there for gingerbread, some contain certain ingredients, others have replacements, it's probably also best to decide which one you prefer before you start baking. Taking the step by step pictures while trying to get the dough ready is a pain in my opinion, so I'm very happy that I already shared that last year.
So far so good...
Royal Icing recipe
Ingredients
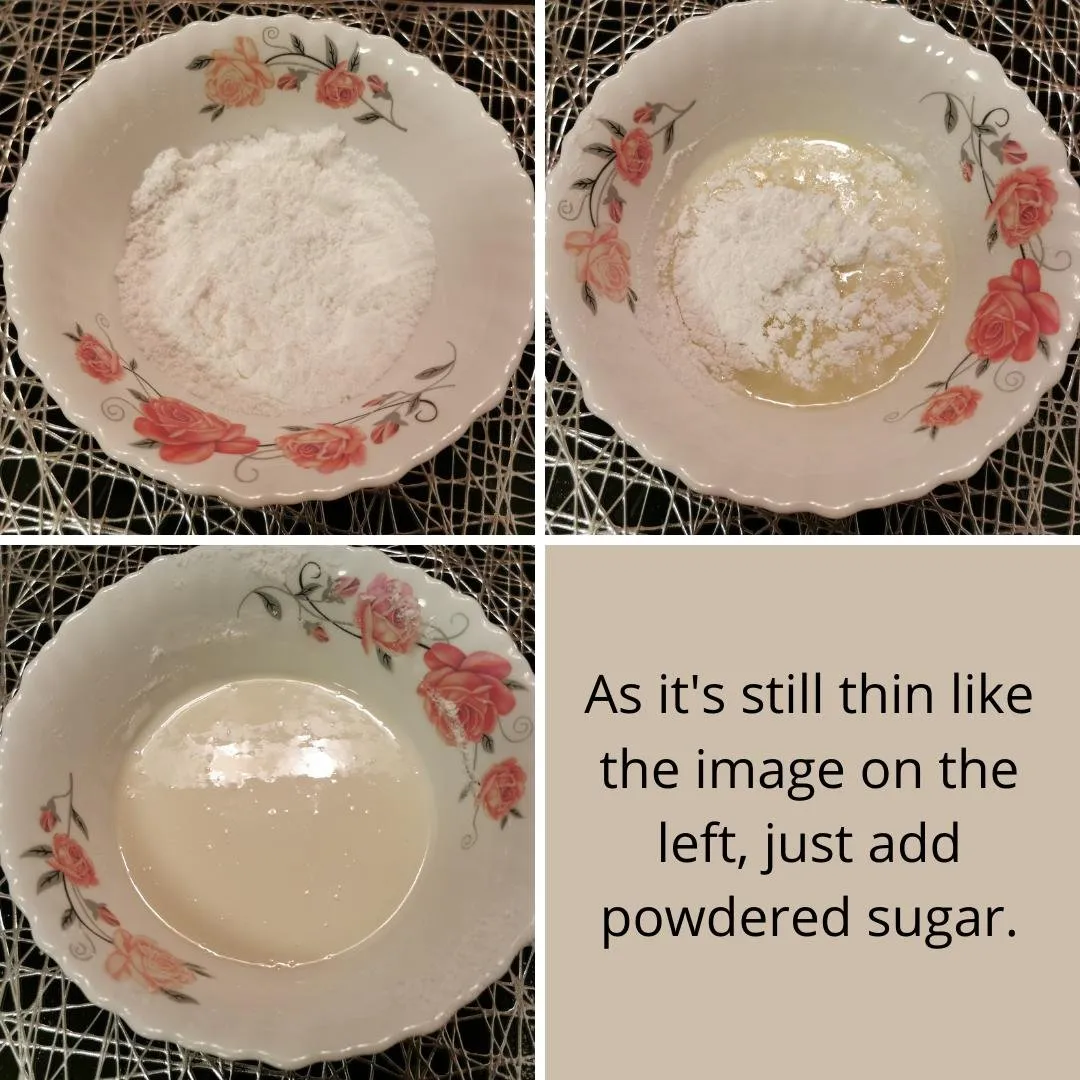
- 1 cup powdered sugar
- ¼ cup milk
- 10 drops food coloring
Instructions
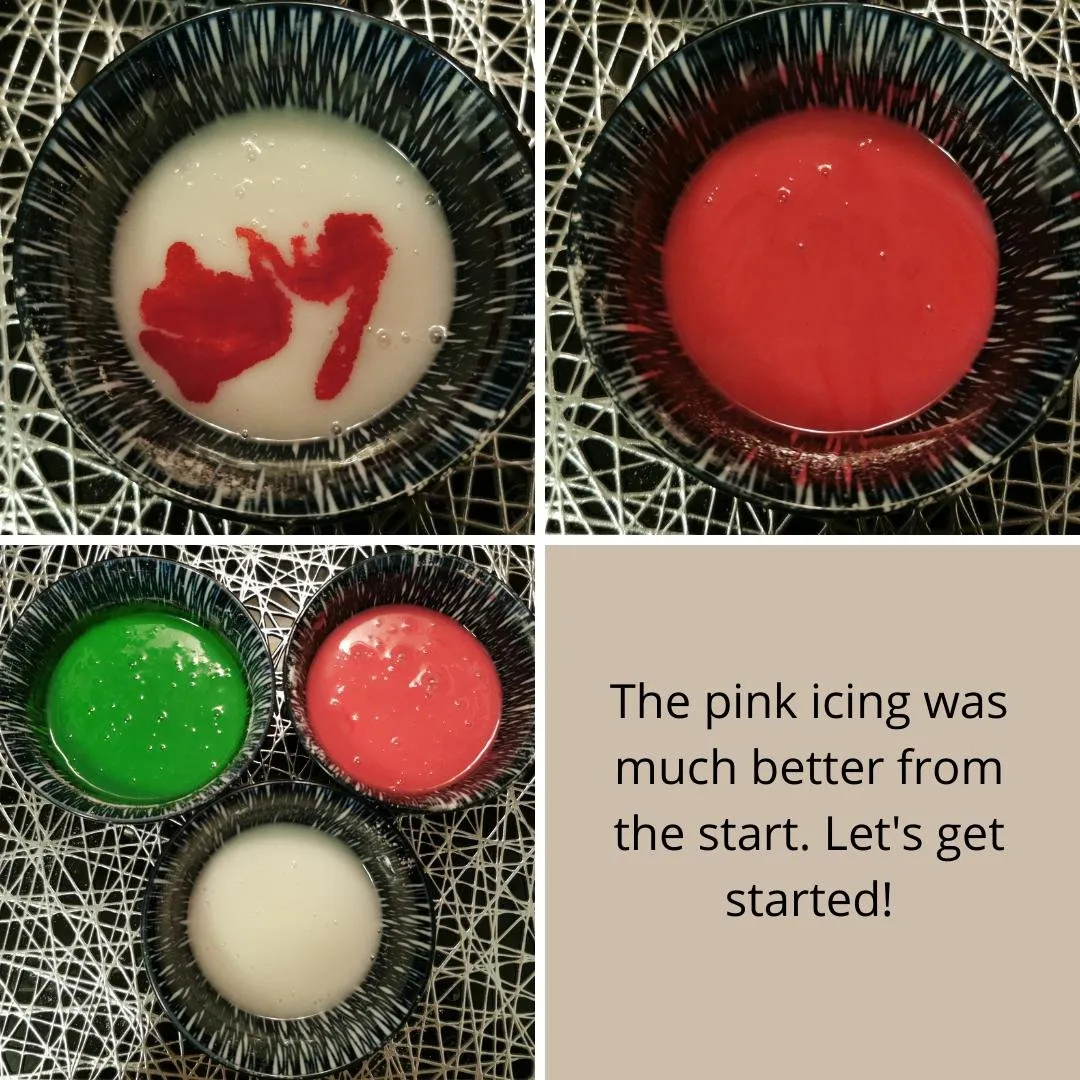
Sift the powdered sugar in a bowl. Add enough milk to make a smooth mix. Make sure it's not to runny, if you added too much milk, you can adjust the consistency by adding sugar again and vice versa.
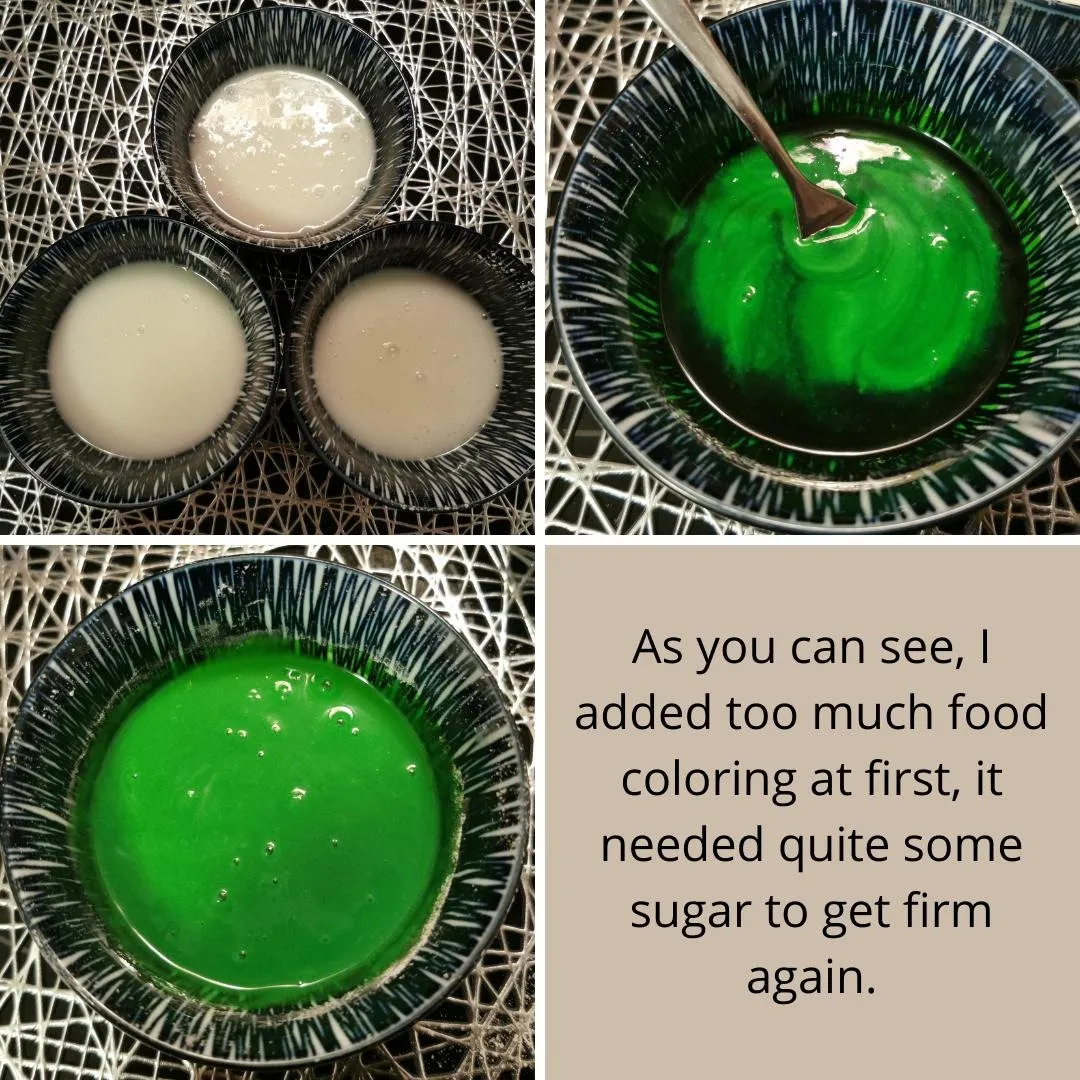
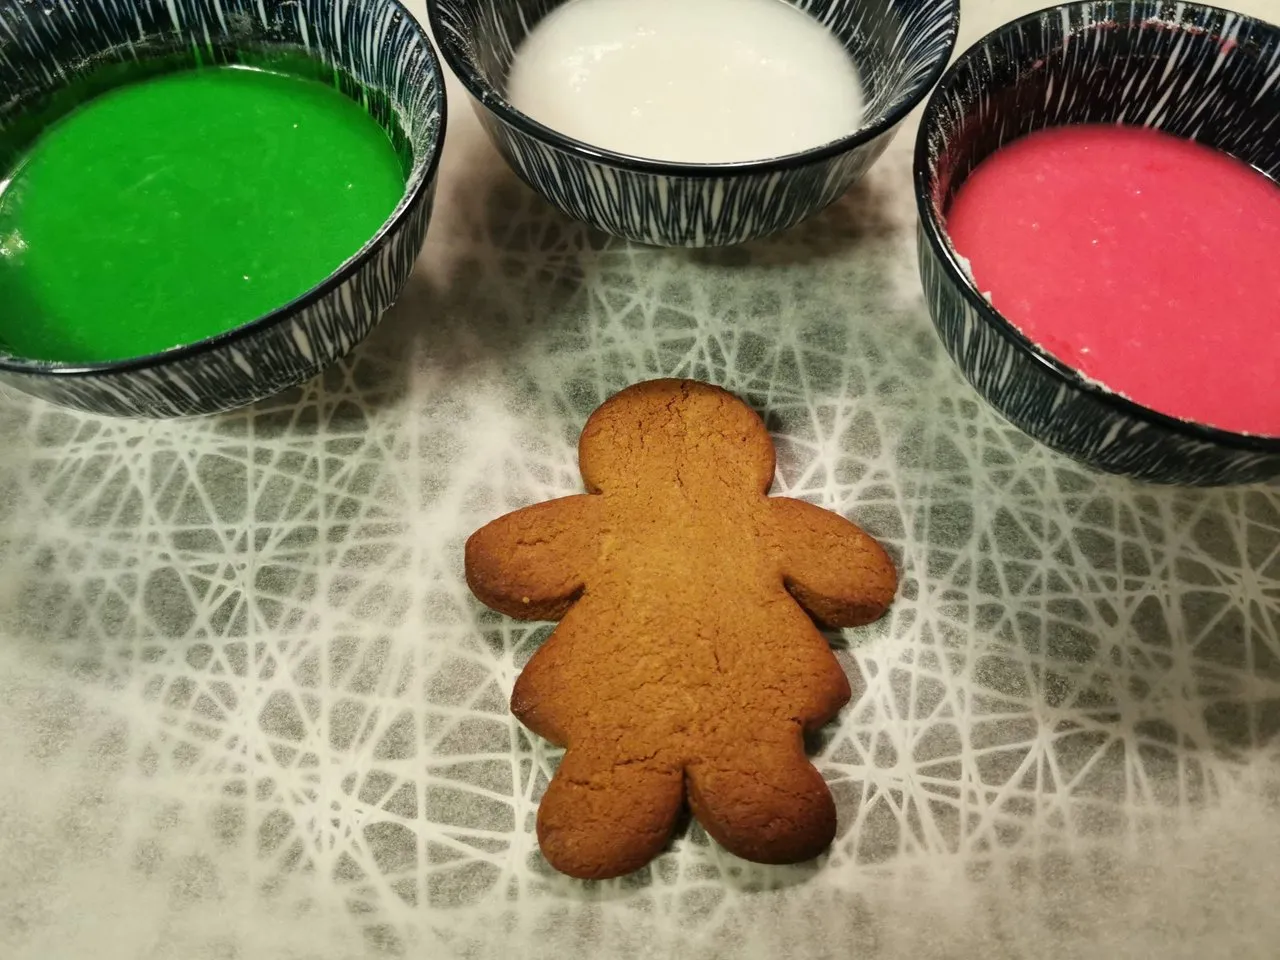
Divide this mixture into smaller bowls so that you have a variety of colors available for the decorating part. Now it's time to add the food coloring. You can add more drops needed to create the color you desire.
Still going strong!
Cookie baking instructions
Make sure the cookies are cooled off before you start decorating.

I think the rolling of the dough speaks for itself. Try to make them about 0.5 cm thick. In my opinion the dough sometimes gets a bit dry due to the flour on the worktable, so needs some water from time to time. Any leftover dough can be wrapped in foil and stored in the fridge for a couple of days.
Bake the cookies in the middle of the oven for 10 to 12 minutes at 175 degrees and place them on the cooling rack afterward.
They came out browned nicely, I felt like this was going to be a winner.
Decoration time
Once the cookies are cooled off you can start the decoration fun. This is the best part! I made a few quick designs for the cookies as I had to think about the colors I was going to use. You can do it on the fly if you like, it's just something that I do.
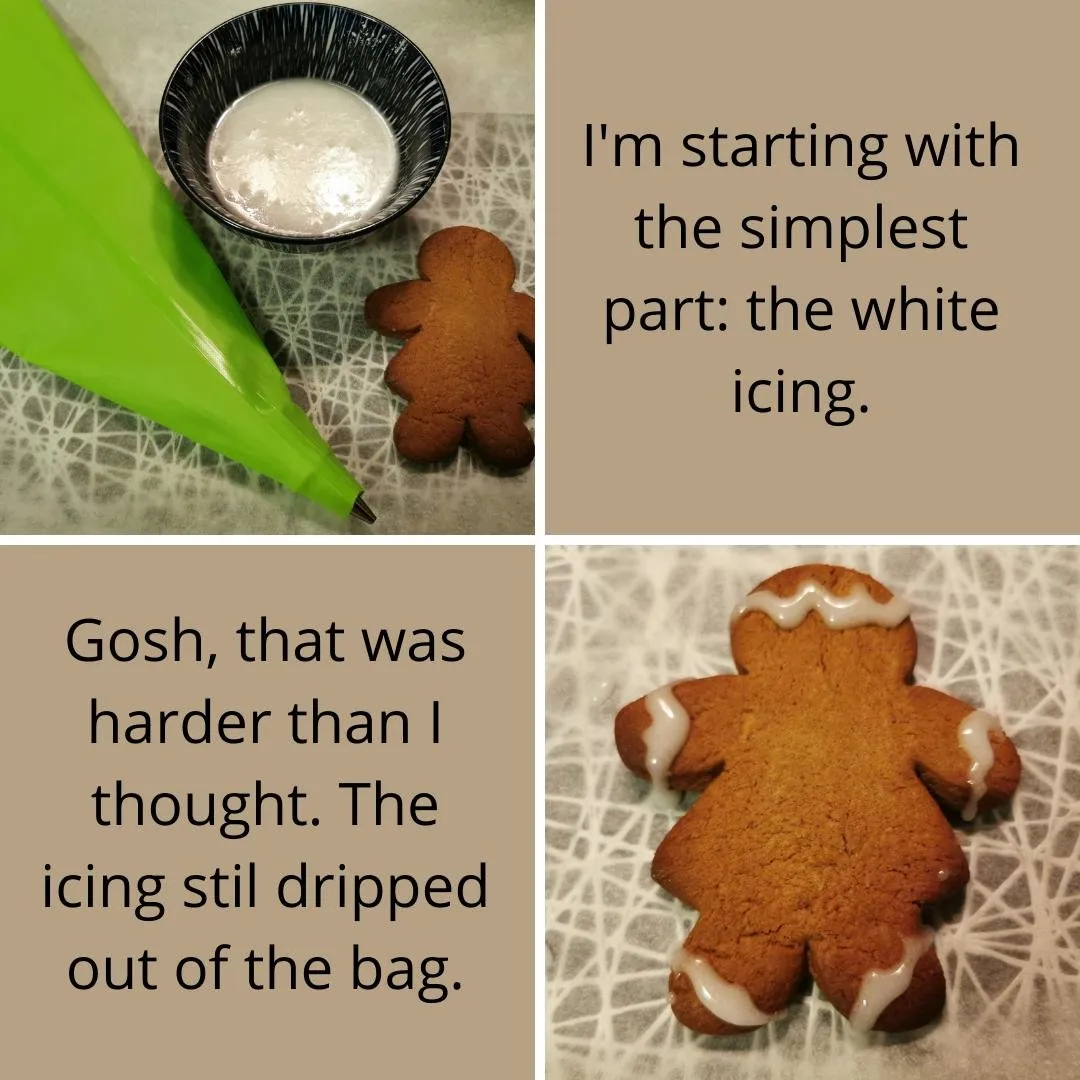
Use a different piping bag for each color if you want the process to go smoothly. I don't like decorating a few cookies and then having to clean the bag first before adding another part of the design. So I decided I'd use more piping bags, this is also very convenient if you made too much icing because if you store the piping bag in the fridge without letting any air into the bag, you can use the icing another day for another baking project. With all the Christmas baking fun coming up, I thought this would be smart to do.
Here we go, are you ready for disaster?

The End Result
I promise these are worth seeing in full glory to maximize the laughter that will follow.

The final score:
- 1 gingerbread cookie without a face as I was too afraid to make it even worse as there was barely any space left to create one.
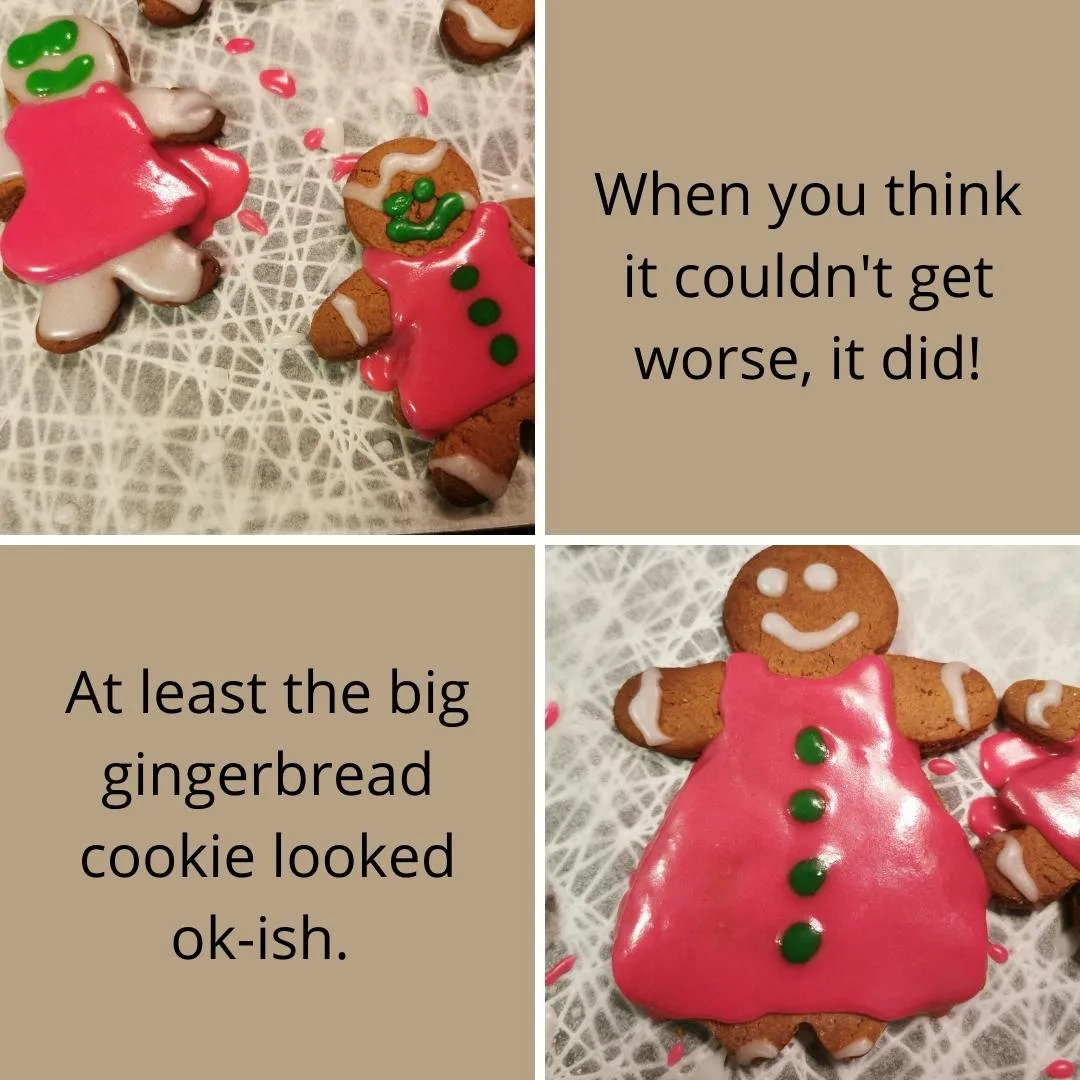
- 1 gingerbread cookie with a green face that was probably not the smartest idea (the white icing was finished).
- 1 big gingerbread cookie that will probably guarantee a sugar overdose due to the thick layer of icing used for the dress. I'm not 100% sure if I want to show this one to my daughter as I'm afraid her heart will fail when eating this one. :)
- 2 cookies on the right, I can't even put them to words. I guess you are allowed to caption them in a comment below.
I told you it was going to be bad, I did not disappoint, did I?
More Christmas Themed Content:
Christmas Crafts (2021)
Part 1: Felt Gnome
Part 2: Paper Xmas Tree
Part 3: Christmas Style baby tutu
Part 4: Feather & Beads Tree Ornament
Christmas Crafts (2020)
Part 1: Christmas tree from cardboard
Part 2: Felt Christmas tree ornament
Part 3: Christmas Card from cardboard and foam
Part 4: Felt Gingerbread man Ornament
Part 5: 3x Cinnamon Tree Christmas Ornament Tutorial
Part 6: Felt Elf Christmas Hat Ornament
Part 7: Sledge From Wooden Sticks
Part 8: Personalized Felt Star Ornament
Part 9: Owl Ornament
Part 10: Personalized Felt Star Ornament 2
Part 11: Santa Napkin Holder
Part 12: Upcycling a failed Craft Project
Part 13: 3x Cinnamon Santa Ornament
Part 14: Paper Mache Christmas Wreath
Part 15: Decorating a Christmas wreath made from scratch
Part 16: Upcycling a can to Santa style
Part 17: Crafting an angel ornament
Part 18: Make your own gift box
Part 19: Baking and decorating our own Gingerbread House
Part 20: Crafting a Christmas tree from crepe paper
Part 21: Felt Christmas tree ornament
Part 22: Christmas Gift Labels
Part 23: Christmas Tree Snow Globe
Part 24: Santa Glove Ornament
Let's Connect
If you want to connect, give me a follow on my socials, or for inquiries send me a direct message.