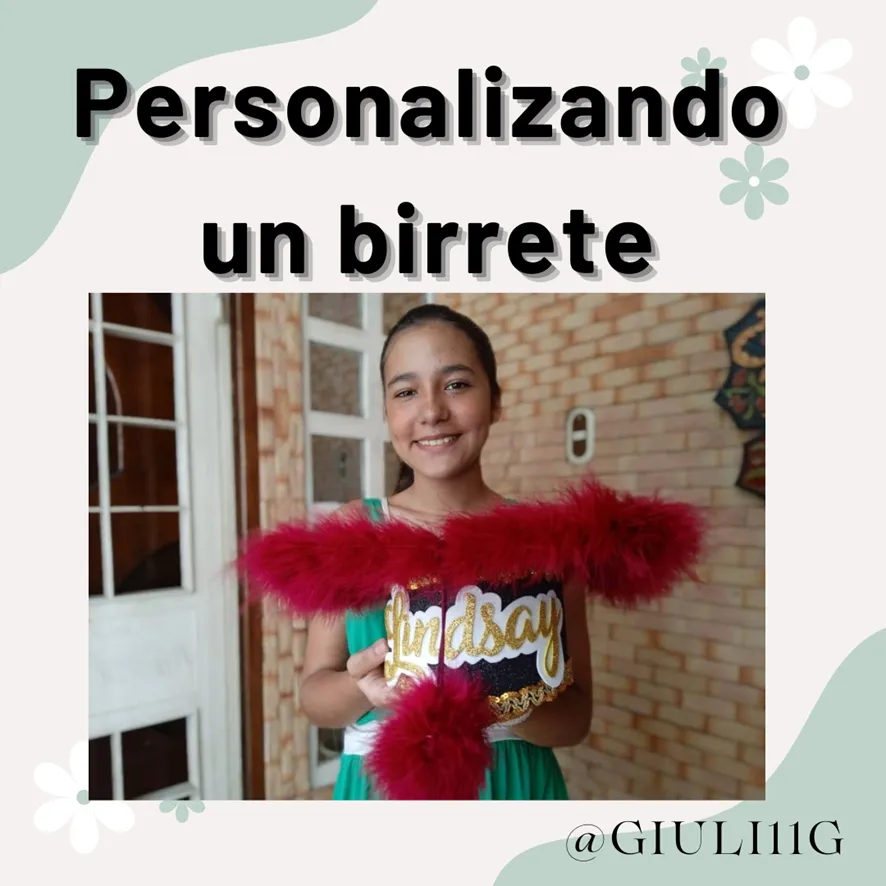
Hola amigos de esta apreciada comunidad, hace algunos días una amiga me contactó para que la ayudara a realizar un nombre para su birrete de graduación, ya que estamos en el mes de las promociones escolares.
En esta publicación te mostrare paso a paso como lo realicé y los materiales que son necesarios. Así ustedes mismos pueden personalizar sus Birretes.
Hello friends of this appreciated community, a few days ago a friend contacted me to help her to make a name for her graduation cap, since we are in the month of school promotions.
In this publication I will show you step by step how to make it and the materials that are needed. This way you can personalize your own birettes.
Materiales
Foami escarchado dorado
Foami escarchado blanco
Barra de silicón
Cúter
Tijeras
Hoja de papel
Lápiz
Materials
Gold frosted foami
White frosted foami
Silicone stick
Cutter
Scissors
Sheet of paper
Pencil
Paso a Paso:
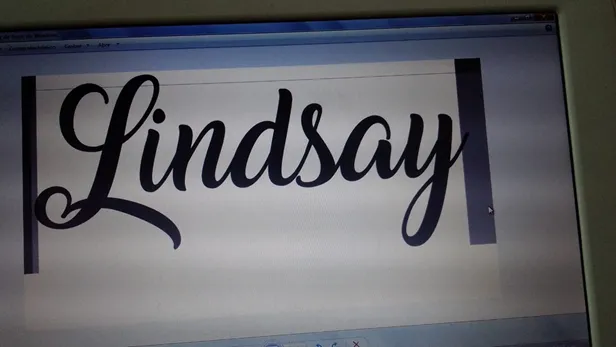
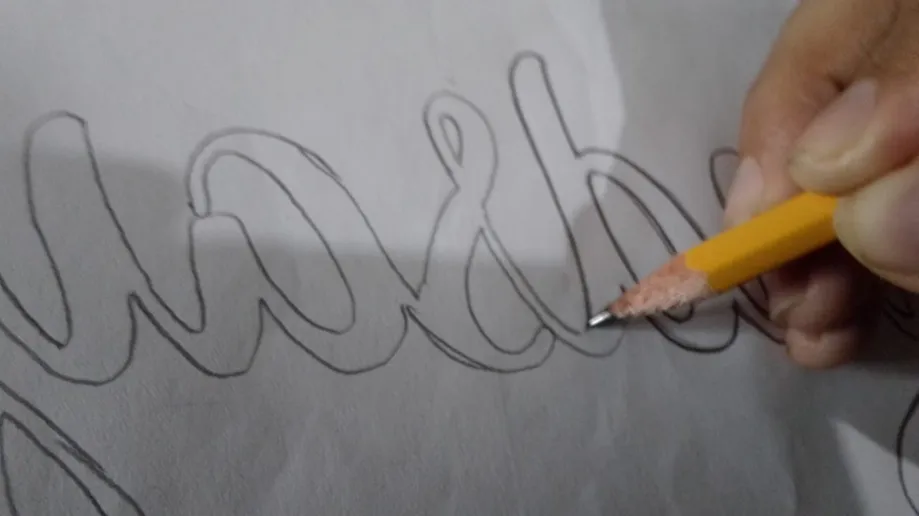
Empecé haciendo el diseño de la letra en mi computadora como se muestra en la imagen siguiente, luego revertí la imagen de manera que quedara al revés, Al pasarlo a la hoja para traspasarlo al foami por la parte de atrás, lo hice remarcando fuerte con el lápiz la letra y cuando lo coloque en el foami lo repase por el otro lado y así queda la marca de la letra, luego al voltearlo quedara derecho por eso para tener un mejor acabado en la letra es mejor realizar el marcado del foami por detrás, en este caso la parte que no tiene escarcha, así es mucho más fácil de cortar y dibujar, sin dejarle marcas a la letra
Step by Step:
I started by making the design of the letter on my computer as shown in the following image, then I reversed the image so that it was upside down, When passing it to the sheet to transfer it to the foami on the back, I did it by highlighting the letter strongly with the pencil and when I put it on the foami I went over it on the other side and so is the mark of the letter, then when you flip it will be straight so to have a better finish on the letter is better to make the marking of the foami from behind, in this case the part that has no frost, so it is much easier to cut and draw, without leaving marks on the letter.
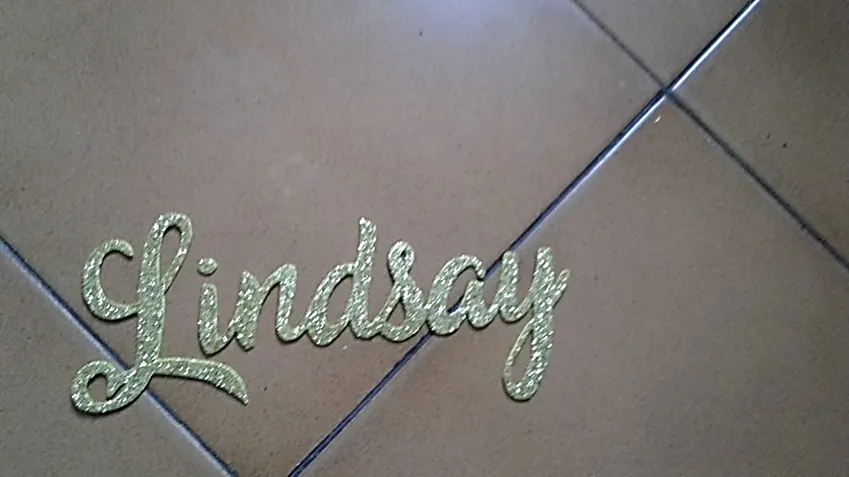
Luego de tener la letra marcada empecé recortando con el cúter los hoyos que tenía cada letra.
After having the letter marked, I started cutting out the holes in each letter with the cutter.

Y luego me guie de la marca antes hecha y corte toda la letra.
And then I followed the mark made before and cut the whole letter.
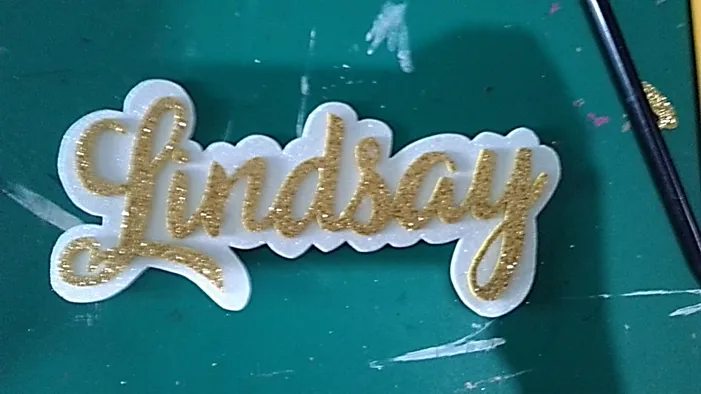
Mi amiga me pidió que le colocara un fondo blanco.
My friend asked me to put a white background on it.
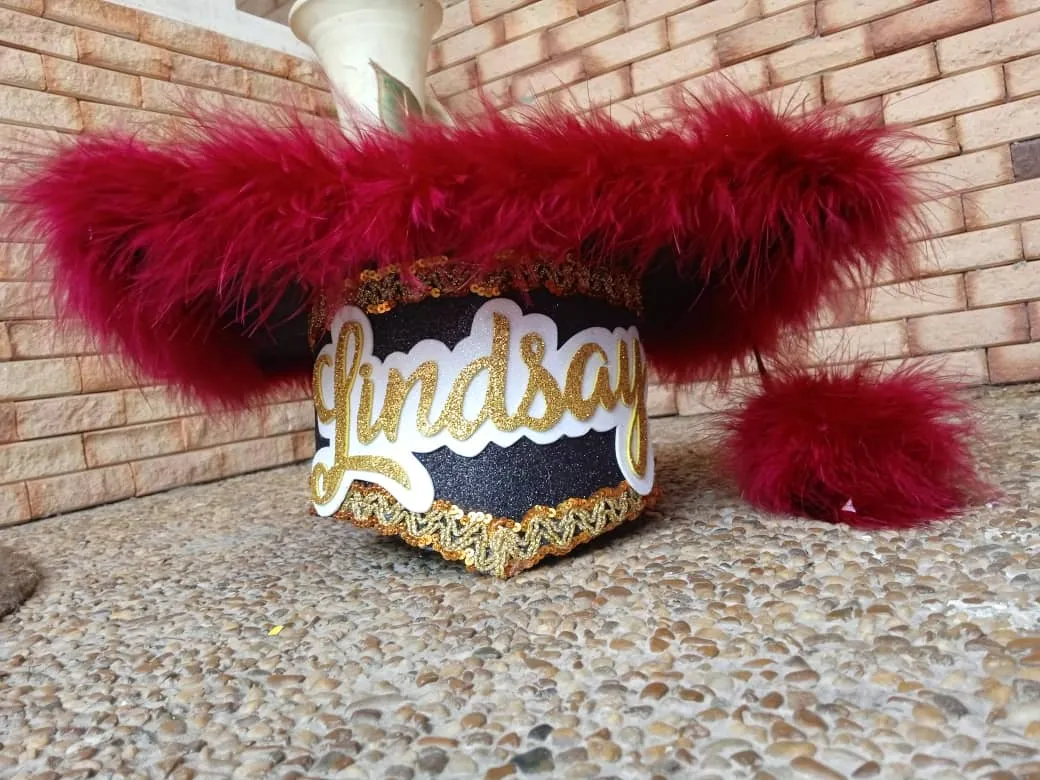
Y por último lo pegué en su hermoso birrete!
And lastly I glued it on his beautiful biretta!

Y así quedo este hermoso birrete para el acto de graduación de Lindsay espero que le haya gustado este tutorial nos vemos en el próximo blog!
And so was this beautiful cap for Lindsay's graduation ceremony I hope you liked this tutorial see you in the next blog!

Las fotos fueron tomadas en con mi celular smooth 5.5 y Redmi 9A editadas en Canva y traducidas con Deepl.
The photos were taken with my cell phone smooth 5.5 and Redmi 9A edited in Canva and translated with Deepl.