
Ruleset Focus
FOG OF WAR ruleset. 
The FOG OF WAR ruleset dictates that Sneak, Snipe, and Opportunity abilities are disabled for all monster units. However, the Scattershot ability remains functional and becomes the primary means of damaging the enemy's backline.
This ruleset discourages the inclusion of multiple Melee units in the lineup since they become ineffective in the backline. As a result, lineups in battles governed by this ruleset commonly consist of Magic and Ranged monsters!

FOG OF WAR ruleset.

Sneak - Targets the last Monster on the enemy team instead of the first monster.
Snipe - Targets enemy monsters with Ranged, Magic, or no attack that are not in the first position.
Opportunity - Monsters with the Opportunity ability may attack from any position and will target the enemy Monster with the lowest health.
FOG OF WAR ruleset! 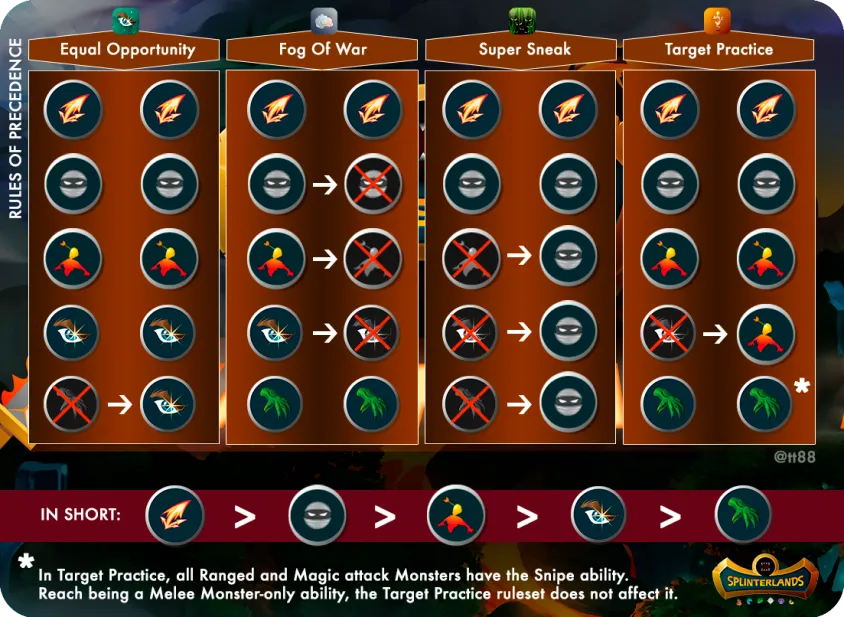

The Battle
While fulfilling my responsibilities in the Splinterlands scholarship account I have with Balthazar, bltzr-wizard-729, I was able to engage in a battle that involves the FOG OF WAR ruleset. To get right into the action, the battle link can be found here. Otherwise, do read on as I go into more detail regarding the lineup and fight.

To begin, let's analyze the ruleset applied in this battle. The Stampede ruleset allows the Trample ability to activate multiple times within a single attack if the trampled monster is eliminated. Next, the main highlight of this challenge is the FOG OF WAR ruleset which we have discussed extensively in the above sections. Lastly, the Lost Magic ruleset restricts the usage of monsters with Magic attacks. The battle has a mana limit of 29, with only the Earth Splinter being prohibited.
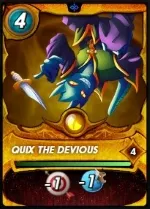
Summoner, Quix The Devious
Considering the existence of the FOG OF WAR and Lost Magic ruleset, choosing Quix The Devious becomes quite obvious. The FOG OF WAR ruleset suggests that the enemy's lineup will likely consist of Magic and Ranged monsters, but the Lost Magic ruleset eliminates the possibility of using Magic units. Therefore, having Quix The Devious with its -1 Ranged debuff proves to be highly advantageous in this battle ✌️
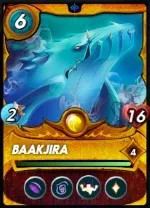
First Position, Baakjira
Is there even a need for an introduction to Baakjira anymore? 😂 This powerful entity is undoubtedly the preferred option for tanking, especially in the fiercely competitive Diamond and Champions League tiers! In this battle, I have strategically chosen Baakjira as my main tank, allowing my backline units to flourish. Baakjira possesses an impressive set of advantageous abilities, such as Slow and Strengthen, which offer valuable buffs and debuffs. Furthermore, its Healing ability makes it nearly invincible! 💪
Second Position, Naga Assassin - I strategically placed the Naga Assassin in this position considering its exceptional speed and the advantageous Backfire ability. Should Baakjira and Wave Brood be defeated, the Naga Assassin would step in as the third tank. Its Swiftness ability enhances the likelihood of the enemy's monsters missing the target, leading to them suffering damage from the Backfire ability 👊
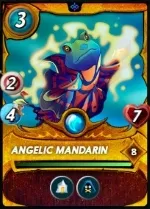
Third Position, Angelic Mandarin - The Angelic Mandarin fulfills the crucial role of a healer in my lineup, providing support to injured monsters in the backline with its Triage ability. Given the positioning of the Wave Brood, which draws enemy attacks to the backline even in the presence of the FOG OF WAR ruleset, the healing capabilities of Angelic Mandarin become indispensable in keeping the Wave Brood alive 😁
Fourth Position, Merdhampir
Fifth Position, Igor Darkspear
Both monsters were chosen based on their ability to deal significant damage in relation to their mana cost. Merdhampir's Life Leech ability allows it to replenish its own health in proportion to the damage inflicted on the enemy. By the time Merdhampir is deployed in the first position, its health would have increased significantly, making it an effective high-health tank. Igor Darkspear's Stun ability has the potential to make a significant impact during battles and can often be the deciding factor between victory and defeat 😝
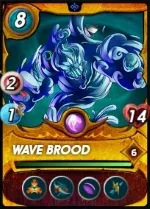
Last Position, Wave Brood
Like Baakjira, Wave Brood serves as a reliable tank in the backline of my lineup due to its impressive health pool and inherent abilities like Void and Return Fire. With Wave Brood's Taunt ability, all attacks are redirected towards it, providing me with increased control over the battle and ensuring the protection of my backline monsters so they can unleash their attacks. Given the expectation of encountering numerous Ranged units in the FOG OF WAR battle, Wave Brood's Return Fire ability is an added advantage 🤠
The Analysis
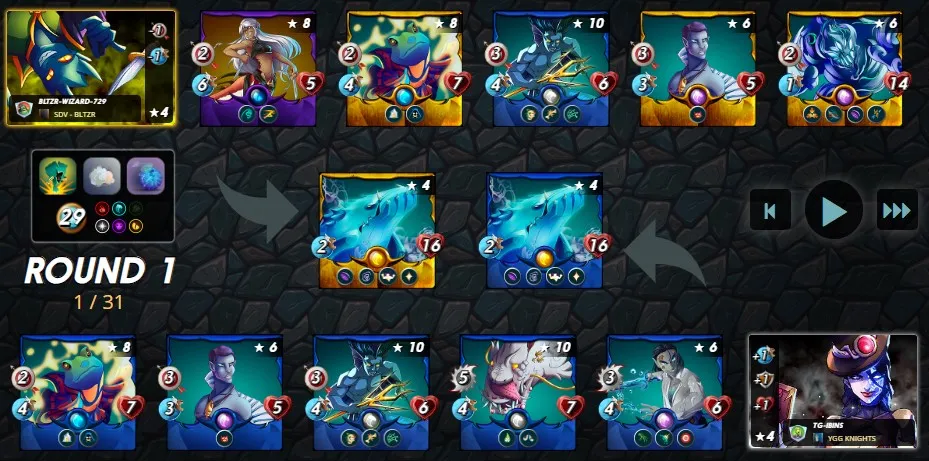
Not surprisingly, my opponent also selected Baakjira as their frontline tank, indicating its popularity among Splinterlands players. However, I was taken aback by the inclusion of Deeplurker in my opponent's lineup, considering that this battle follows the FOG OF WAR ruleset. As mentioned earlier, such mistakes can prove fatal in a battle, as my opponent essentially wasted a slot by choosing Deeplurker, which is rendered ineffective without its Opportunity ability.
On the other hand, my strategy was well-executed. I successfully minimized my opponent's damage output with Quix The Summoner's -1 Range debuff. Wave Brood's Taunt and Return Fire abilities allowed me to retaliate and deal damage. I provided adequate support to Wave Brood by healing it with Angelic Mandarin's Triage ability. All of these factors proved overwhelming for my opponent, particularly given the costly mistake they made.
Do you guys have any better recommendations for setting up the team in this particular ruleset? Do share them with me in the below comments 😜

If you made it this far, I sincerely appreciate your time and value your encouragement. Please feel free to leave any comments or suggestions so that we can discuss about other strategies. Thinking about giving Splinterlands a try but haven't signed up yet? Feel free to use my referral link: https://splinterlands.com?ref=ak08, and be sure to reach out to me if you have any questions!
Are you interested in reading some of my future writings? Don't forget to follow me! In the meantime, here are some of my most recent blogs if you'd like to view them:
Battle Mage Secrets - A battle using
UNCONVENTIONAL FIREPOWER: OVERCOMING CHALLENGE WITH STRATEGIC TACTICSSocial Media Challenge - A battle that
TRAMPLE YOUR WAY TO VICTORY: OVERCOMING MISTAKES AND DOMINATING THE BATTLE!Battle Mage Secrets - A battle
CRACKING THE FEROCITY RULESET: SECURING VICTORY WITHOUT TAUNT!Social Media Challenge - A battle
UNLEASHING CHAOS: EMBRACING THE RNG WITH SCATTERSHOT IN THE FOG OF WAR
All banners, dividers card and battle images used in this article are open source and obtained from the Splinterlands team or made by flauwy. Do check out his link for other amazing designs.