In the spirit of the weekly Battle Mage Secrets challenges, I would like to take a look at a Splinterlands battle with a particular focus on a ruleset. I have shared battles with this ruleset a time or two already, but these types of fights are entertaining enough to me that I think it is worth revisiting. I do love a good fist fight, and in these battles, monsters with melee attacks can attack from any position. Today, we will be looking at a battle with the Melee Mayhem ruleset!
Before we jump in to our battle, I'd like to take a quick look at our spotlighted ruleset for this battle. As I mentioned above, Melee Mayhem allows melee monsters to attack regardless of their position in the lineup. As you can probably tell, this is a huge boost for melee monsters - their biggest drawback is that under normal conditions they can only attack from the front position. In battles with Melee Mayhem, you can even place them all the way at the back of your team and still benefit from their attacks. Couple that with the fact that melee monsters tend to have more stats for their cost relative to ranged or magic attackers, and Melee Mayhem battles tend to be very heavy on melee attackers - fitting, given the ruleset name.
If you wanted to jump right to the action, the Battle Link is right here. Want to hear some more about the lineup? Read on further!
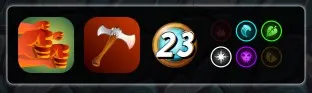
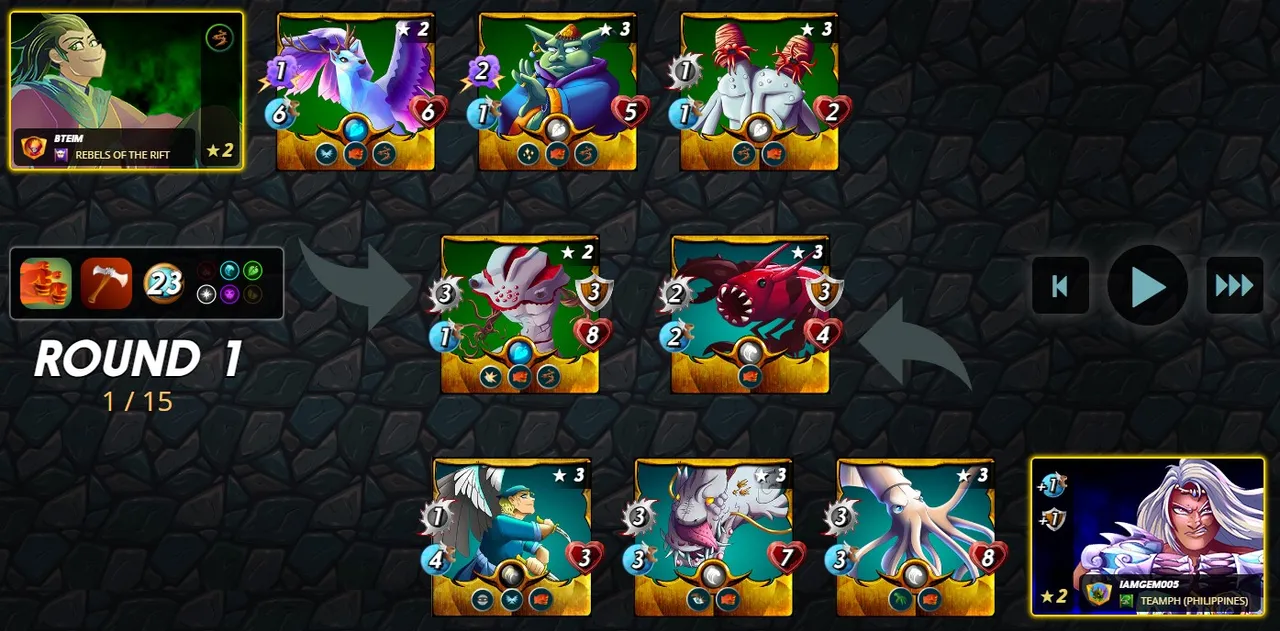
Here are the rules for our battle. Of course, we have the Melee Mayhem rule, which allows melee monsters to attack from any position. To go along with it we also have Heavy Hitters, which gives monsters the Knock Out ability. As it happens, this particular battle was from a Bronze league tournament. This means that Knock Out isn't particularly relevant for this fight, since there are not many monsters with Stun at the Bronze league level. Finally, we have 23 mana to work with, and 4 splinters to choose between.
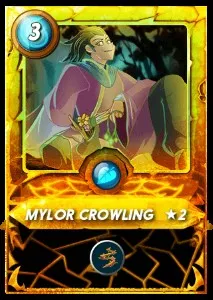
In Melee Mayhem battles, it is more likely than usual that there will be a lot of melee monsters on the battlefield. This makes Mylor Crowling a particular powerful summoner in these fights - his Thorns ability makes it so that any enemy melee monsters are going to have a rough time in the battle, since they will be receiving counterattack damage every time the land an attack.
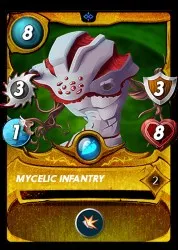
I led off my lineup with Mycelic Infantry. Mycelic Infantry is incredibly bulky, pairing 3 armor and 8 health with the Shield ability - great when you are expecting your opponent to be using a lot of melee attackers! Mycelic Infantry is no slouch in the attacking department either, hitting for 3 damage per turn. My plan for this battle was for Mycelic Infantry to receive some support and hold the front line while dealing plenty of Thorns damage to the enemy team.
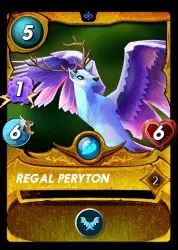
I opted for Regal Peryton next as my secondary tank. Regal Peryton is awfully difficult to hit, as the combination of 6 speed and Flying gives it a relatively high dodge chance against many attackers. As an added bonus, Regal Peryton is a magic attacker - in Melee Mayhem my opponent may be expecting more melee attackers, and it is often a good idea to do something that your opponent will not expect.
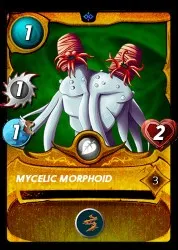
I finished off my lineup with Goblin Psychic and Mycelic Morphoid. Goblin Psychic offers a great combination of support and damage with its Tank Heal ability and 2 magic damage per turn. I was just about out of mana at this point, so Mycelic Morphoid was thrown in at the end to serve as a shield for Goblin Psychic - that additiona Thorns damage could be just what I need if there is some Sneak damage on the field.

With the lineup set, it's off into battle! When I see the selected teams I feel pretty good about my chances. My opponent has (as expected) gone with a heavy melee team. Kelya is great for melee attackers since they love the extra armor and speed, but those extra stats don't have the same raw power as Mylor's Thorns ability.
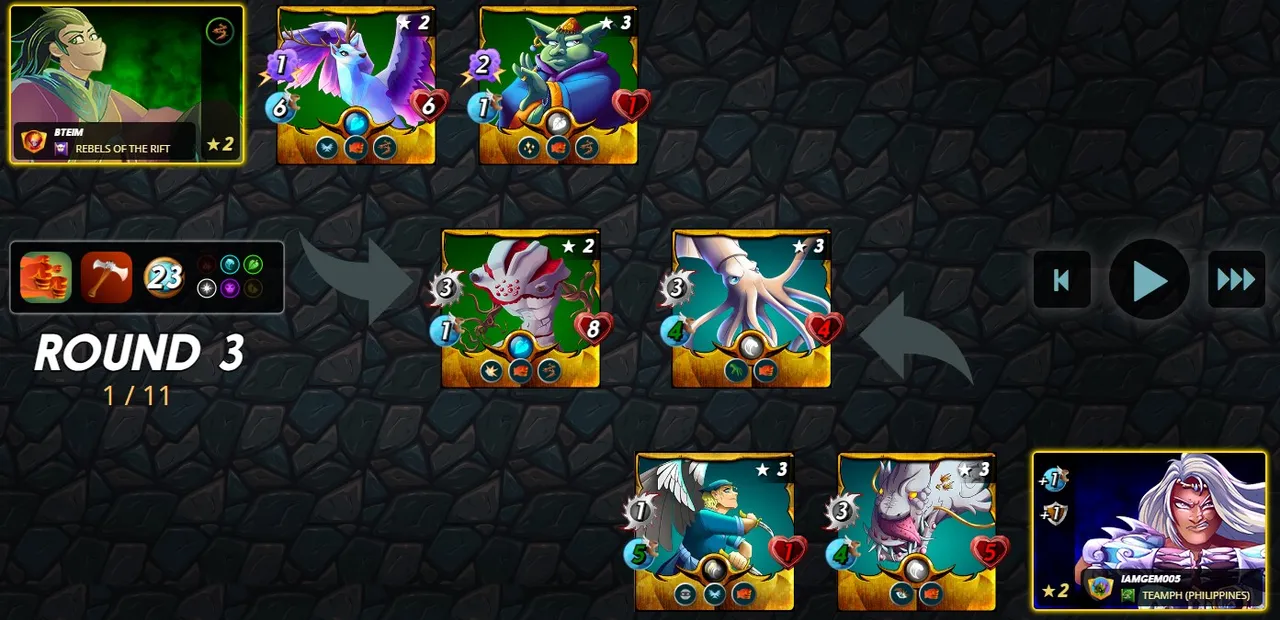
In the first round of battle my opponent's indirect damage goes to work, knocking out my Mycelic Morphoid. It is looking as though my team's support is about to get knocked out of the fight, since my Goblin Psychic is next in the line of fire. But the enemy monsters are paying the price - the Thorns Damage has already worn away their armor and is about to go to work on their health next.
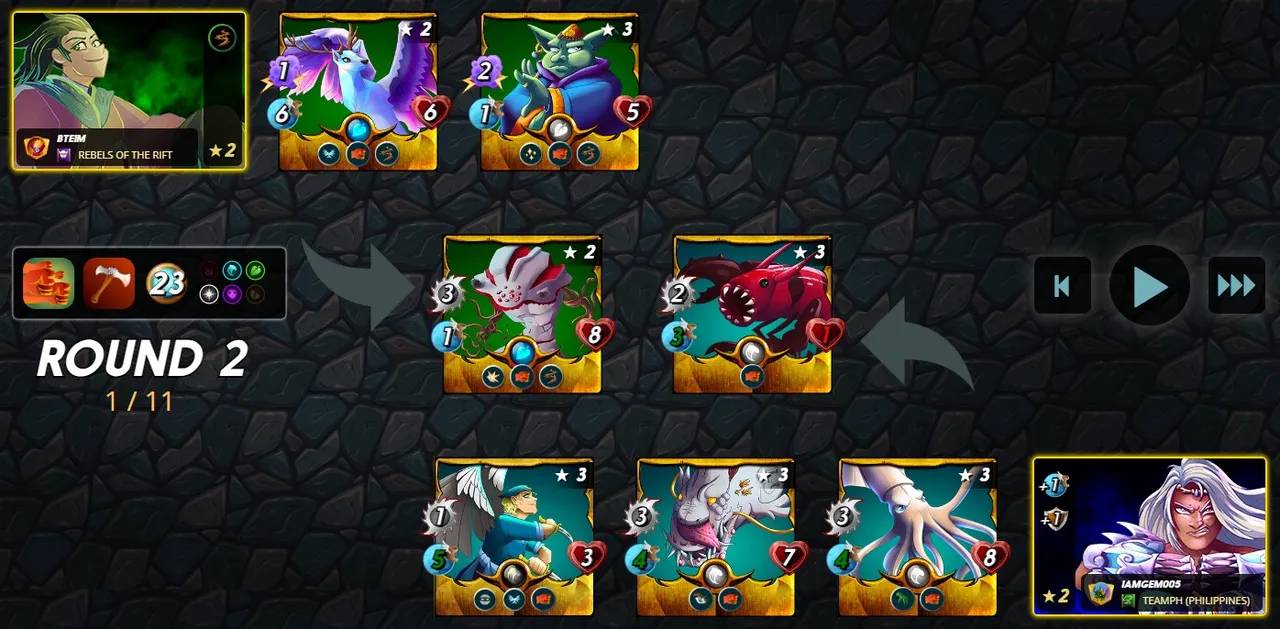
One more round and my back line is in a sorry state - Goblin Psychic has just a single point of health remaining. But the opposing team is looking even worse for the wear, with heavy damage all across the board.
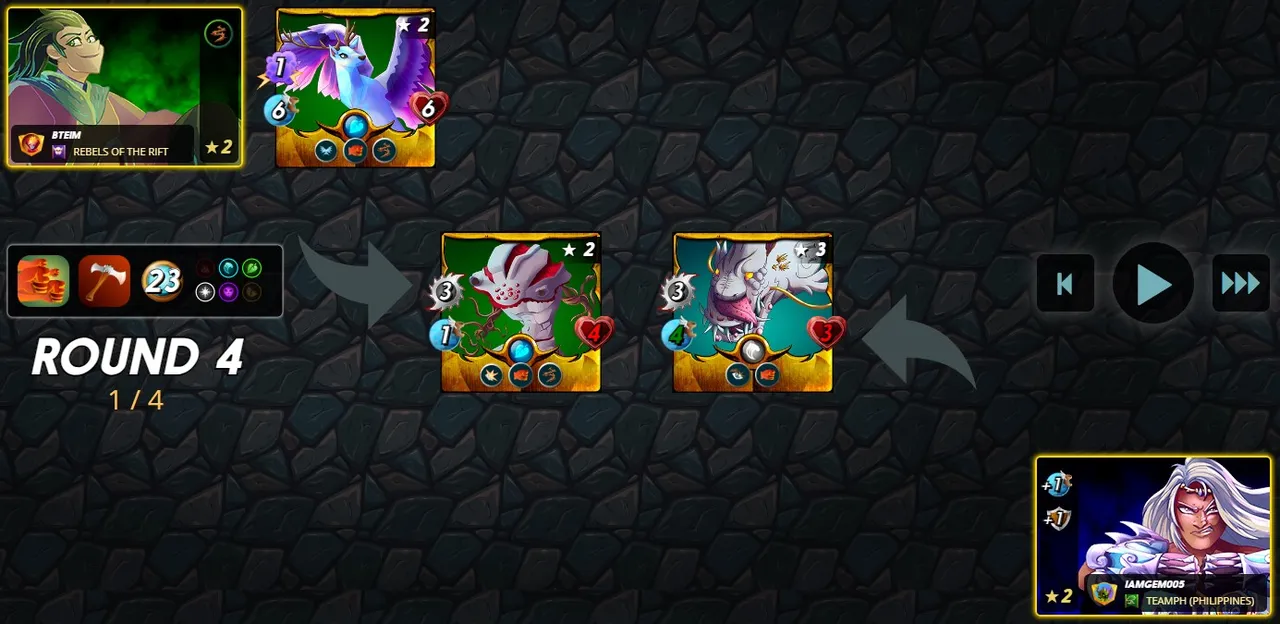
By the beginning of round 4 the battle was all but over - the enemy's lone Deeplurker didn't have enough health to make it through the rest of my team, even if they all would miraculously miss - a tall order, considering the fact that I had a magic attacker. An attack and a bit of Thorns damage sealed my victory. And again, if you wanted to see the whole battle for yourself, you can see it right here.
My strategy for this battle worked out perfectly - my Mycelic Infantry stood strong in the front slot, and while my back line suffered for it, the opposing monsters couldn't outrace the slow grinding attrition from Thorns. This battle showcases the importance of having the right cards for different situations - Mylor's Thorns ability is an incredibly strong anti-melee ability, and one that was nearly singlehandedly responsible for my victory.

Thank you so much for reading all the way to the end. Interested in seeing some more of my writing in the future? Be sure to give me a follow! In the meantime, if you'd like to see some of my recent posts:
Making Some Noise - Battling with Silenced Summoners! - A Splinterlands battle analysis, featuring Silenced Summoners!
Splinterlands Economics: Causation - A look at causation, and how we can apply it to Splinterlands!
Splinterlands Economics: Ceteris Paribus - An introduction to the concept of Ceteris Paribus, and how we can apply it to Splinterlands!
Thinking about giving Splinterlands a try but haven't signed up yet? Feel free to use my referral link: https://splinterlands.com?ref=bteim, and be sure to reach out to me if you have any questions!
All images used in this article are open source and obtained from Pixabay or Unsplash. Thumbnails borrowed with permission from the Splinterlands team or made in Canva.